
Arcade Machine
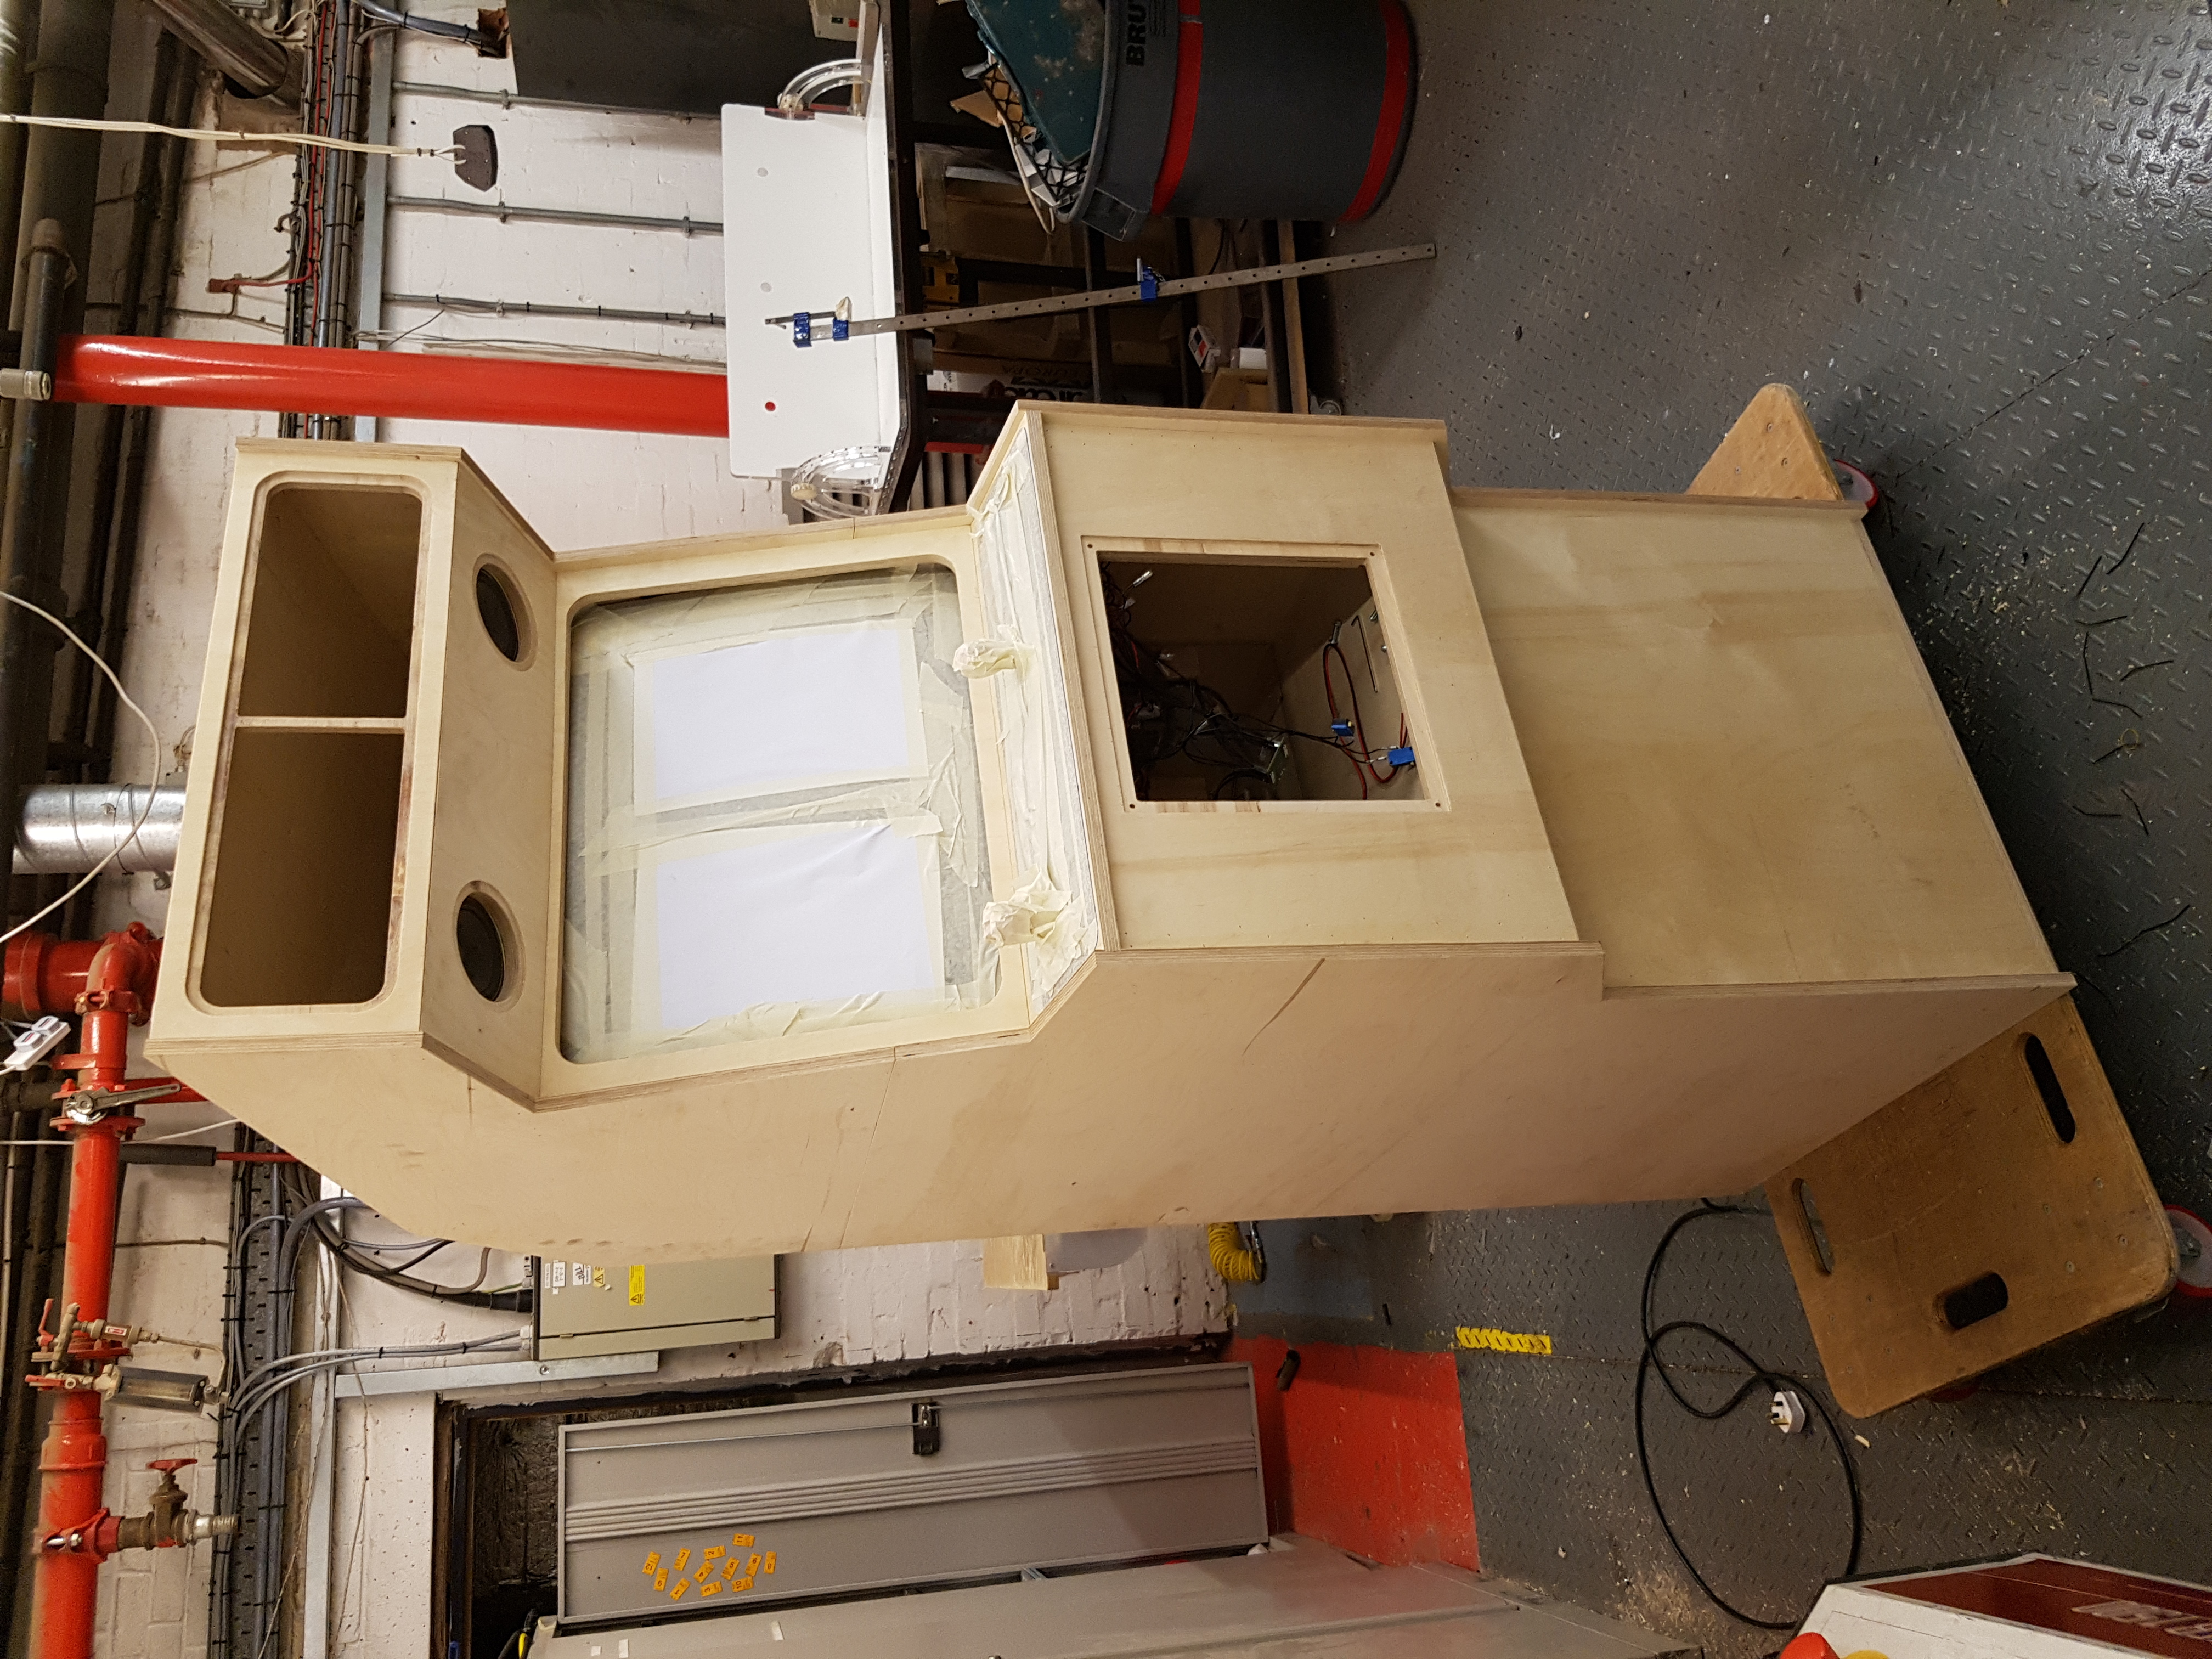
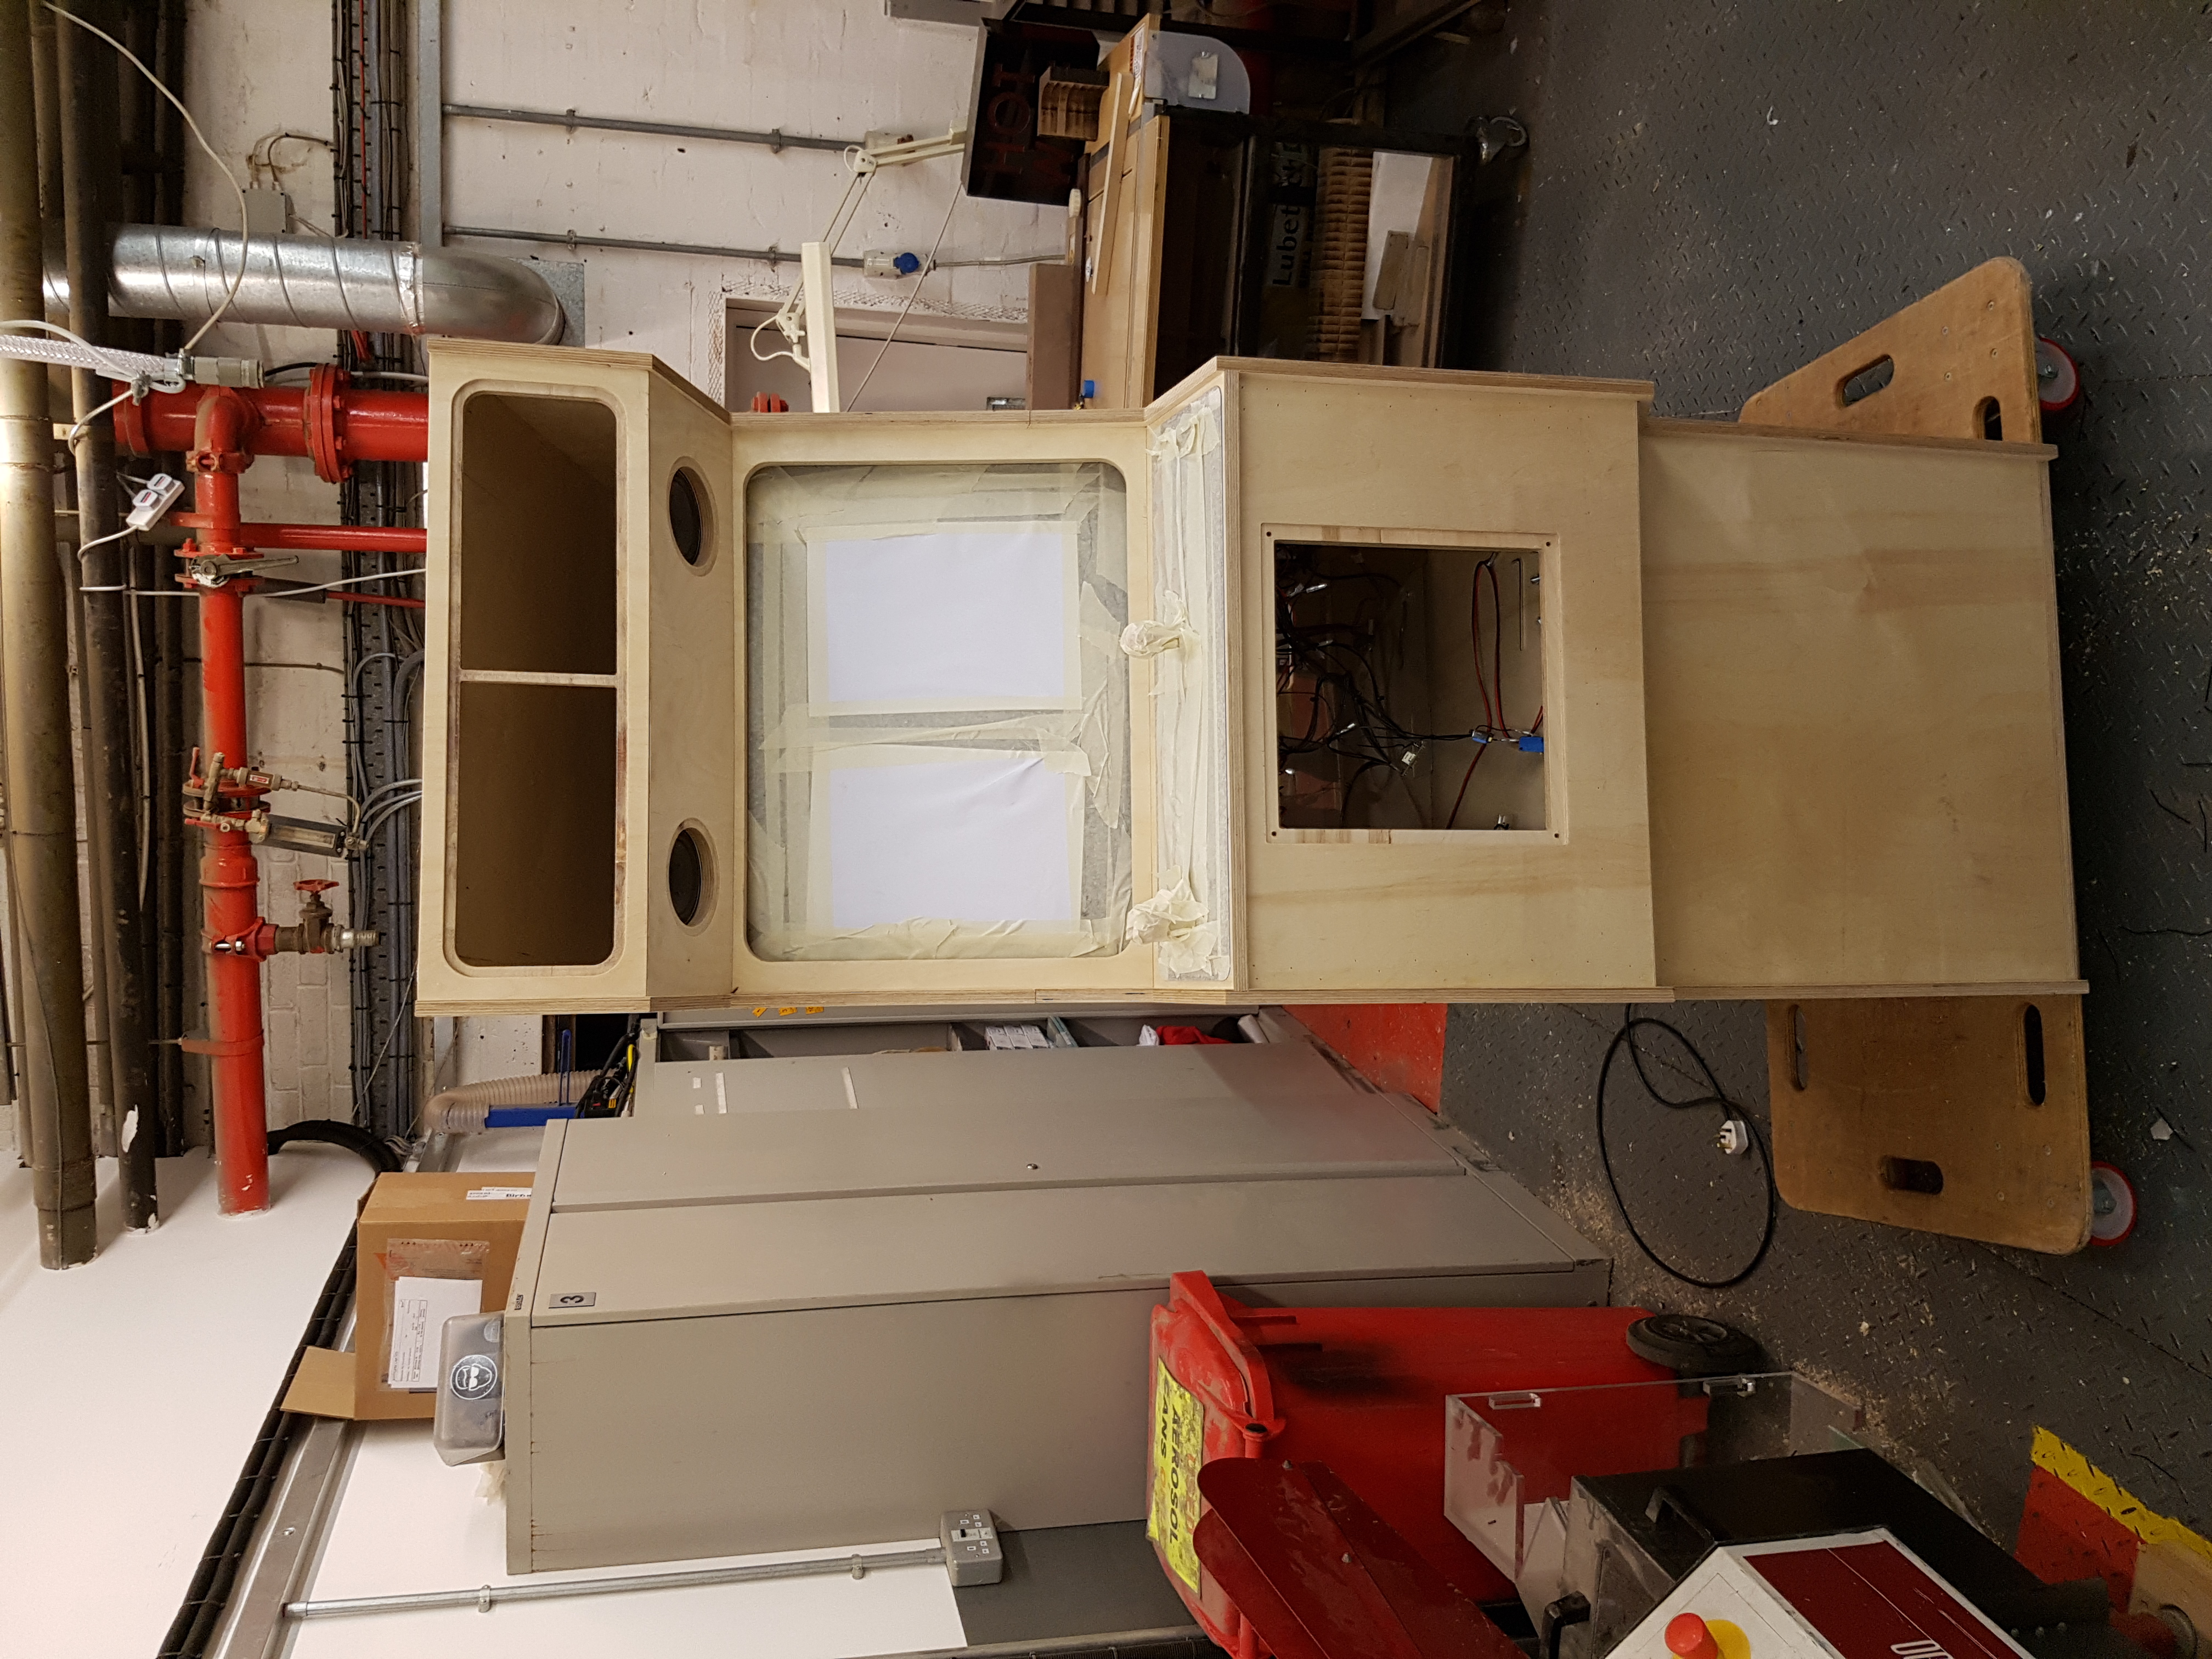
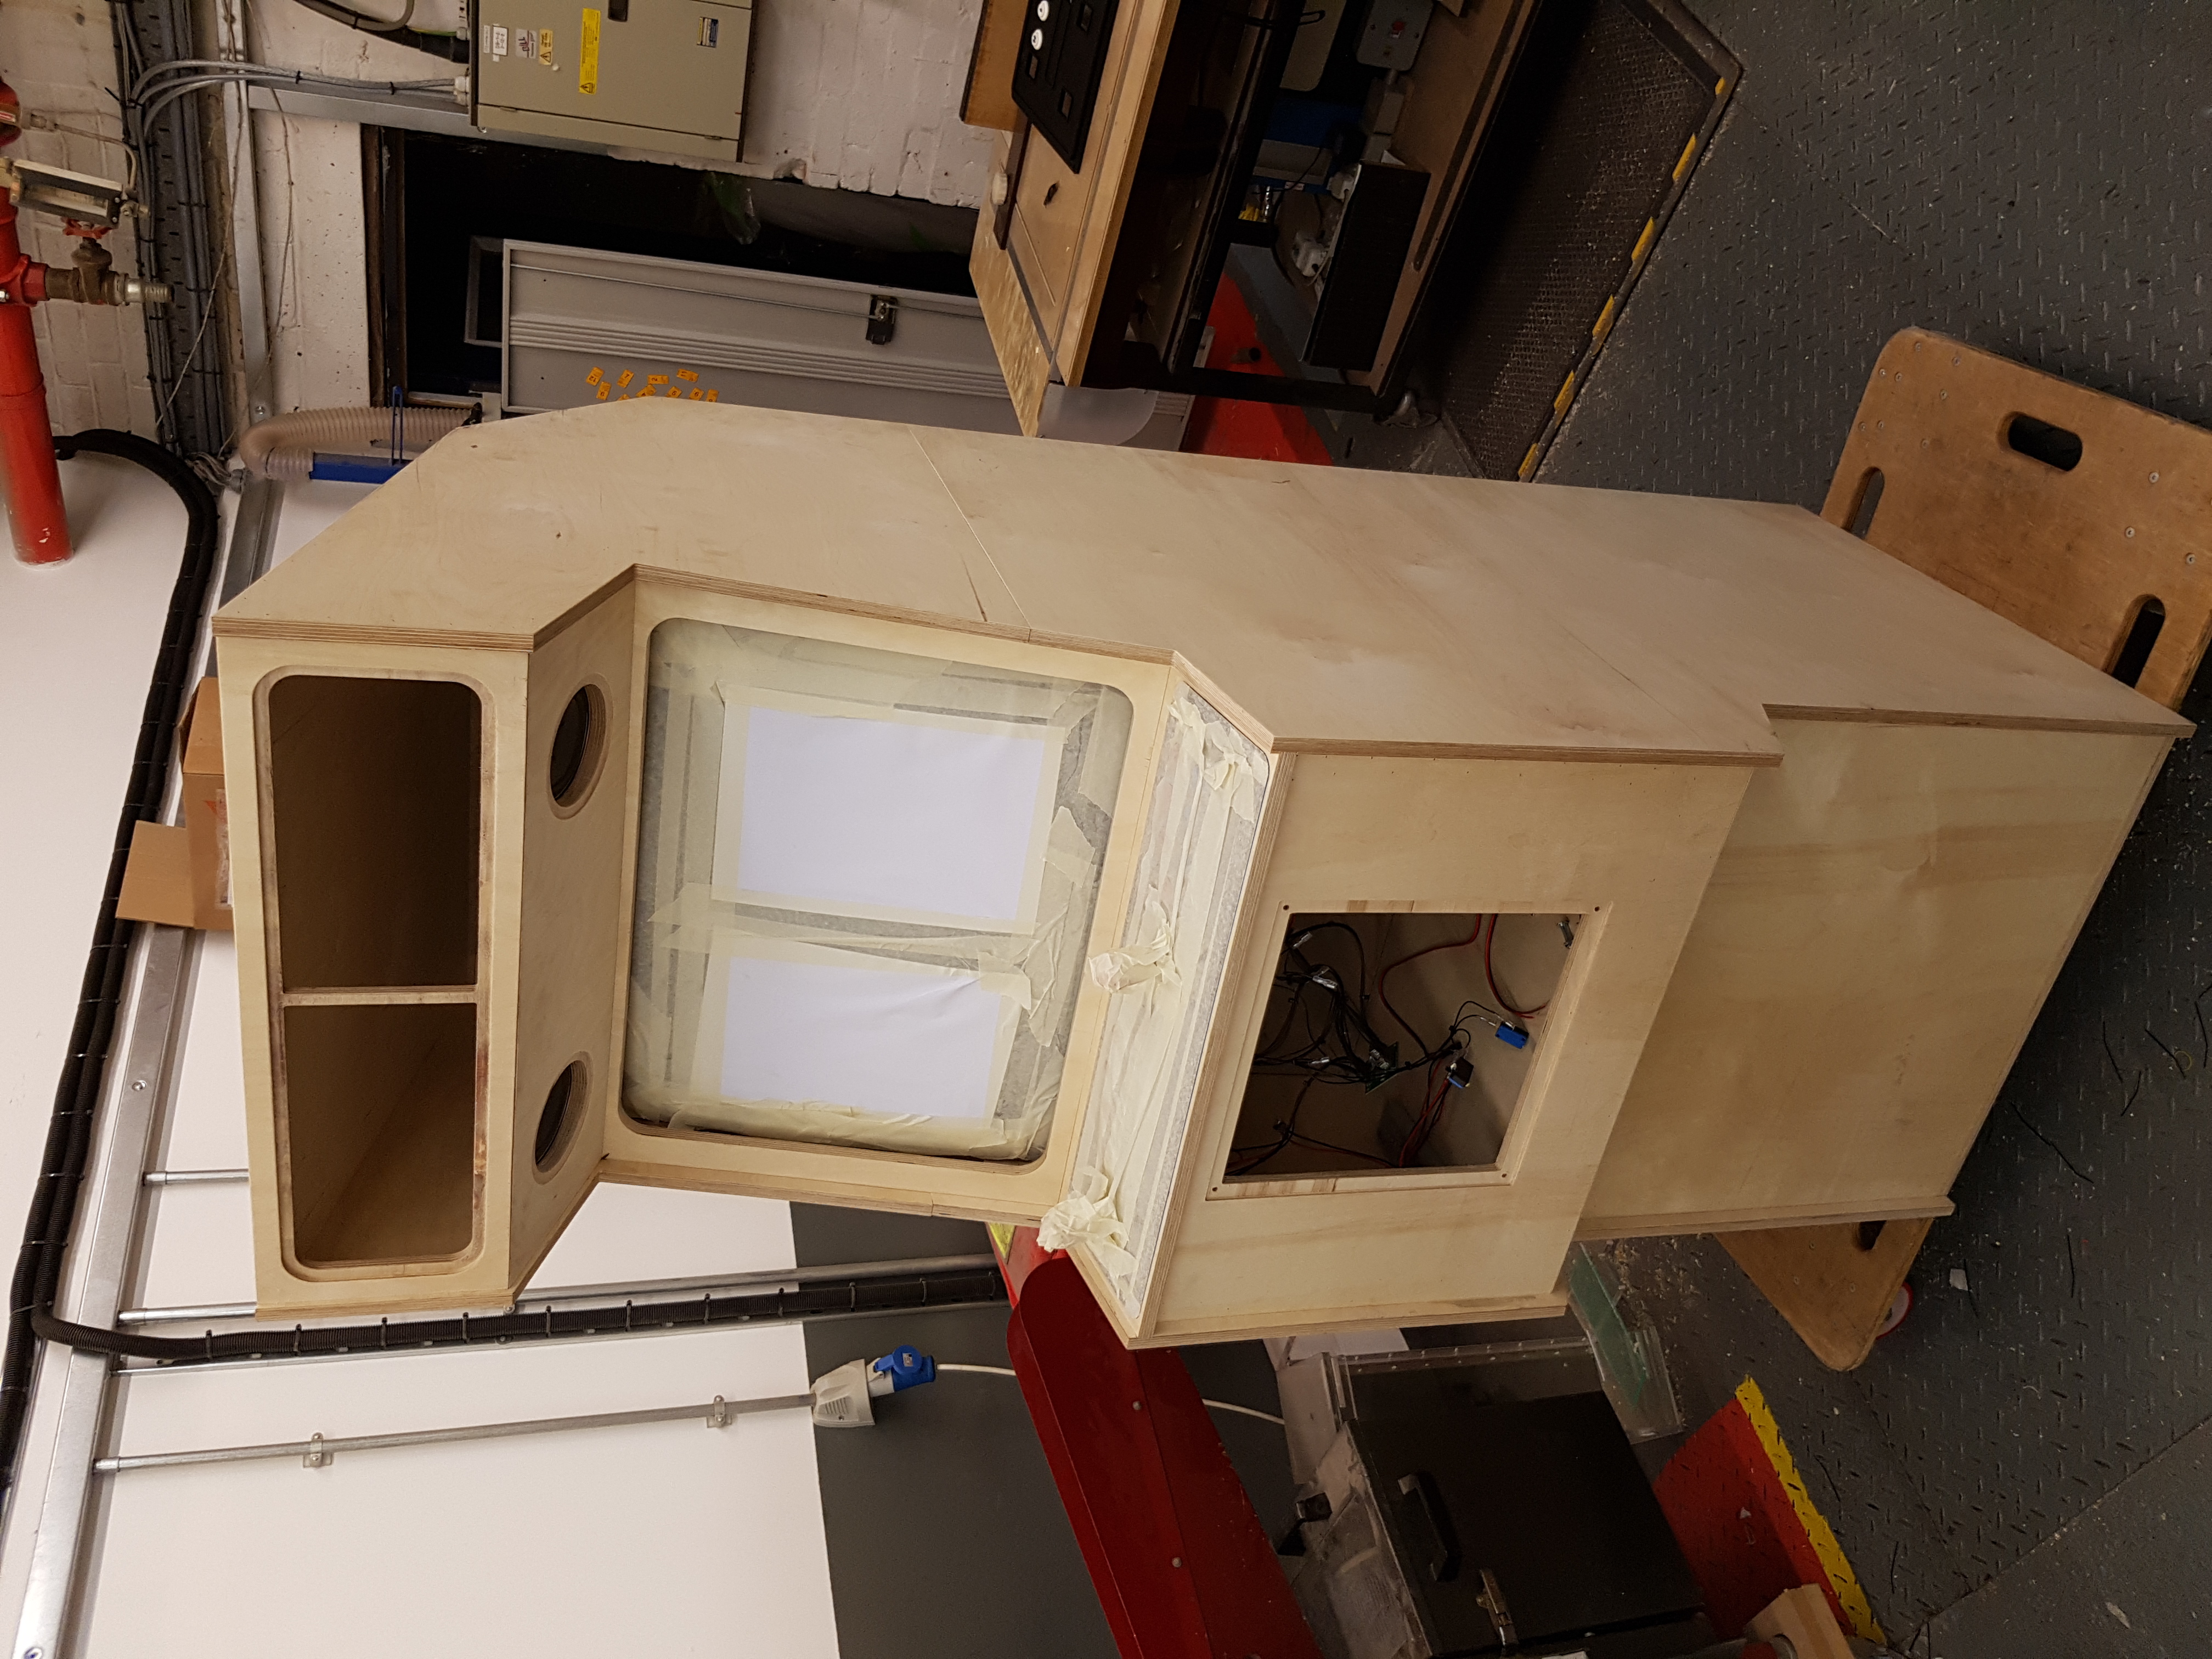
Made at work as a charity fund-raiser, we designed a cabinet based on the Defender game, found a suitable CRT TV, and have a Raspberry Pi 3 set up running RetroPie.
The cabinet was drawn initially in AutoCAD - sketched from images of the Defender cabinet, and then transferred to Solidworks in order to plan out the shape and frame. when complete, it was then exported back to AutoCAD in preparation for cutting out on the CNC router. Due to the sheet size available, and the size of the Router, the side panels had to be split partway up.
 |
 |
 |
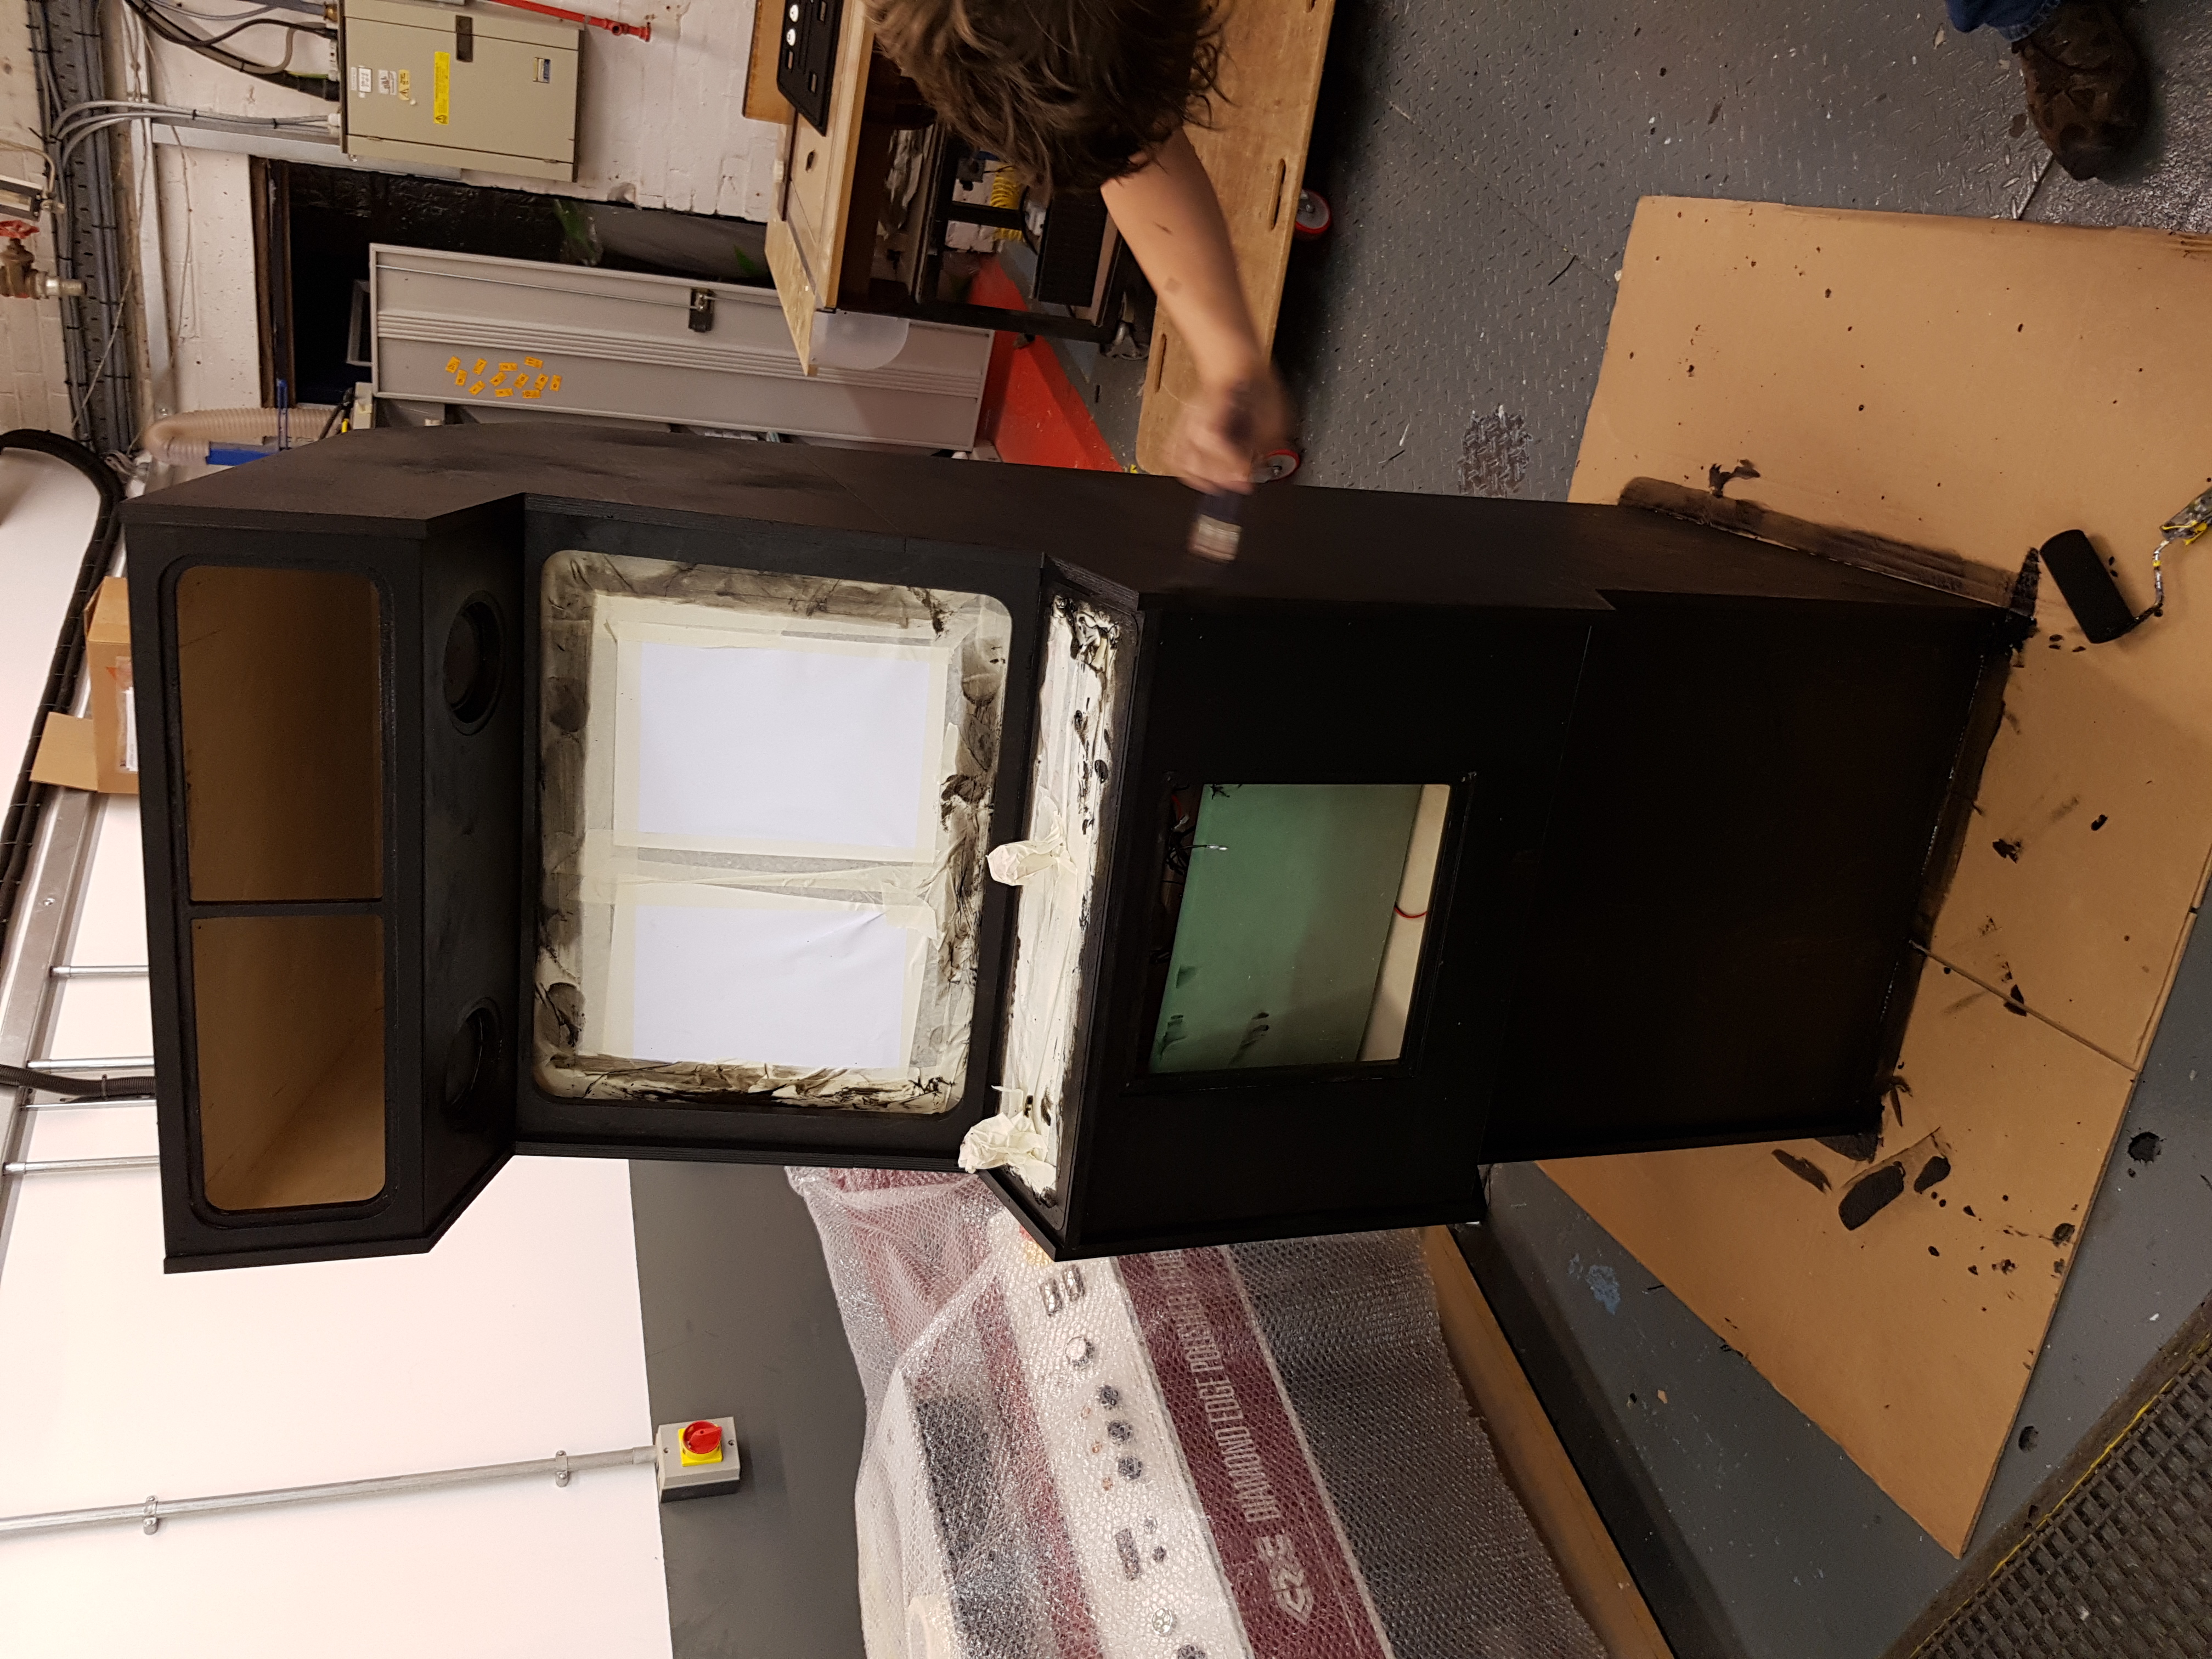 |
| Finished Woodwork | Finished Woodwork | Finished Woodwork | Painted Woodwork |
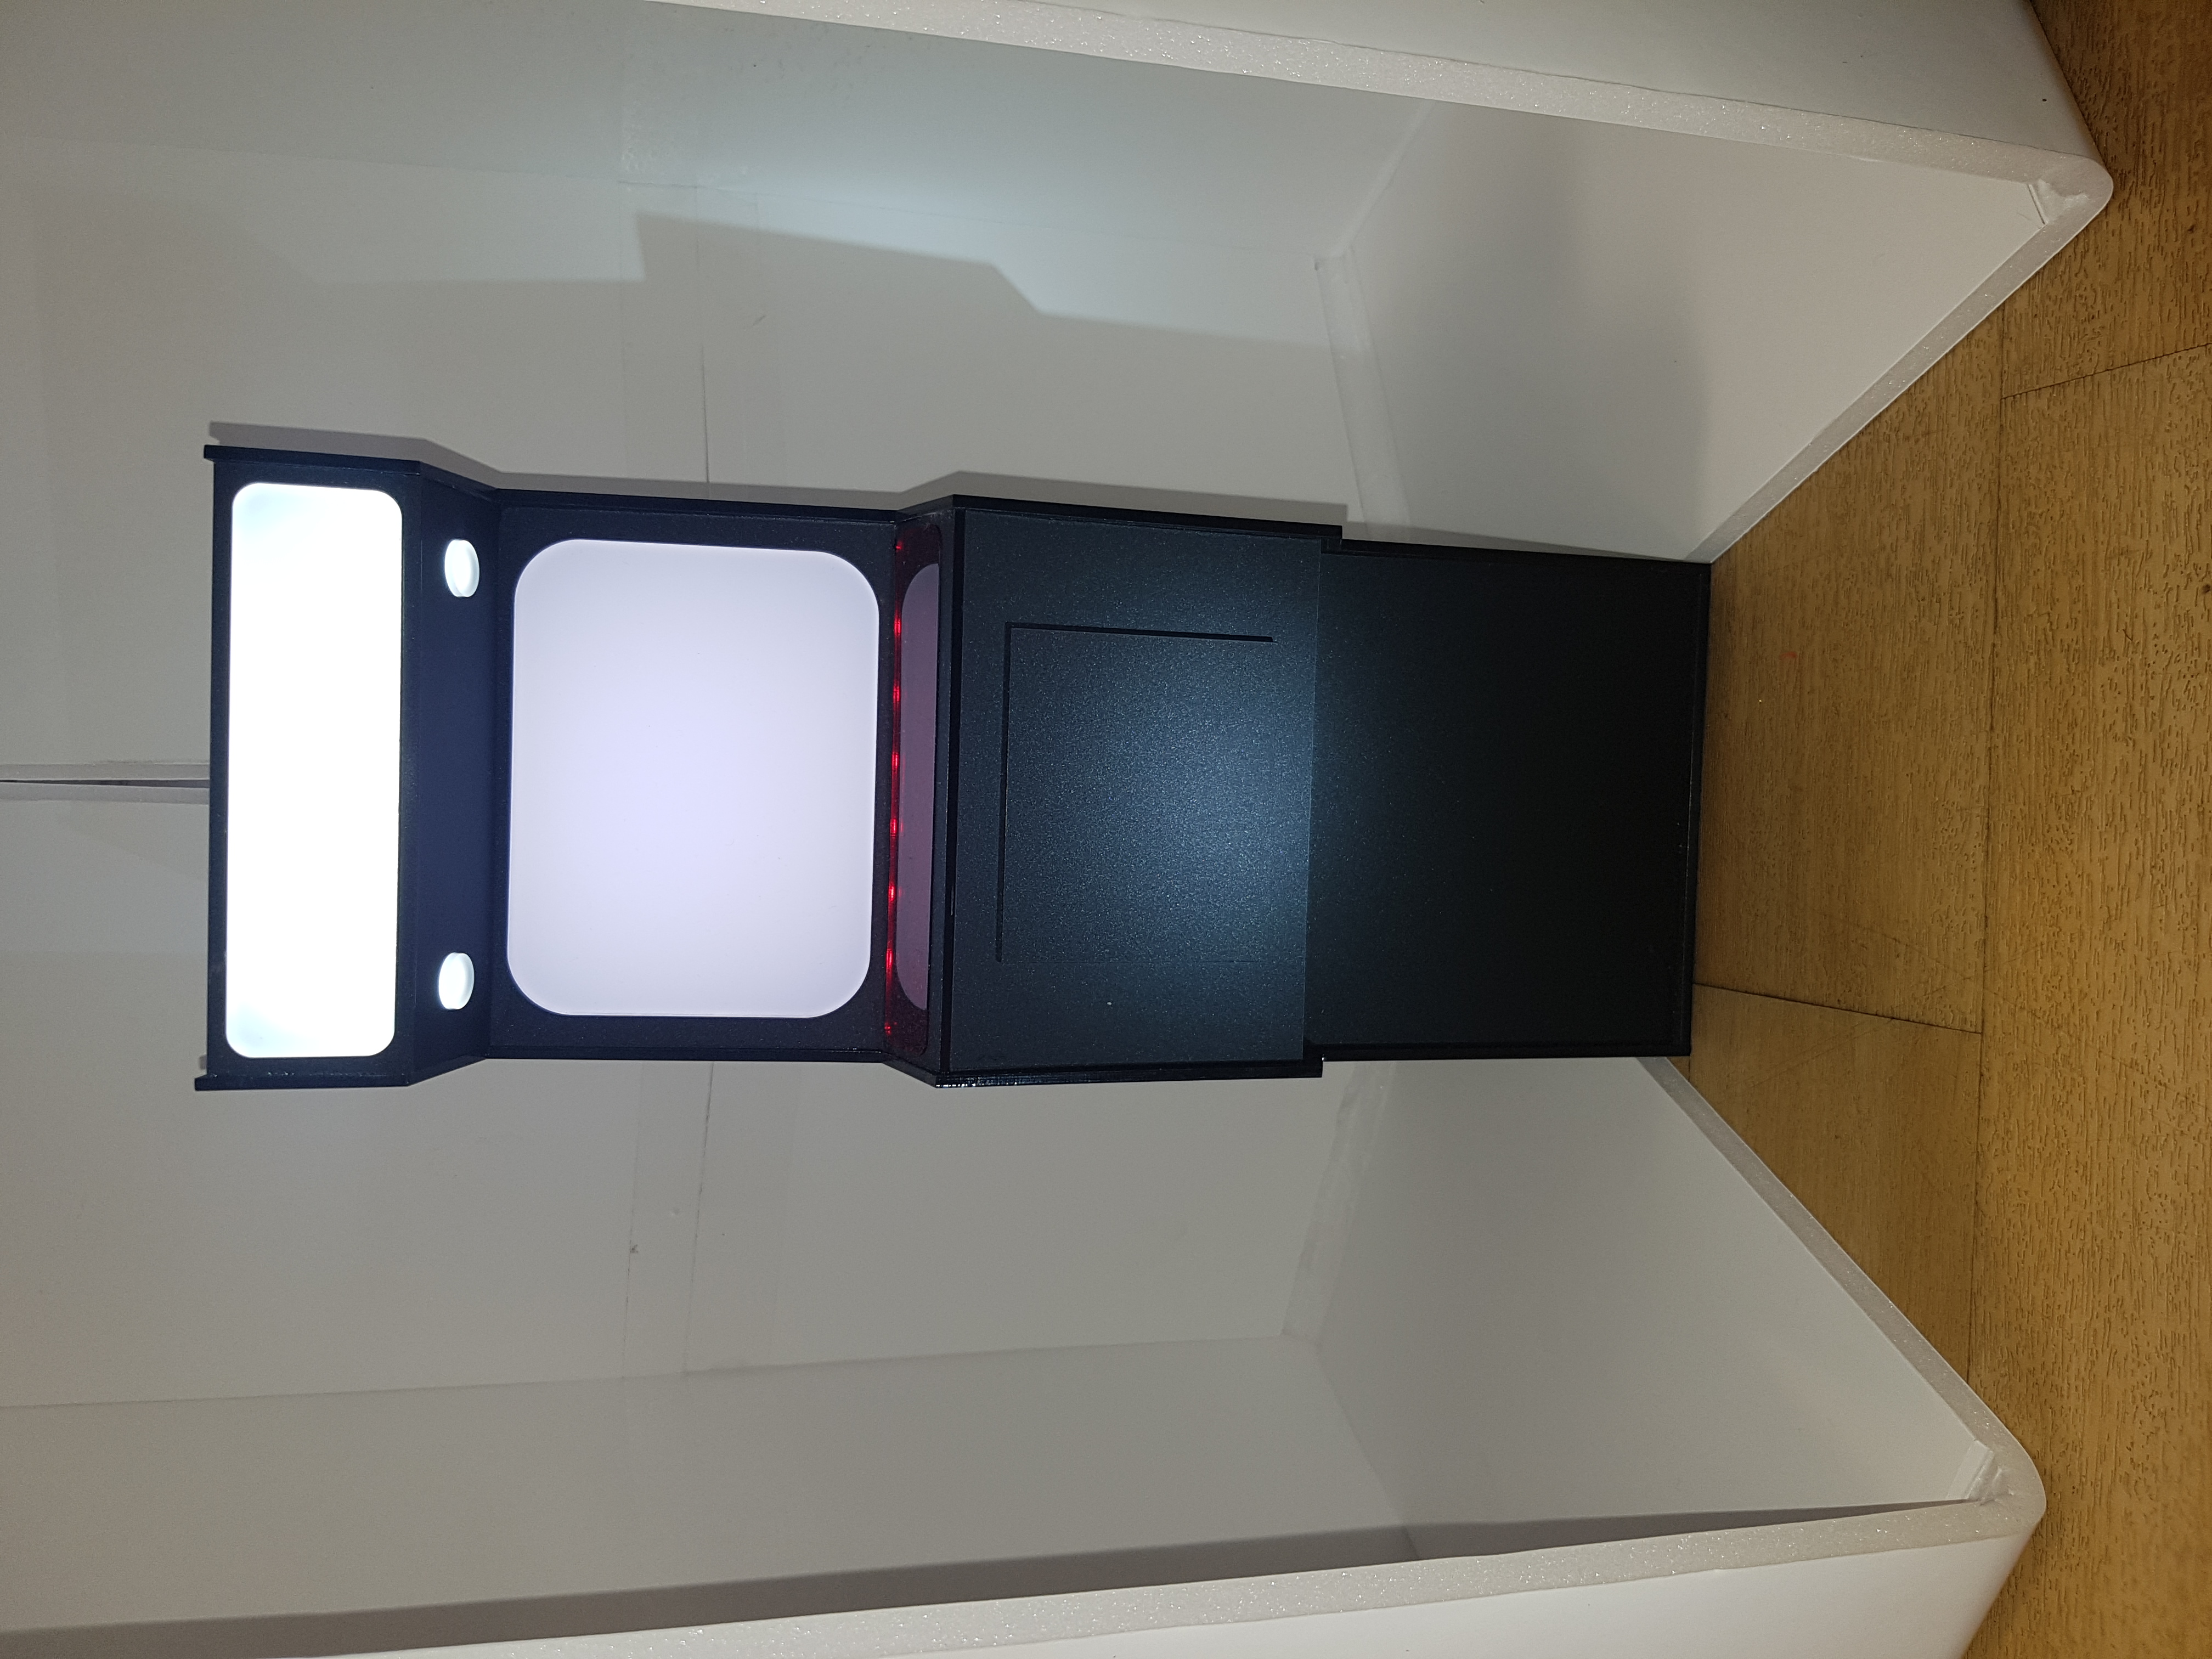
The Cabinet is made from 15mm hardwood plywood, with a frame of 2" square softwood to join it all together. it was then coated in a black stain matte varnish, in preparation for vinyl sticker graphics. These have yet to be completed. Before committing to cutting the plywood a 1:5 scale mock-up was made from laser cut 3mm Acrylic. this proved that the design was sound and parts should fit without issue. In the future, this may be made into a small scale, working arcade machine.
 |
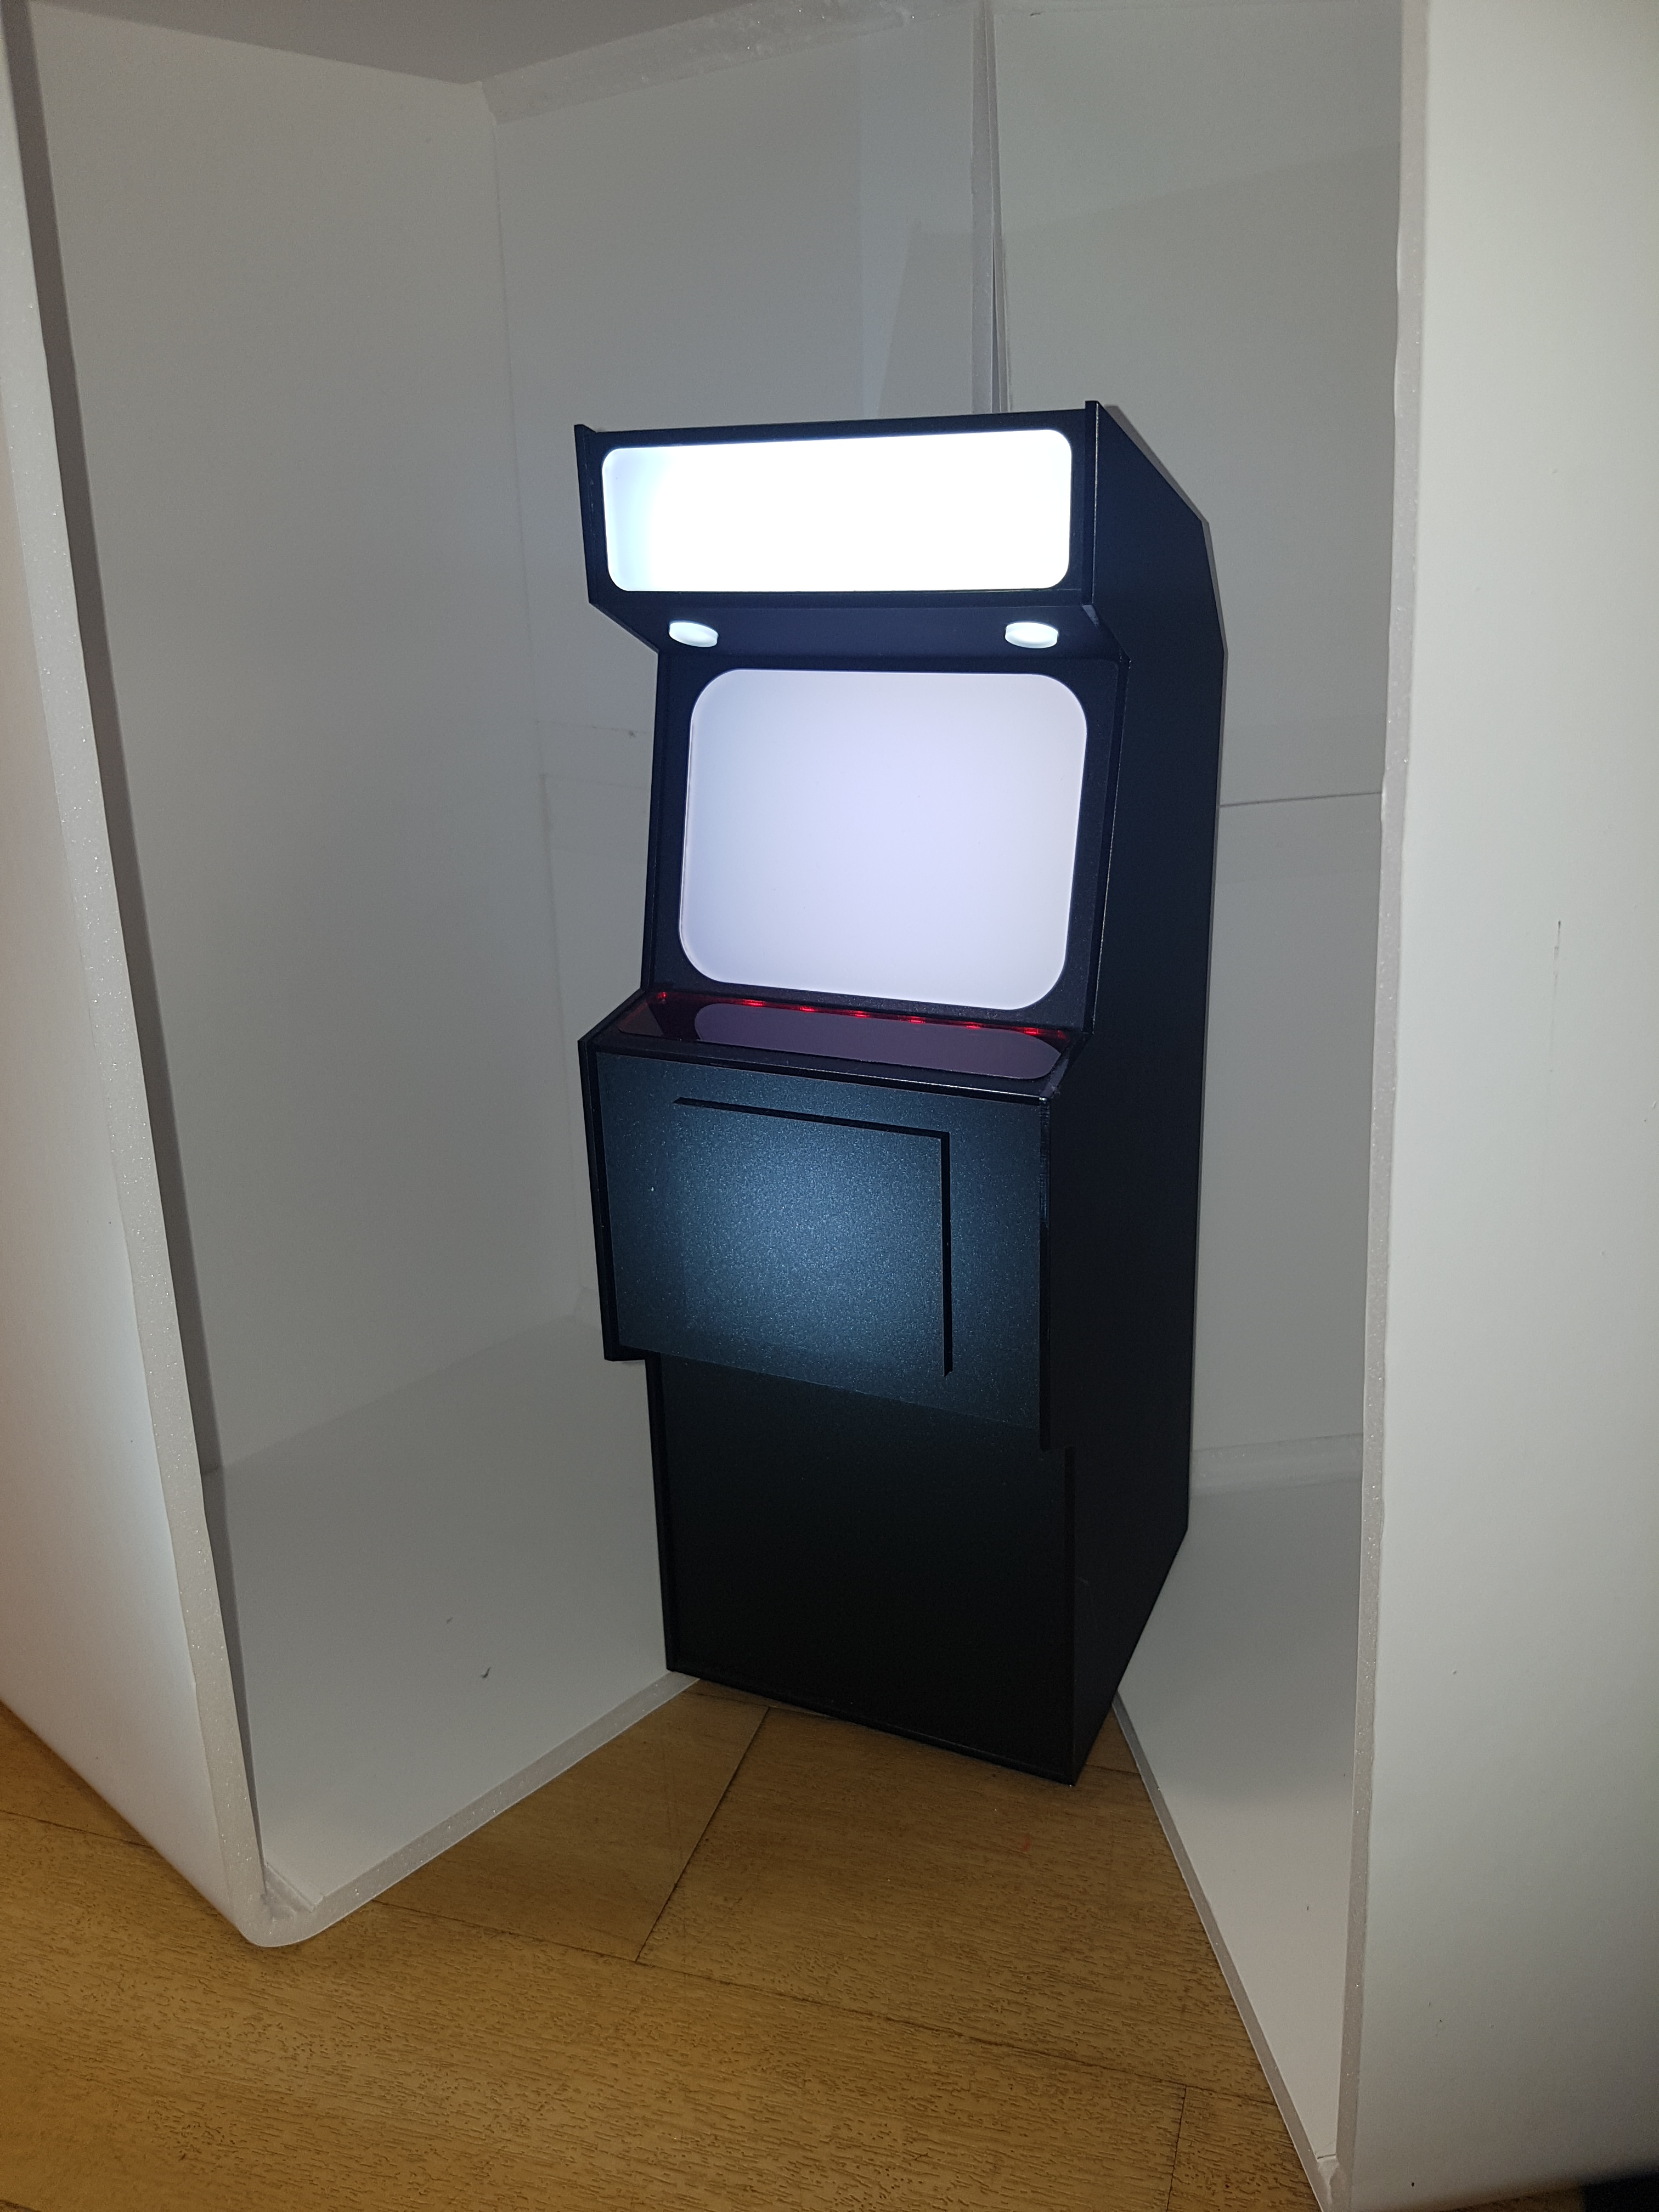 |
| Scale Model | Scale Model |
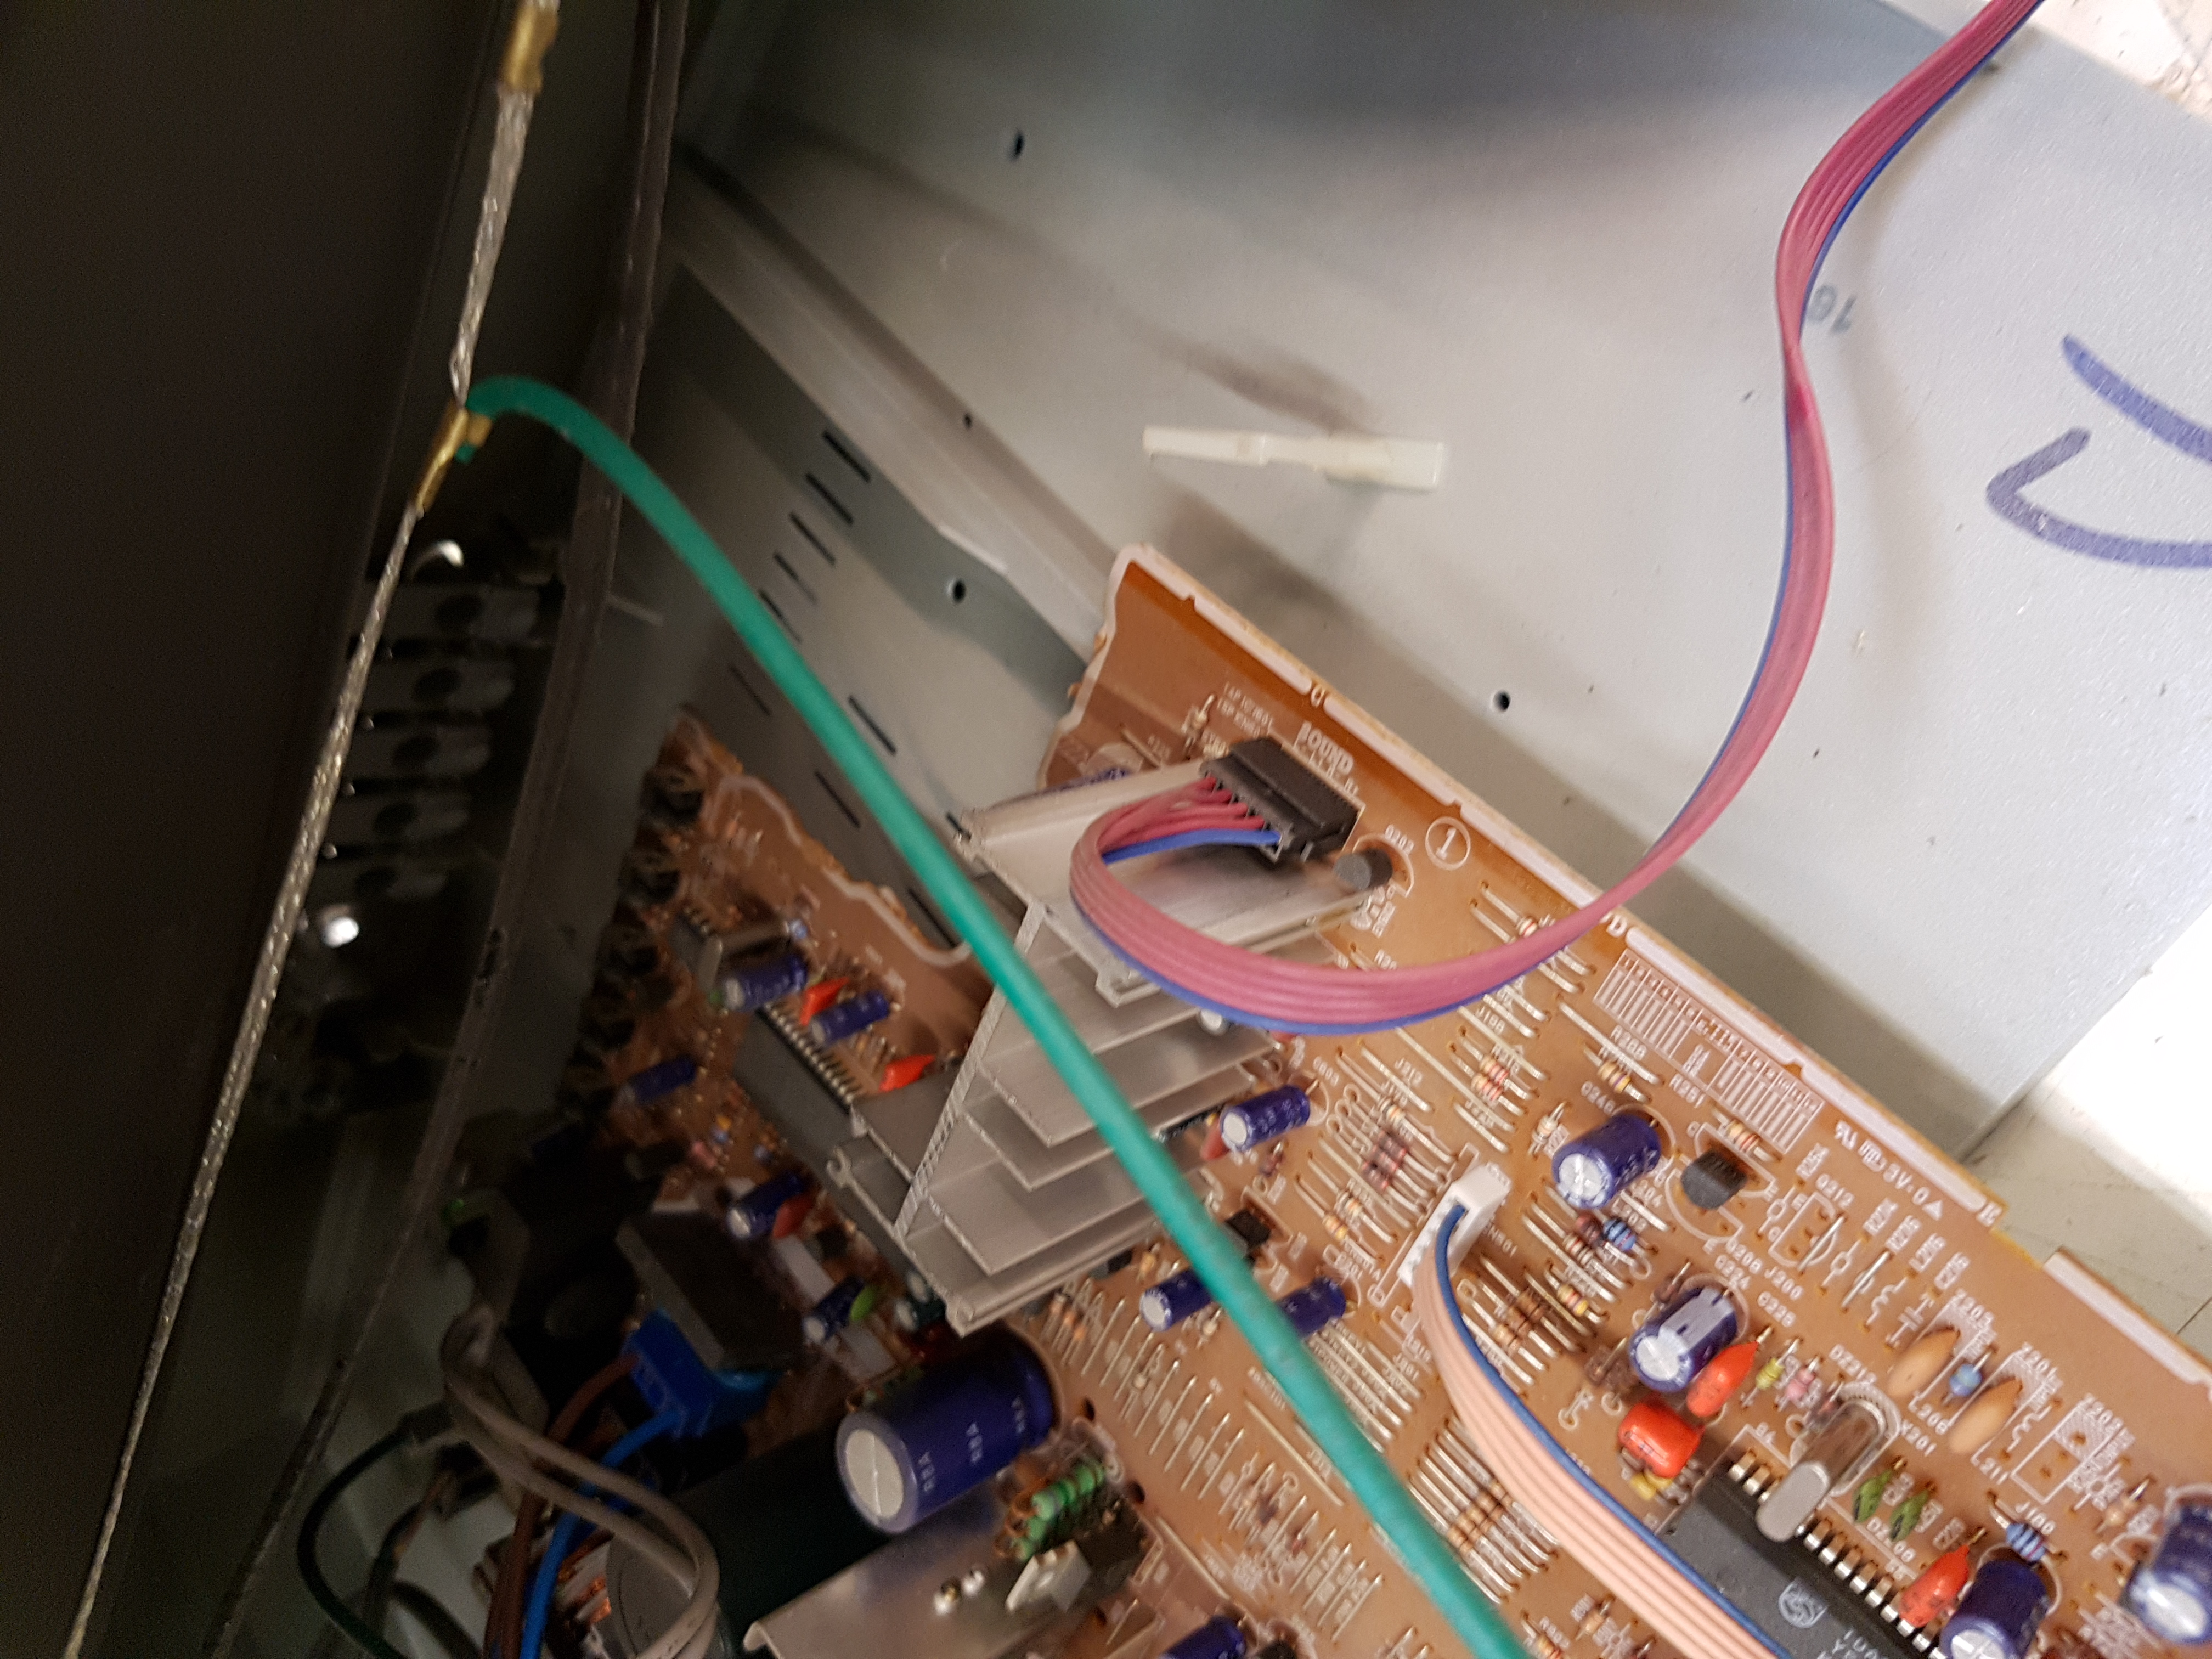
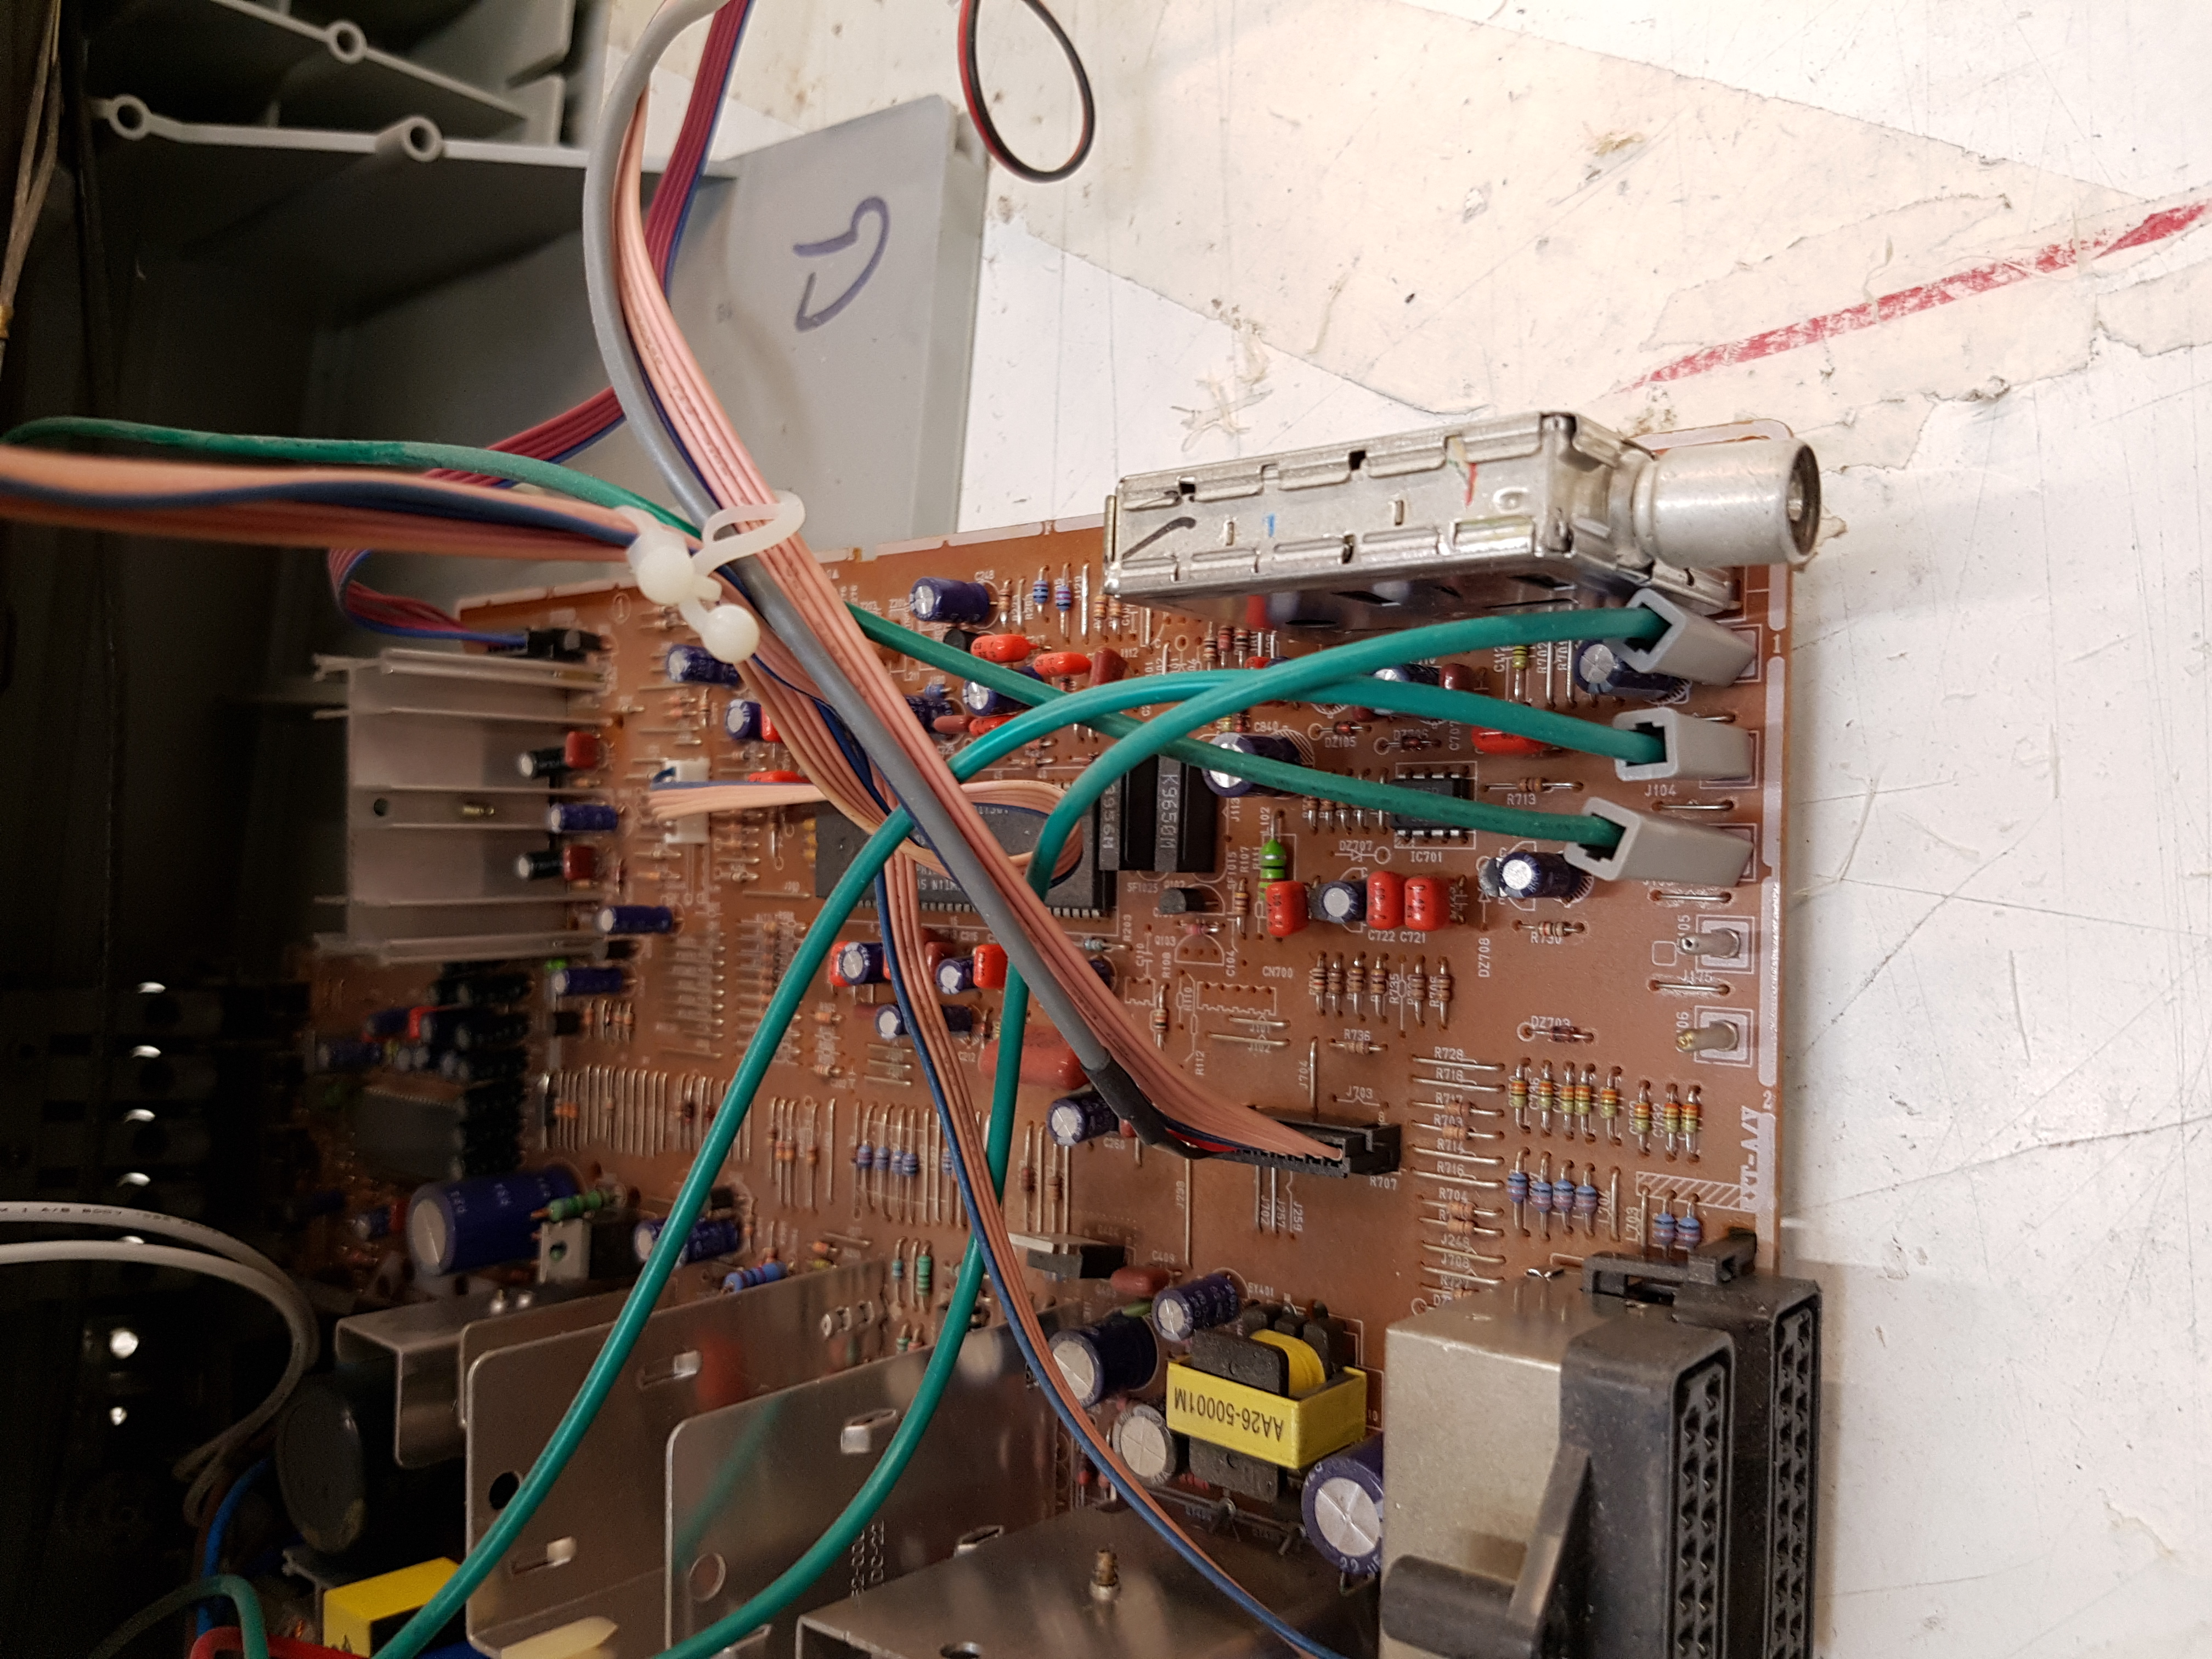
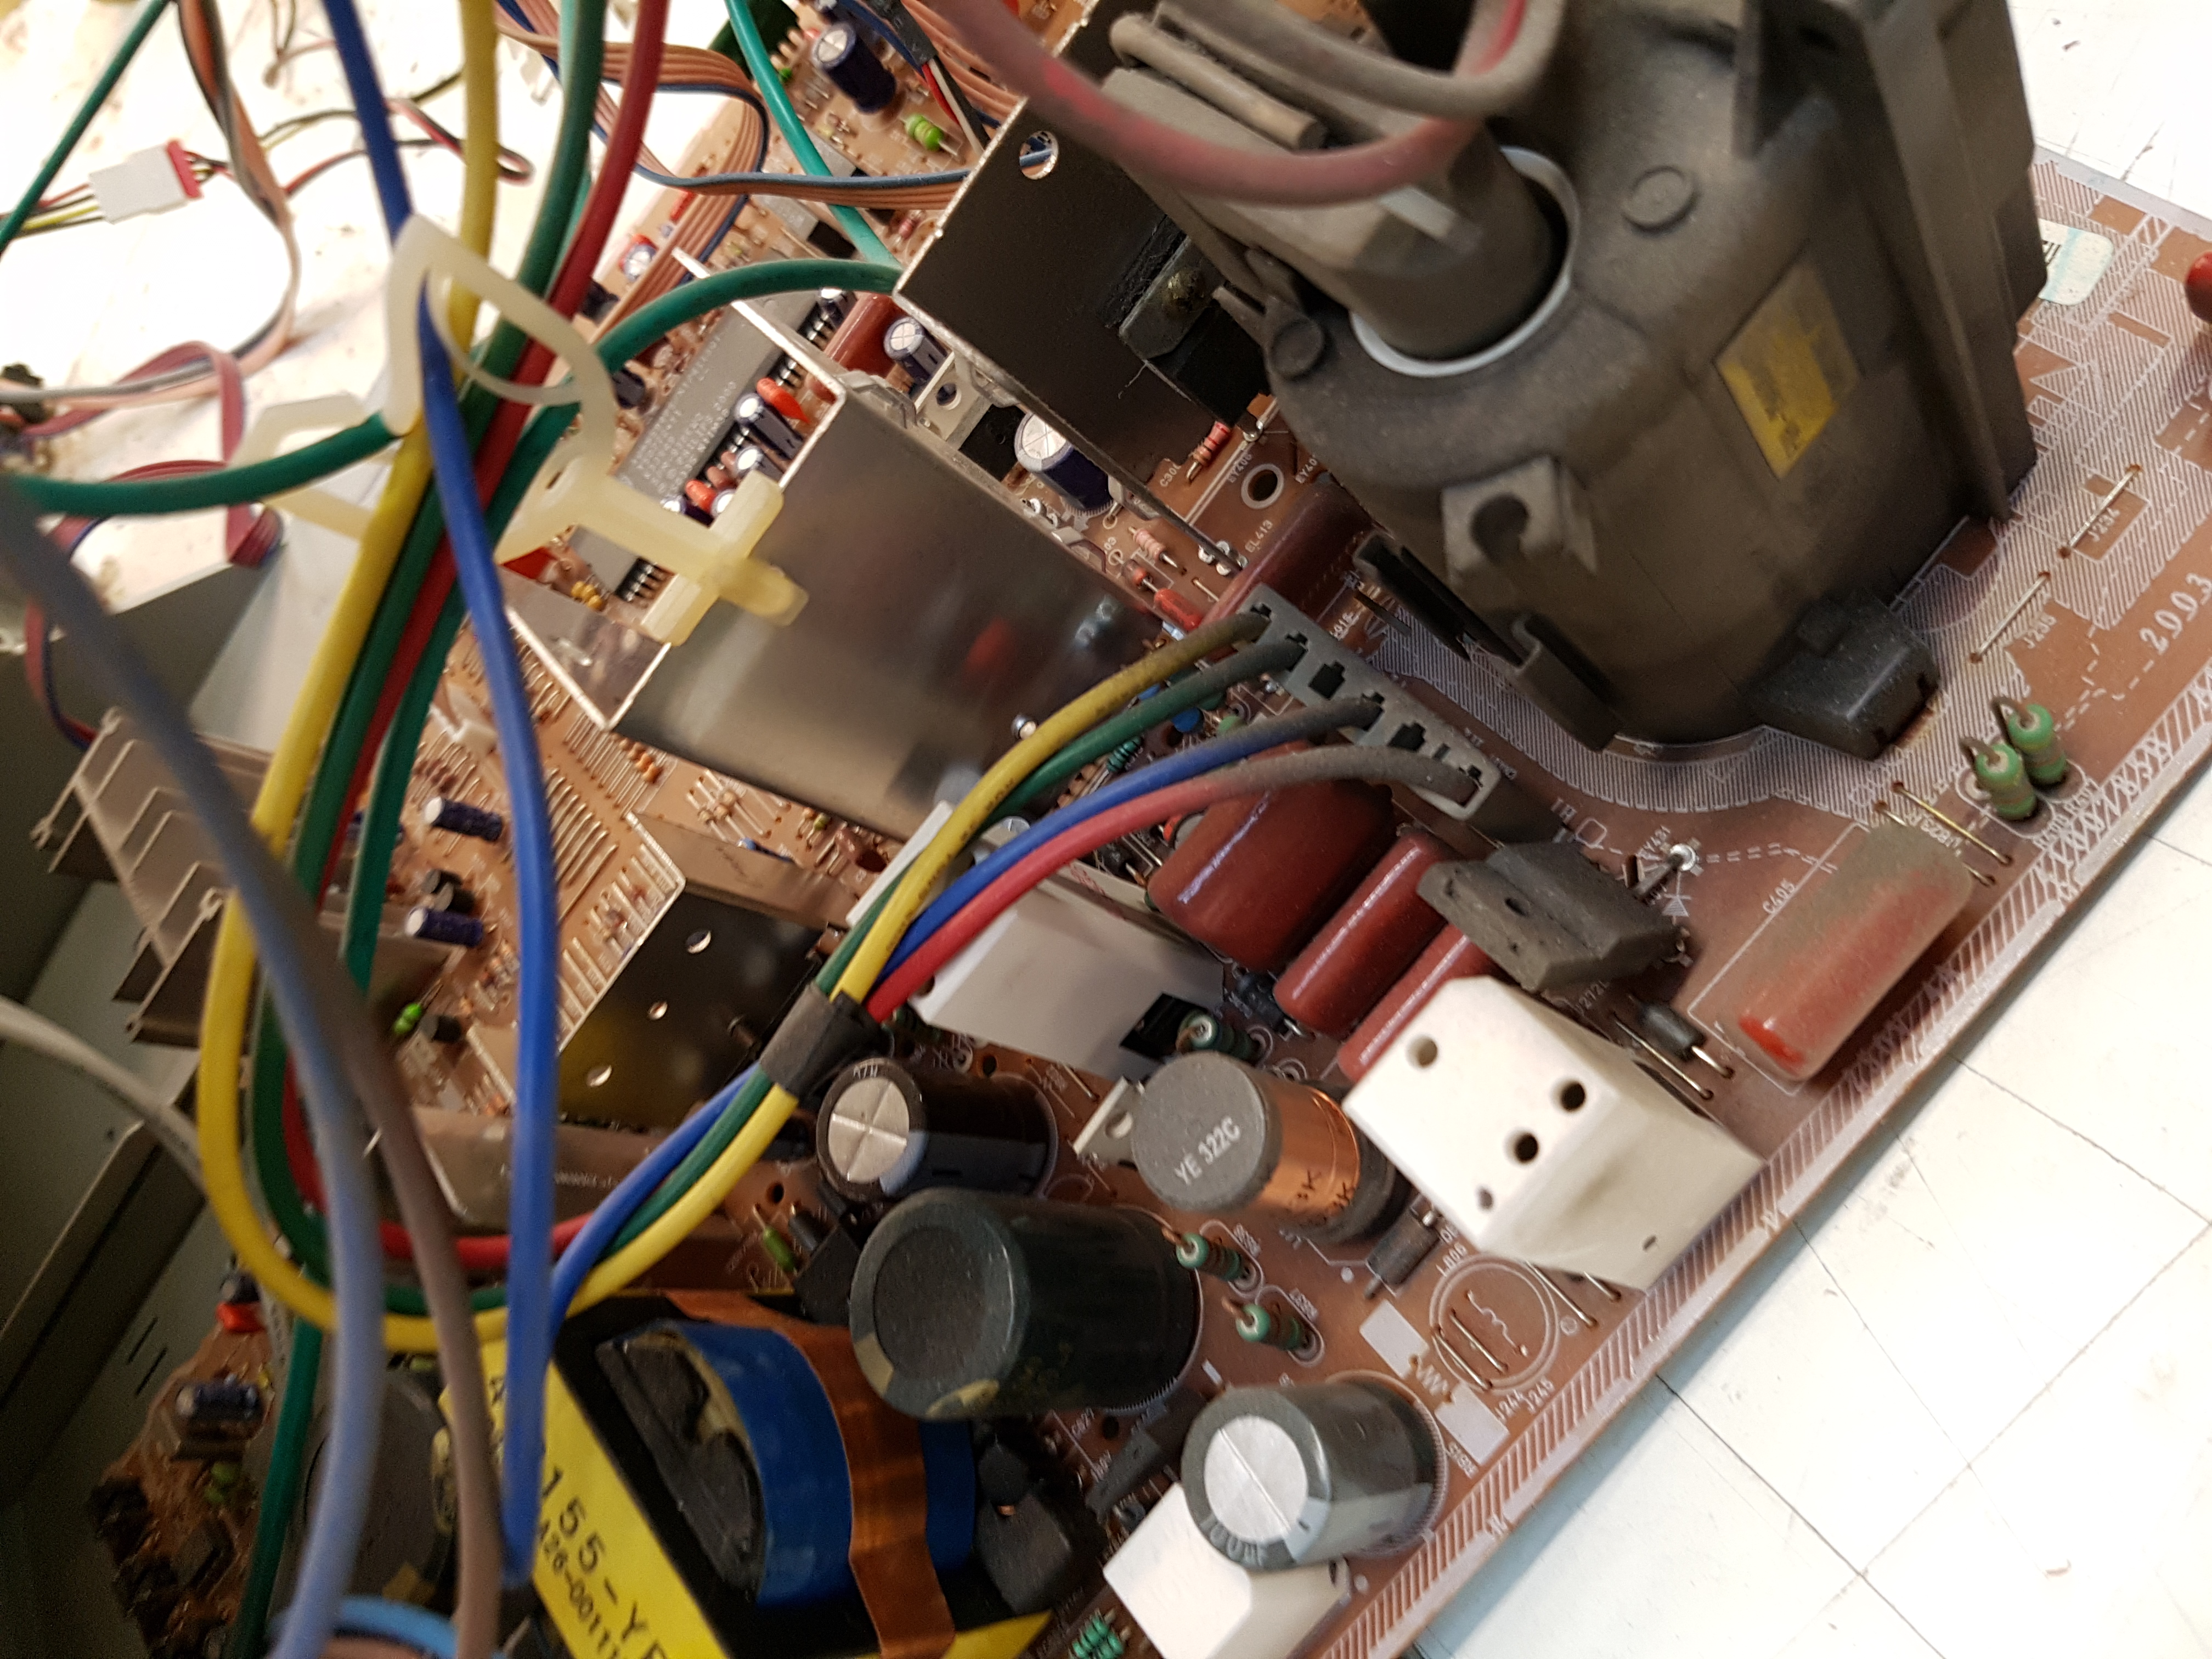
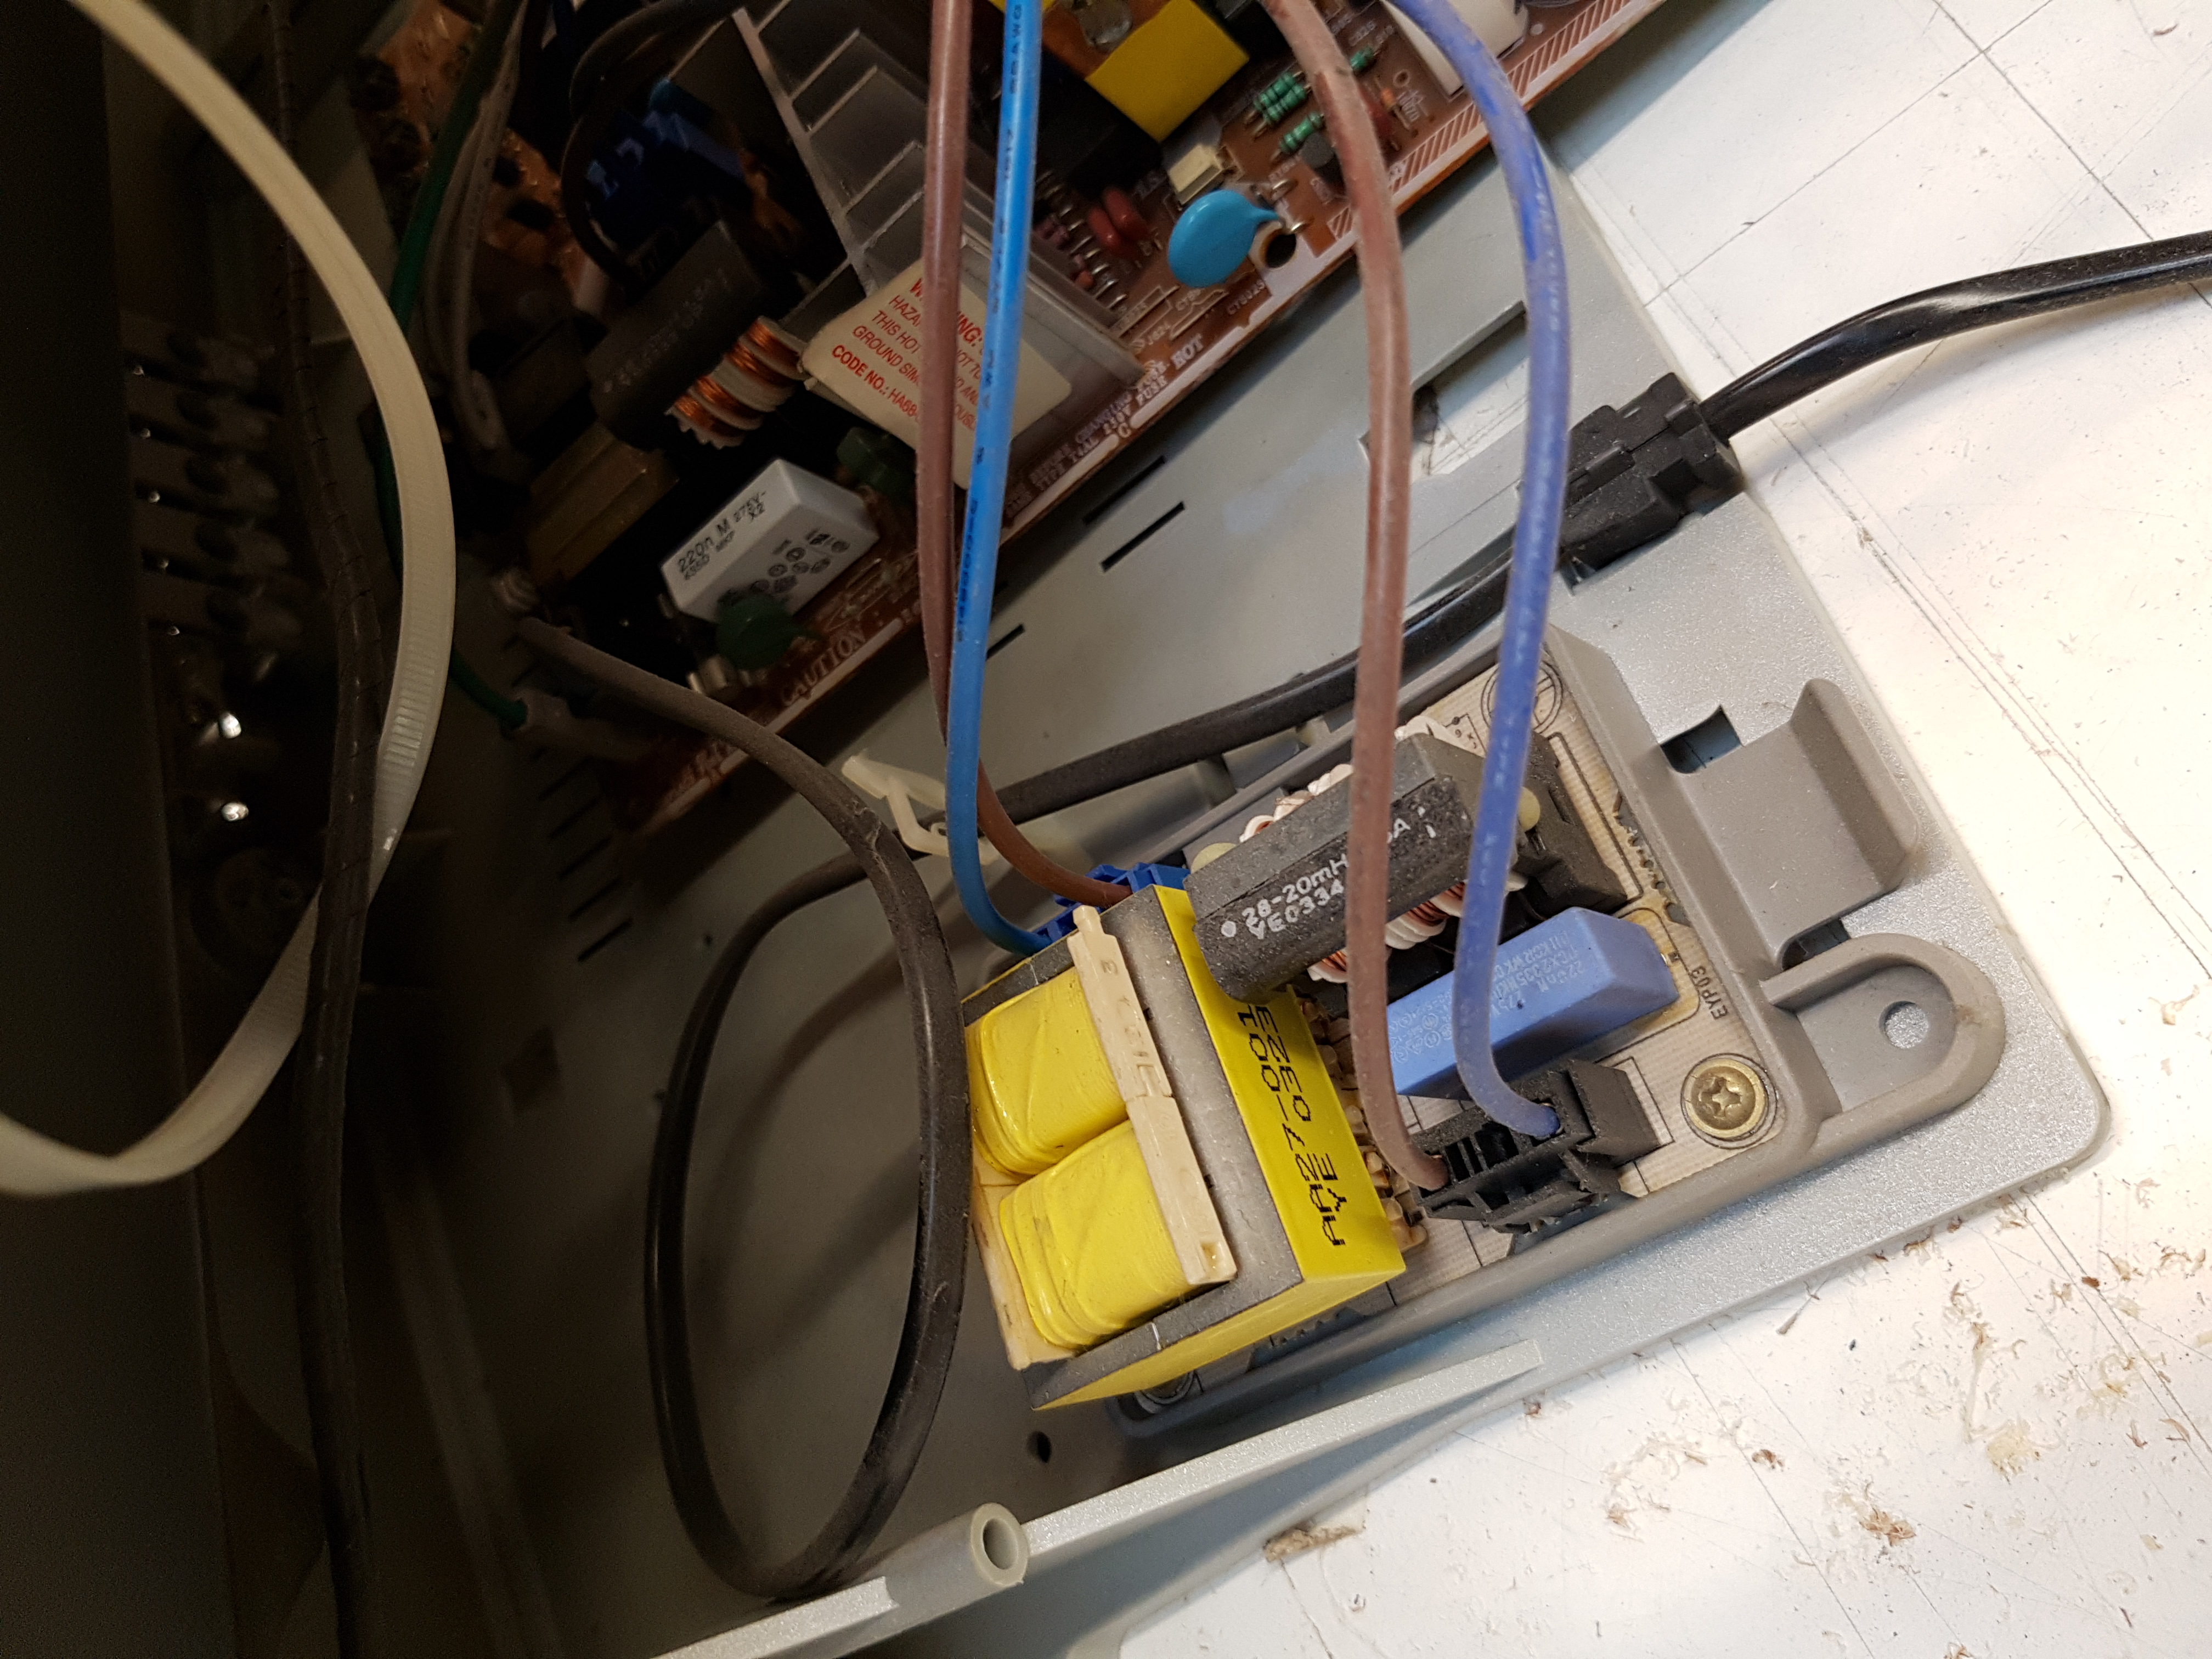
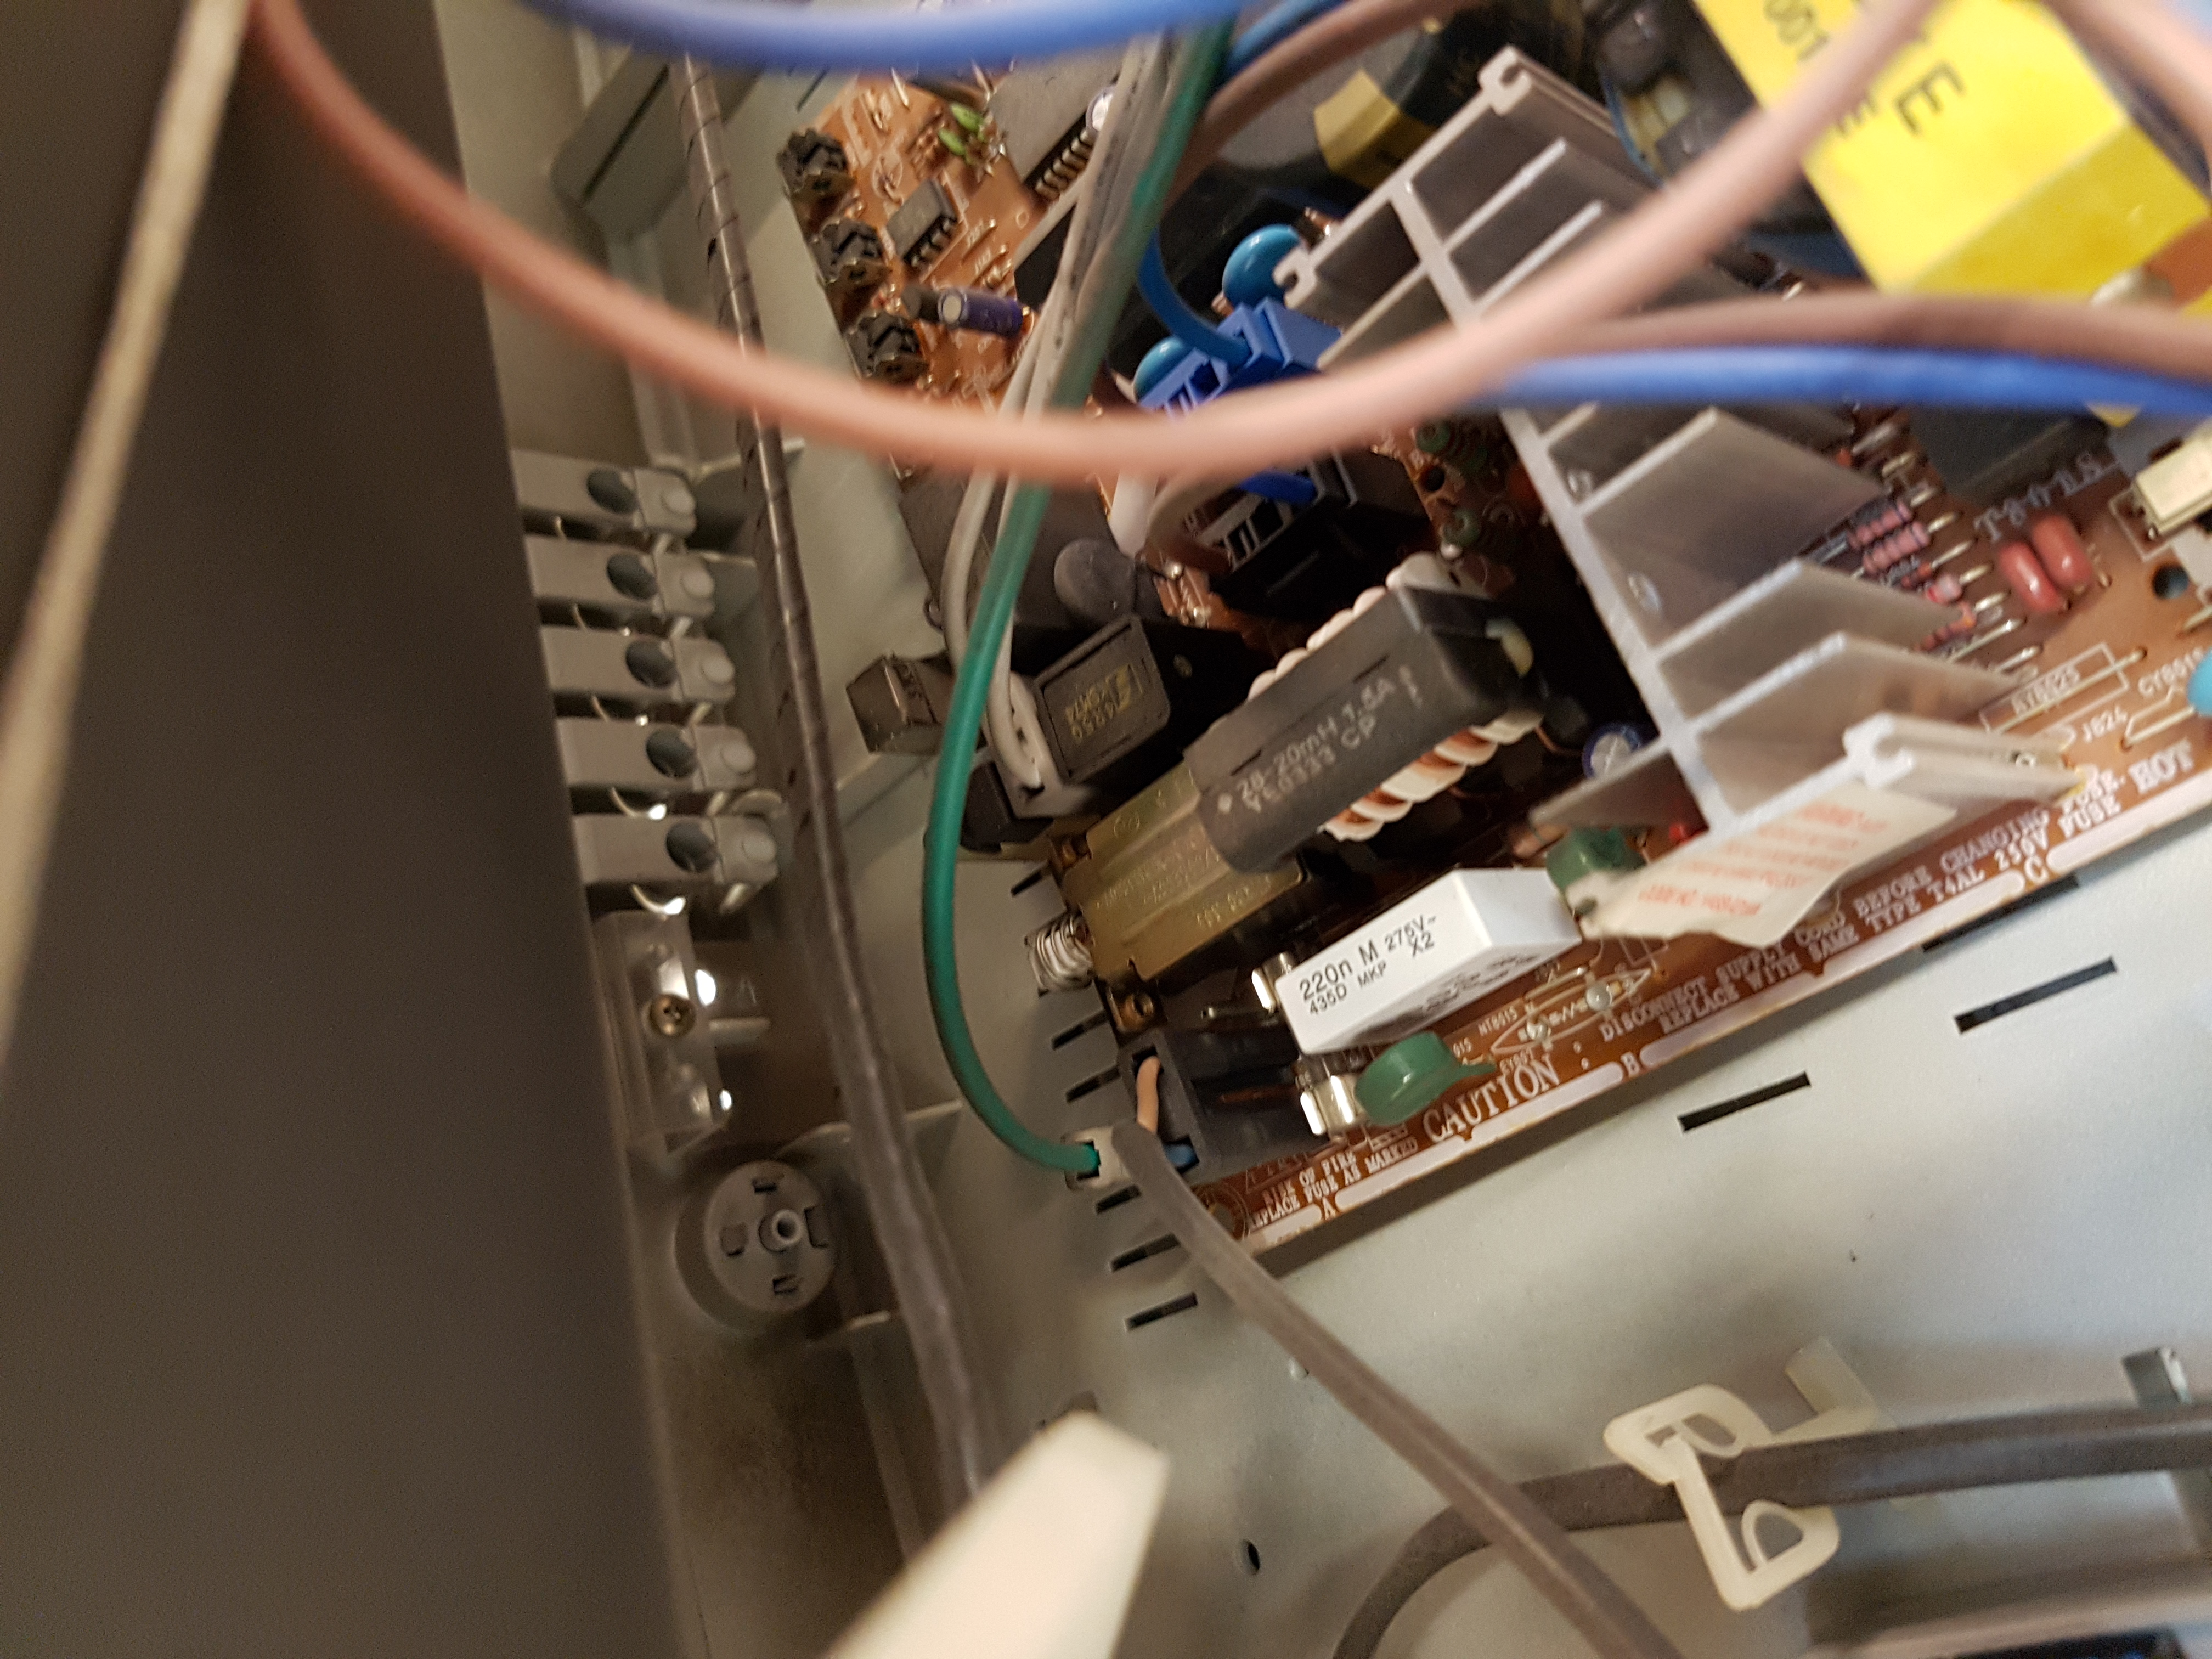
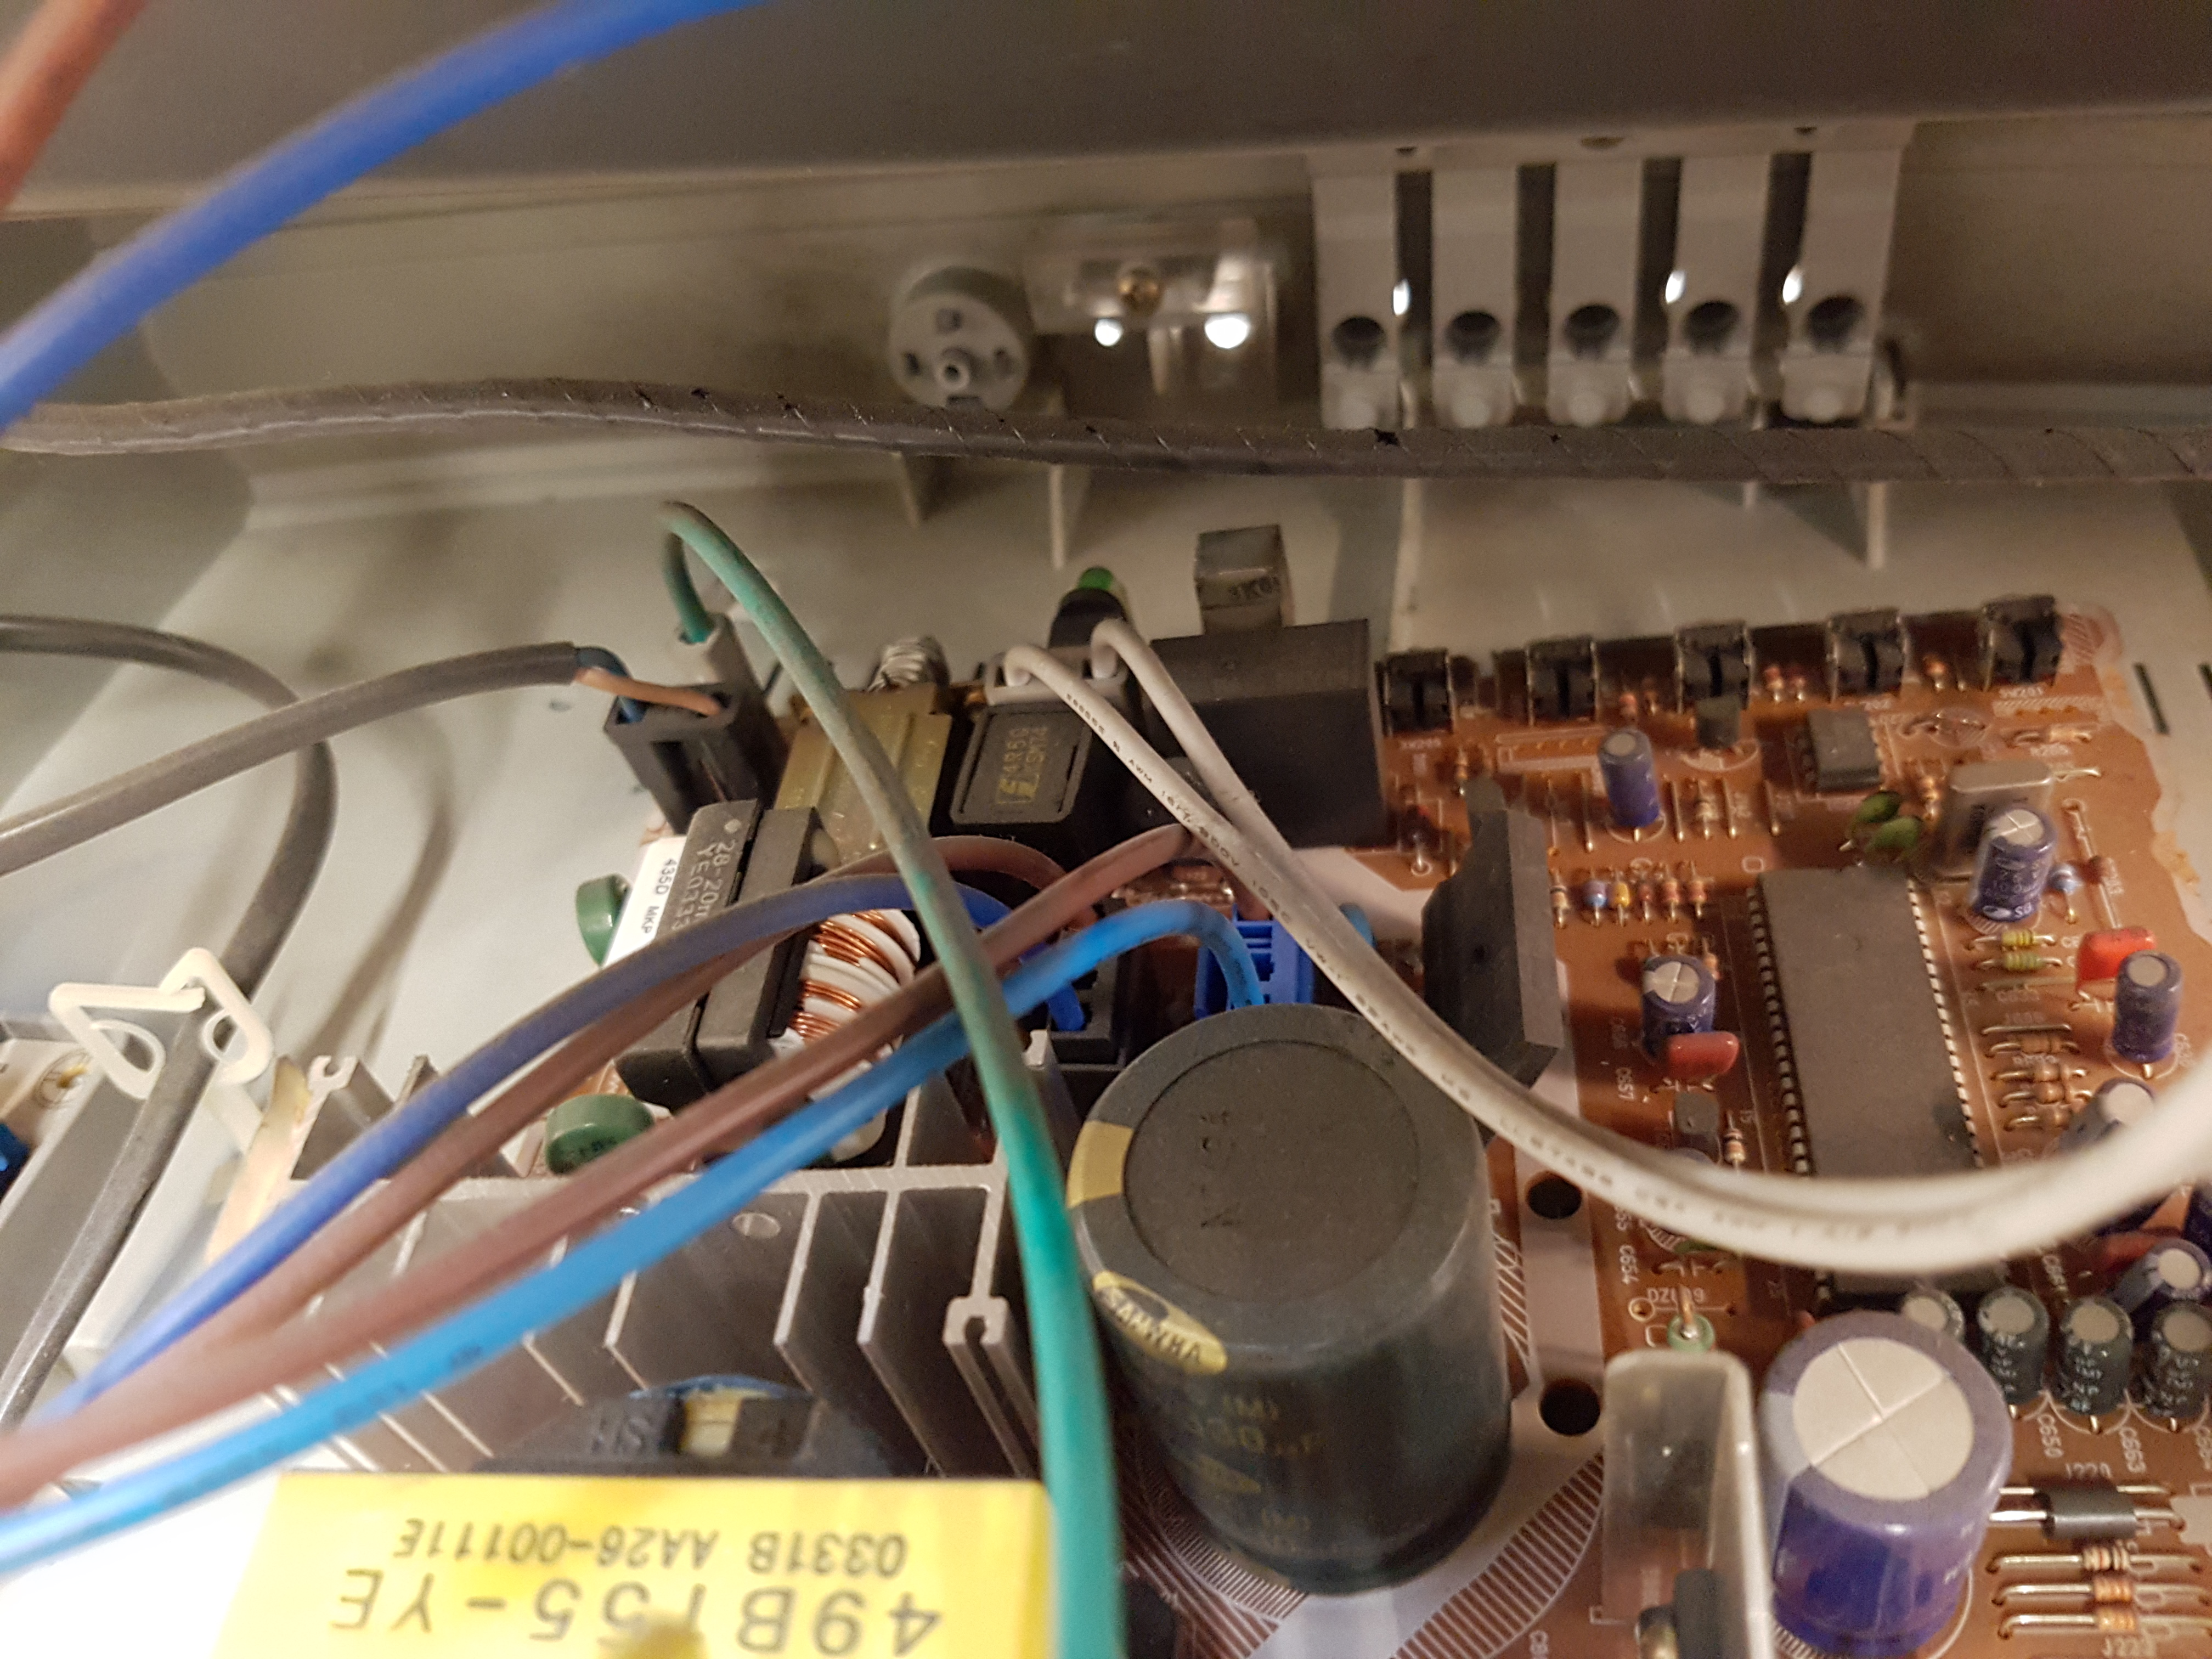
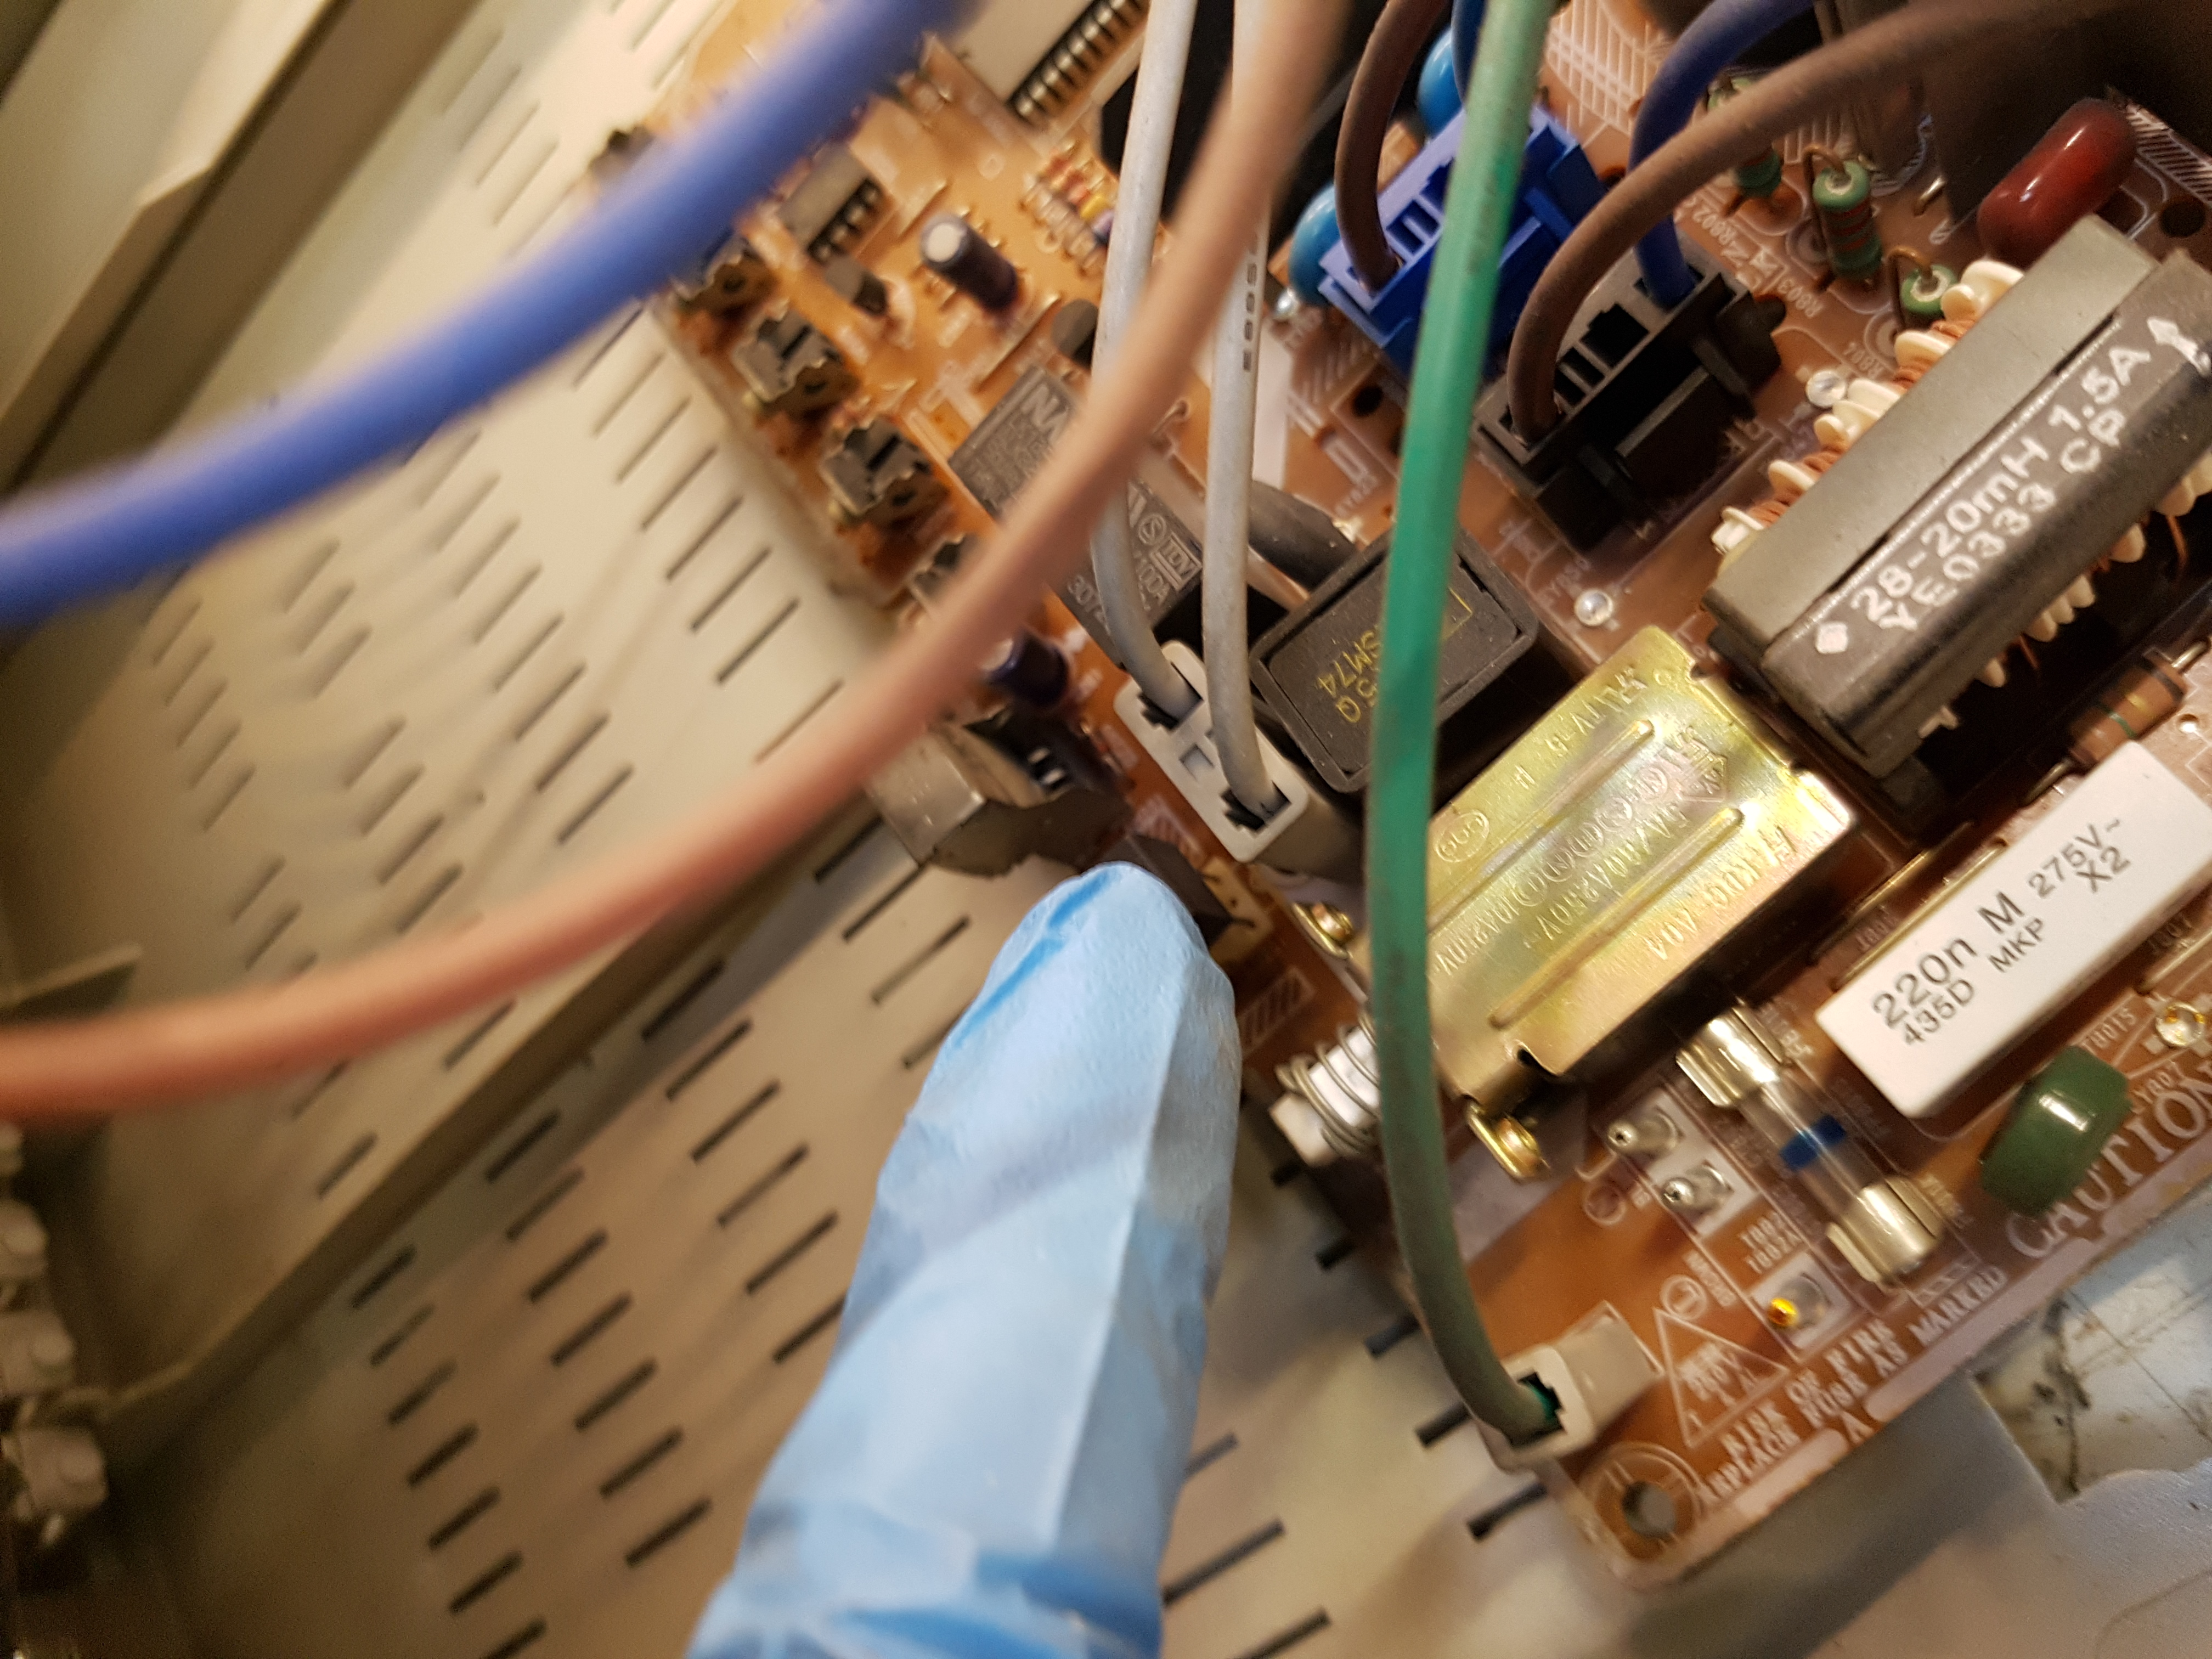
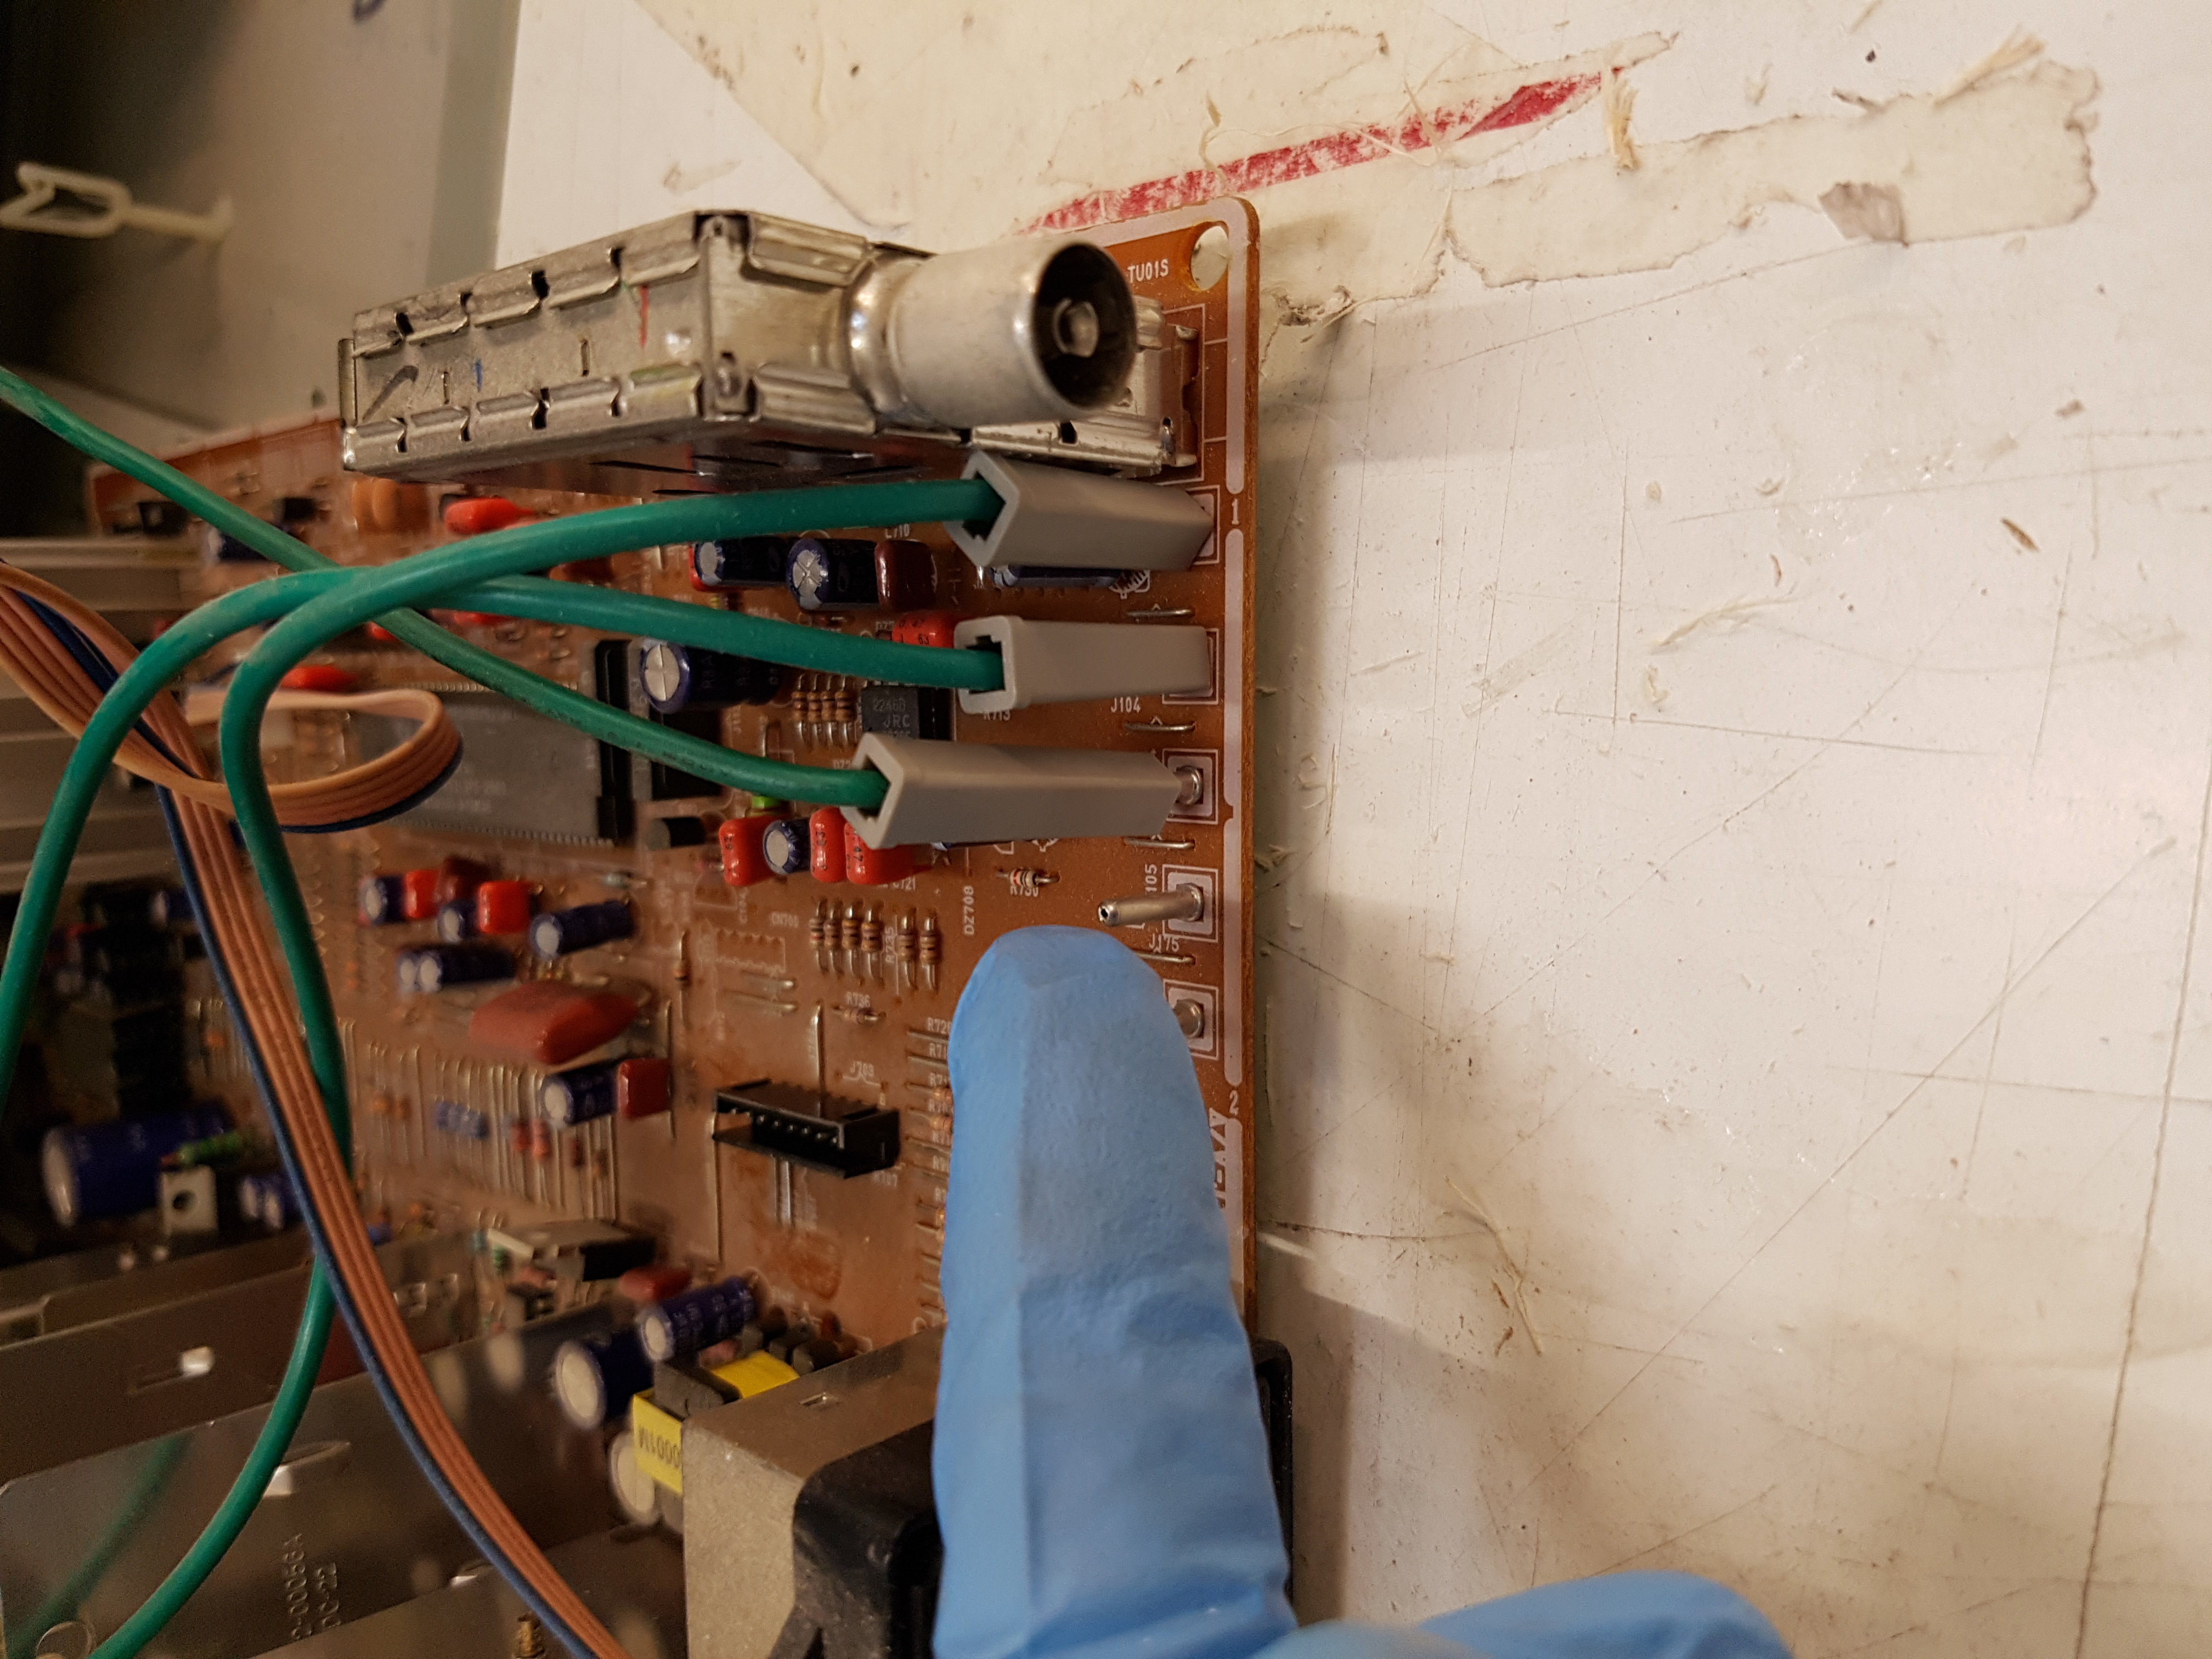
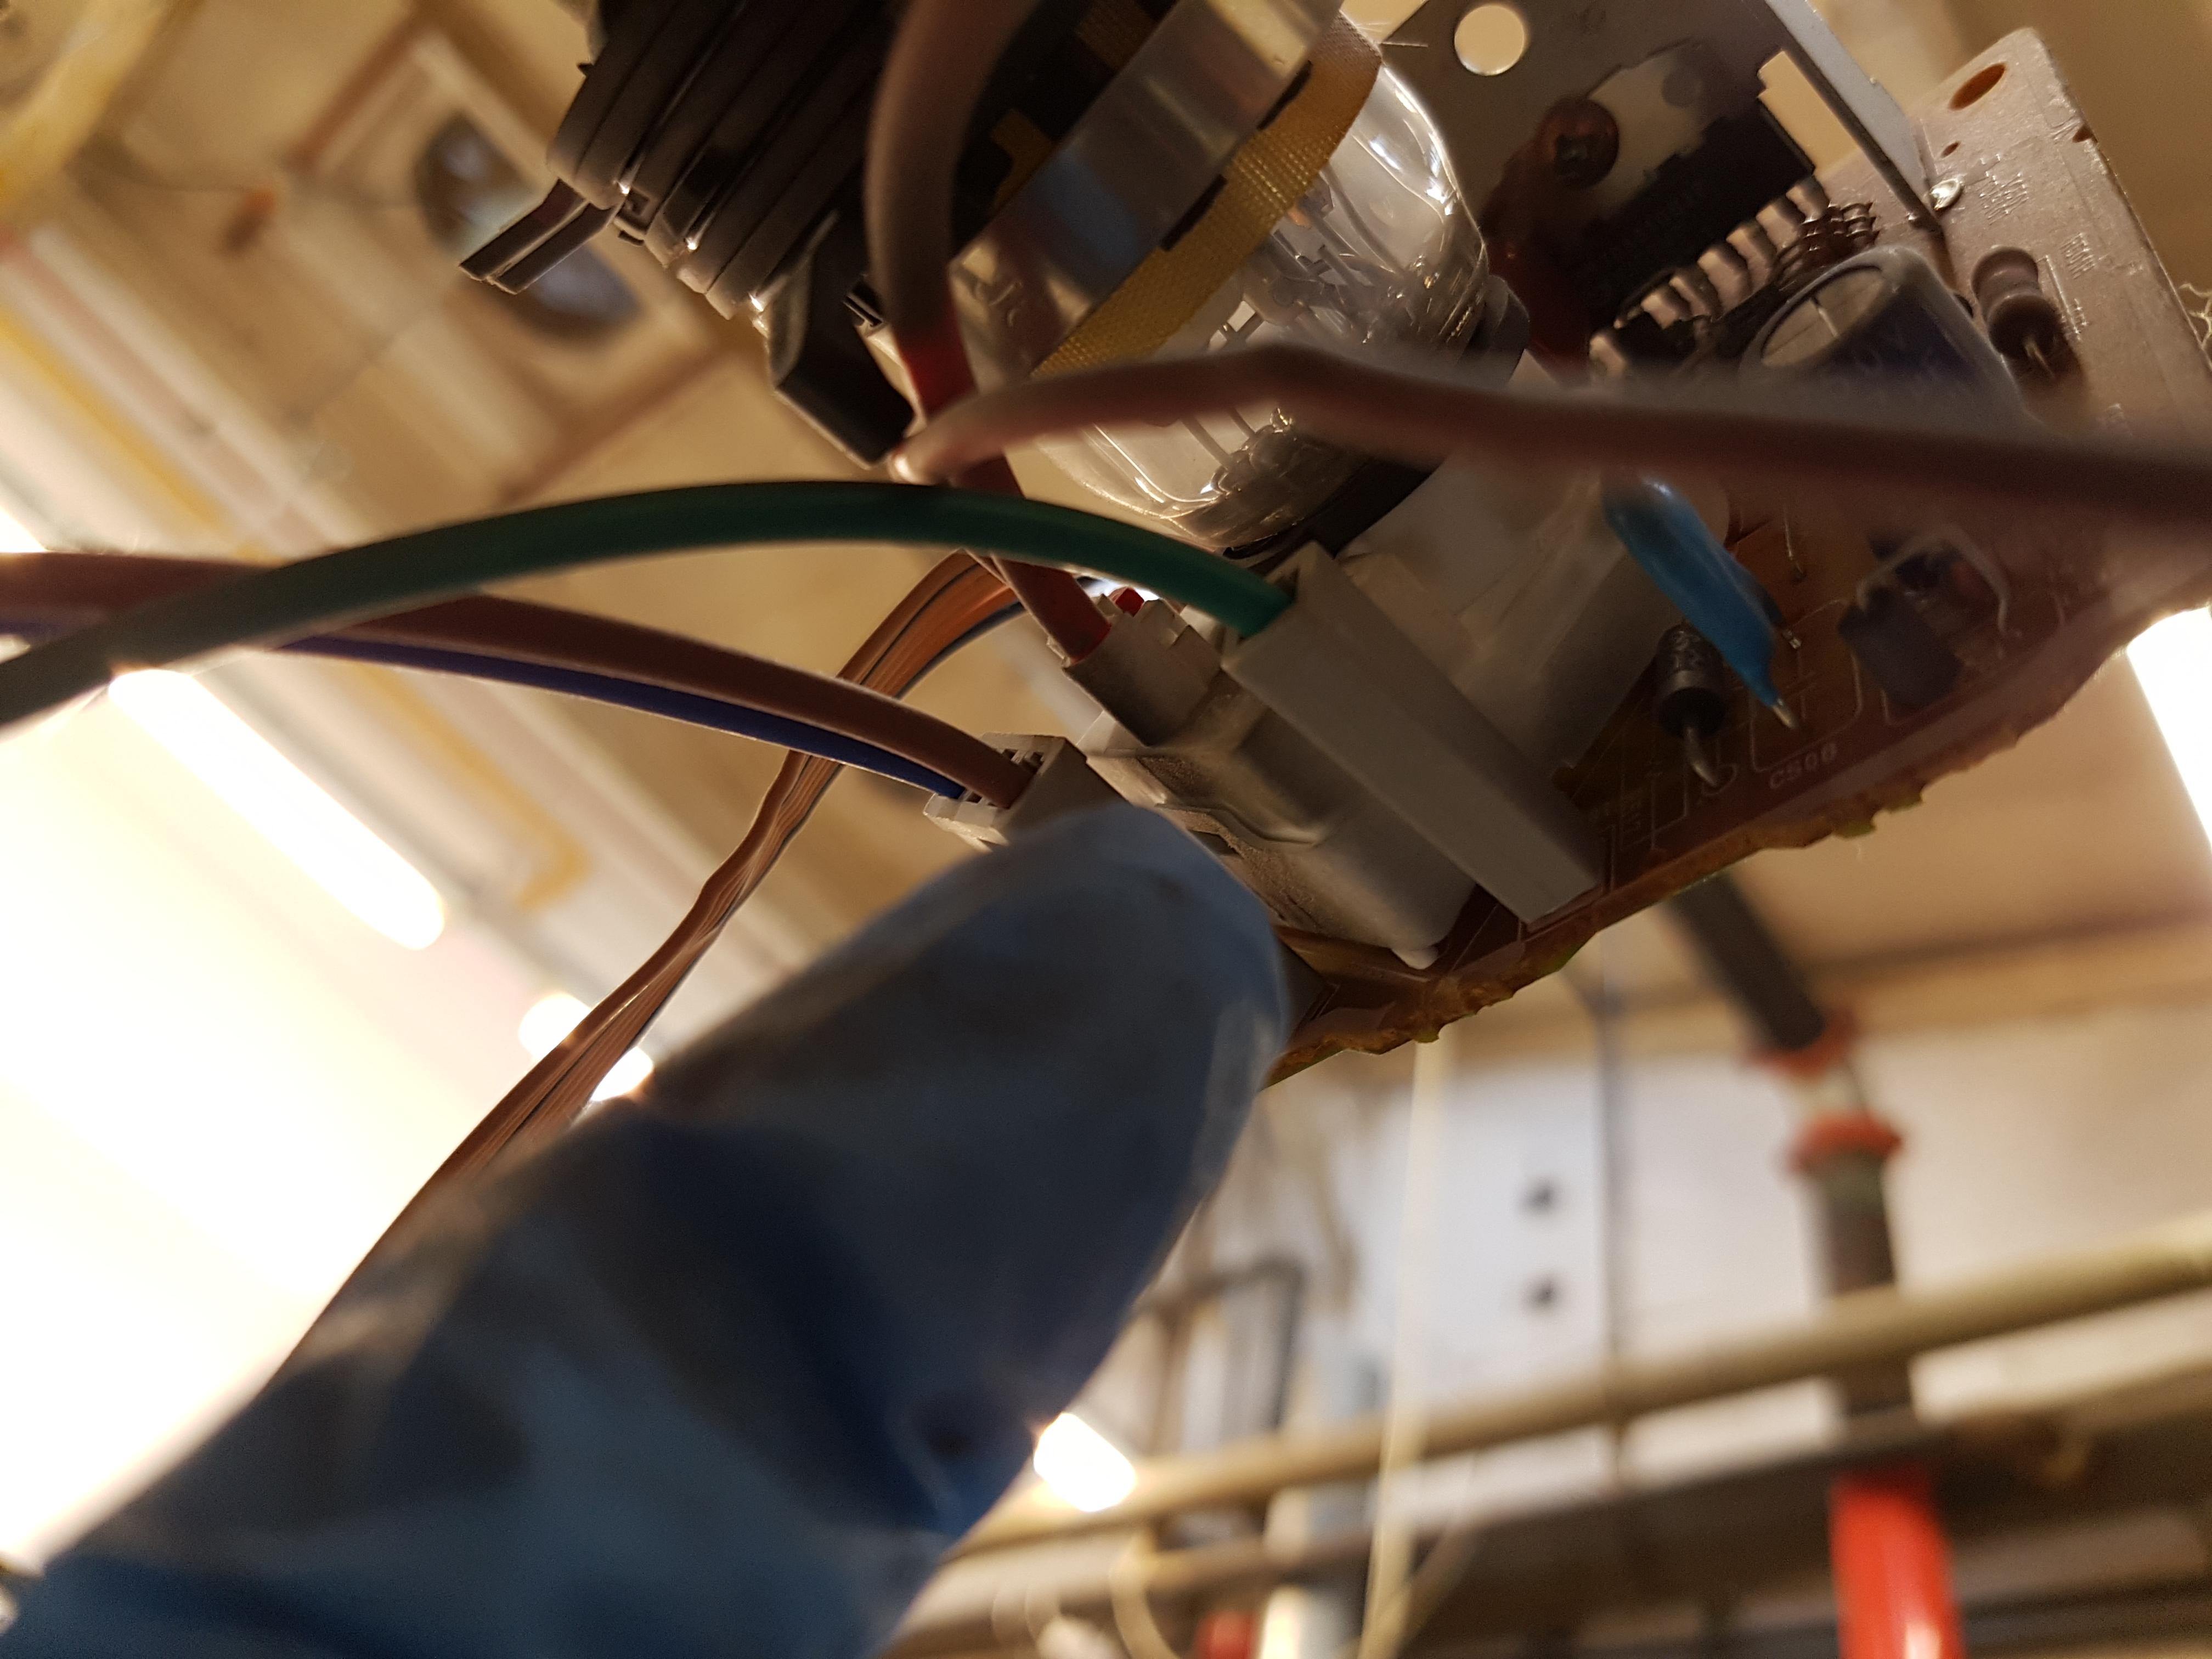
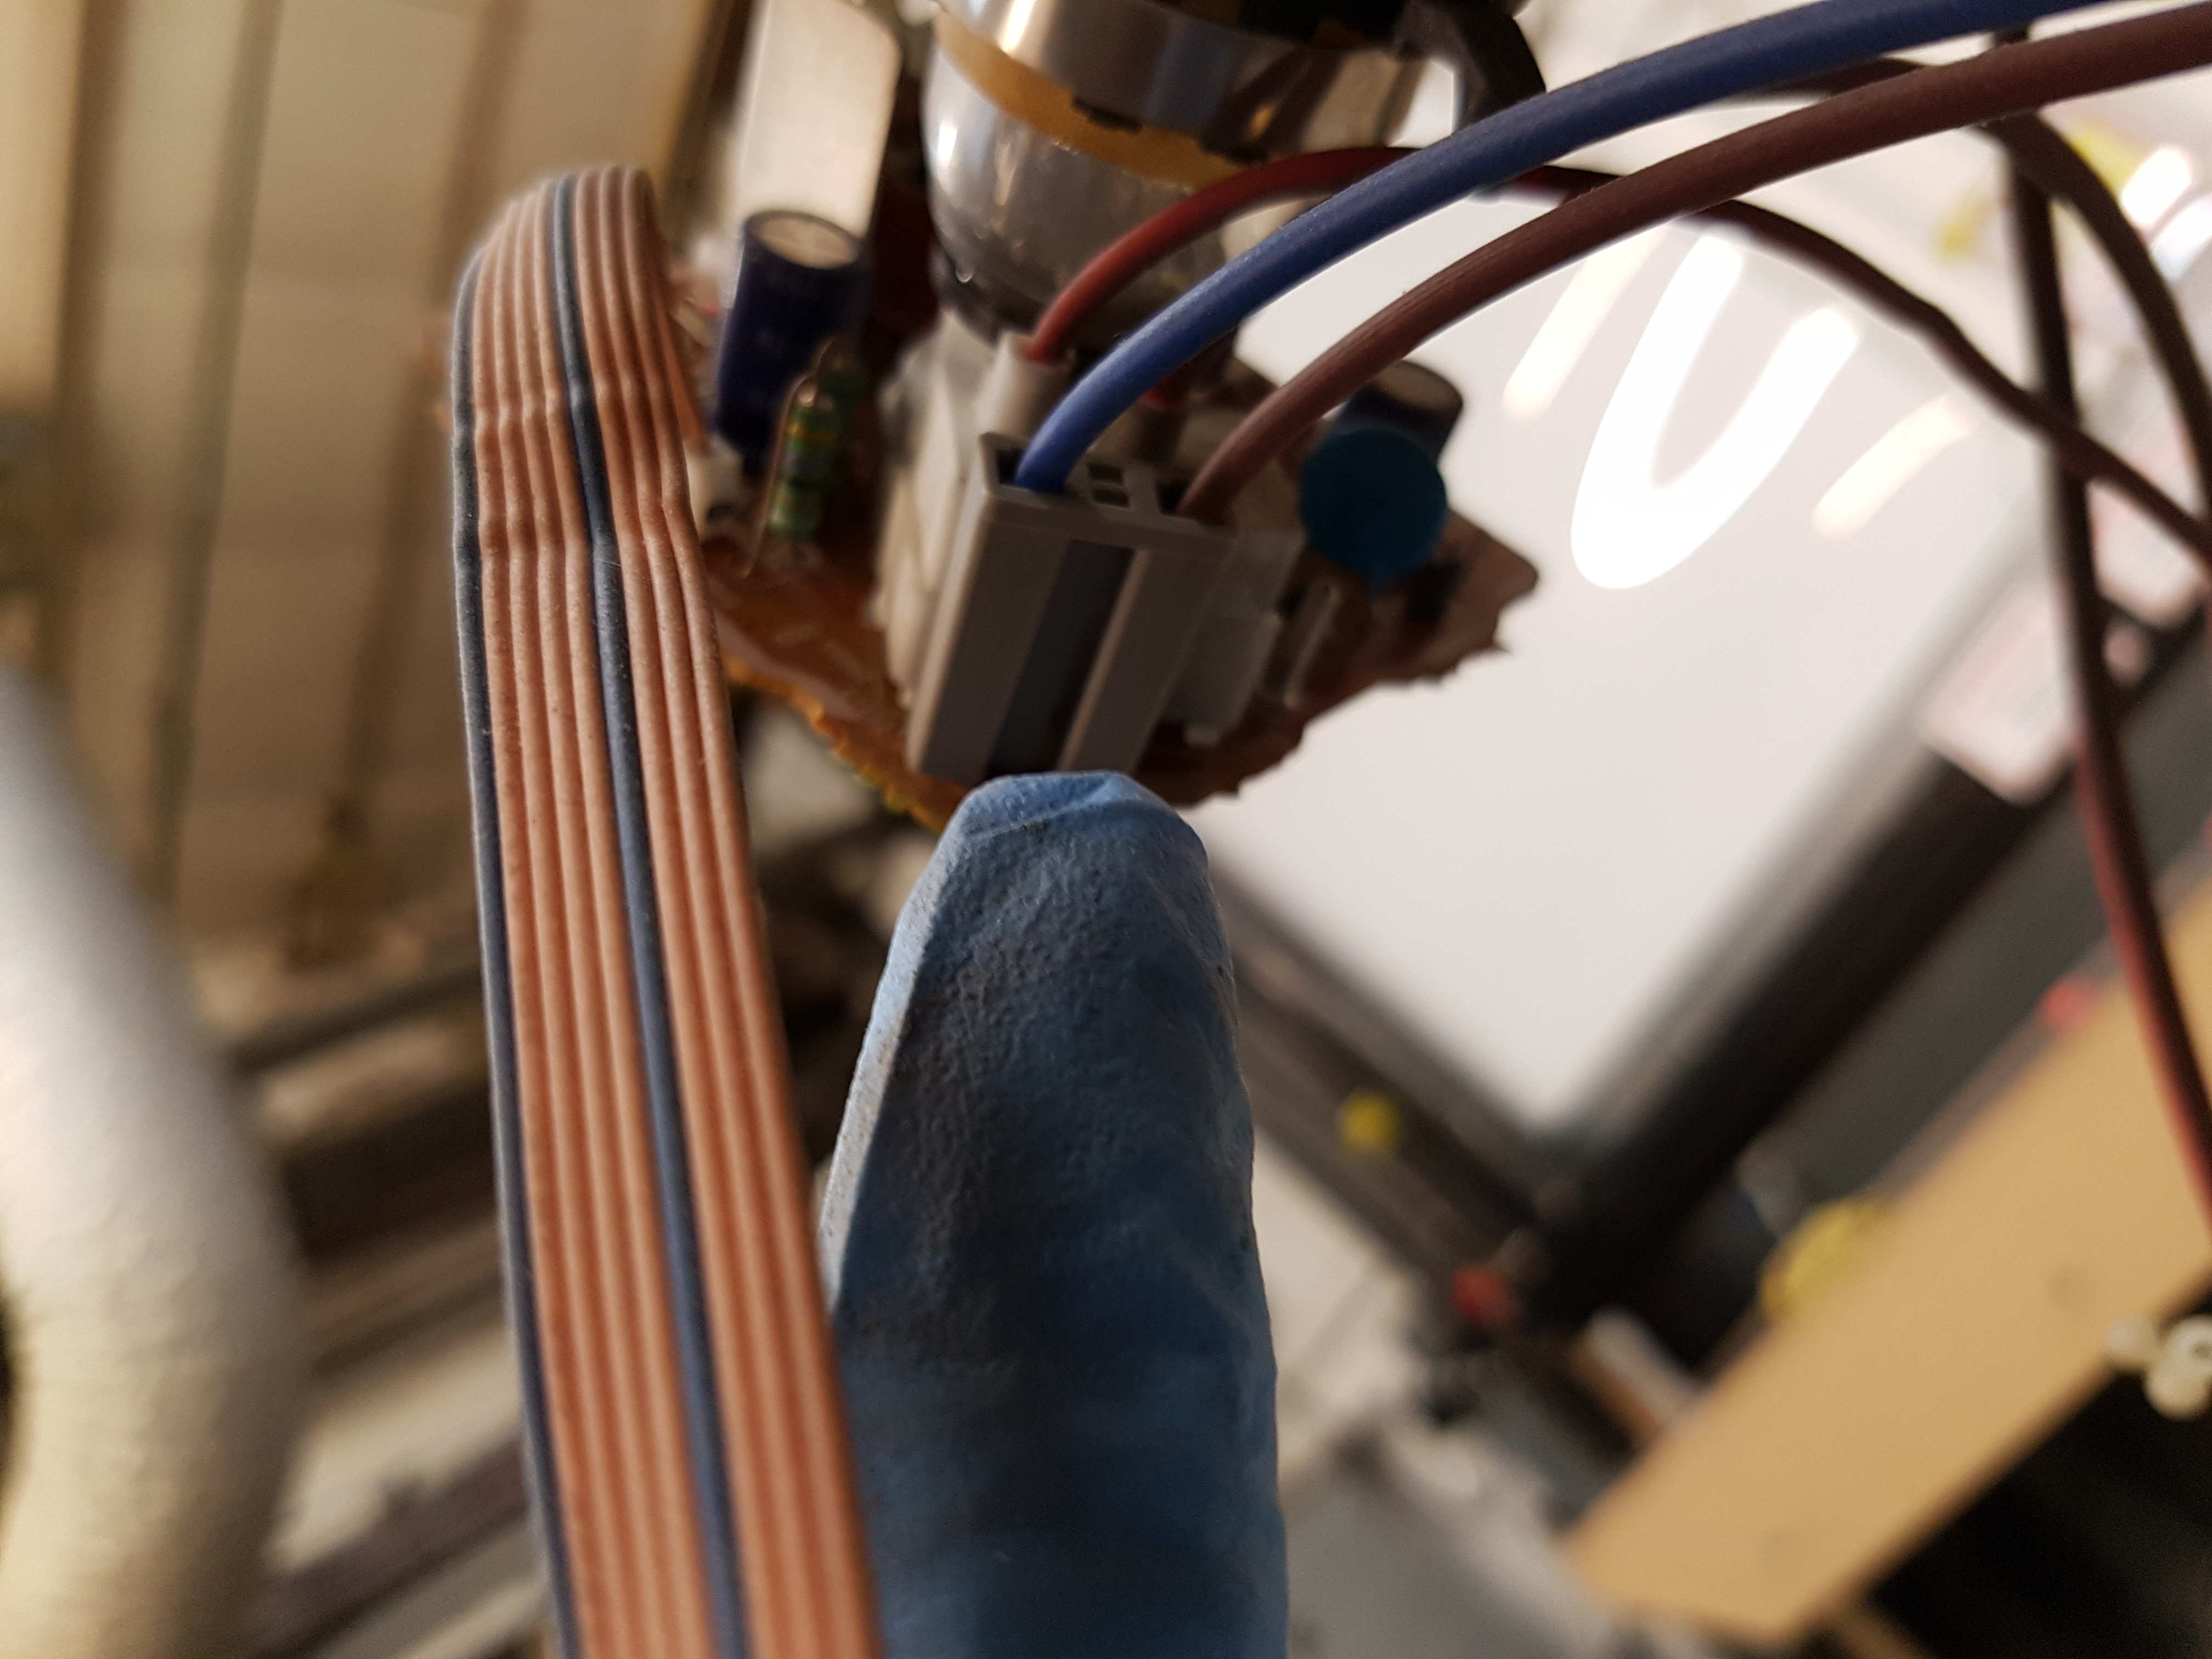
The screen is an old Sony CRT TV, which happened to be exactly the right size and aspect ratio. This was picked up and had the casing removed before the model was finished, to ensure a perfect fit. The TV is mounted in landscape orientation. Currently the procedure for turning the machine on includes turning the TV on and then selecting the Component input channel. In the future, it would be nice to have this all handled by the Pi. The Pi talks to the TV using a HDMI to Component converter box. The picture is not great, but it is sufficient; the power consumption of the screen, however, is awful - ~70W in standby and over 100W in use.
 |
 |
 |
 |
 |
 |
 |
 |
 |
 |
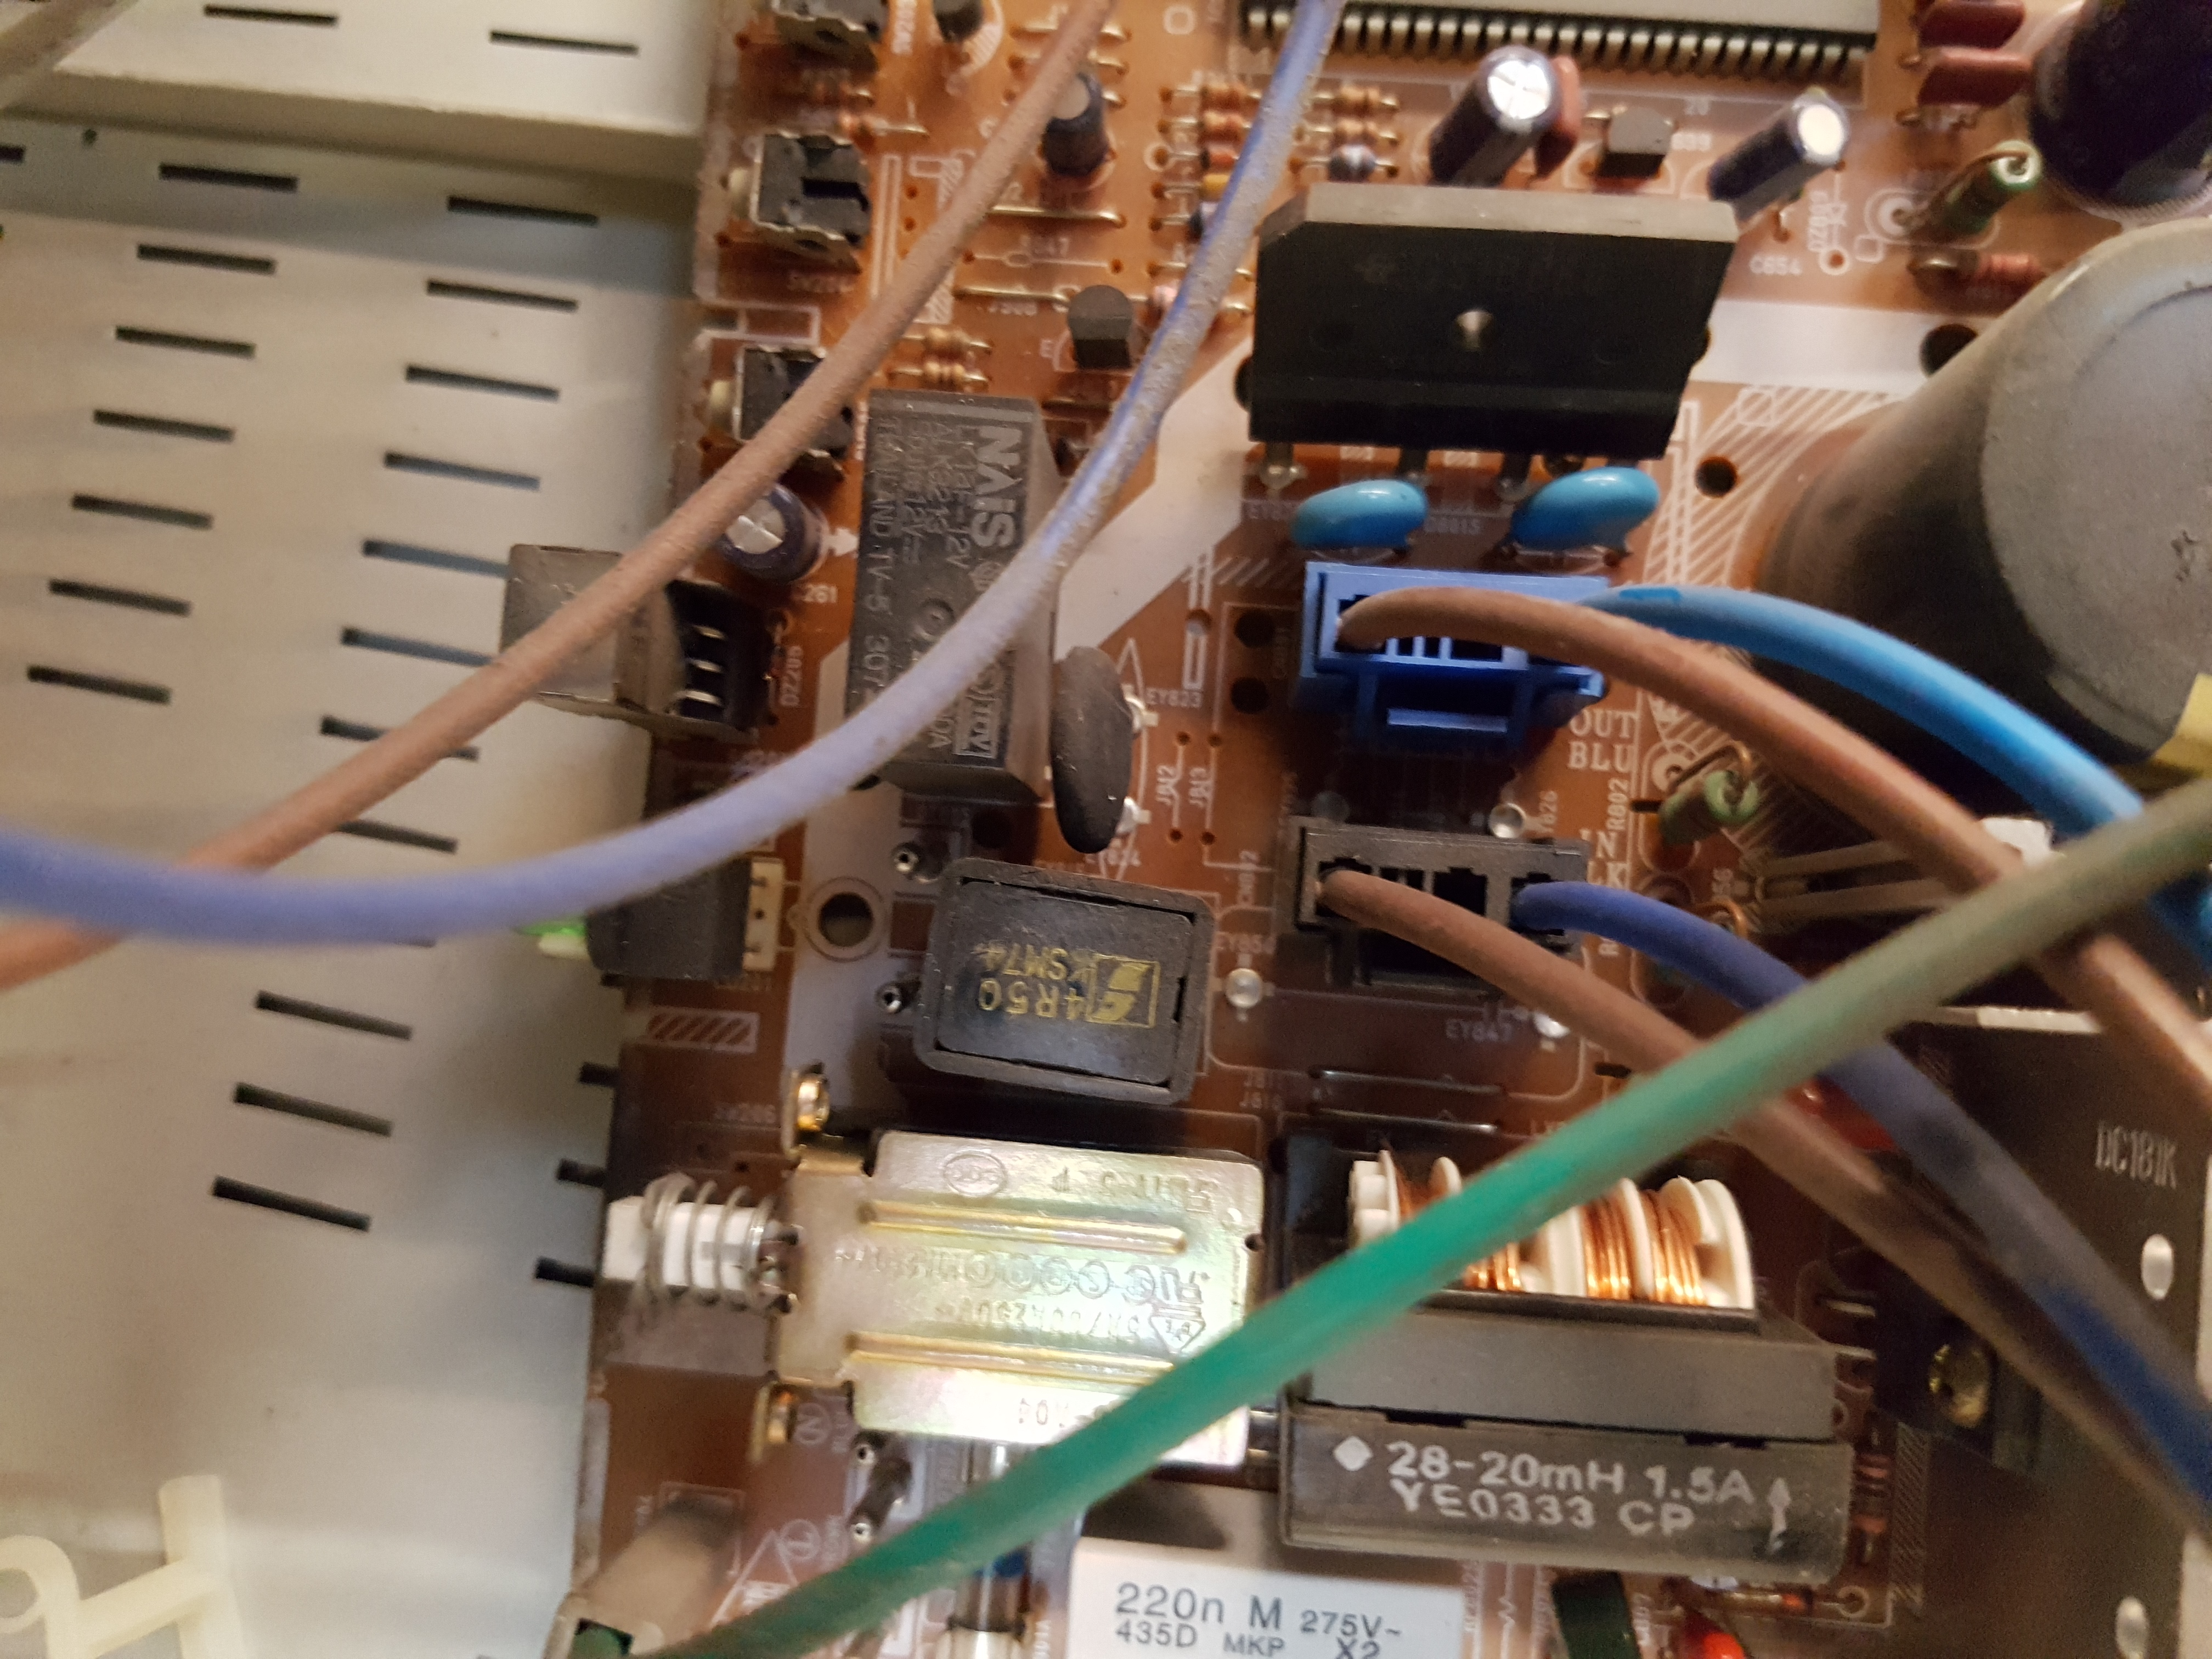 |
| Sony TV Wiring | Sony TV Wiring | Sony TV Wiring | Sony TV Wiring | Sony TV Wiring | Sony TV Wiring | Sony TV Wiring | Sony TV Wiring | Sony TV Wiring | Sony TV Wiring | Sony TV Wiring |
The audio goes through the HDMI converter and out to the TV's audio in. The original speakers were replaced with a pair of 7" speakers which were taken out of my car. The TV's amplifier doesn't seem to mind the difference, and the audio is plenty loud at below quarter throttle.
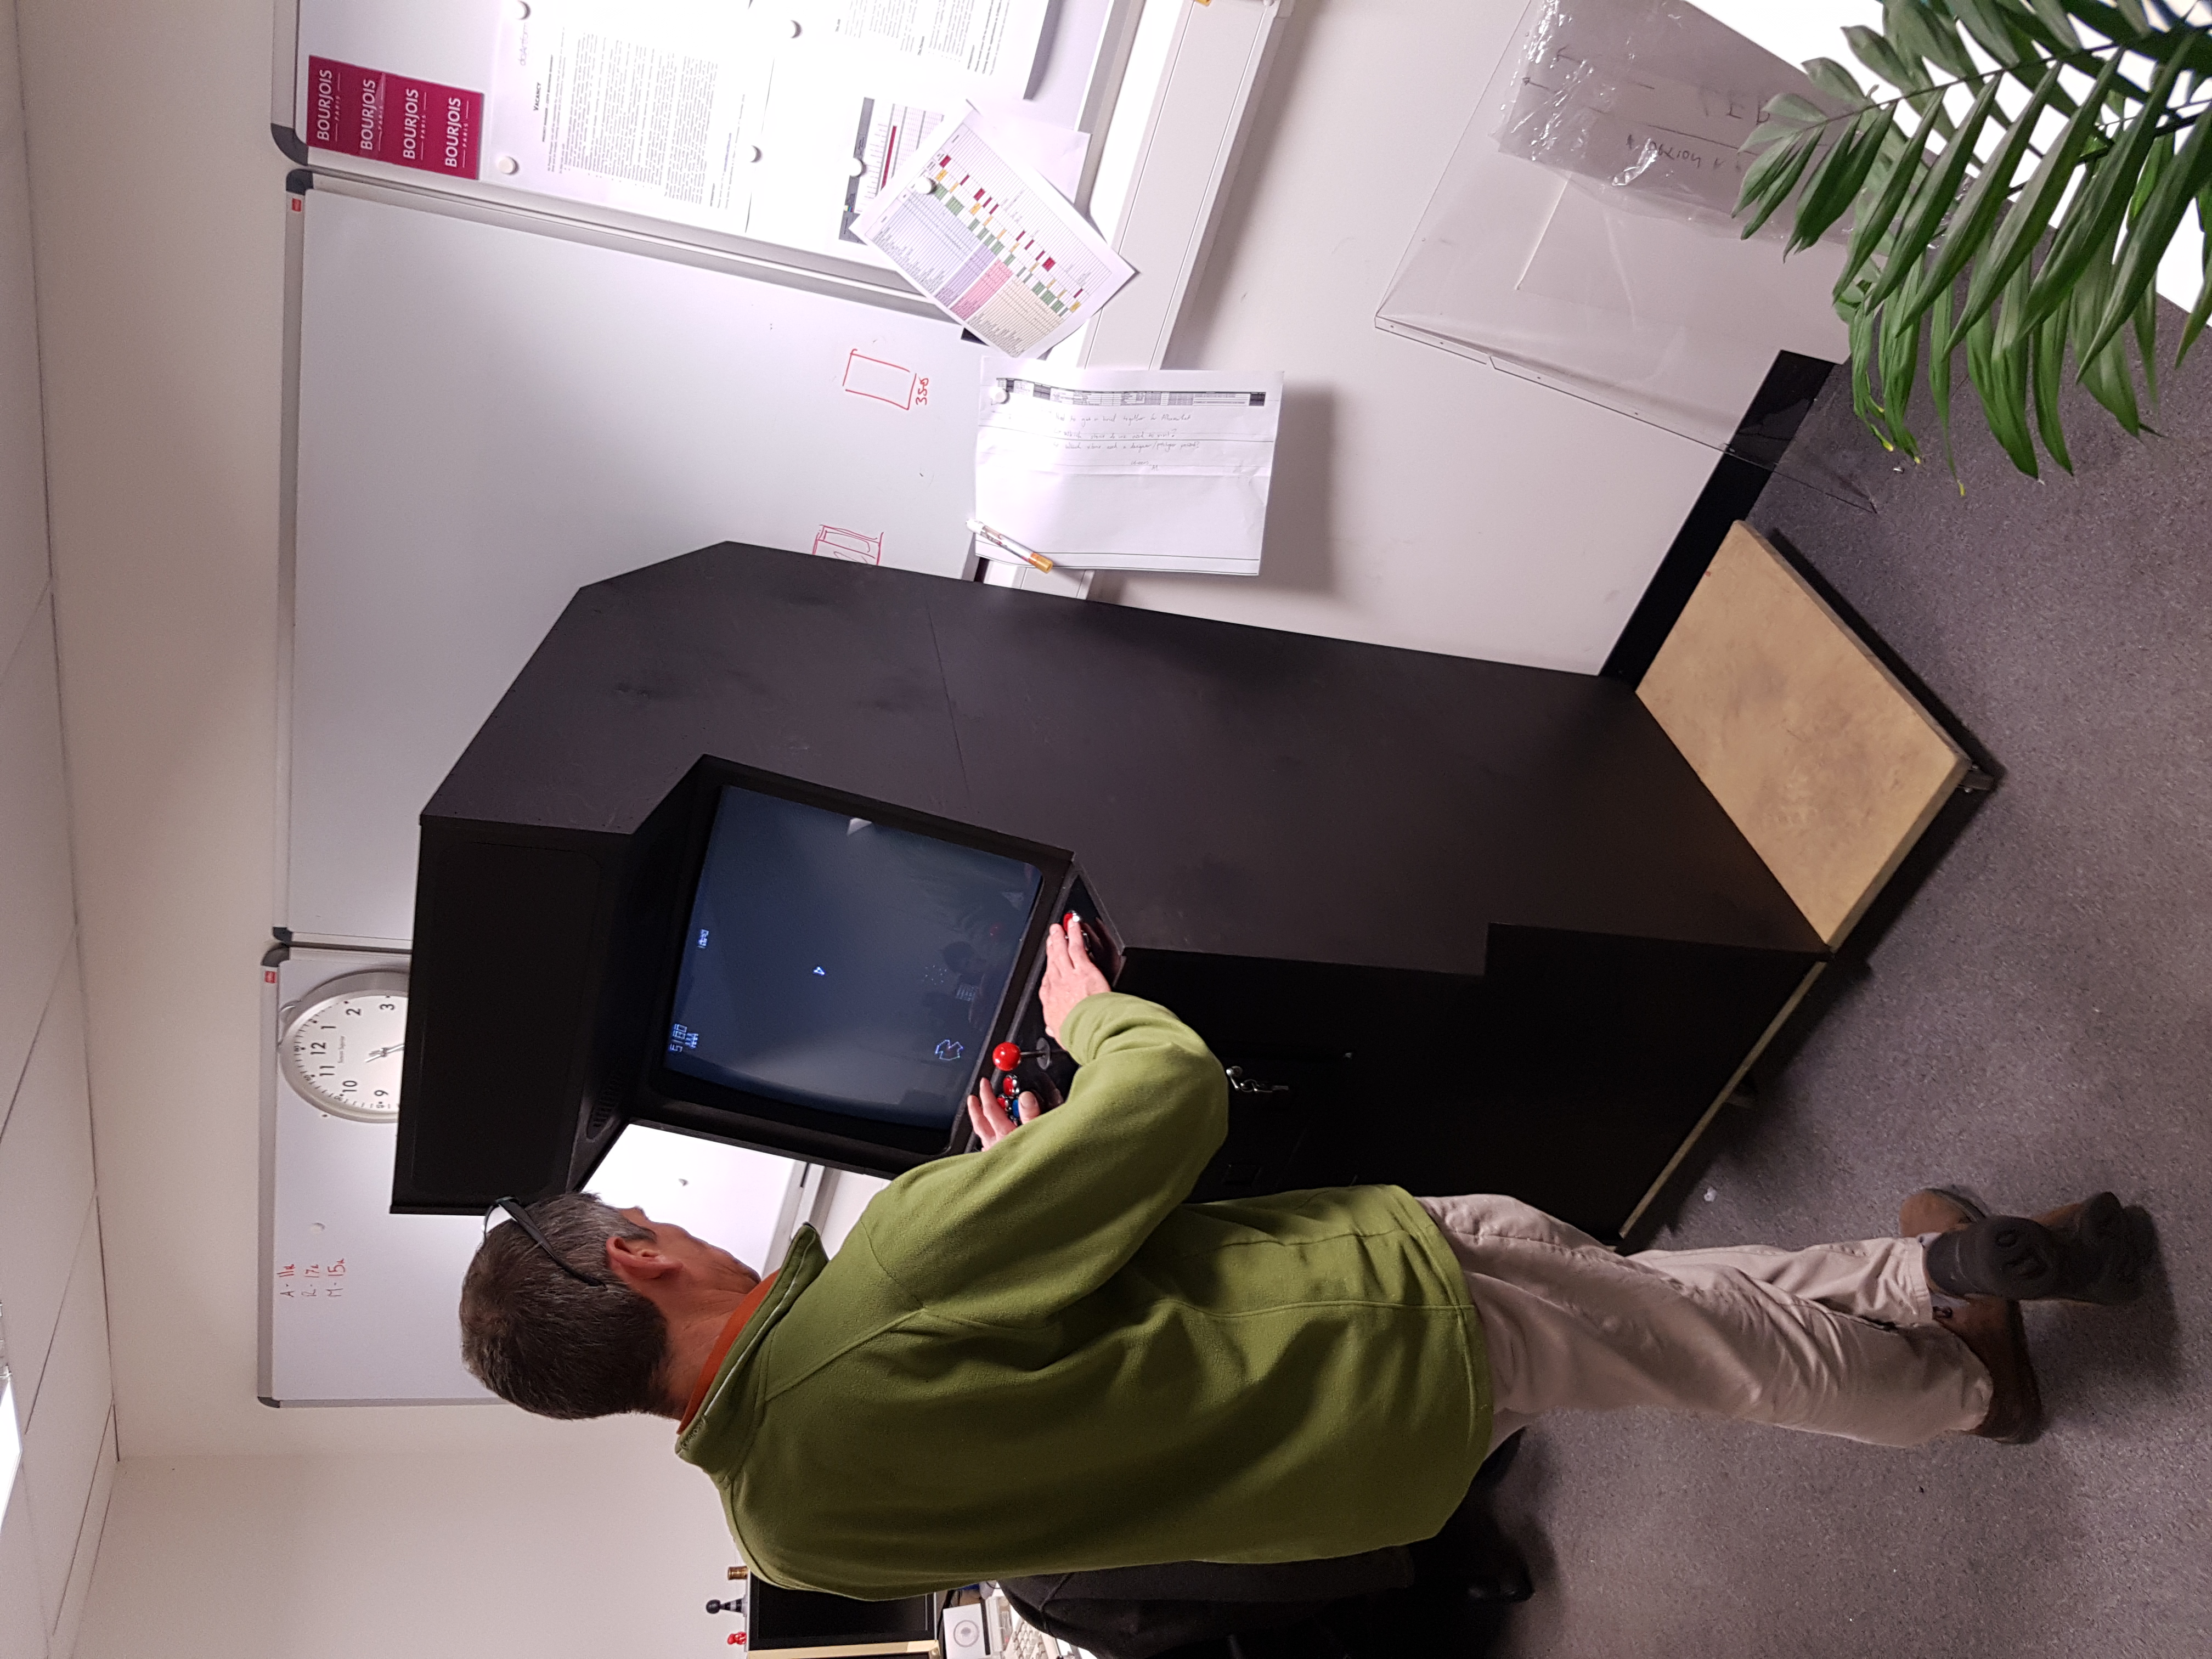
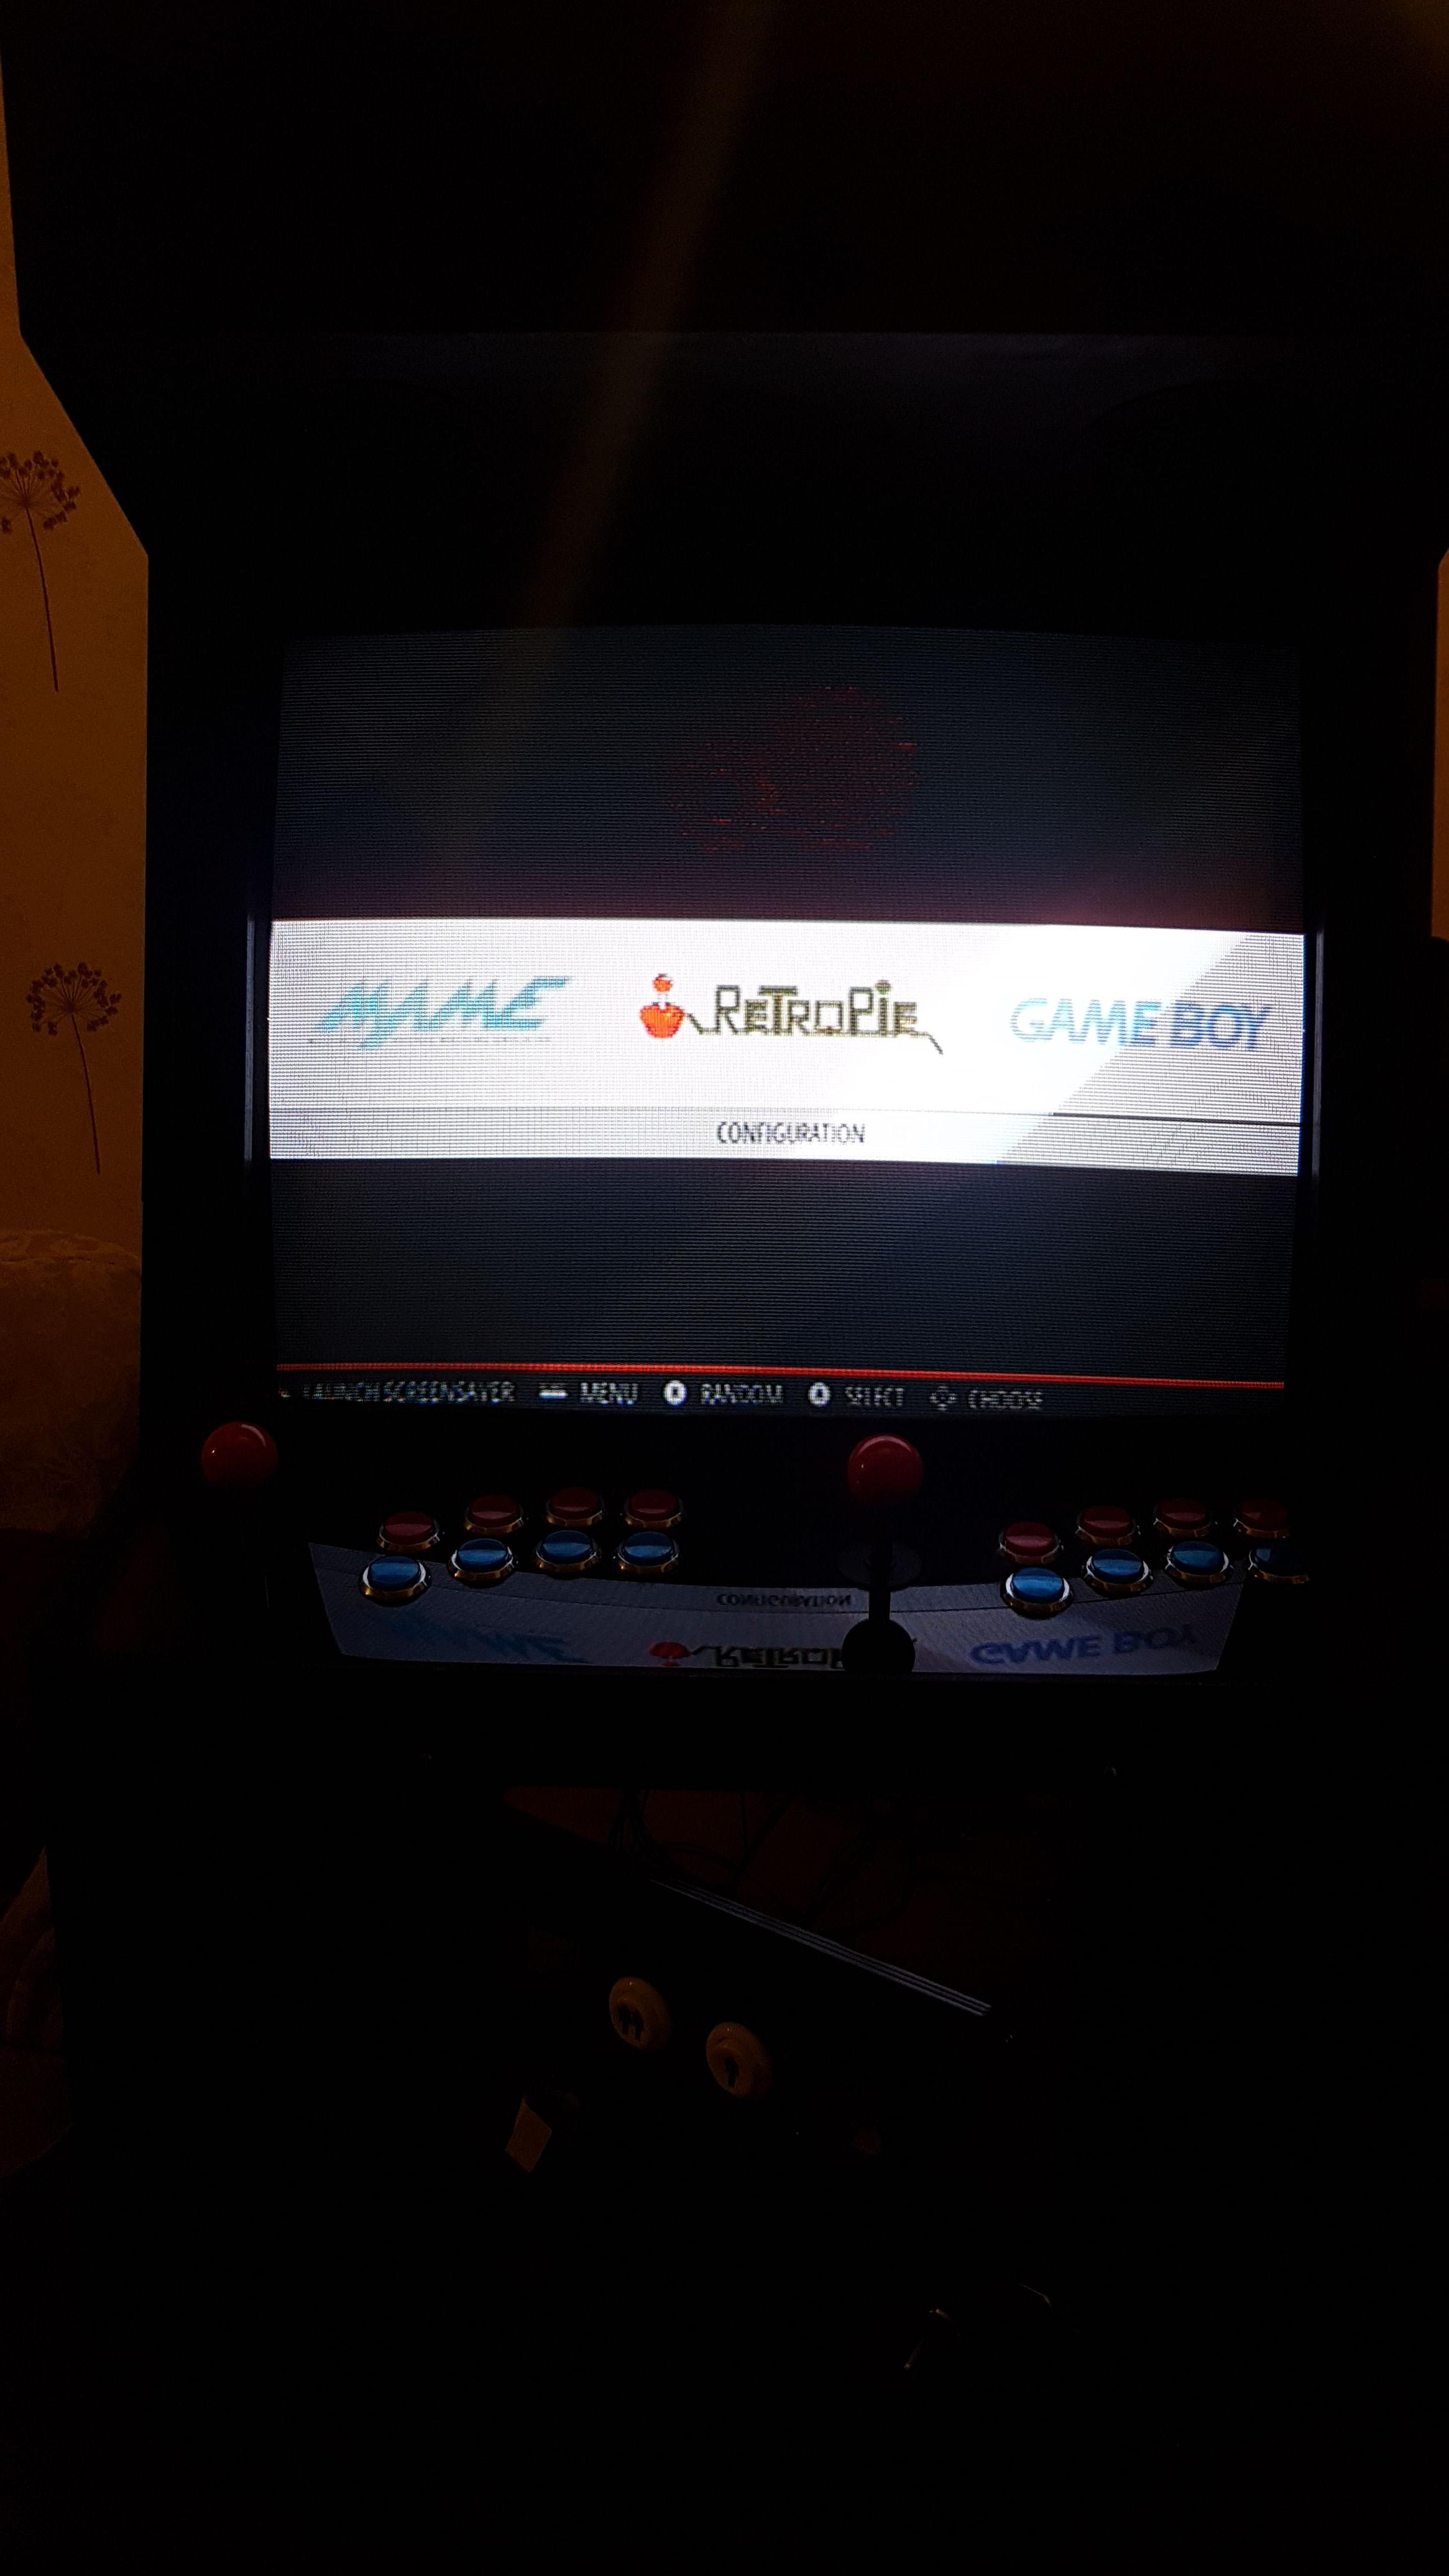
Emulation is handled by a Raspberry Pi running RetroPie. This was fairly straightforward to set up, and the only main issue was the USB control board for two players worth of buttons, didn't register both players properly, so a pair of single player boards were fitted. The Pi is configured to boot directly to Asteroids - the game most often played, while it was at work. It is currently set up with a large selection of games from a variety of games consoles.
 |
 |
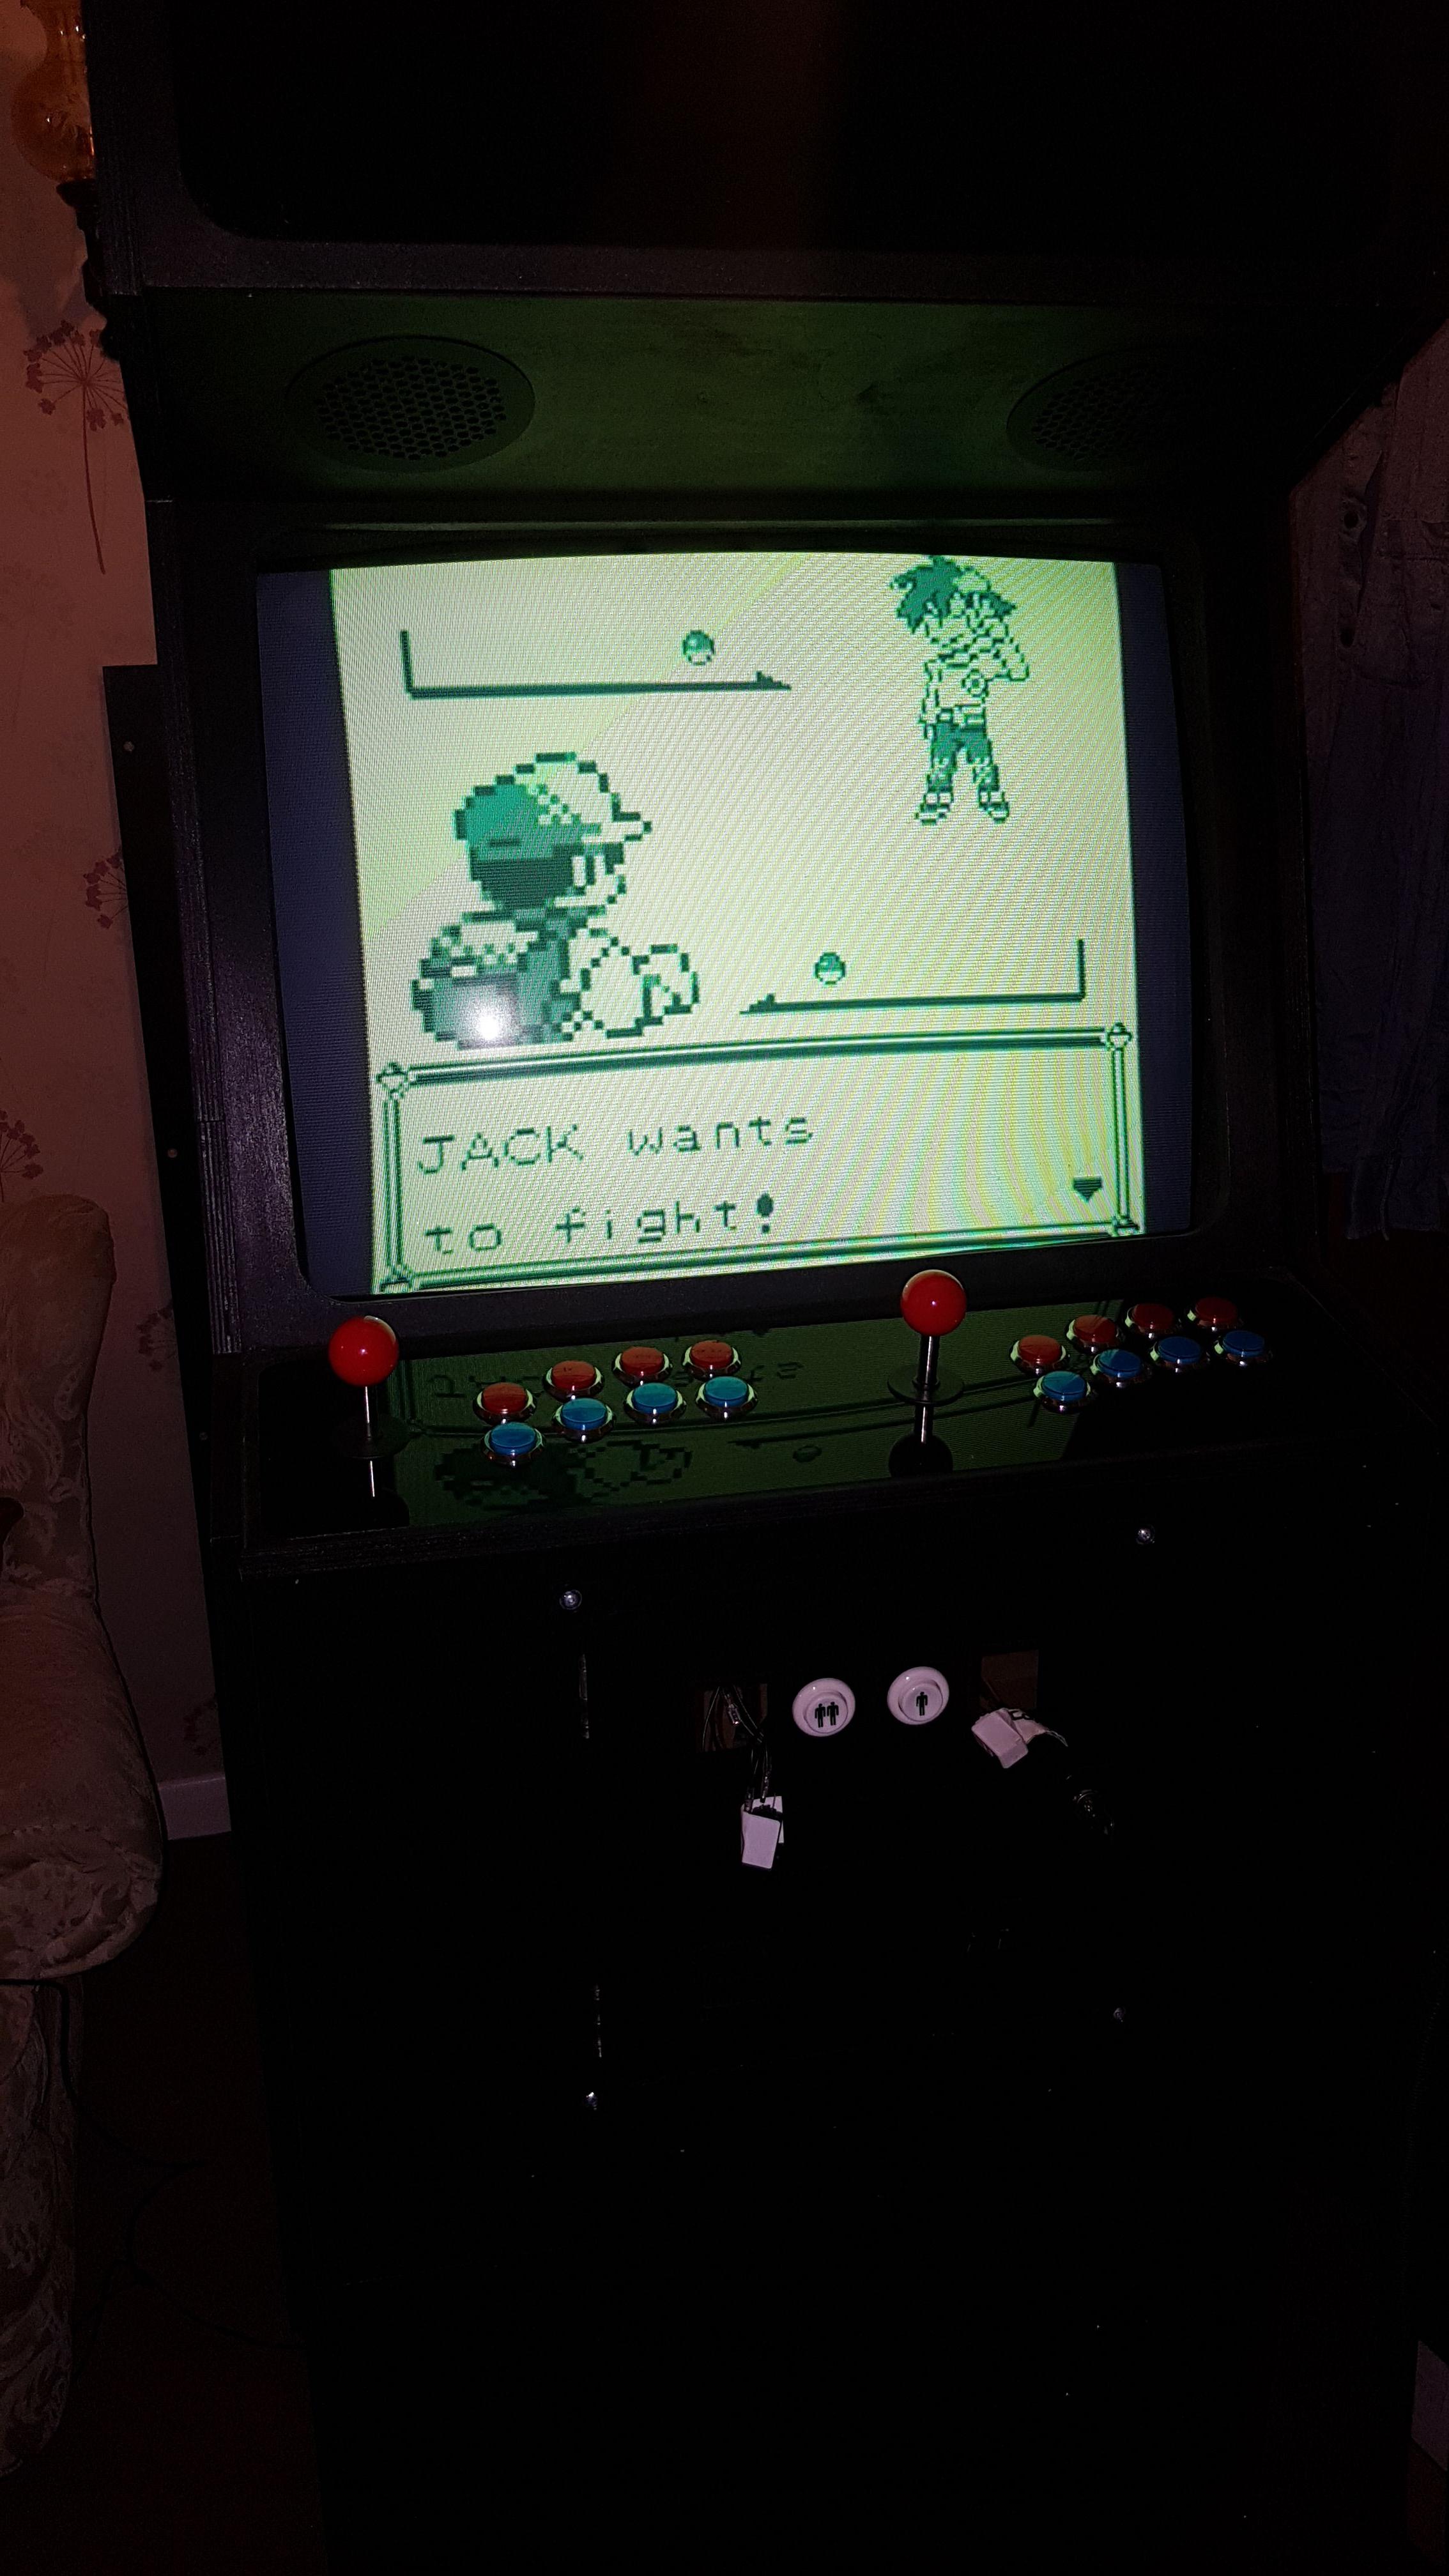 |
| System Under Testing | RetroPie | DMG Emulator |
