
Casting Patterns
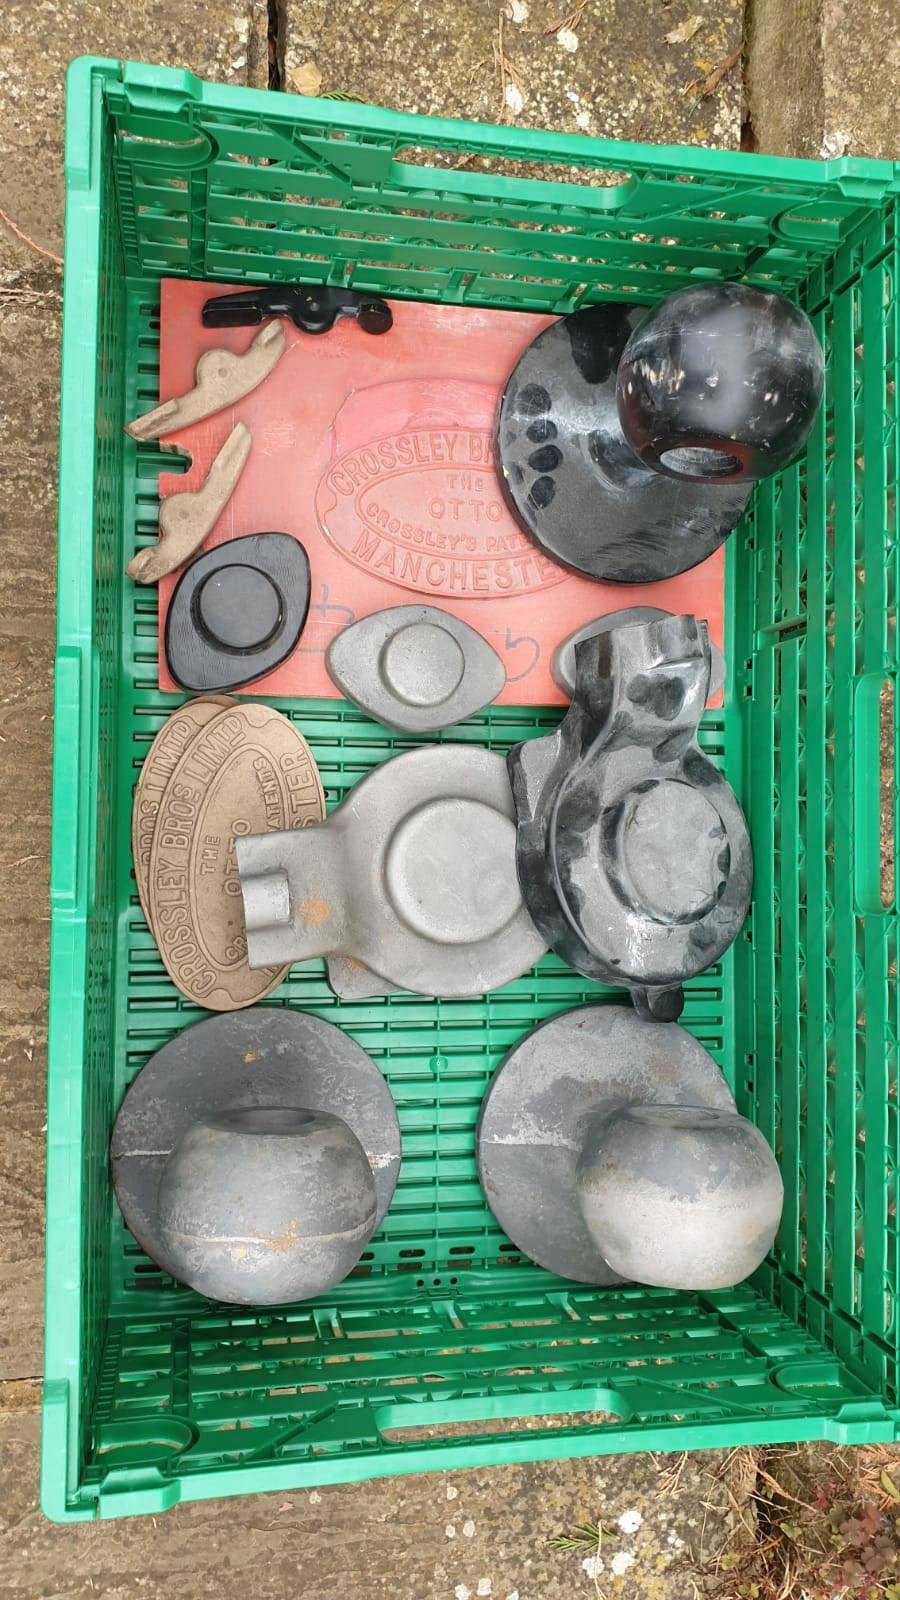
I have made a number of patterns in order to cast replicas and missing parts for vintage stationary engines.
Alexander Shanks Brass Plates
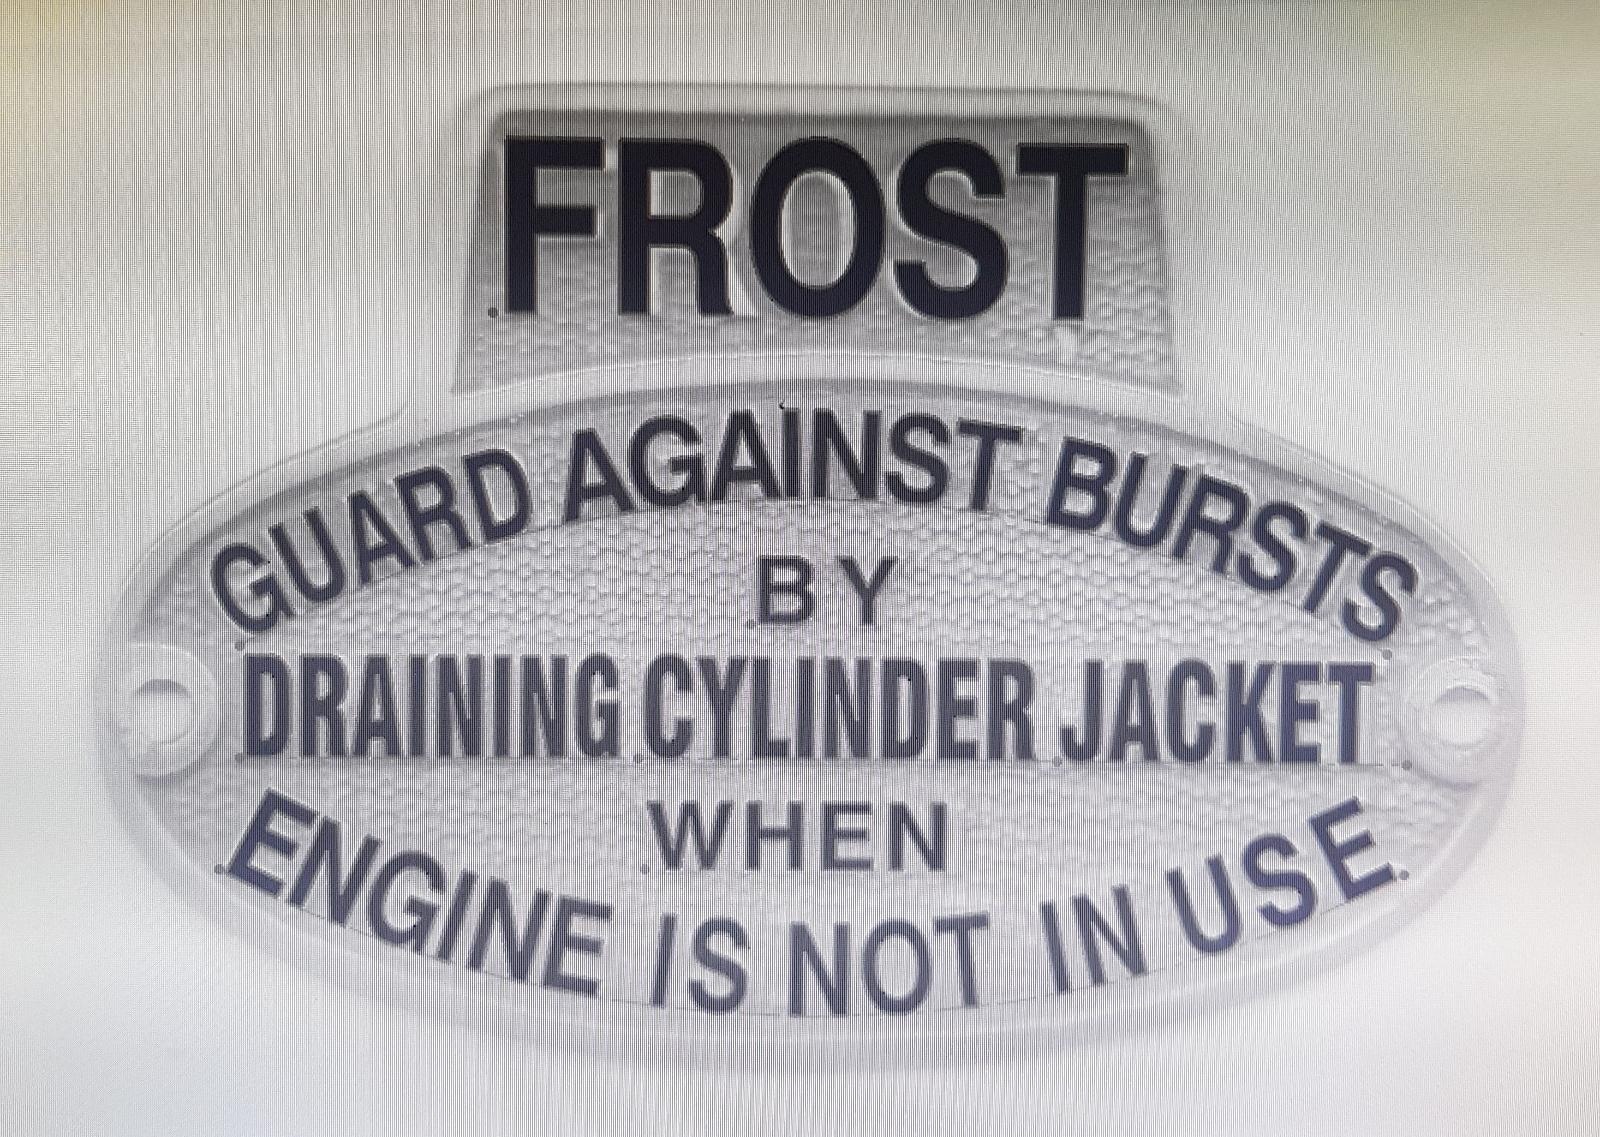
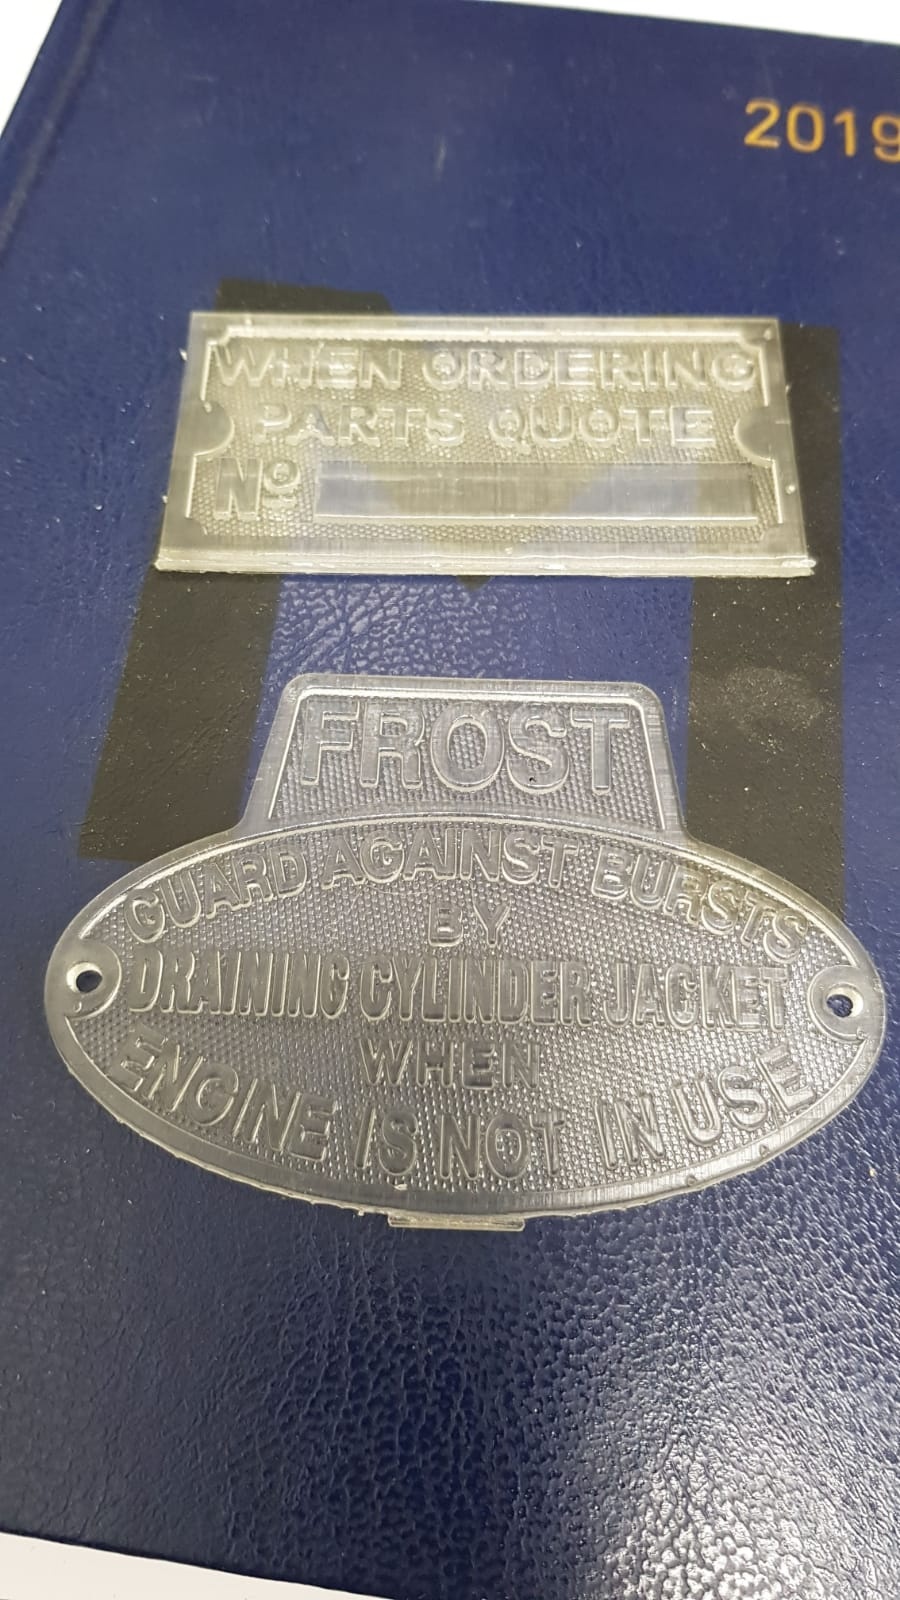
The 19Hp Alexander Shanks stationary engine was acquired with several parts missing; including the Frost, and Serial Number plates. These were thankfully present on the 12Hp Shanks, and so after checking the dimensions were correct, were borrowed to create patterns.
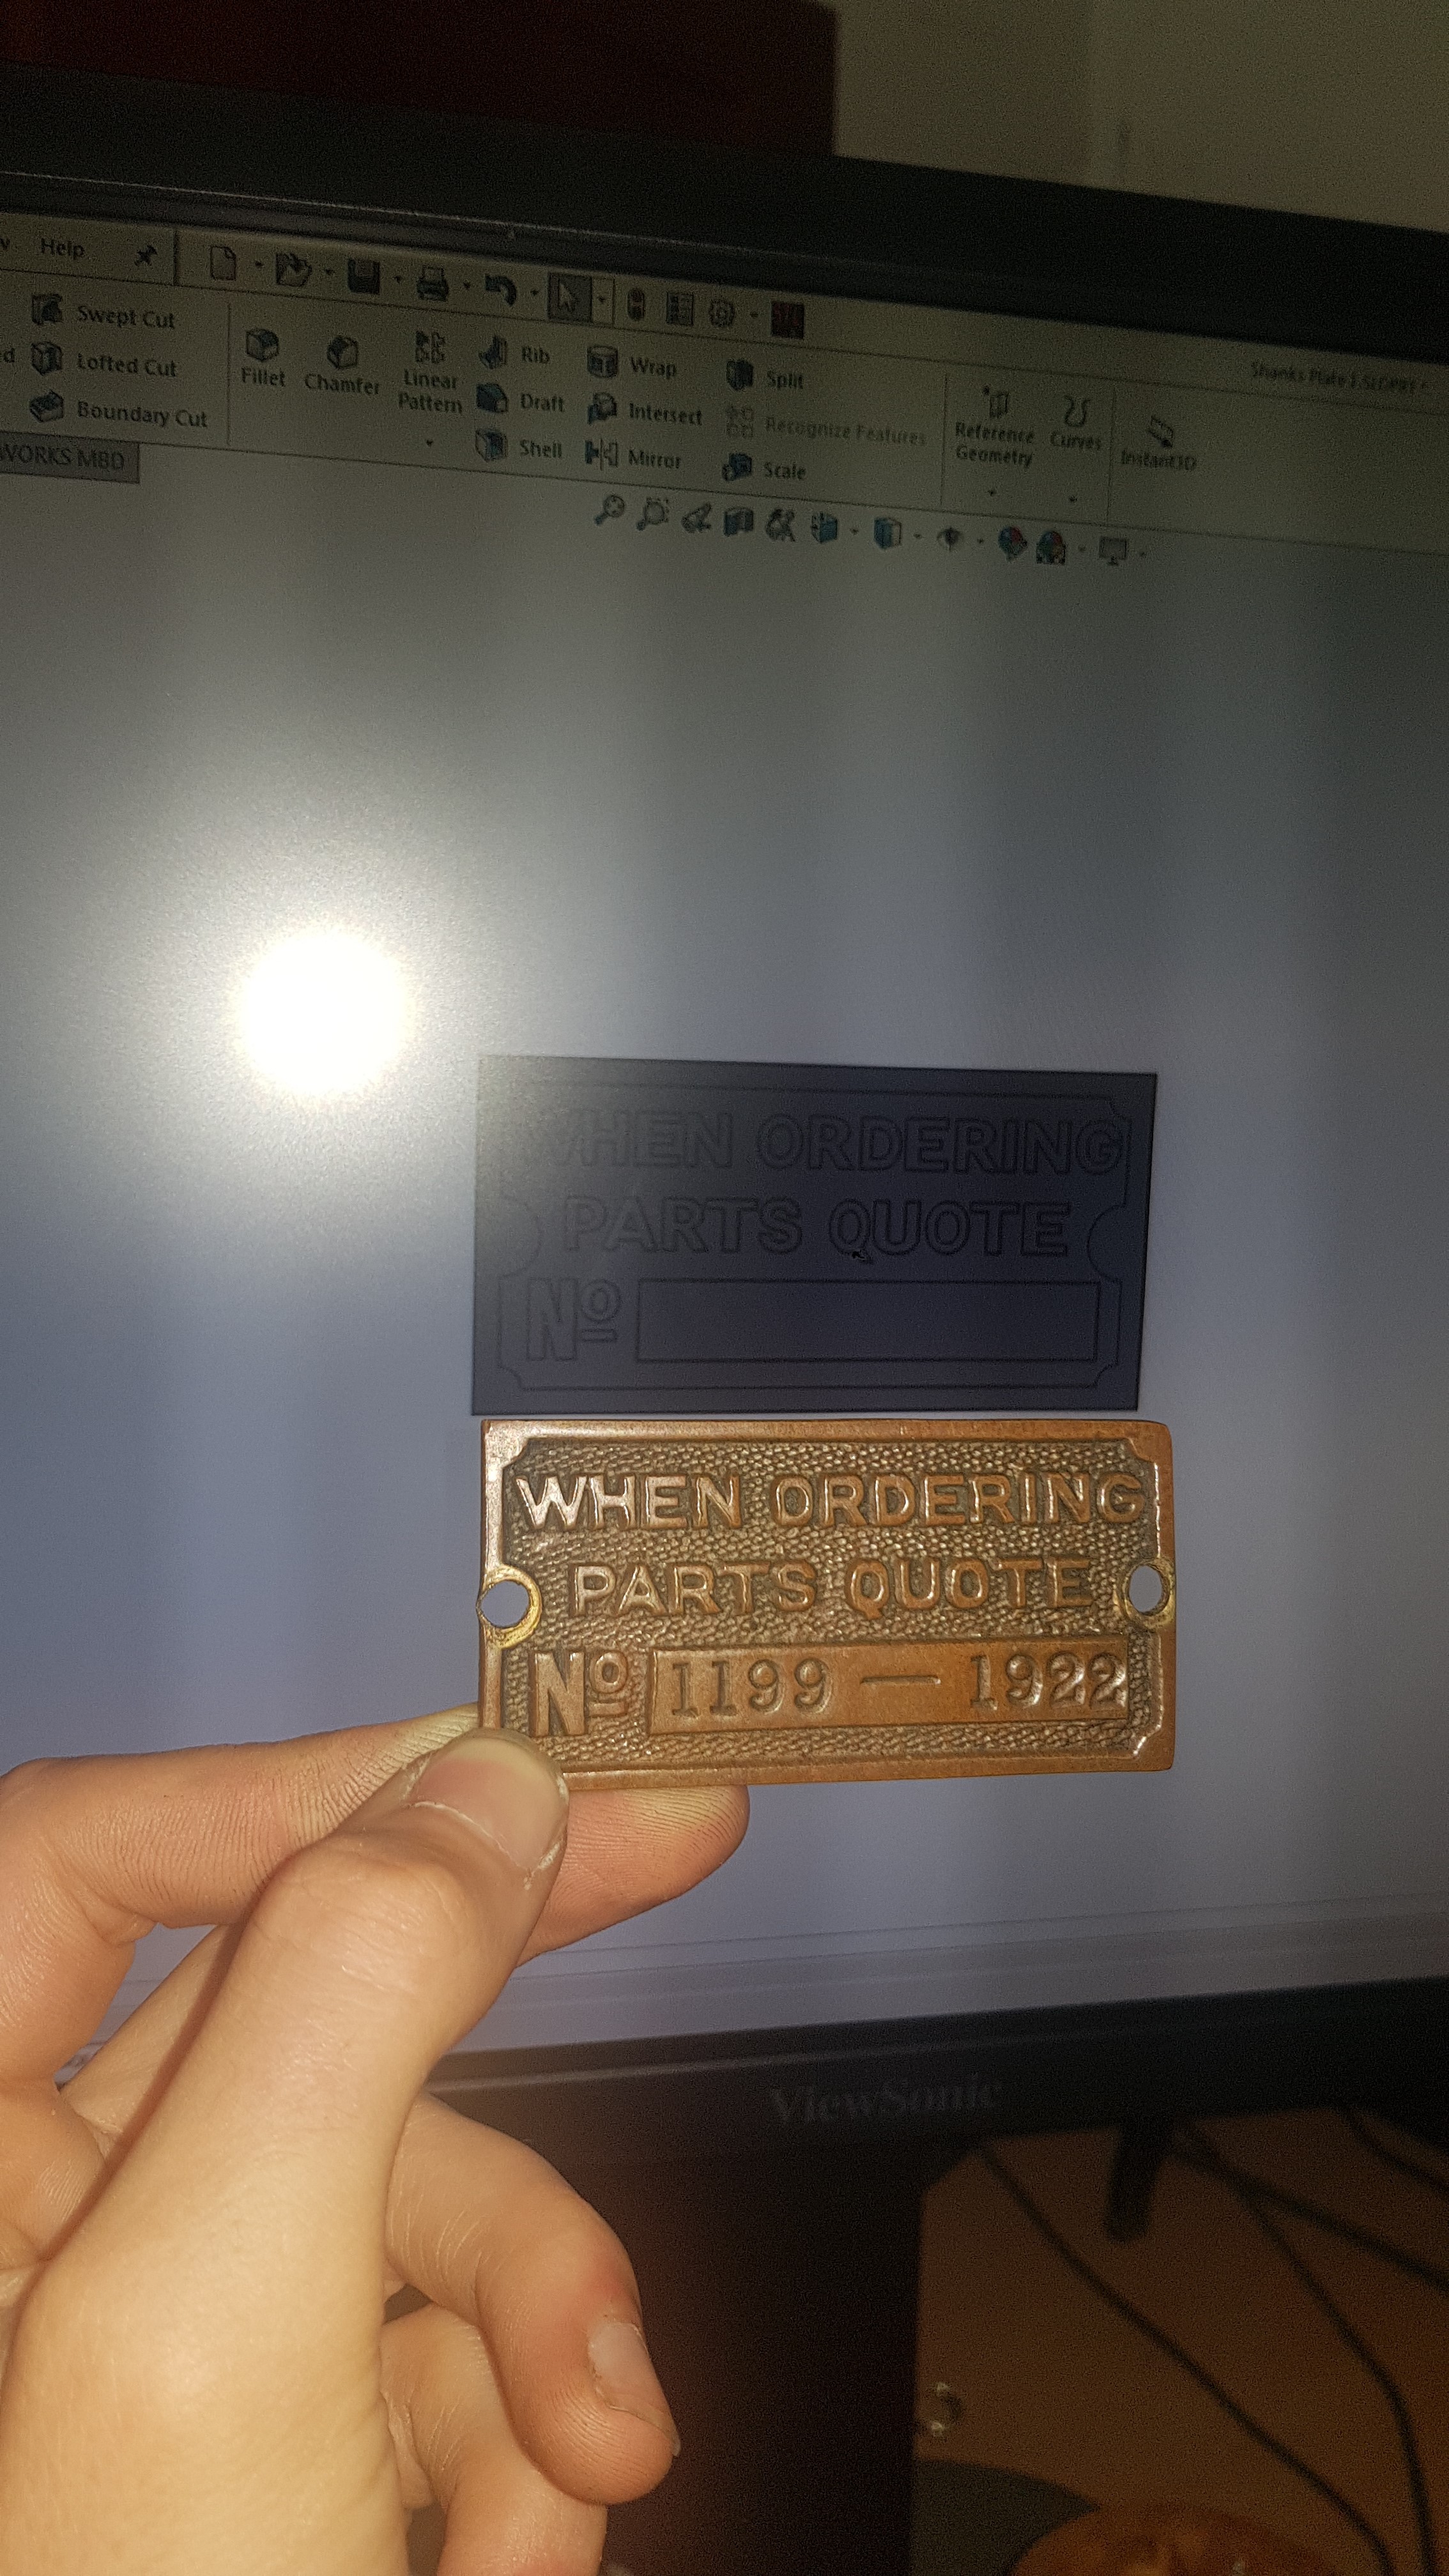
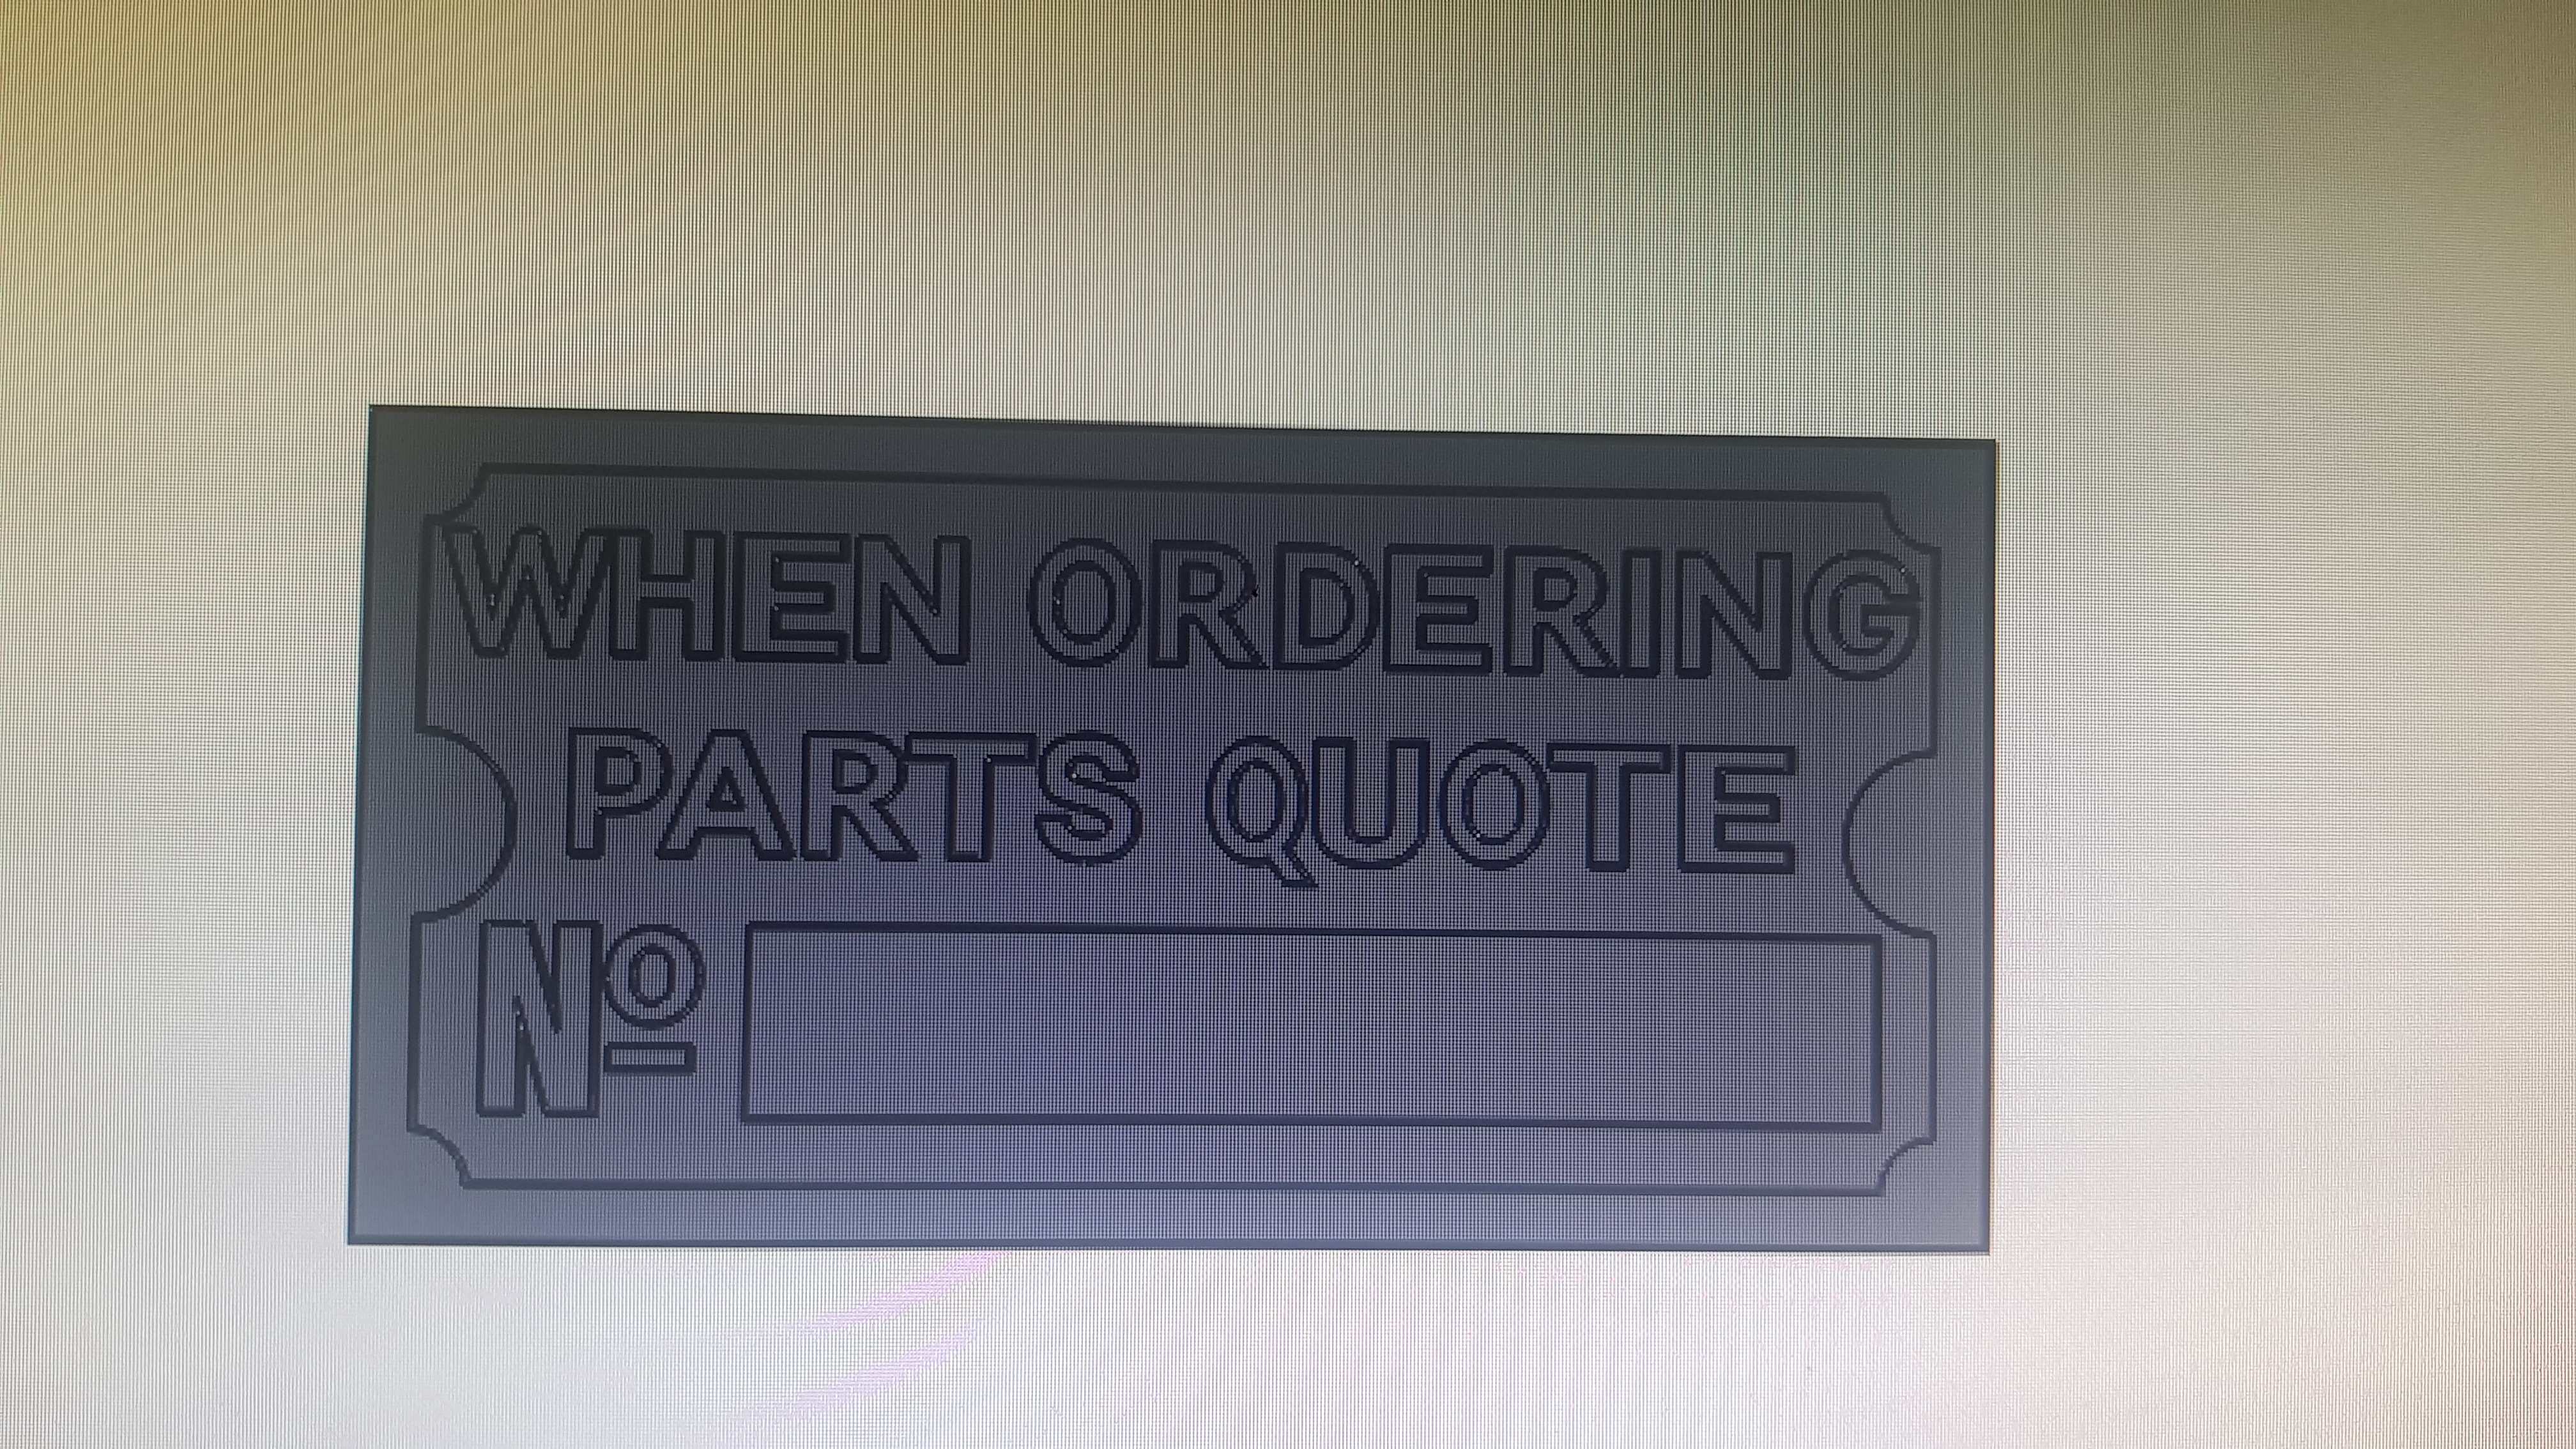
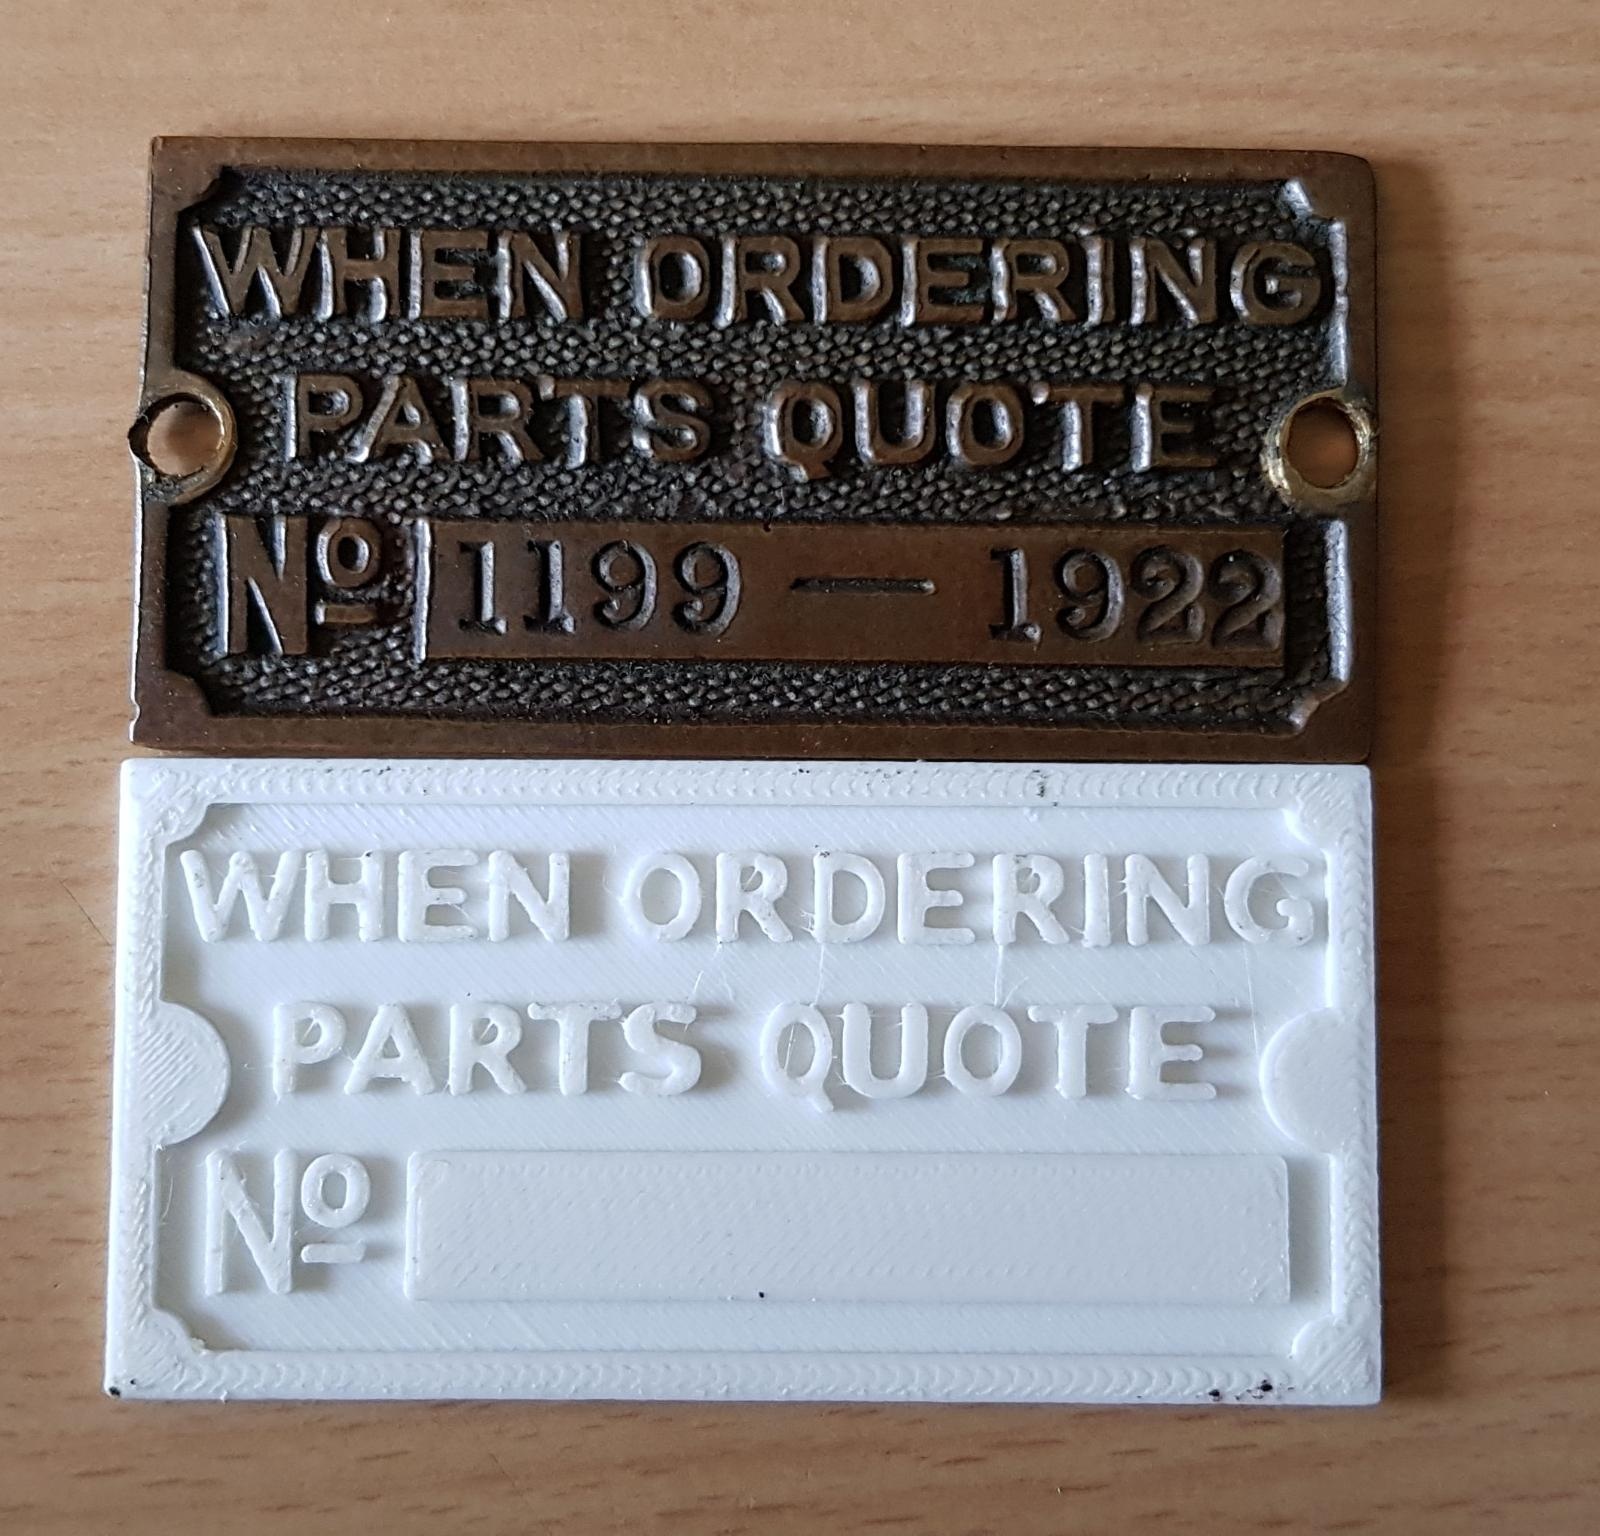
I started by scanning the plates, and tweaking the brightness and contrast to create a well defined image to work from. These were imported into Solidworks, and the outline traced. The text was initially traced, but looked "drunk", and so I opted to use actual text. A closely matching font was found, and each word was individually sized and stretched to match the original, with some adjustments required to the "G"s. They were then 3D printed and compared to the originals.
The backgrounds of the plates have a almost regular pattern which was matched closely by a hexagonally patterned set of dots. When all was looking good, and appropriate draft angles applied; they were scaled (to allow for shrinkage) and sent out to be resin 3D printed - the fine details being to small to be handled by an FDM printer.
With the castings back from the foundry, they are cleaned up, thinned and shaped to fit the compound curve of the engine. The castings are "aged" with a chemical patina.
 |
 |
 |
 |
 |
 |
 |
 |
| Original Plate | CAD partway through | Matching Text | Test Print | Matching Text | CAD in progress | Test Print | Resing Printed Patterns |
Alexander Shanks Skew Gear Cover
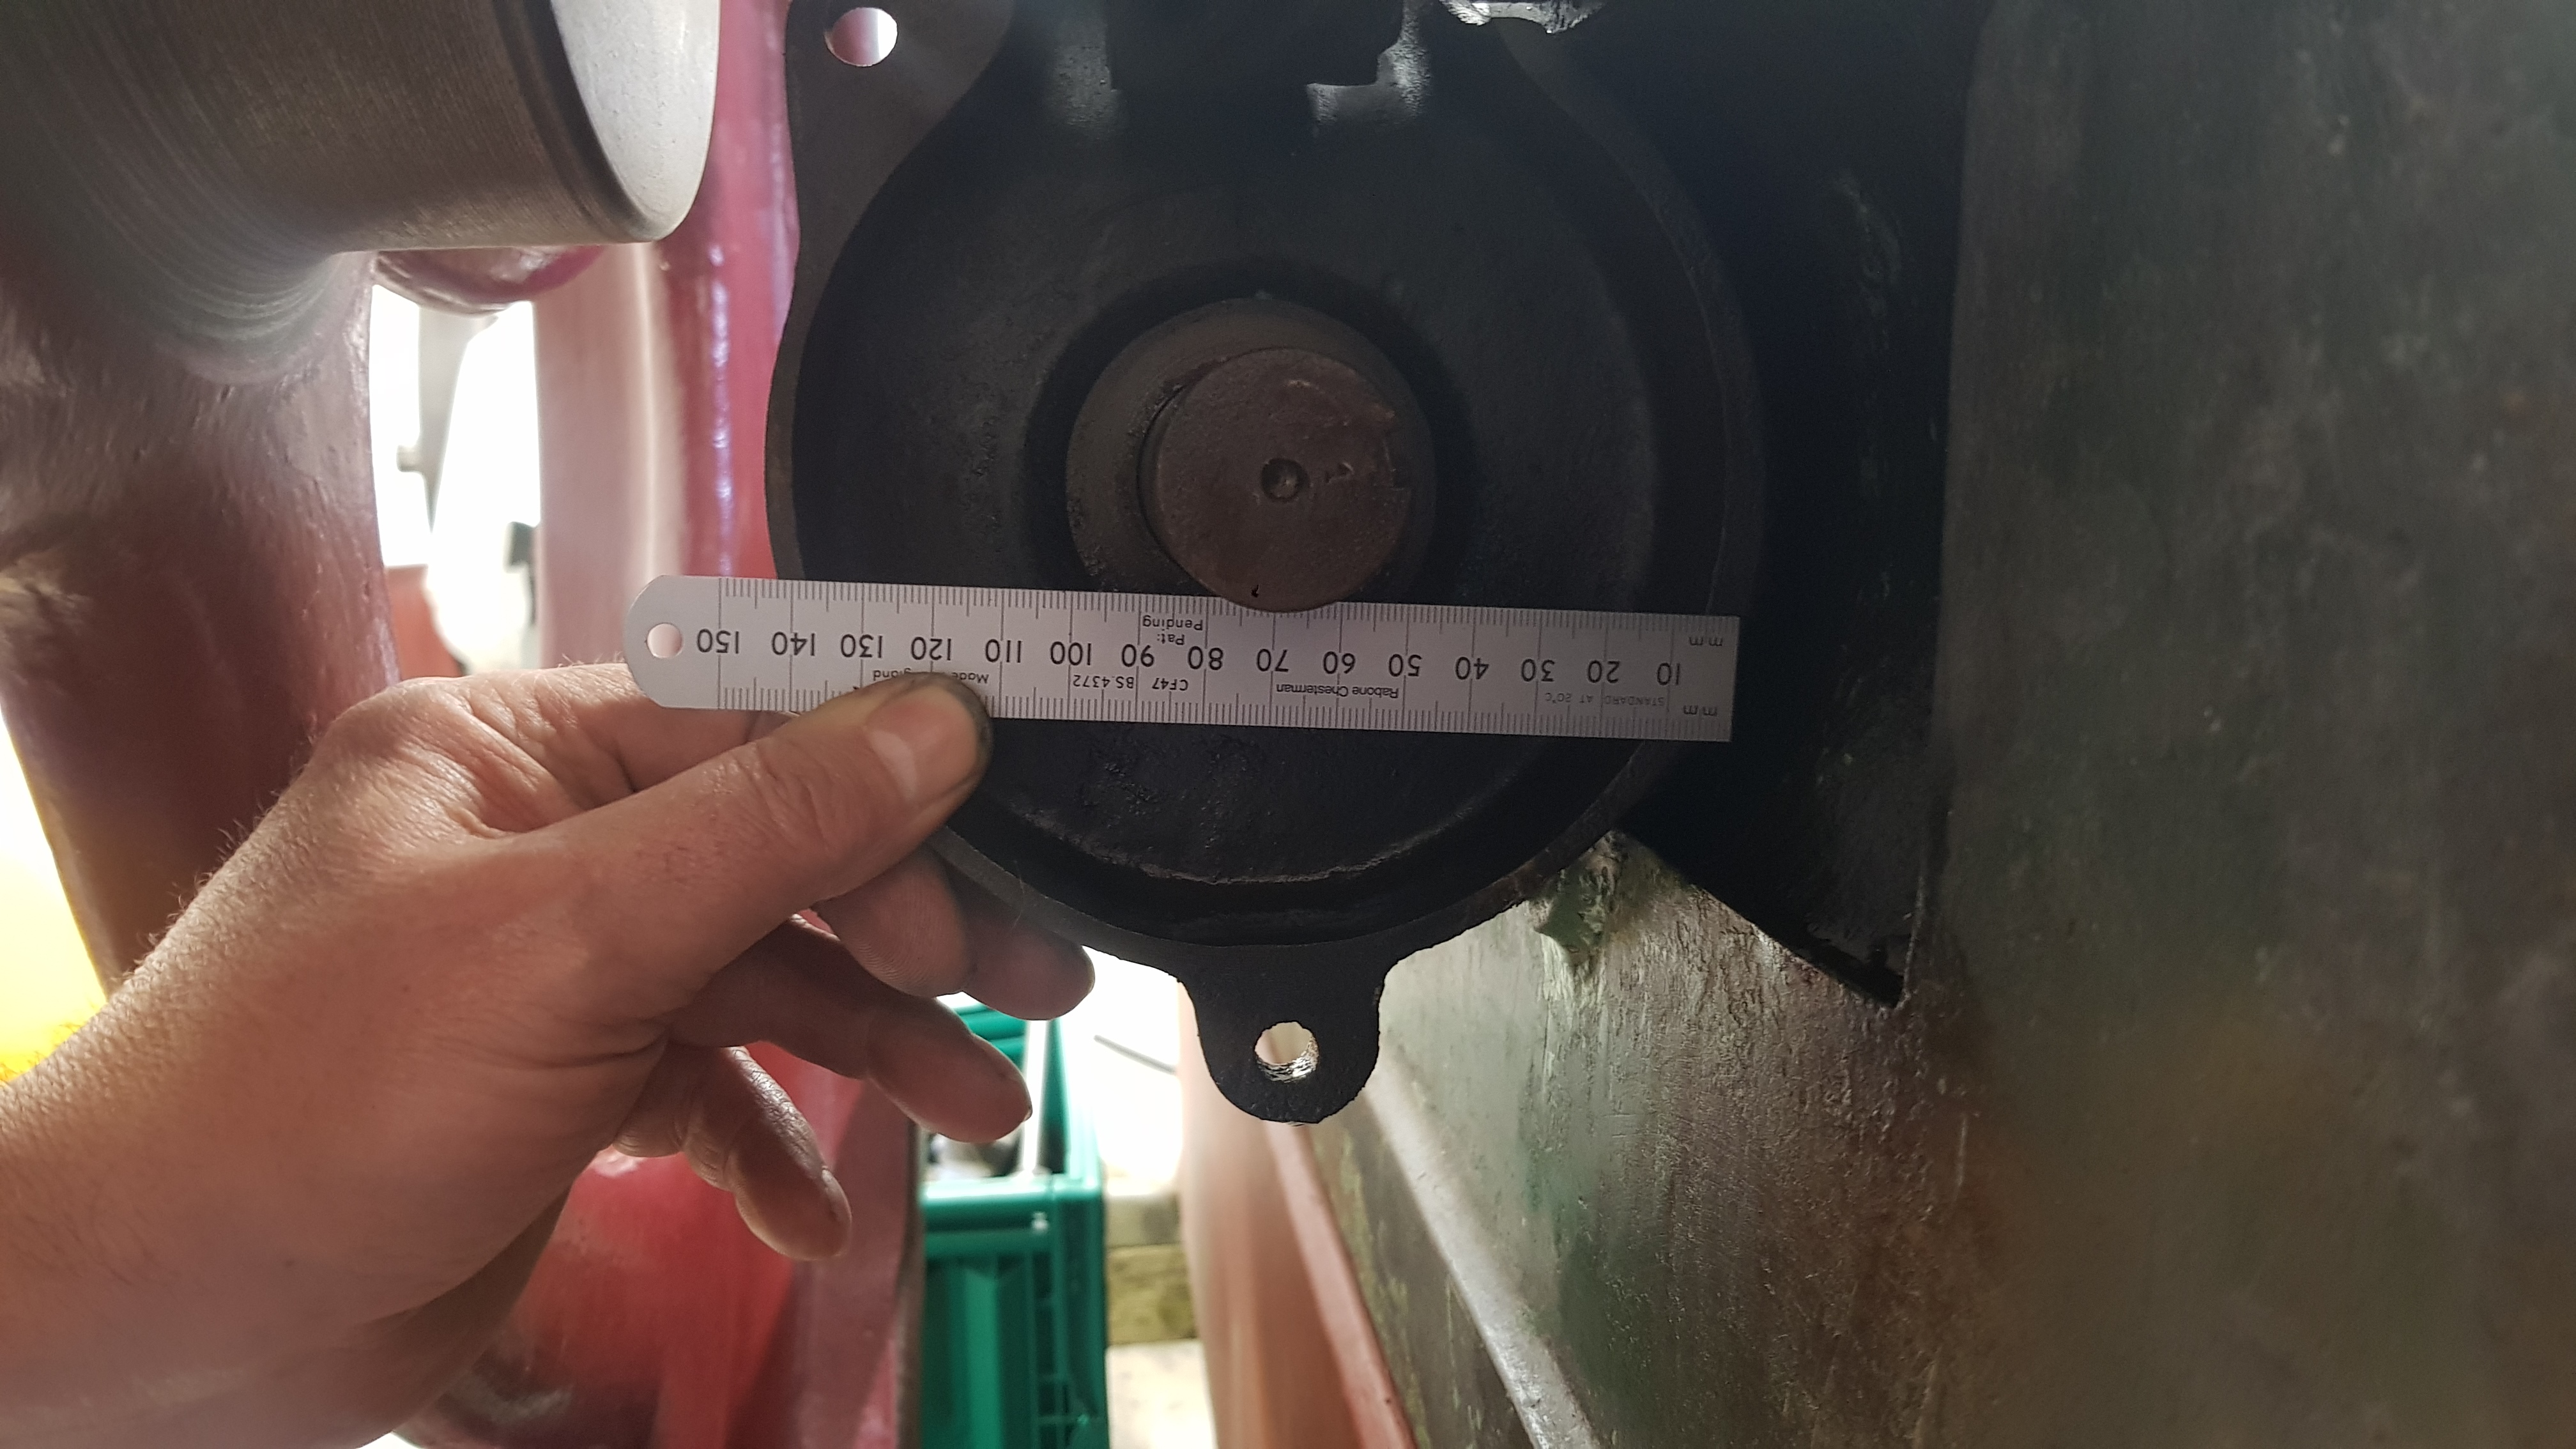
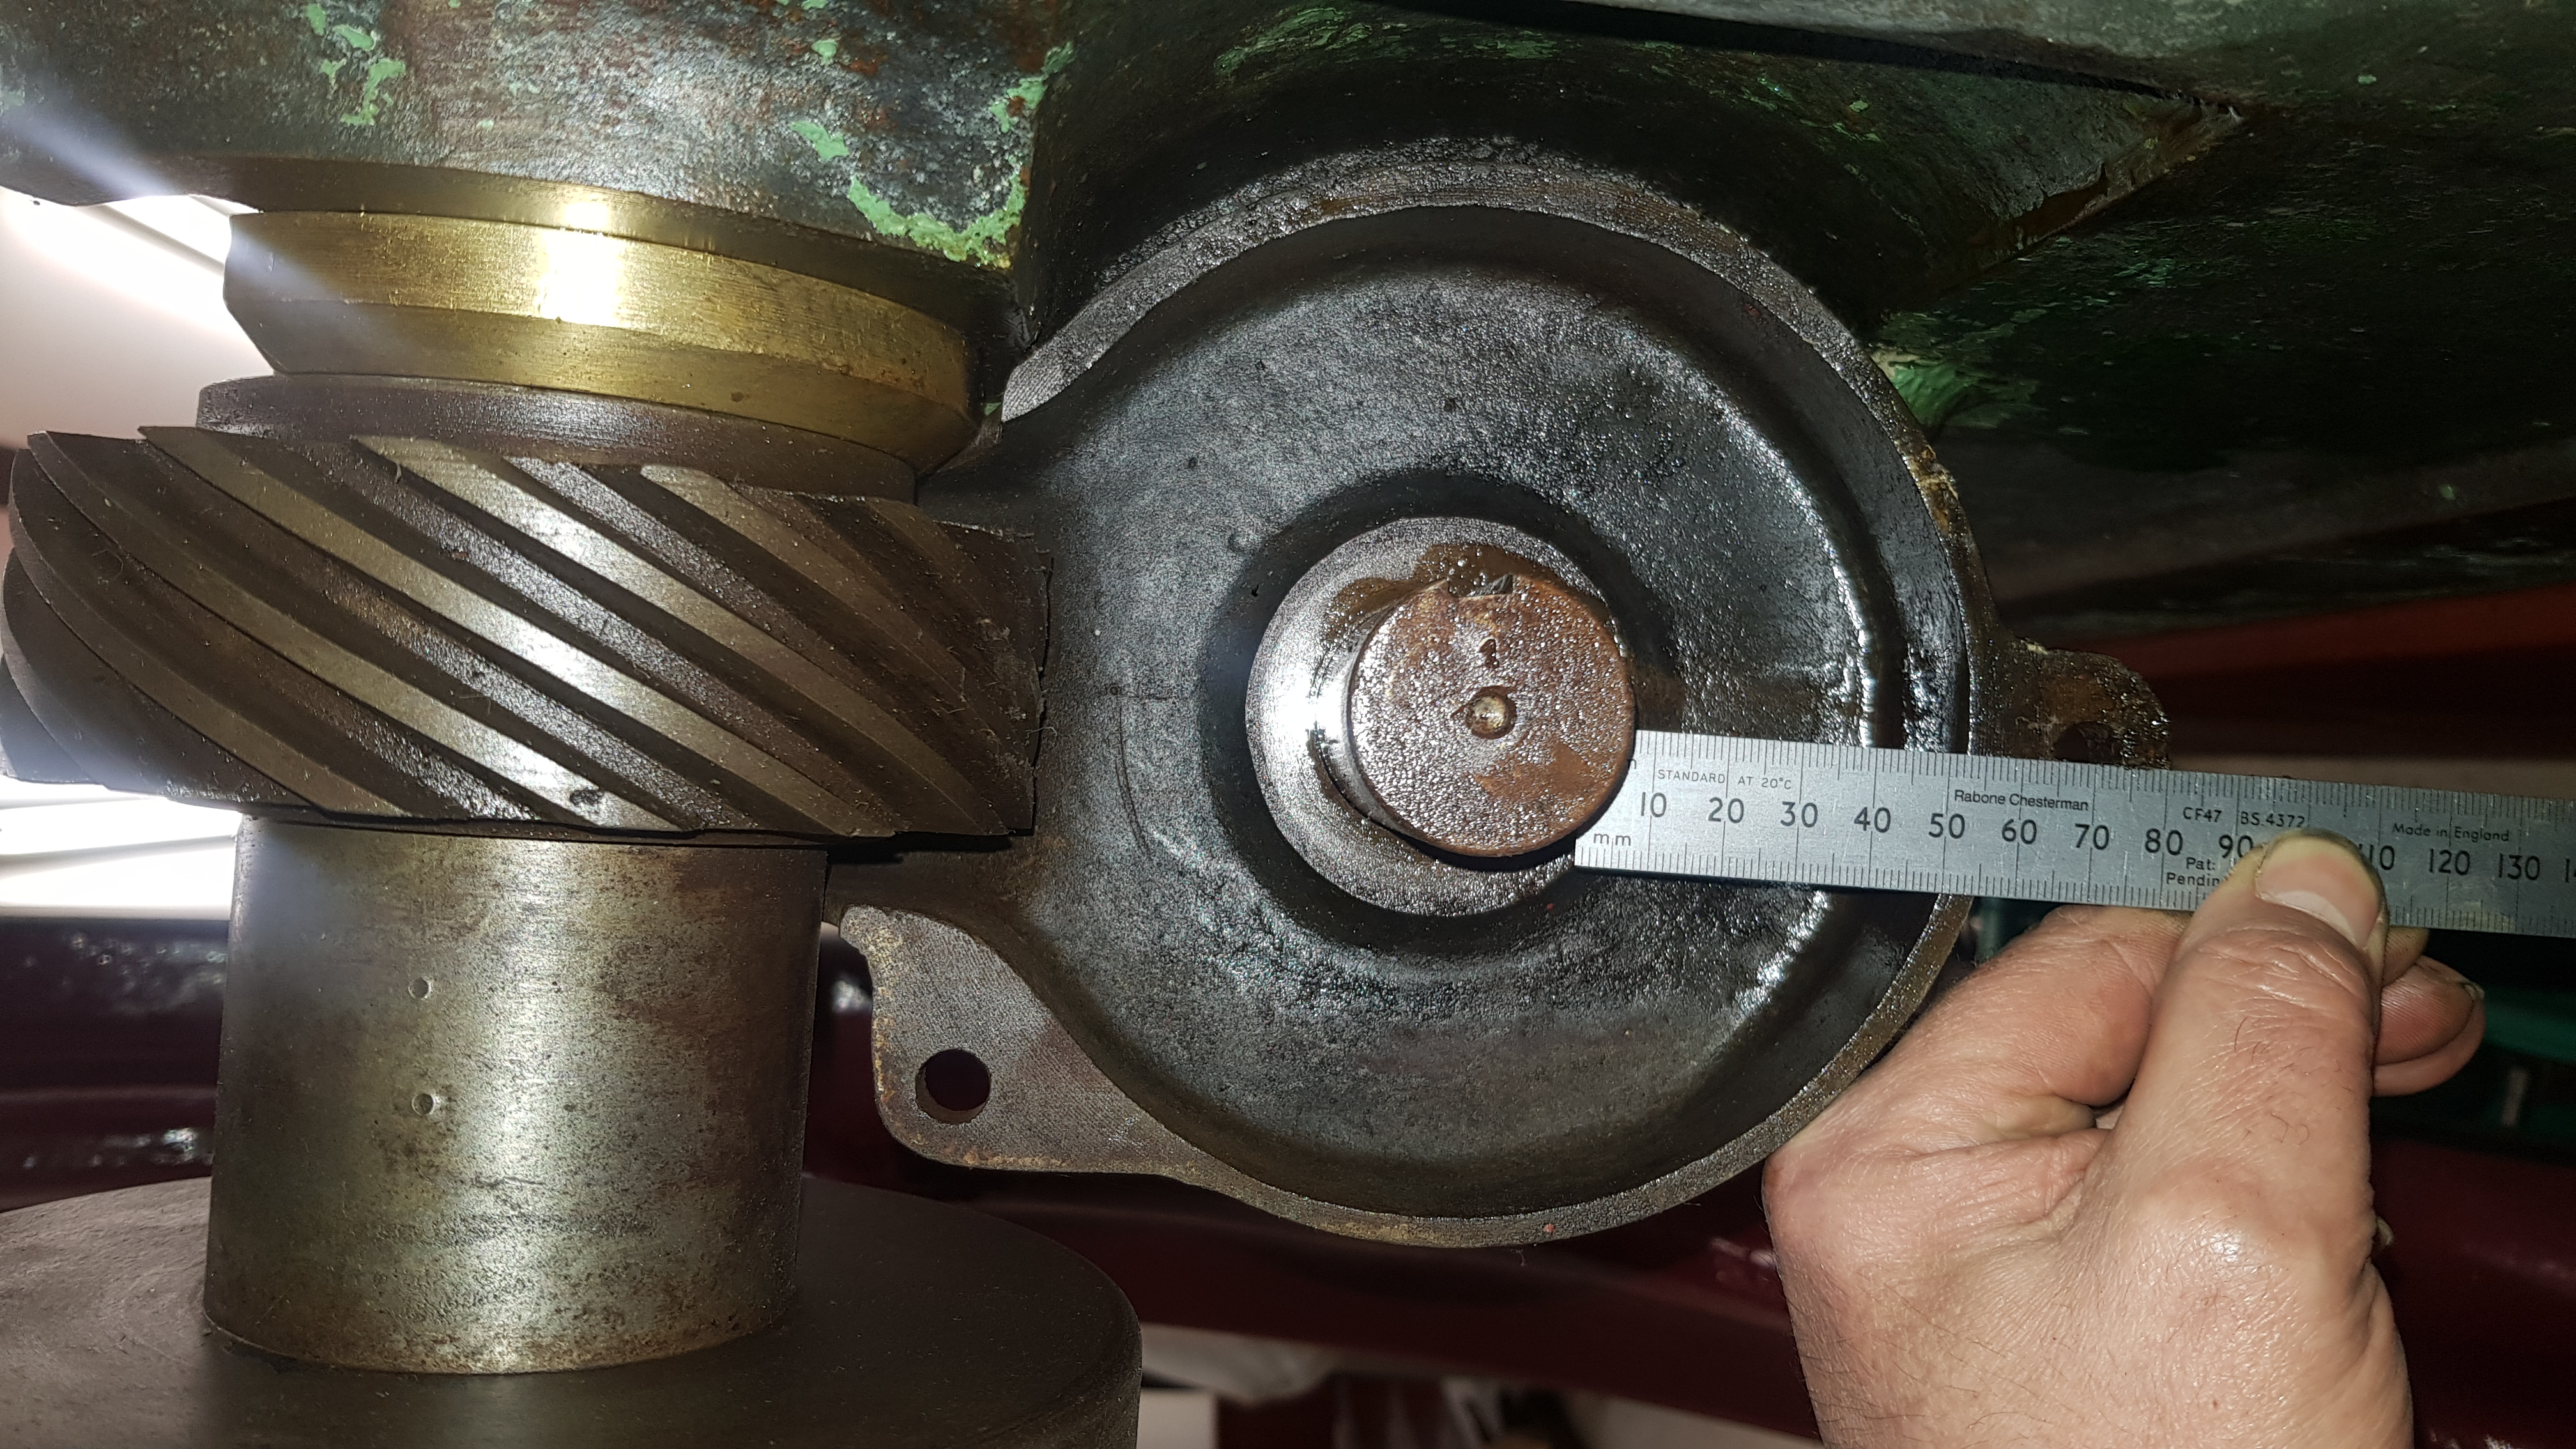
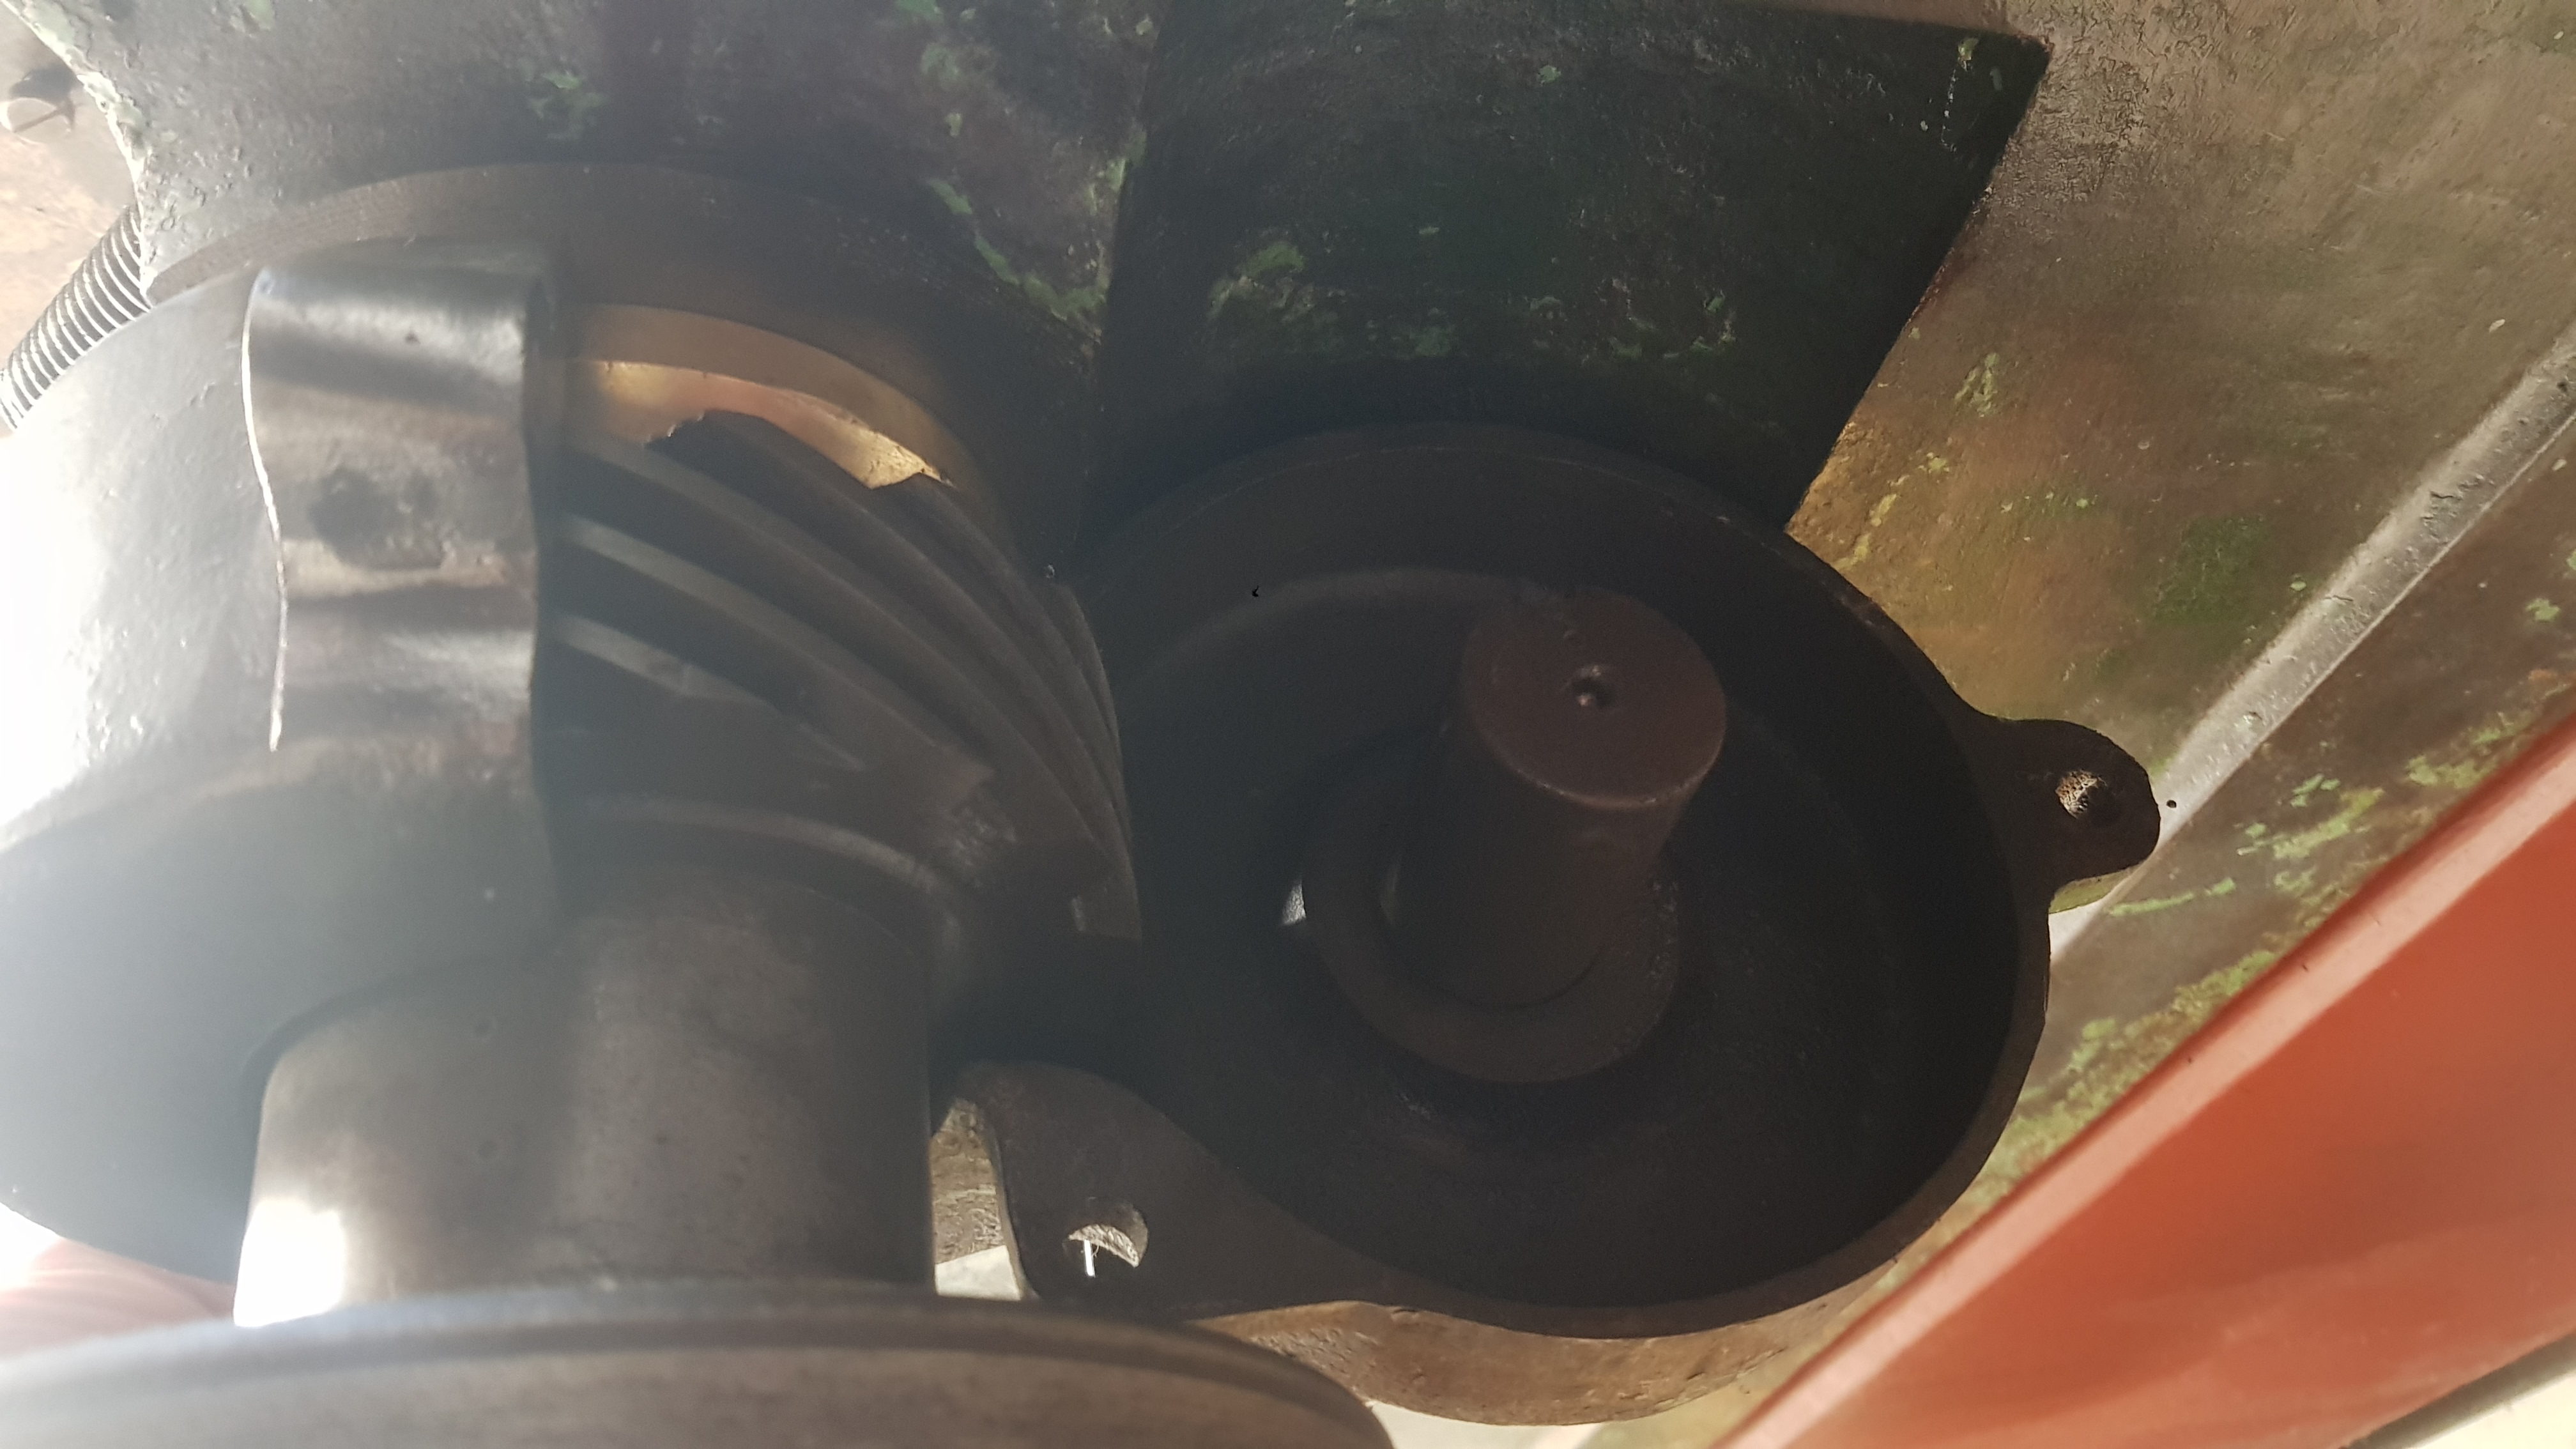
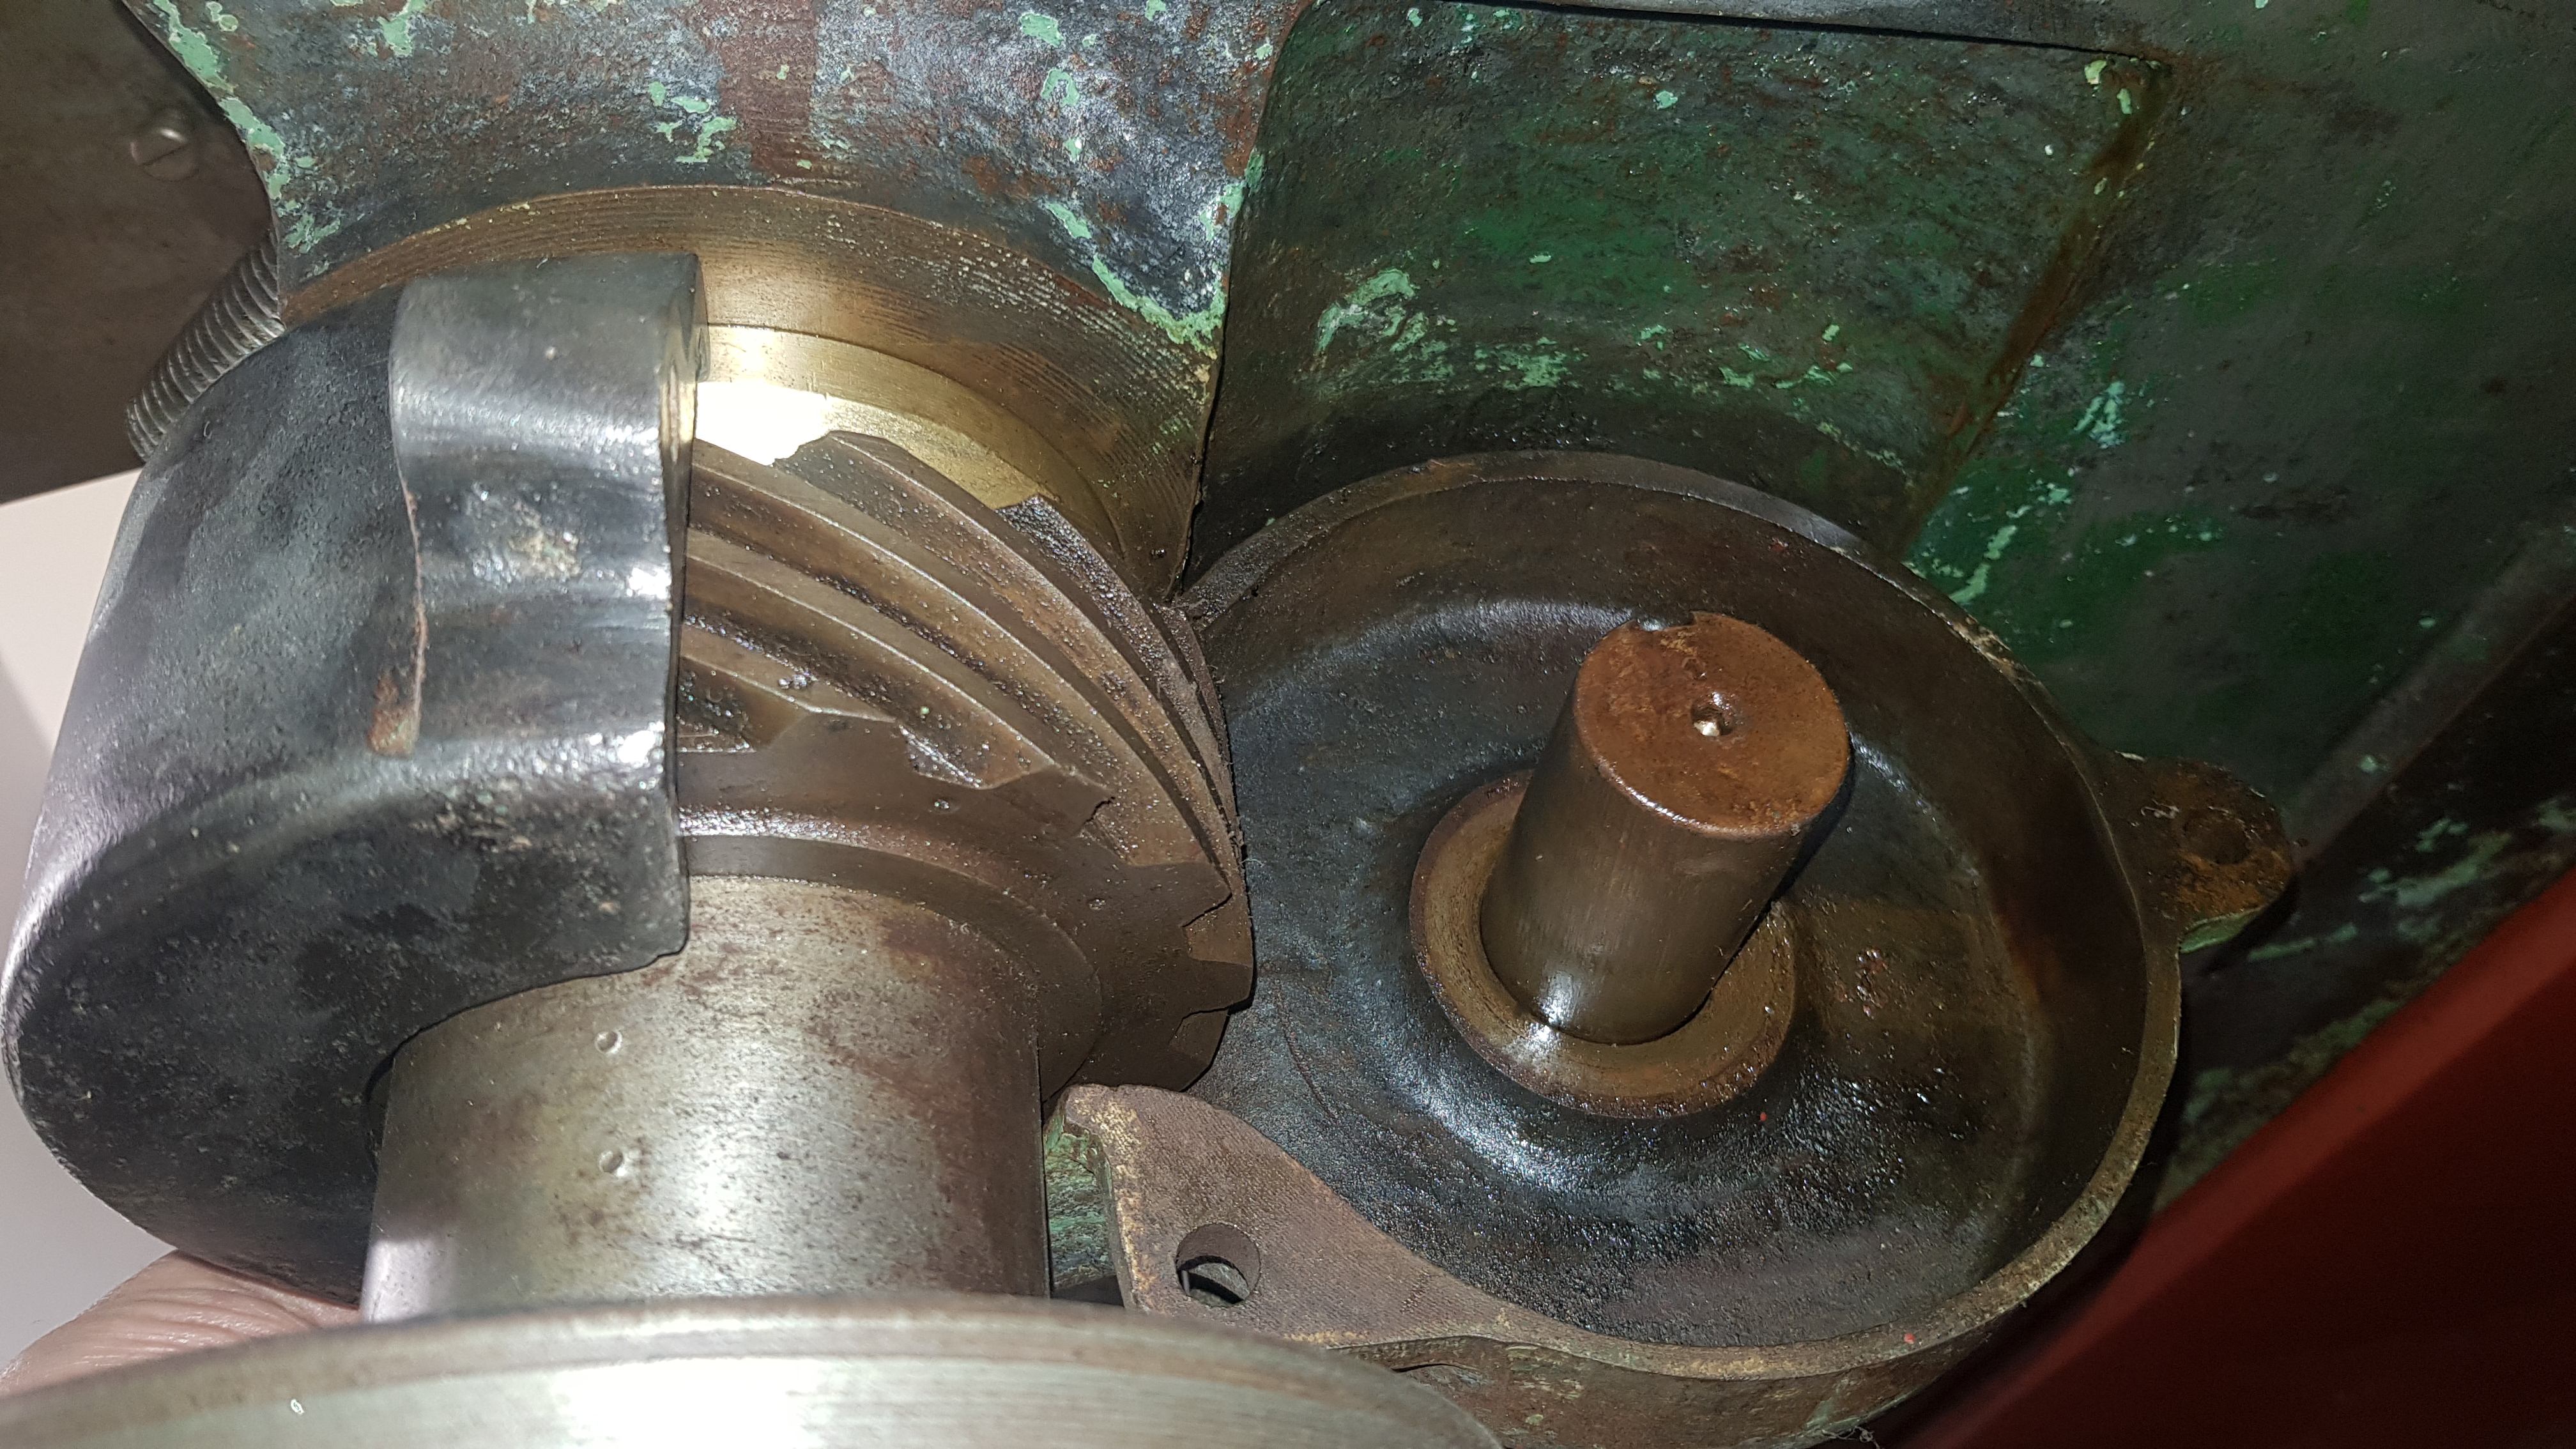
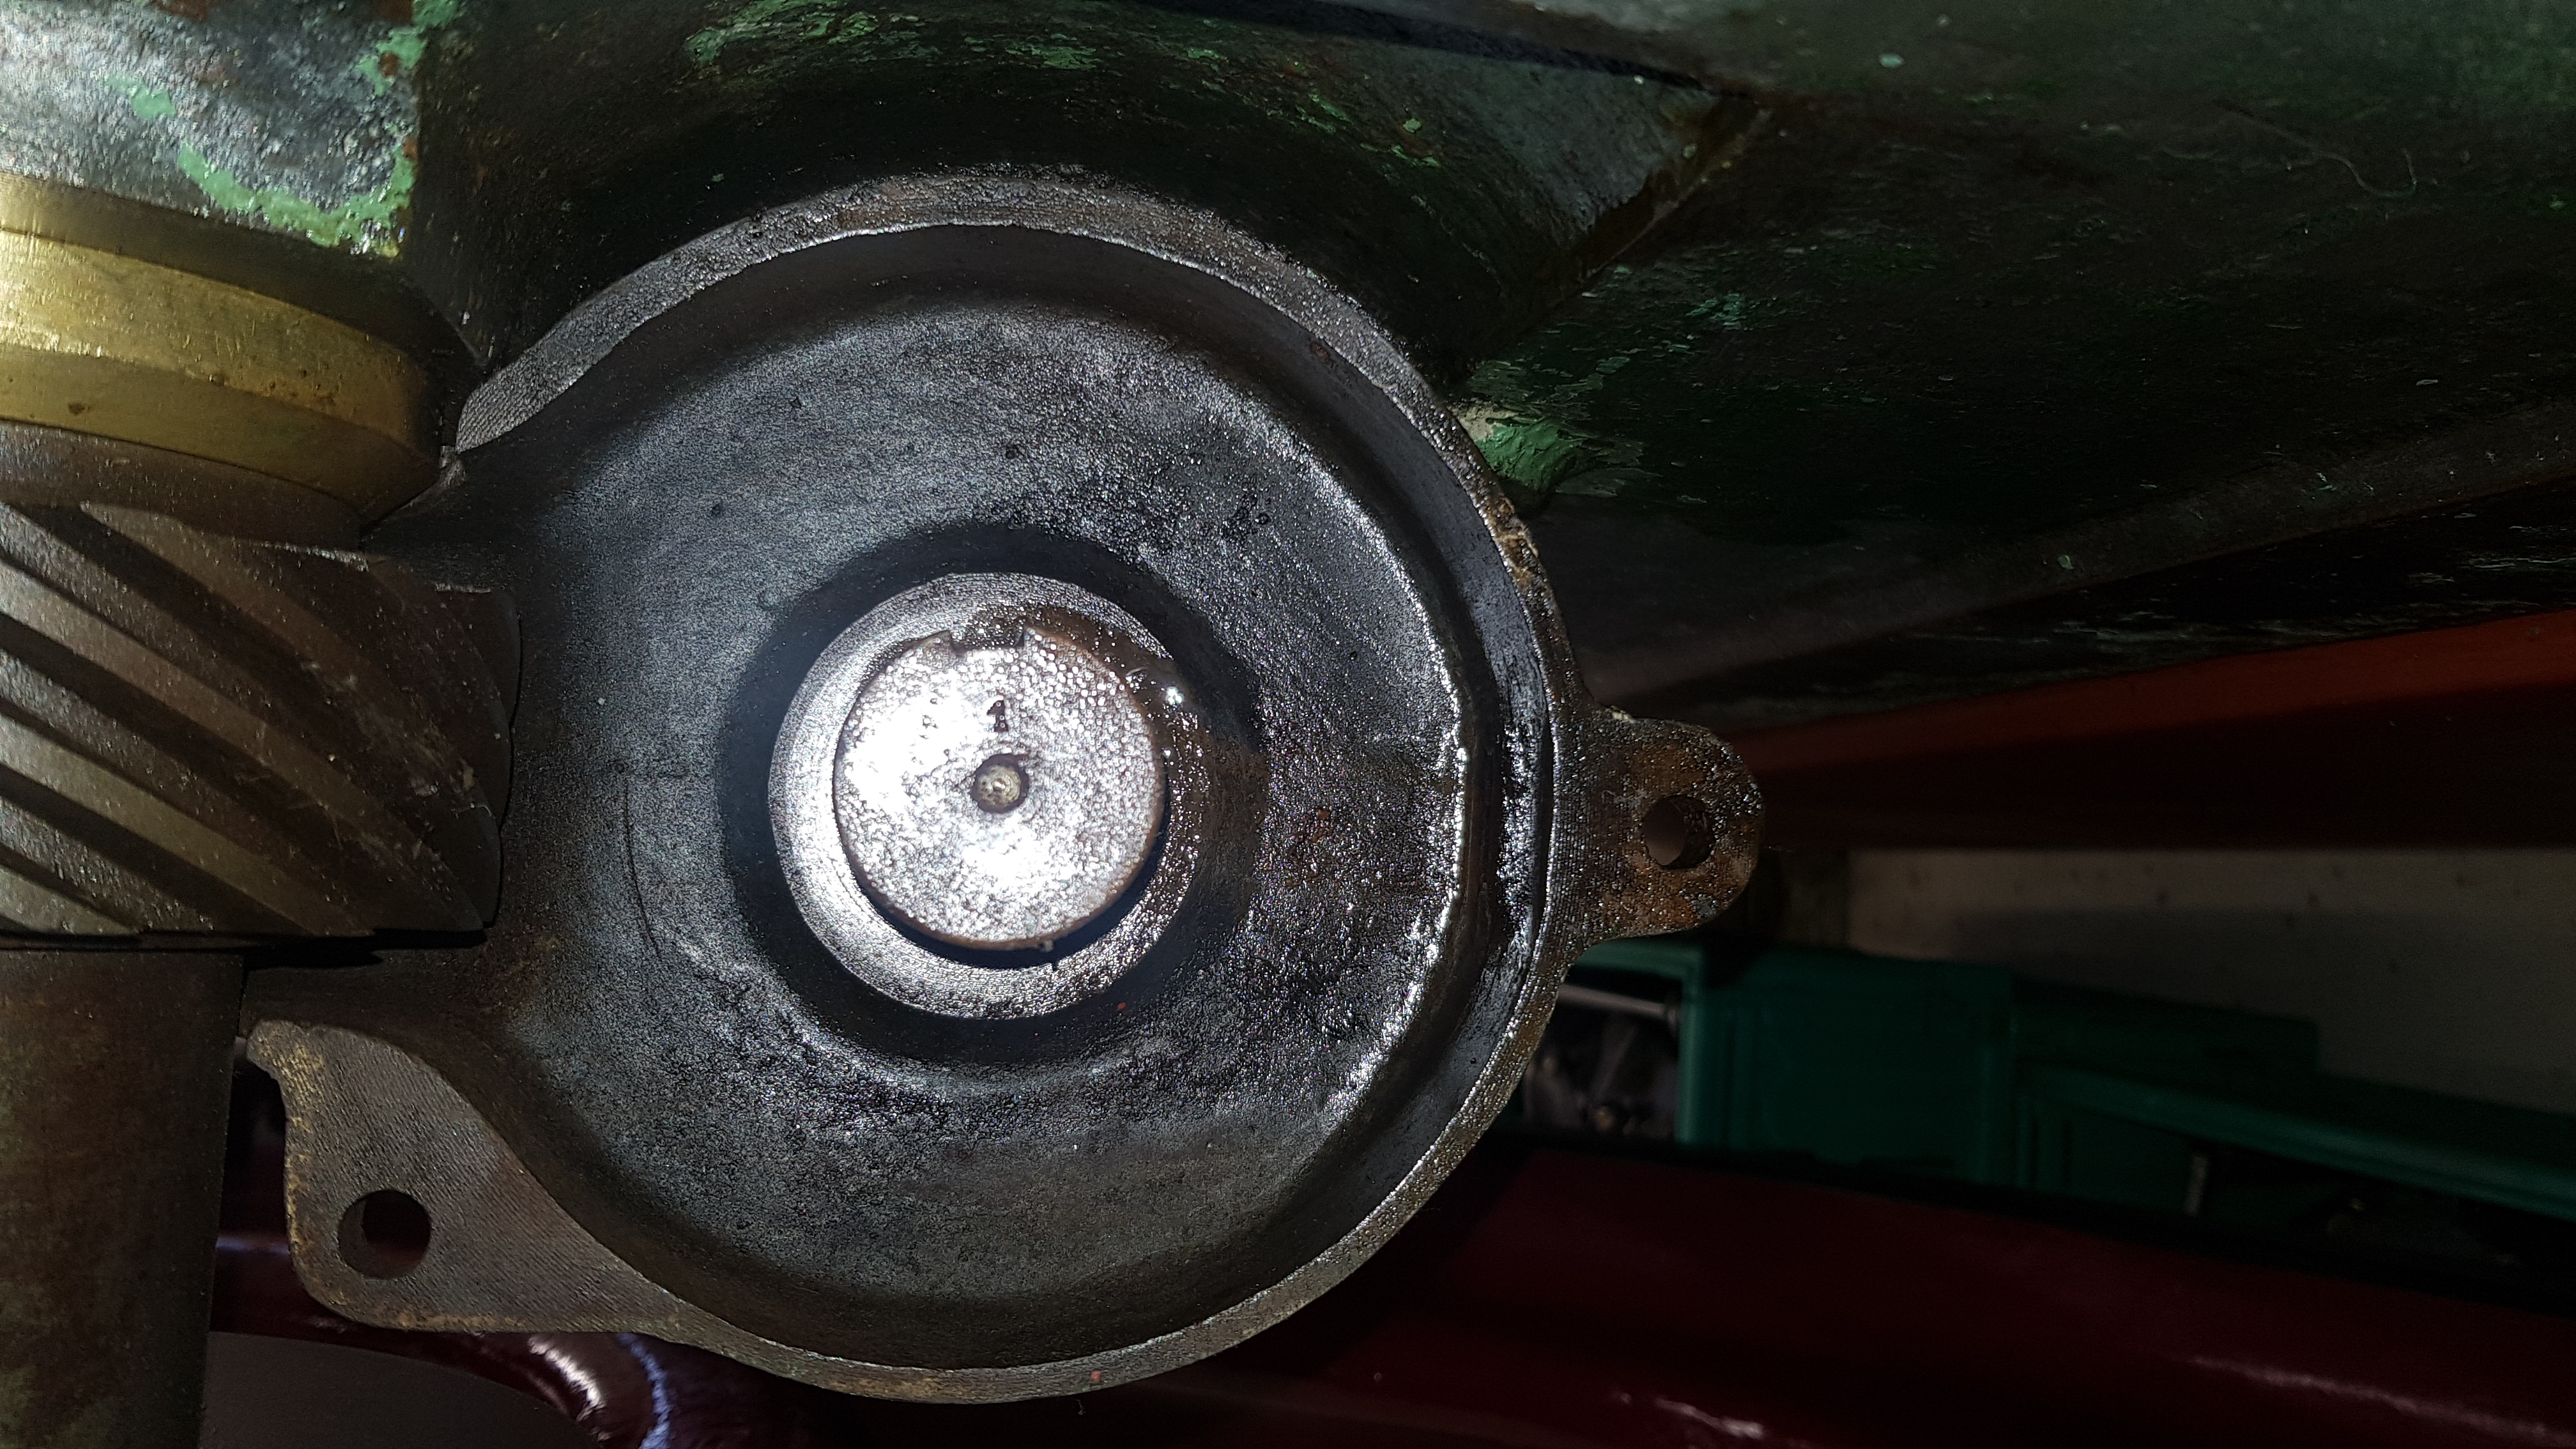
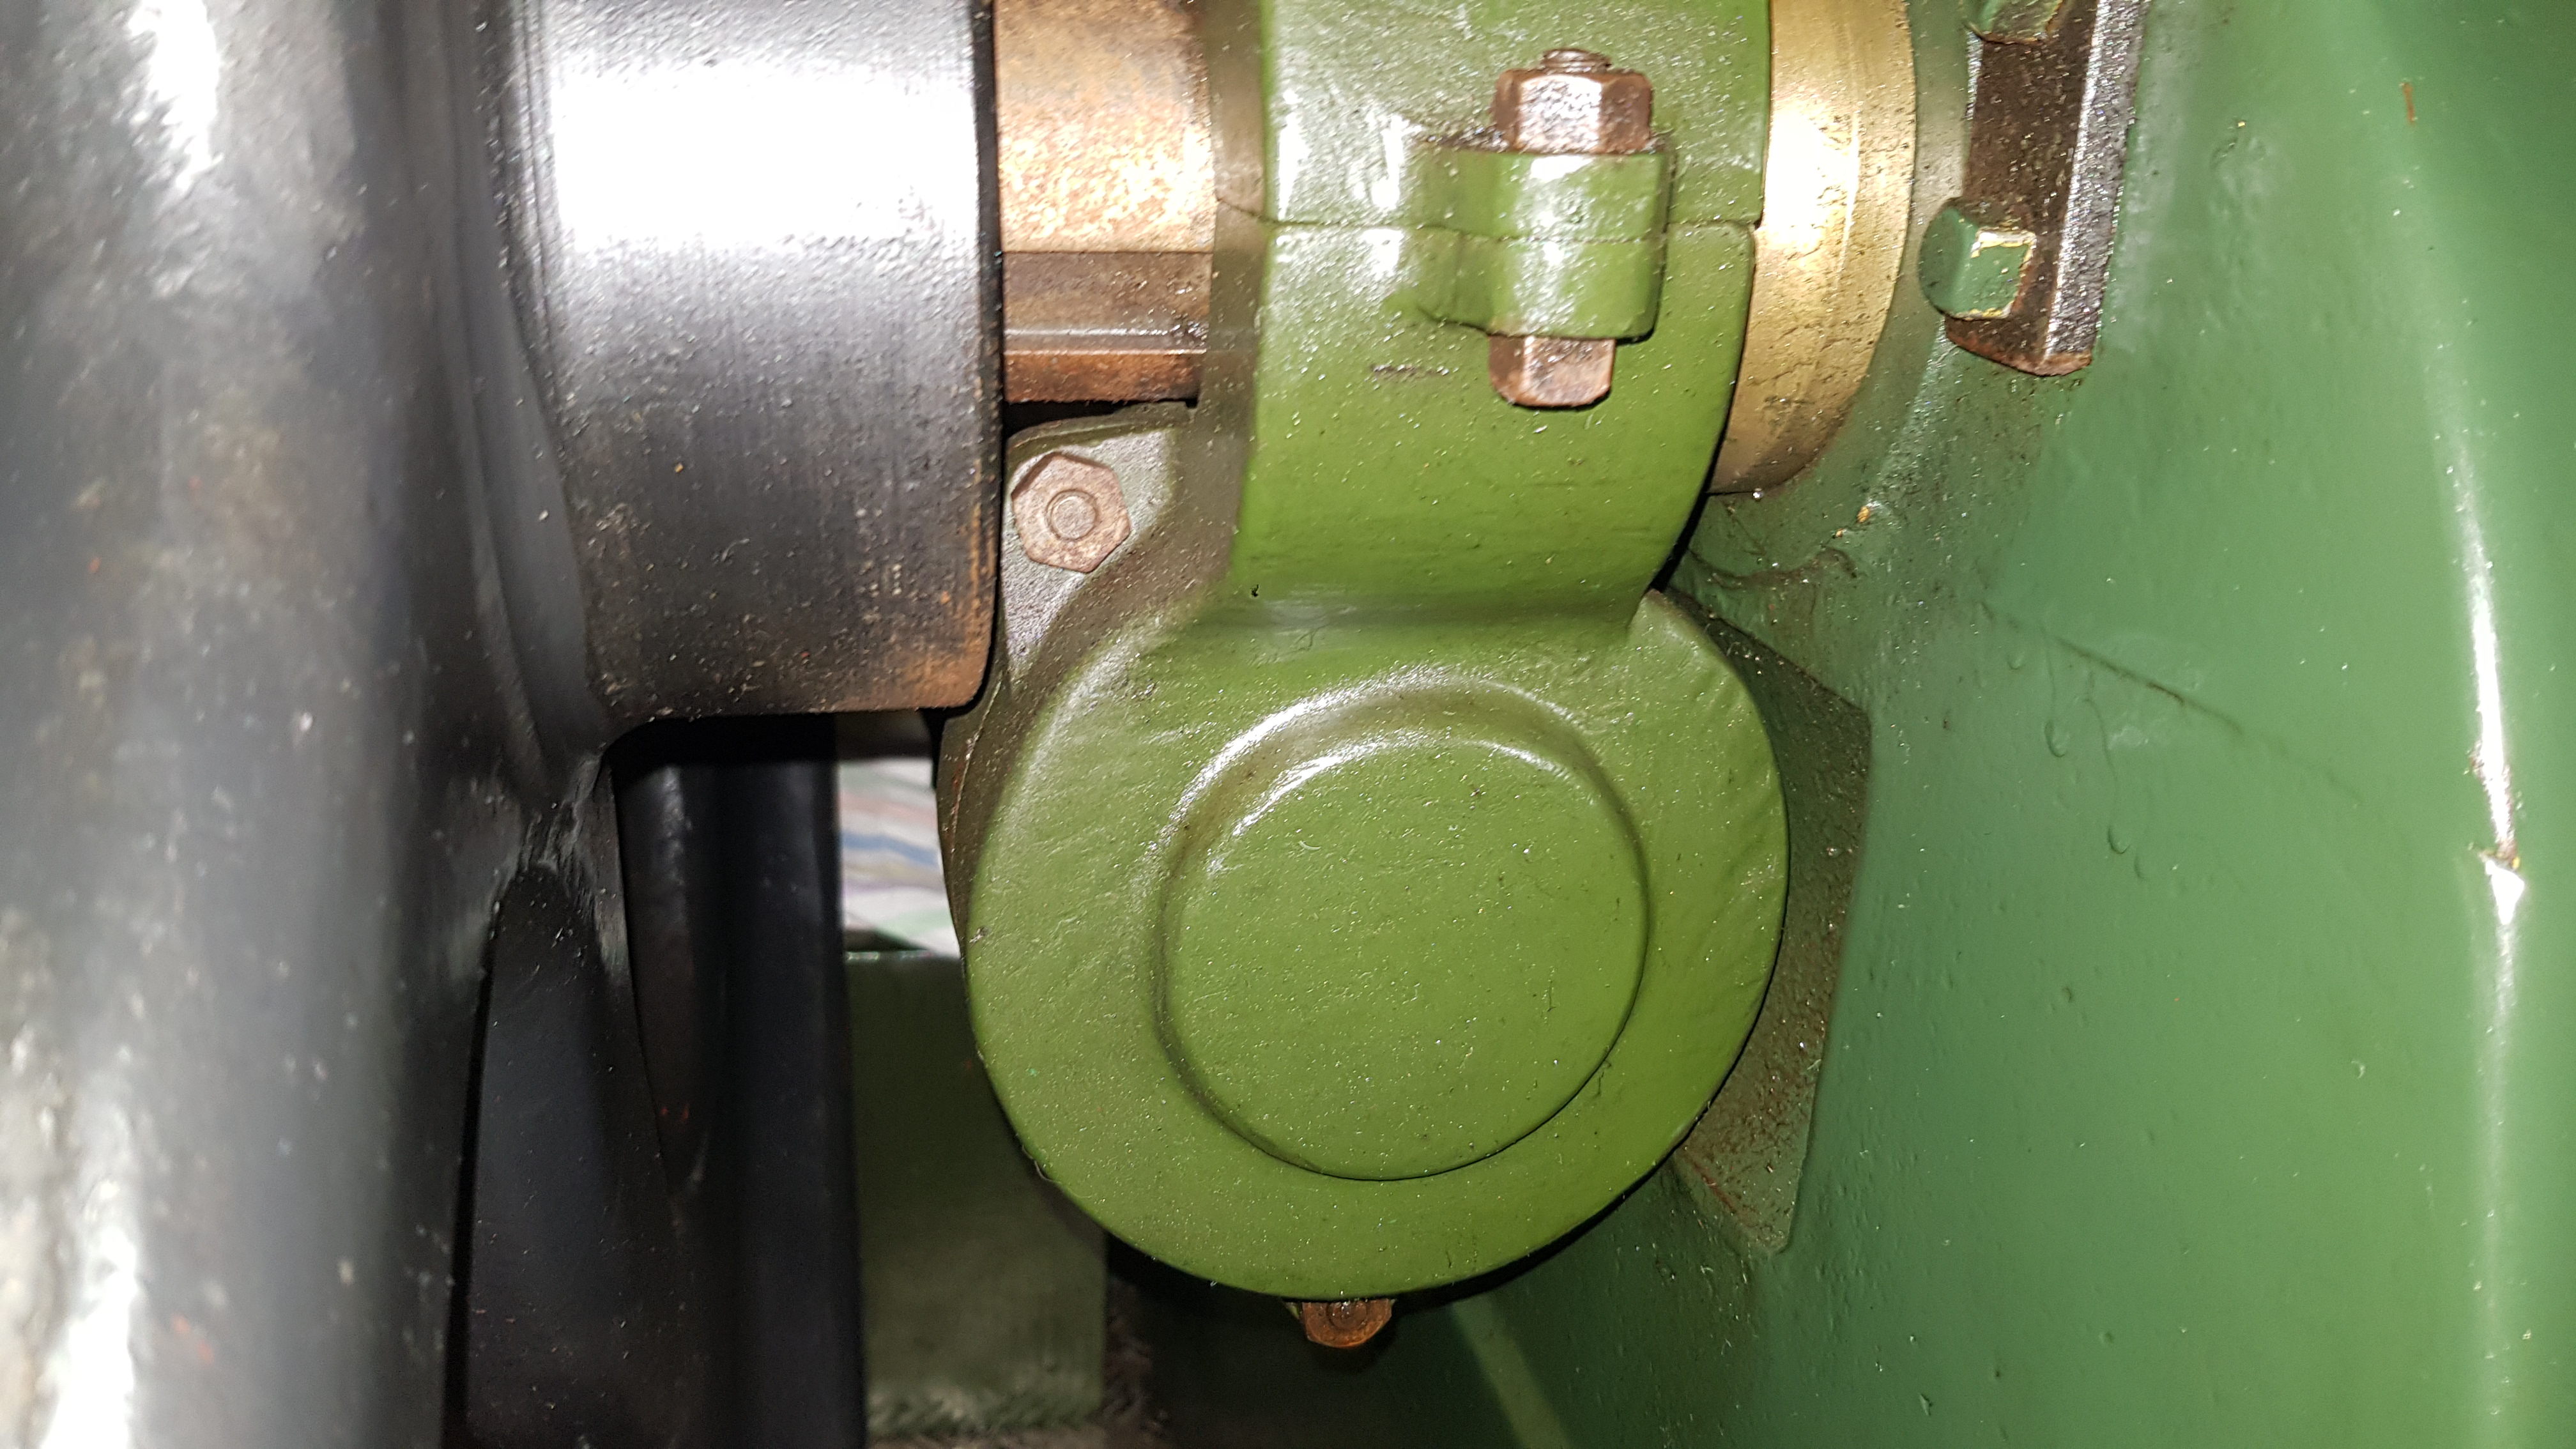
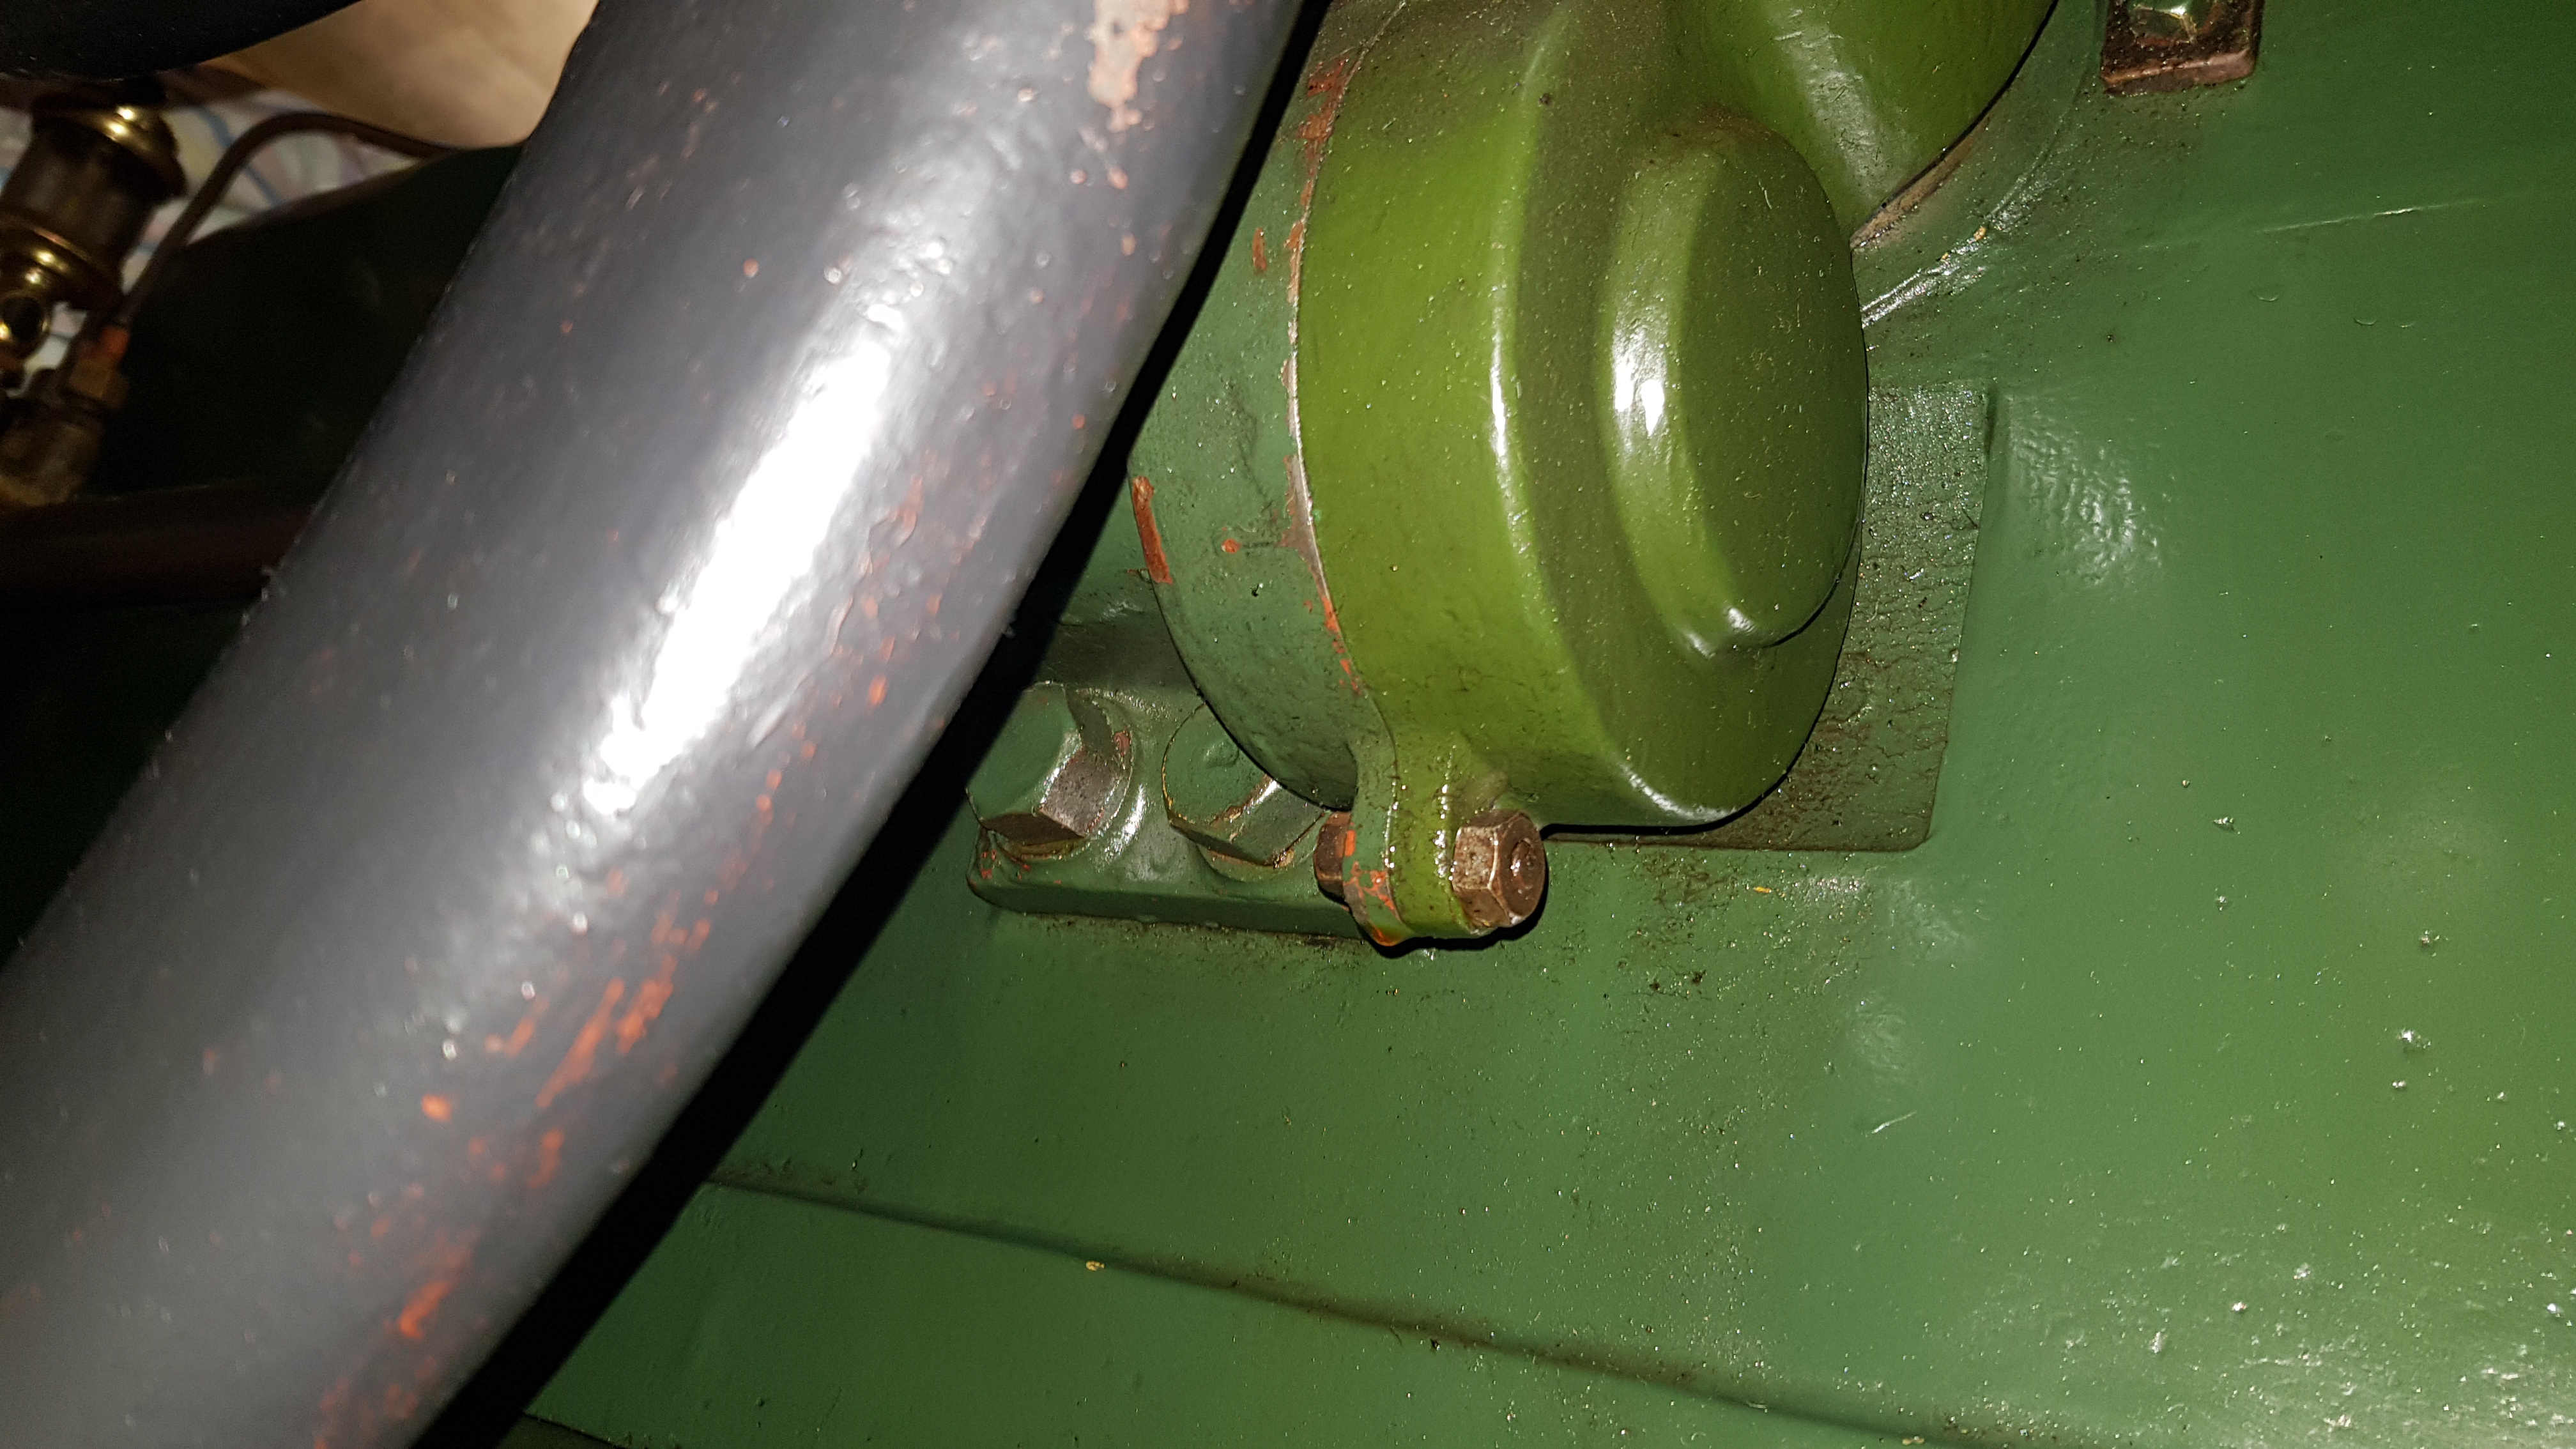
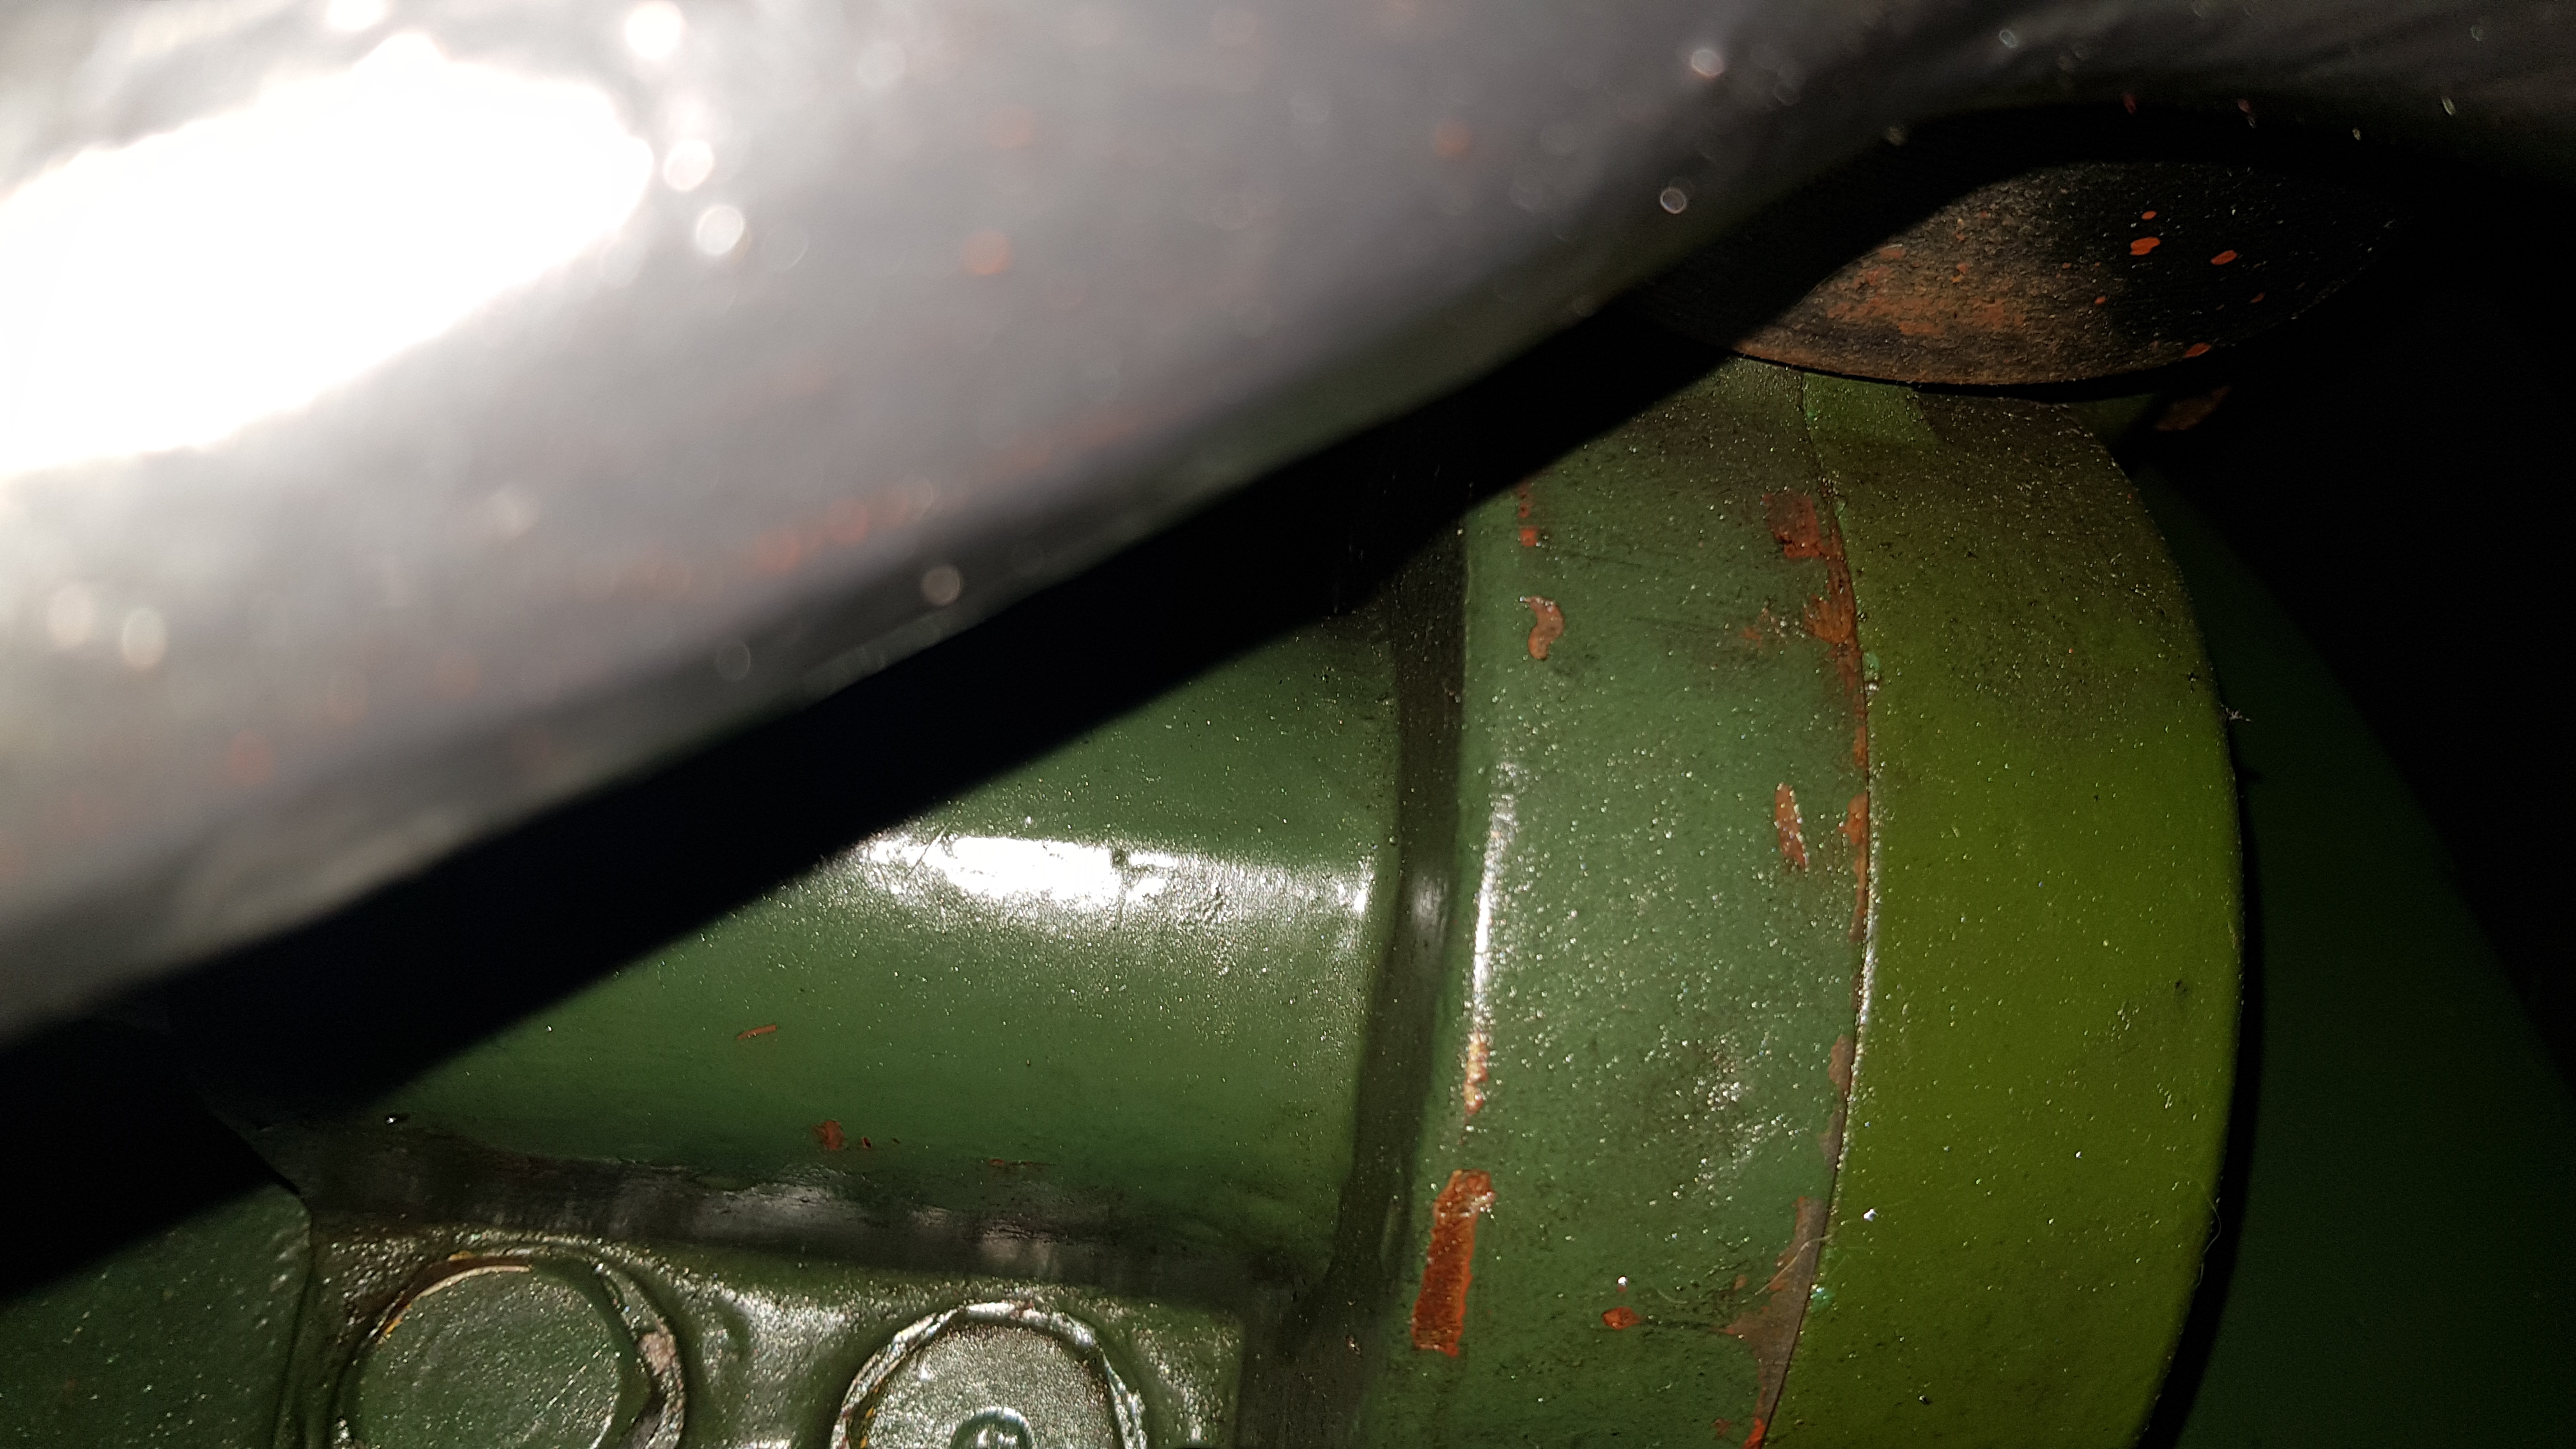
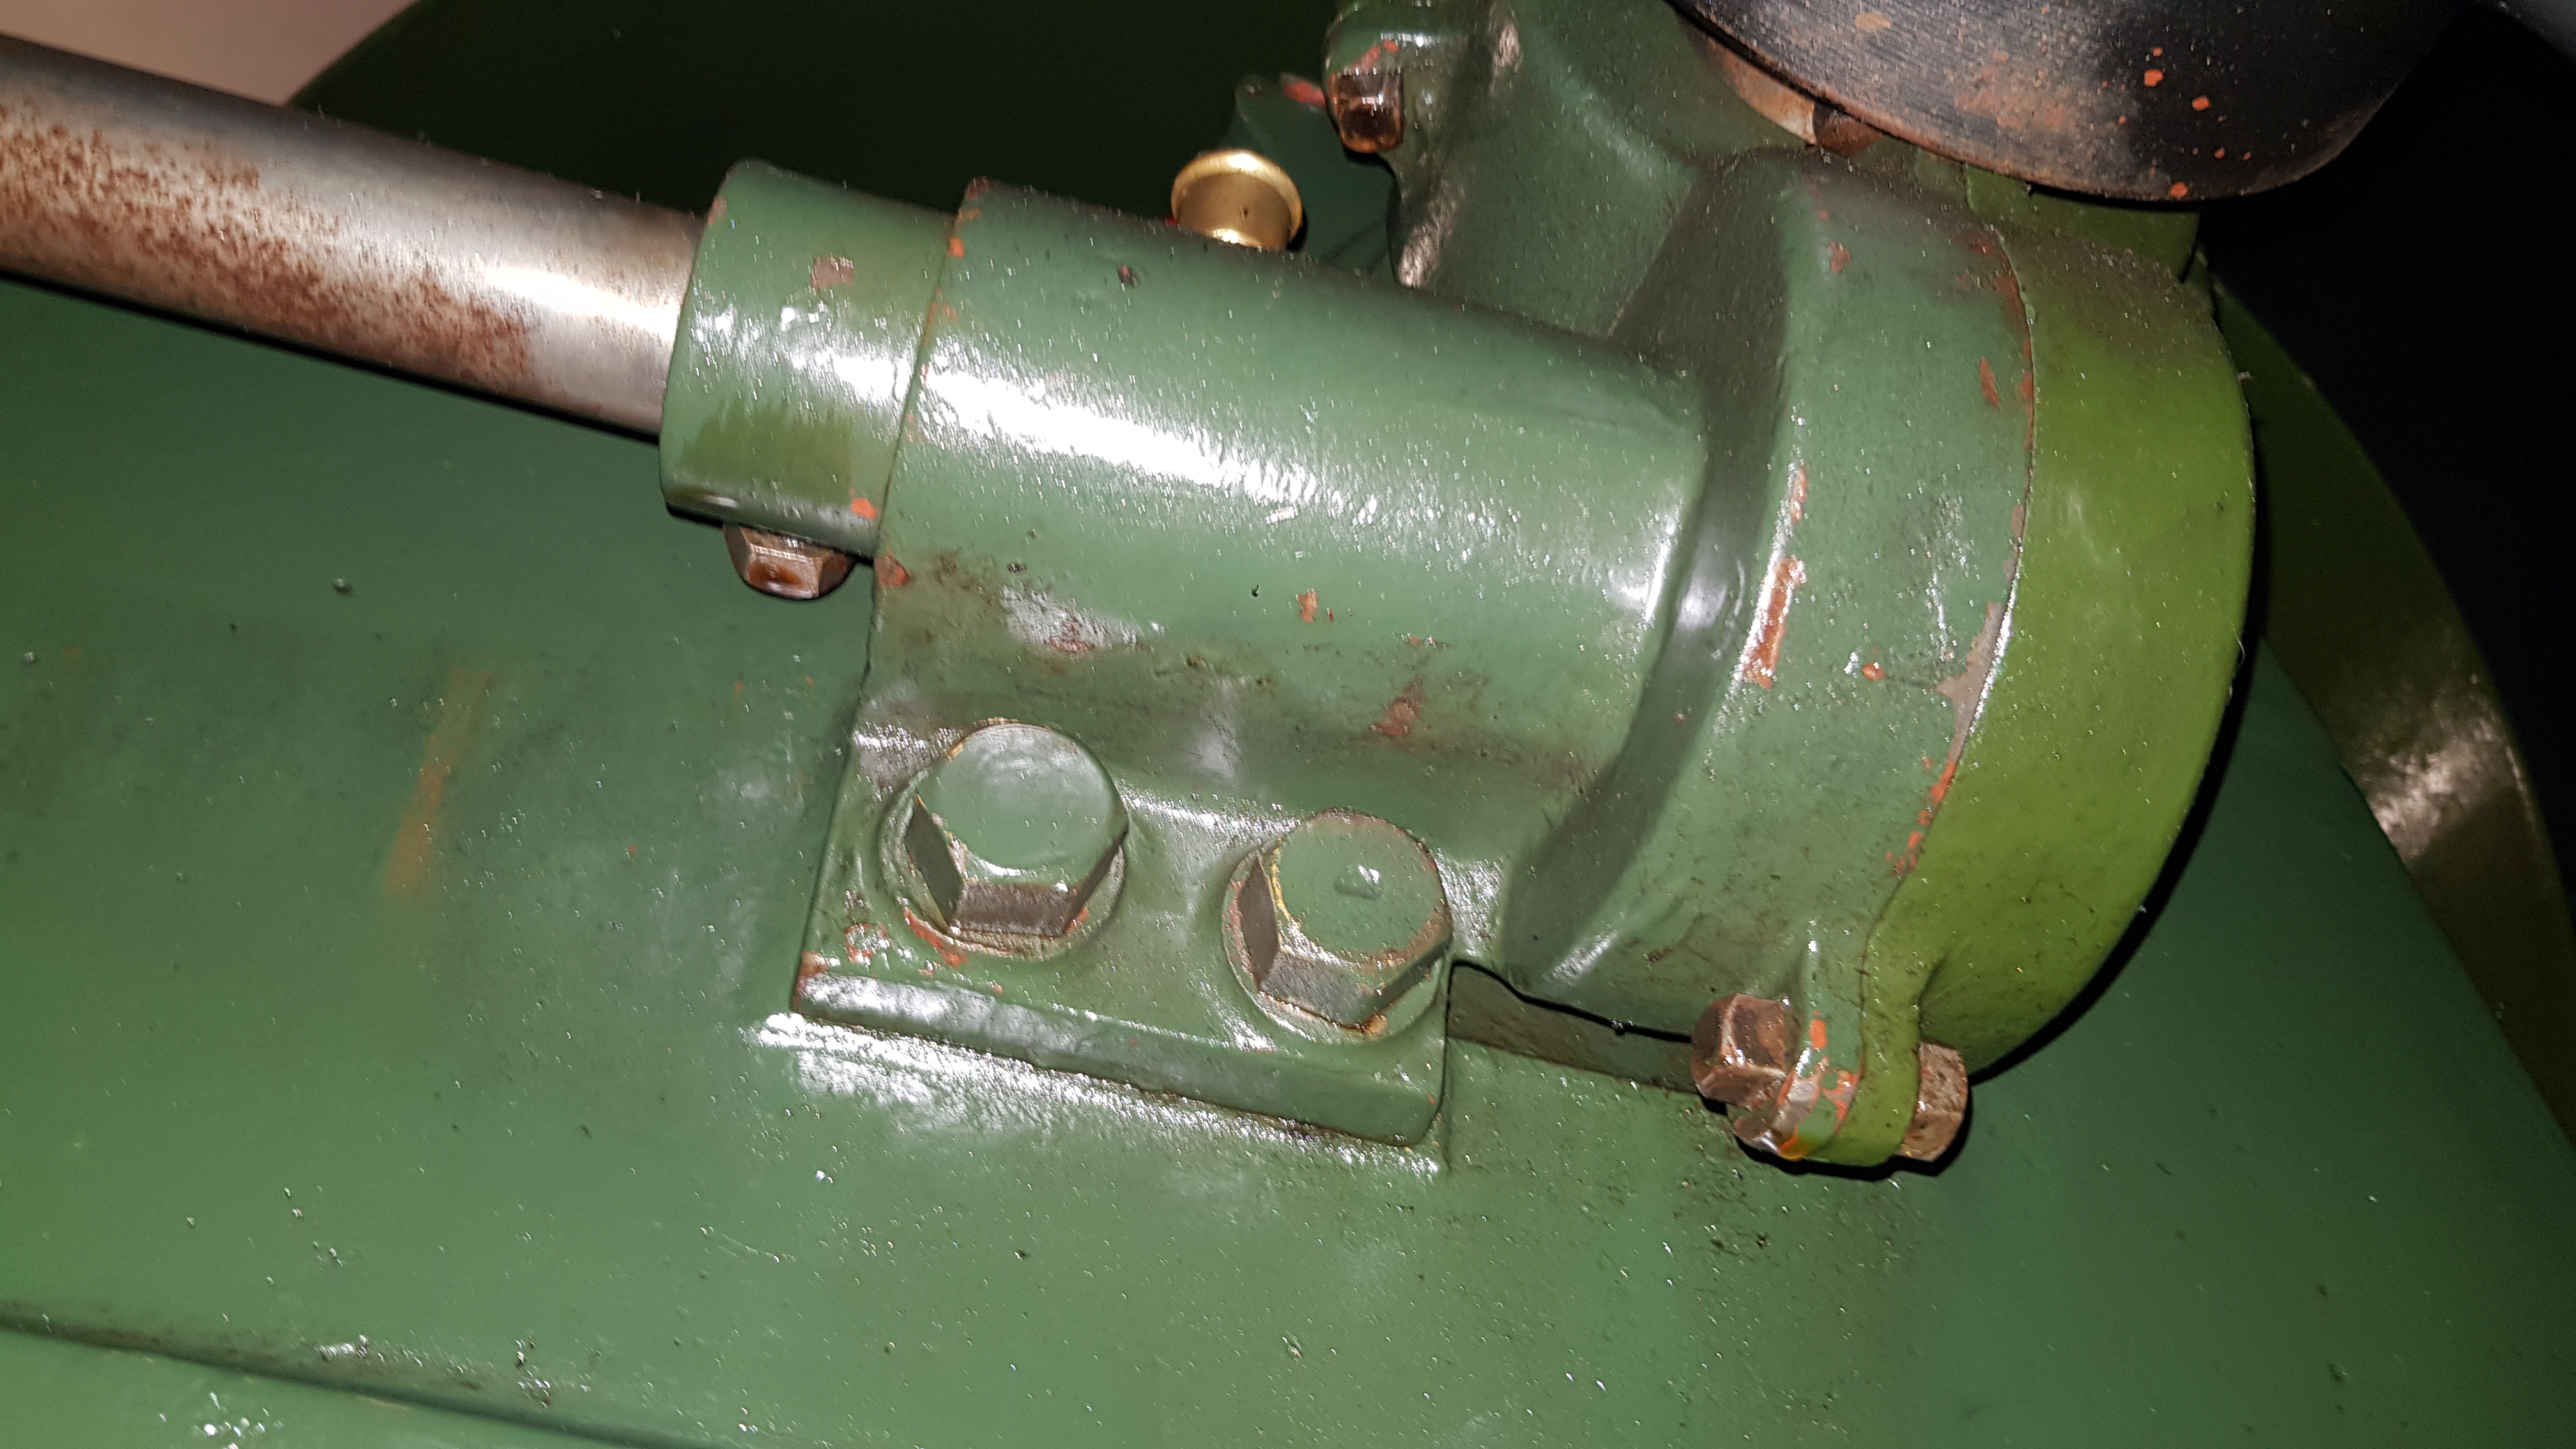
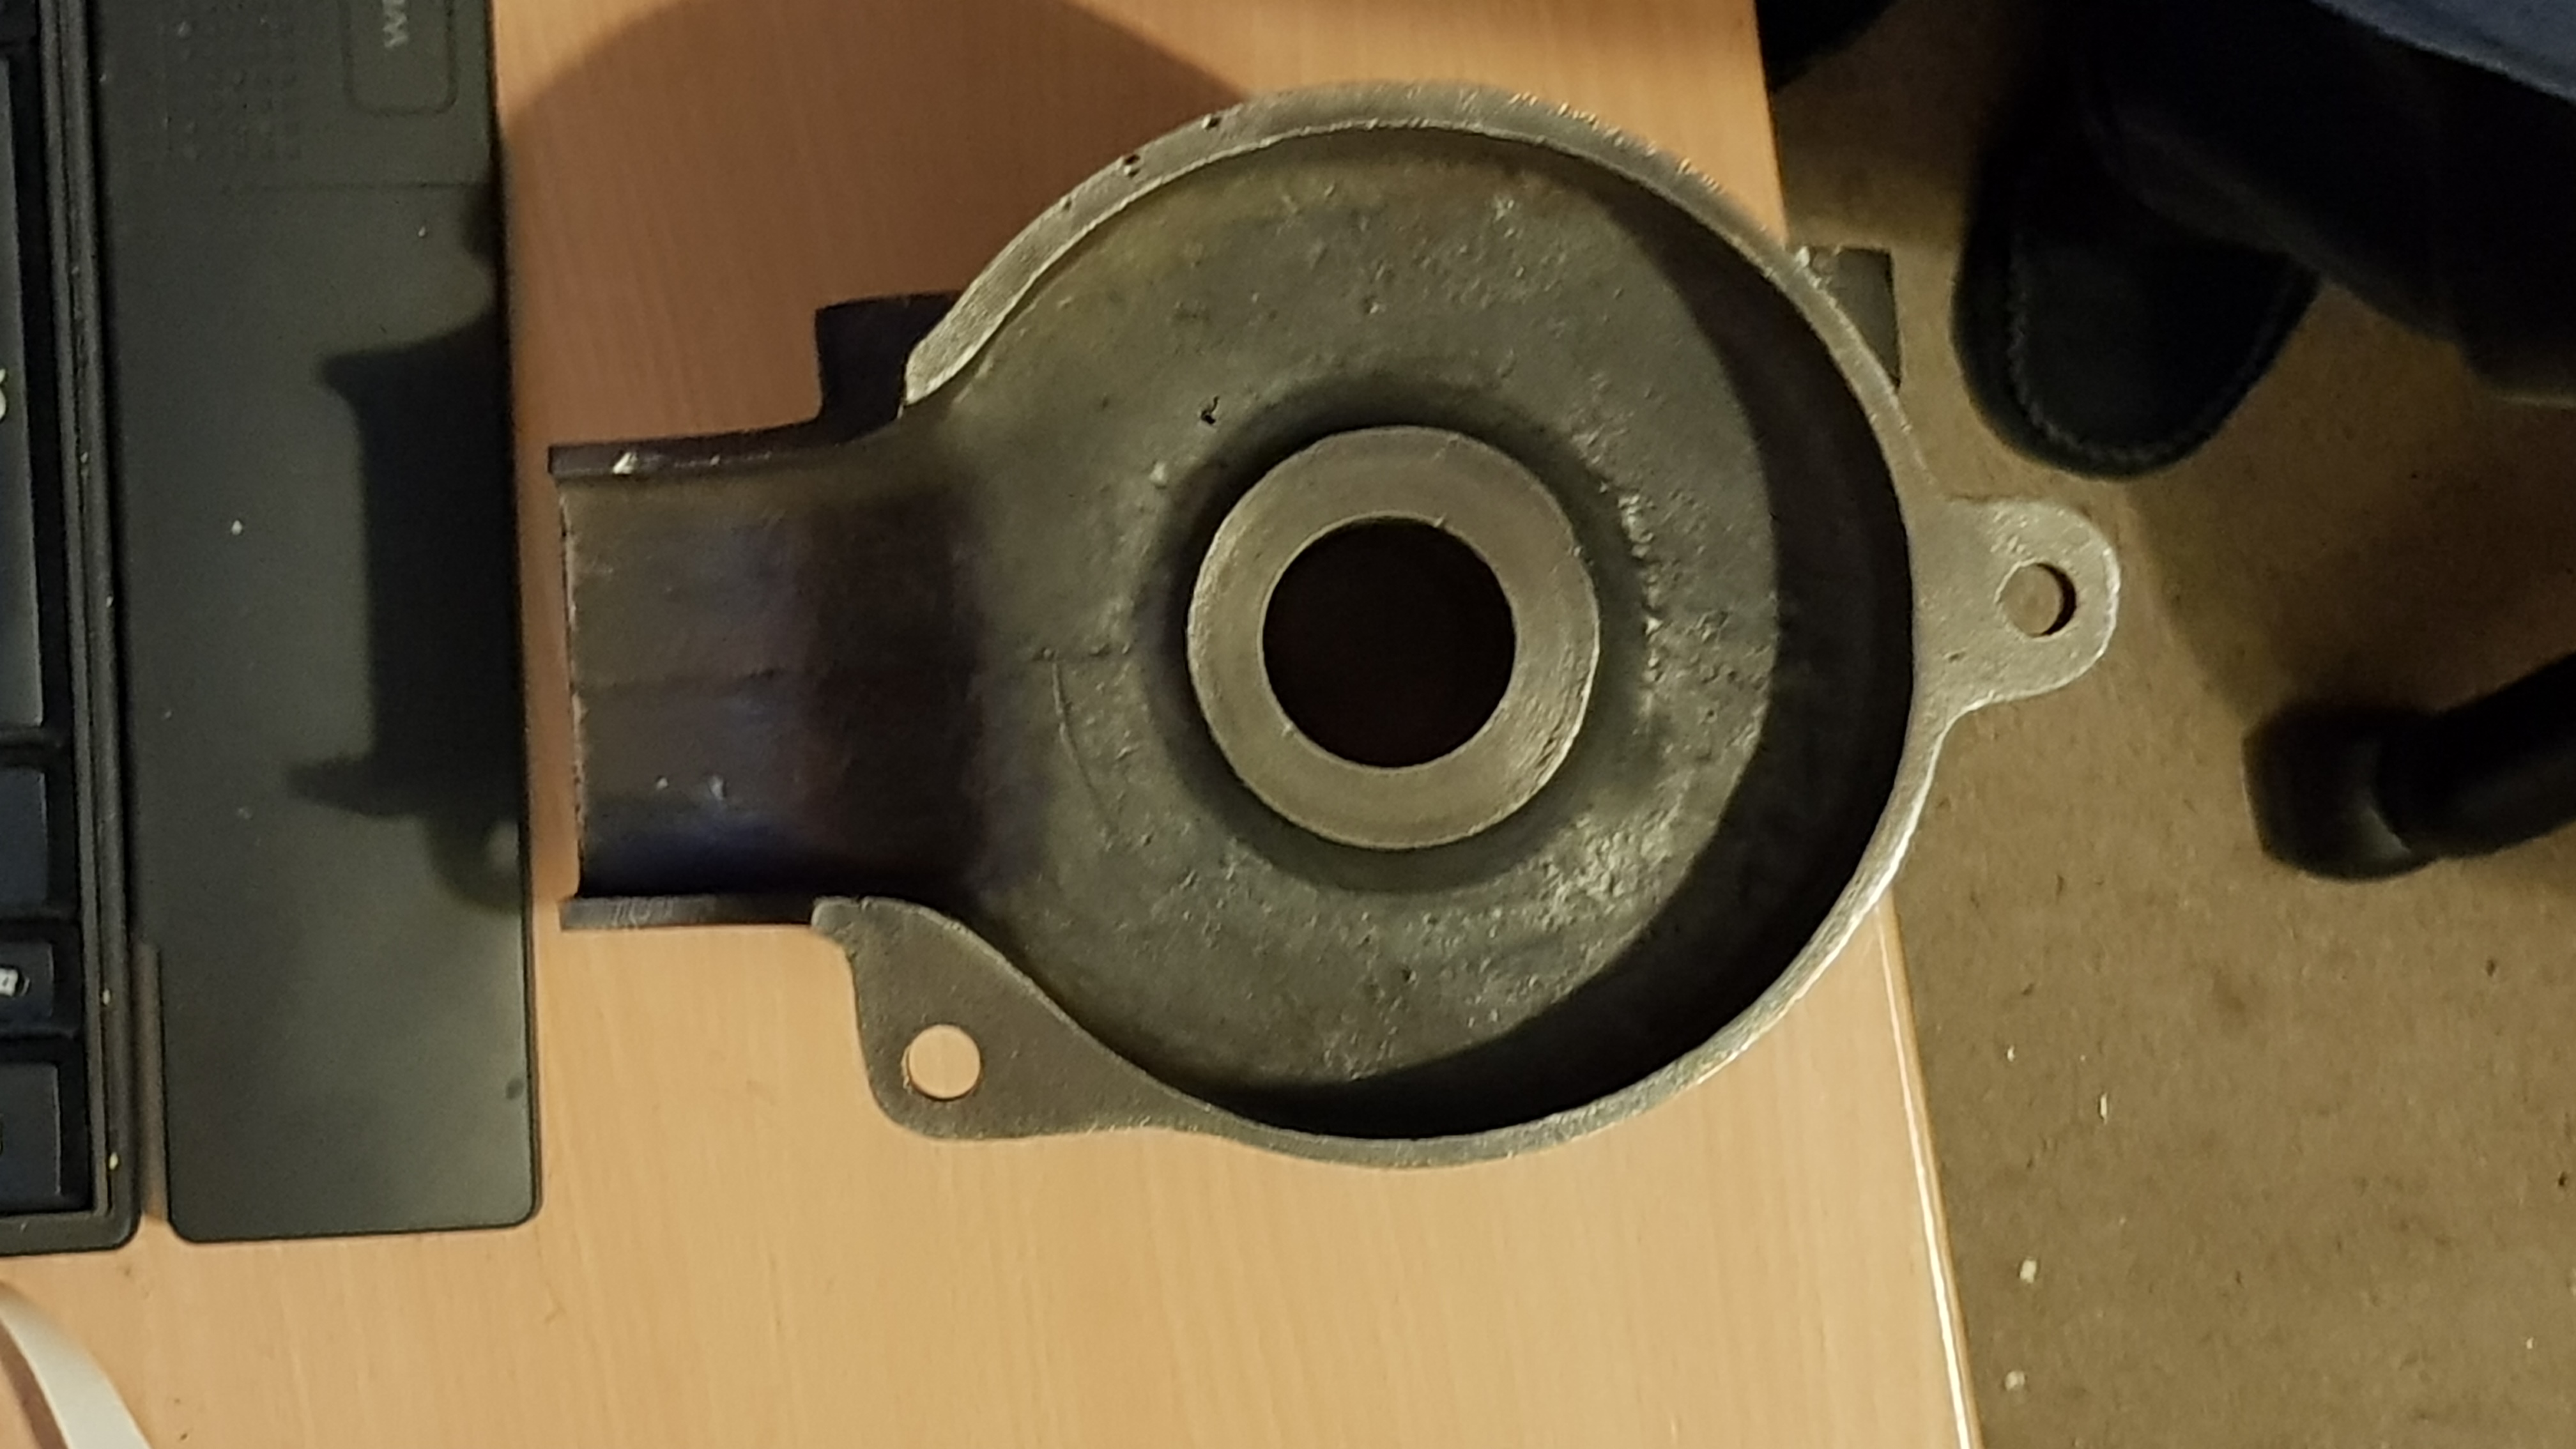
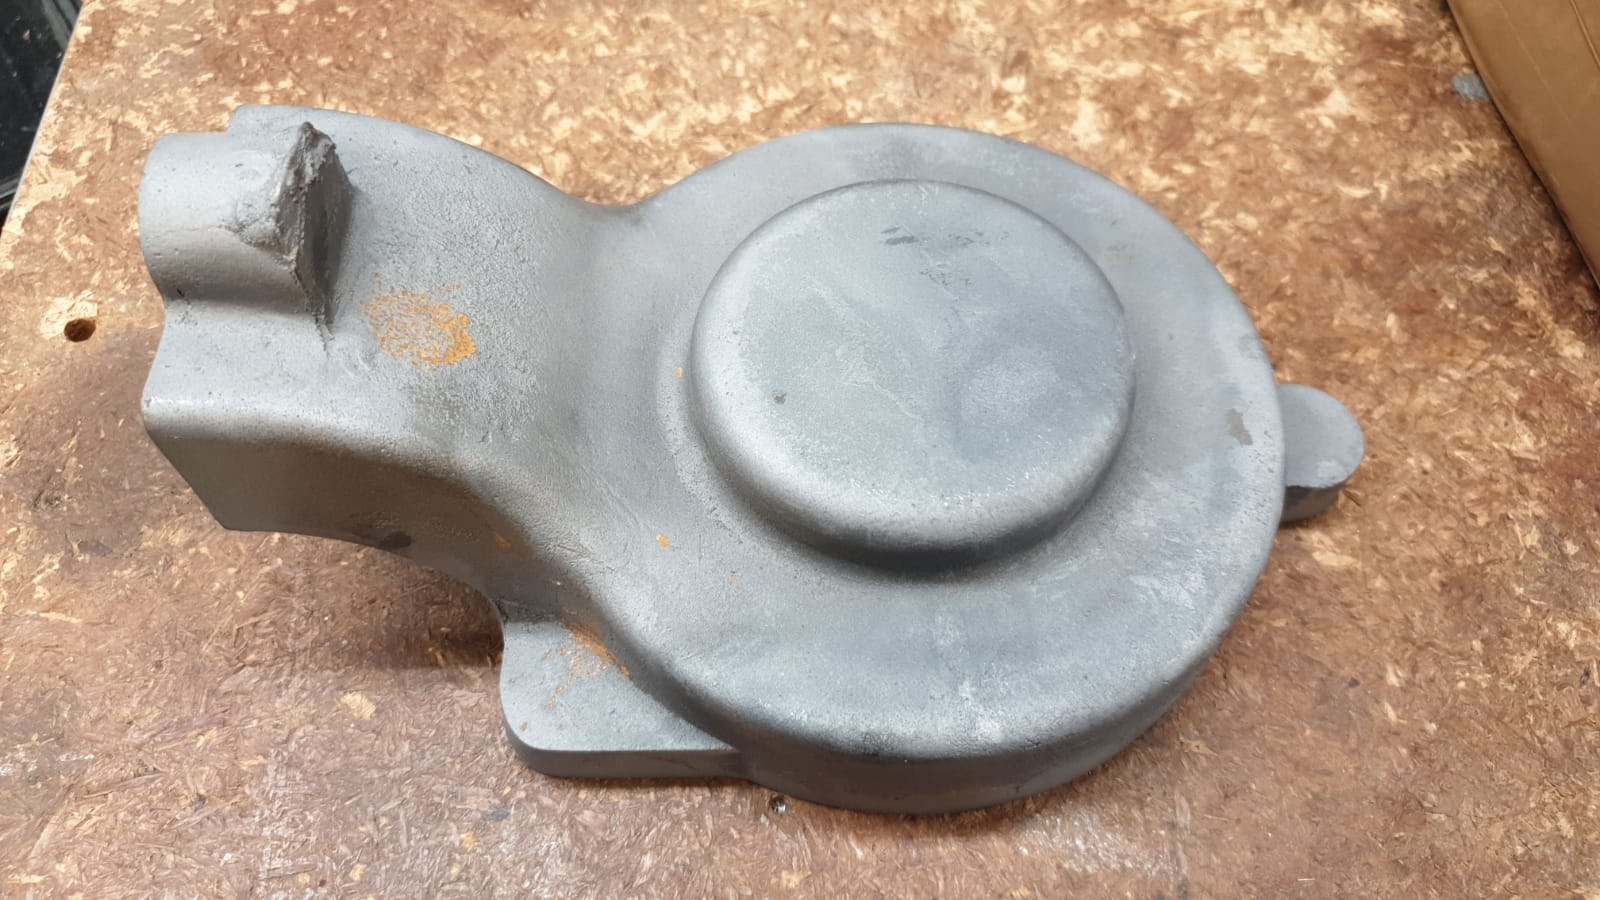
The 19 HP Shanks was also missing a cover for the skew gears - these connect the crankshaft and the side shaft which drives the valves. An idea of the shape was gained from the 12Hp Shanks cover.
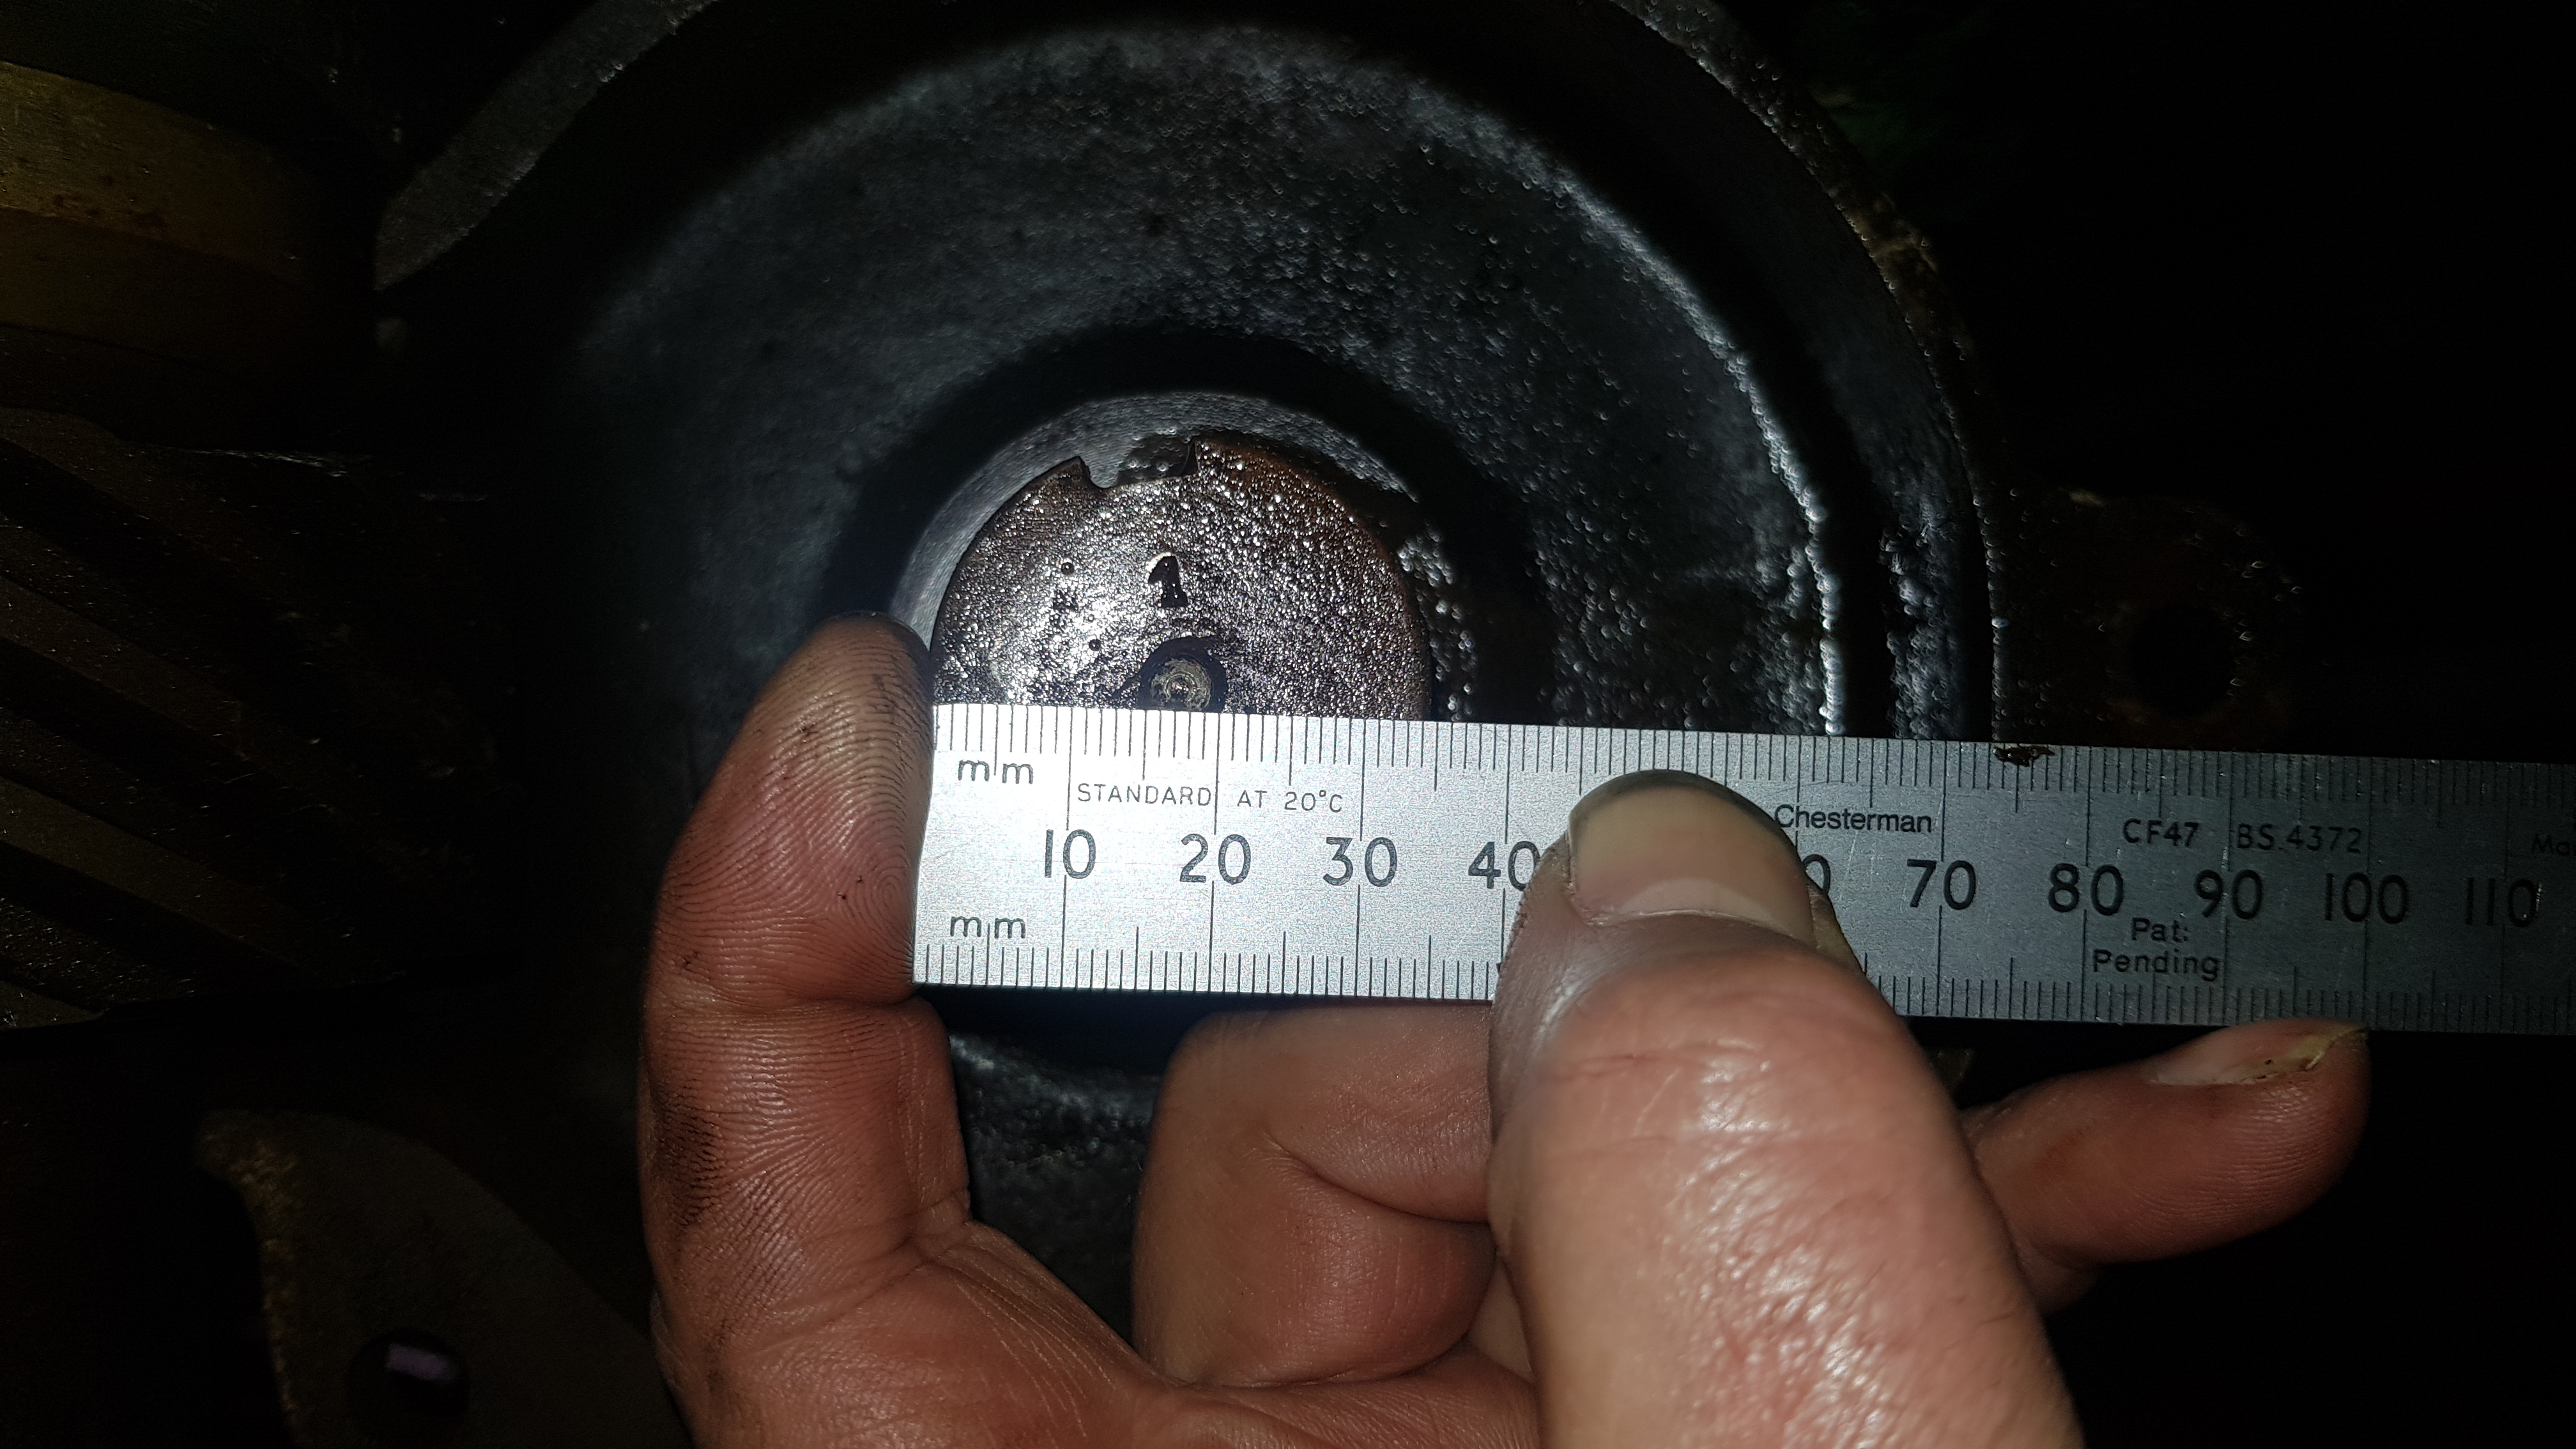
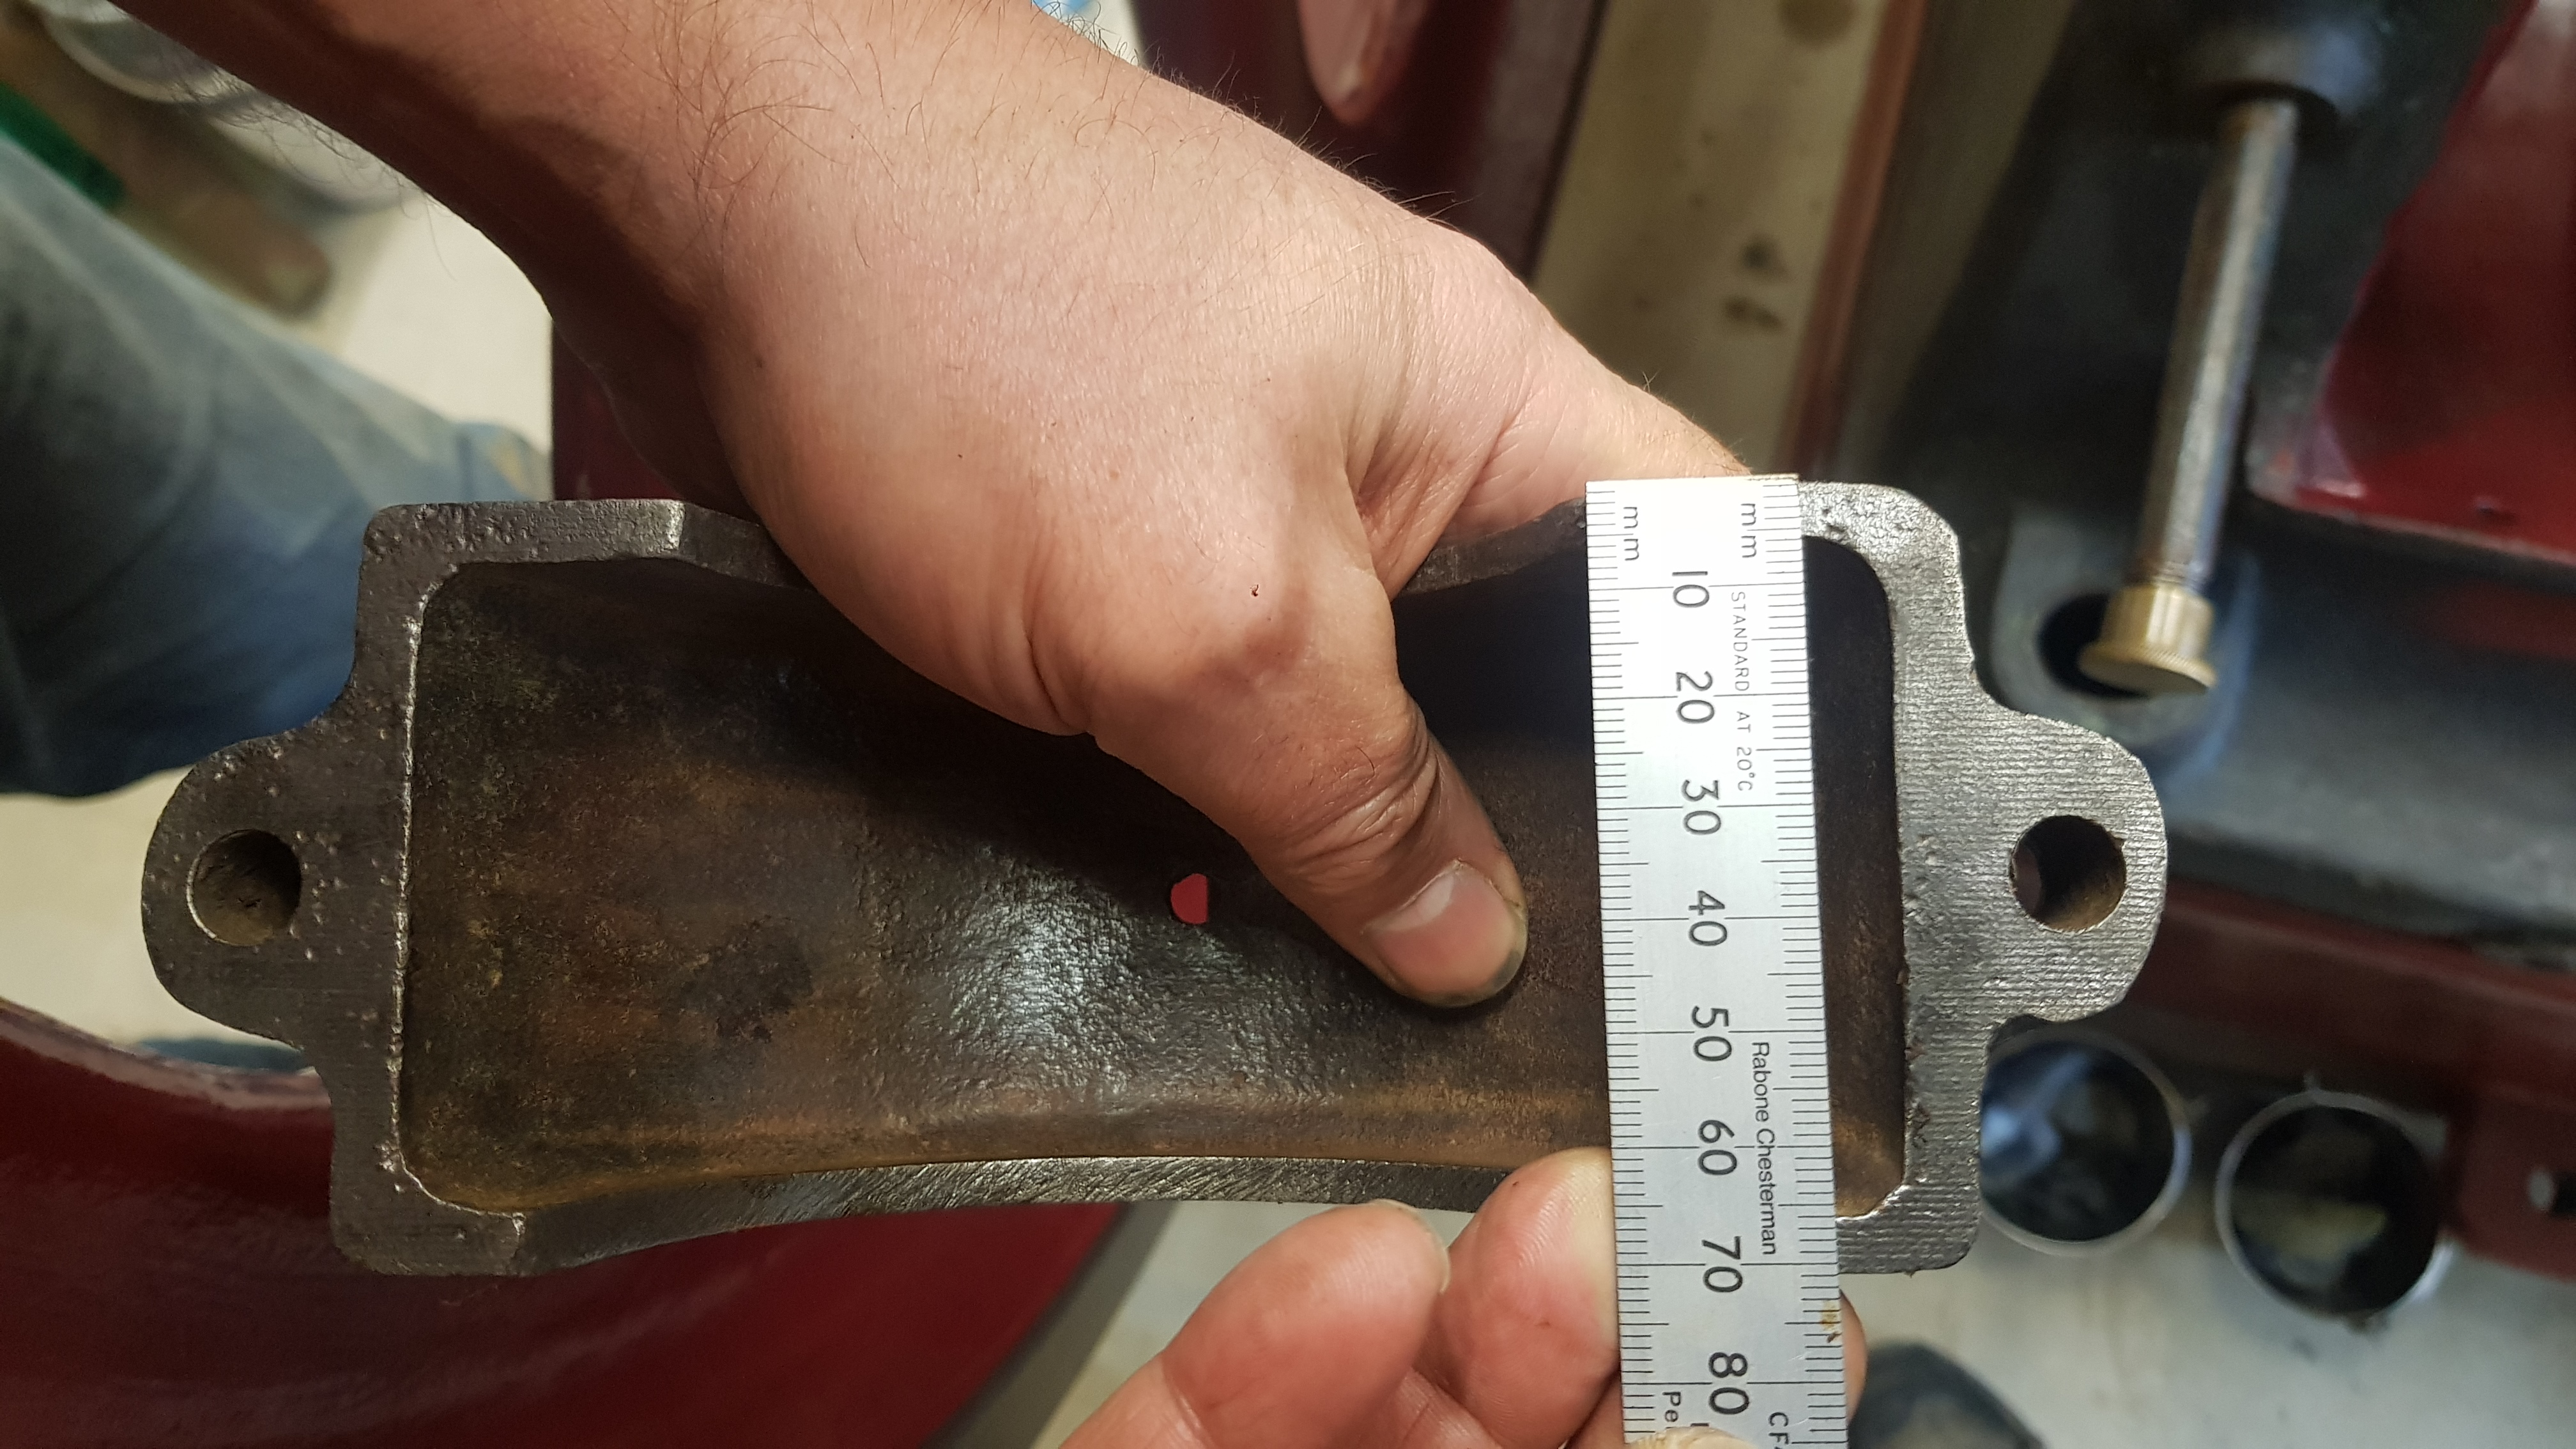
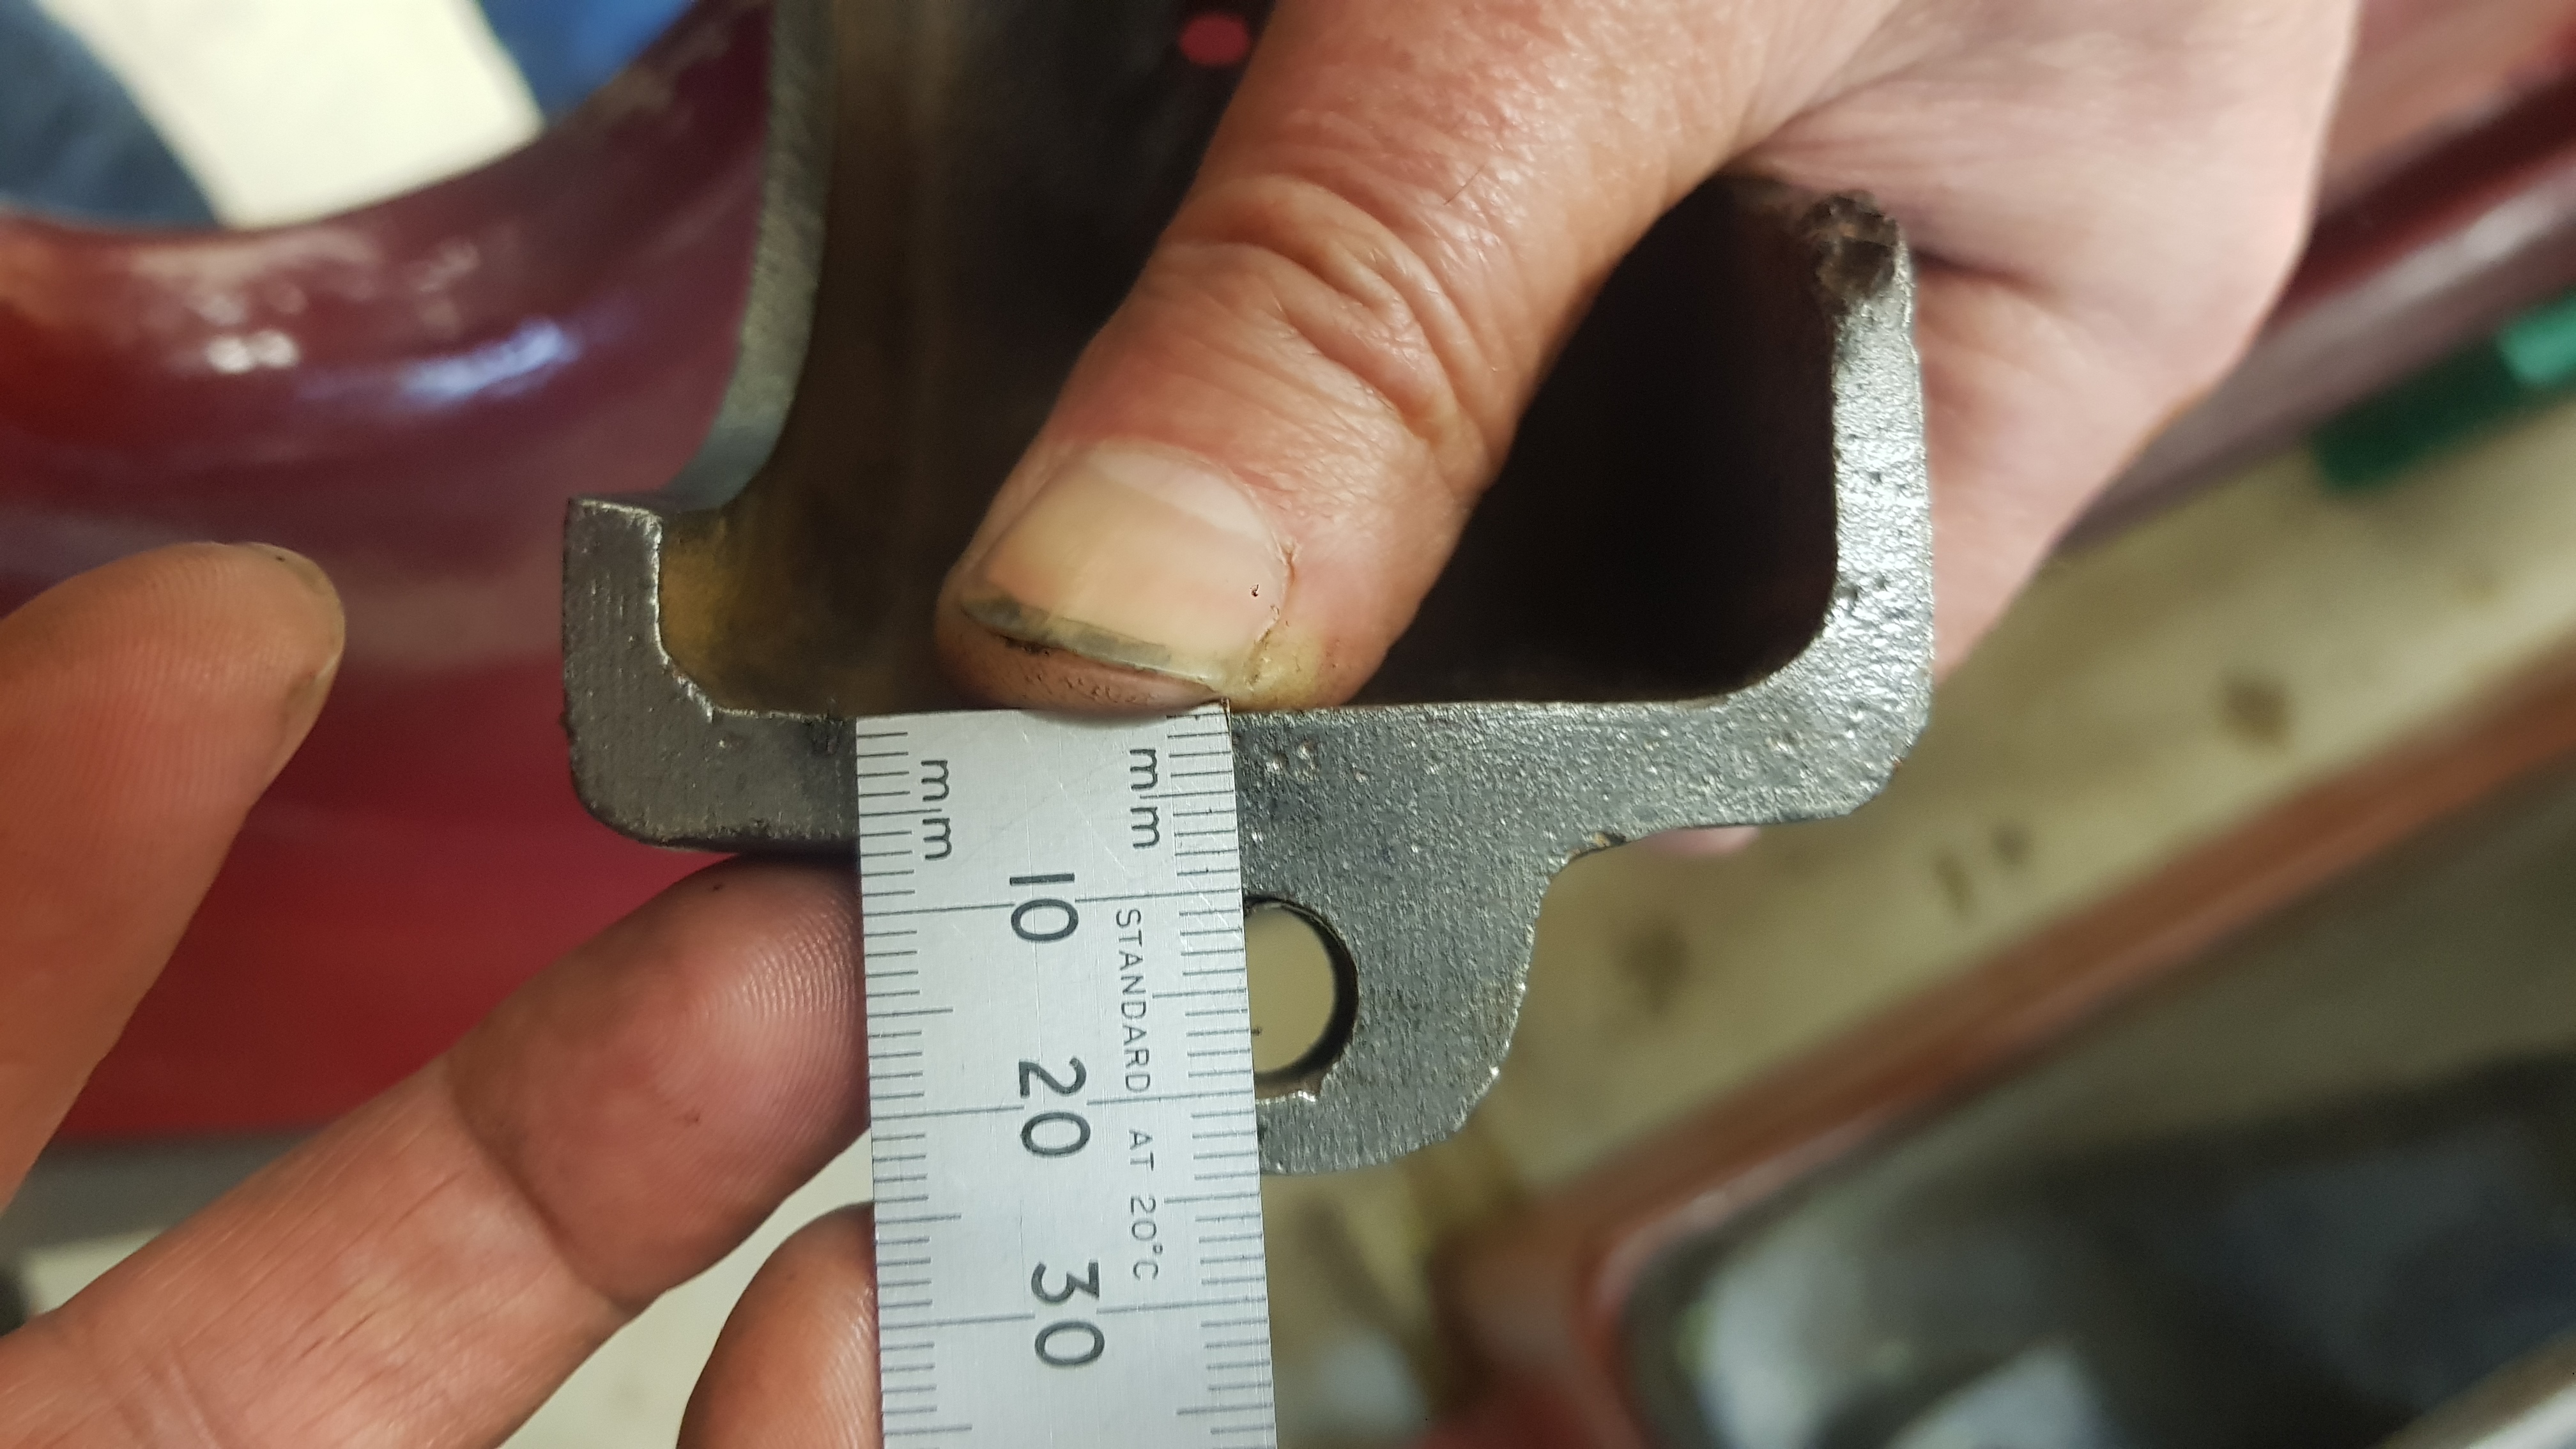
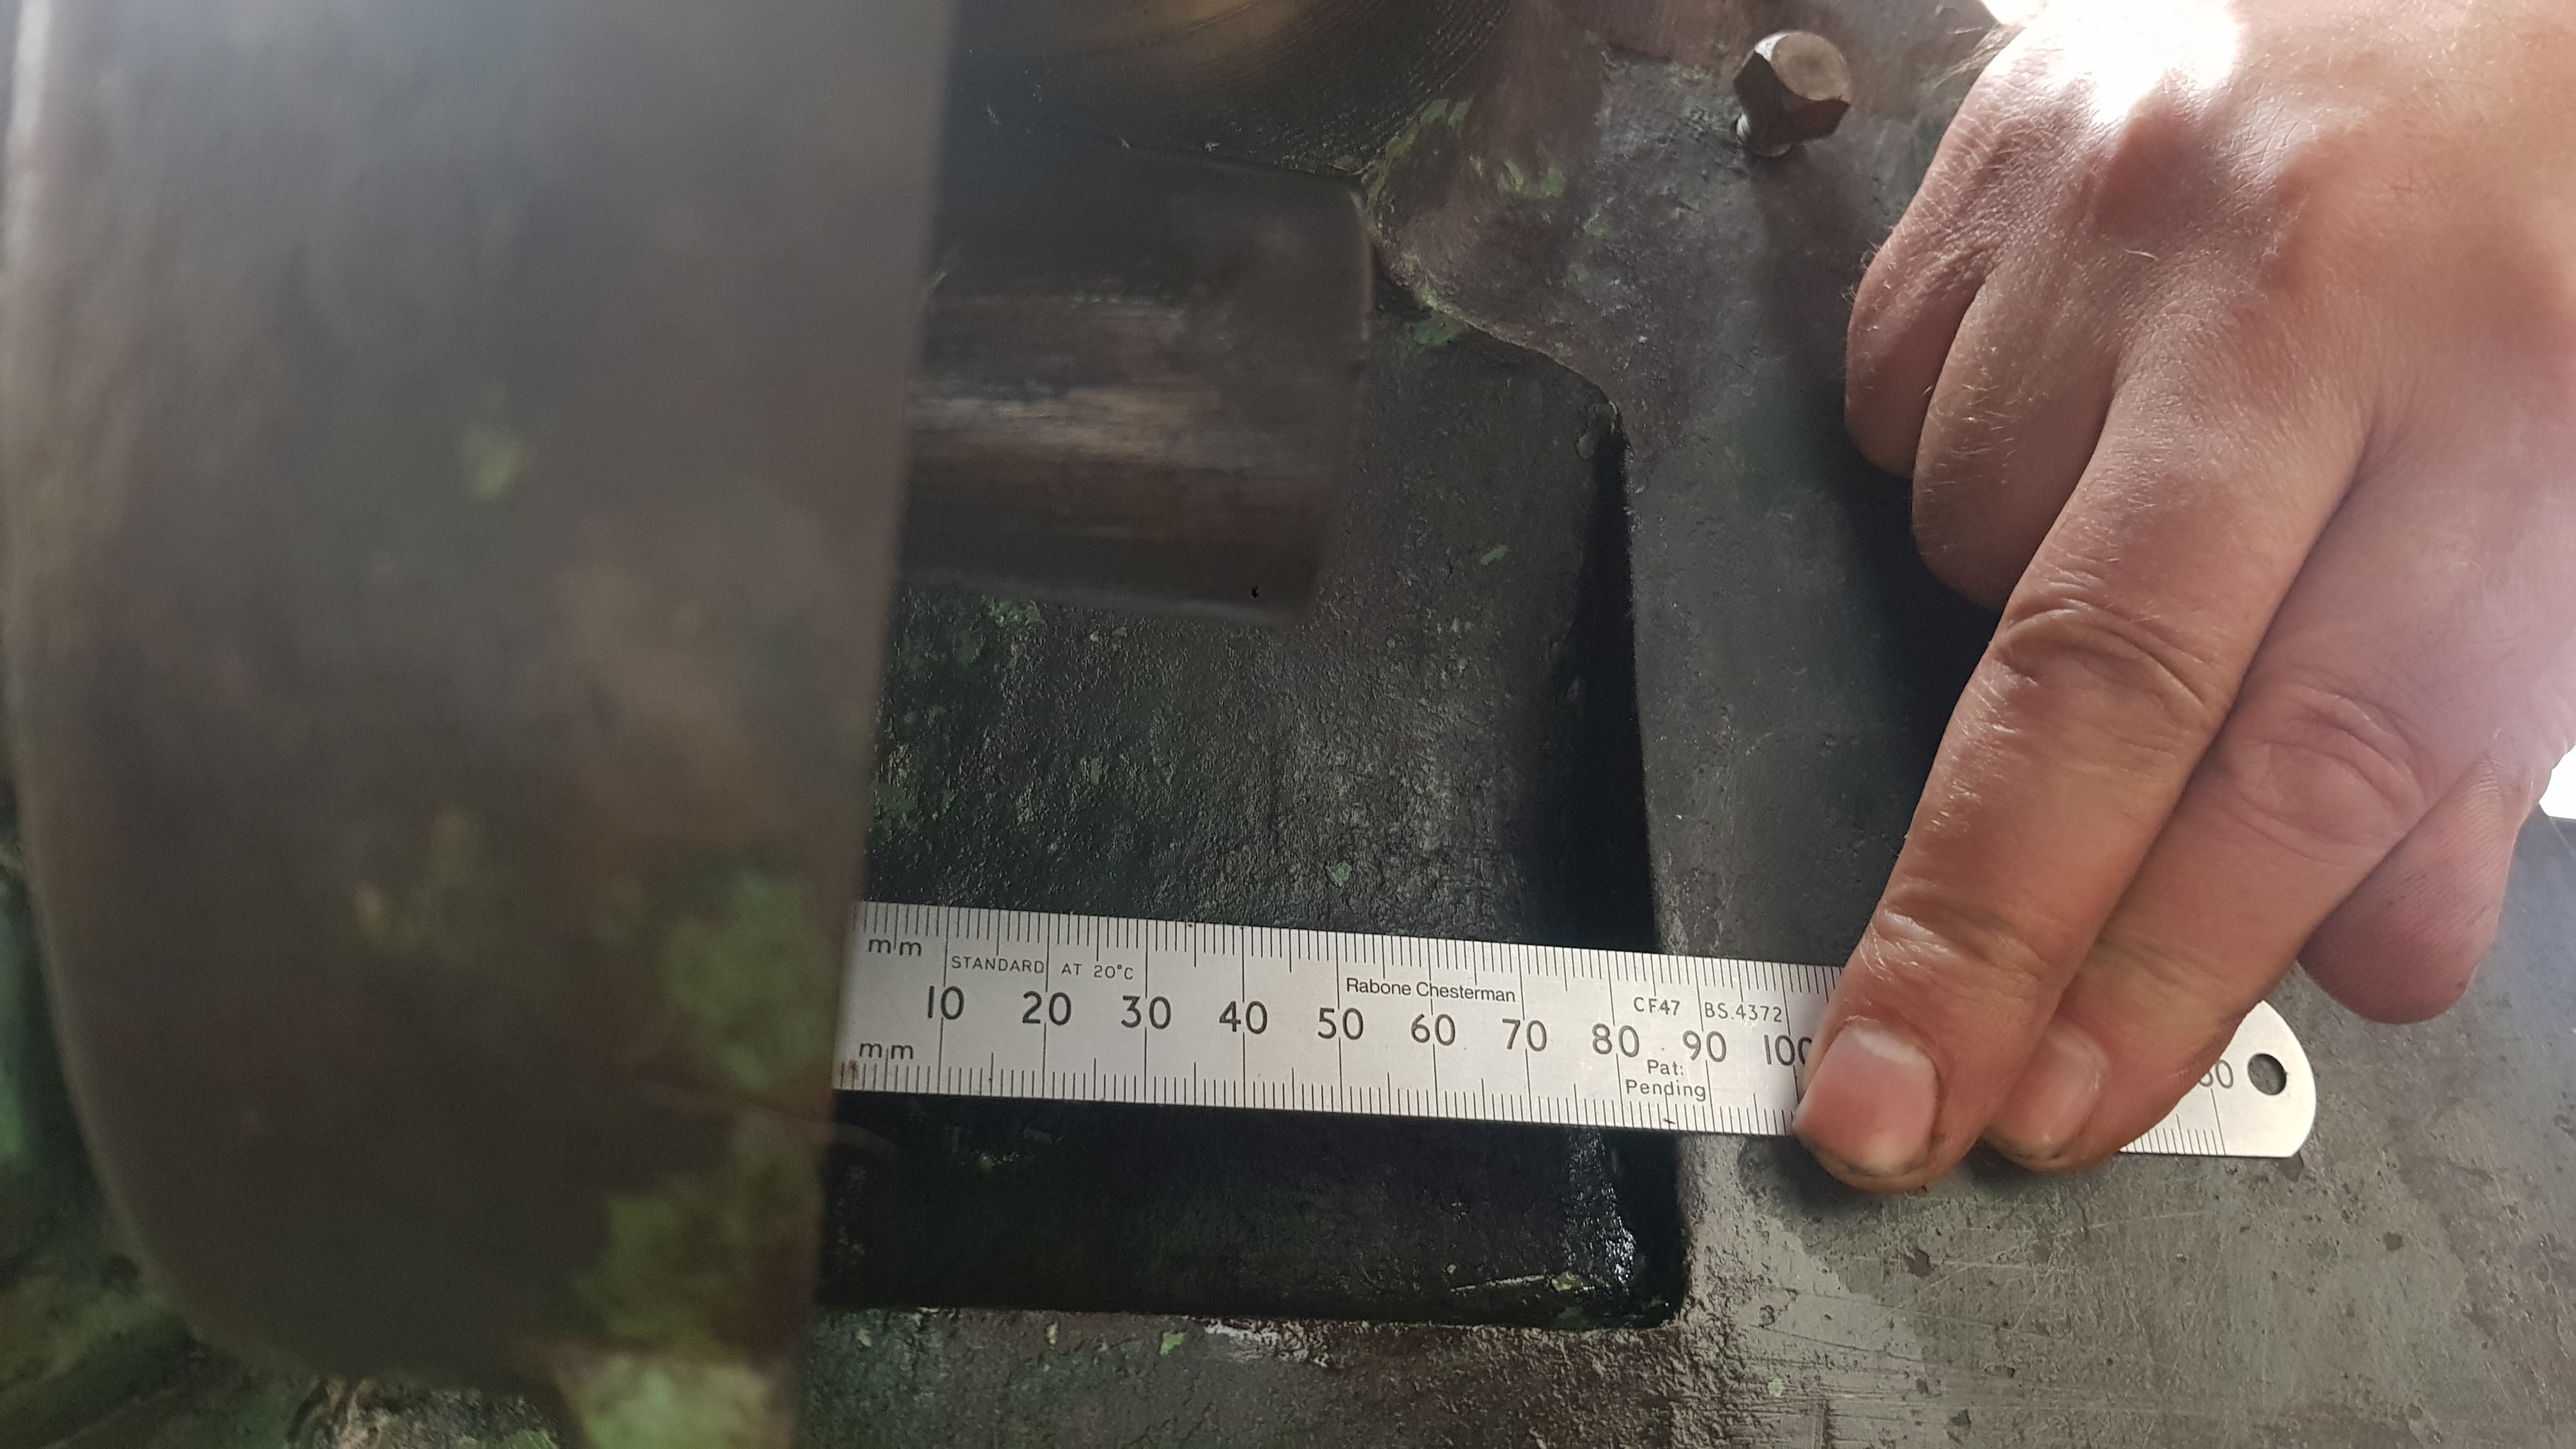
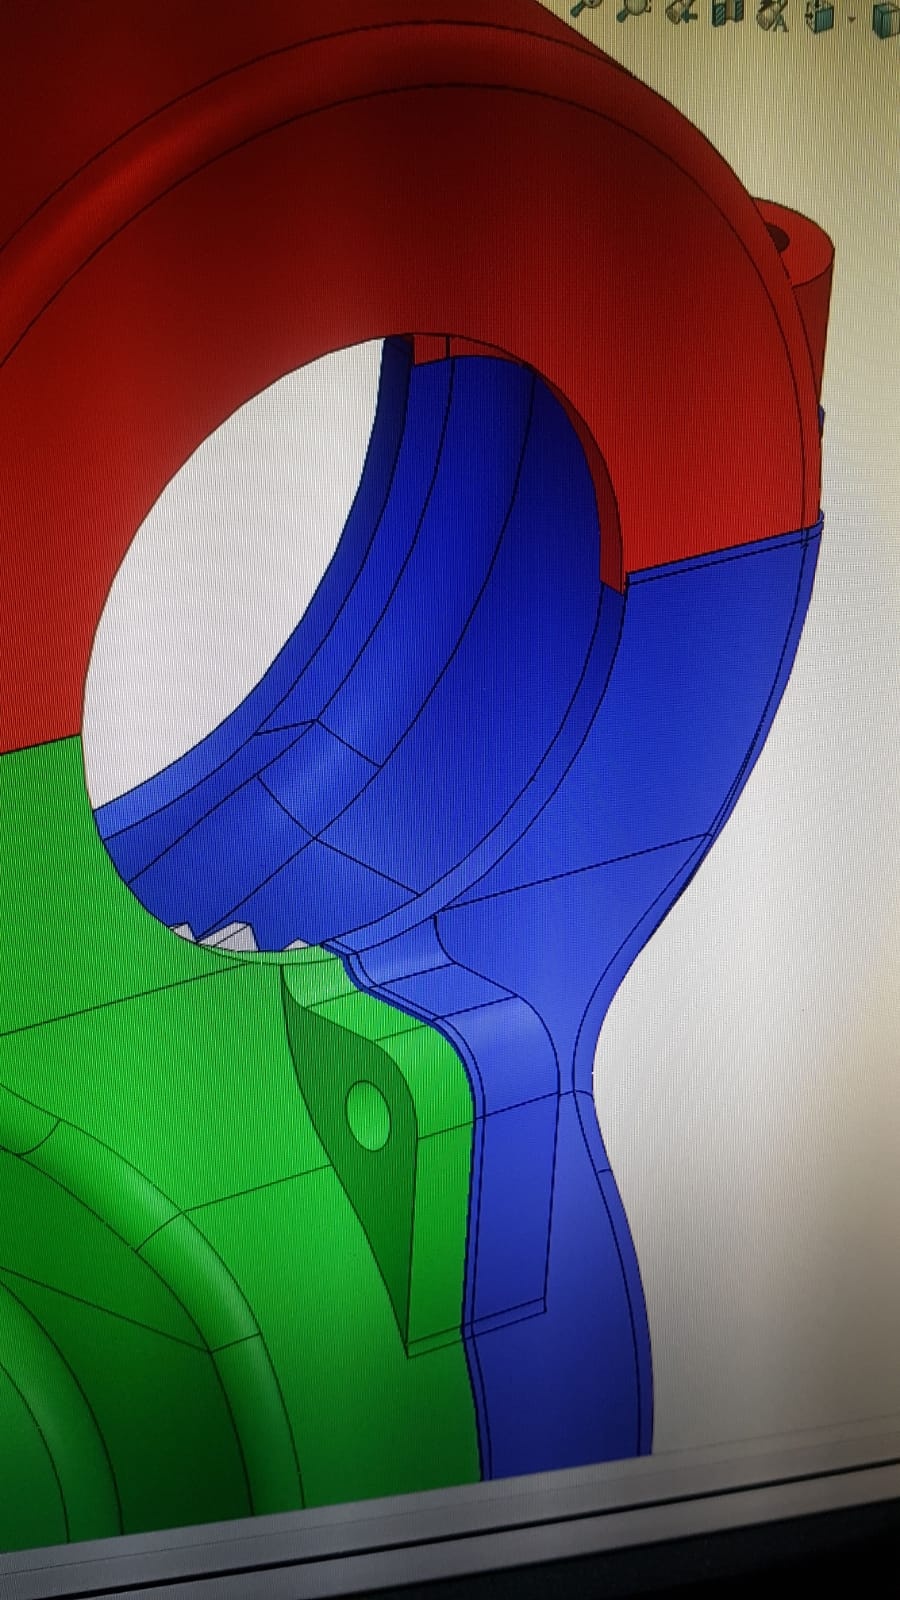
The two mating parts were removed, and a combination of measuring, scanning and photographs helped me produce the mating surface geometries. These were printed out numerous times along the way to ensure the shape and size were correct.
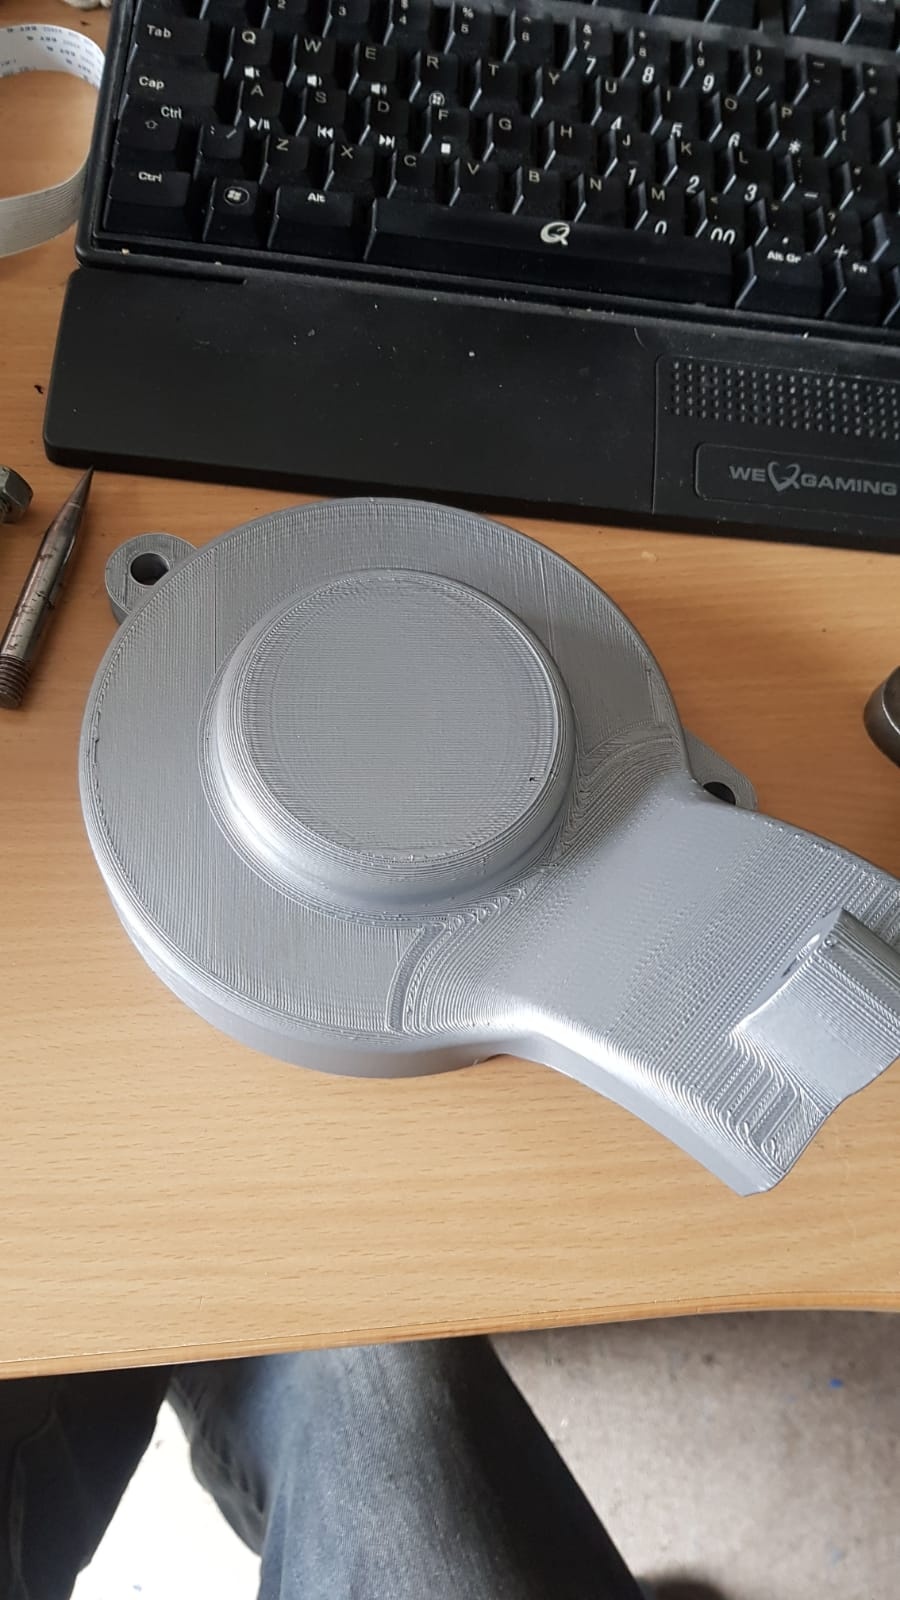
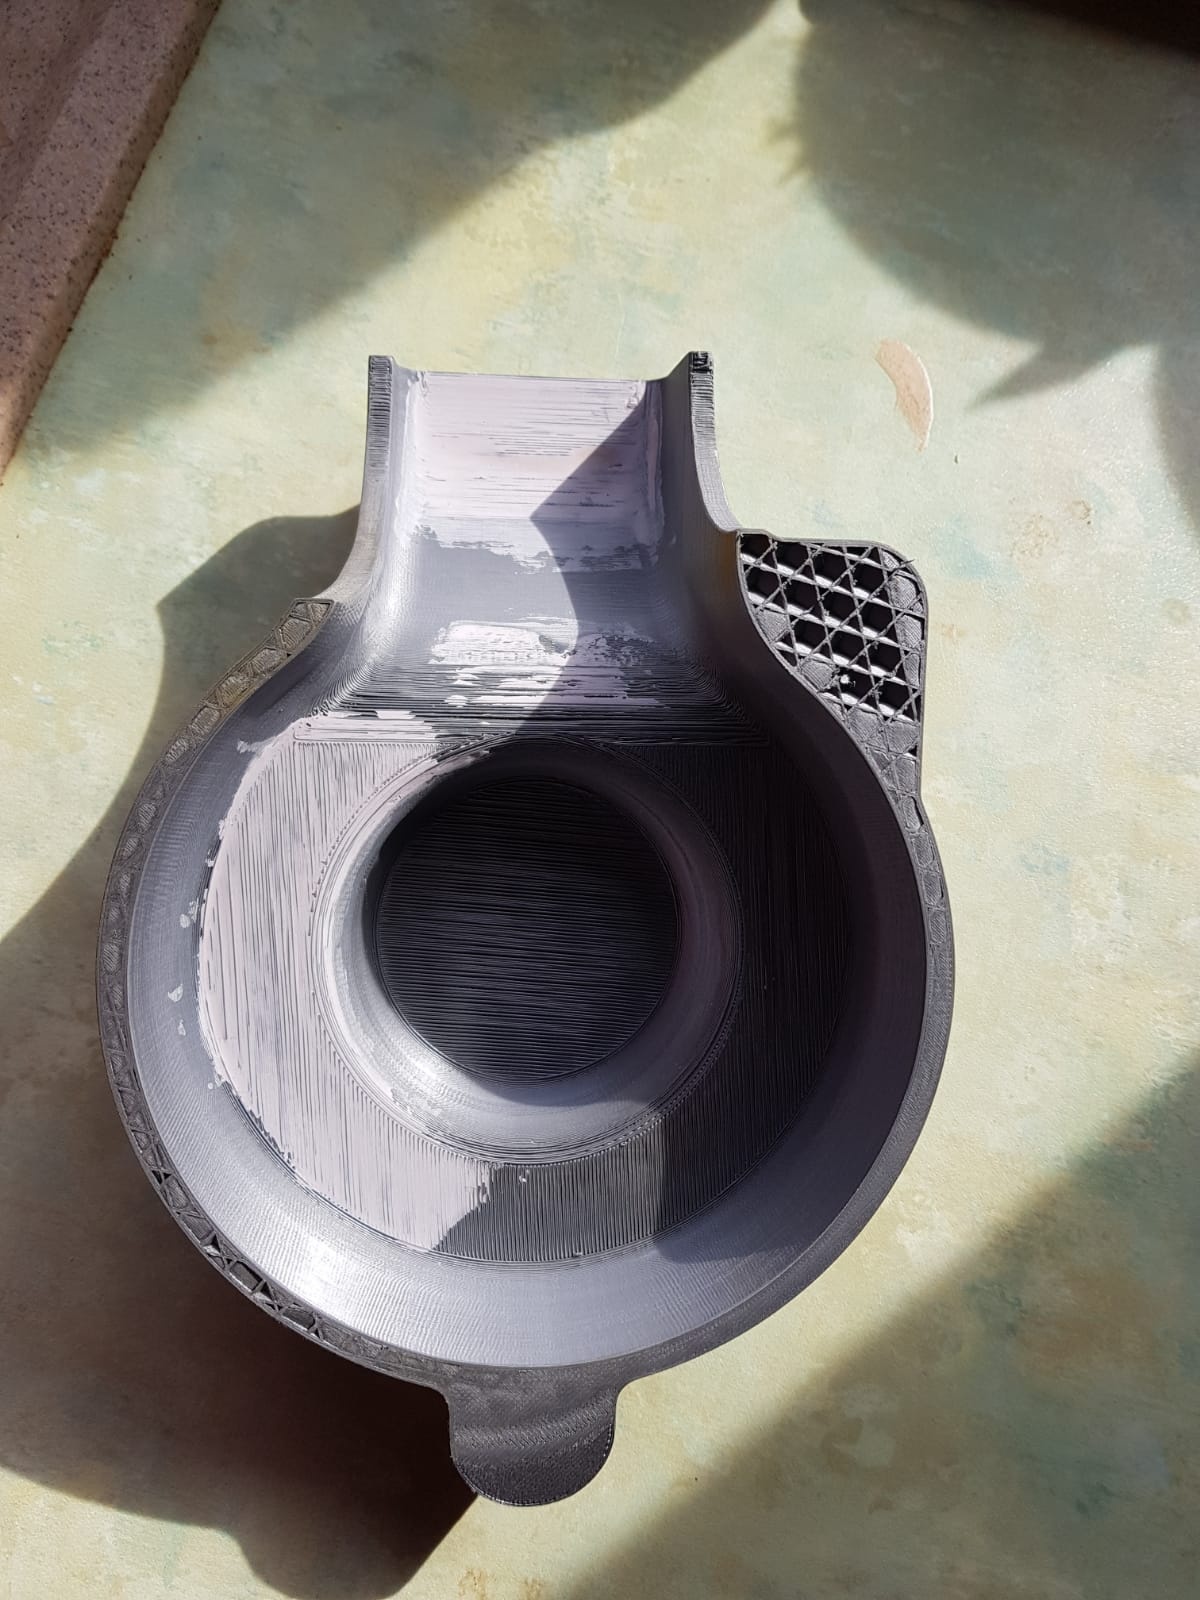
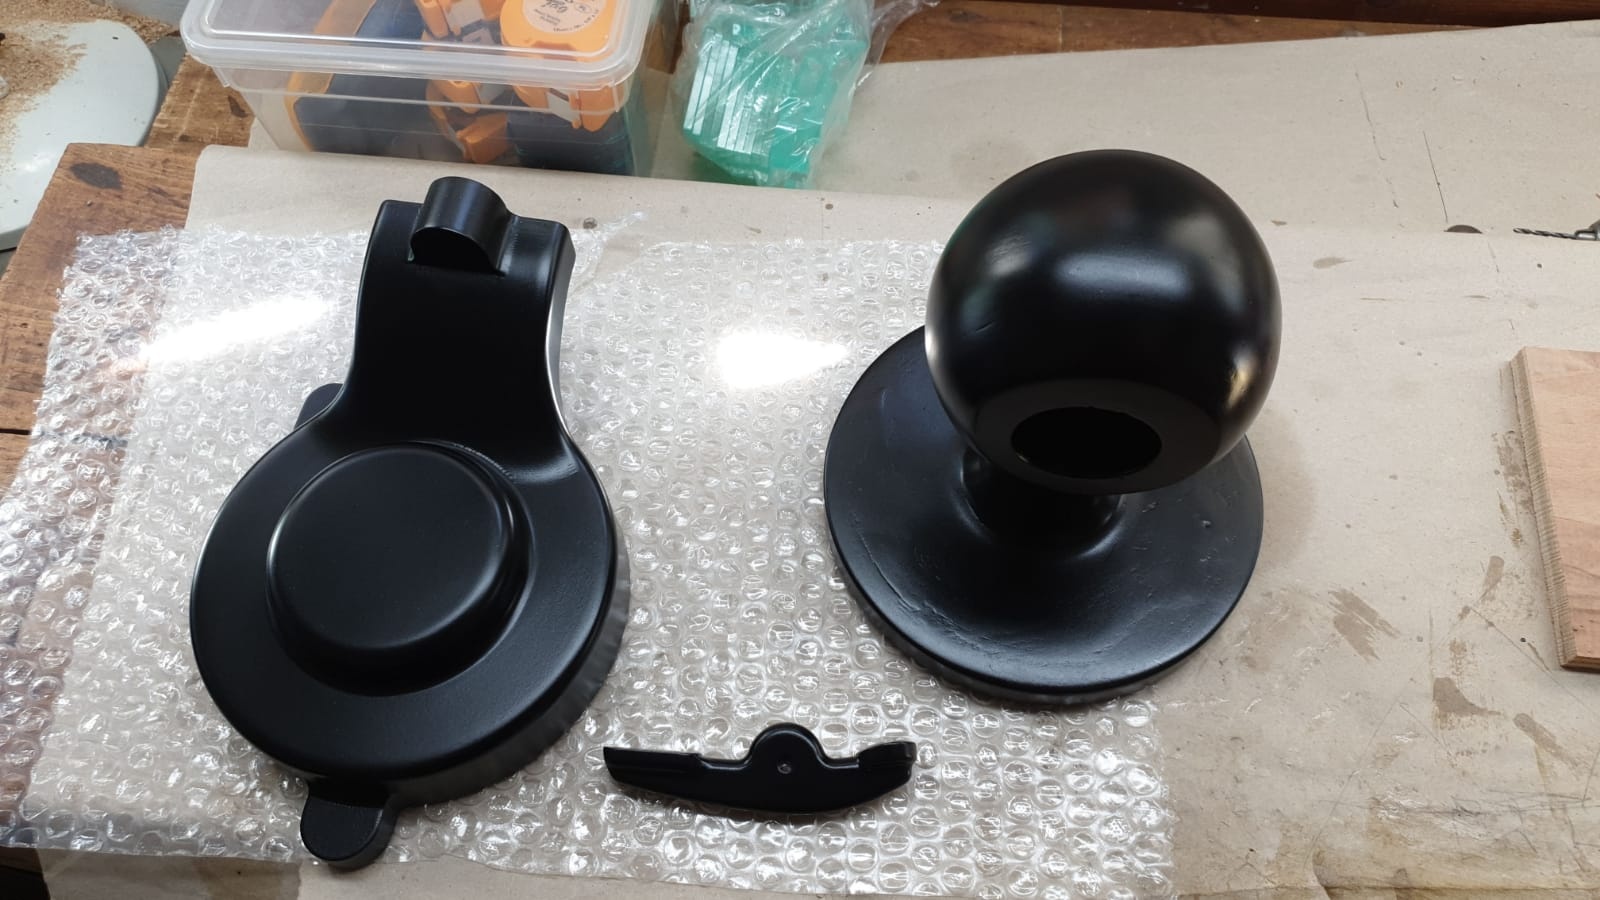
In order to make sure the cover fit correctly, I modelled the two mating parts, and the skew gear, in Solidworks and built the cover around it. A full 3D print was made to ensure everything went together as planned. When we were happy; draft was applied, machined surfaces bulked up and the part was scaled to allow for shrinkage before being 3D printed.
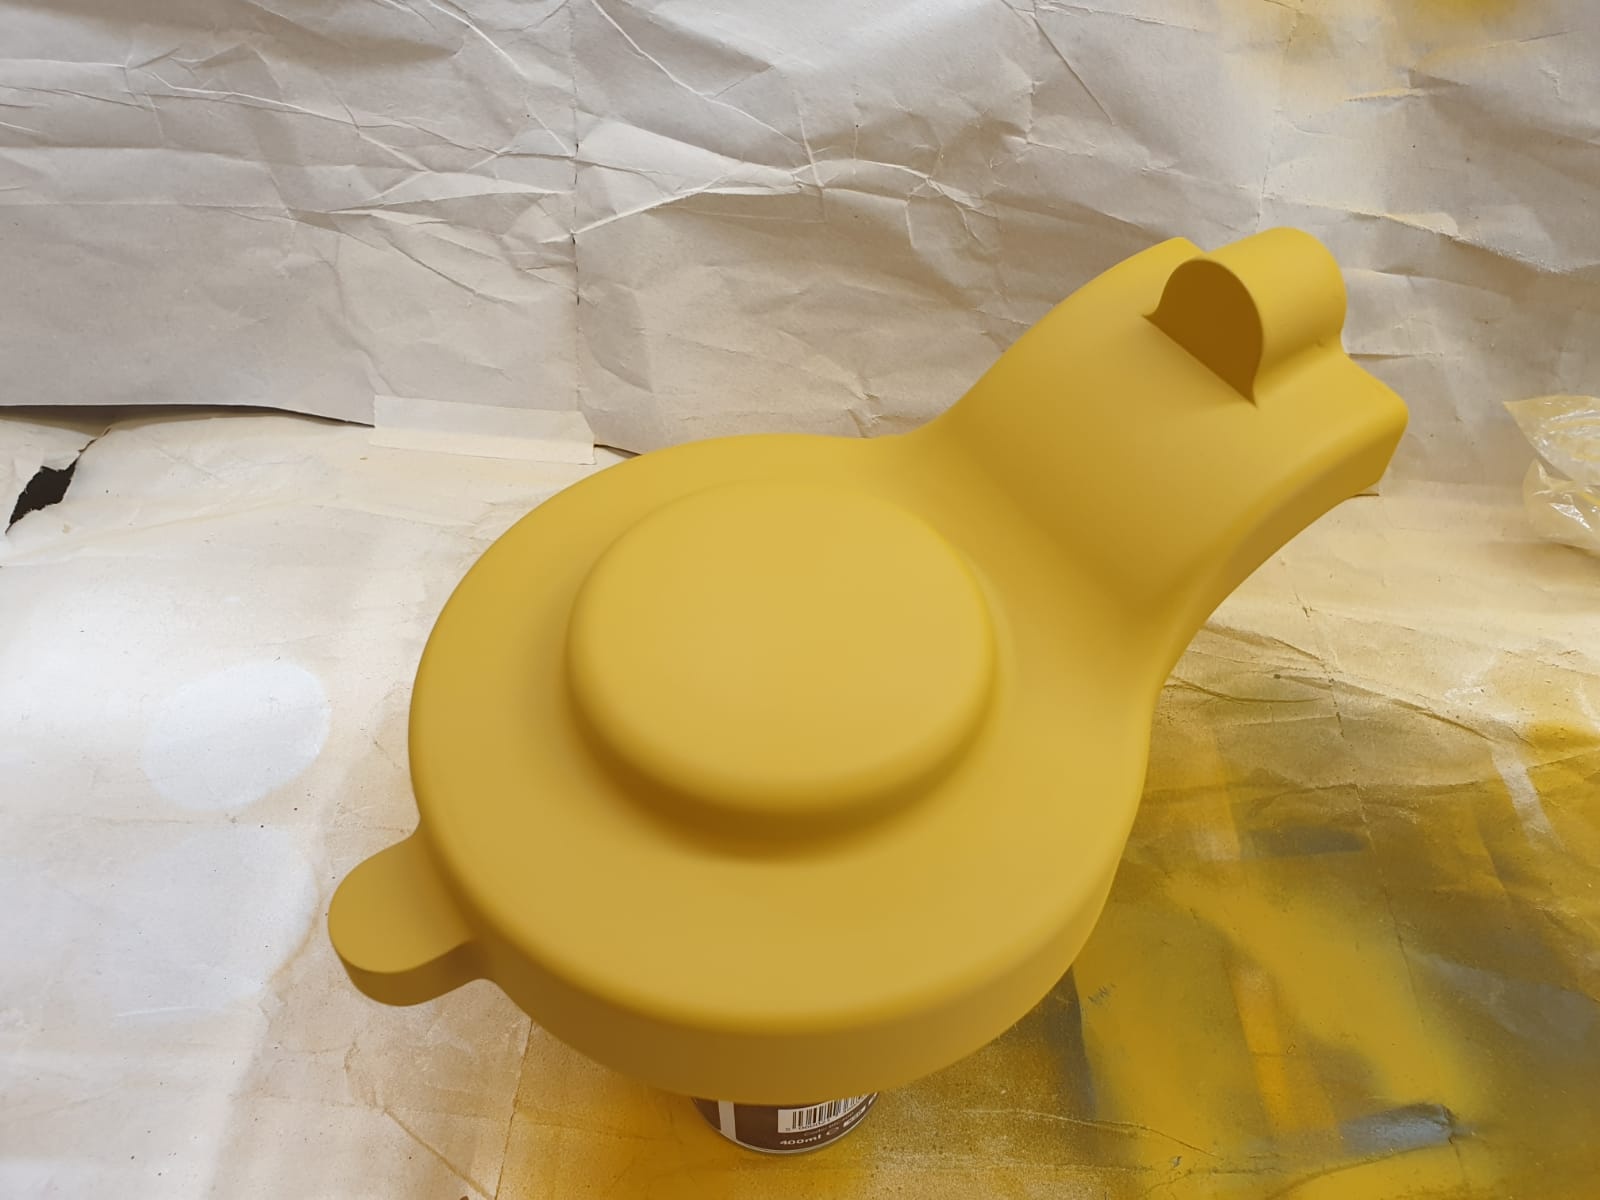
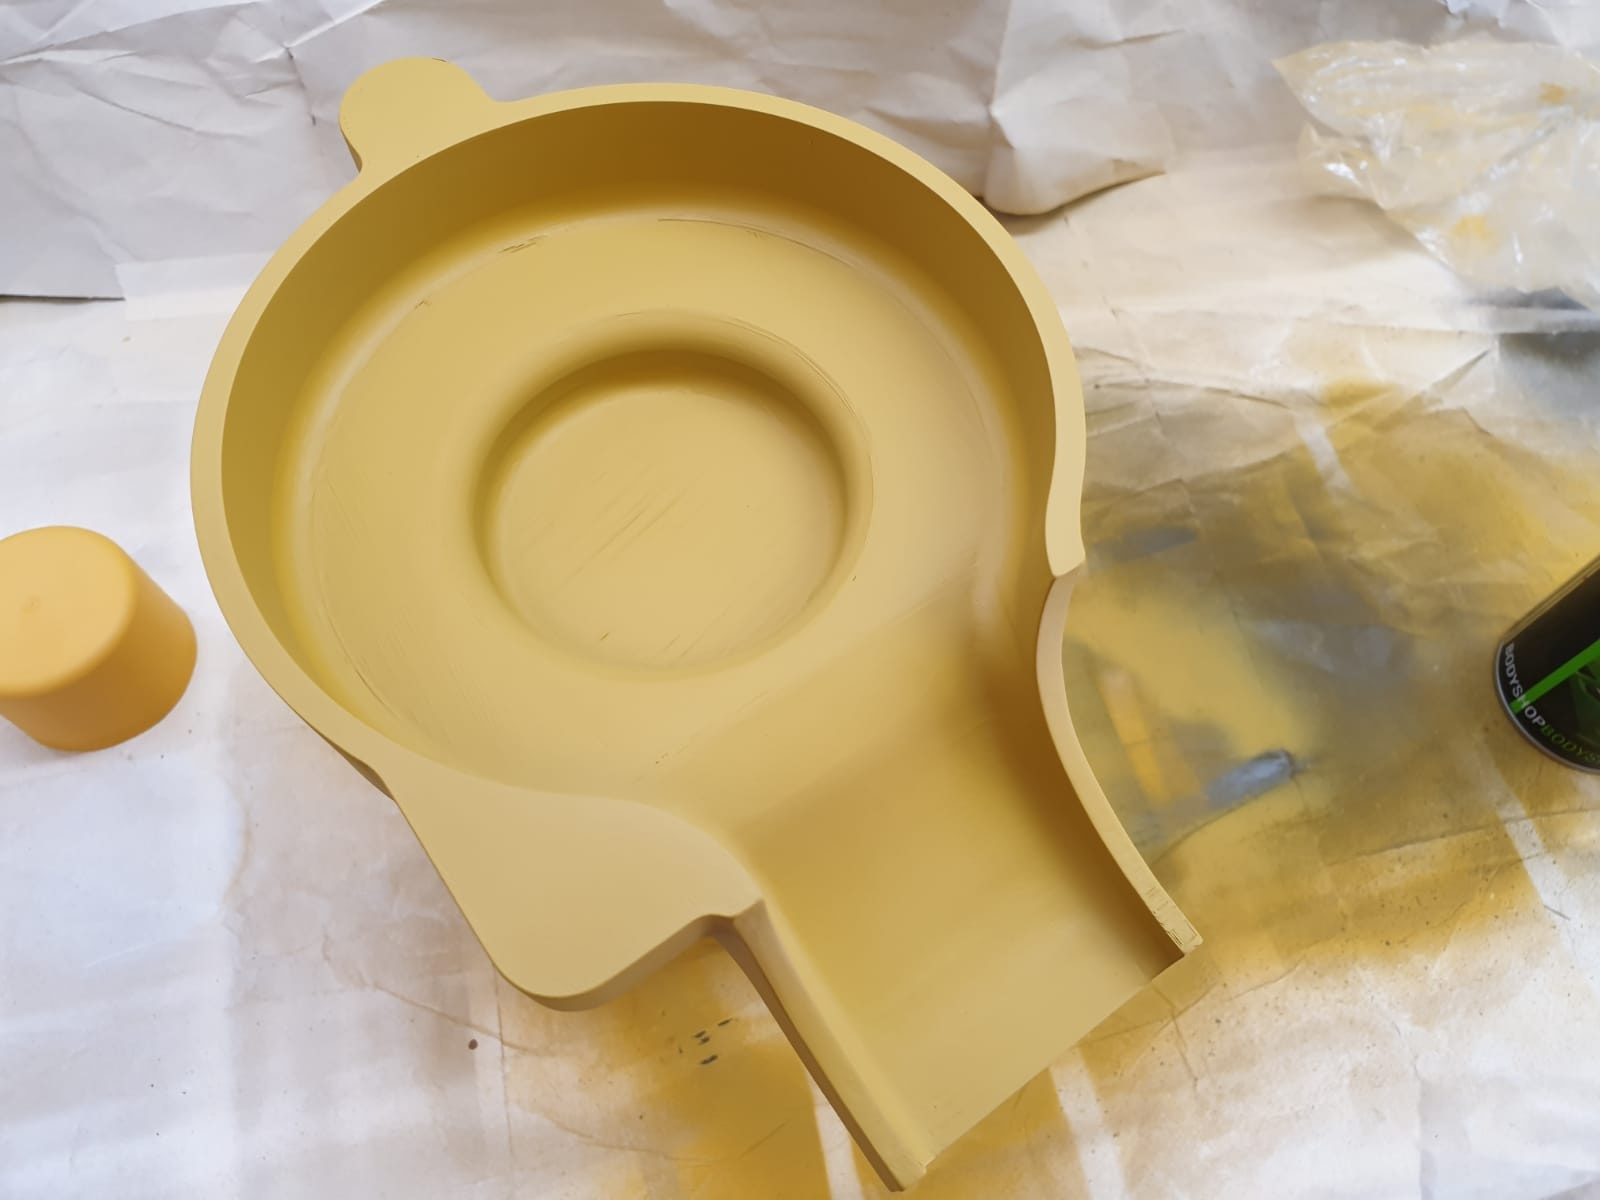
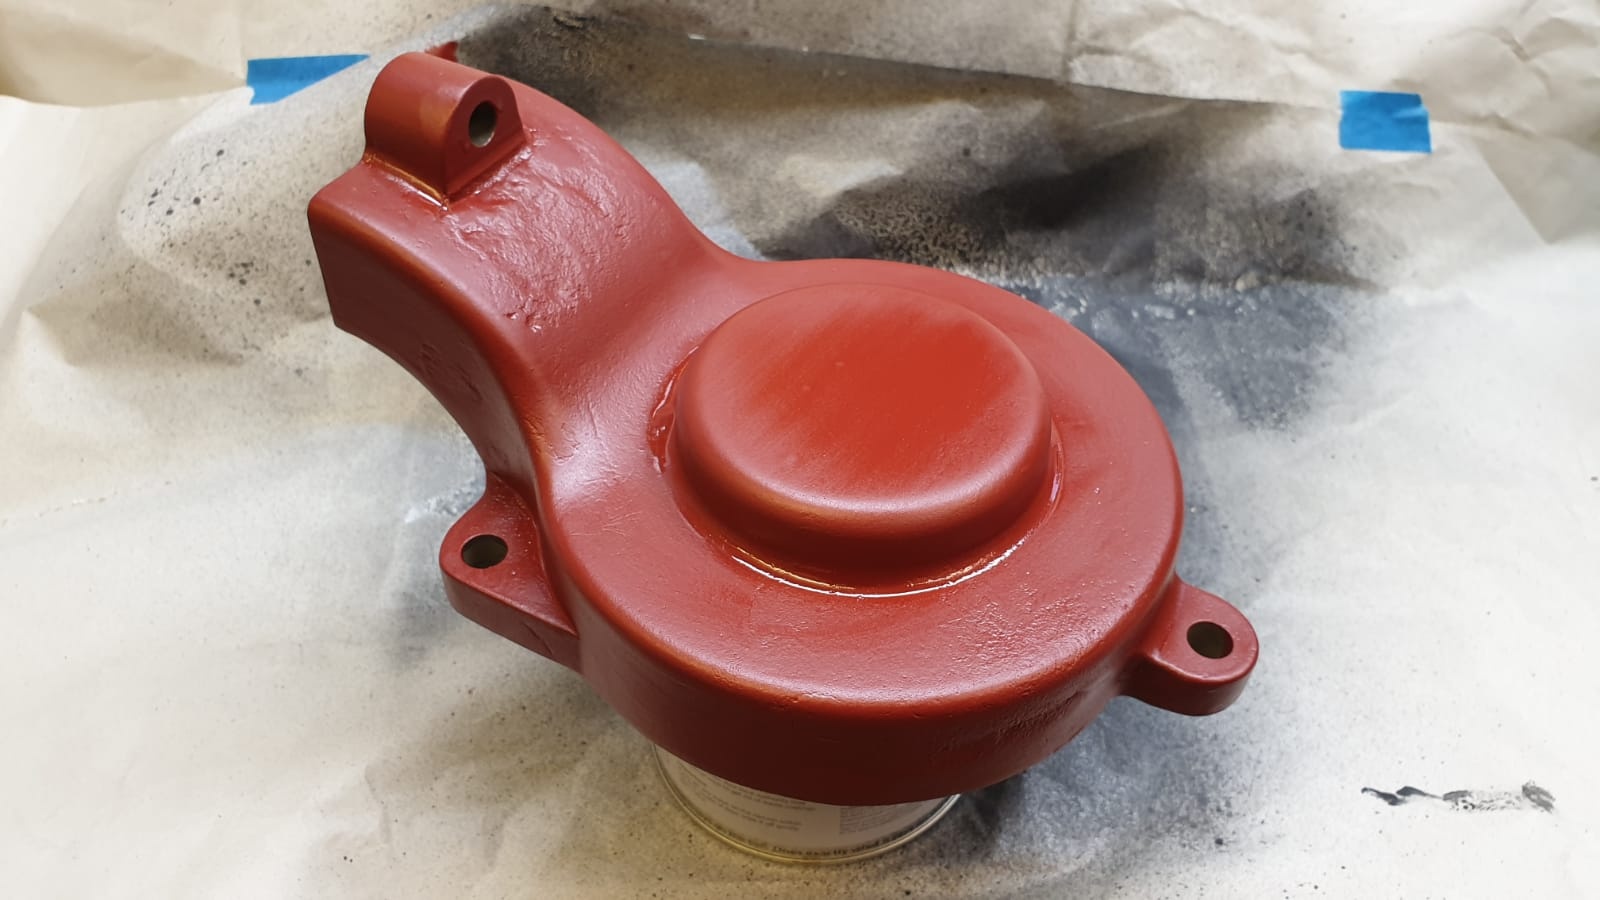
The printed pattern was sanded, filled and painted to create a high quality finish for the foundry. The finished casting will require some machining prior to painting and fitting.
 |
 |
 |
 |
 |
 |
 |
 |
 |
 |
 |
 |
 |
 |
| Measuring Parts | Measuring Parts | Measuring Parts | Measuring Parts | Measuring Parts | Measuring Parts | Skew Gear Location | Skew Gear Location | Skew Gear Location | 12Hp Cover | 12Hp Cover | 12Hp Cover | 12Hp Cover | Mating Parts |
 |
 |
 |
 |
 |
 |
 |
 |
 |
 |
 |
 |
 |
 |
| Existing Parts in CAD | Gear Cover CAD | Gear Cover CAD | Test 3D Print | Gear Cover CAD | Gear Cover CAD | 3D Printed Pattern | Pattern in Primer | Pattern in Primer | Finished Pattern Ready For The Foundry | Parts Back From The Foundry | Fresh Cssting | Test Fit | Finished Casting Getting Paint |
Alexander Shanks Oil Pump lever
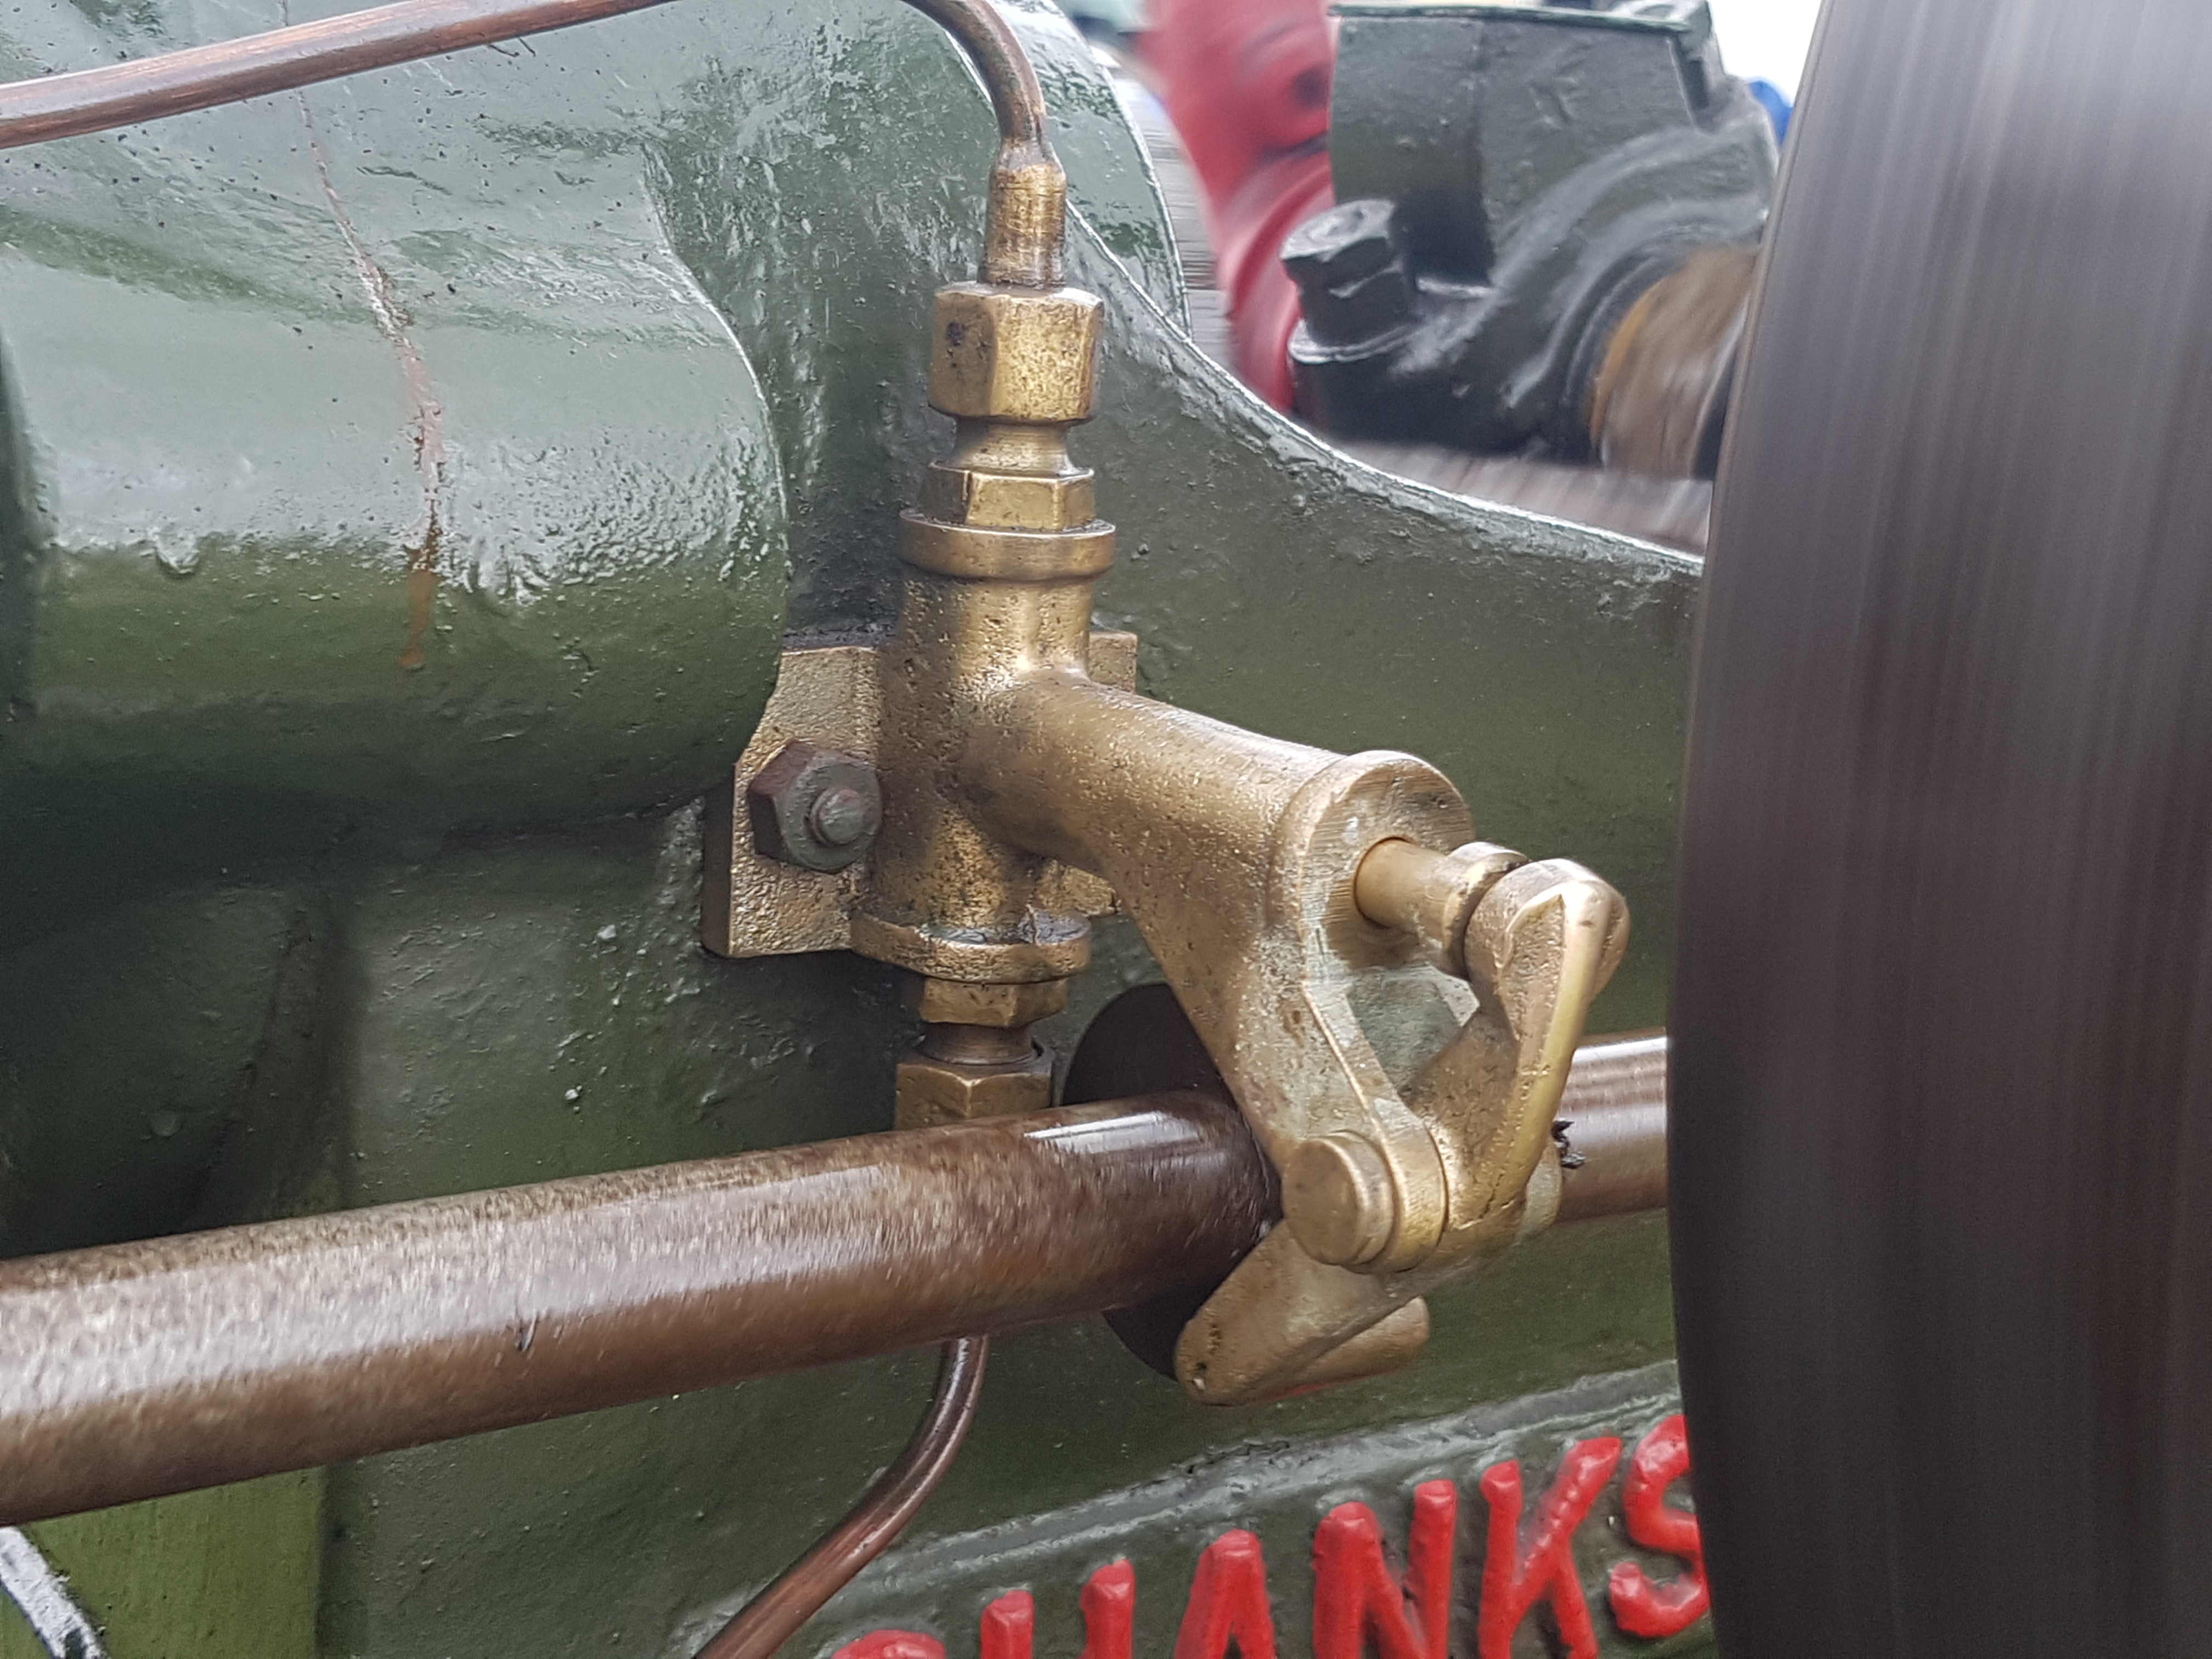
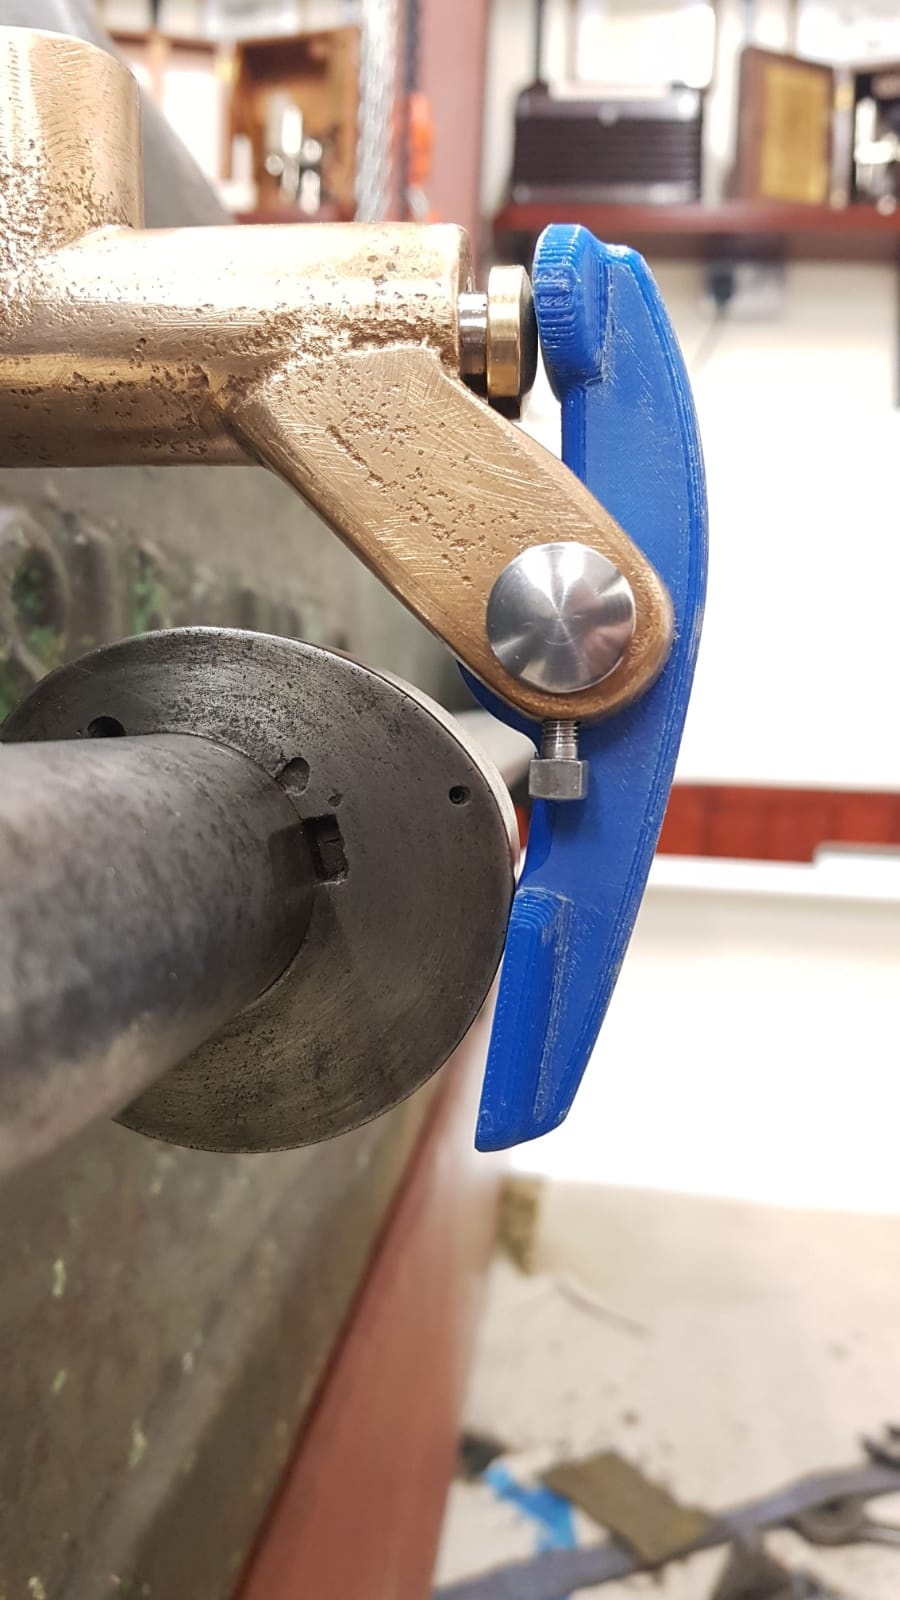
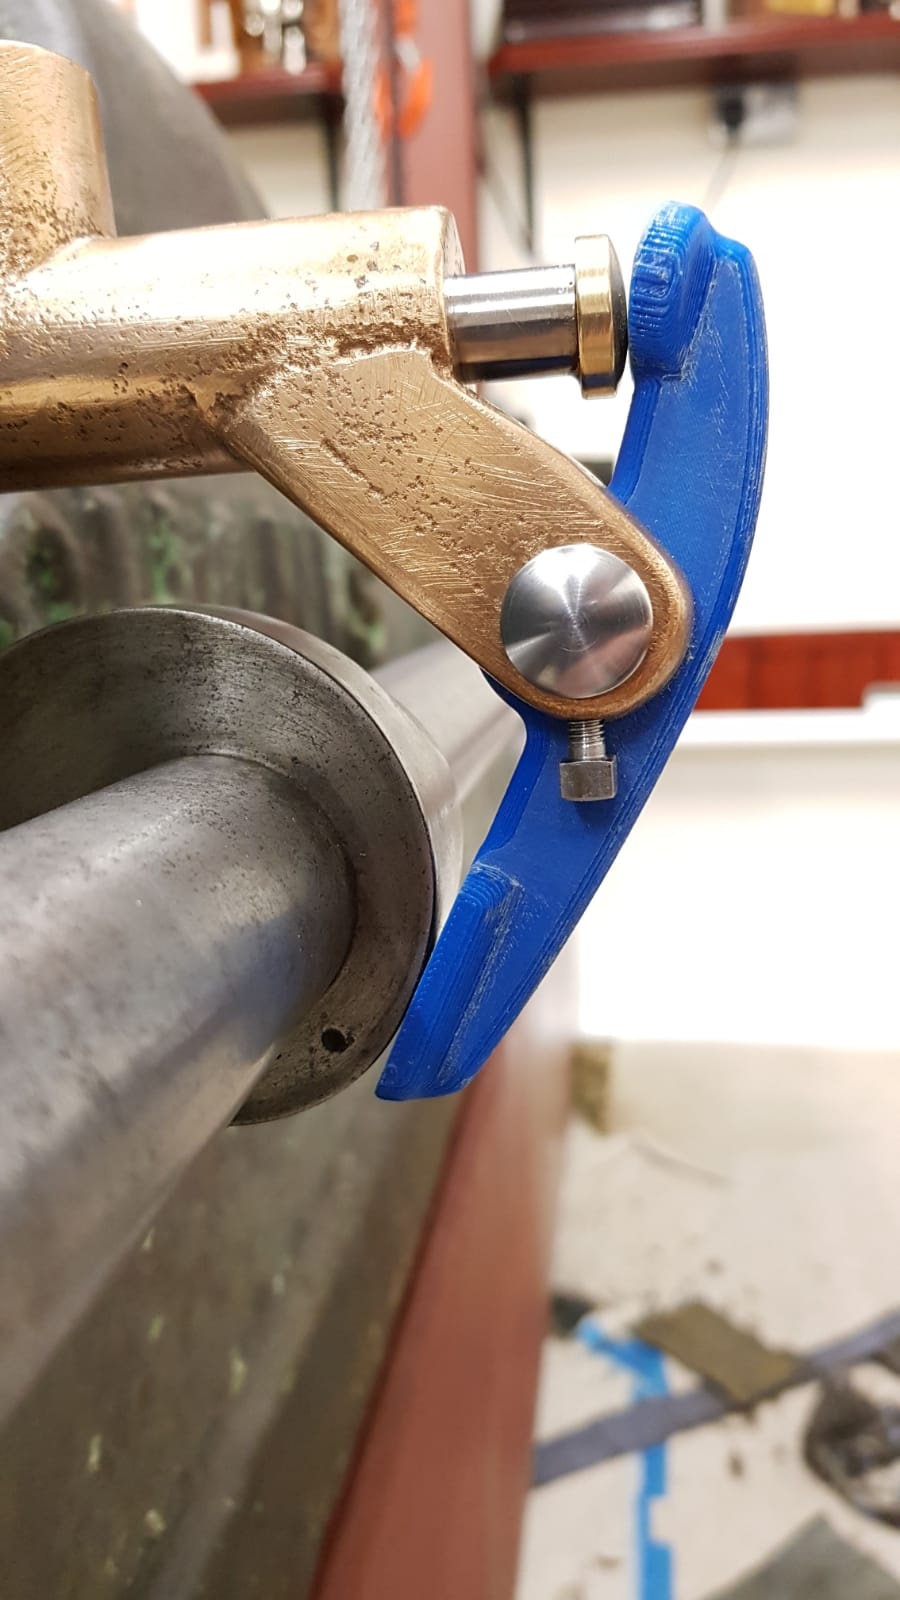
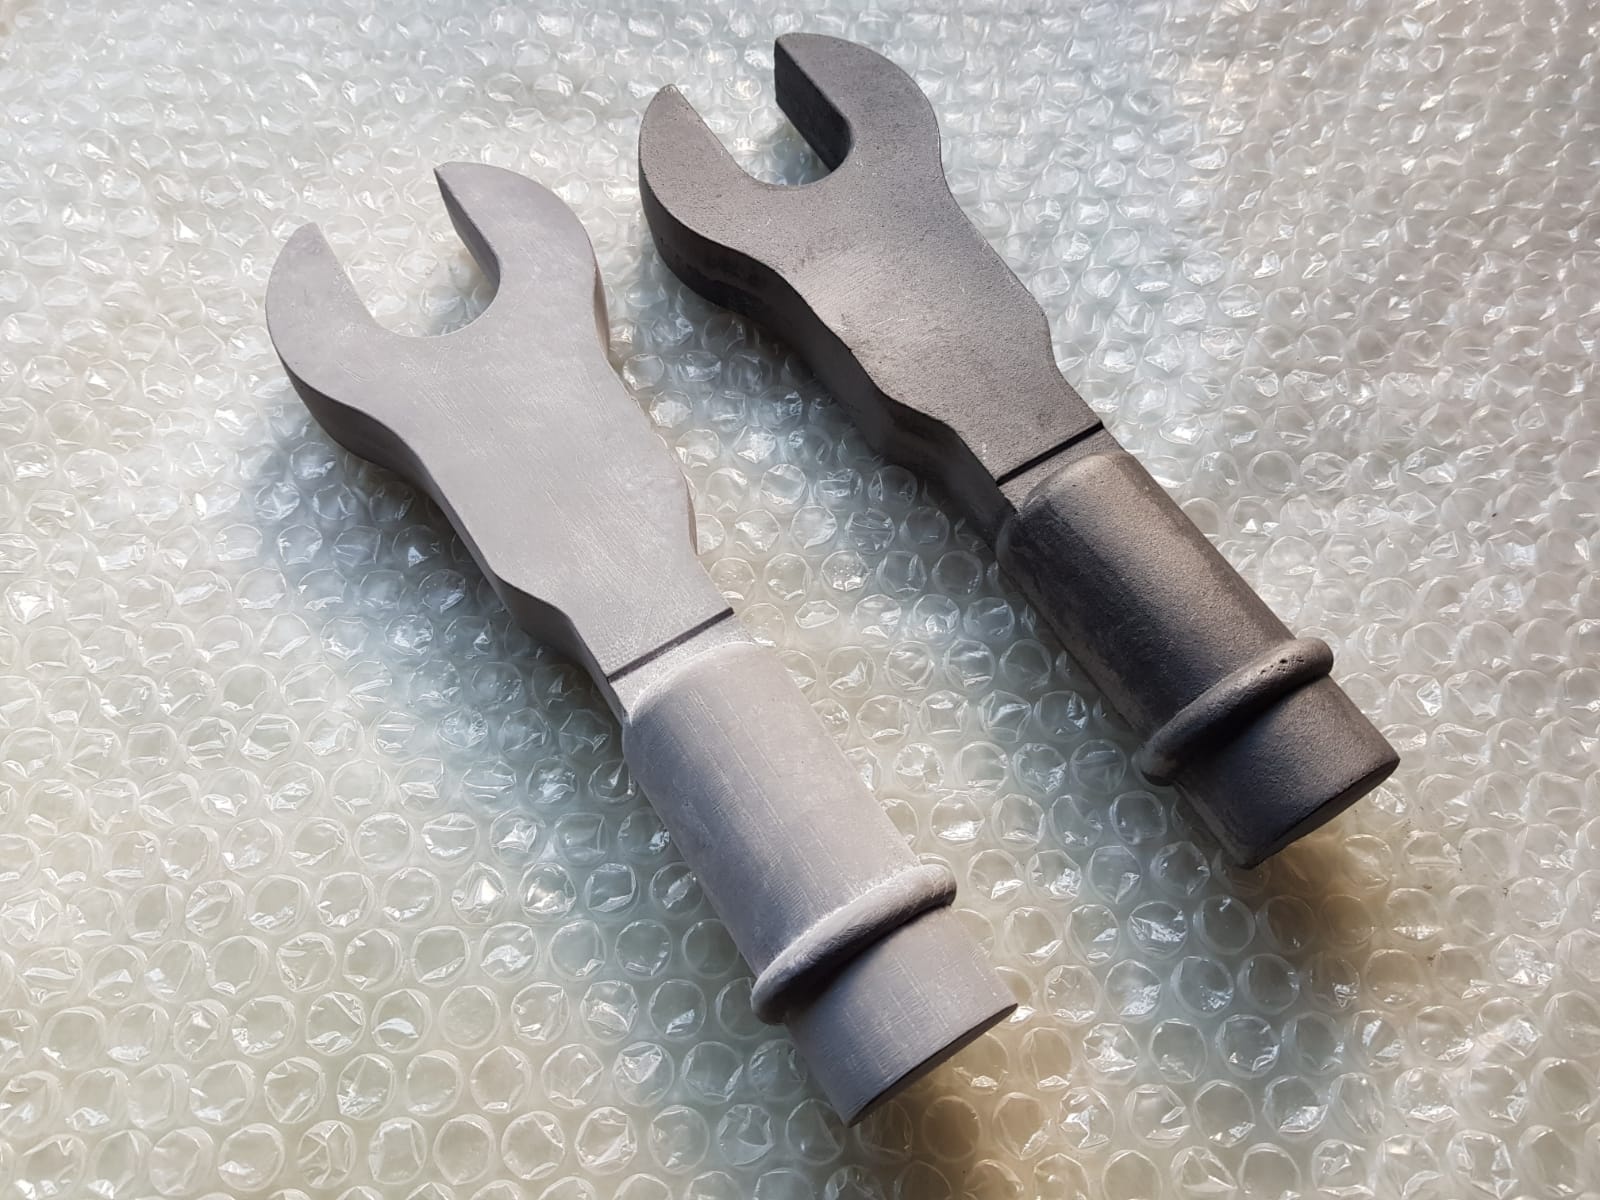
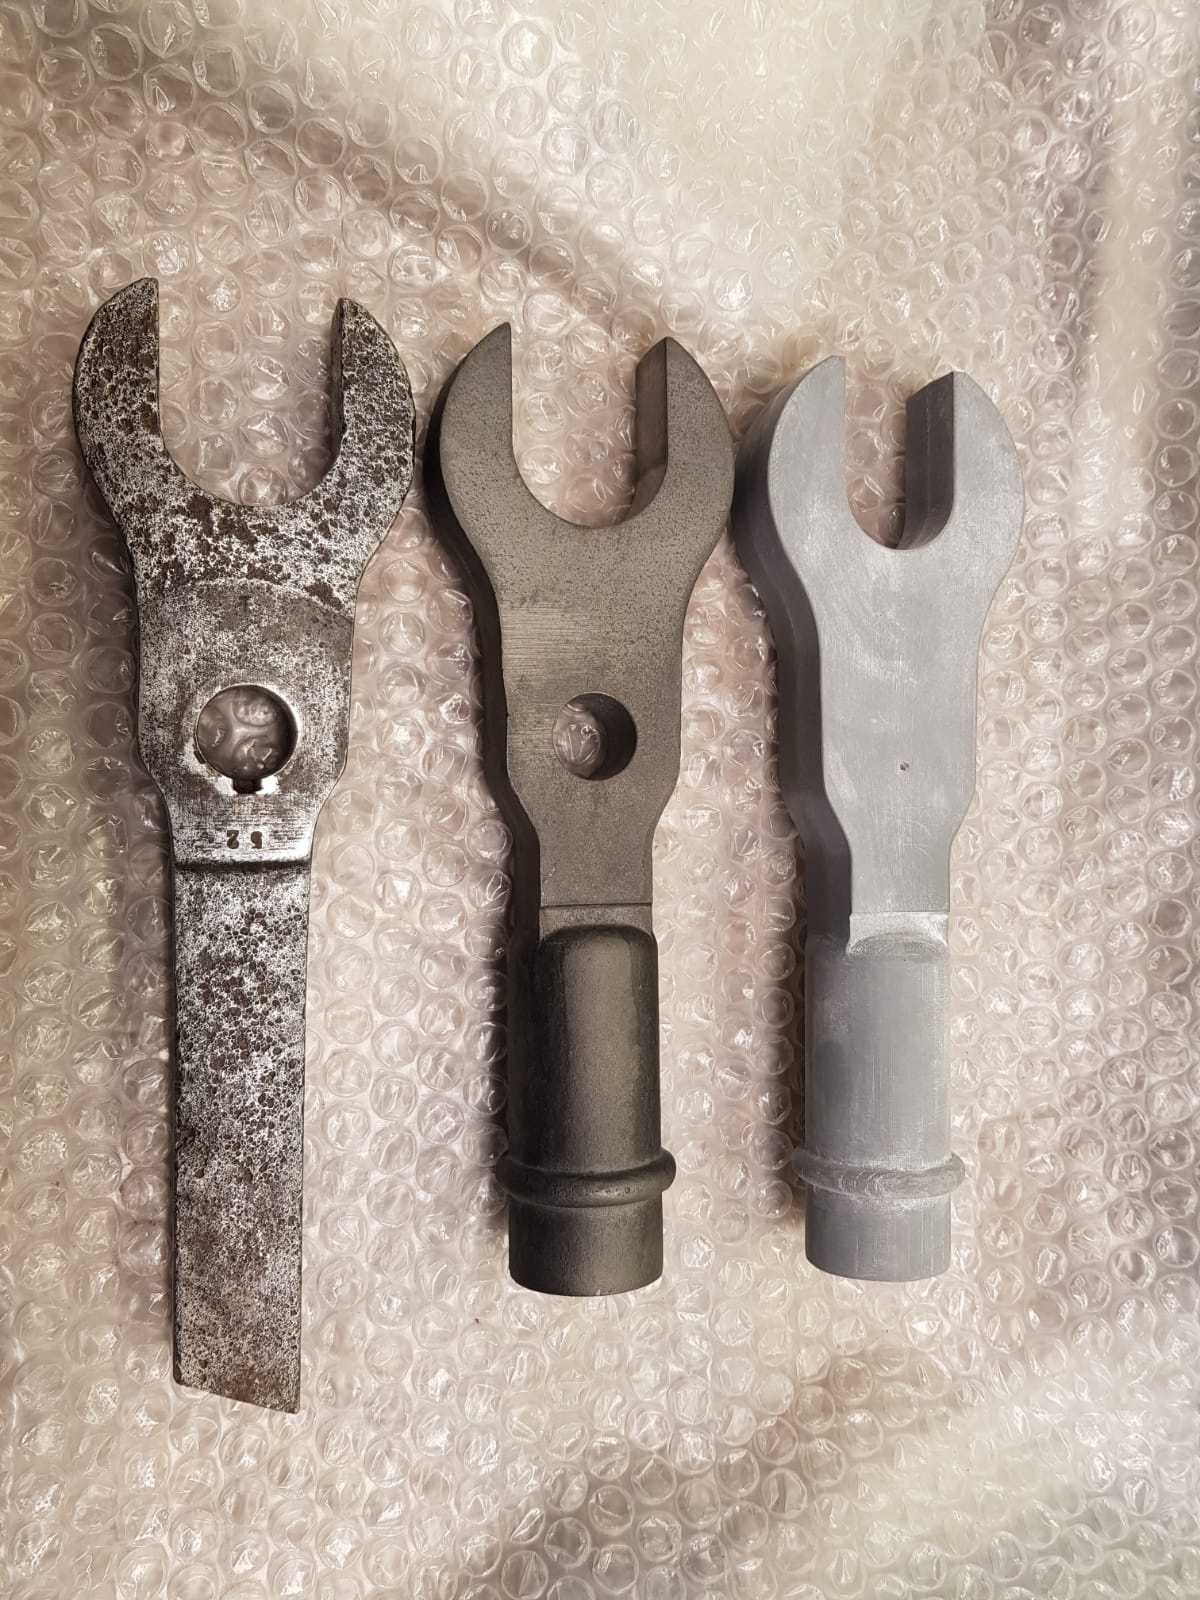
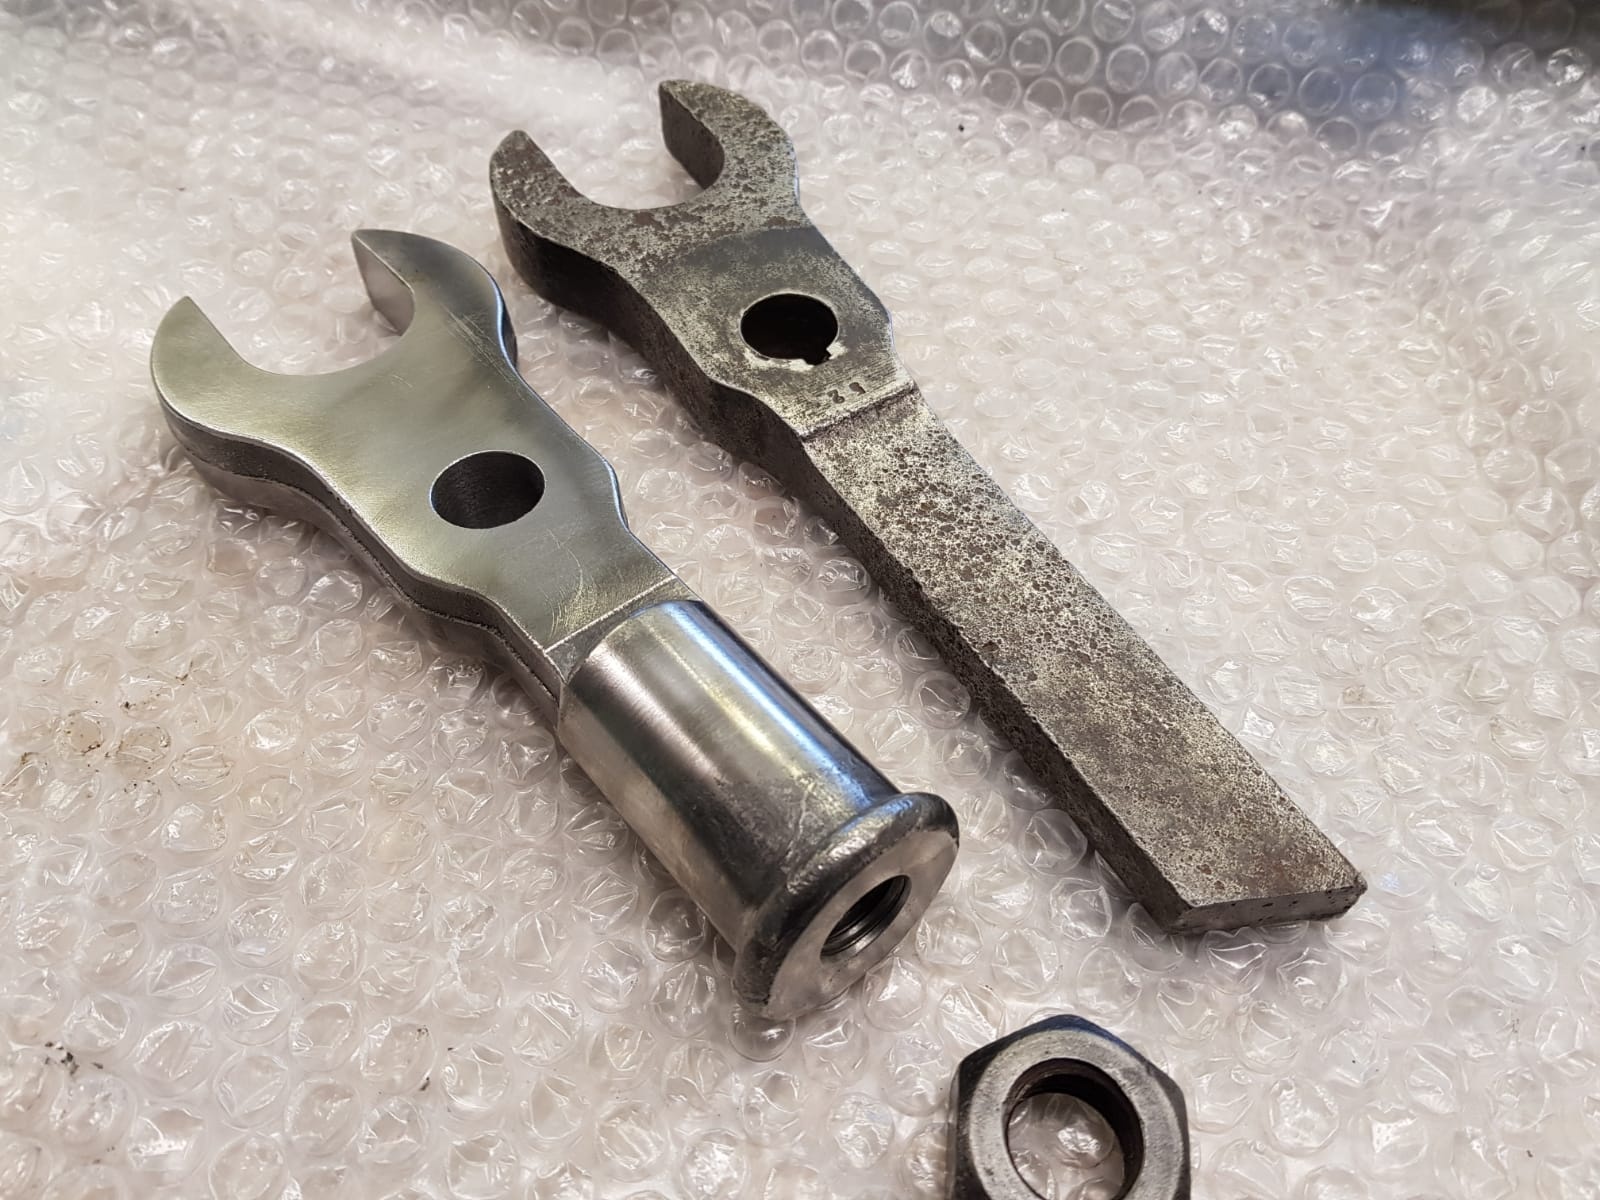
The 19Hp Shanks was missing its oil pump, but a previous owner had most of the parts cast. All that remained was the lever that drives the pump from an eccentric on the side shaft. Working from dimensions derived from the pump, from the 12Hp shanks and from photos of other Shanks' oil pumps I was able to model and 3D print a pattern. Printed in two parts at a low layer height gave a decent result that needed only minor finishing in preparation for casting.
 |
 |
 |
 |
| Shanks Oil Pump | Printed Pump Lever | Printed Pump Lever | Printed Lever Pattern |
Ruston Hornsby 10IP Serial Number Plate
The Ruston Hornsby stationary engine's serial number was cast as a small brass plate. At some point in the past, it went missing and pattern was required to make a new one.
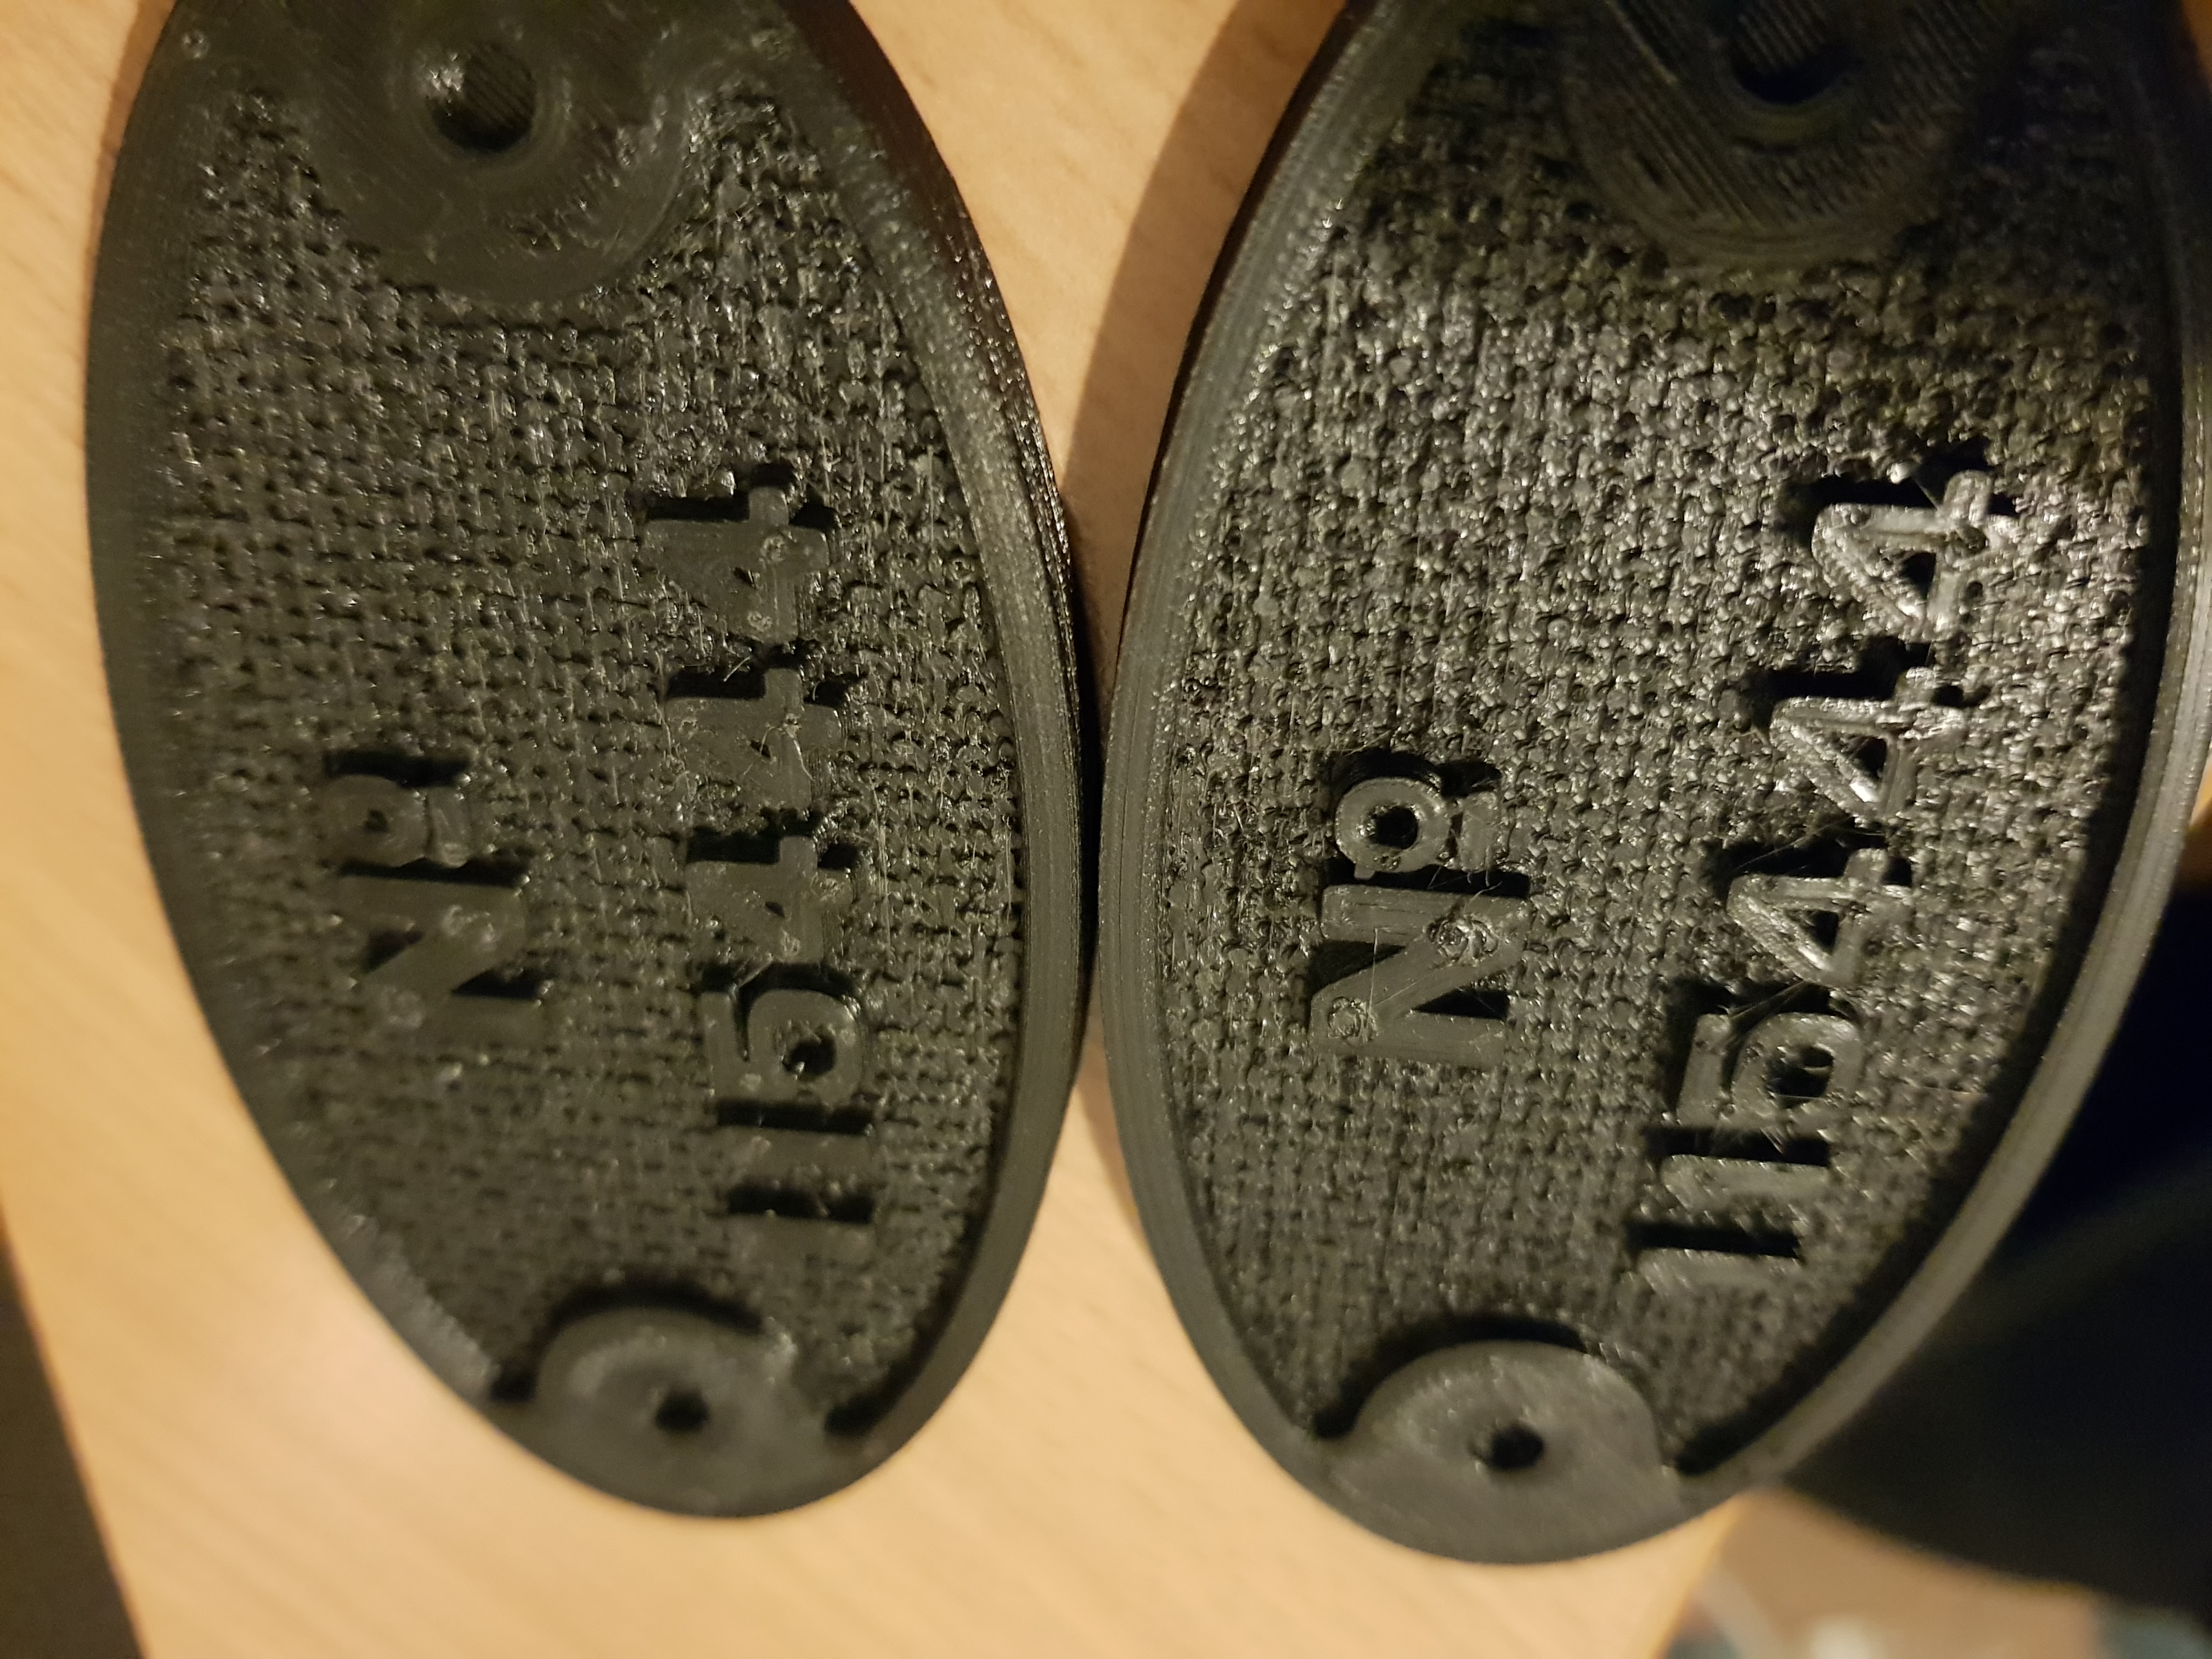
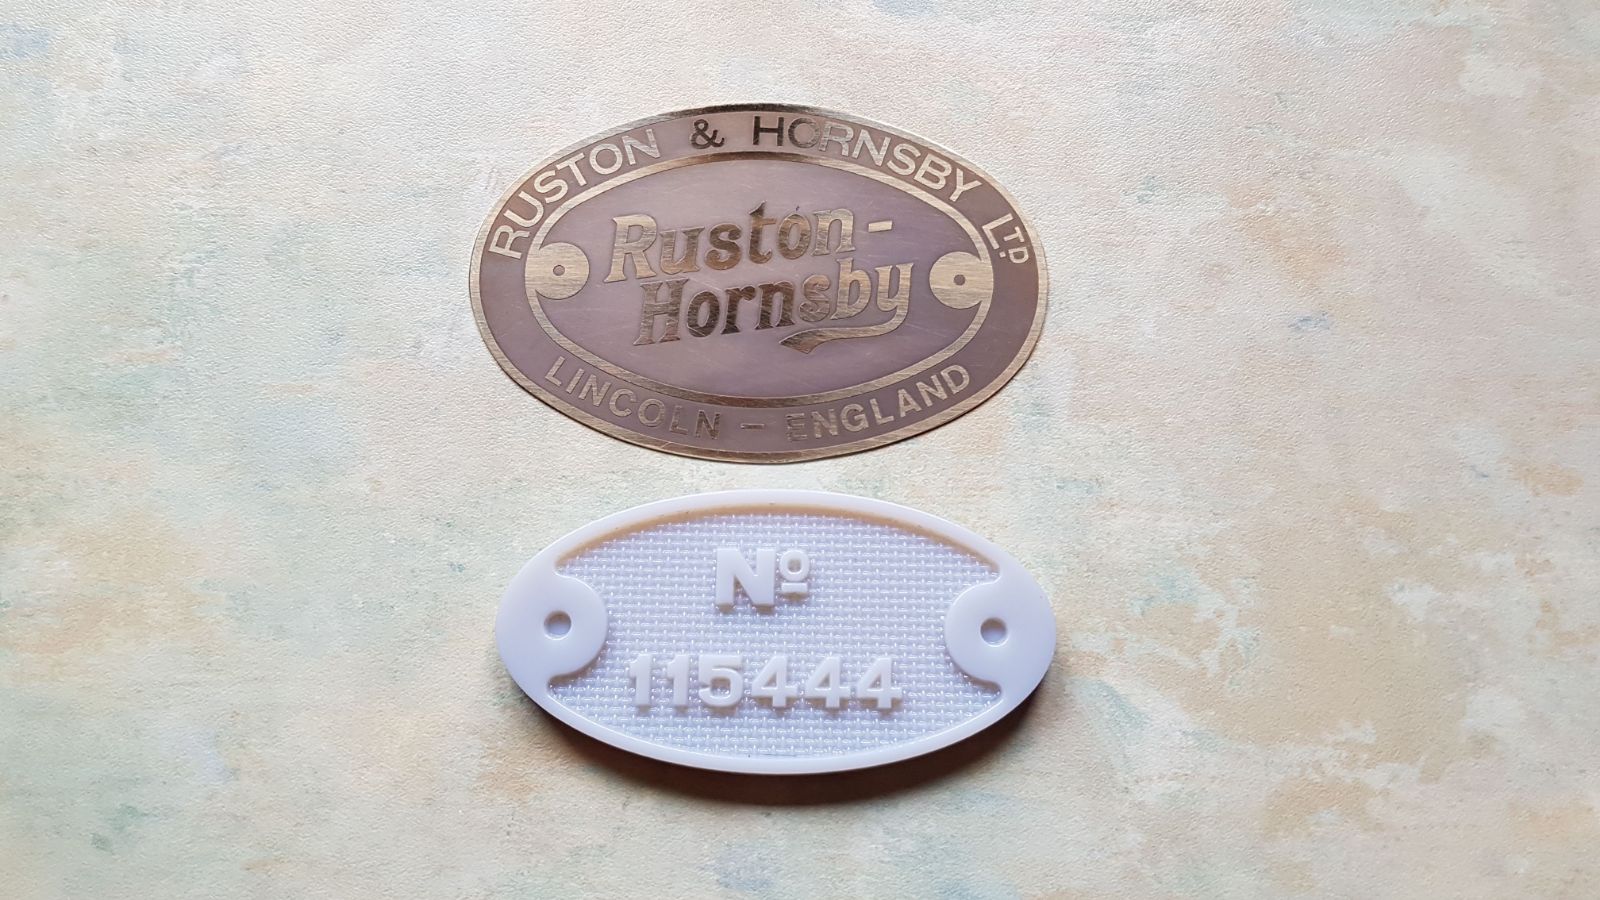
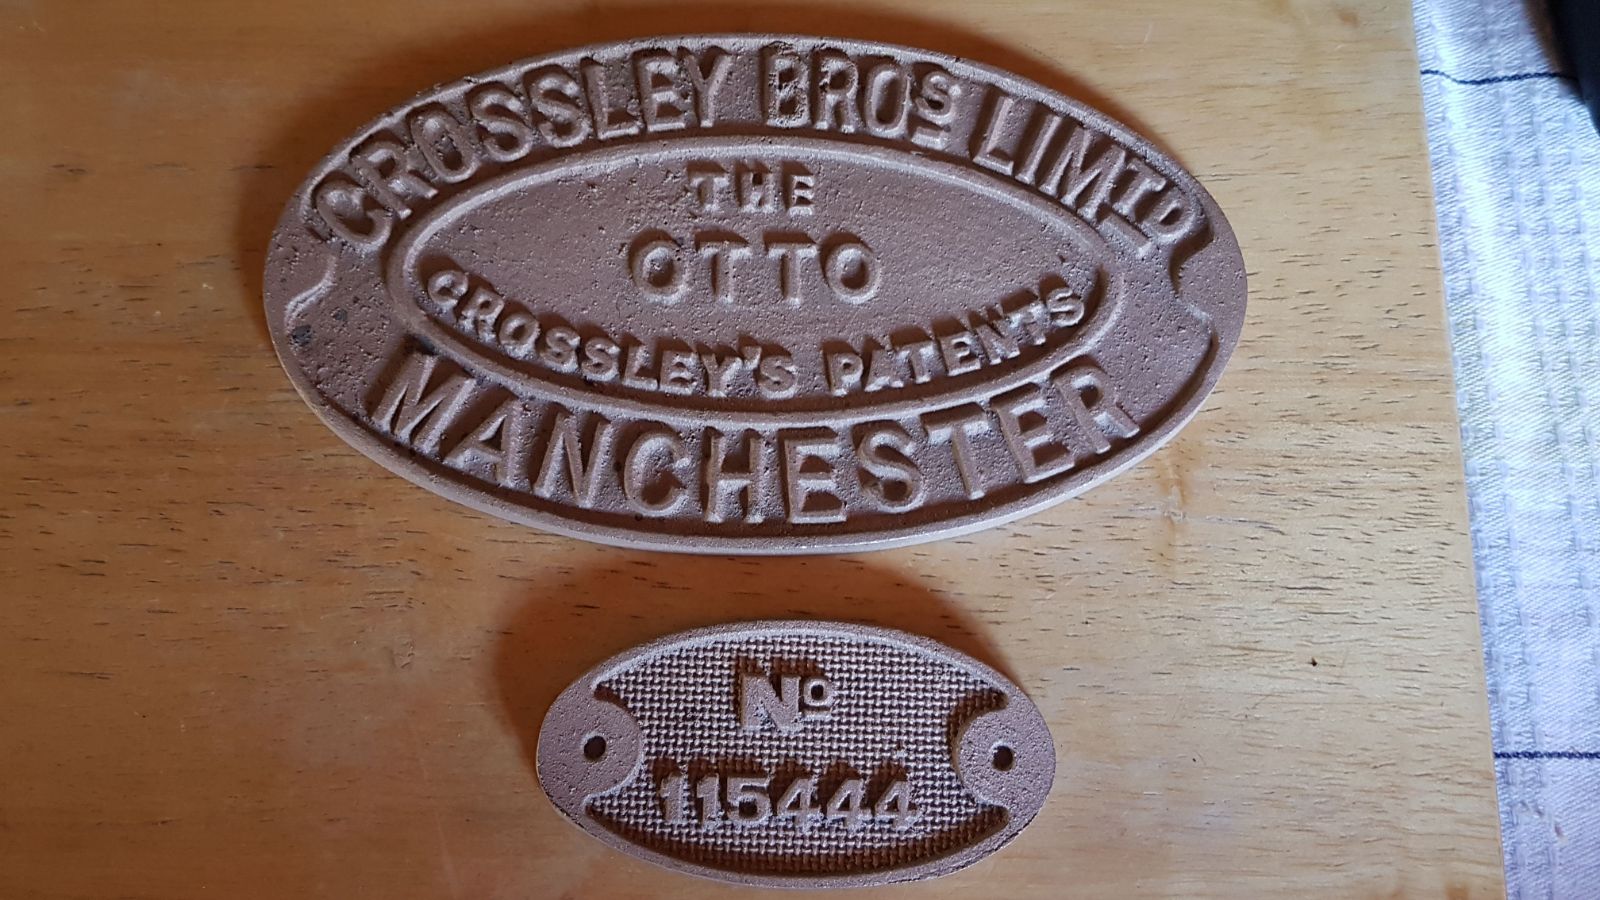
Working from photos of other plates, and the hole centre spacing on the engine, I was able to model the plate in Solidworks. The reference photos luckily had all the required numbers, so it was a simple case of tracing and rearranging them. For this I used AutoCAD, and then copied the final drawing into Solidworks to finish the pattern.
The pattern was 3D printed in resin to ensure all the fine detail came through, before being sent to the foundry. The finished casting was skimmed to thickness, before undergoing an aging process in order to blend it into the engine. I received a copy of the casting, and finished it by painting and sanding to reveal the base metal.
 |
 |
 |
 |
 |
 |
| Printed Tests | CAD Work | Background Detail | Resin Printed Pattern and Etched Plate | Castings Back From Foundry | Spare Casting Finished |
Ruston Hornsby 10IP Exhaust Flange
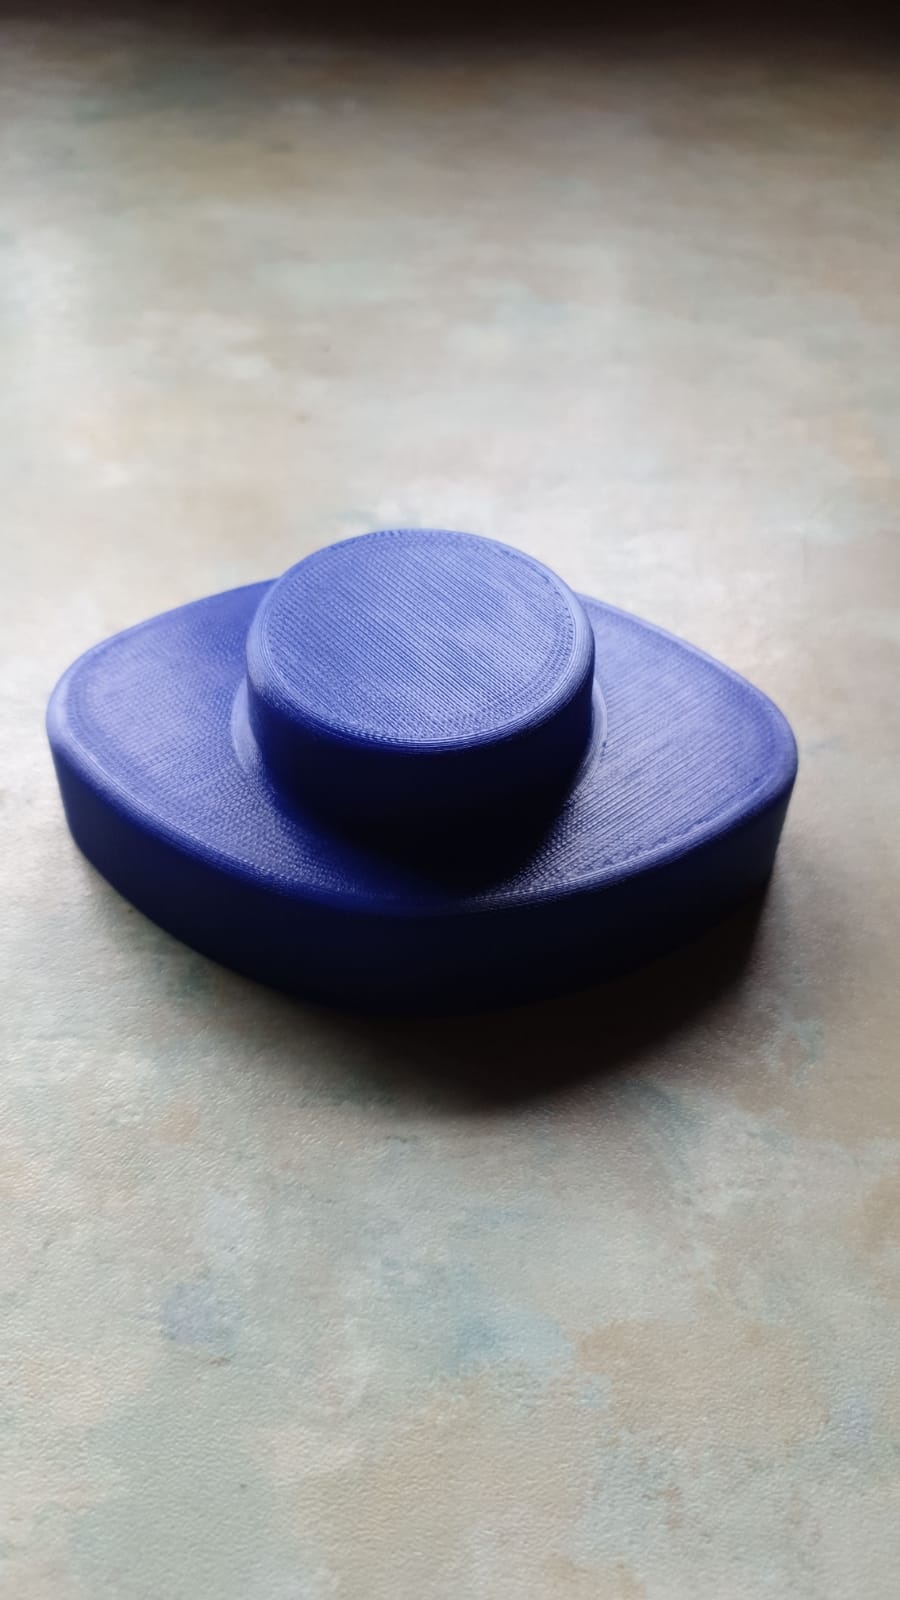
A simple flange was required to connect the exhaust pipe to the cylinder head of the 10IP. It was a simple job to model, with a tracing of the seating surface and a rough idea of the other dimensions. It was printed and quickly finished before sending to the foundry. As a result there are layer lines visible in some areas; however, the part is underneath the engine and this detail will never be seen.
 |
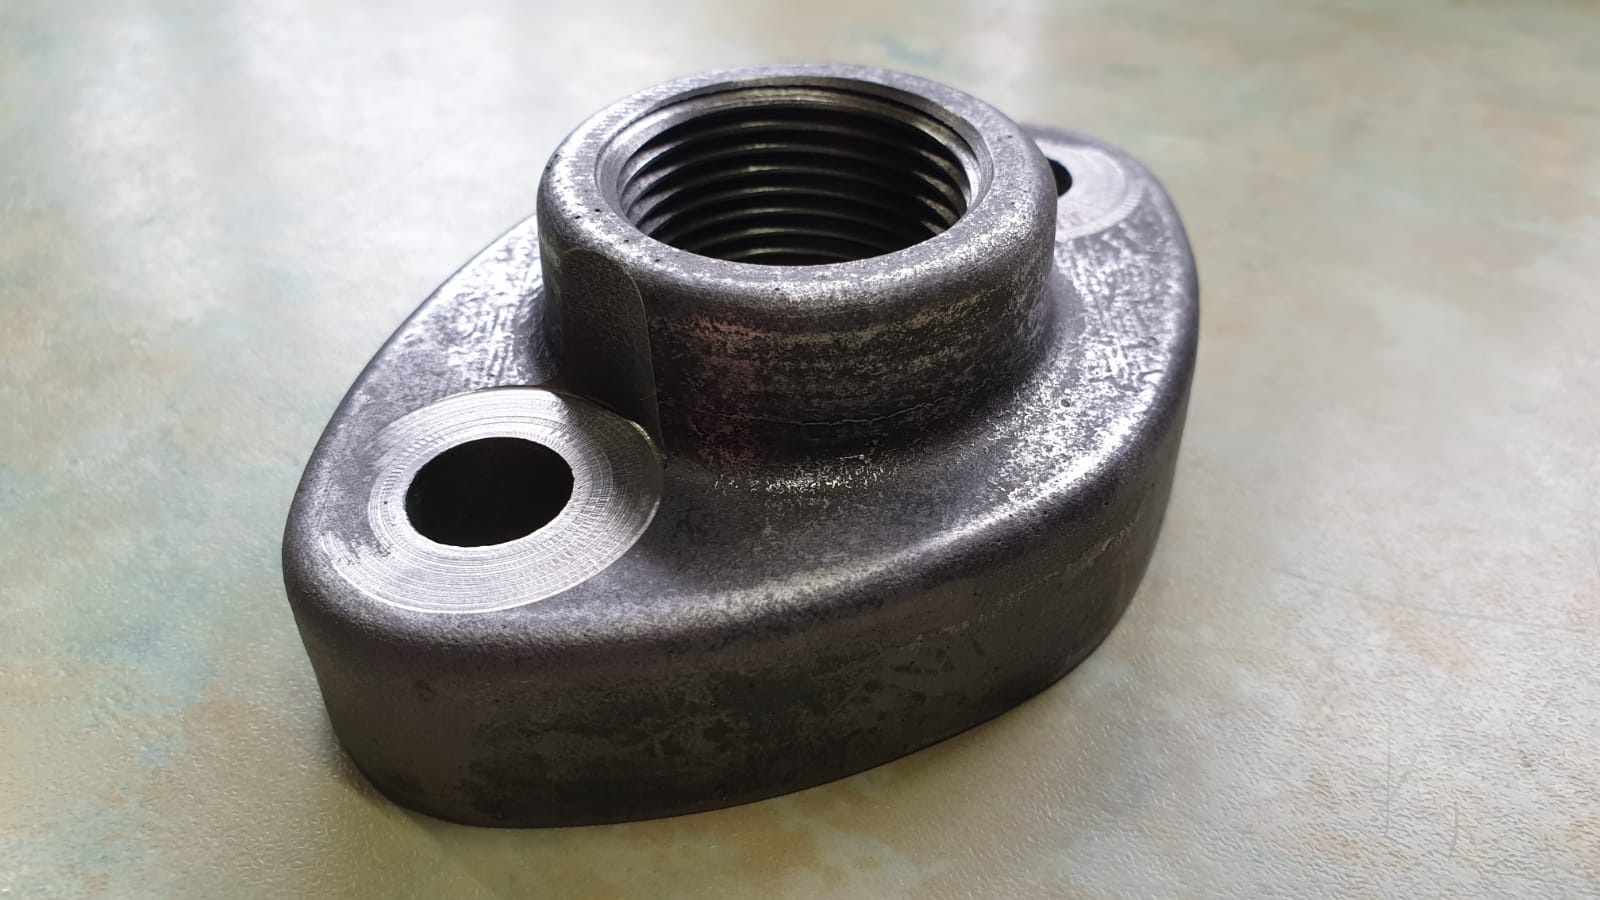 |
| Printed Pattern | Machined Casting |
Alexander Shanks Intake Valve Push-rod
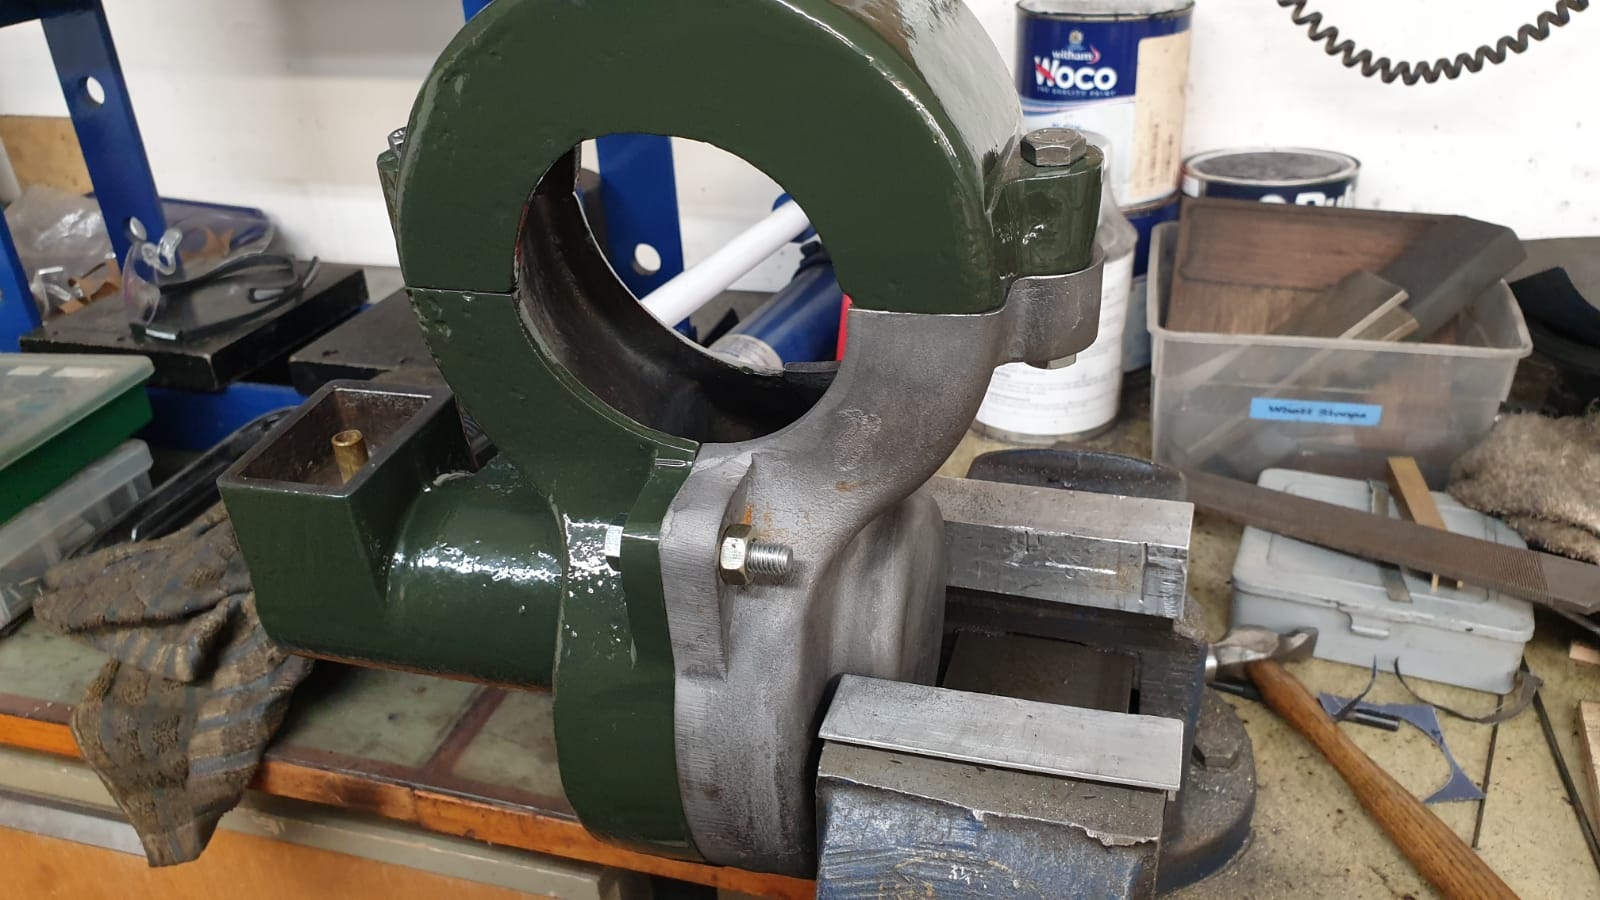
The 19Hp Alexander Shanks was received with a broken intake valve push-rod. As the top section was missing, it was decided to base the design on a Ruston style puch-rod - A cast cam follower with an adustable rod to actuate the valve rocker.
I designeed and modelled the pattern in Solidworks, and then printed it in two parts. This was one of the first printed patterns we had tried, so I left the halfs seperate, and fitted locating pegs for alignment. The printed parts were sanded, filled and primed prior to sending to the foundry.
 |
 |
 |
 |
 |
 |
| Printed Pattern | Printed Pattern | Sanded and Primed | Back From The Foundry | Original, Cast Part, and Pattern | Machined Casting |
