
Electric Guitar
I cannot play the guitar; so I am making an electric guitar from scratch.
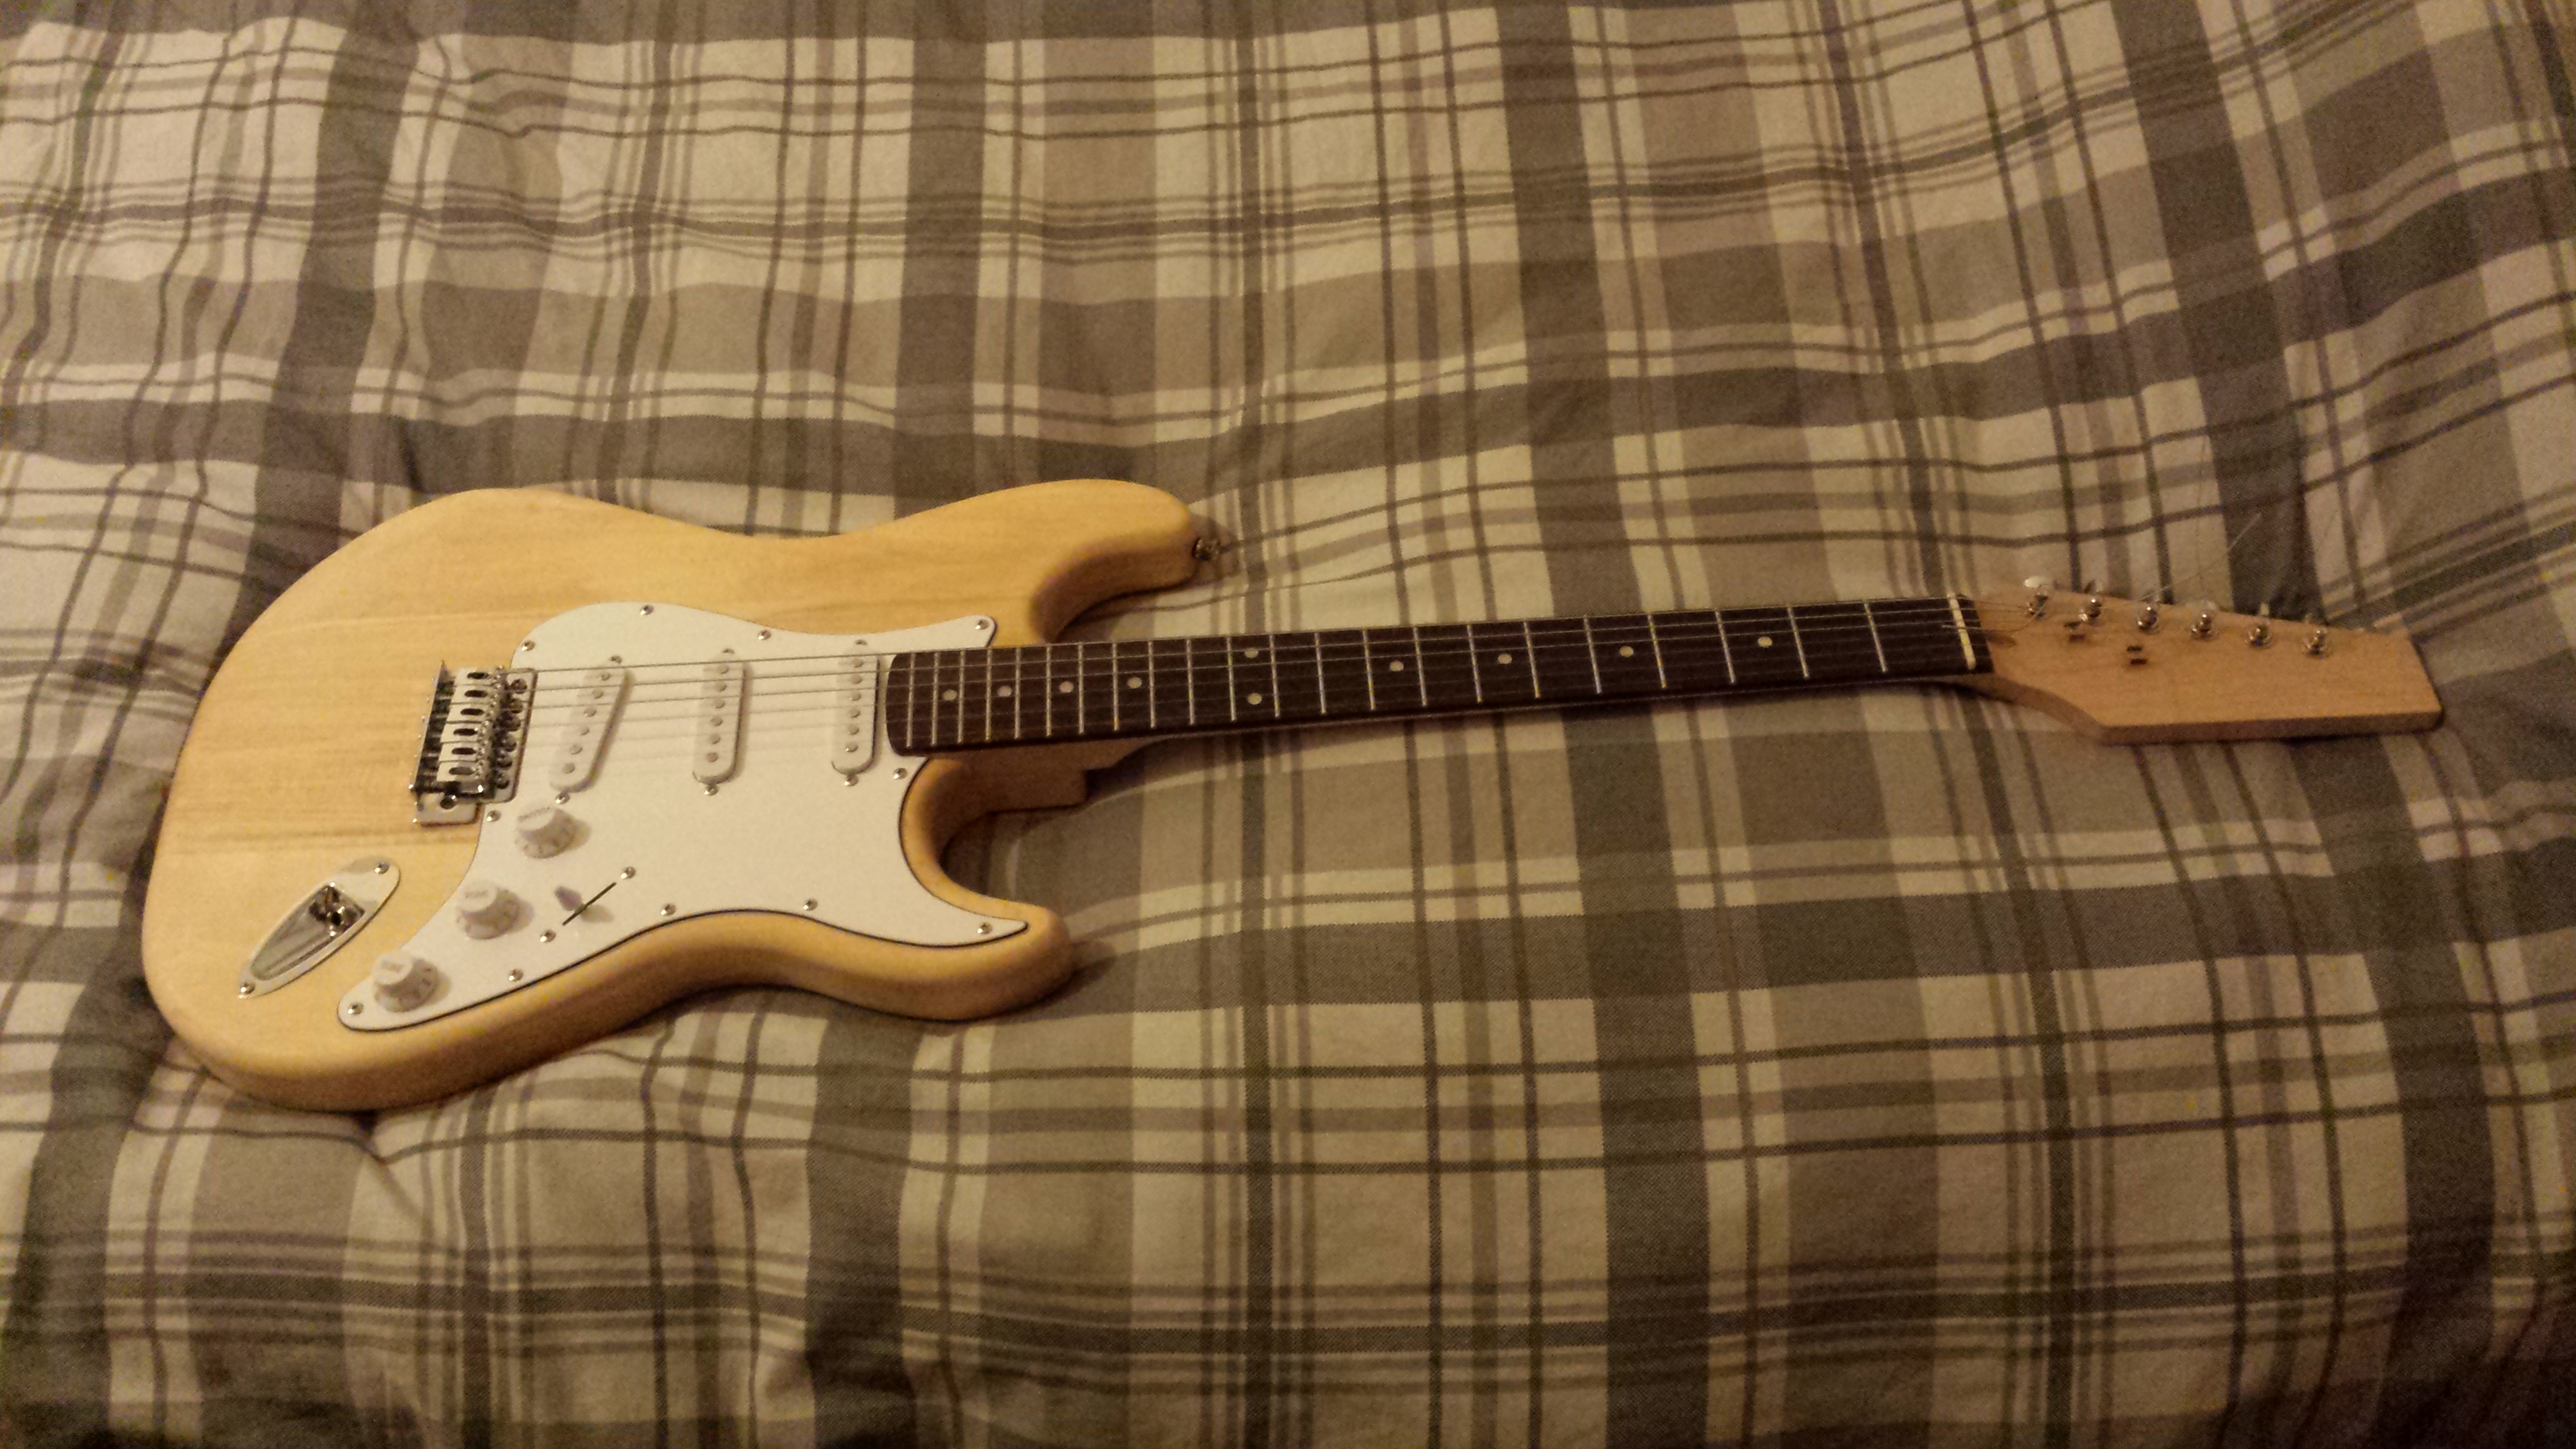
A cheap electric guitar kit was purchased from Amazon, mainly for the neck, but the various parts will be used to begin with until better replacements can be had. The kit went together well, and gave me a good starting point for 3D modelling a new body.
 |
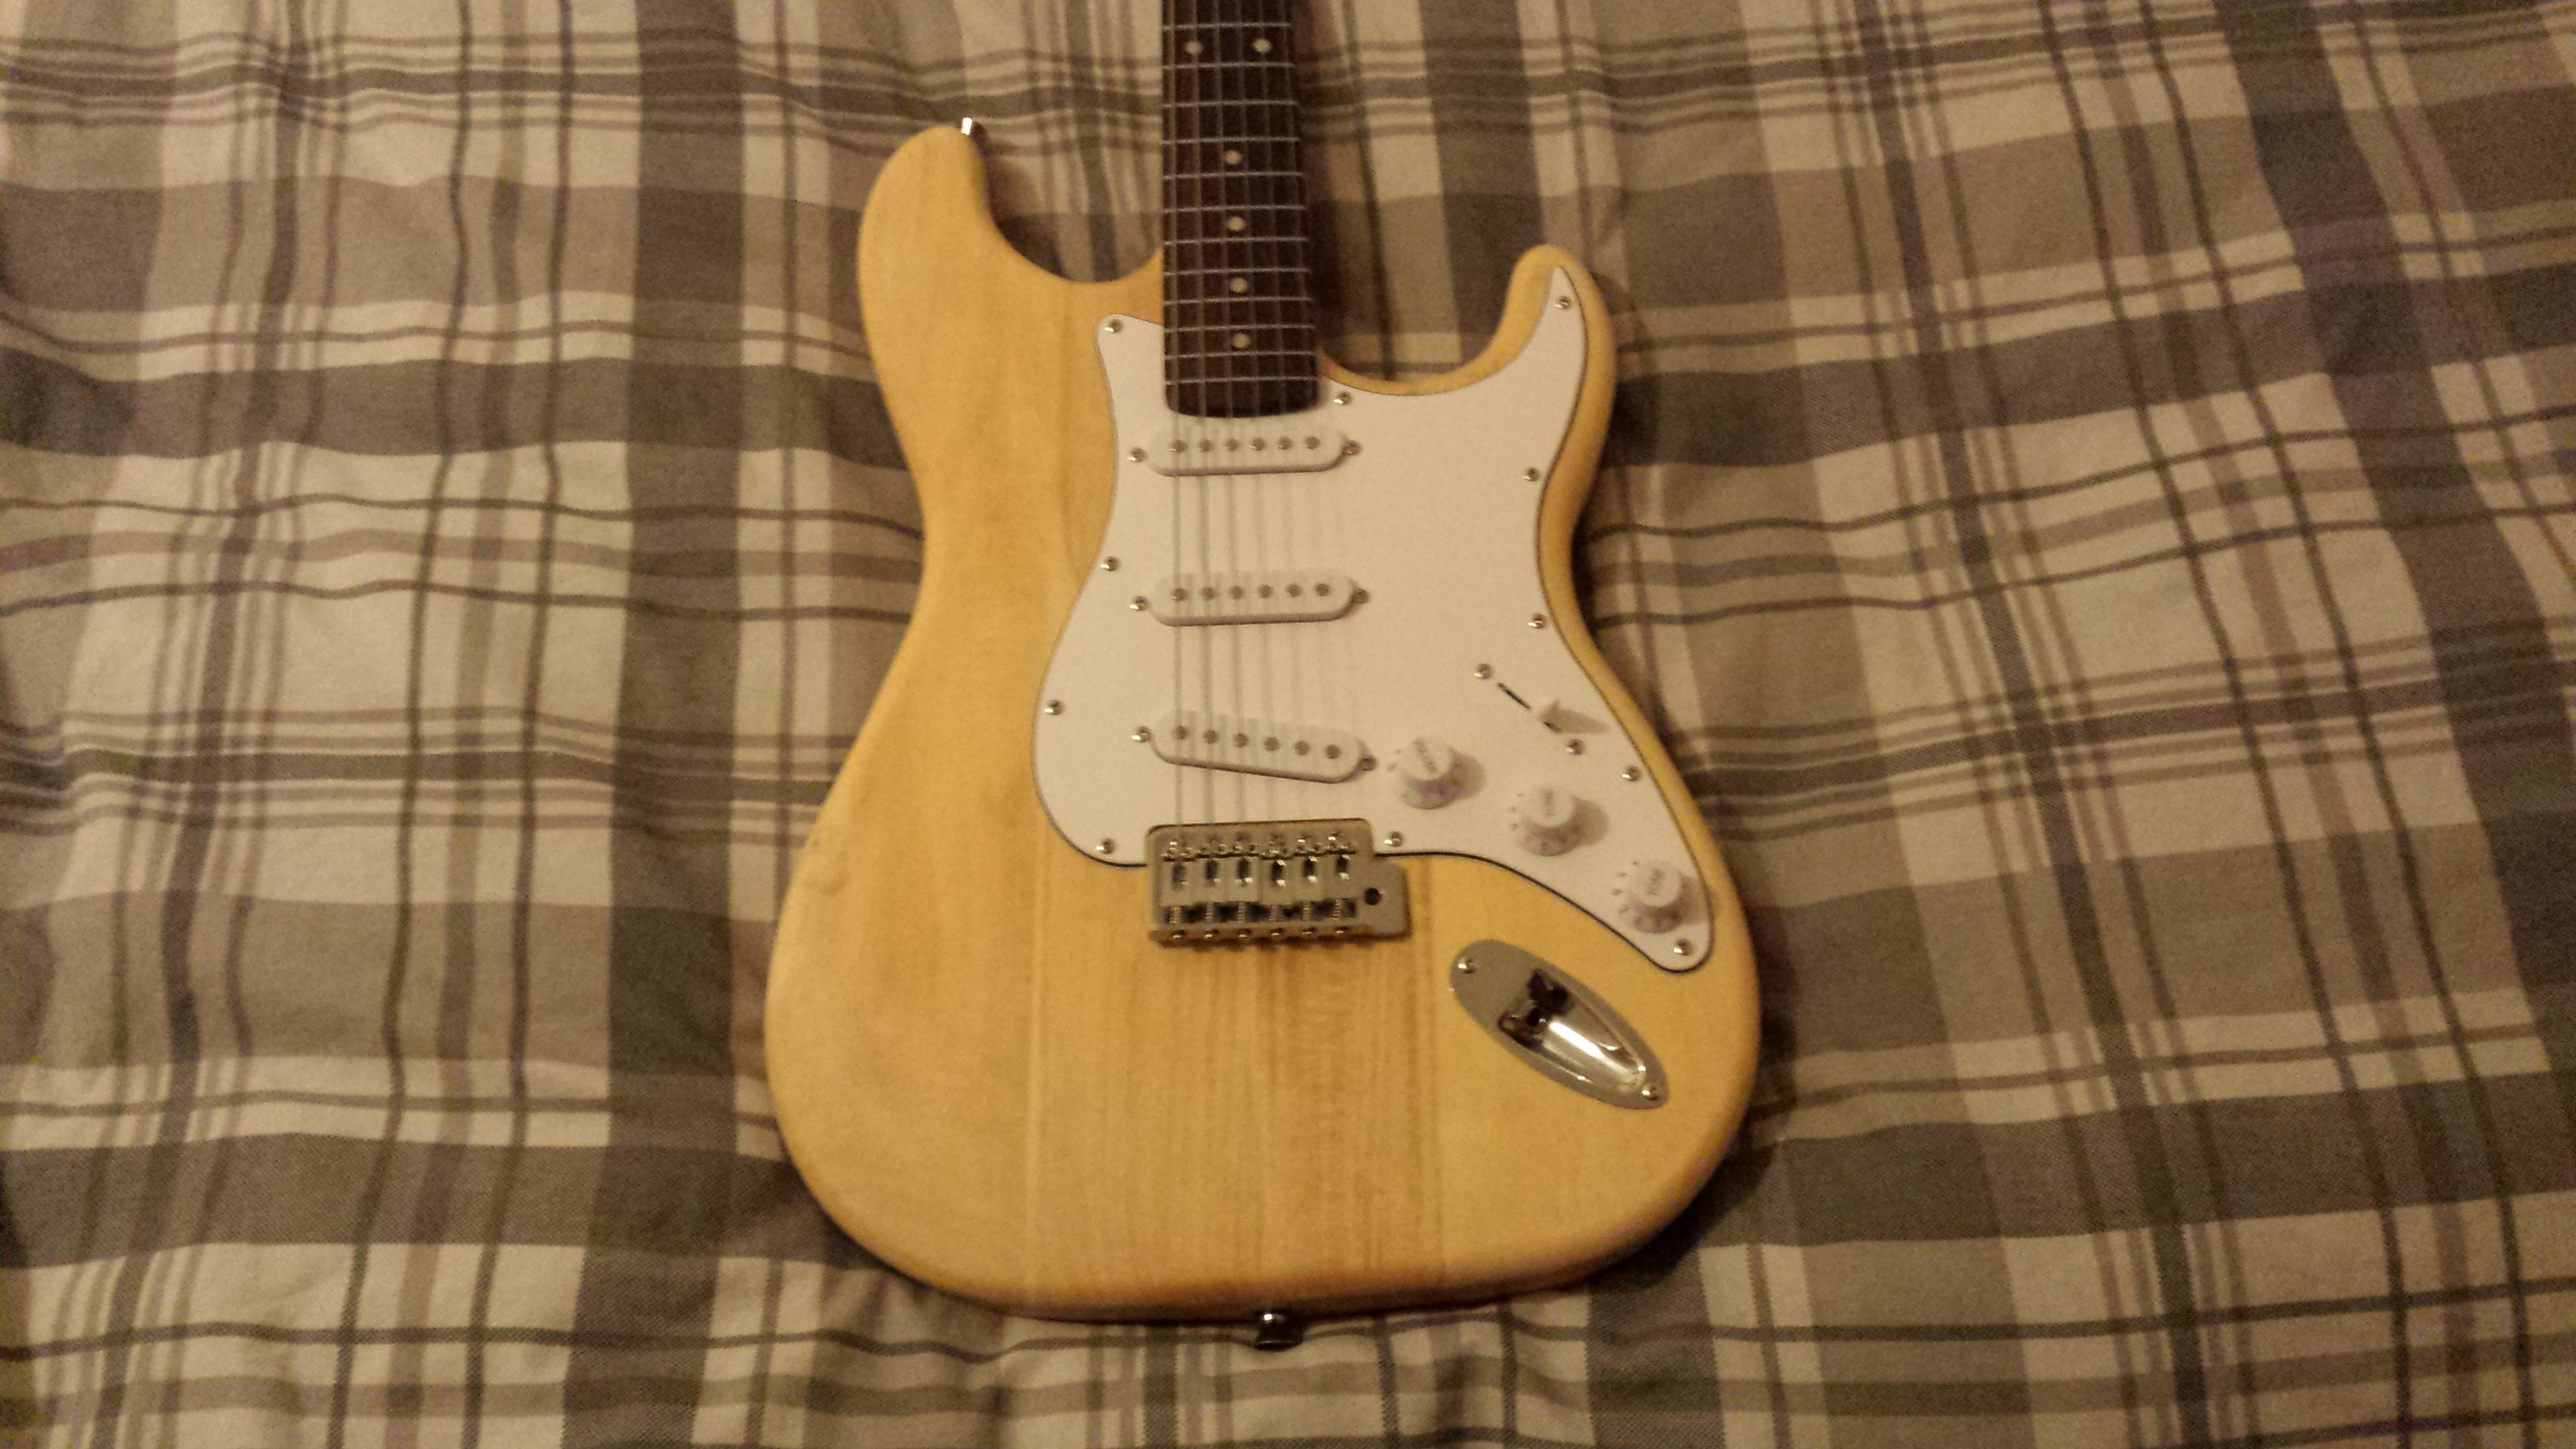 |
| Amazon special | Amazon special |
I modelled a body, something between a Telecaster and a Les Paul, with maybe a bit of Stratocaster thrown in for good measure. This was dome in Solidworks. I inserted a number of planes, each a couple of mm apart, and created a drawing of all the section views on those planes. In AutoCAD, i could clean up the drawings, set each slice to a different layer, and using reference geometry stack all the drawings ready for routing on the CNC.
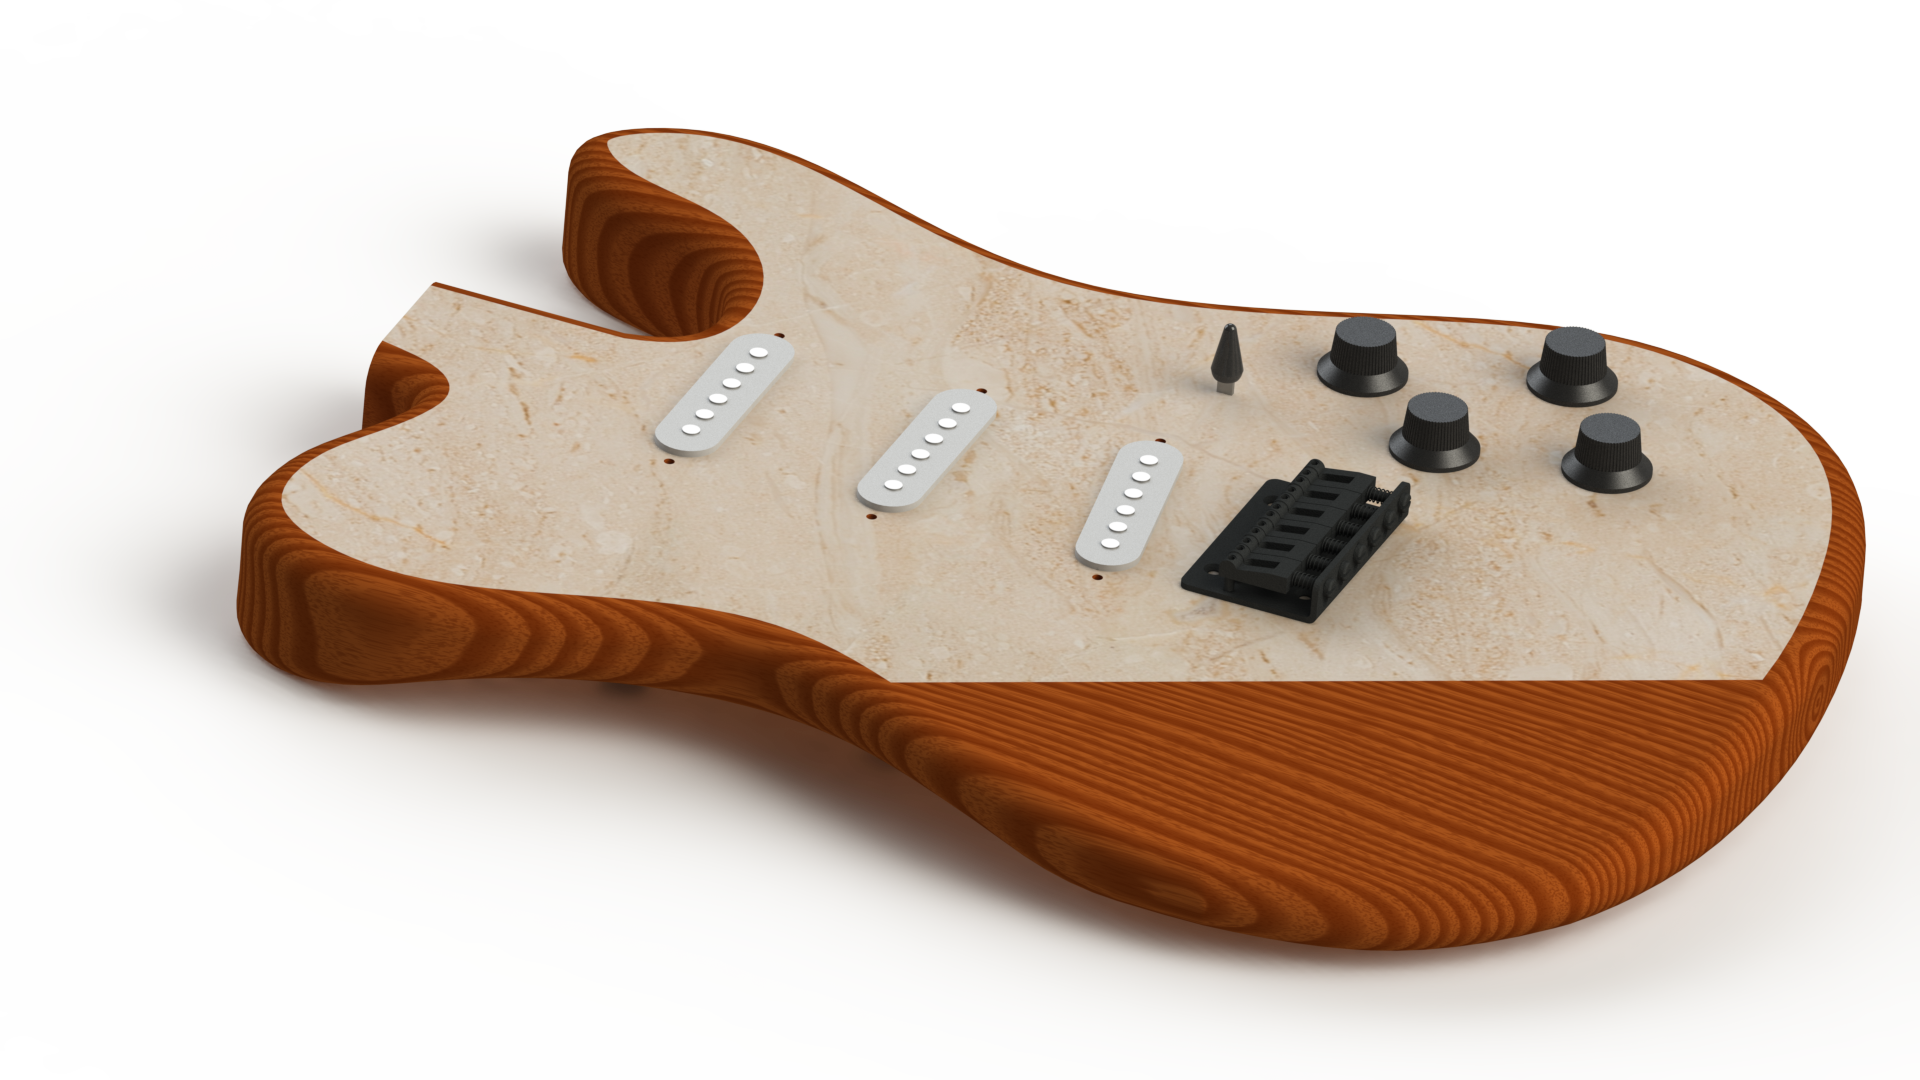 |
| Solidworks Render of the Guitar |
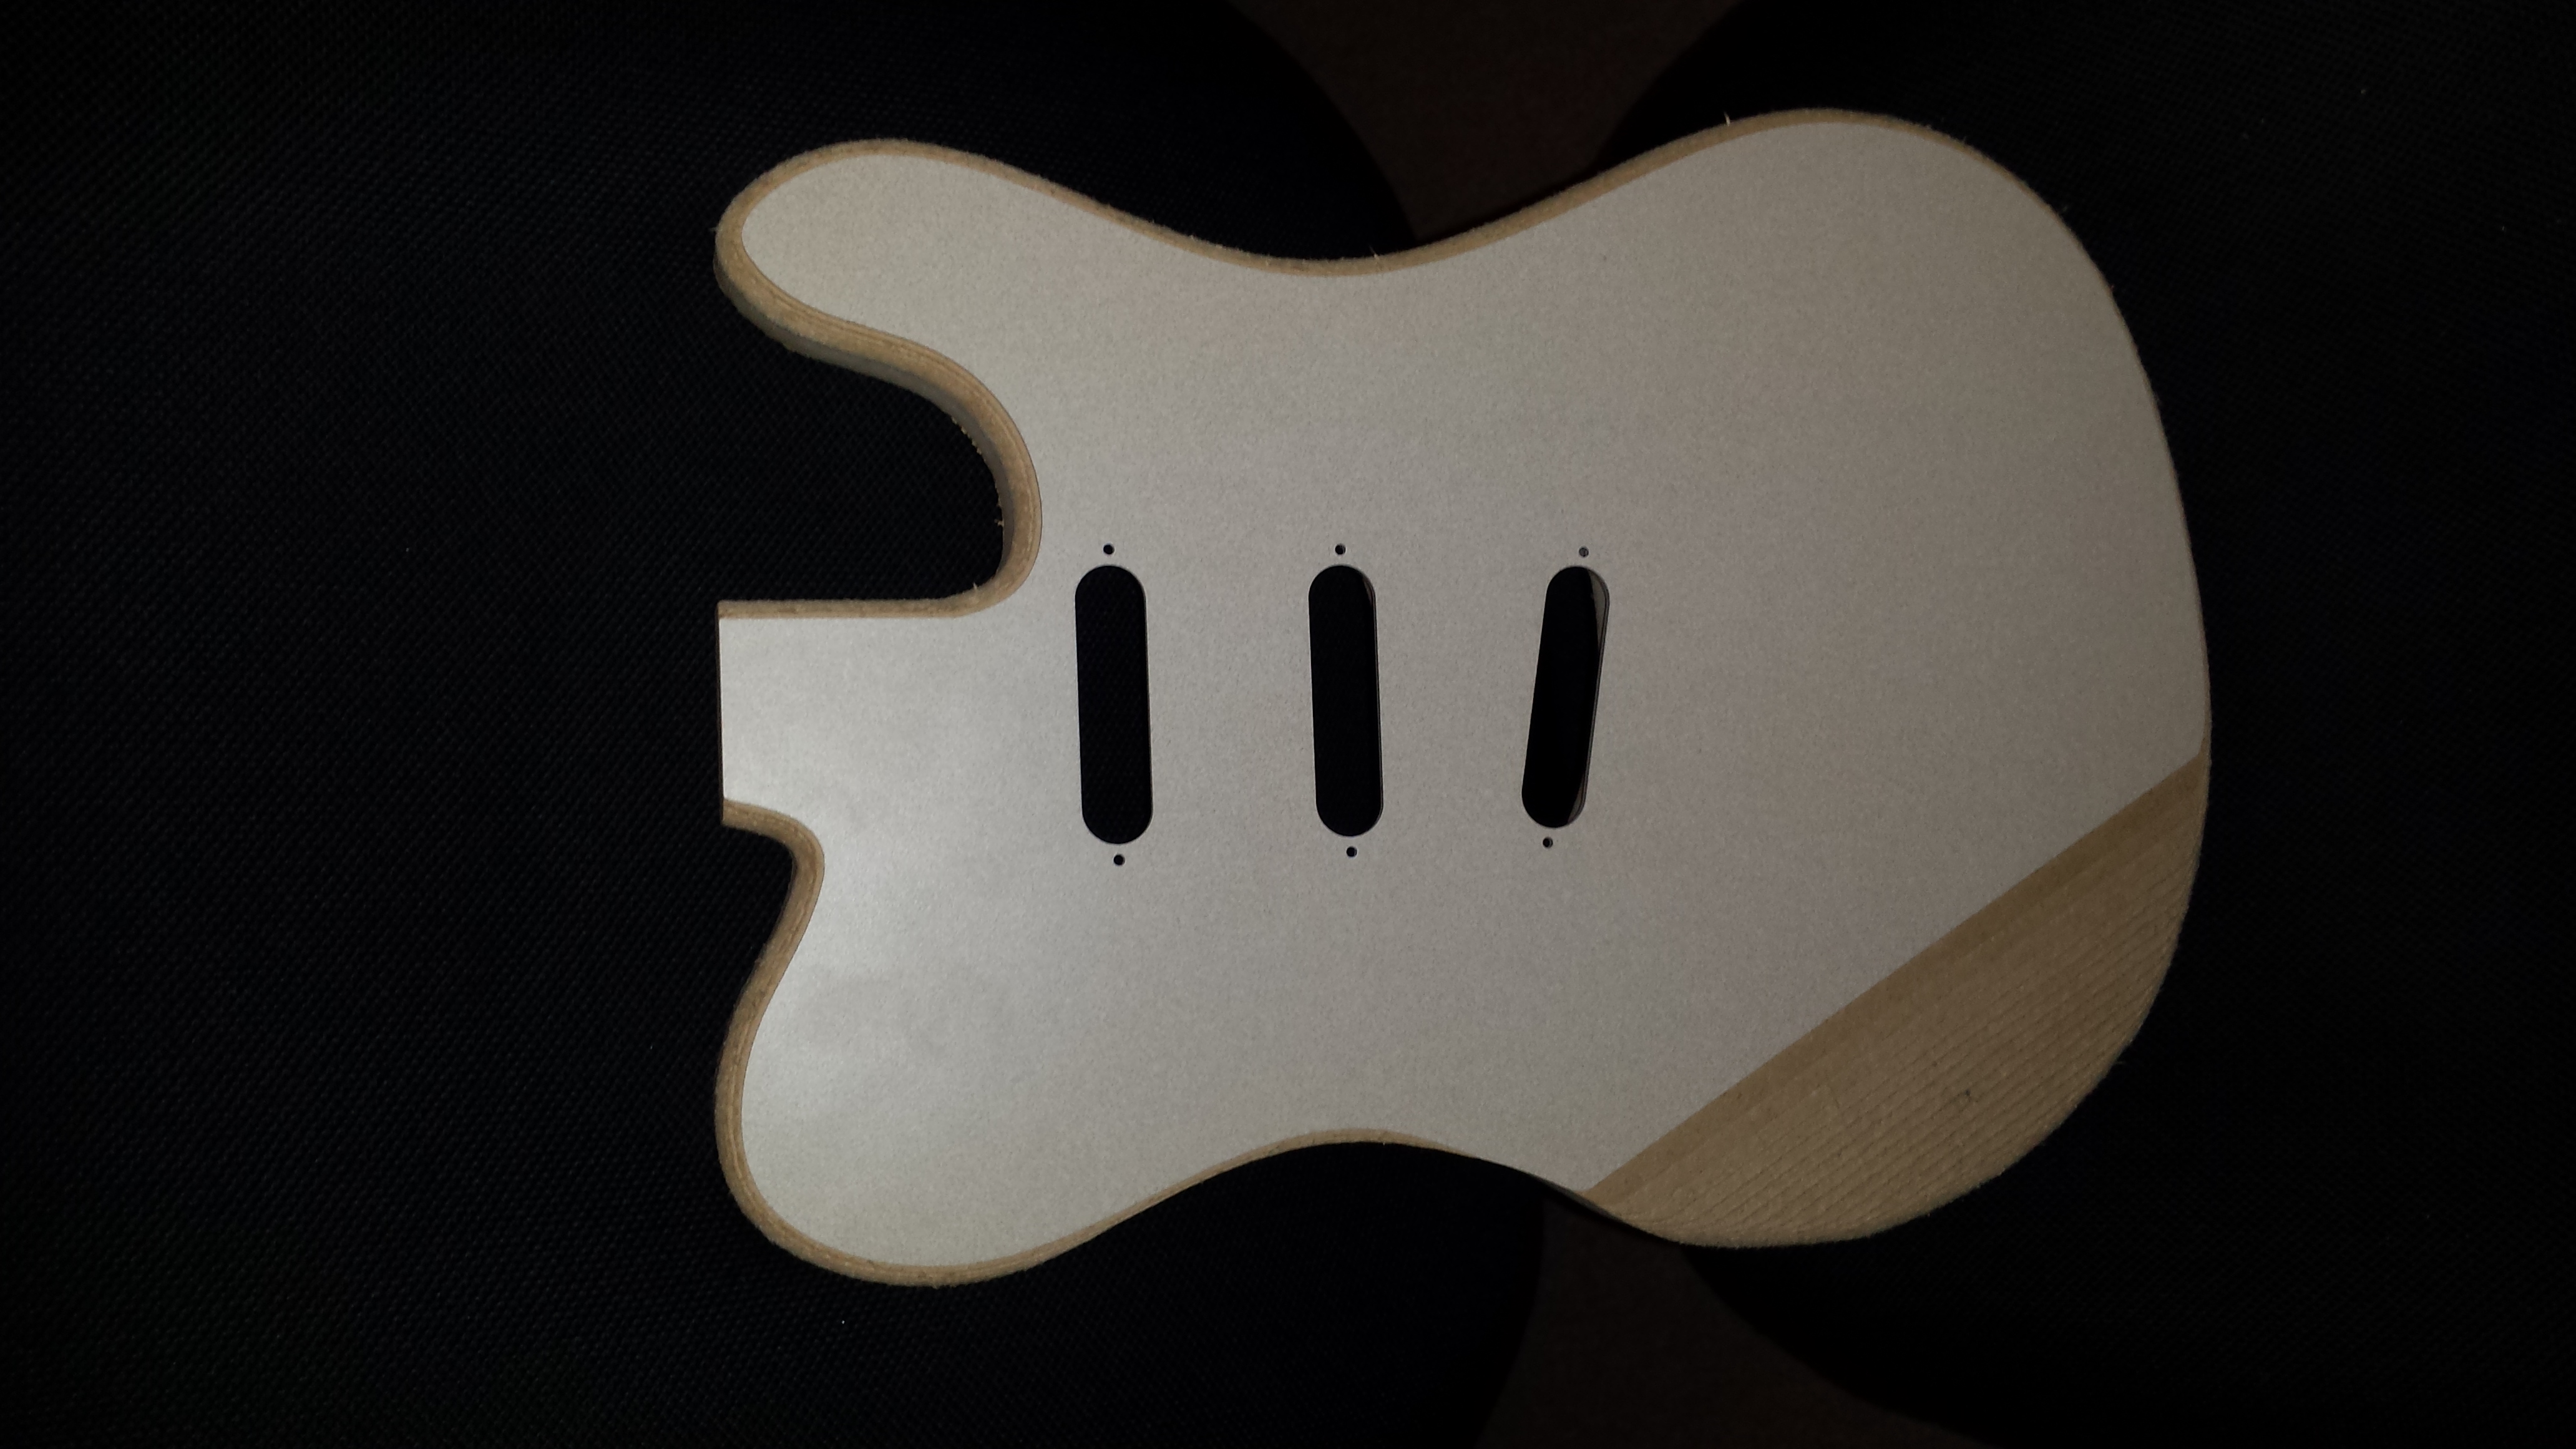
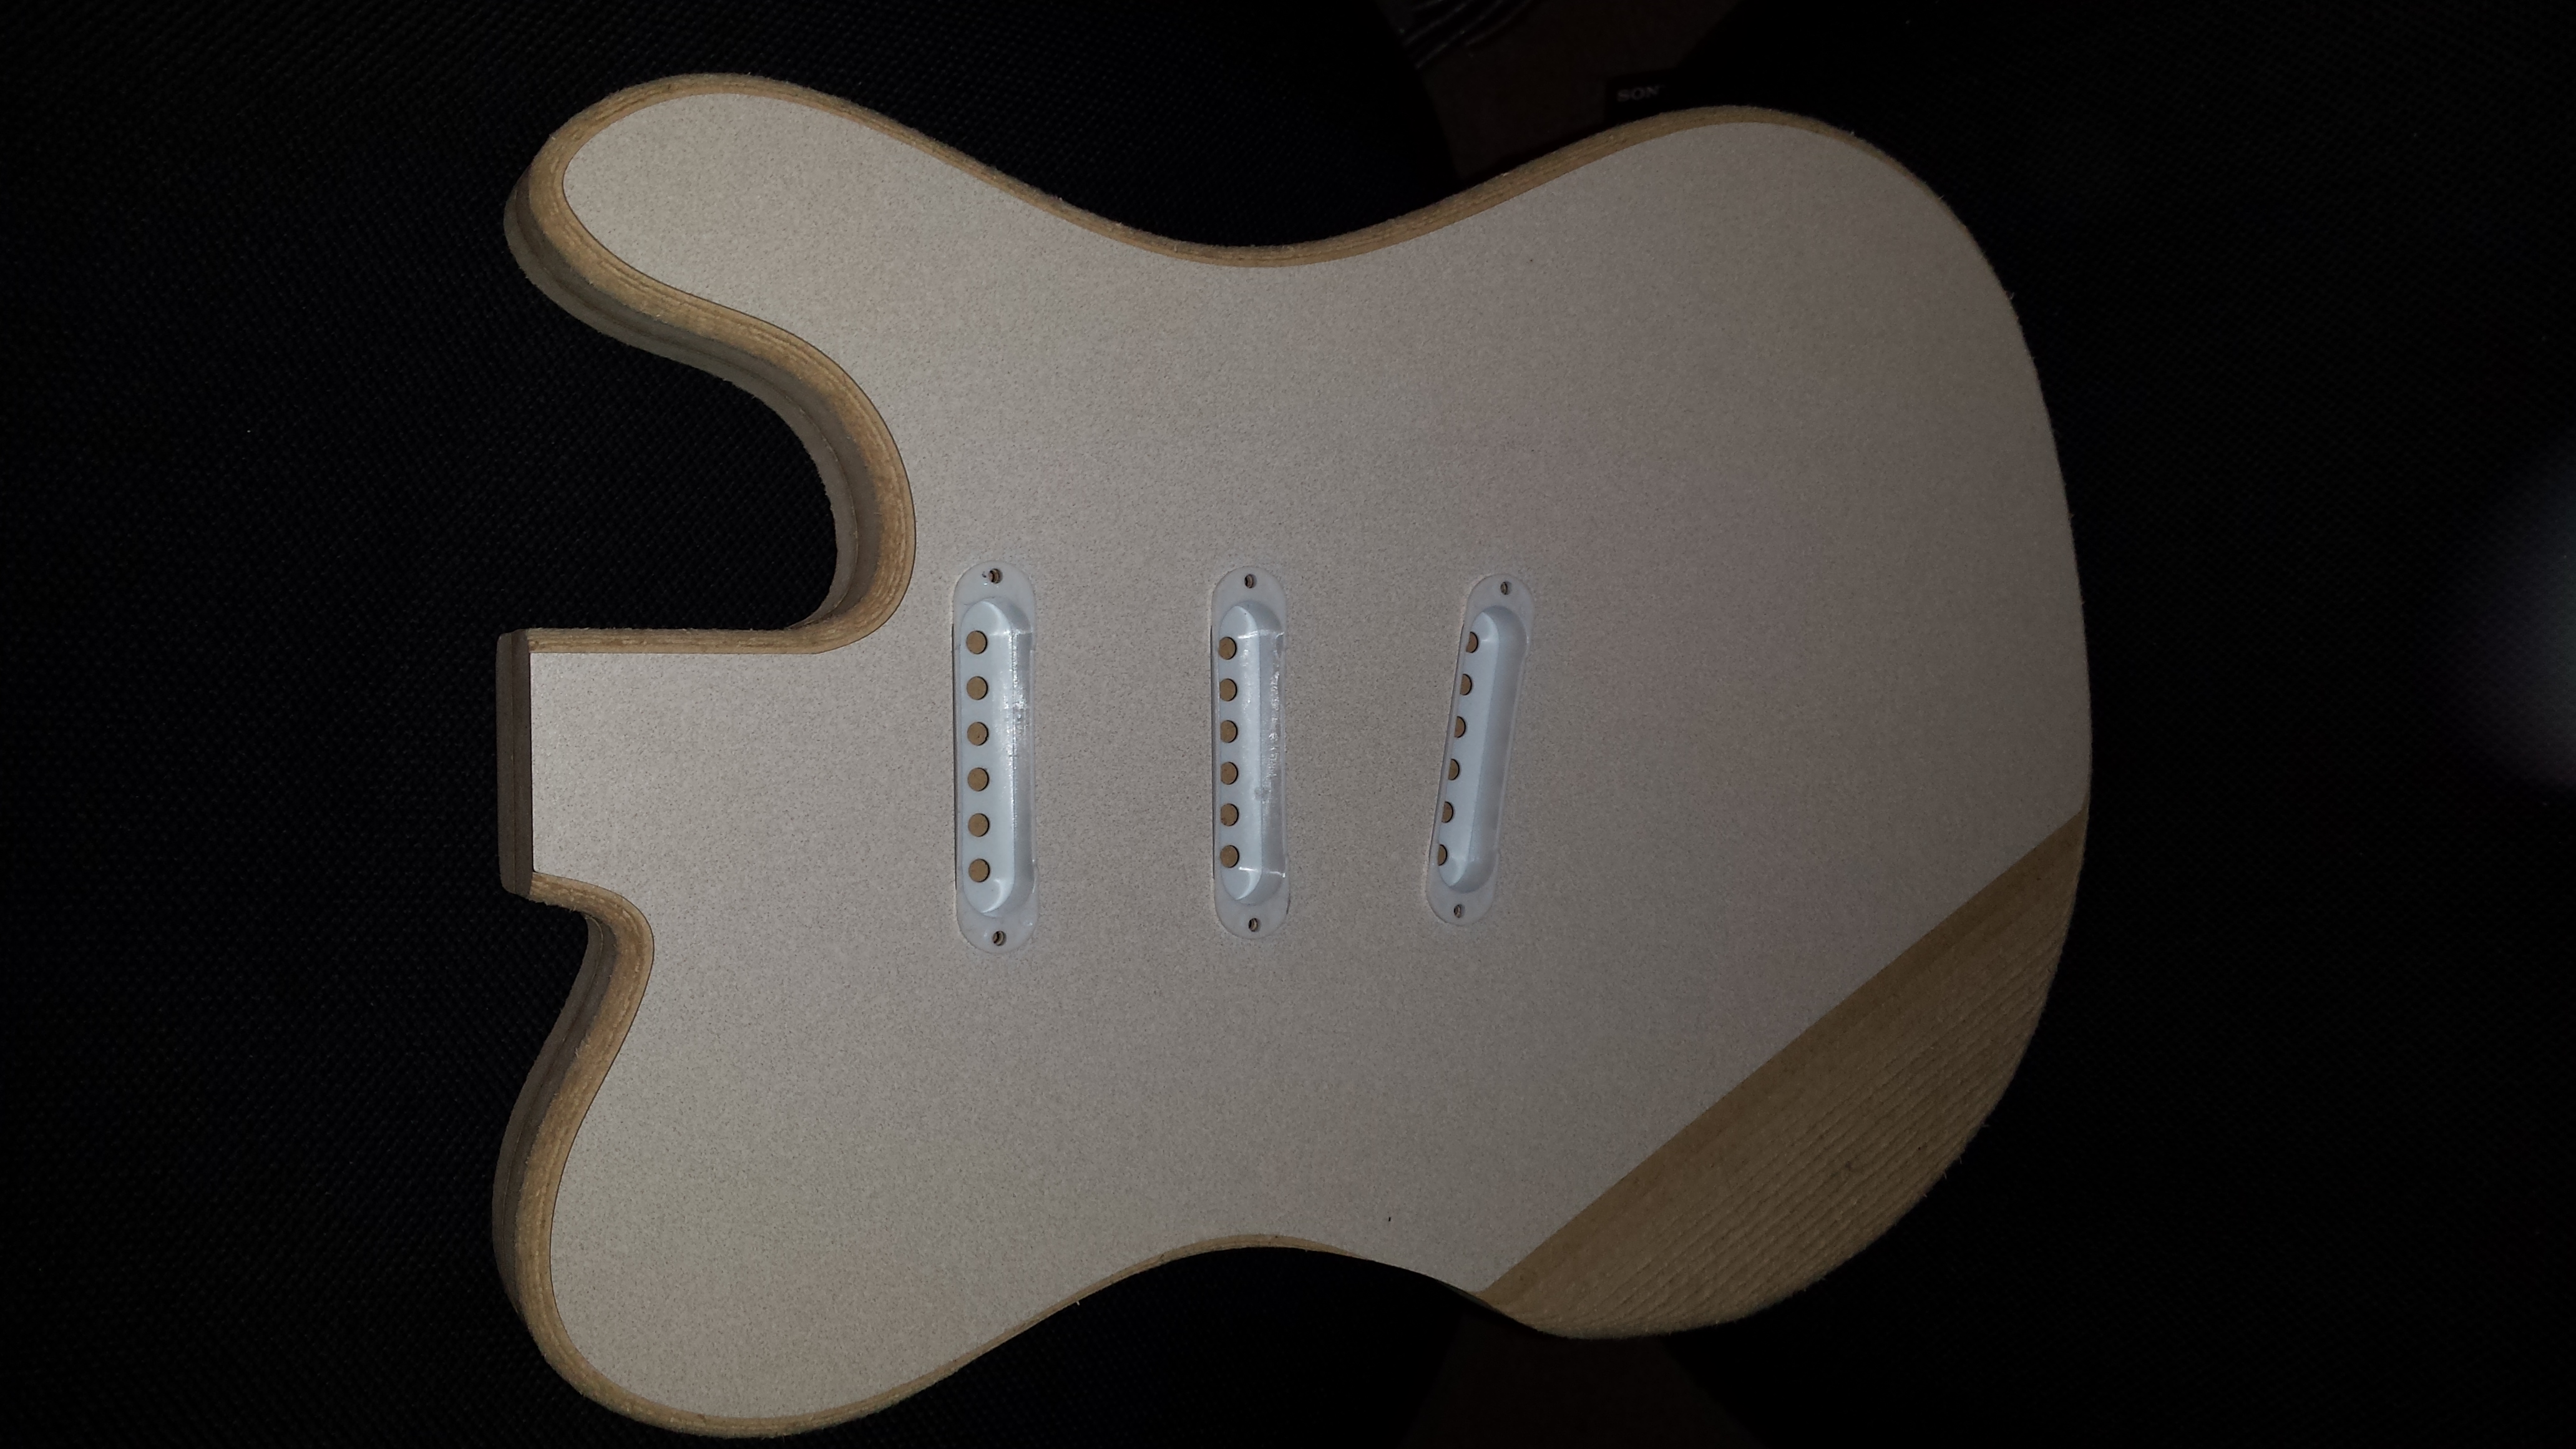
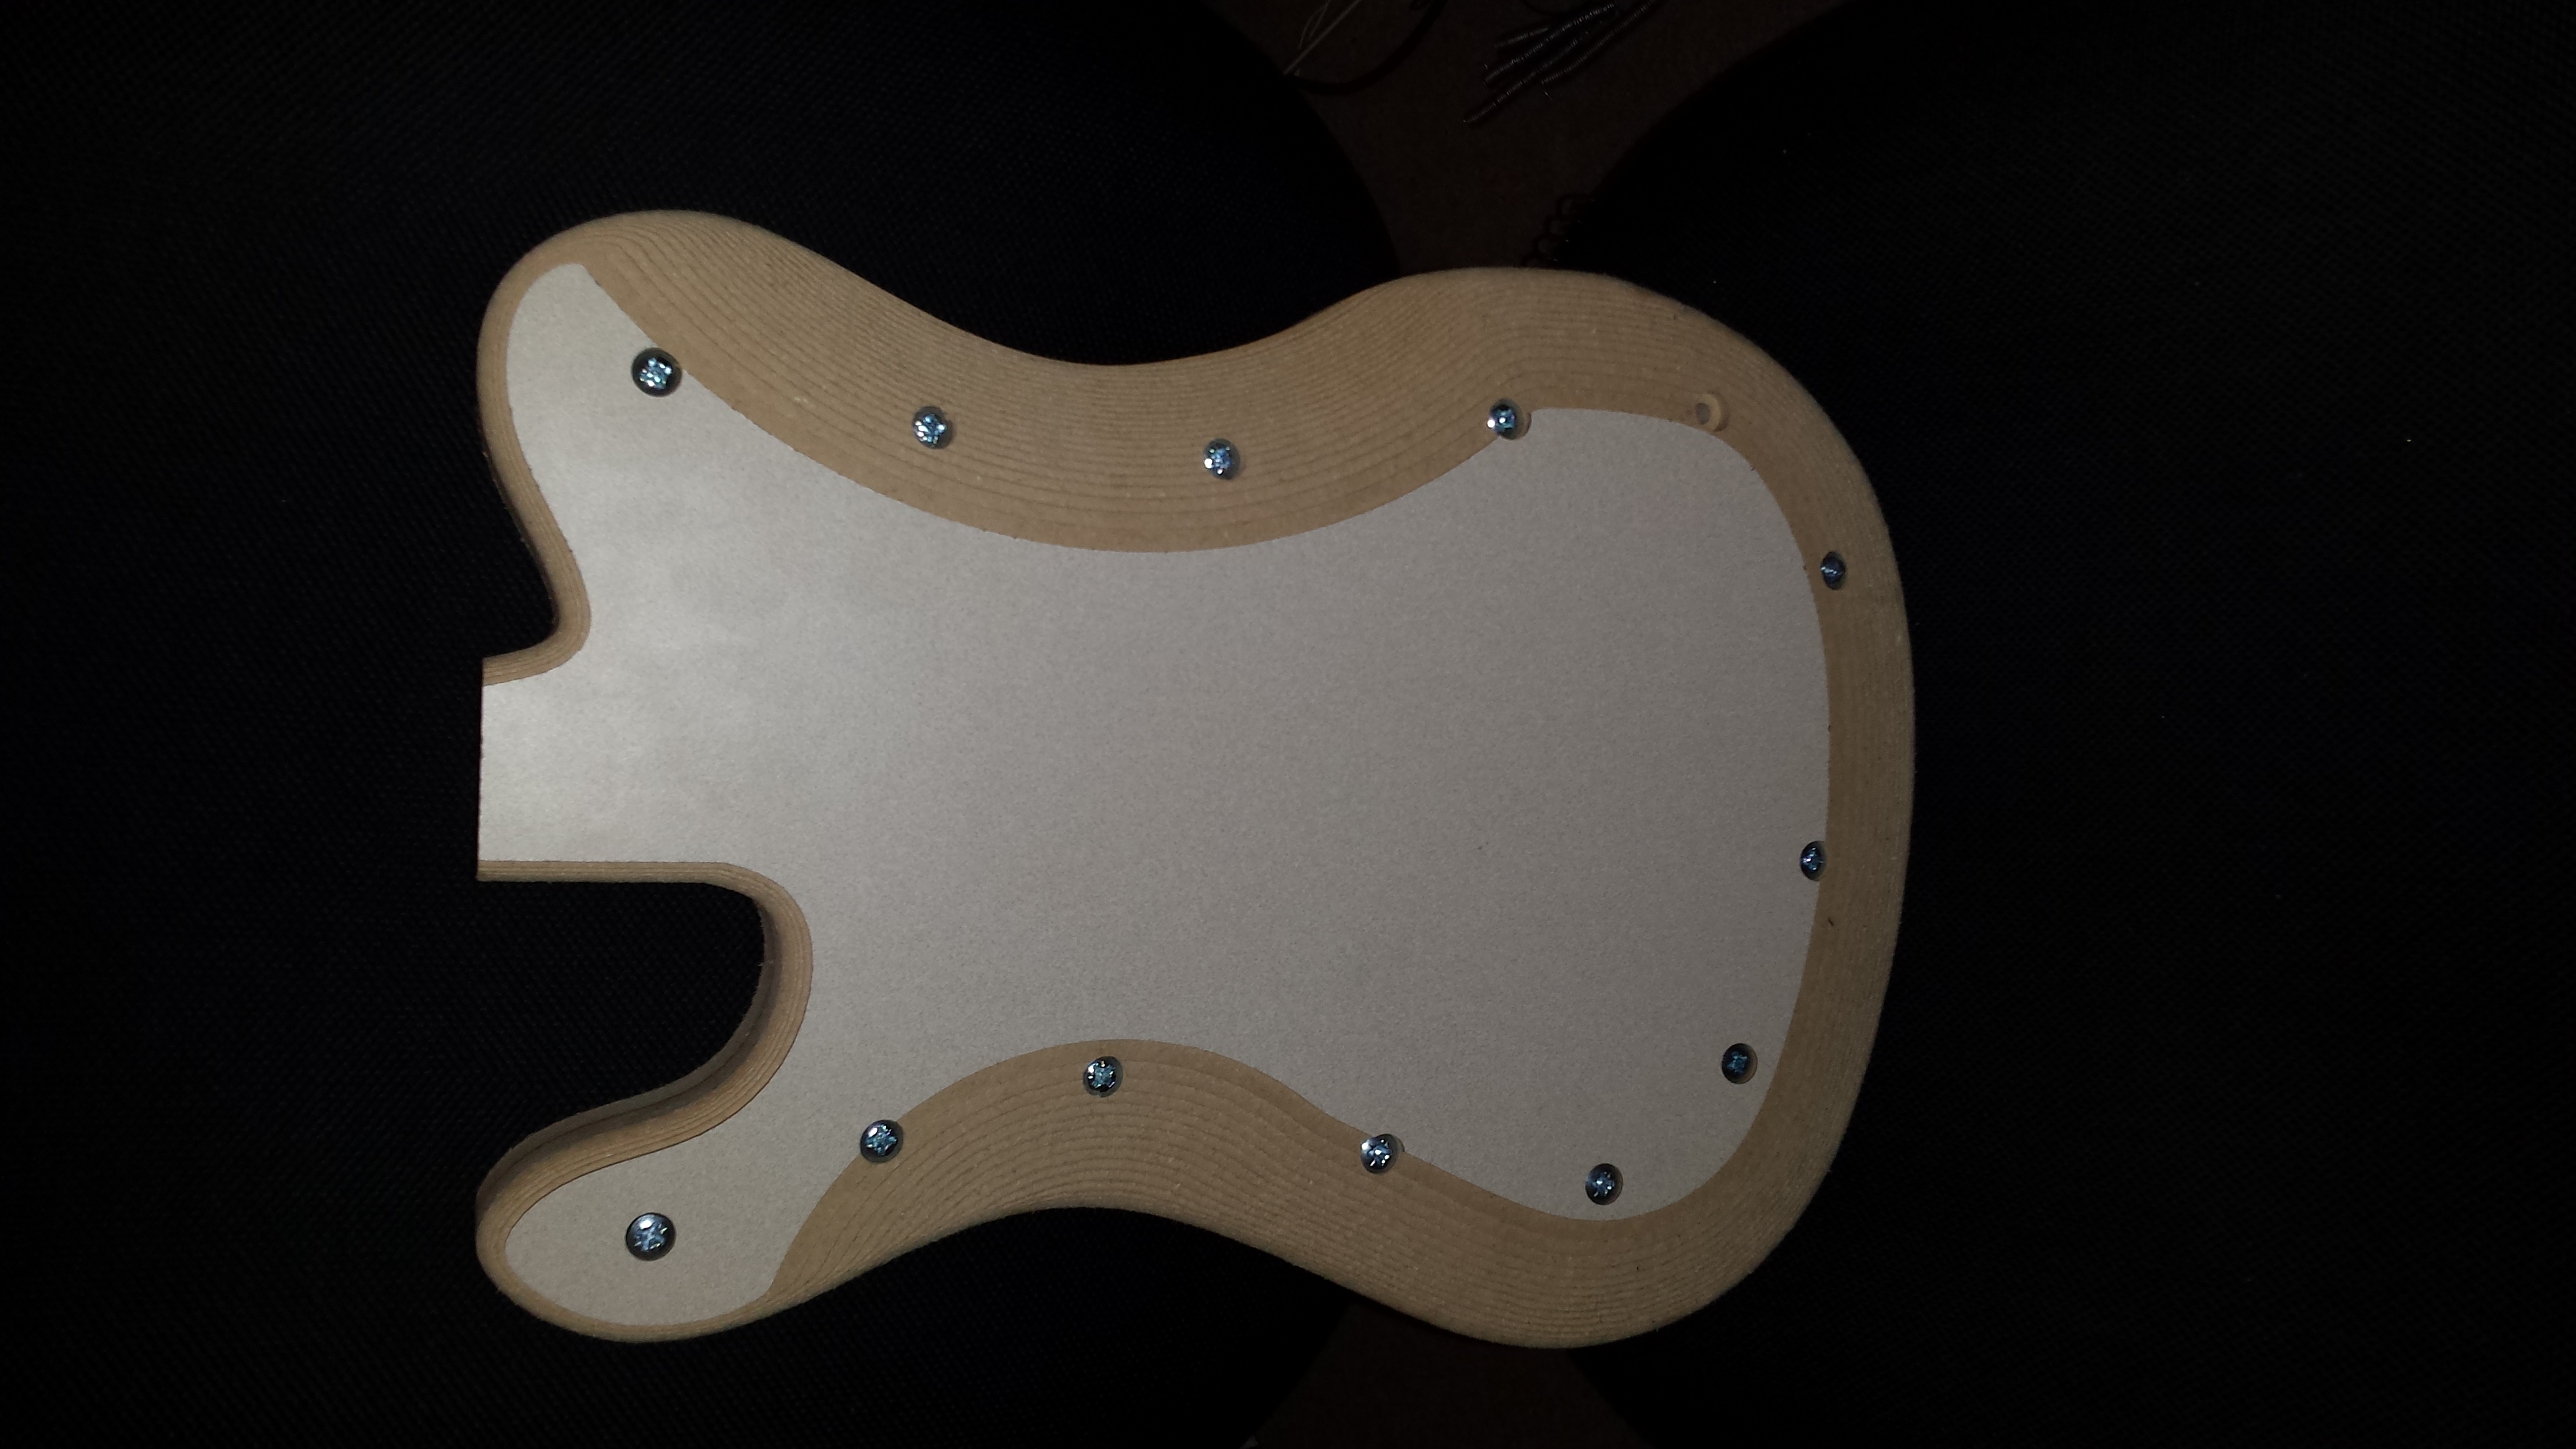
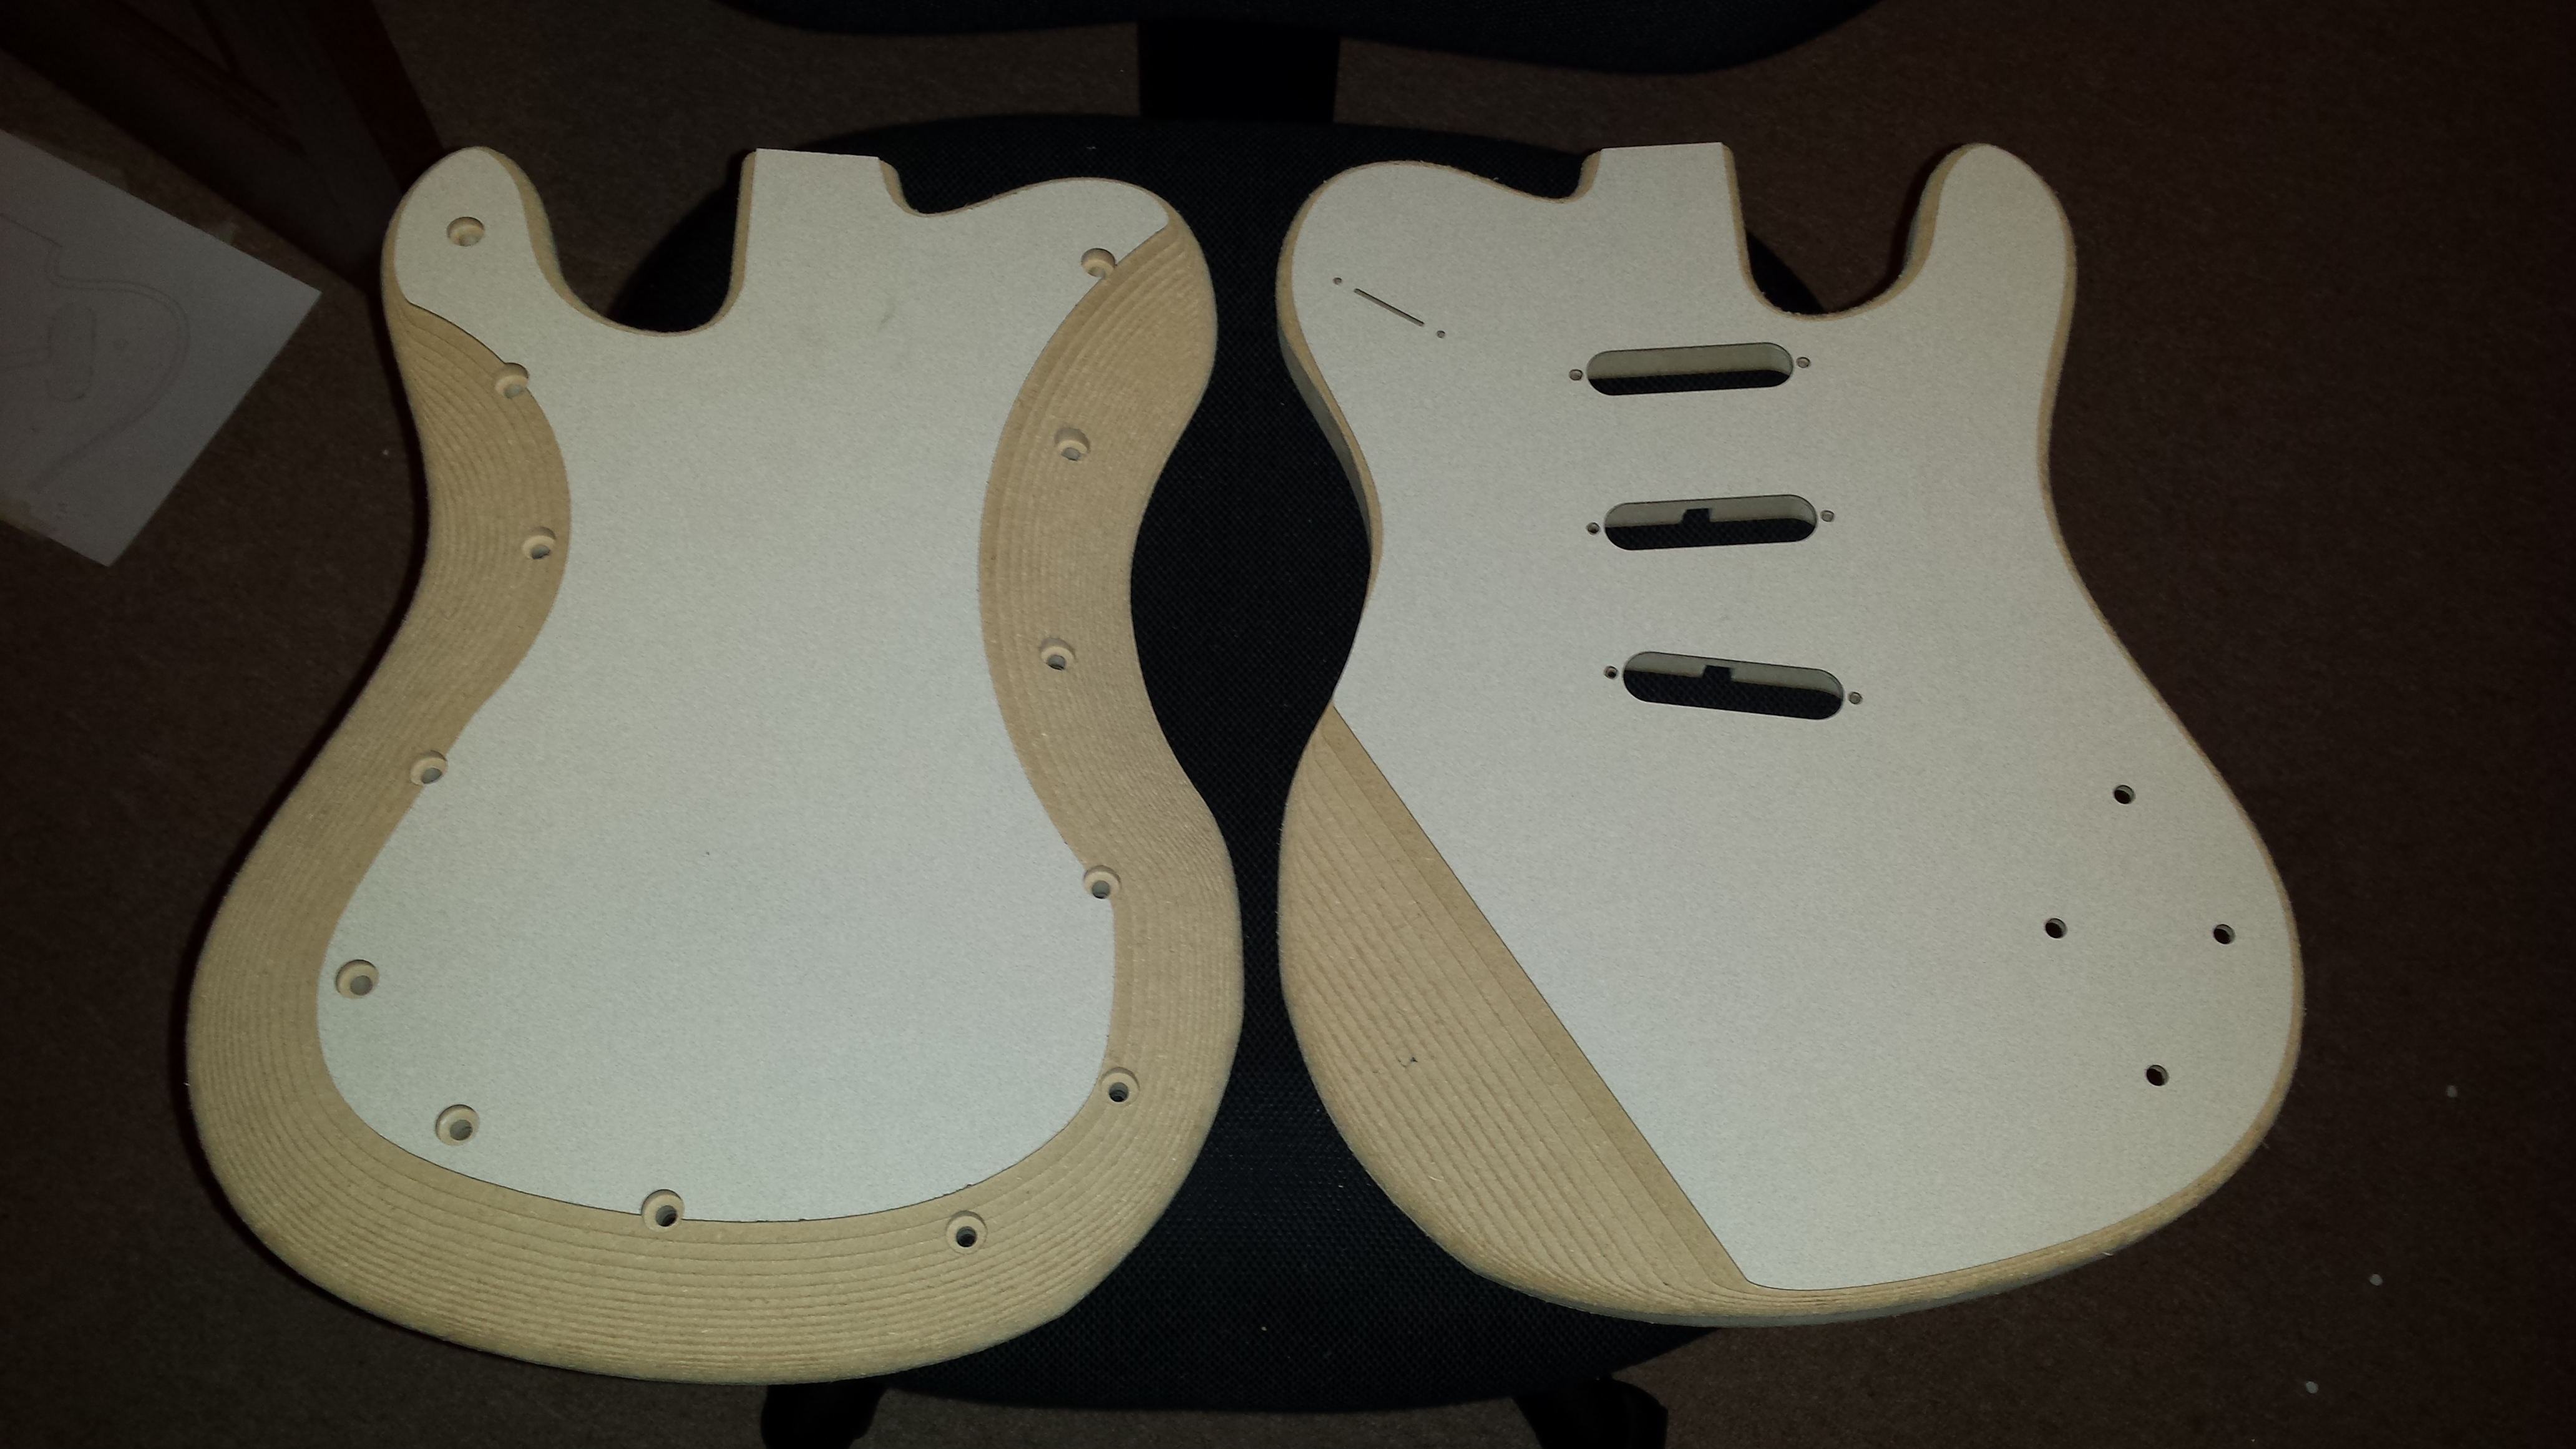
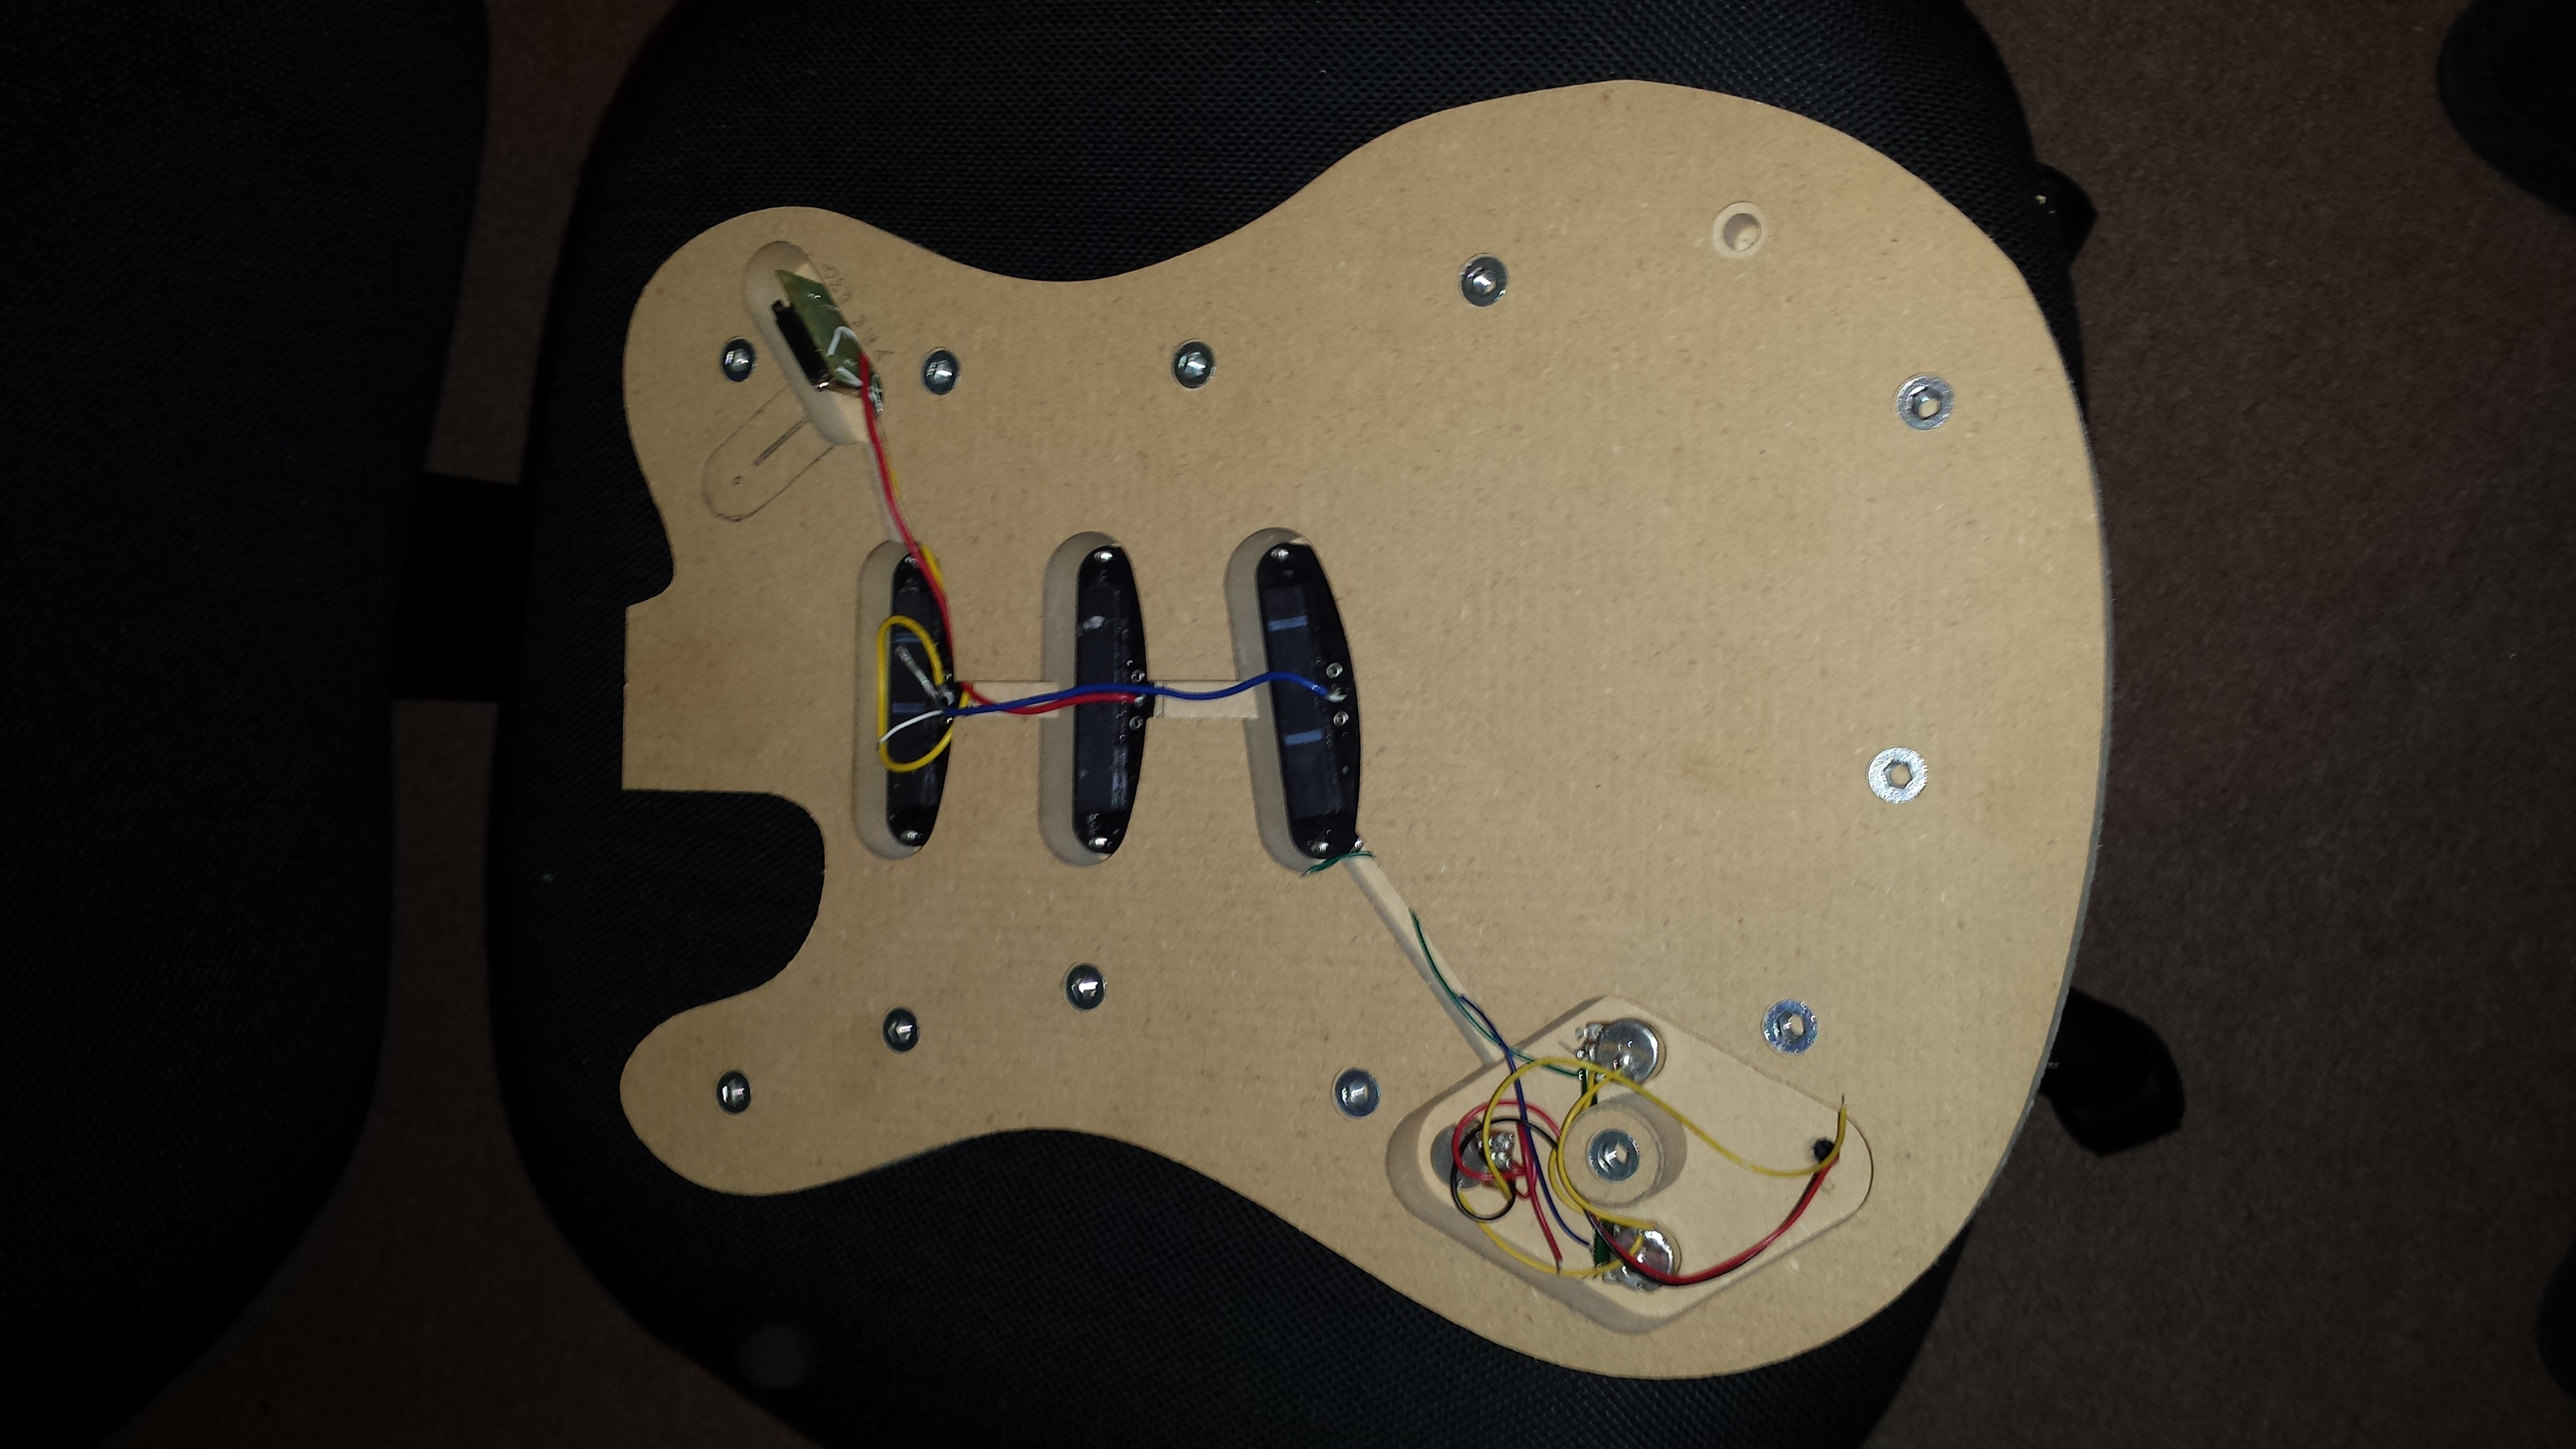
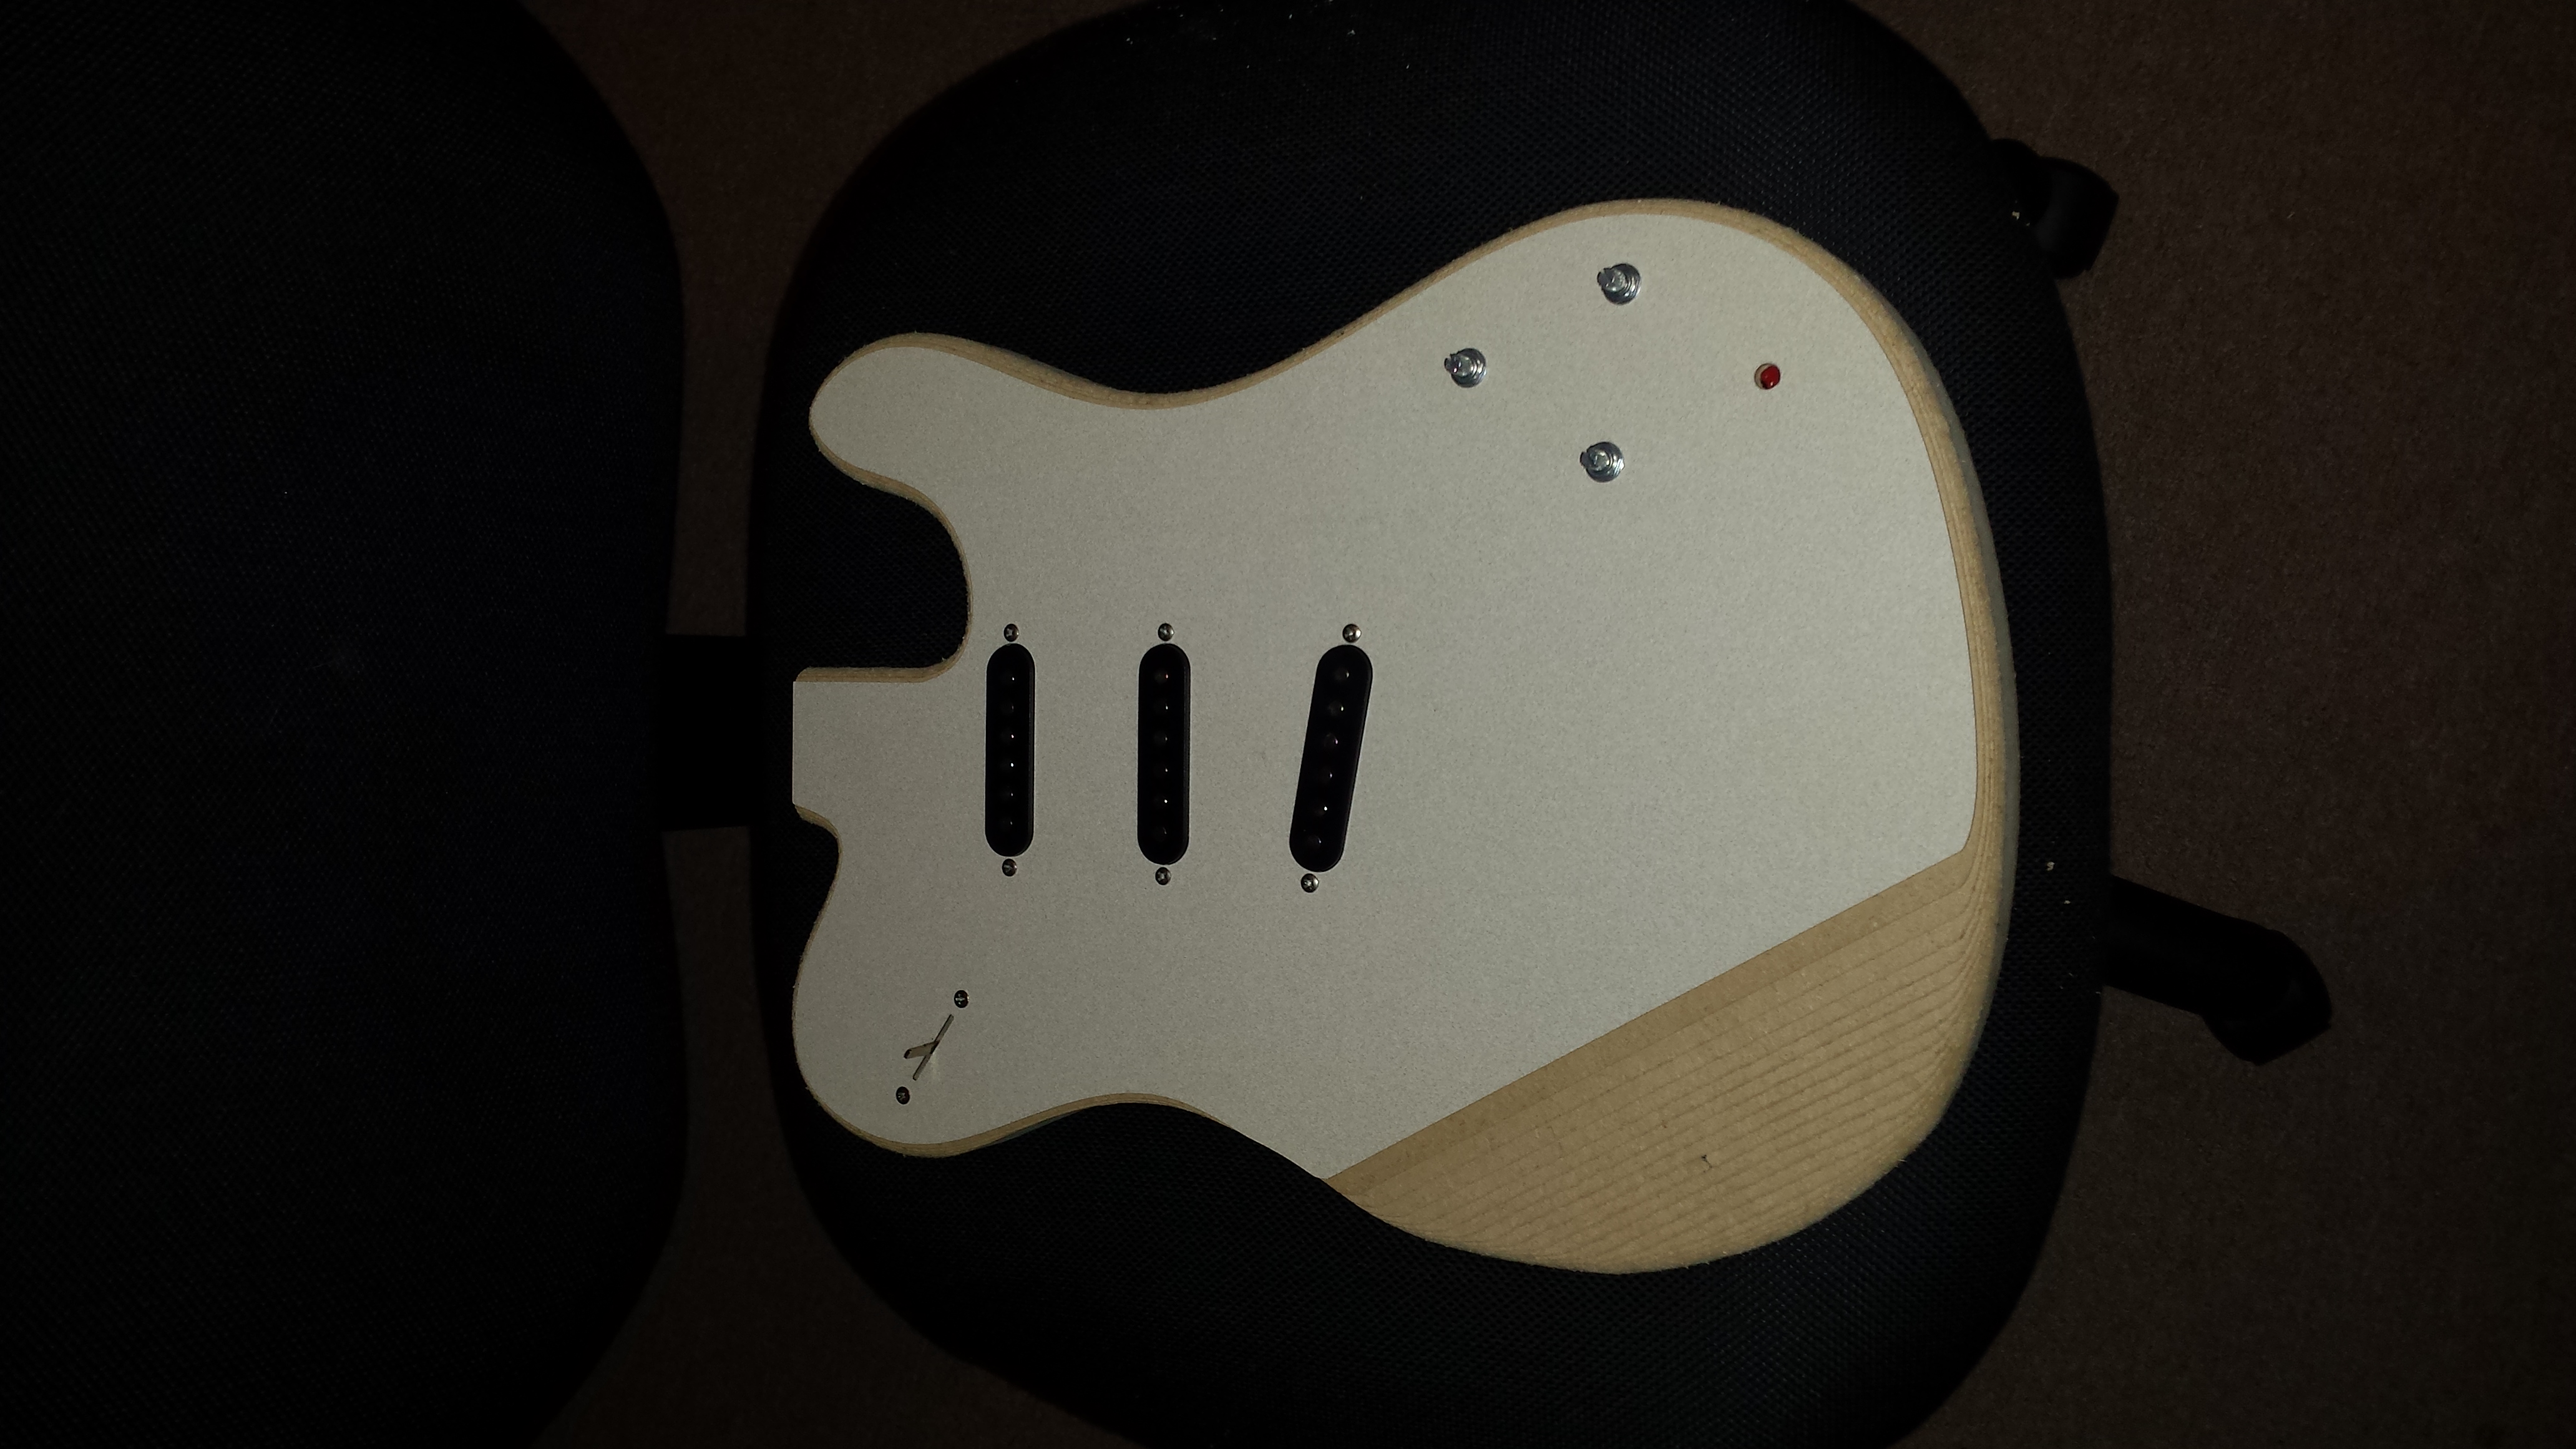
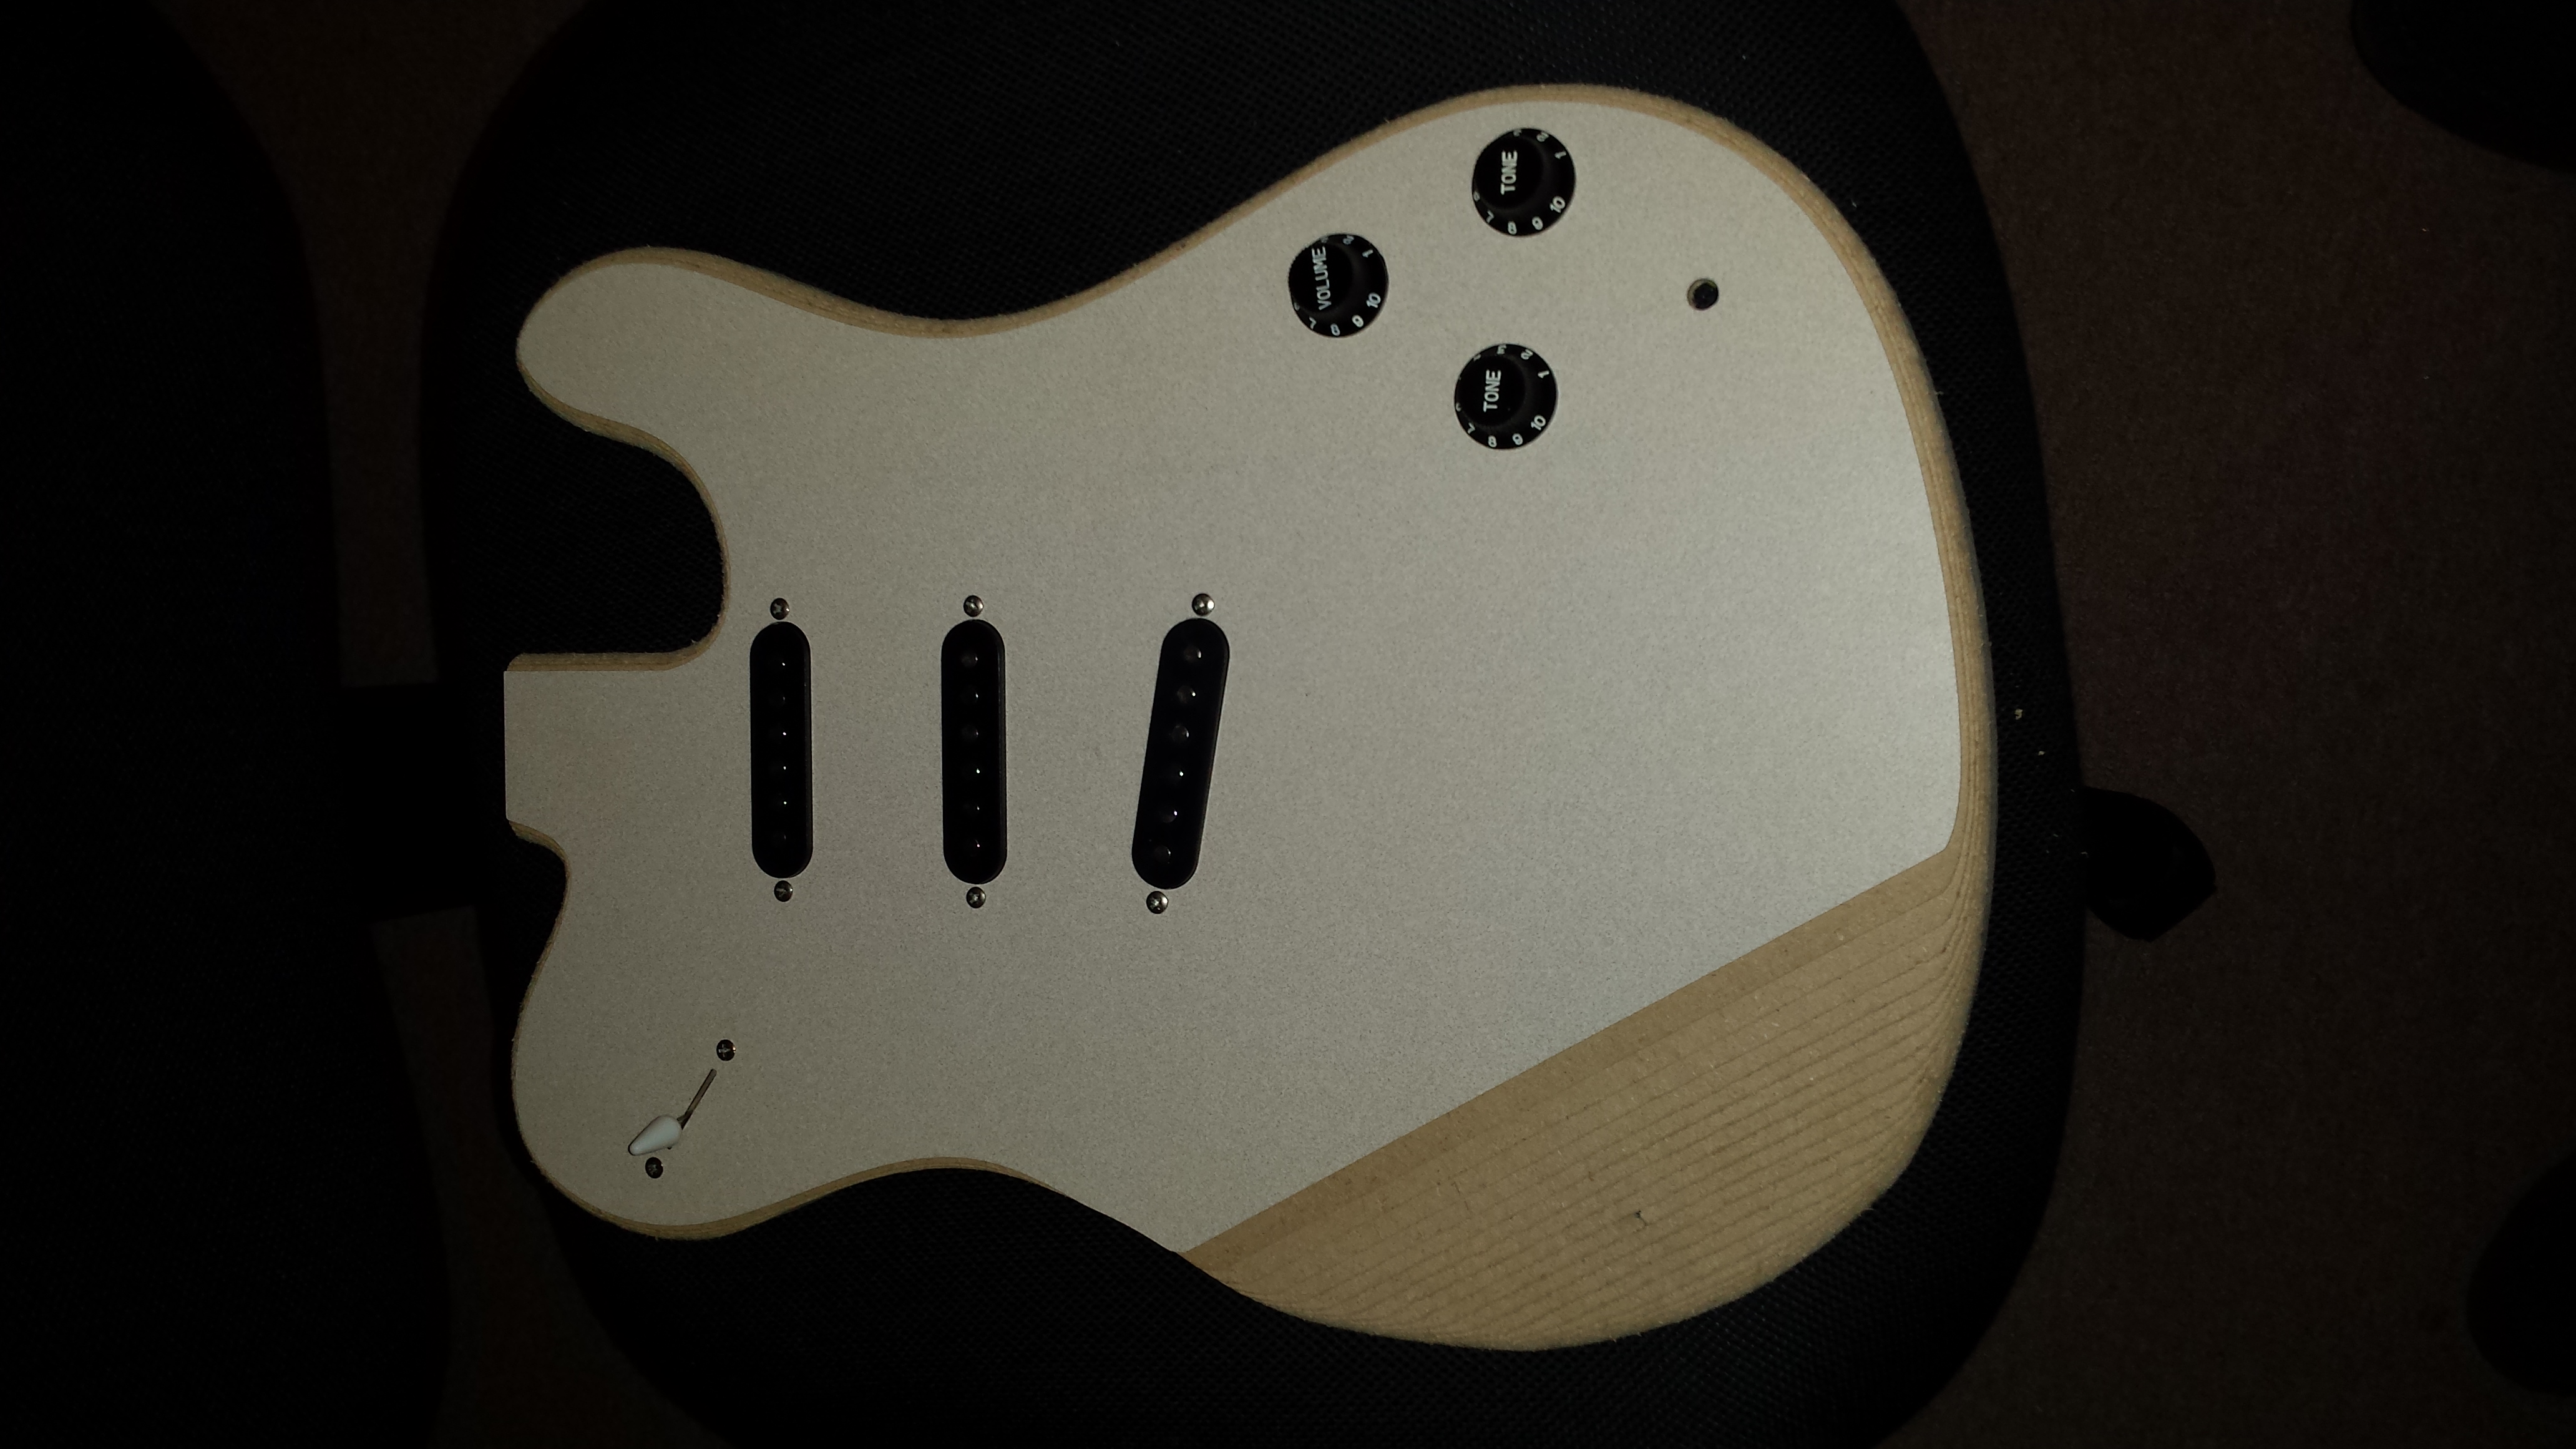
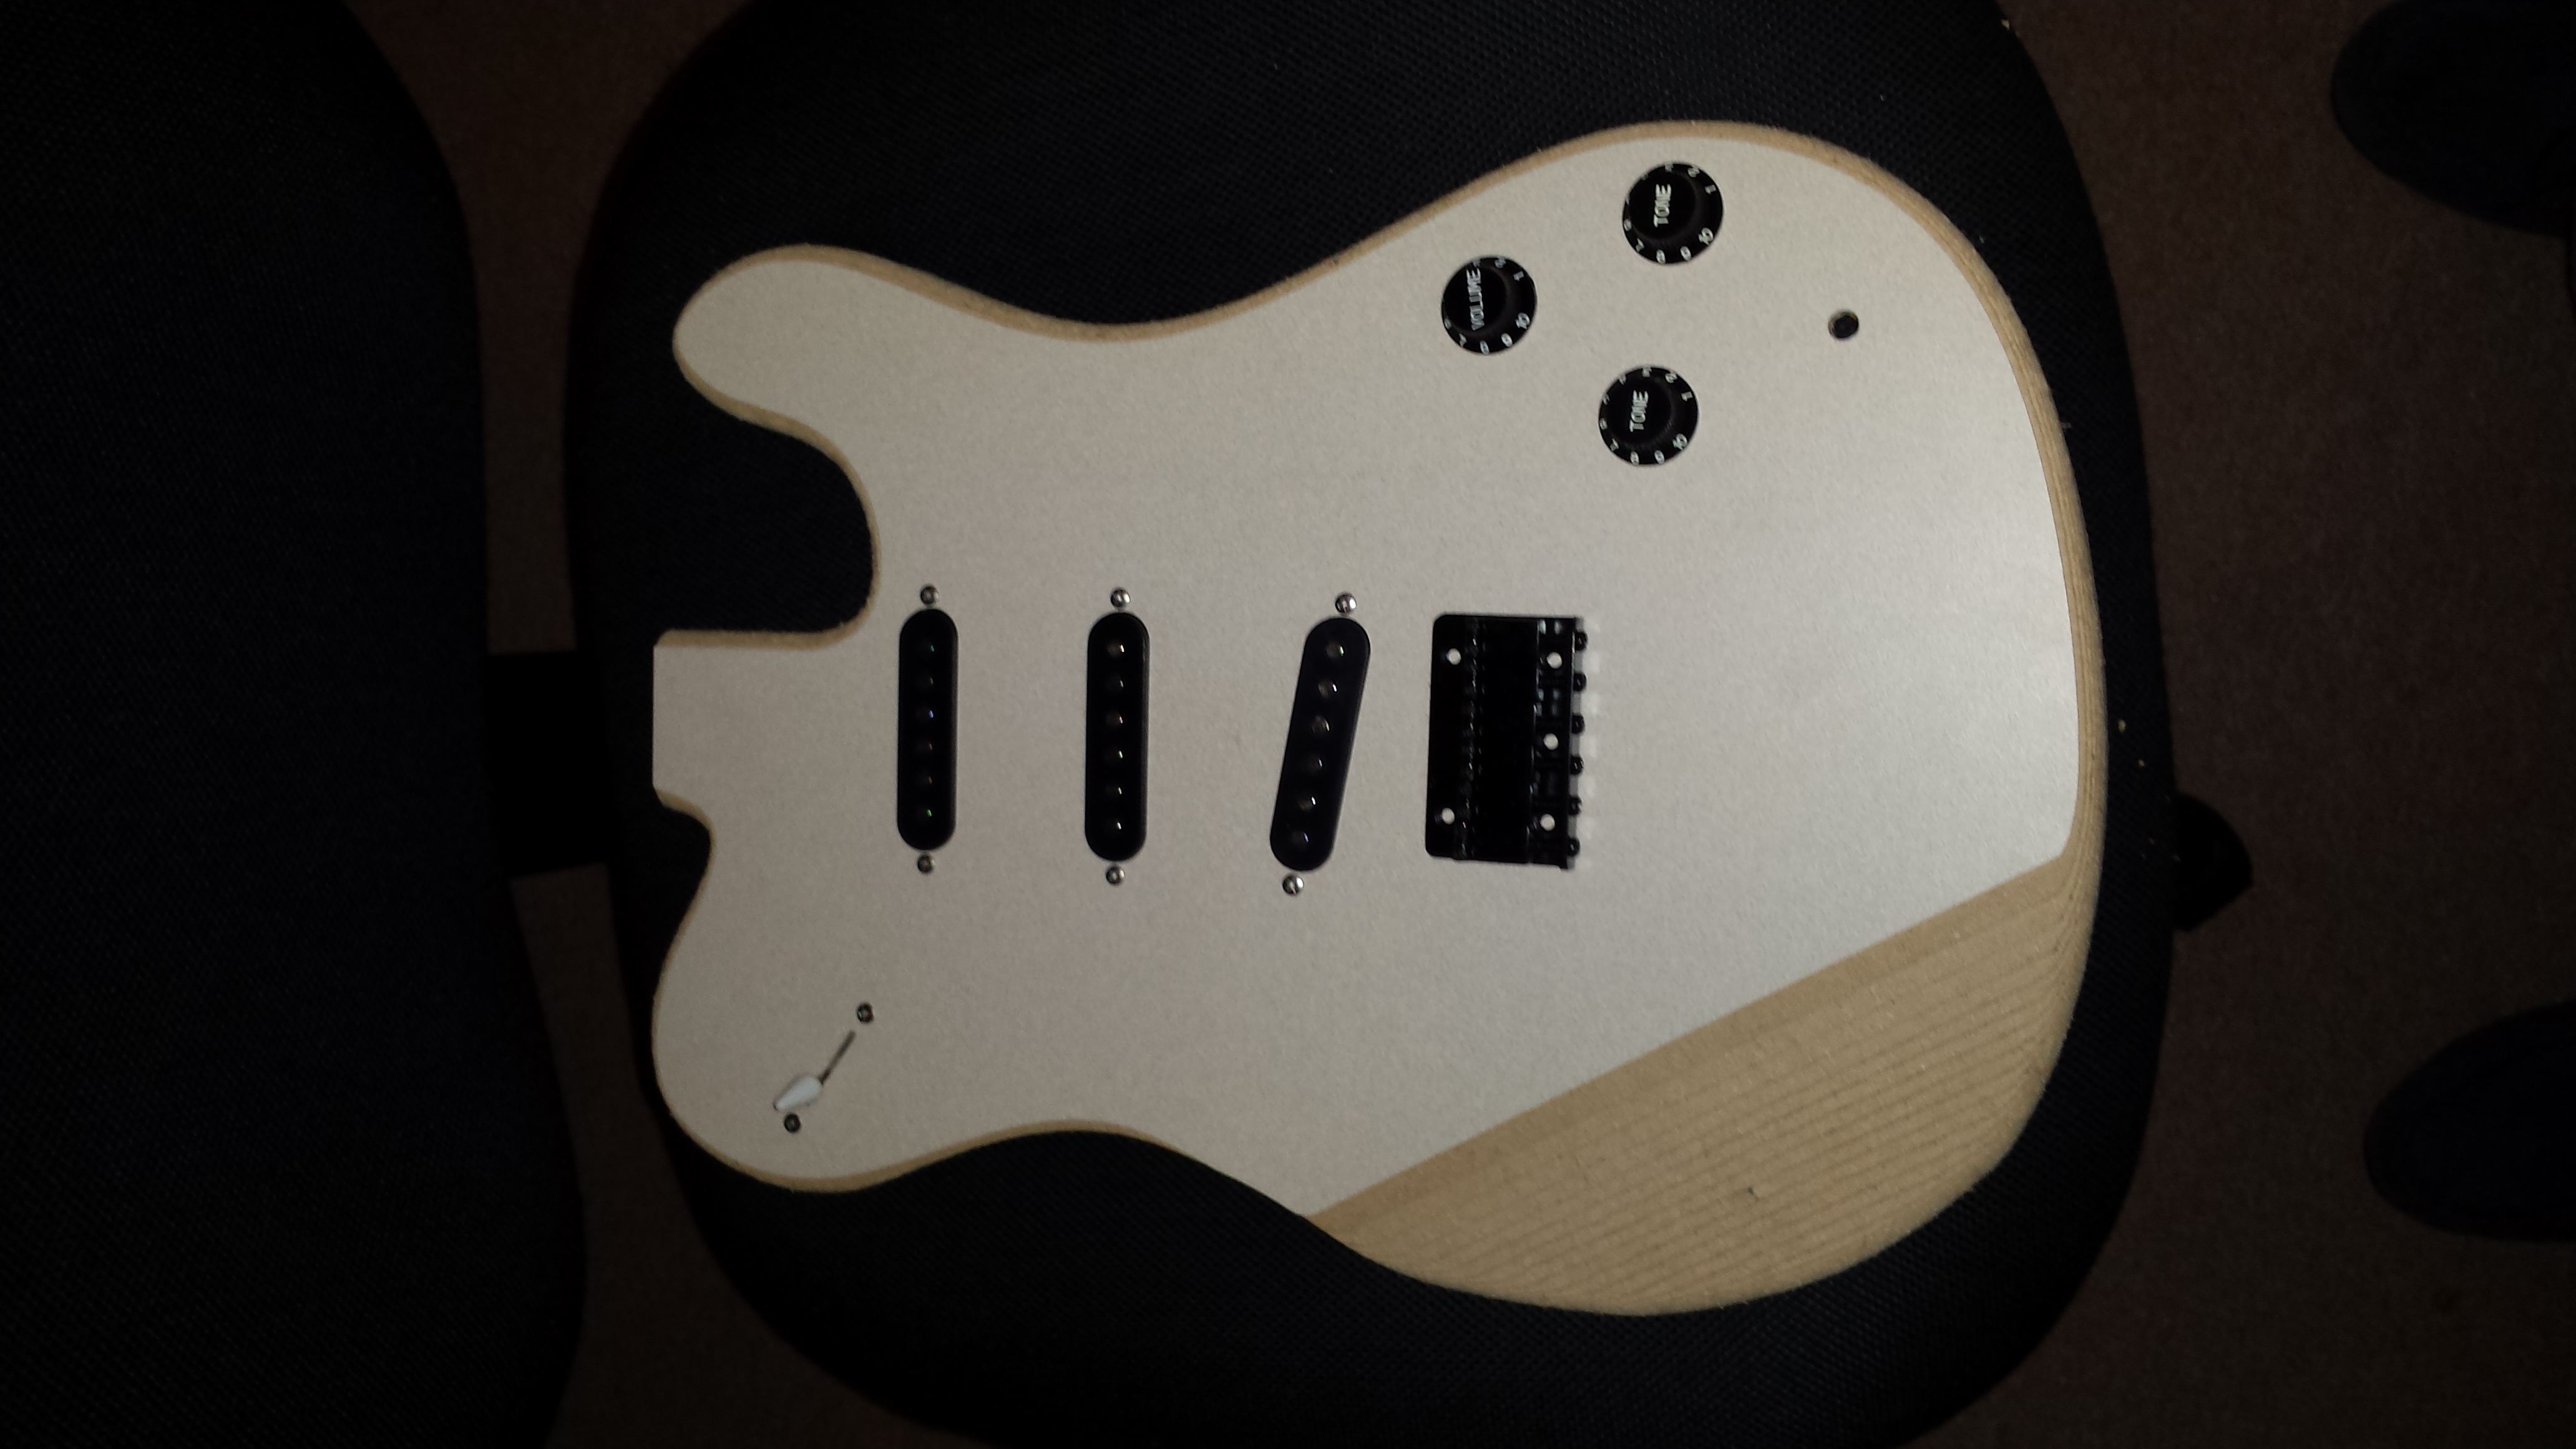
In order to test the CAD, and make sure I liked the shape and feel, I cut out a test body from some Melamine faced MDF. This was done in two pieces because we had no material thick enough to do it in one. With the use of threaded inserts and pockets, all the wiring could be hidden inside with no trace on the outside. I liked this effect, and moving forward decided not to have a scratch plate/pick guard, and instead cover the wiring with panels on the back, made to be as invisible as possible.
 |
 |
 |
 |
 |
 |
 |
 |
 |
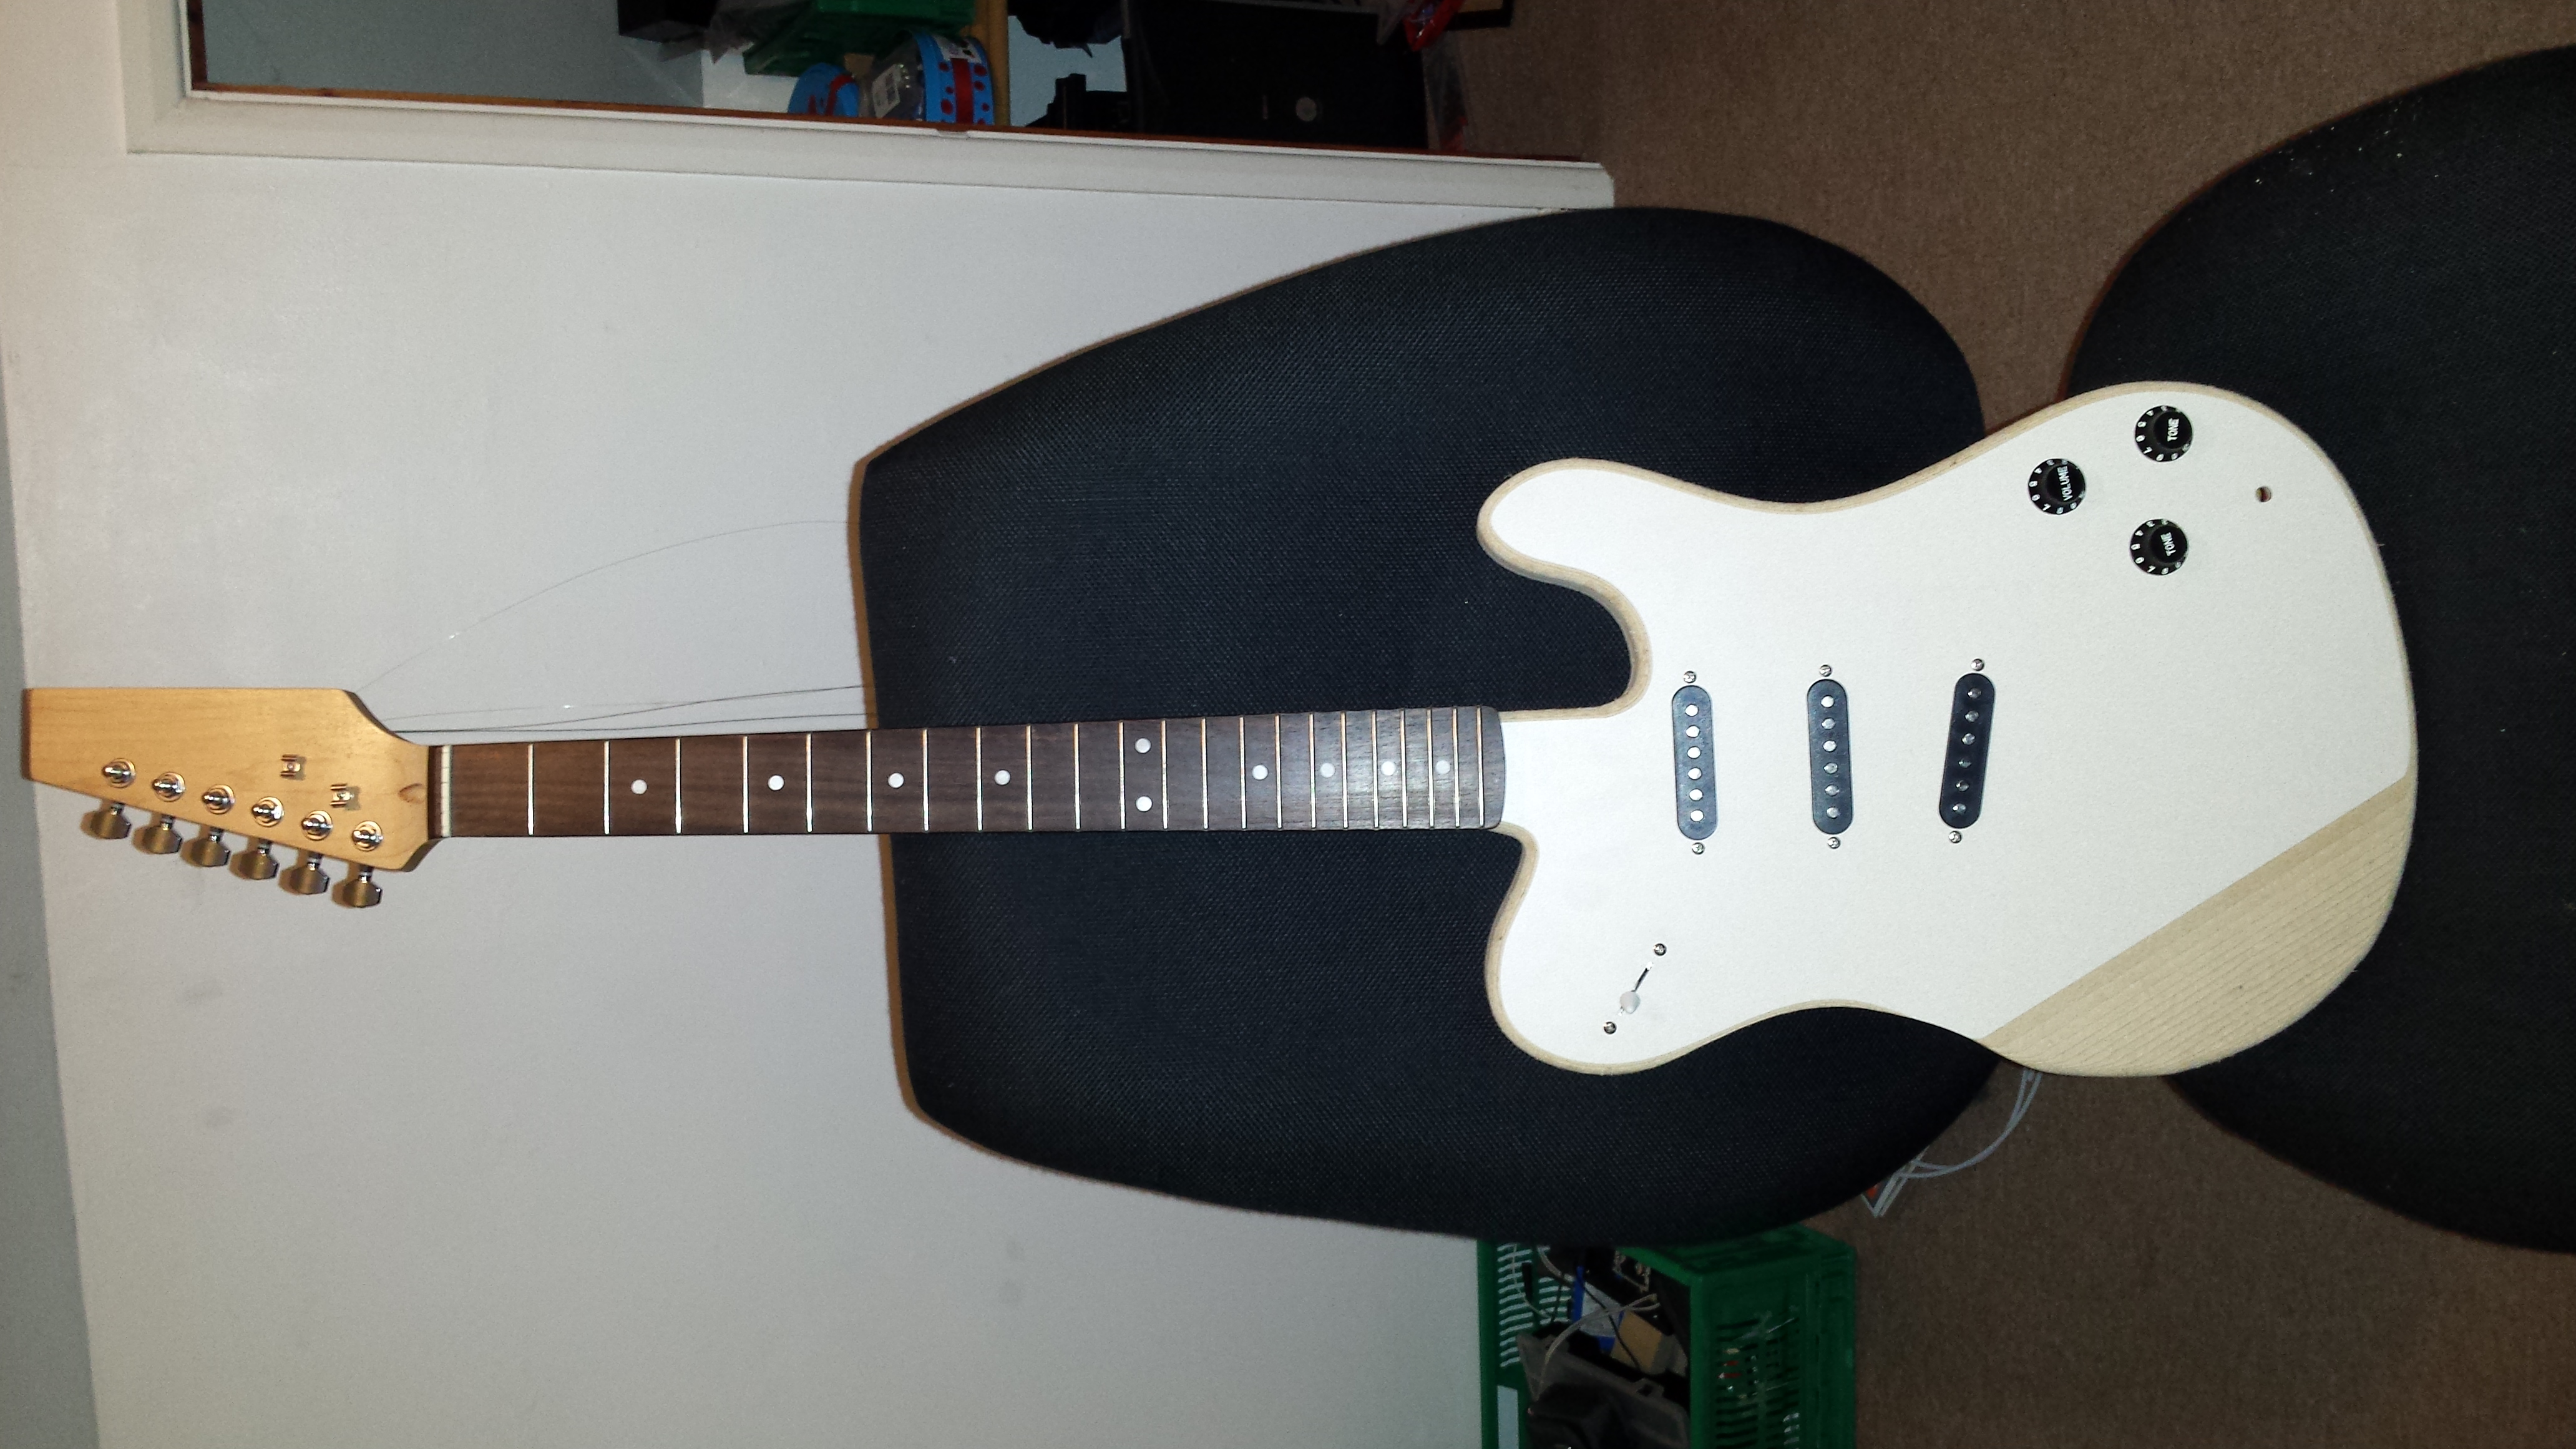 |
| MDF Test Guitar | MDF Test Guitar | MDF Test Guitar | MDF Test Guitar | MDF Test Guitar | MDF Test Guitar | MDF Test Guitar | MDF Test Guitar | MDF Test Guitar | MDF Test Guitar |
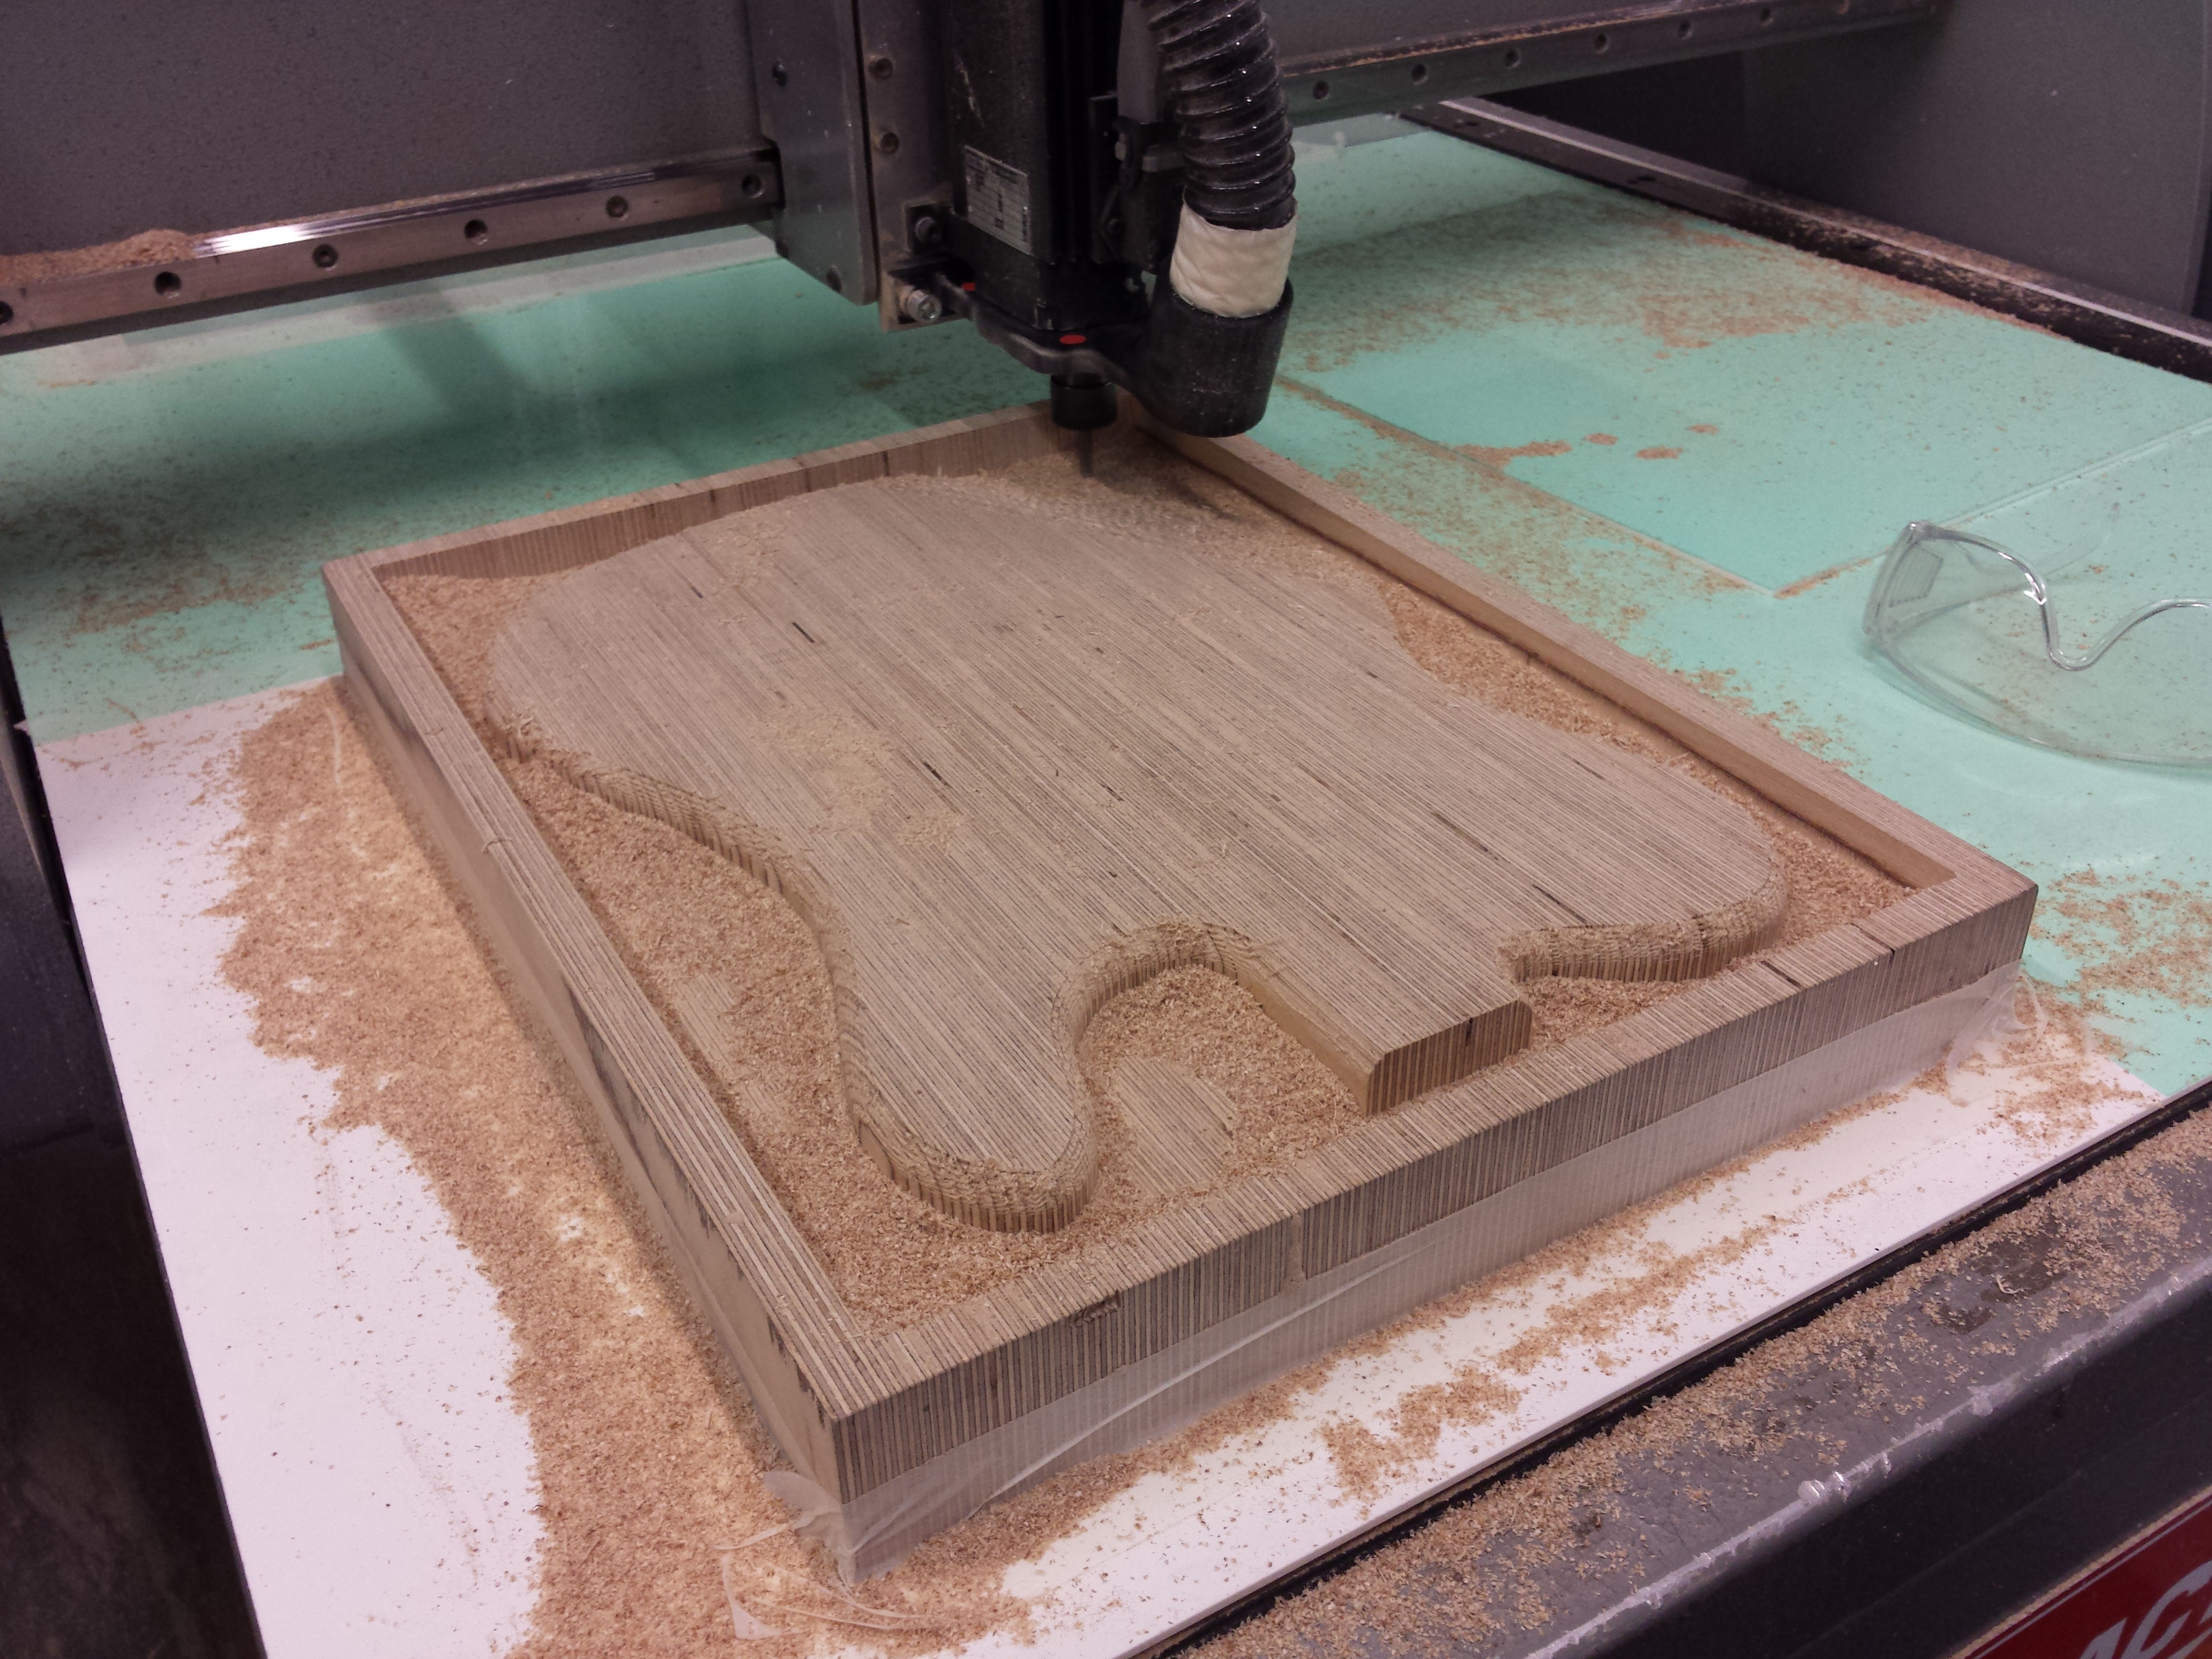
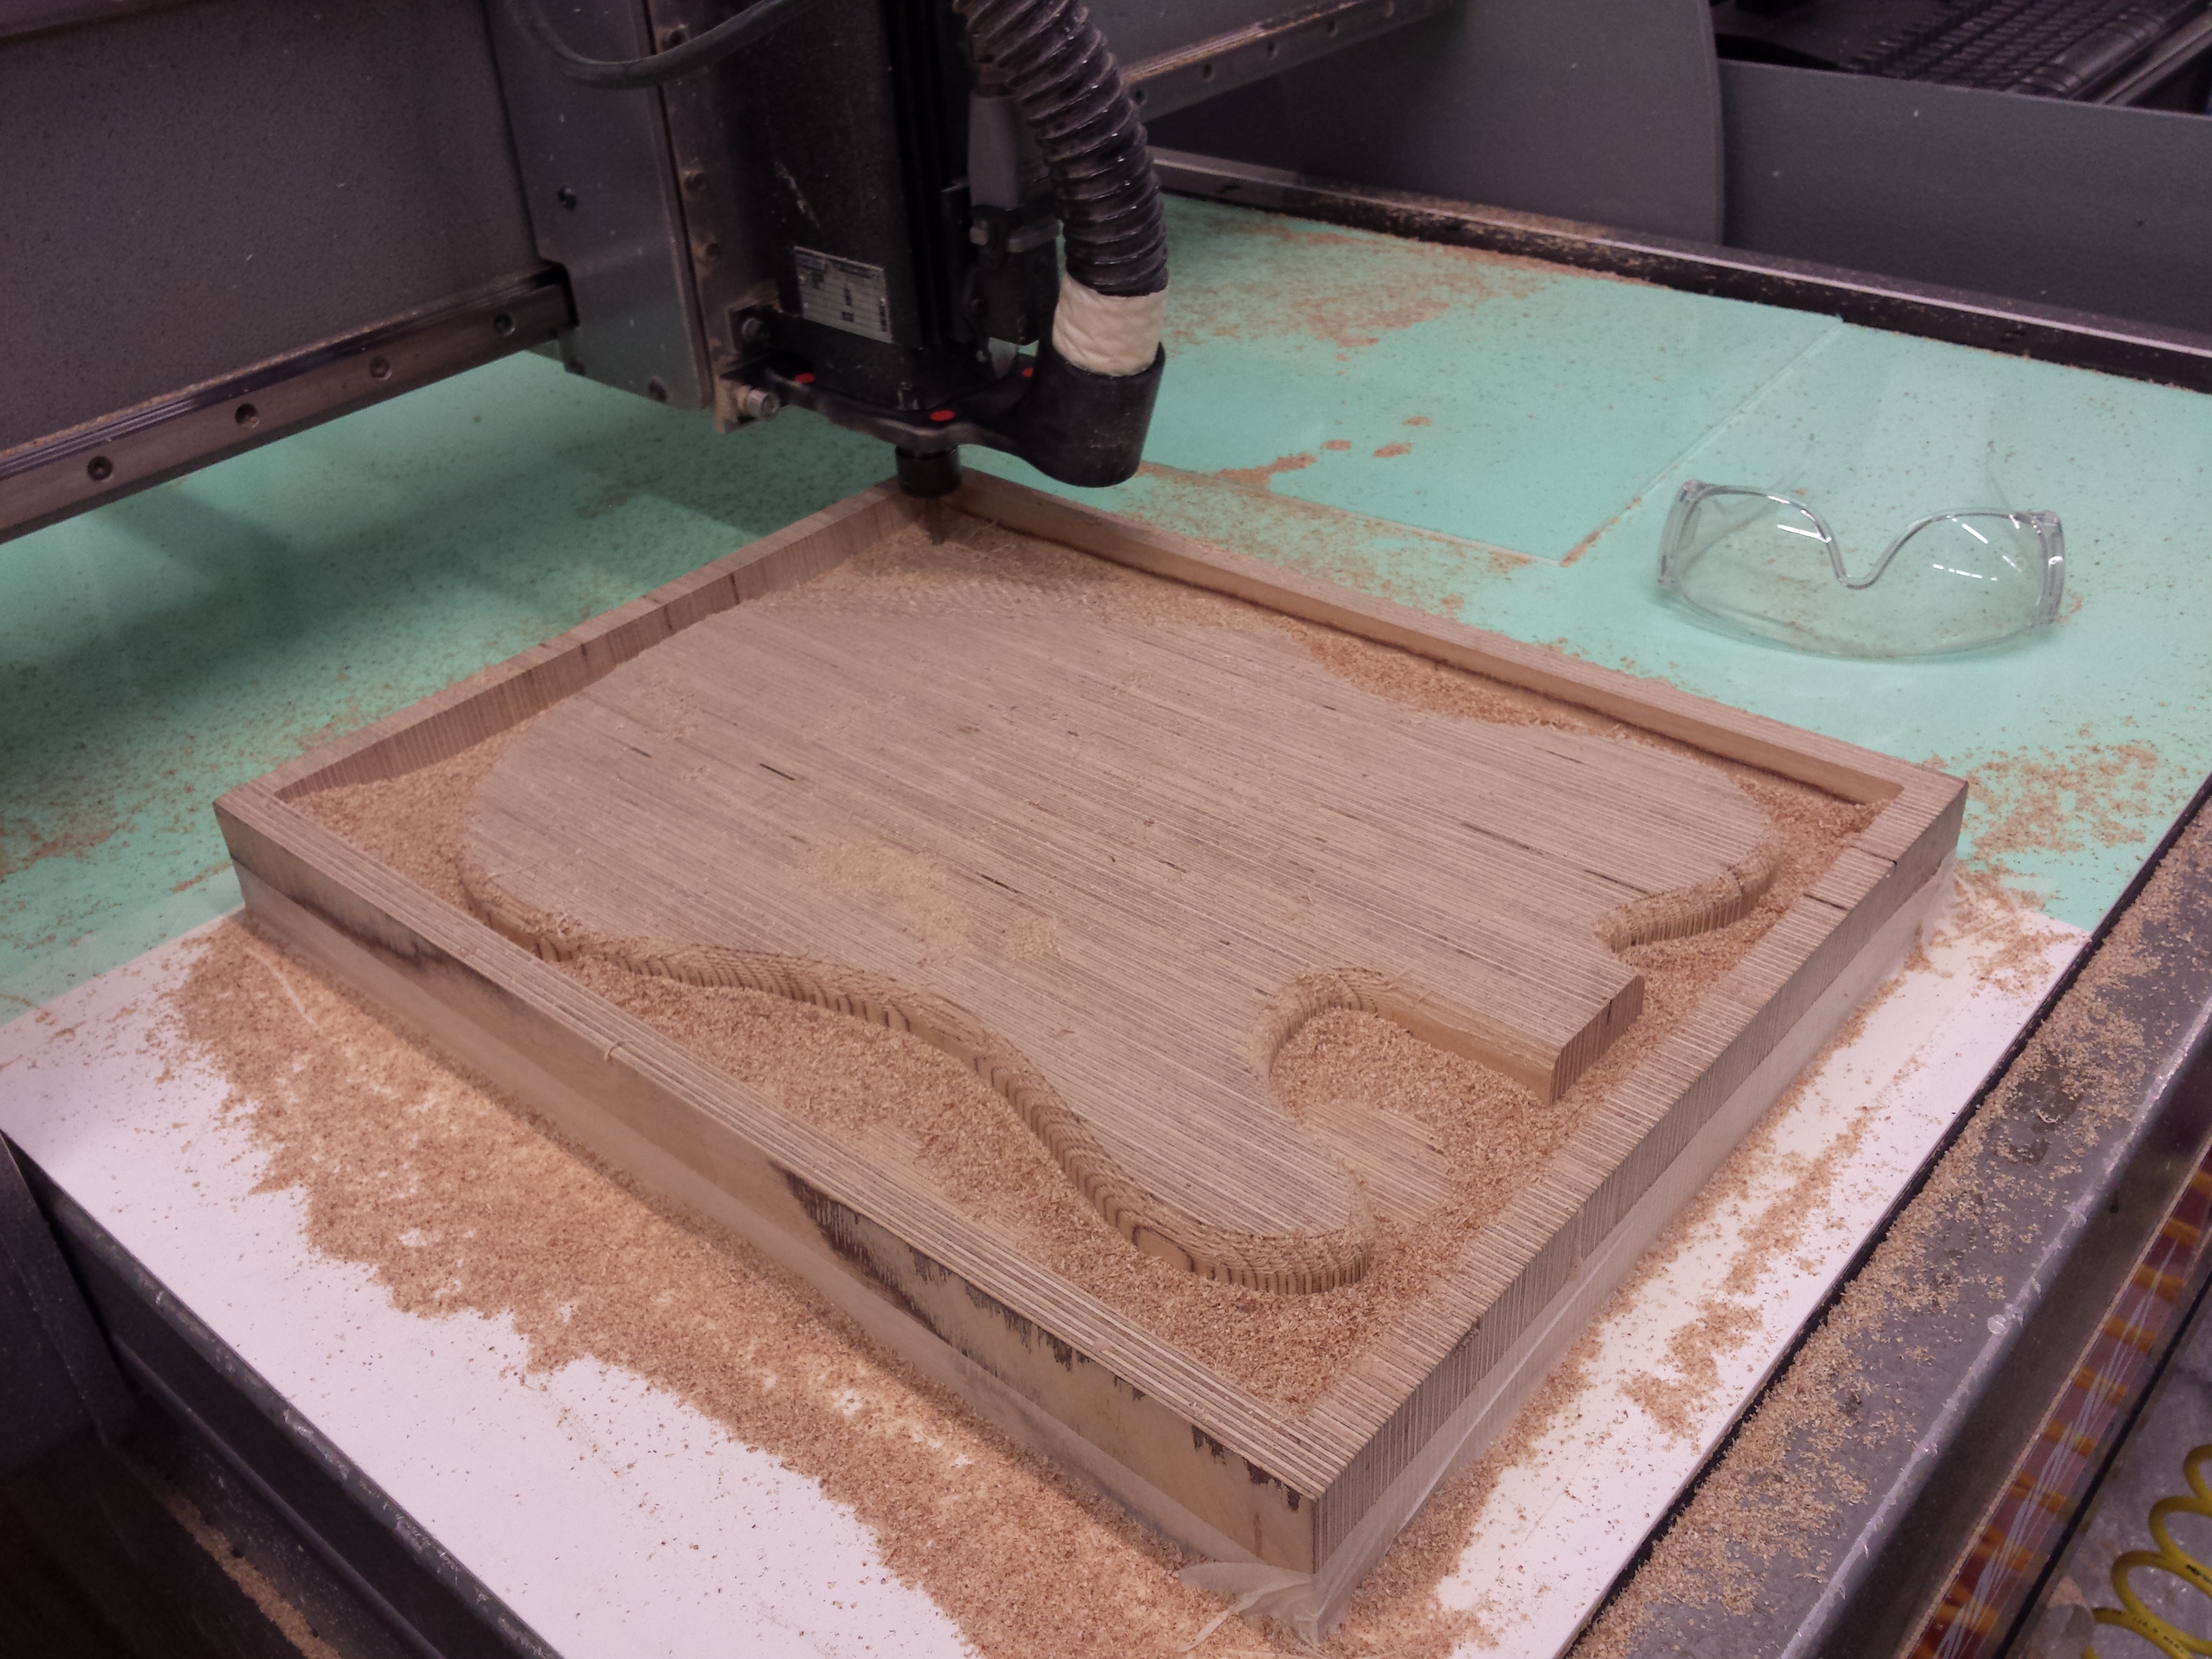
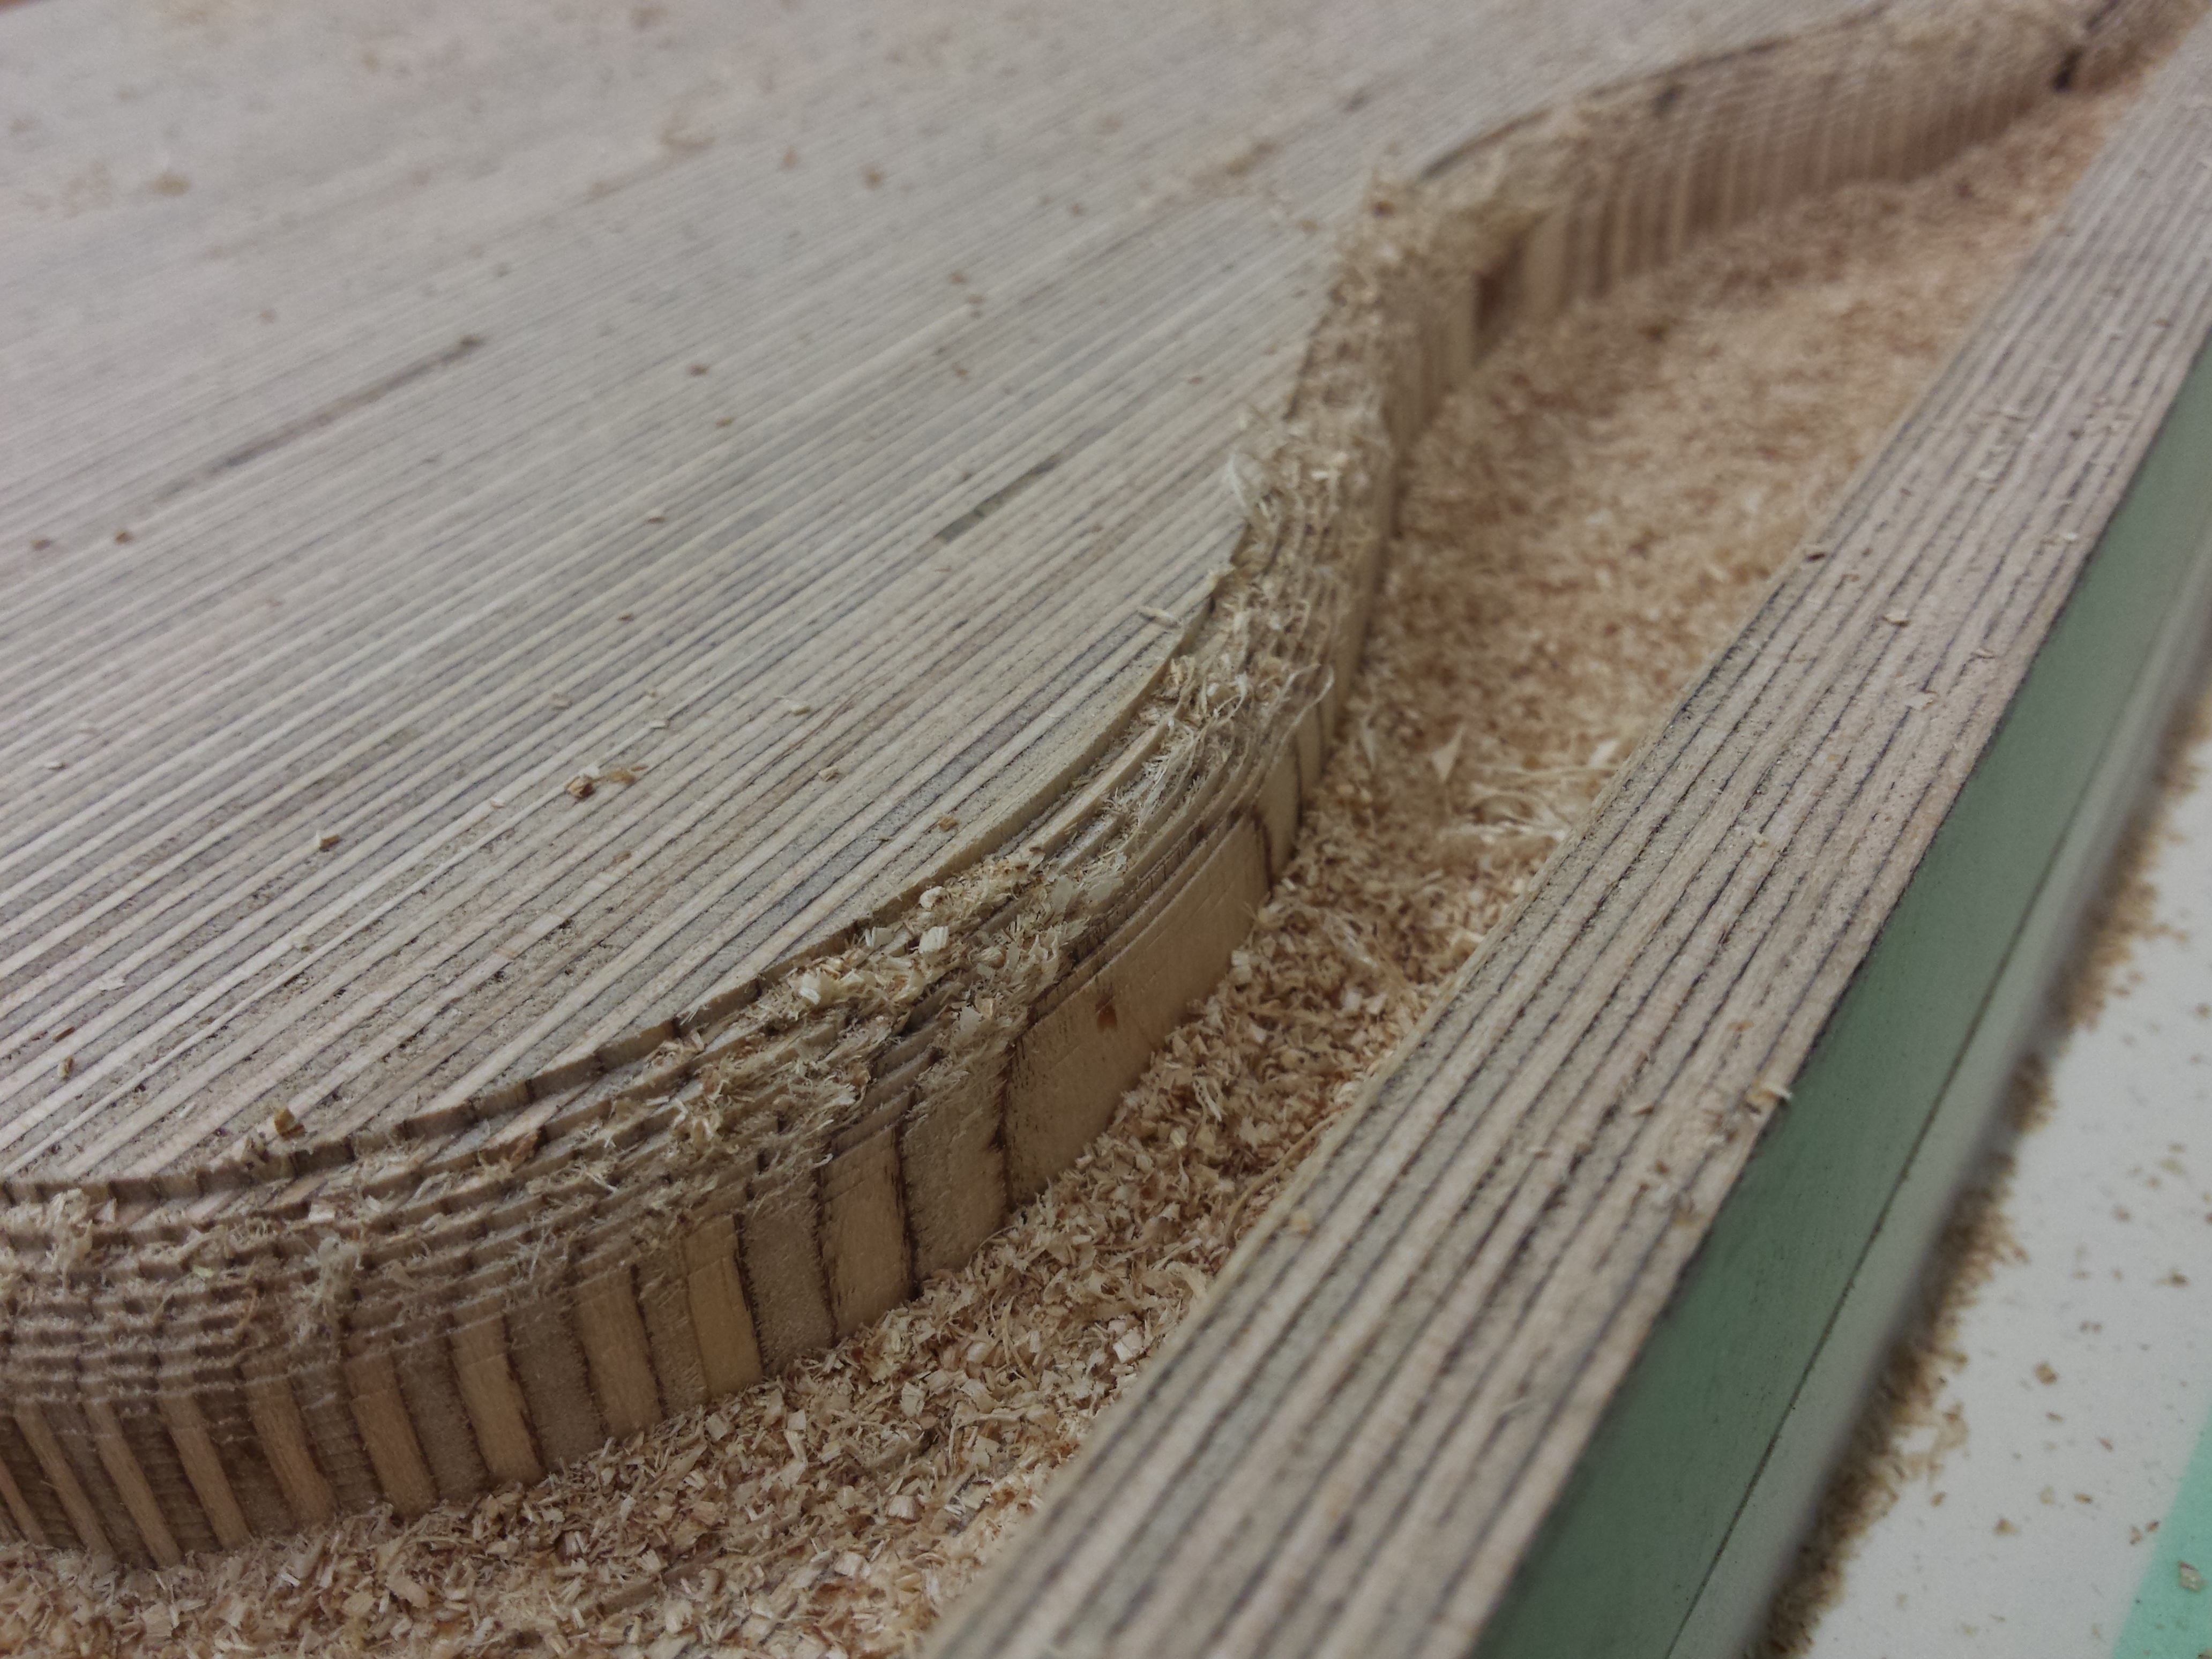
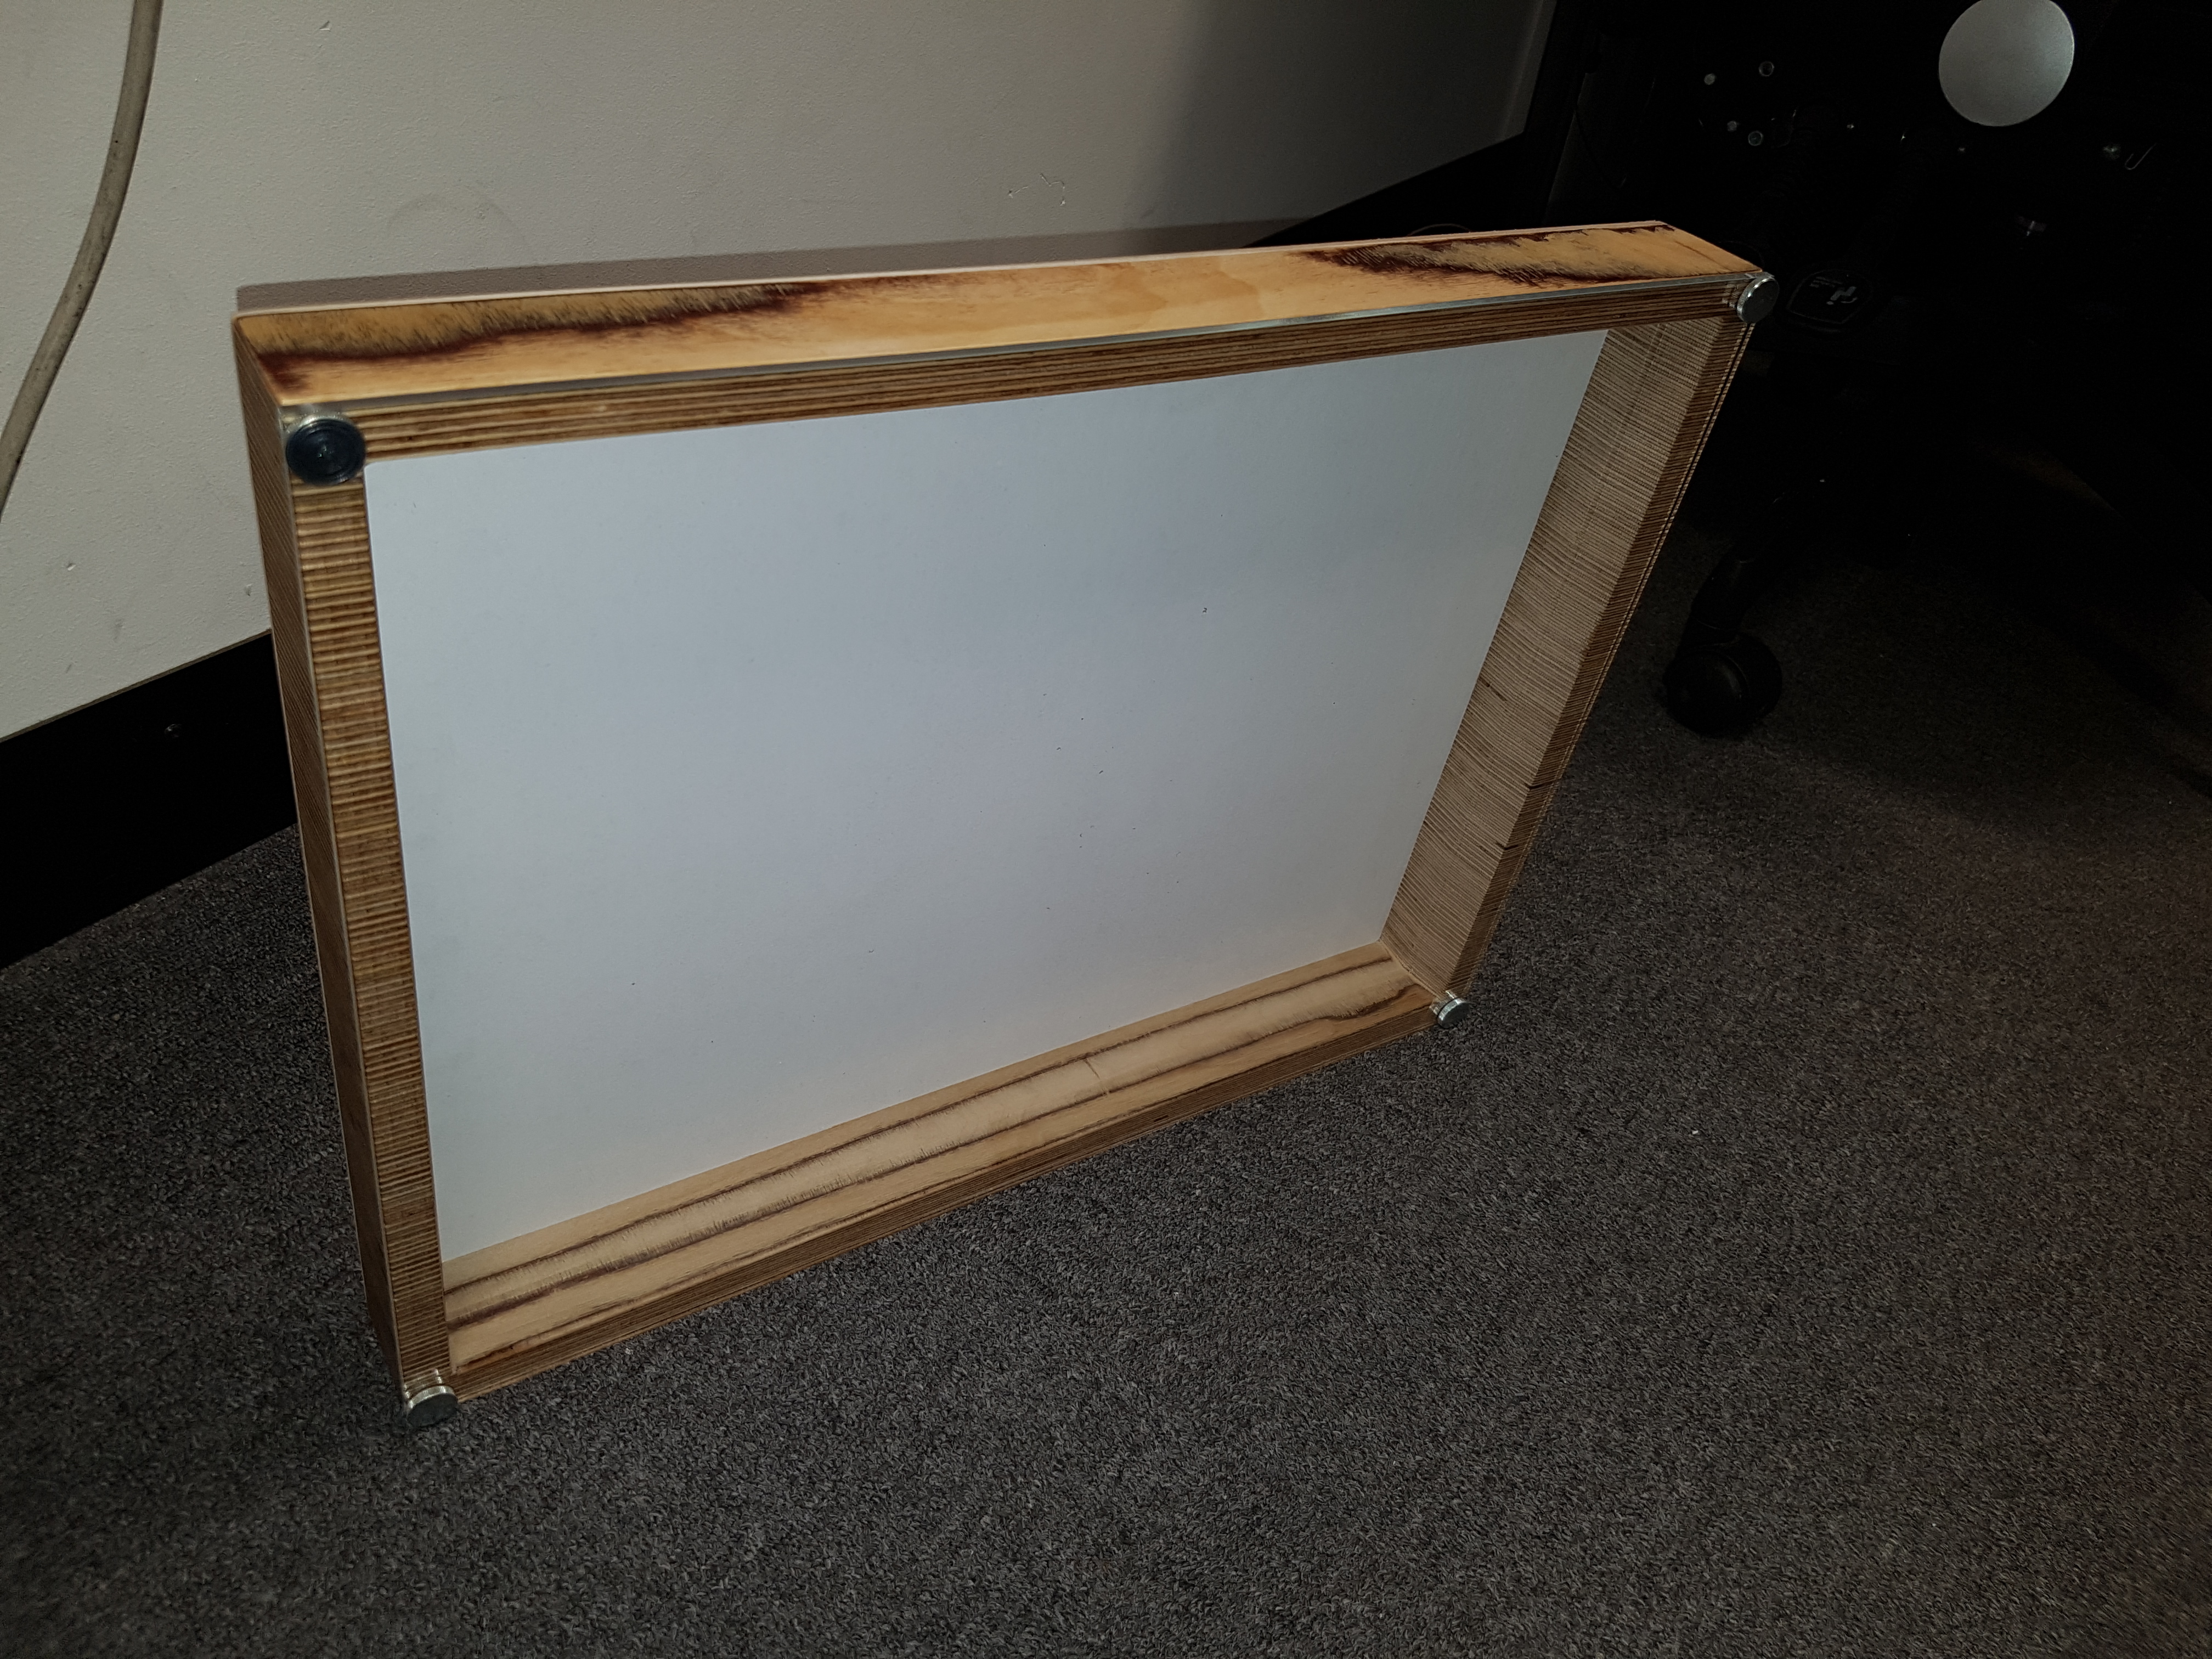
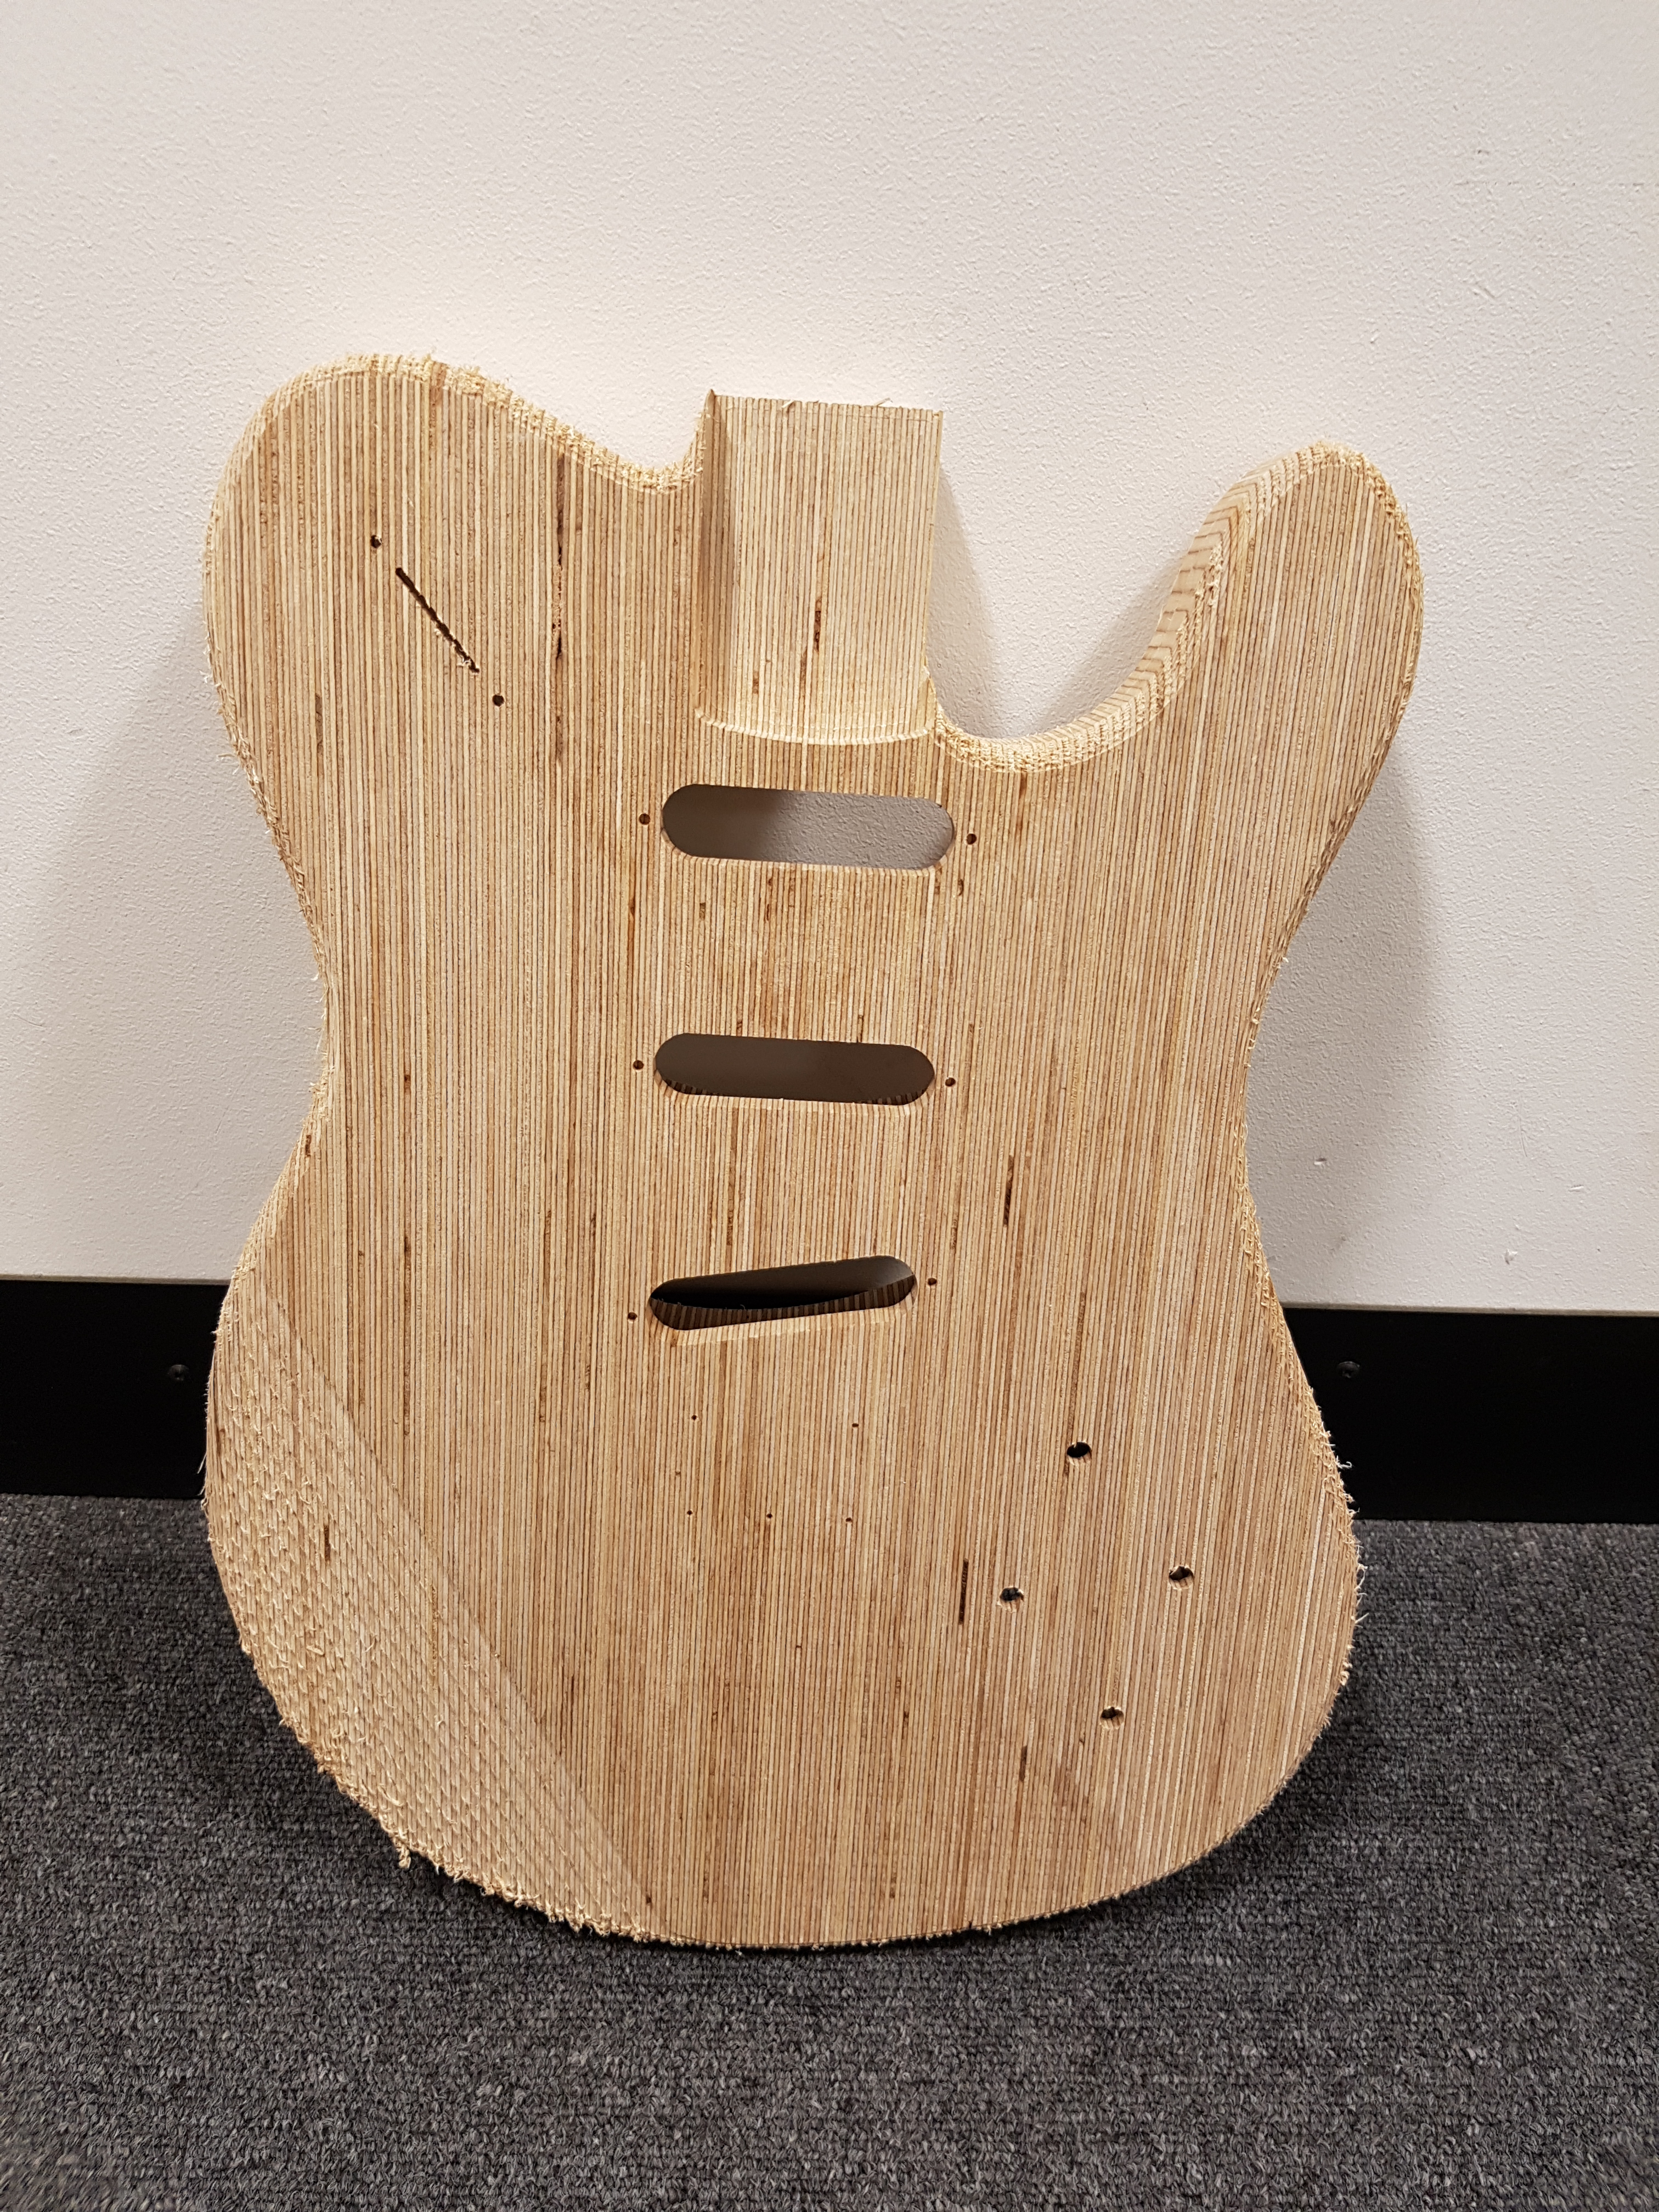
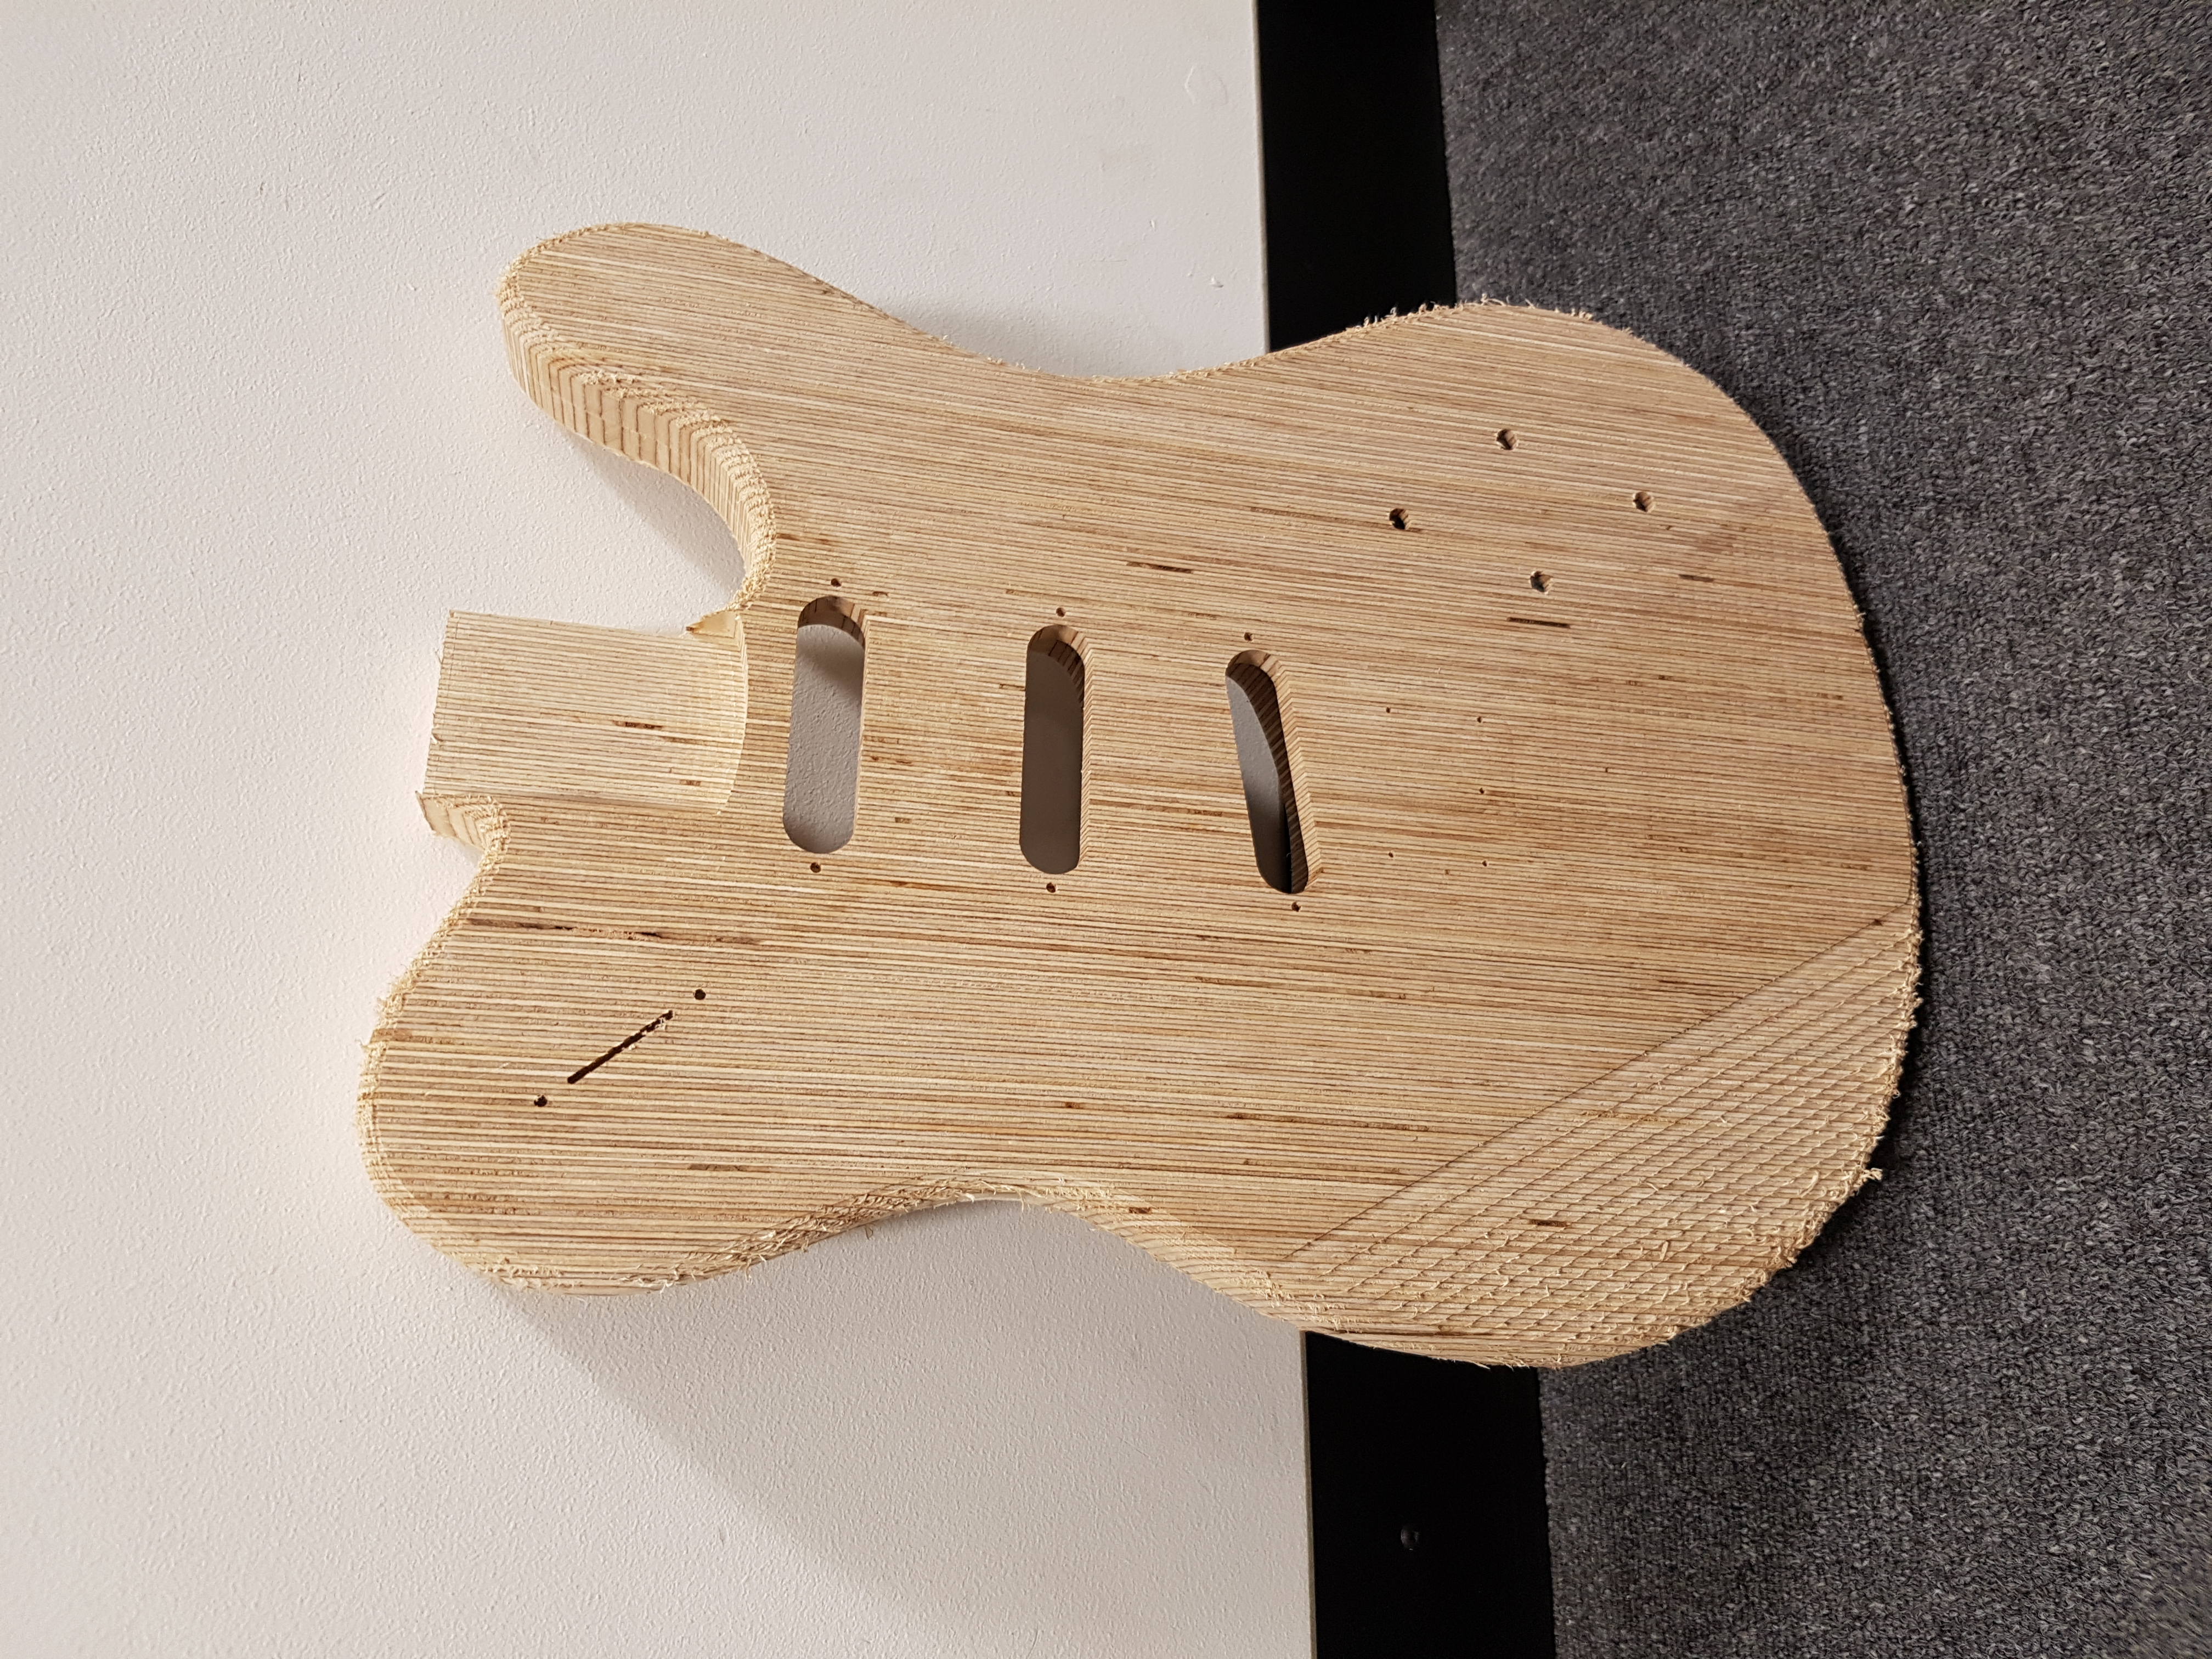
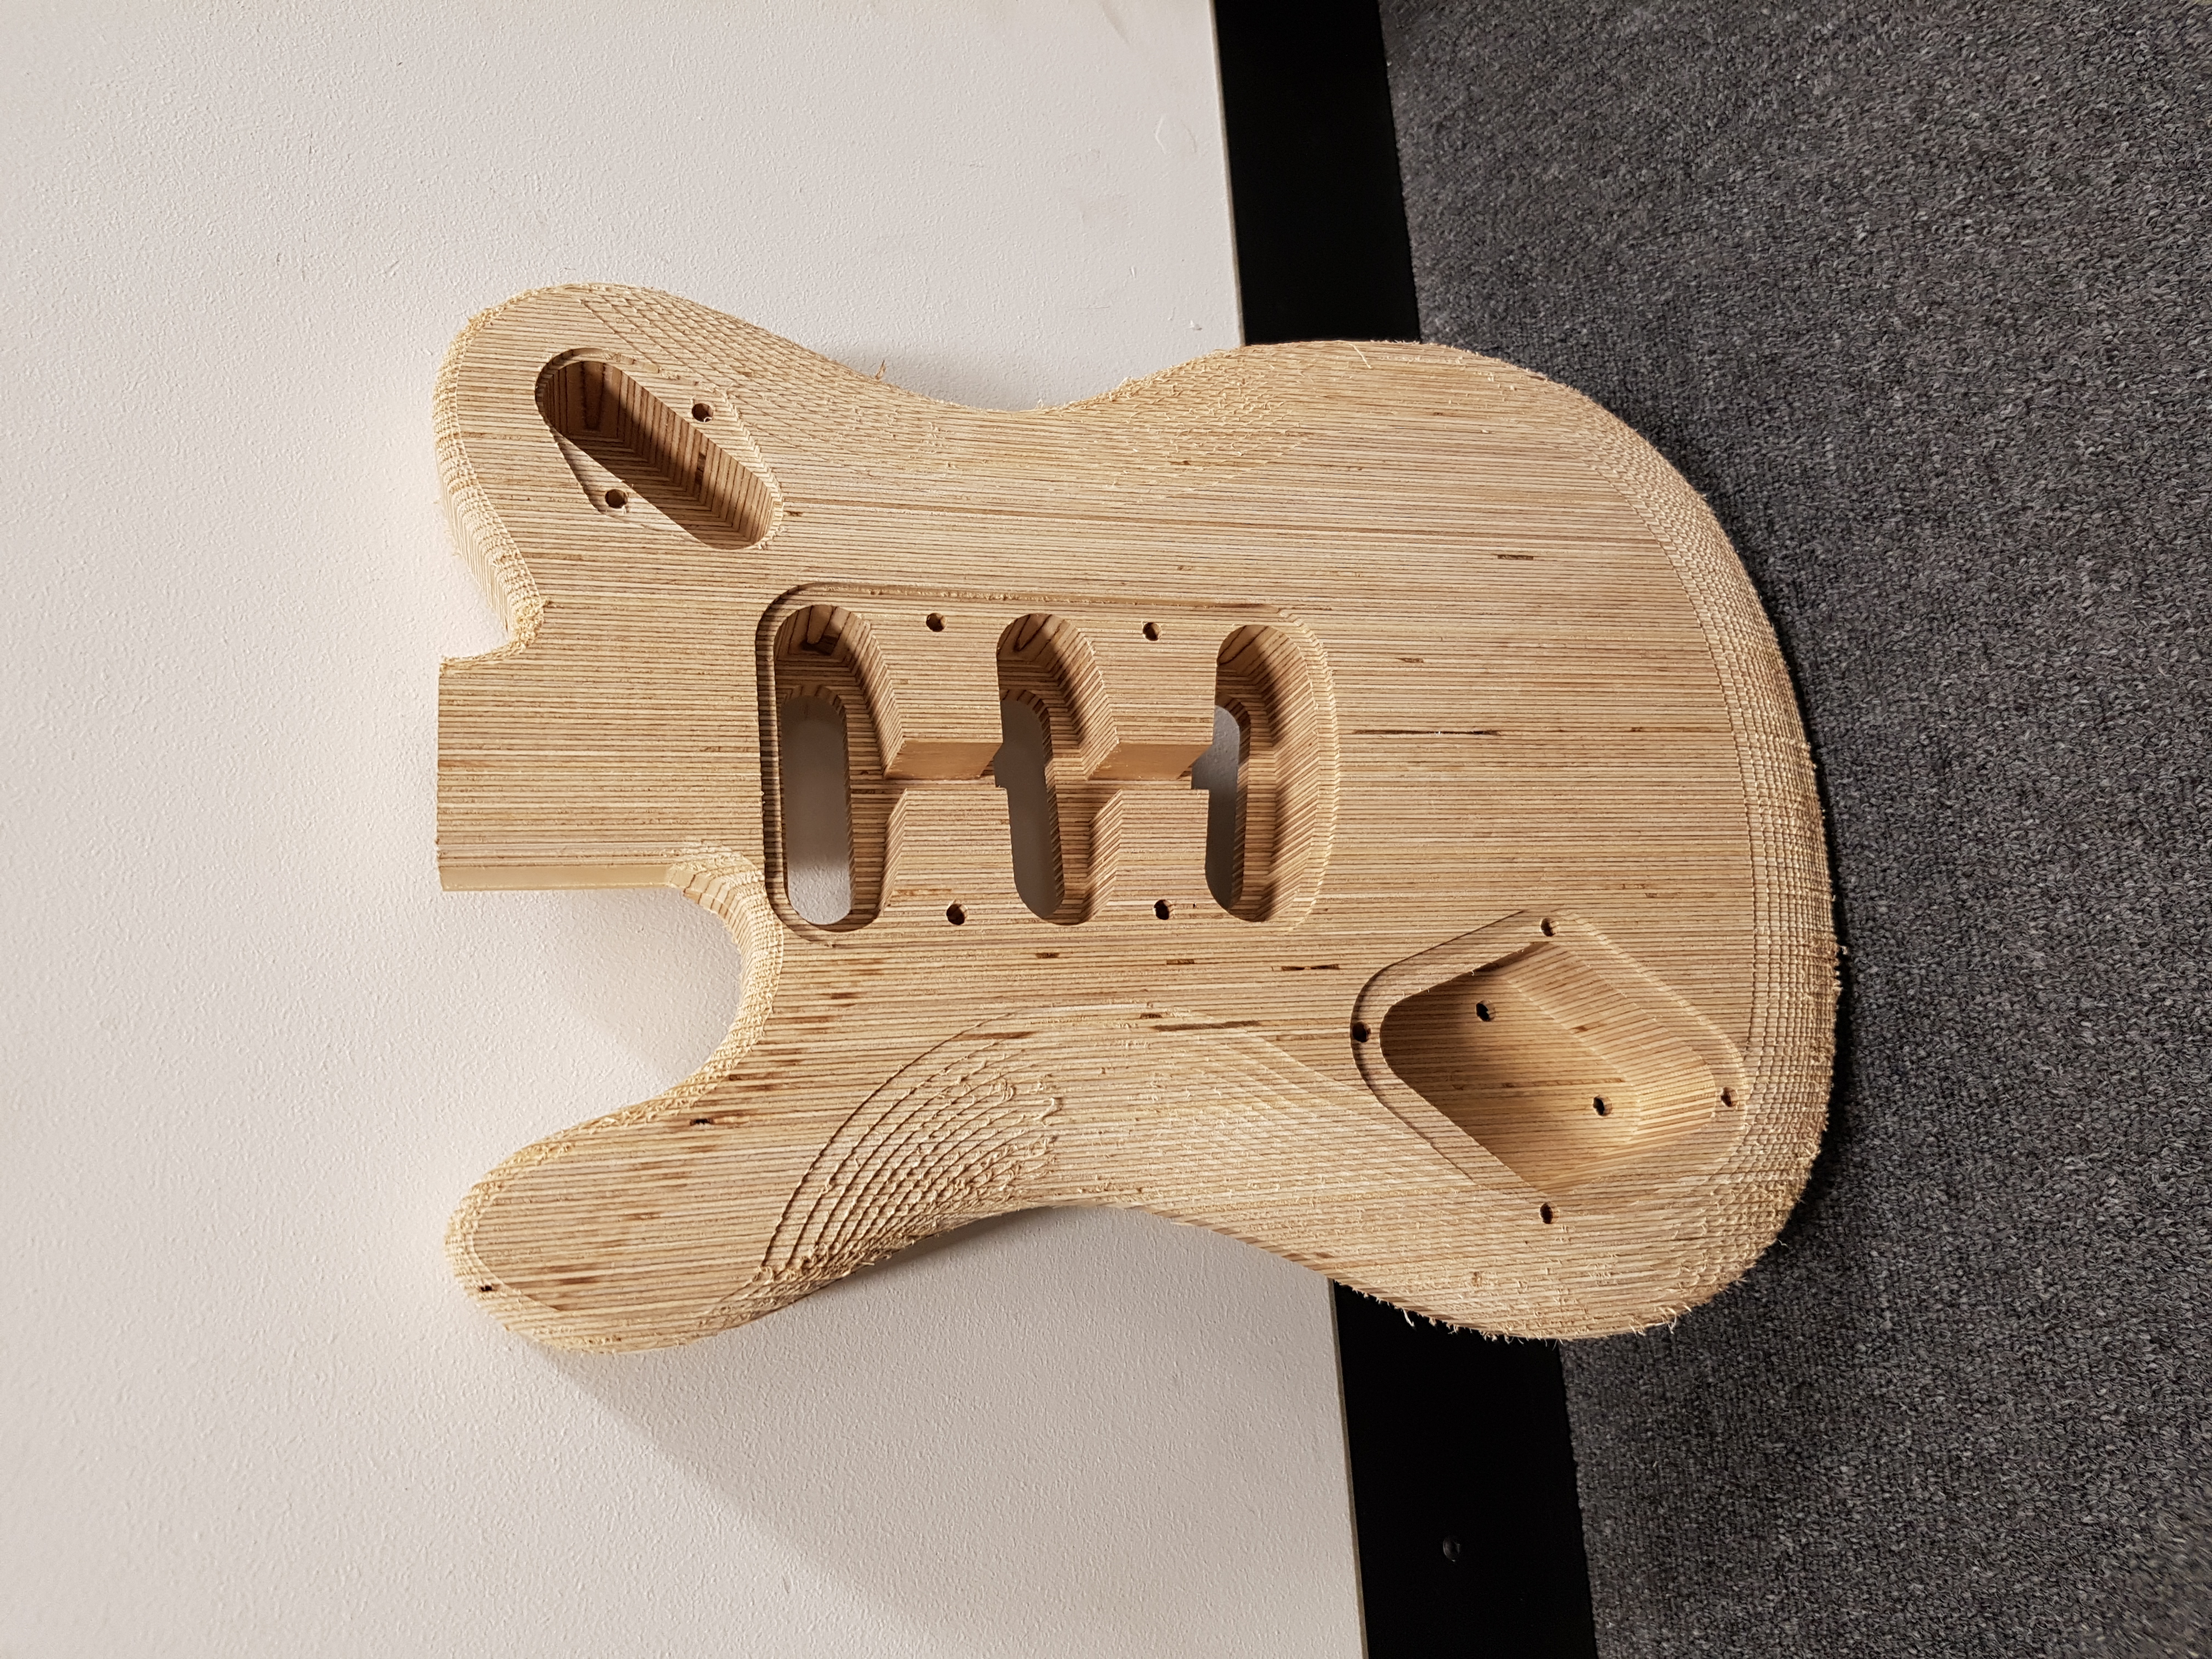
I utilised some inch thick hardwood plywood to make a blank for the body, cutting it into strips and gluing it together to get an "end grain" effect. In order to machine it safely I drew a border around the guitar, inset from the edge of the material (needed to datum the part when flipping to machine the back) and offset this border by 0.25mm for each layer. this ensured that the cutter wouldn't rub on its shank when cutting deeper than its flutes. When the guitar was finally cut free, I turned the waste frame into a picture frame.
 |
 |
 |
 |
 |
 |
 |
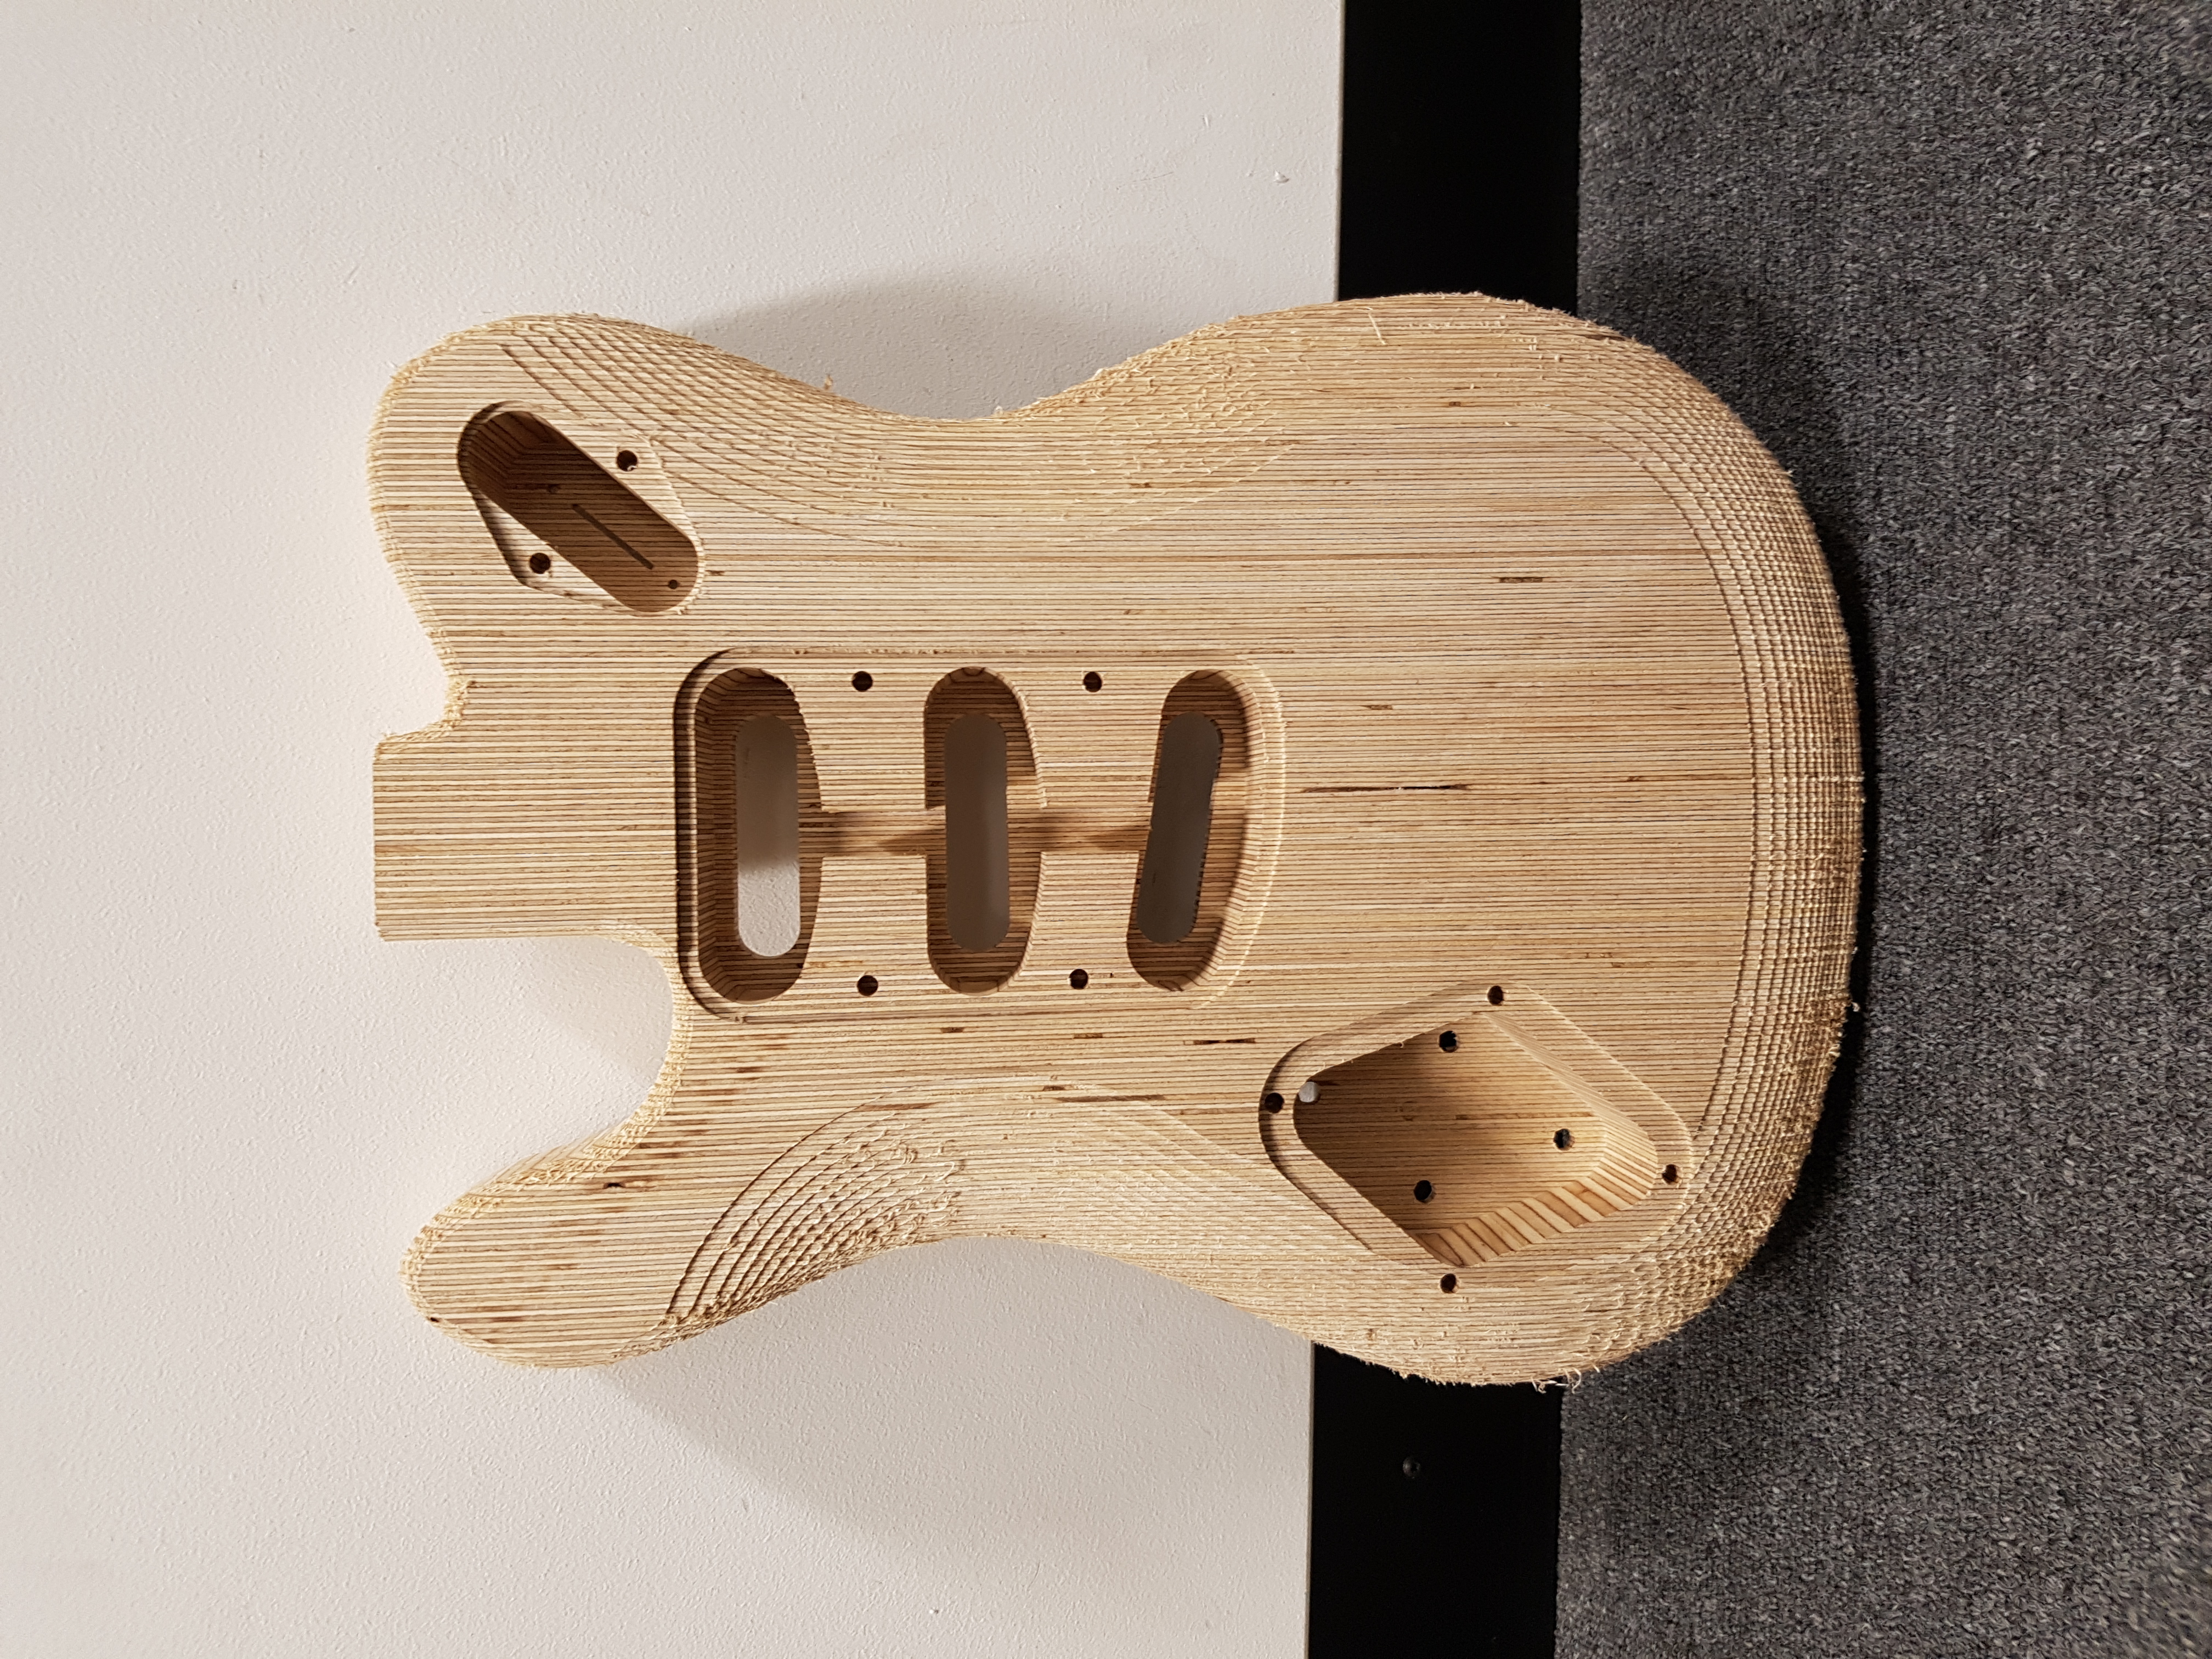 |
| Machining the Guitar | Machining the Guitar | Machining the Guitar | Picture frame made from waste | Freshly cut out Guitar | Freshly cut out Guitar | Freshly cut out Guitar | Freshly cut out Guitar |
The current job is to sand all the steps left from machining away, then finishing, and installing the hardware. Then all I need to do is learn to play...
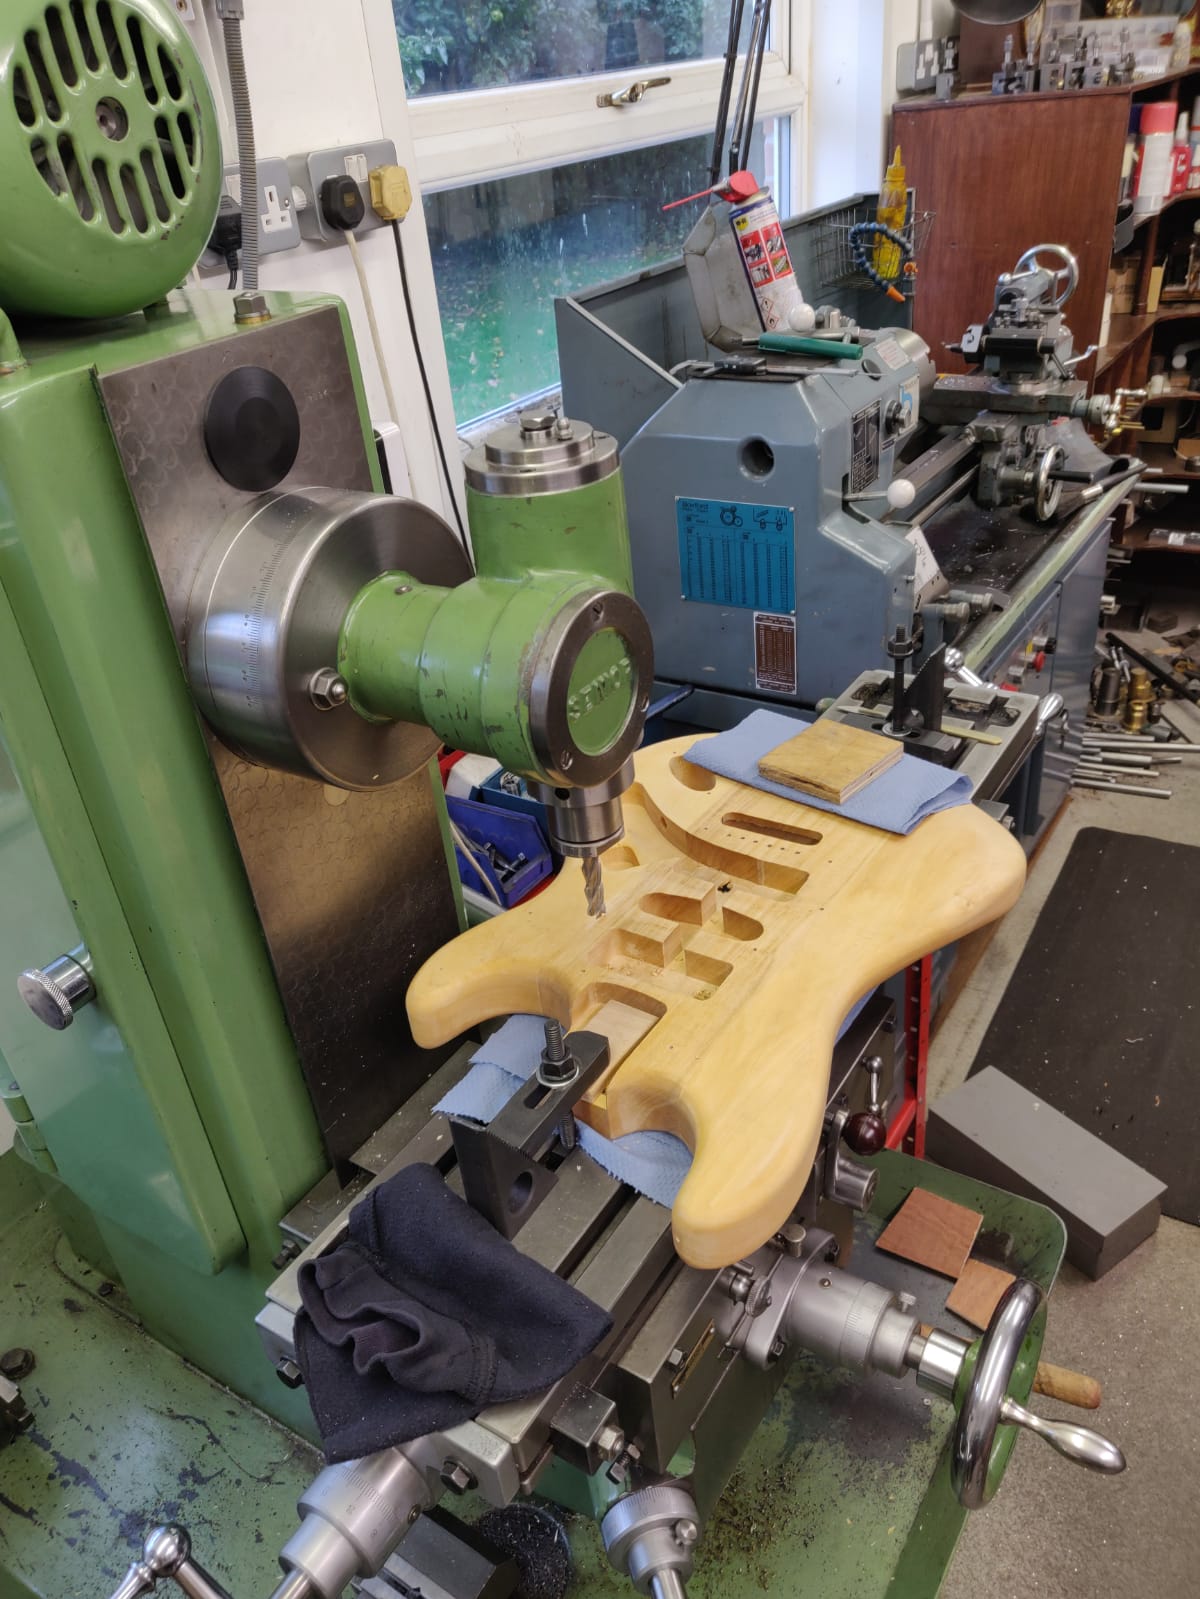
The original body was donated to my brother, who is in the process of building his third electric guitar. With the help of my fathers milling machine, he's fitting a pair of humbuckers where the original single coil pickups were. I have been tasked with producing a pick guard to suit.
 |
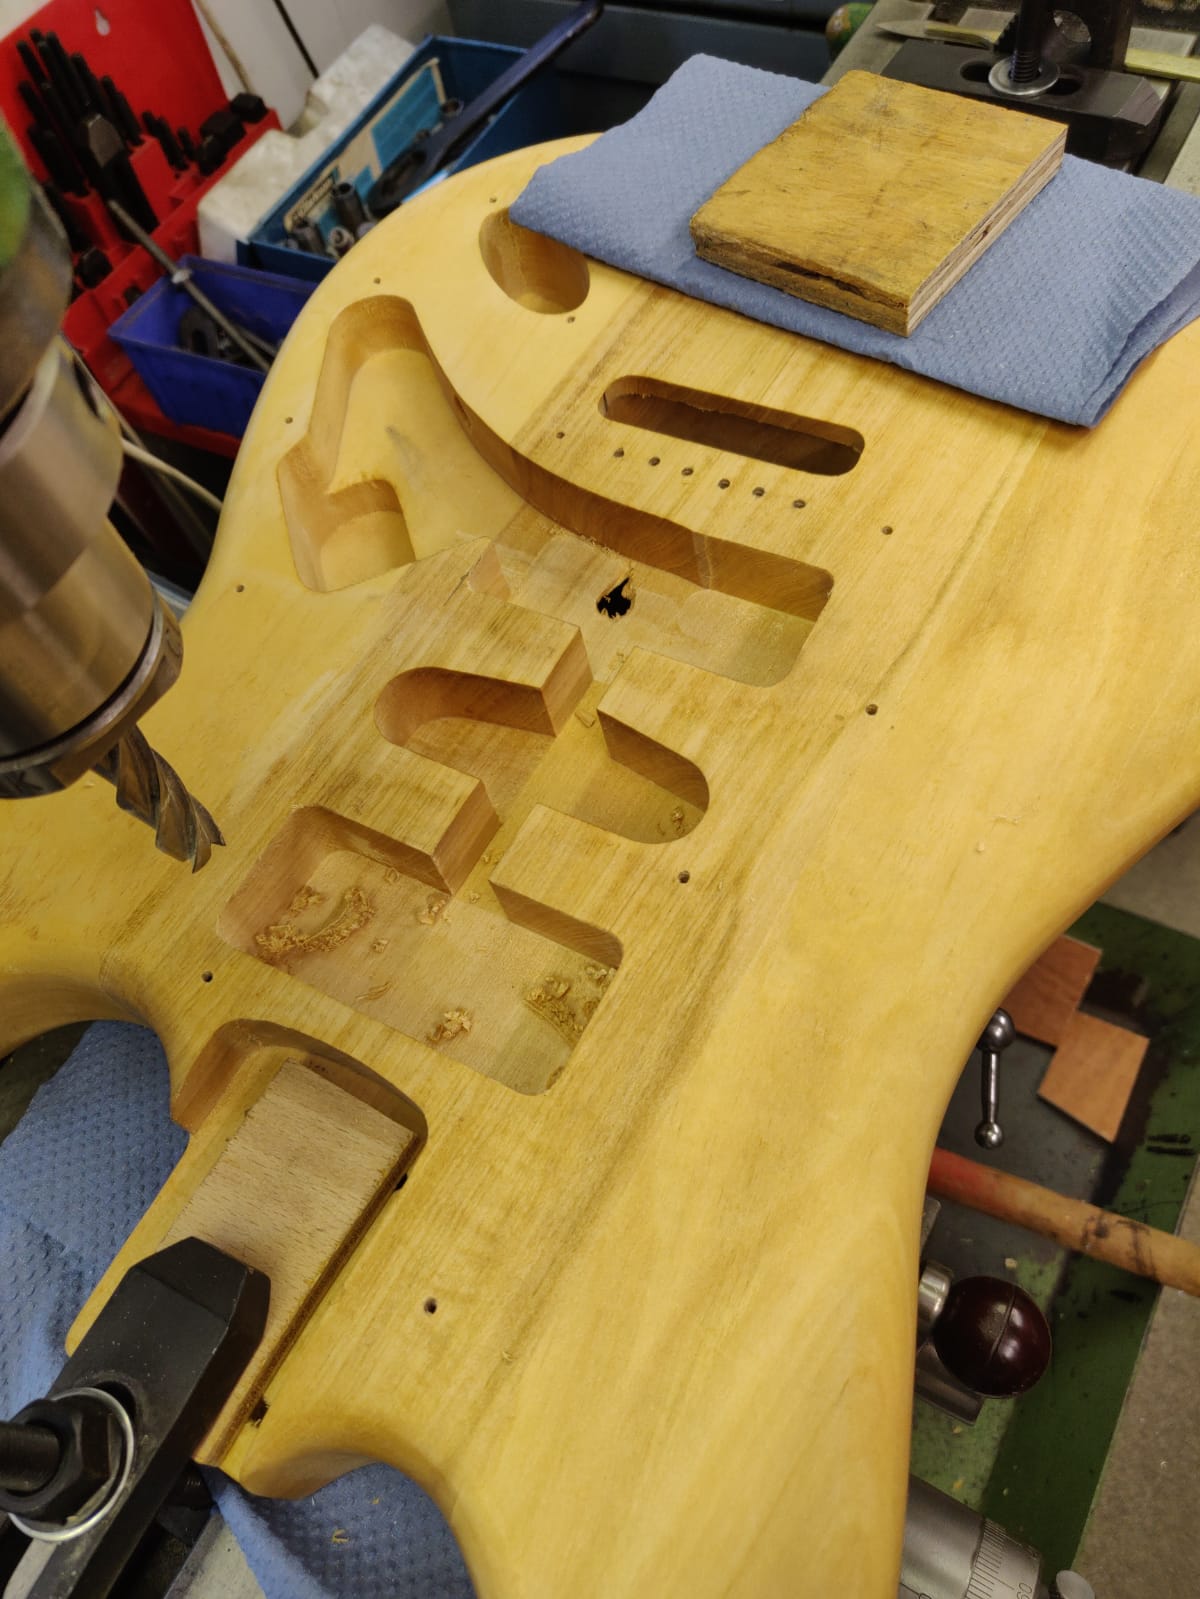 |
| Milling pickup slots | Milling pickup slots |
