
Carriage Stop
An adjustable carriage stop is a useful tool when turning. Here's how I made one for my lathe.
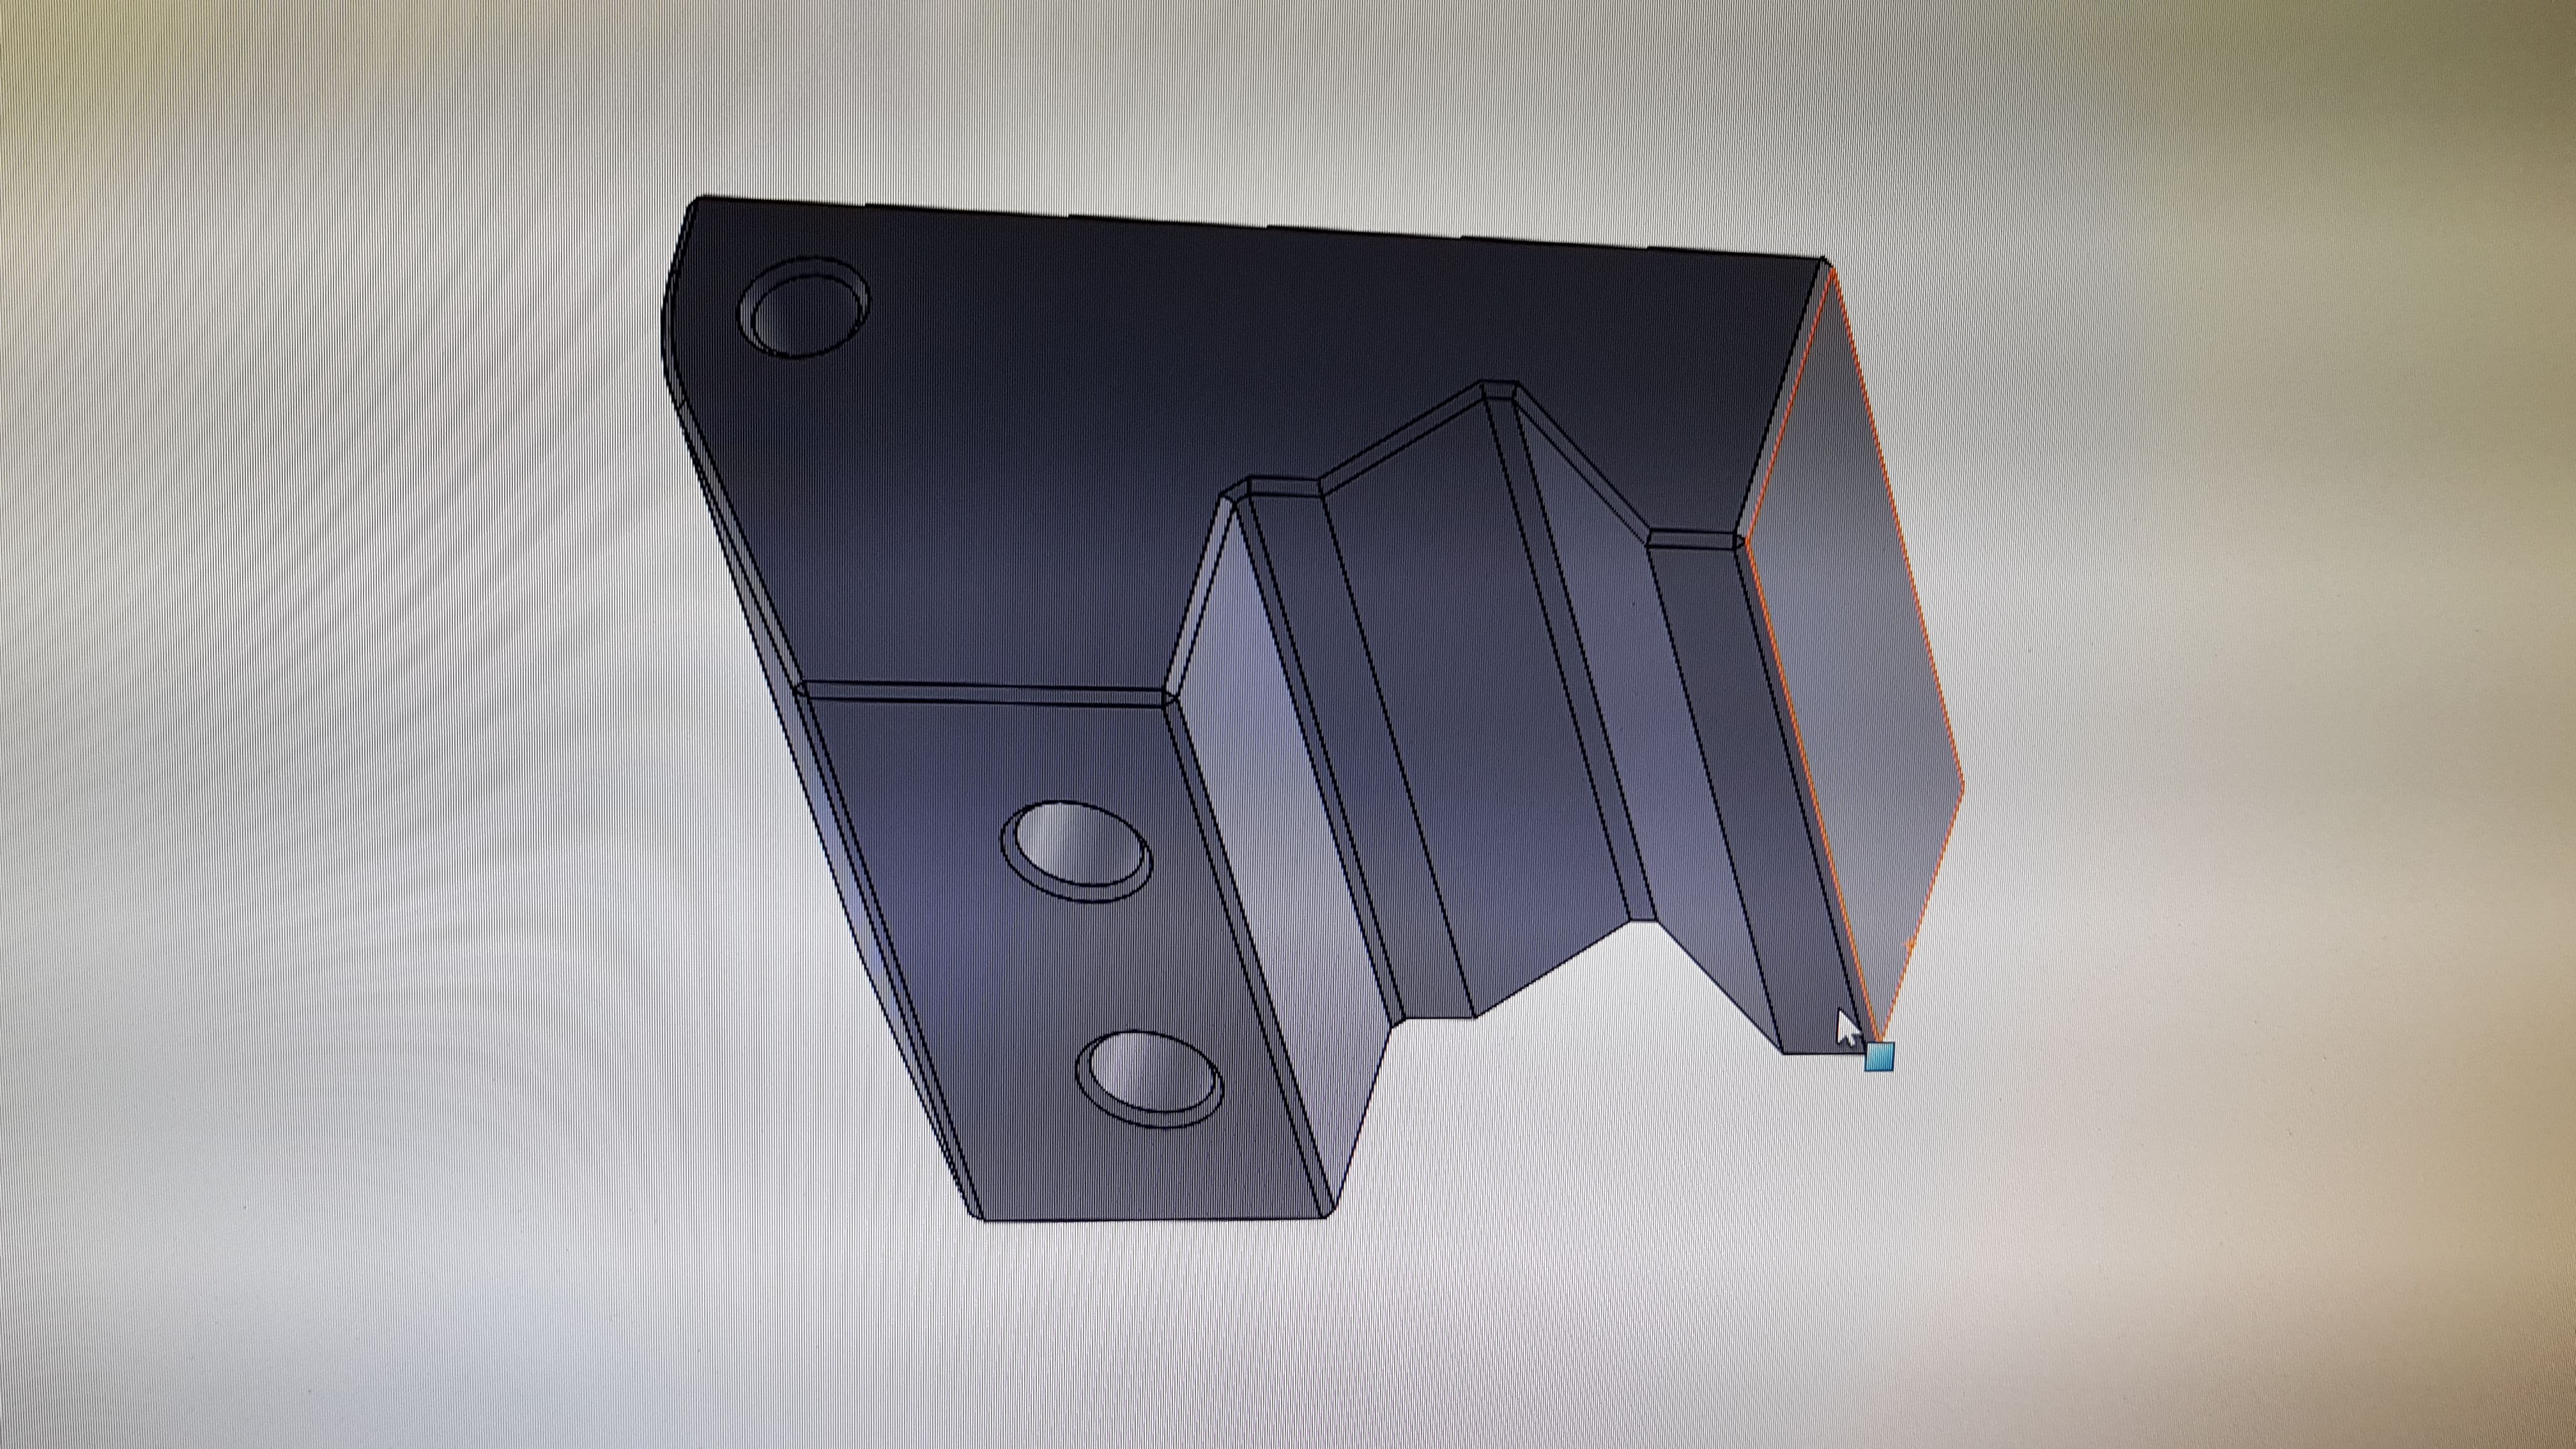
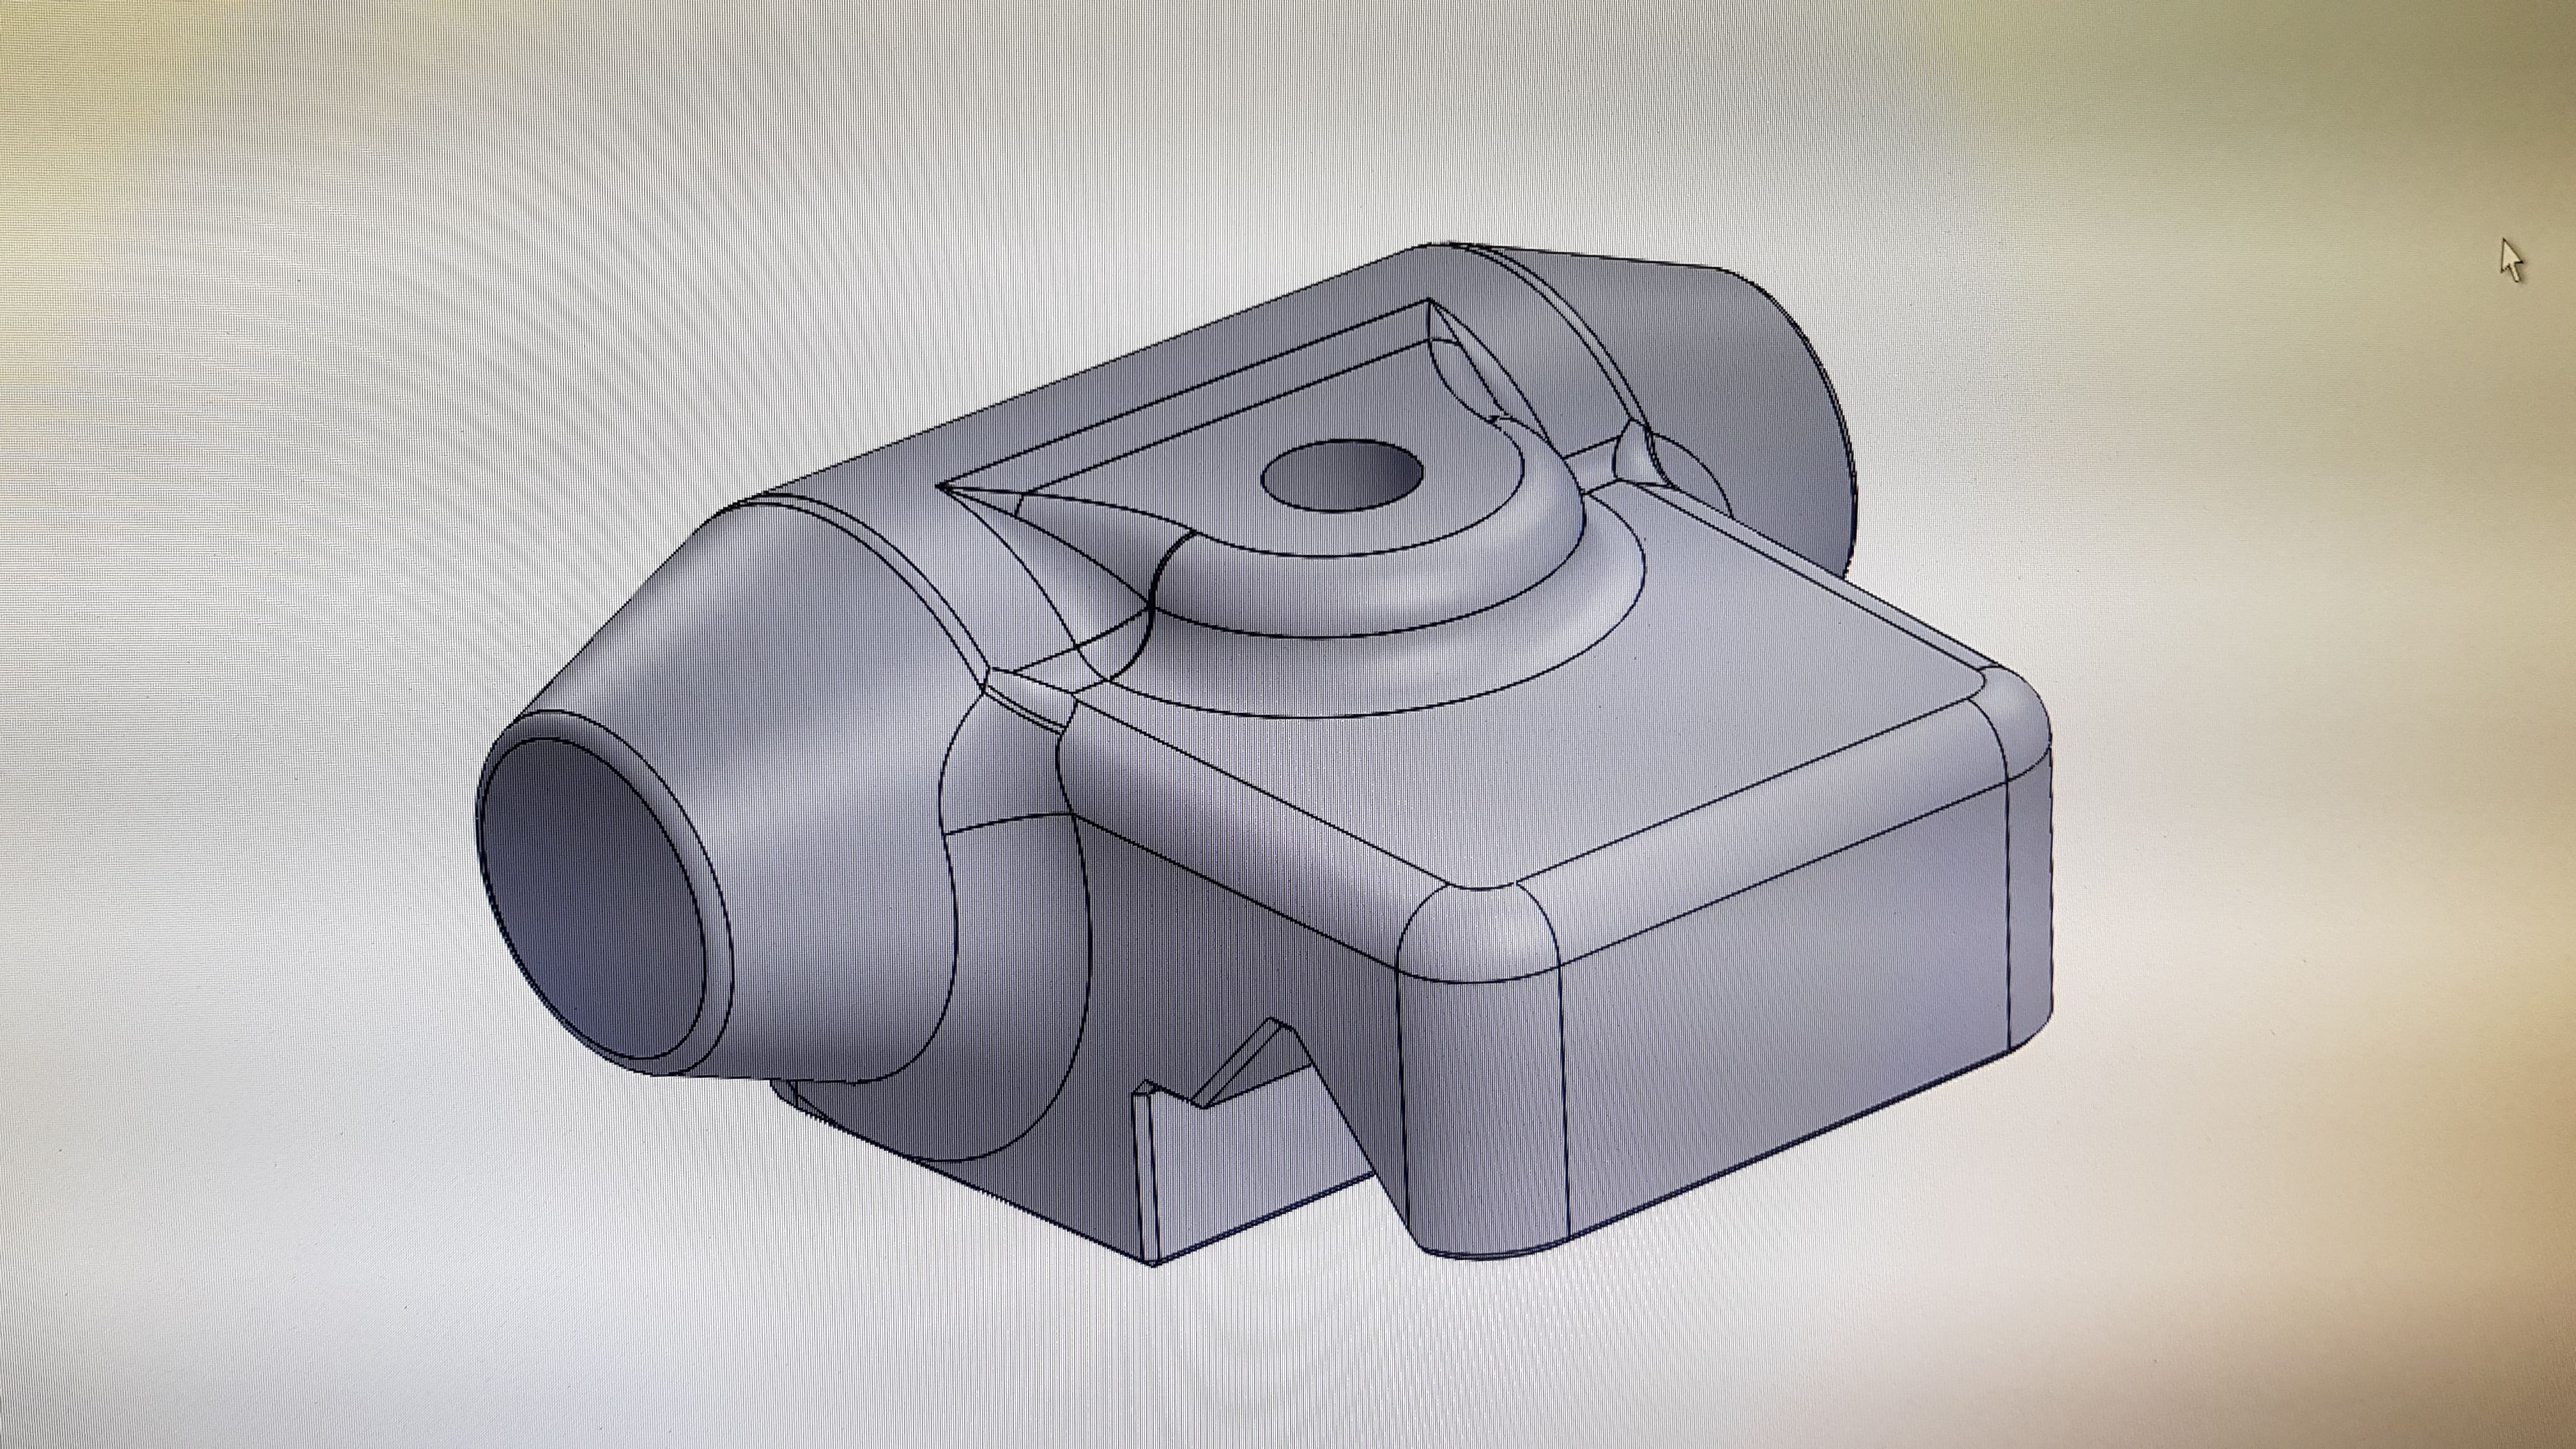
I started by measuring the ways of the lathe, and modelling a rough block. By printing the profile, I was able to tweak the shape until it fit nicely. I then 3D printed the clamp, added some threaded inserts, and fitted the stop. It worked perfectly, even as a printed part. At this point, my father decided he wanted one for his Boxford lathe as well.
 |
 |
 |
| Carriage stop for my lathe | Boxford style carriage stop | Printed stop in use |
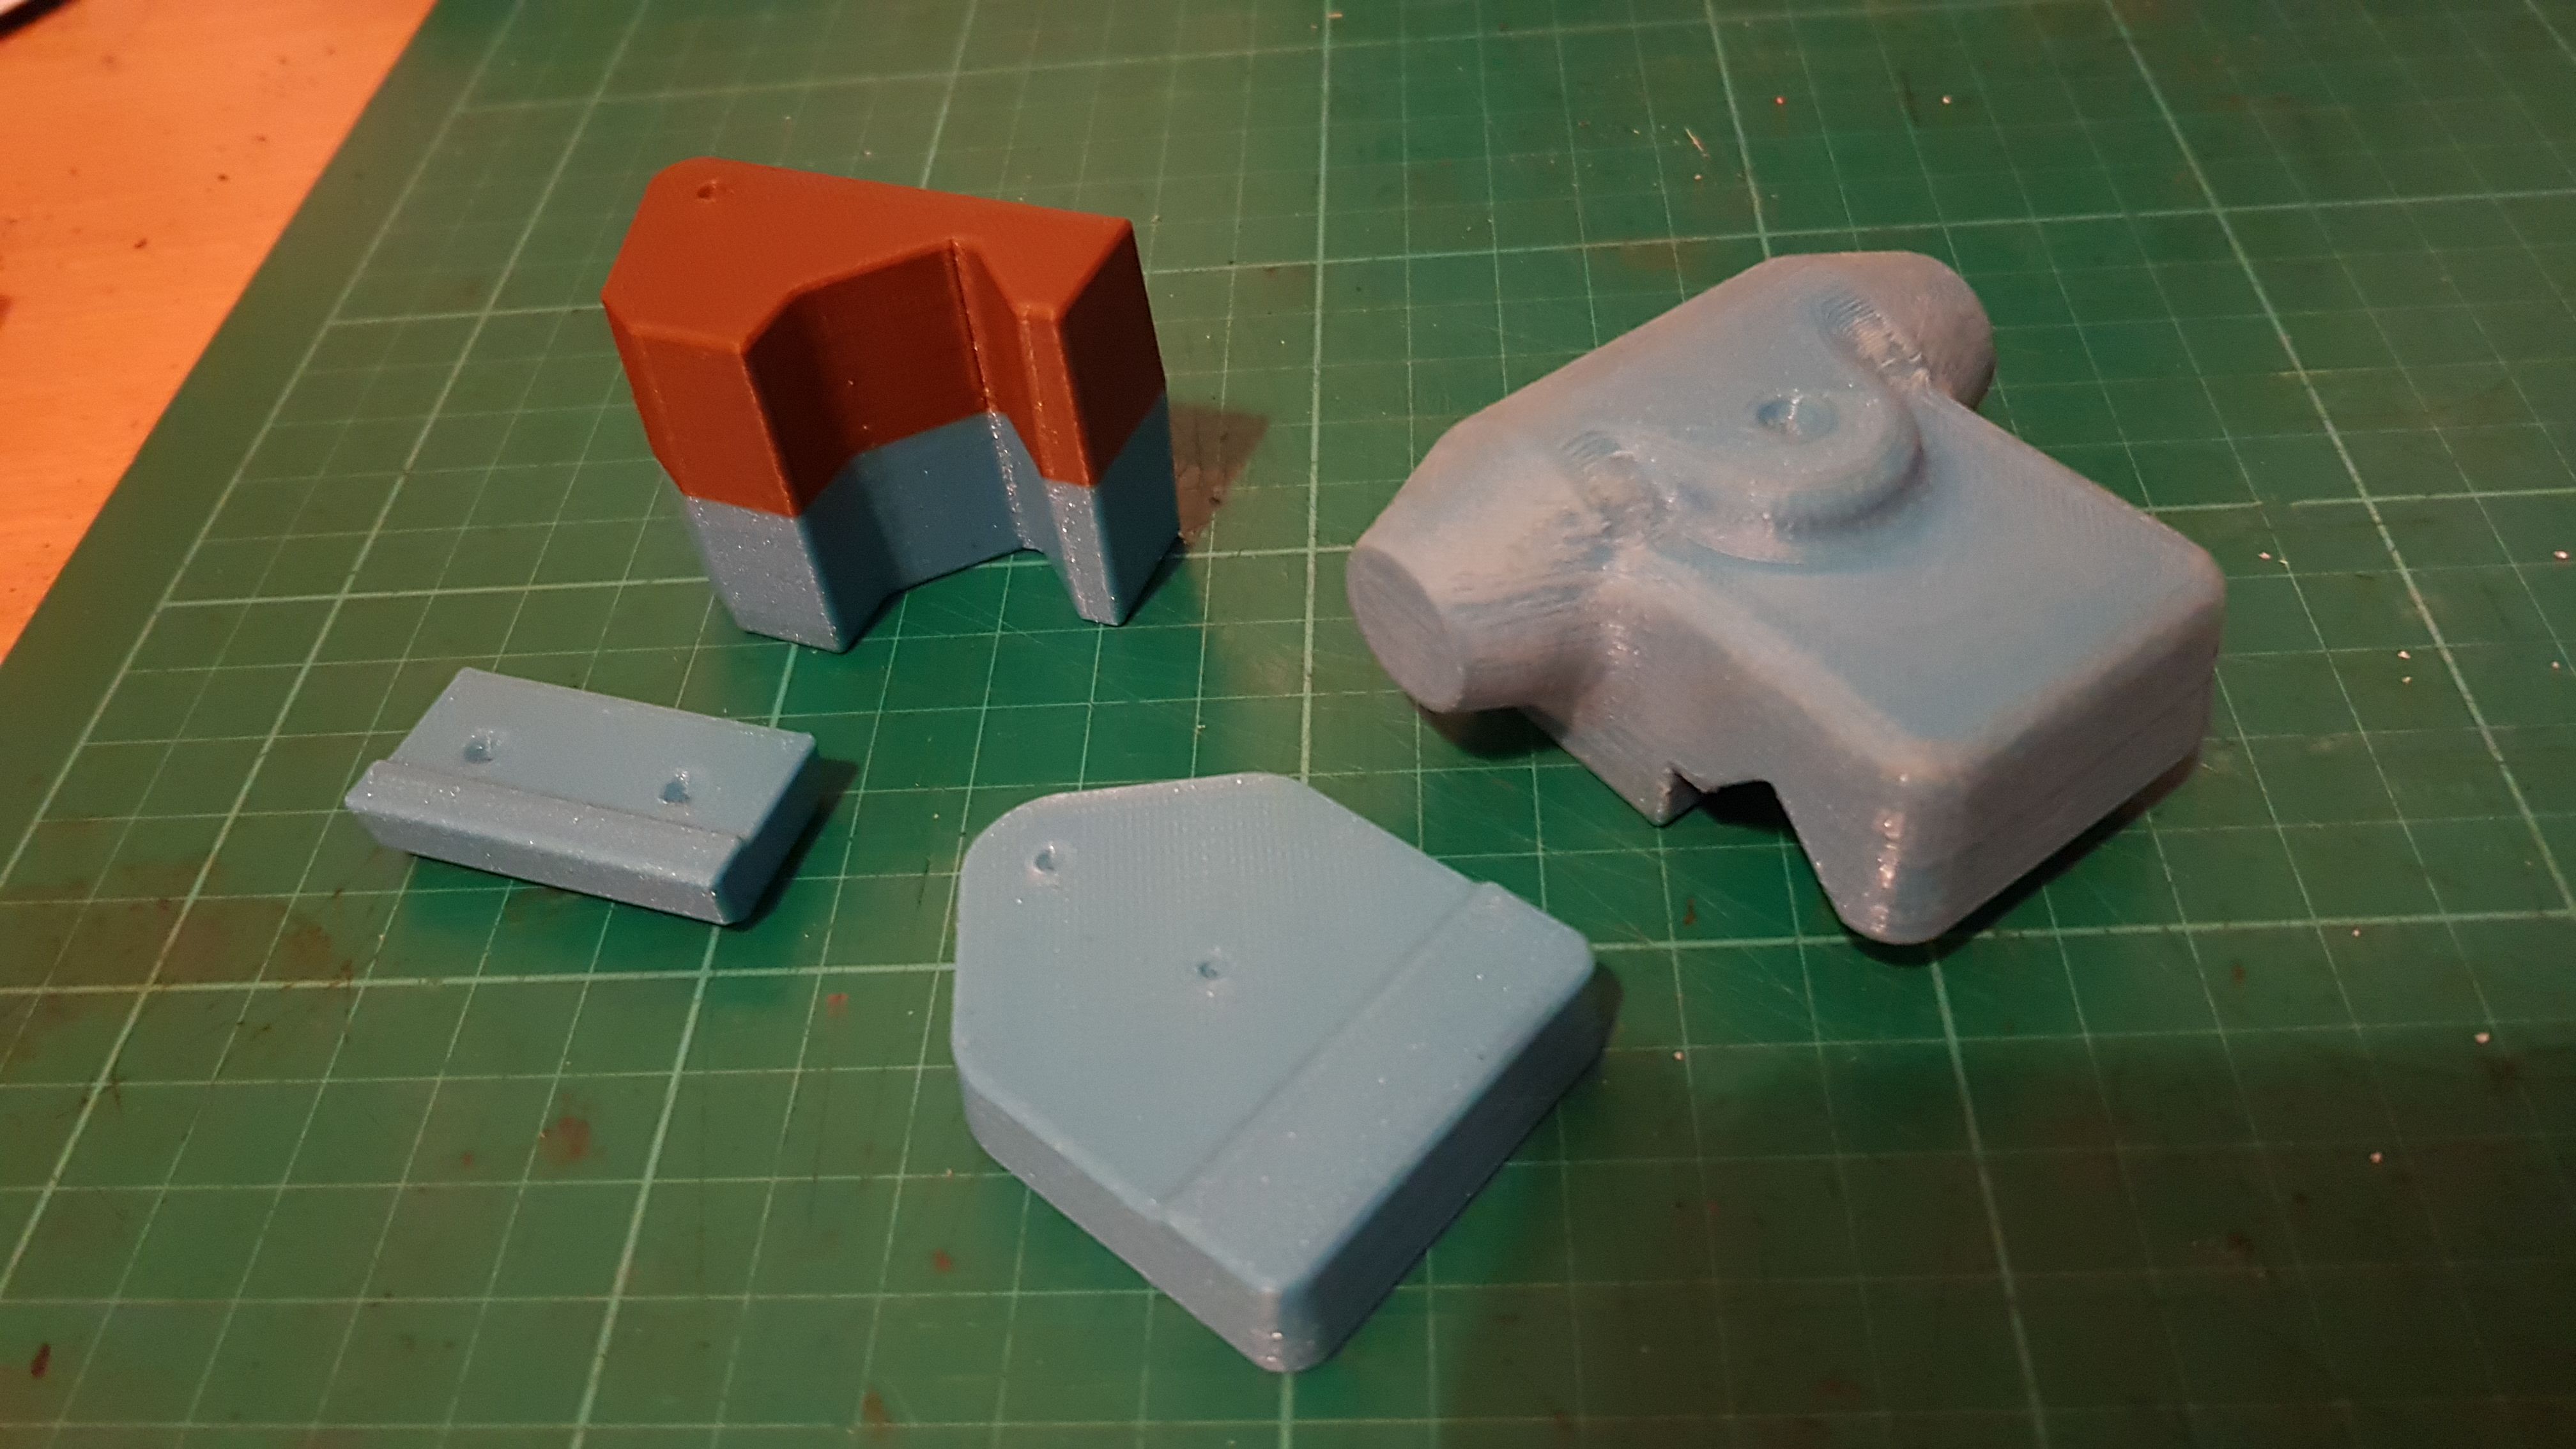
With the shapes finalised, the CAD was altered; scaled to 102%, draft angles applied, holes filled, in preparation for casting. The prints were finished and sanded smooth, before going to the foundry. A few weeks later, the castings arrived.
 |
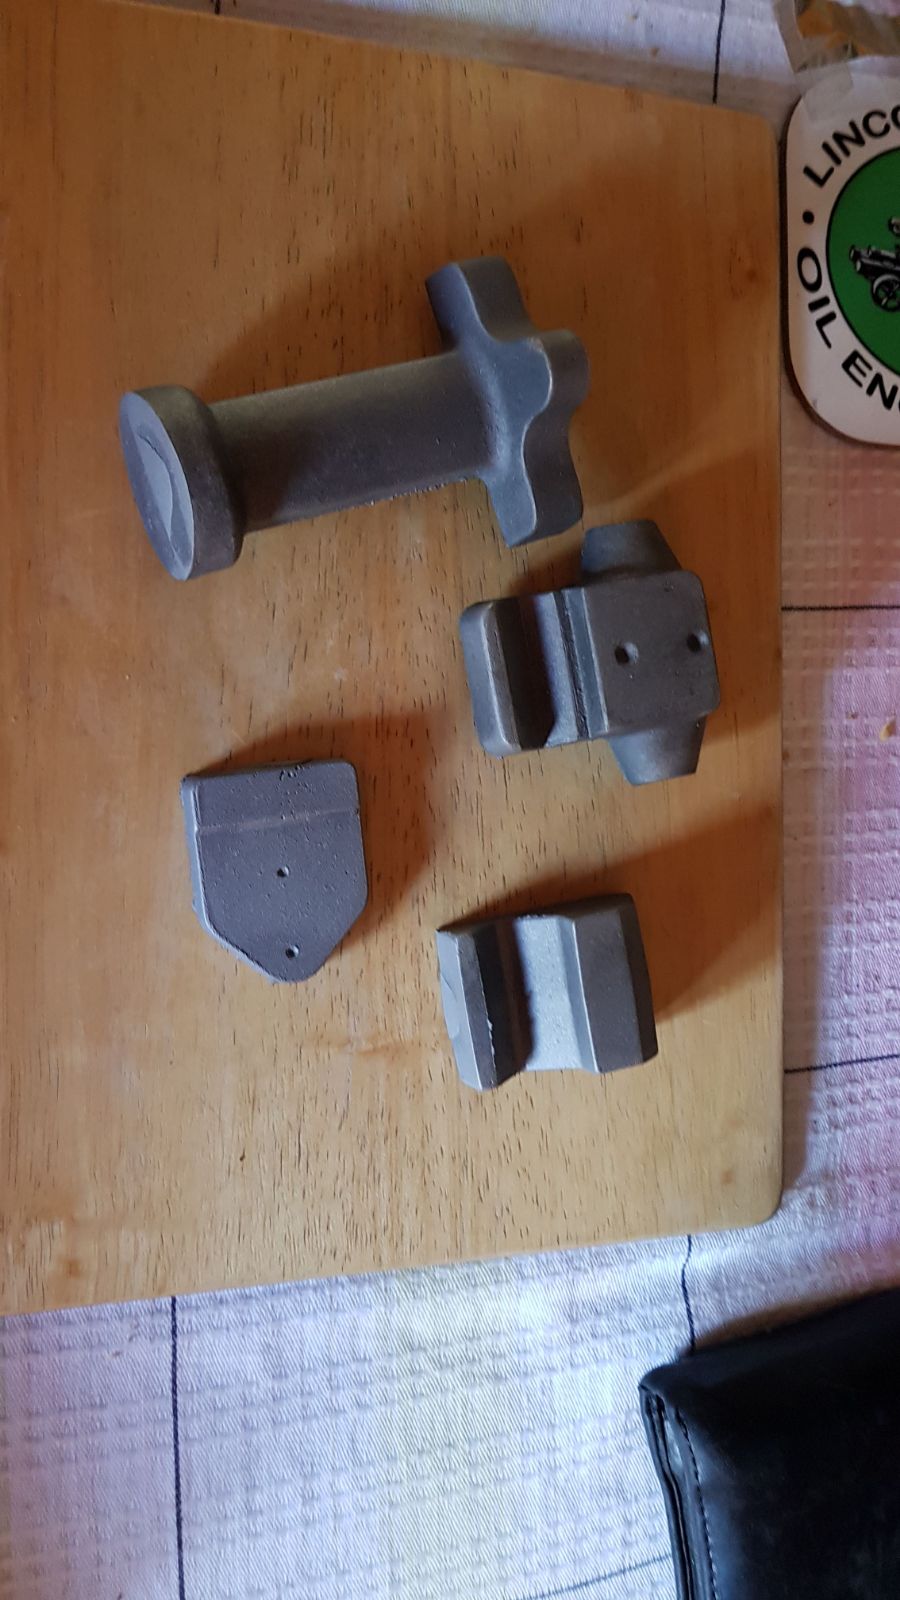 |
| Patterns ready for casting | Castings fresh from foundry |
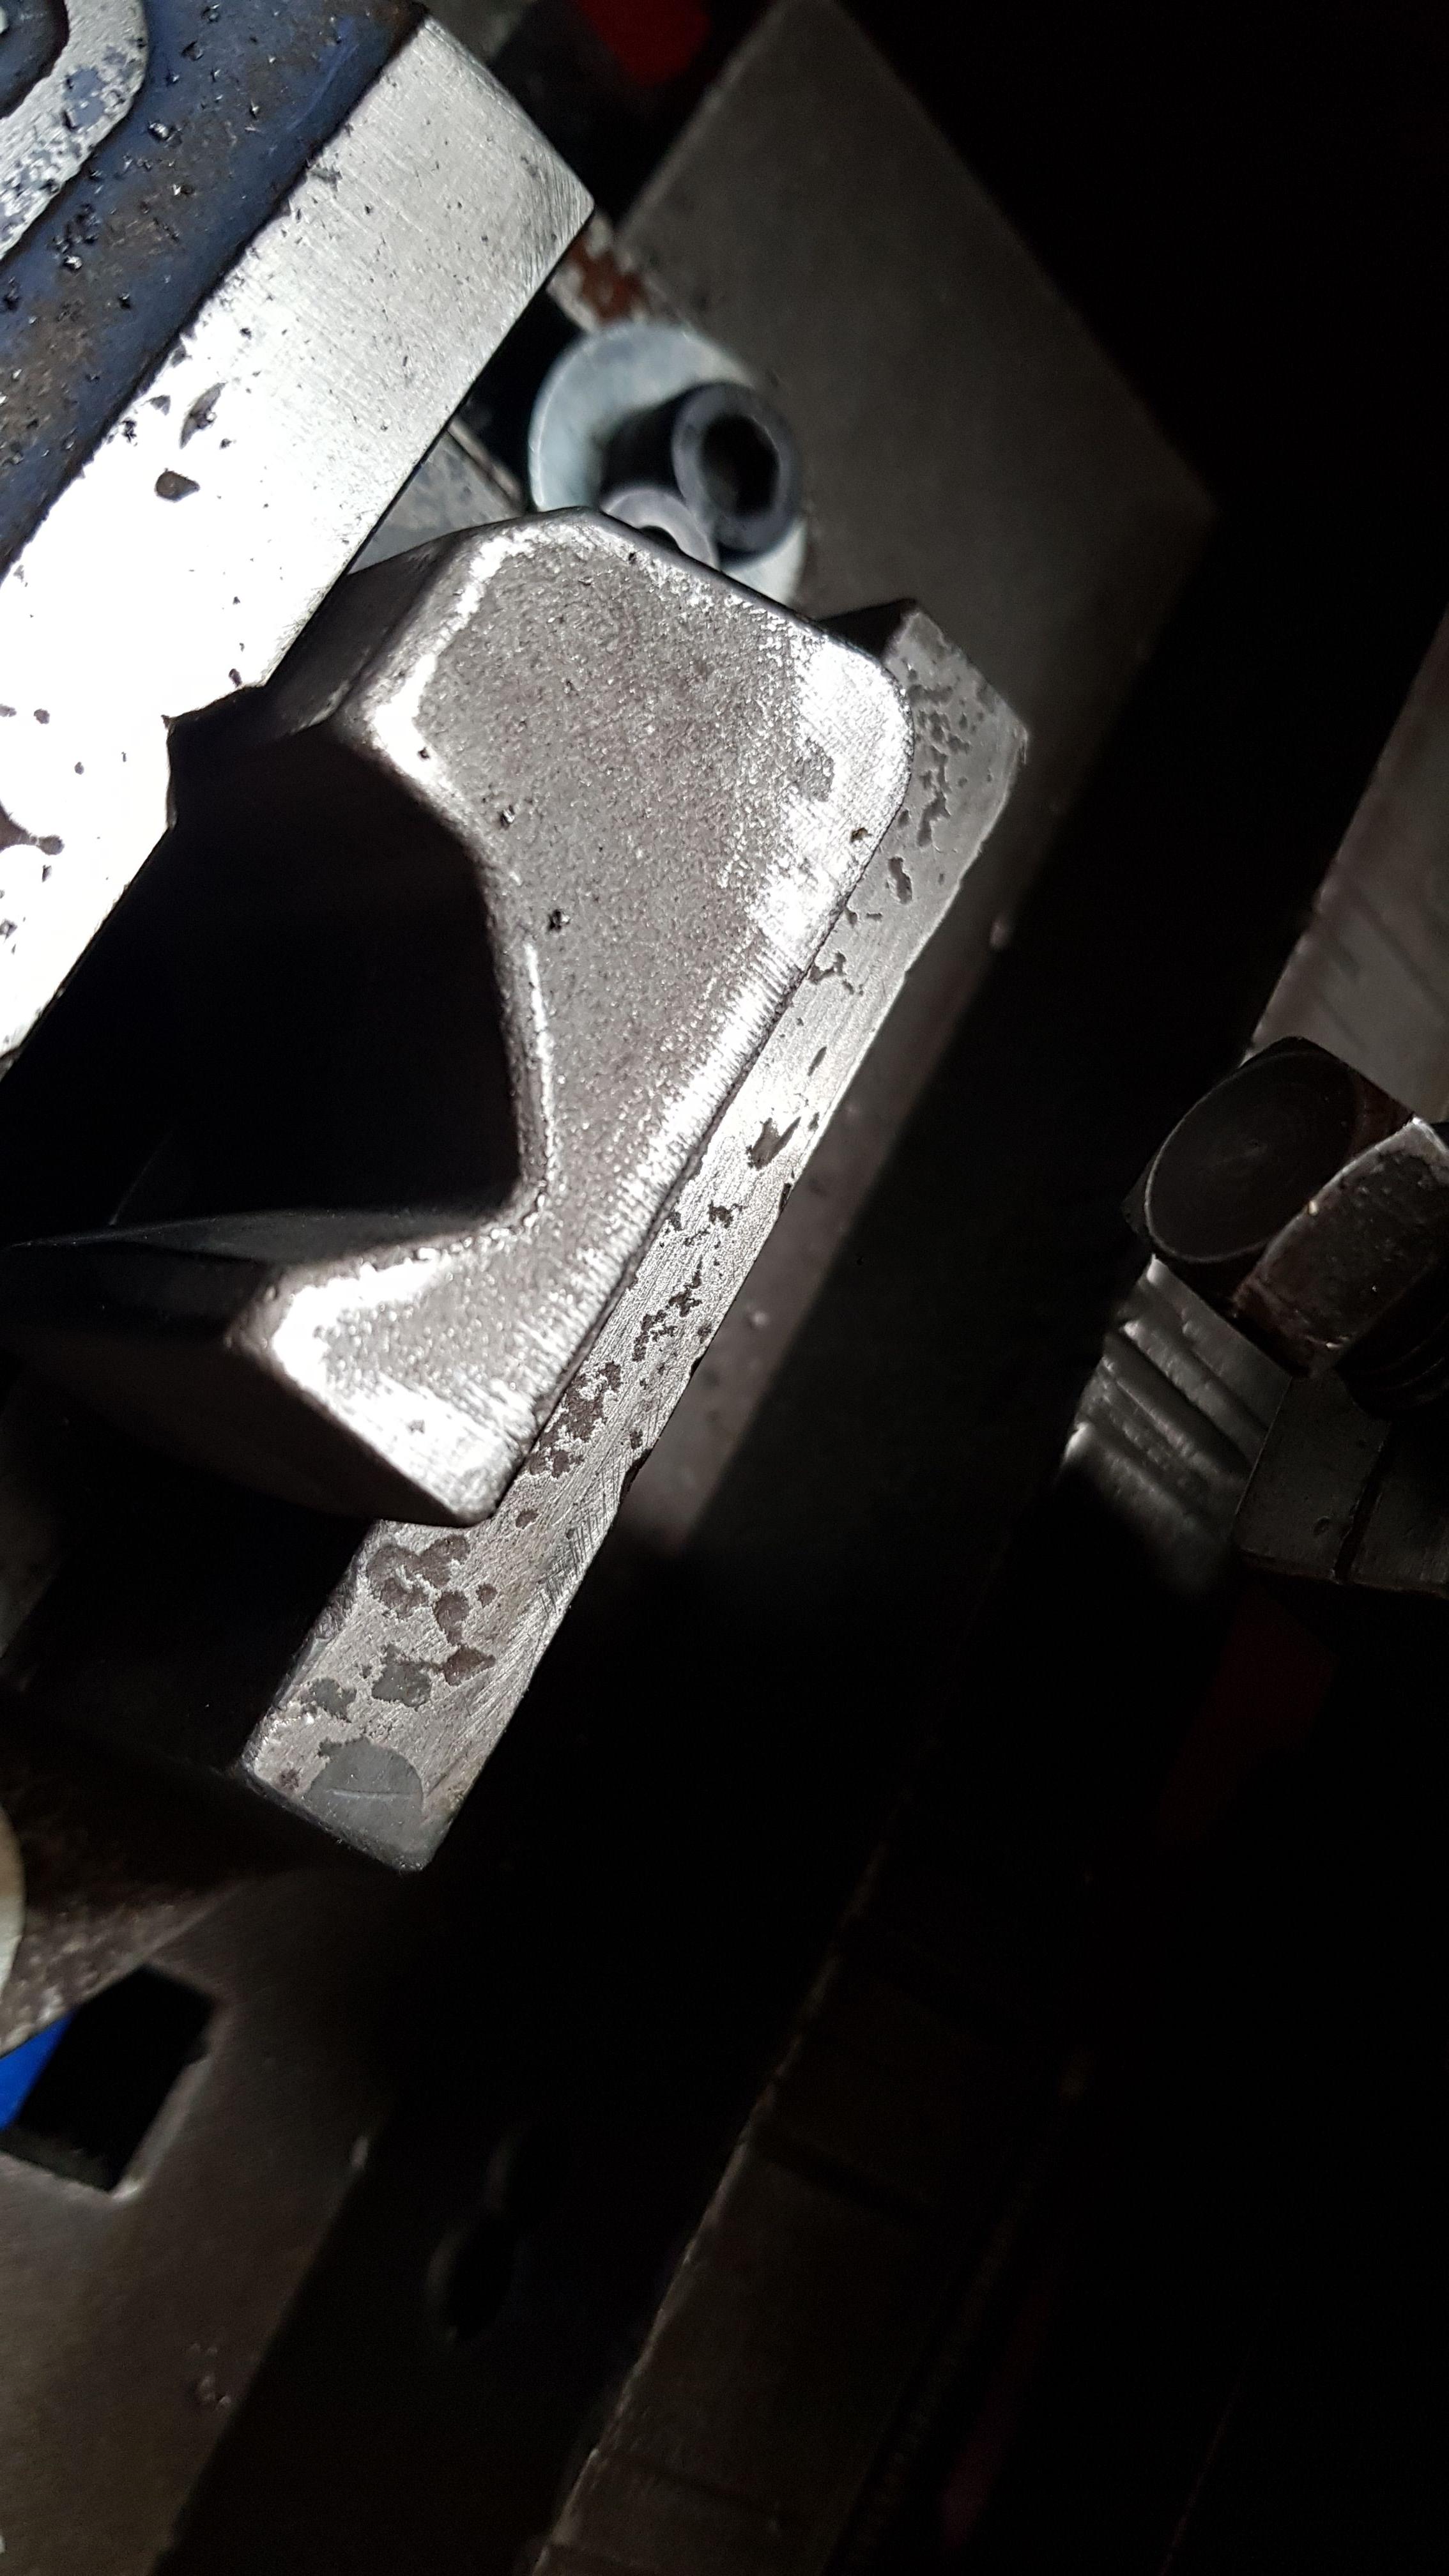
I made use of my Rapide-Lime Shaper to clean up the sides and mating surfaces, drilled and counter-bored the clamp screw holes, and drilled and tapped for a fine adjust screw.
 |
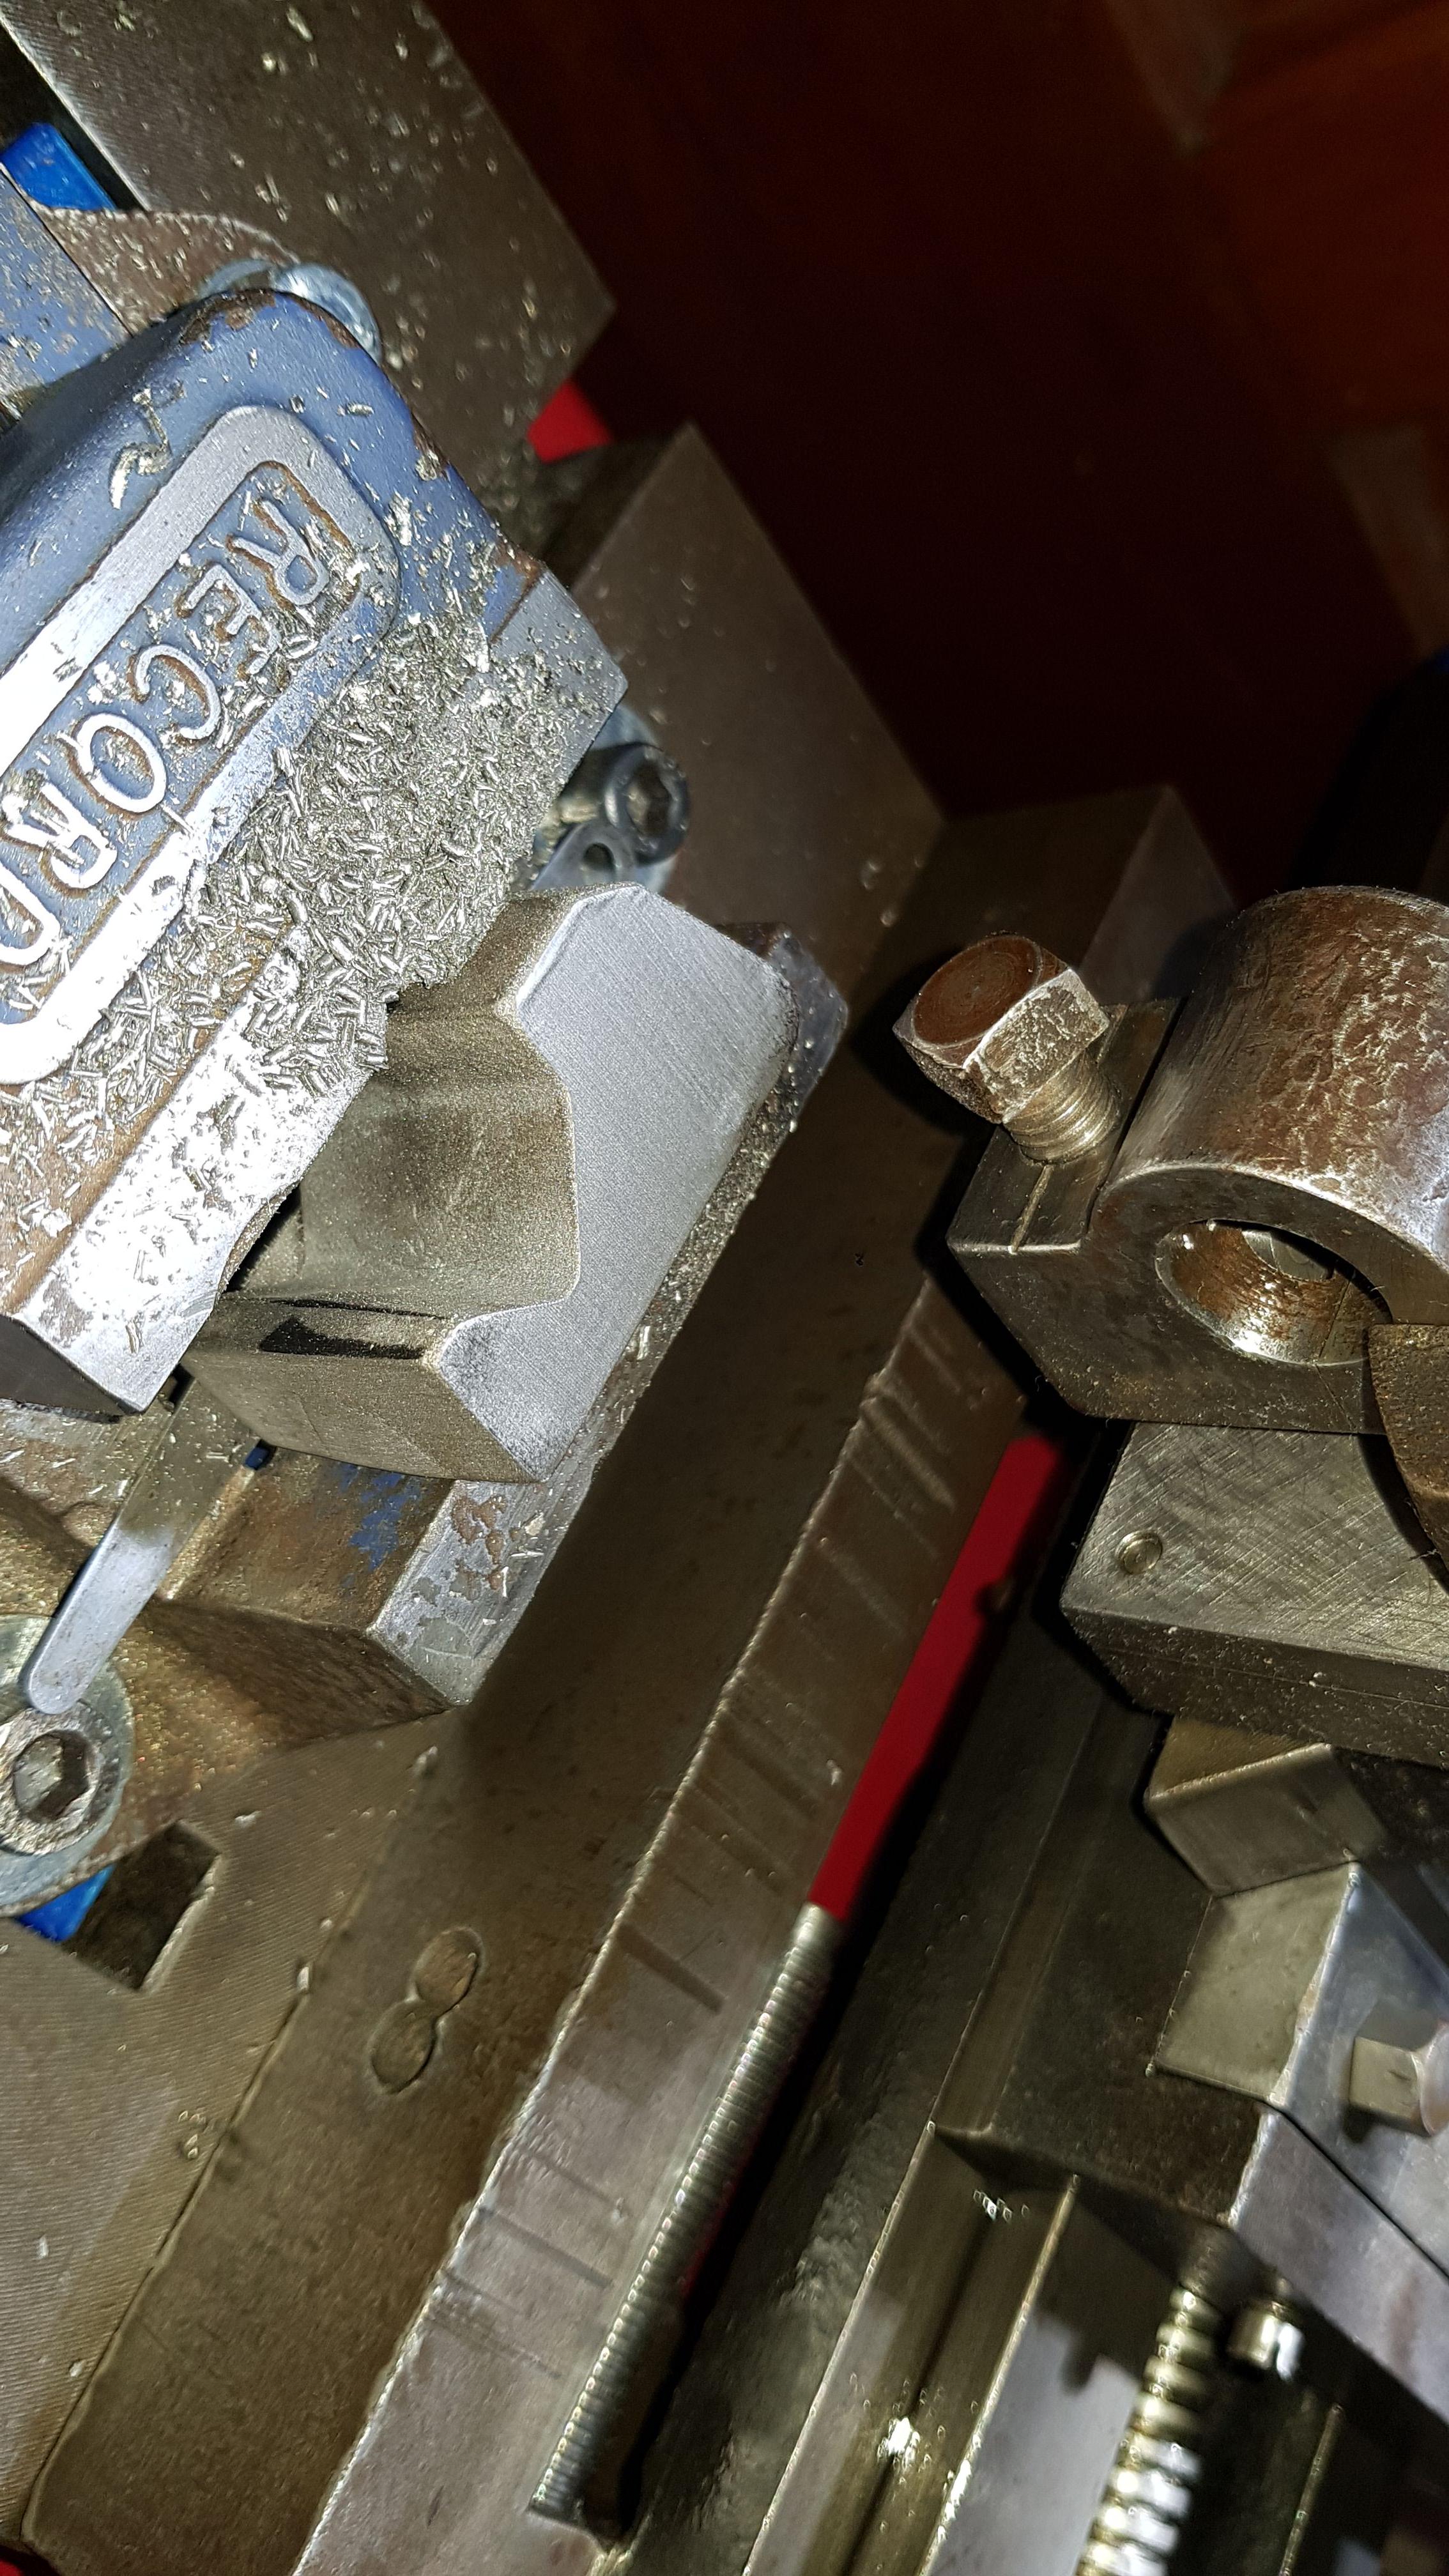 |
| Starting to face the side | Side smoothed on Shaper |
Currently, I am using a 3D printed lower piece, as I am experimenting with the shape to get a good, reliable grip. When finished, it will get a coat of paint to match the rest of the lathe.
