
Mini Restoration Project
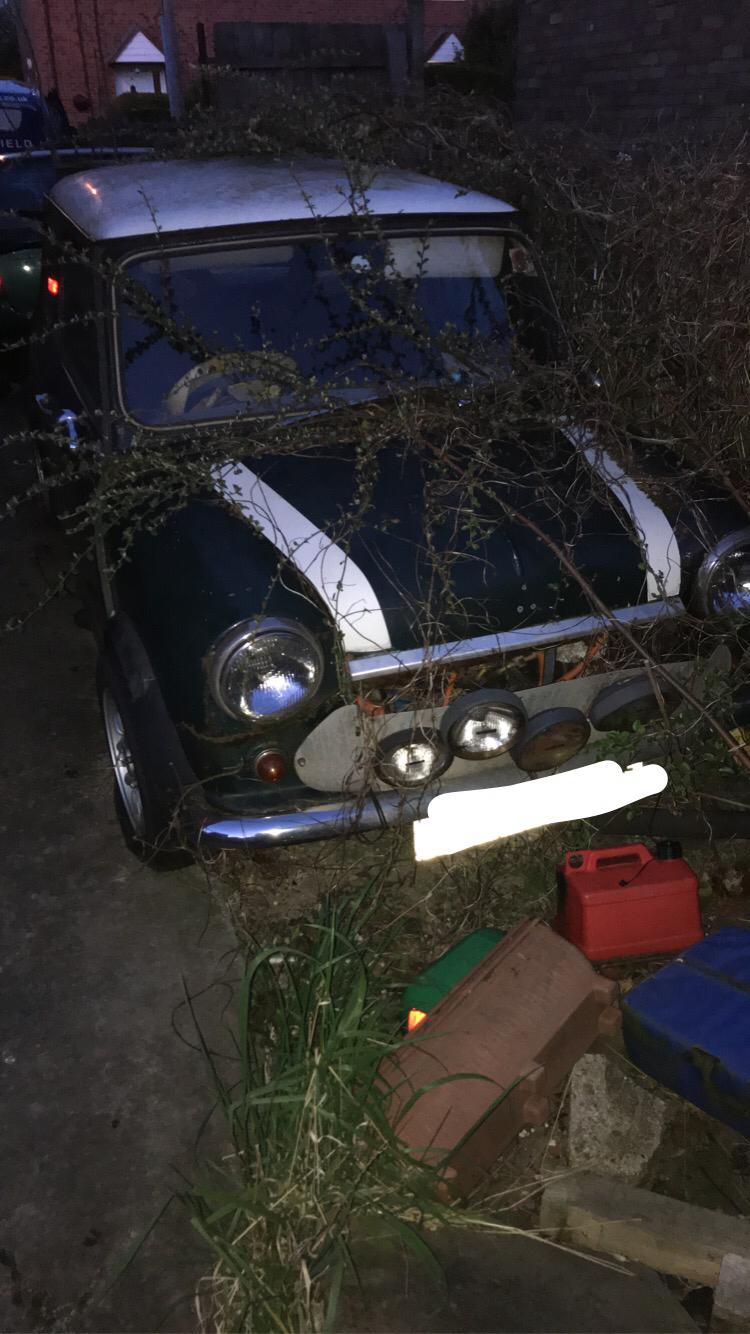
I have long wanted a classic Mini. This particular one had stood for 18 years in someone's driveway; it is very rusty. Come with me on a journey where I learn to weld among other skills.
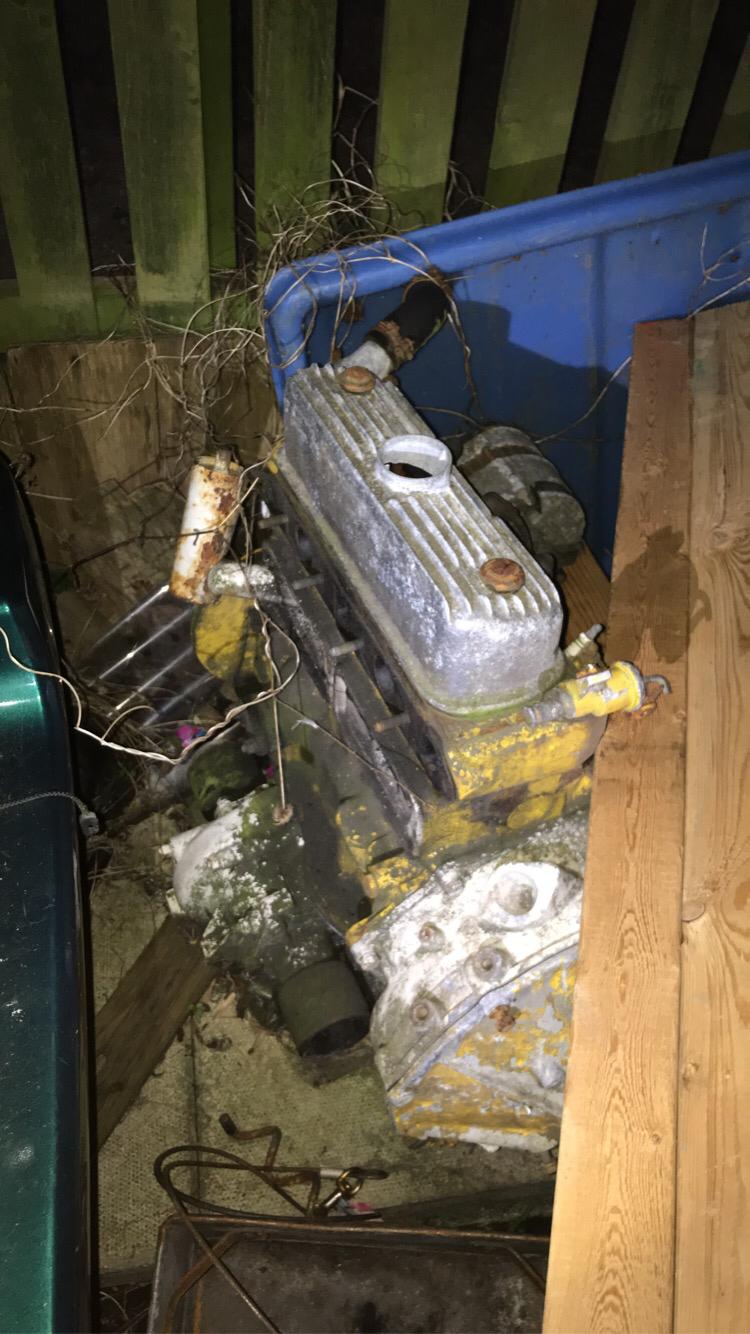
I was introduced to the Mini by a friend, receiving some photos that showed what appeared to be a fairly complete, if rusty, car with a sizeable tree growing out of the drive in front of it. After a visit to it, and an alternative Mini - in much better shape, but much newer, I decided to buy it. £1400 for the car, delivered, with assorted spares - including a pair of engines, seemed like a fair deal.
A colleague was clearing out his garage, so I was able to snag some interior bits as well as a few assorted spares.
 |
 |
 |
 |
 |
 |
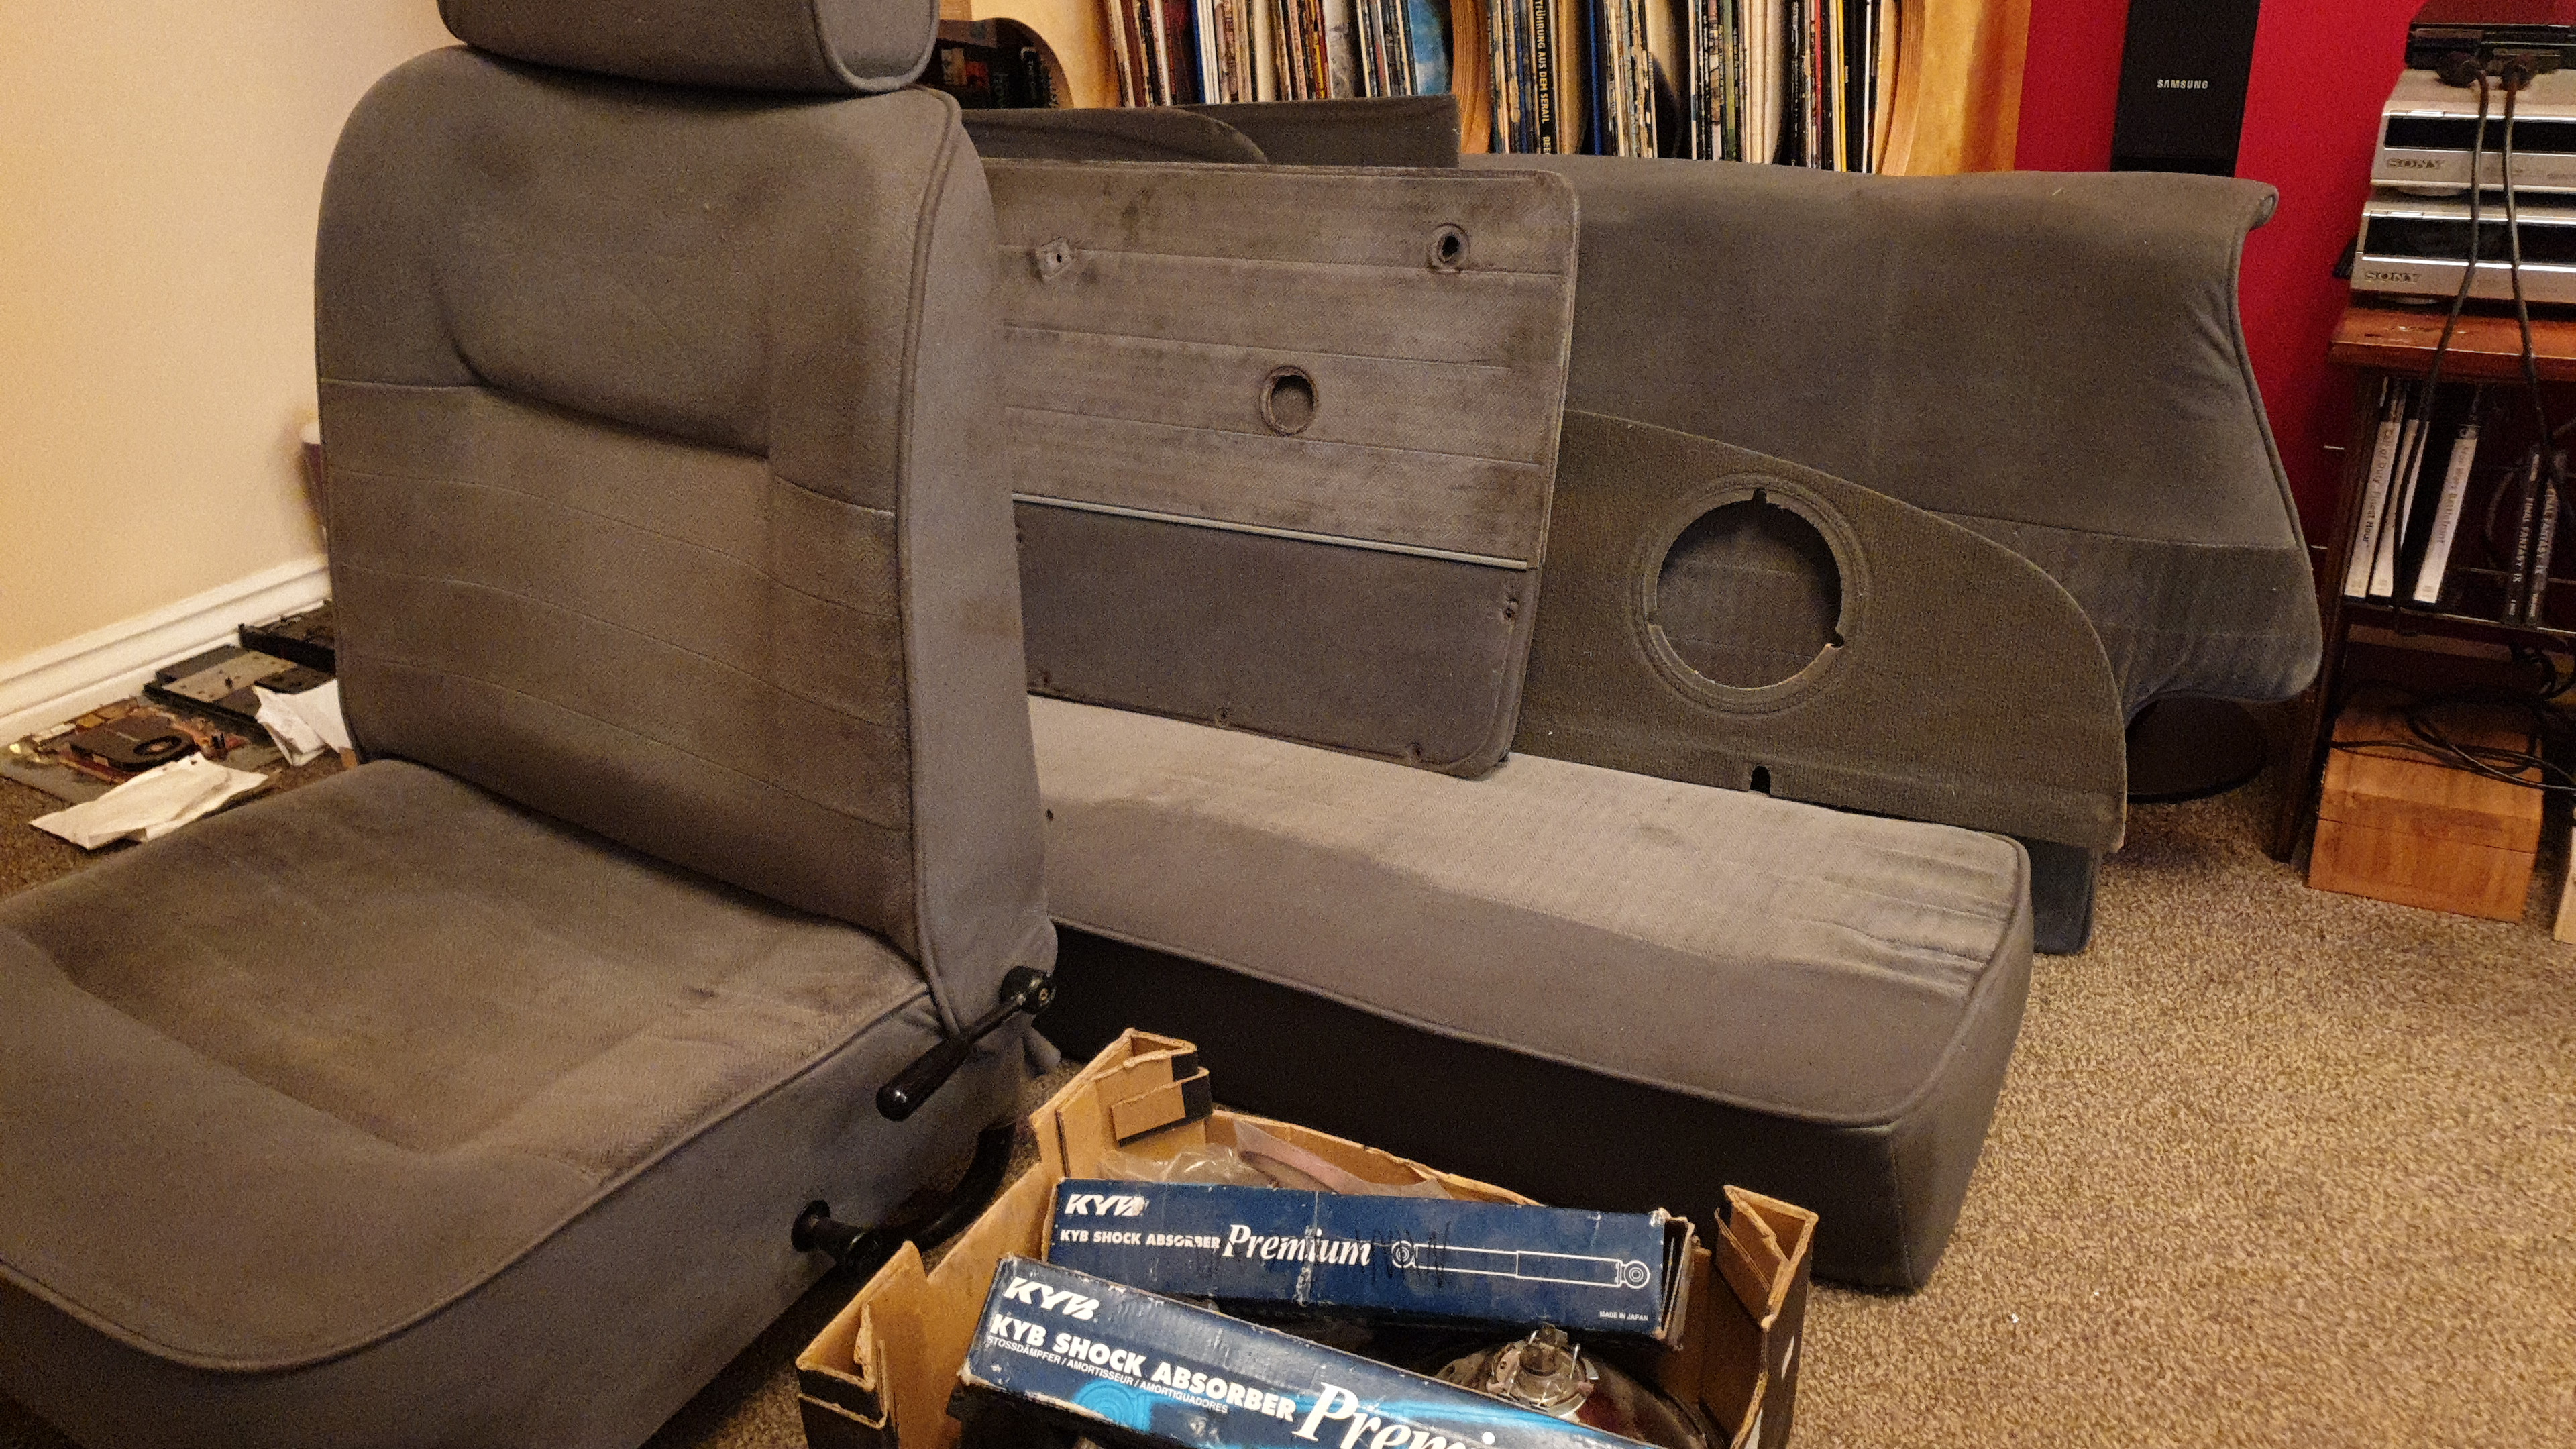 |
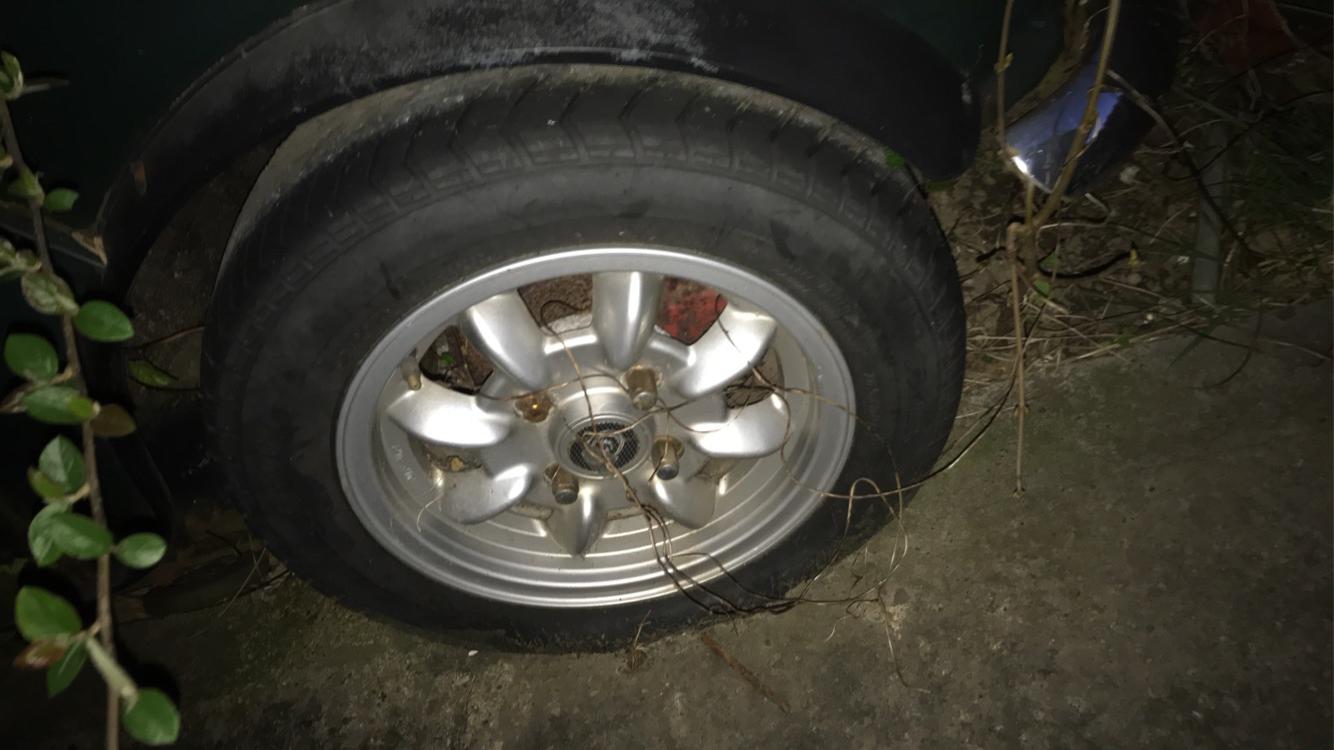
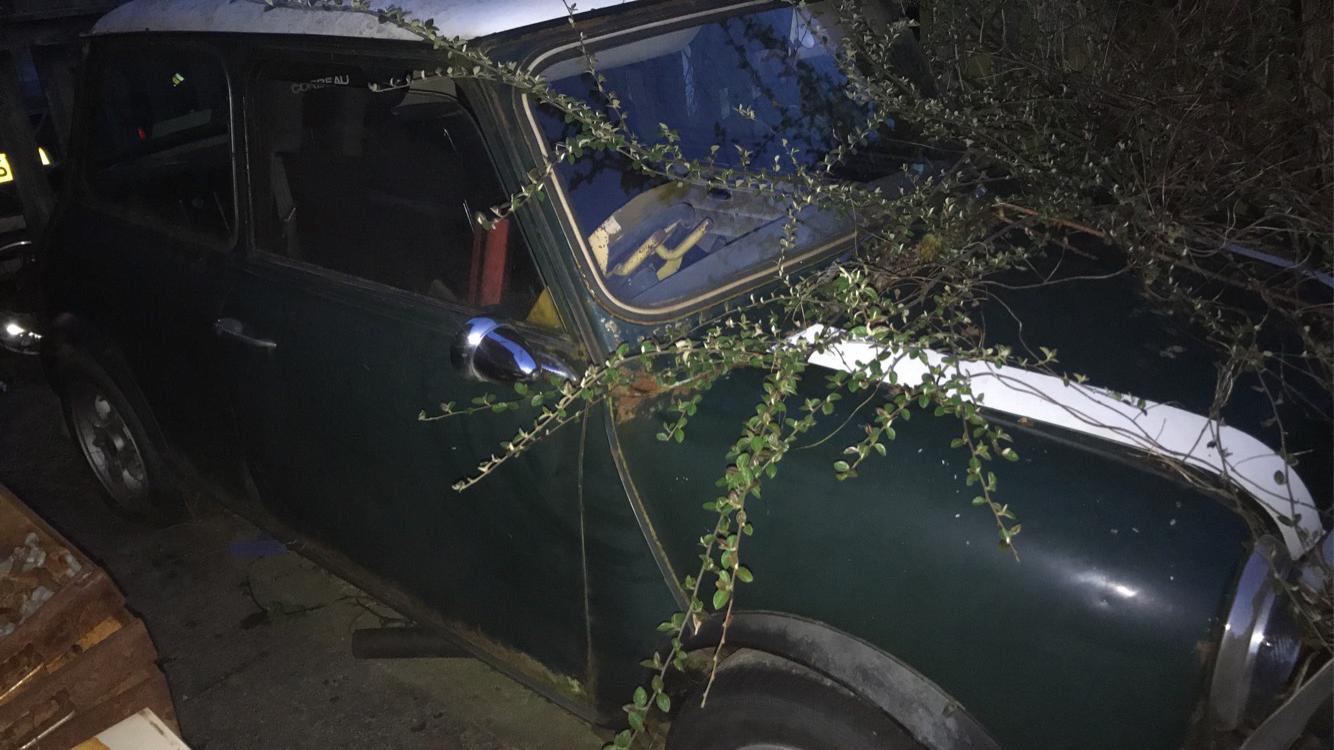
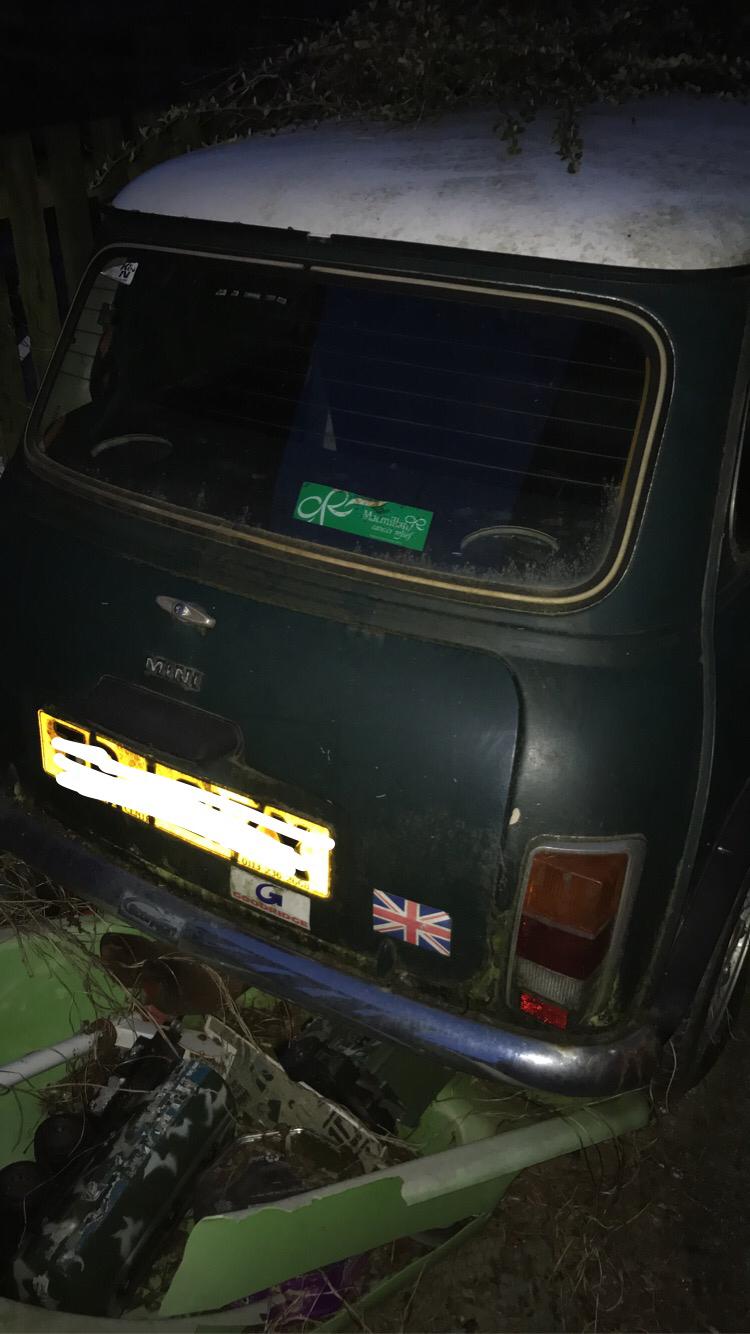
| Spare 998cc Engine | 18 Years sat on the drive | Minilite style wheels | The plants had grown in the engine bay | Silly exhaust | Bucket seats | Spare parts haul |
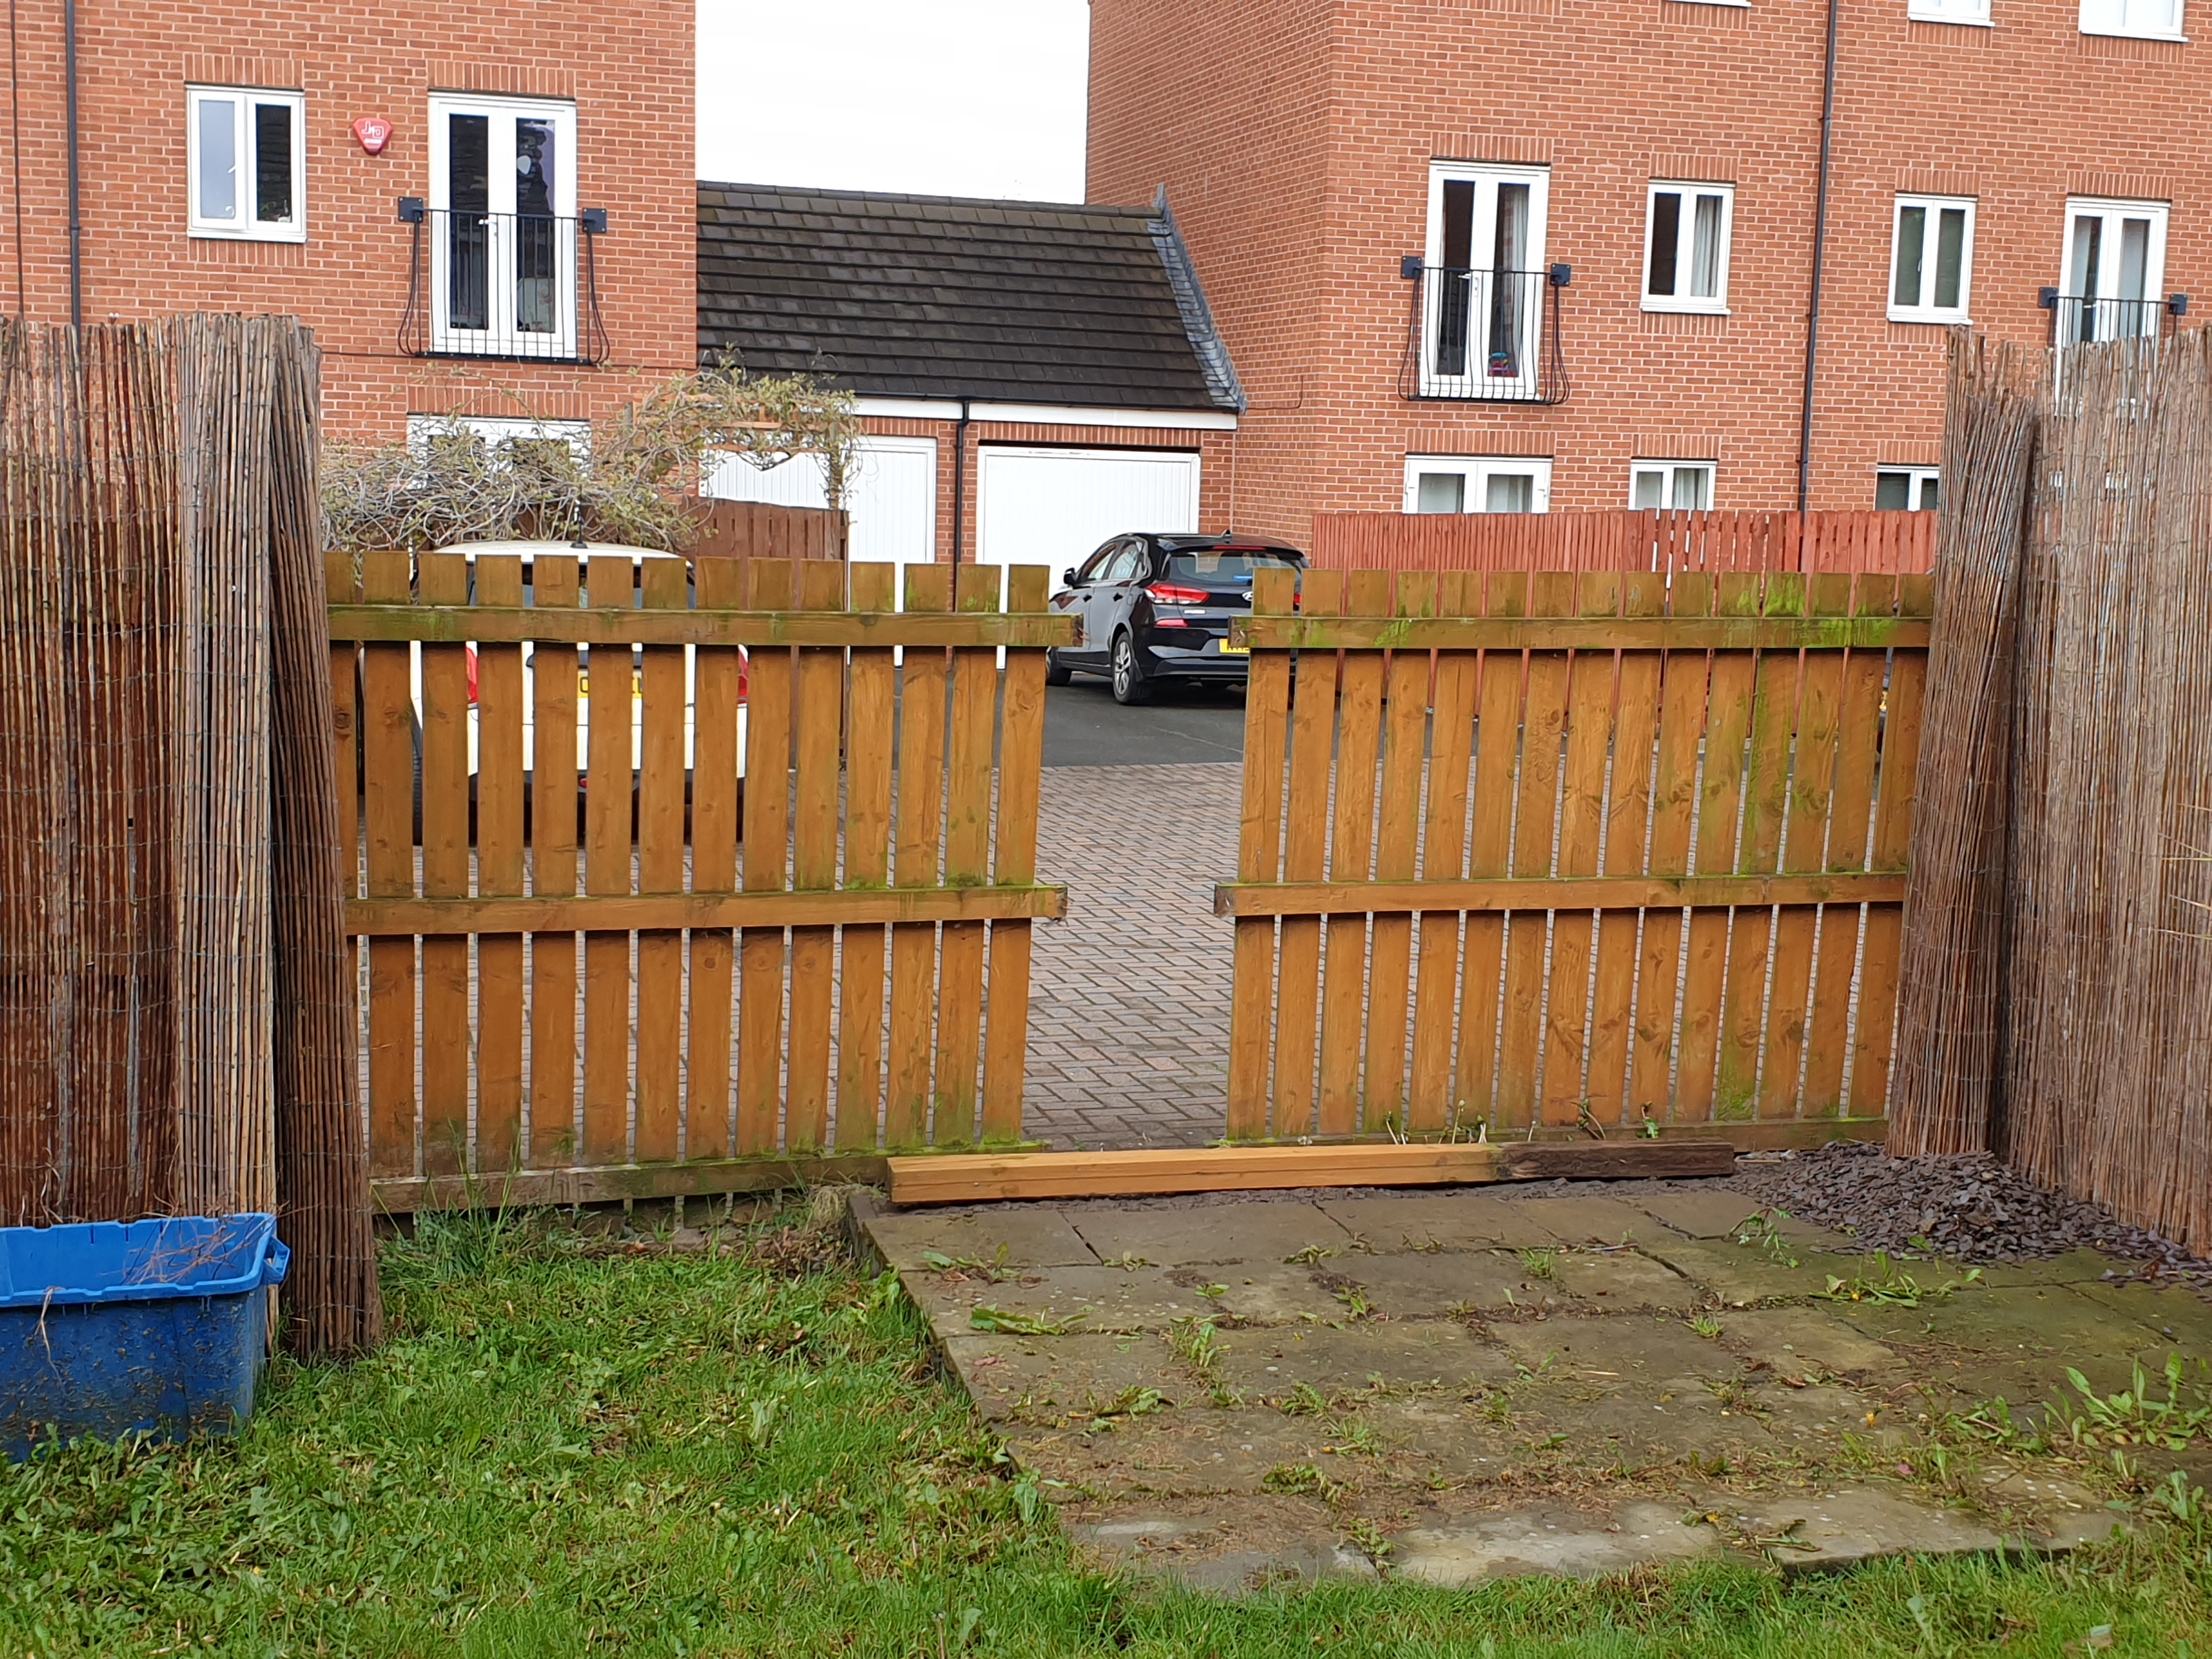
In preparation for delivery I took the fence down to get the car into the garden so I could pull the big awkward parts before putting it in the garage. It also gave me the opportunity to give it a quick wash and get most of the plant-life out.
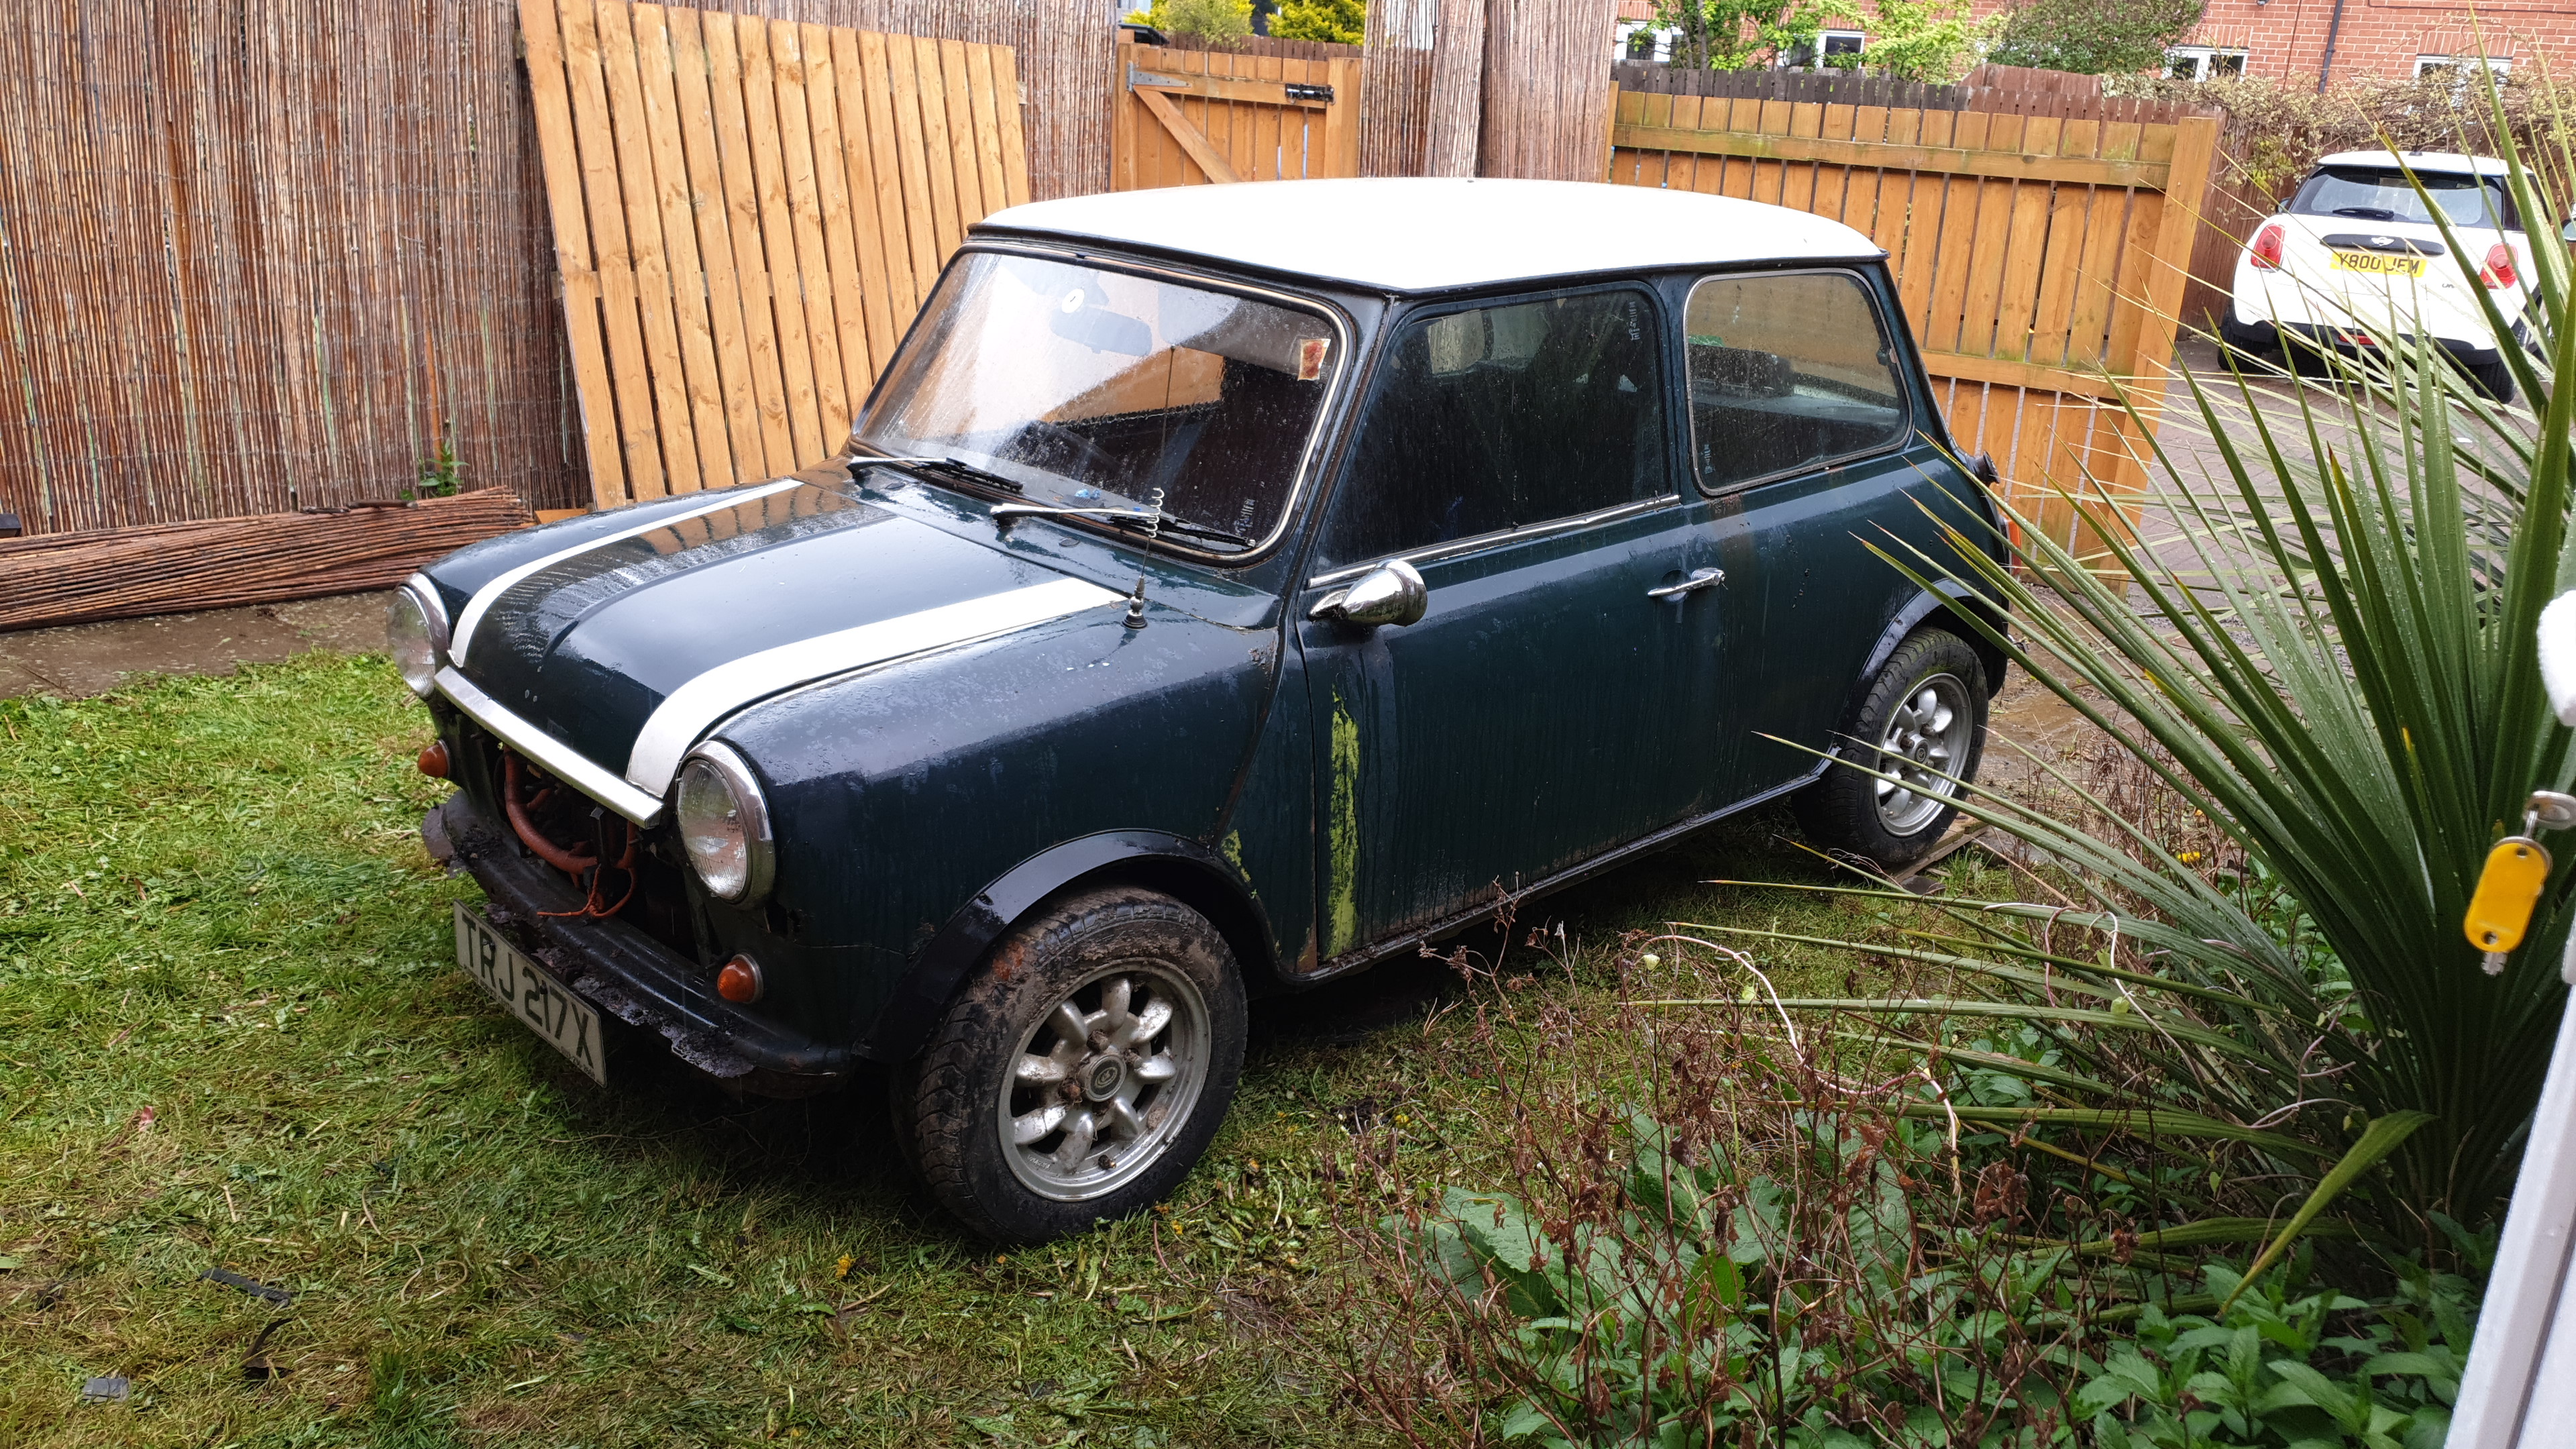
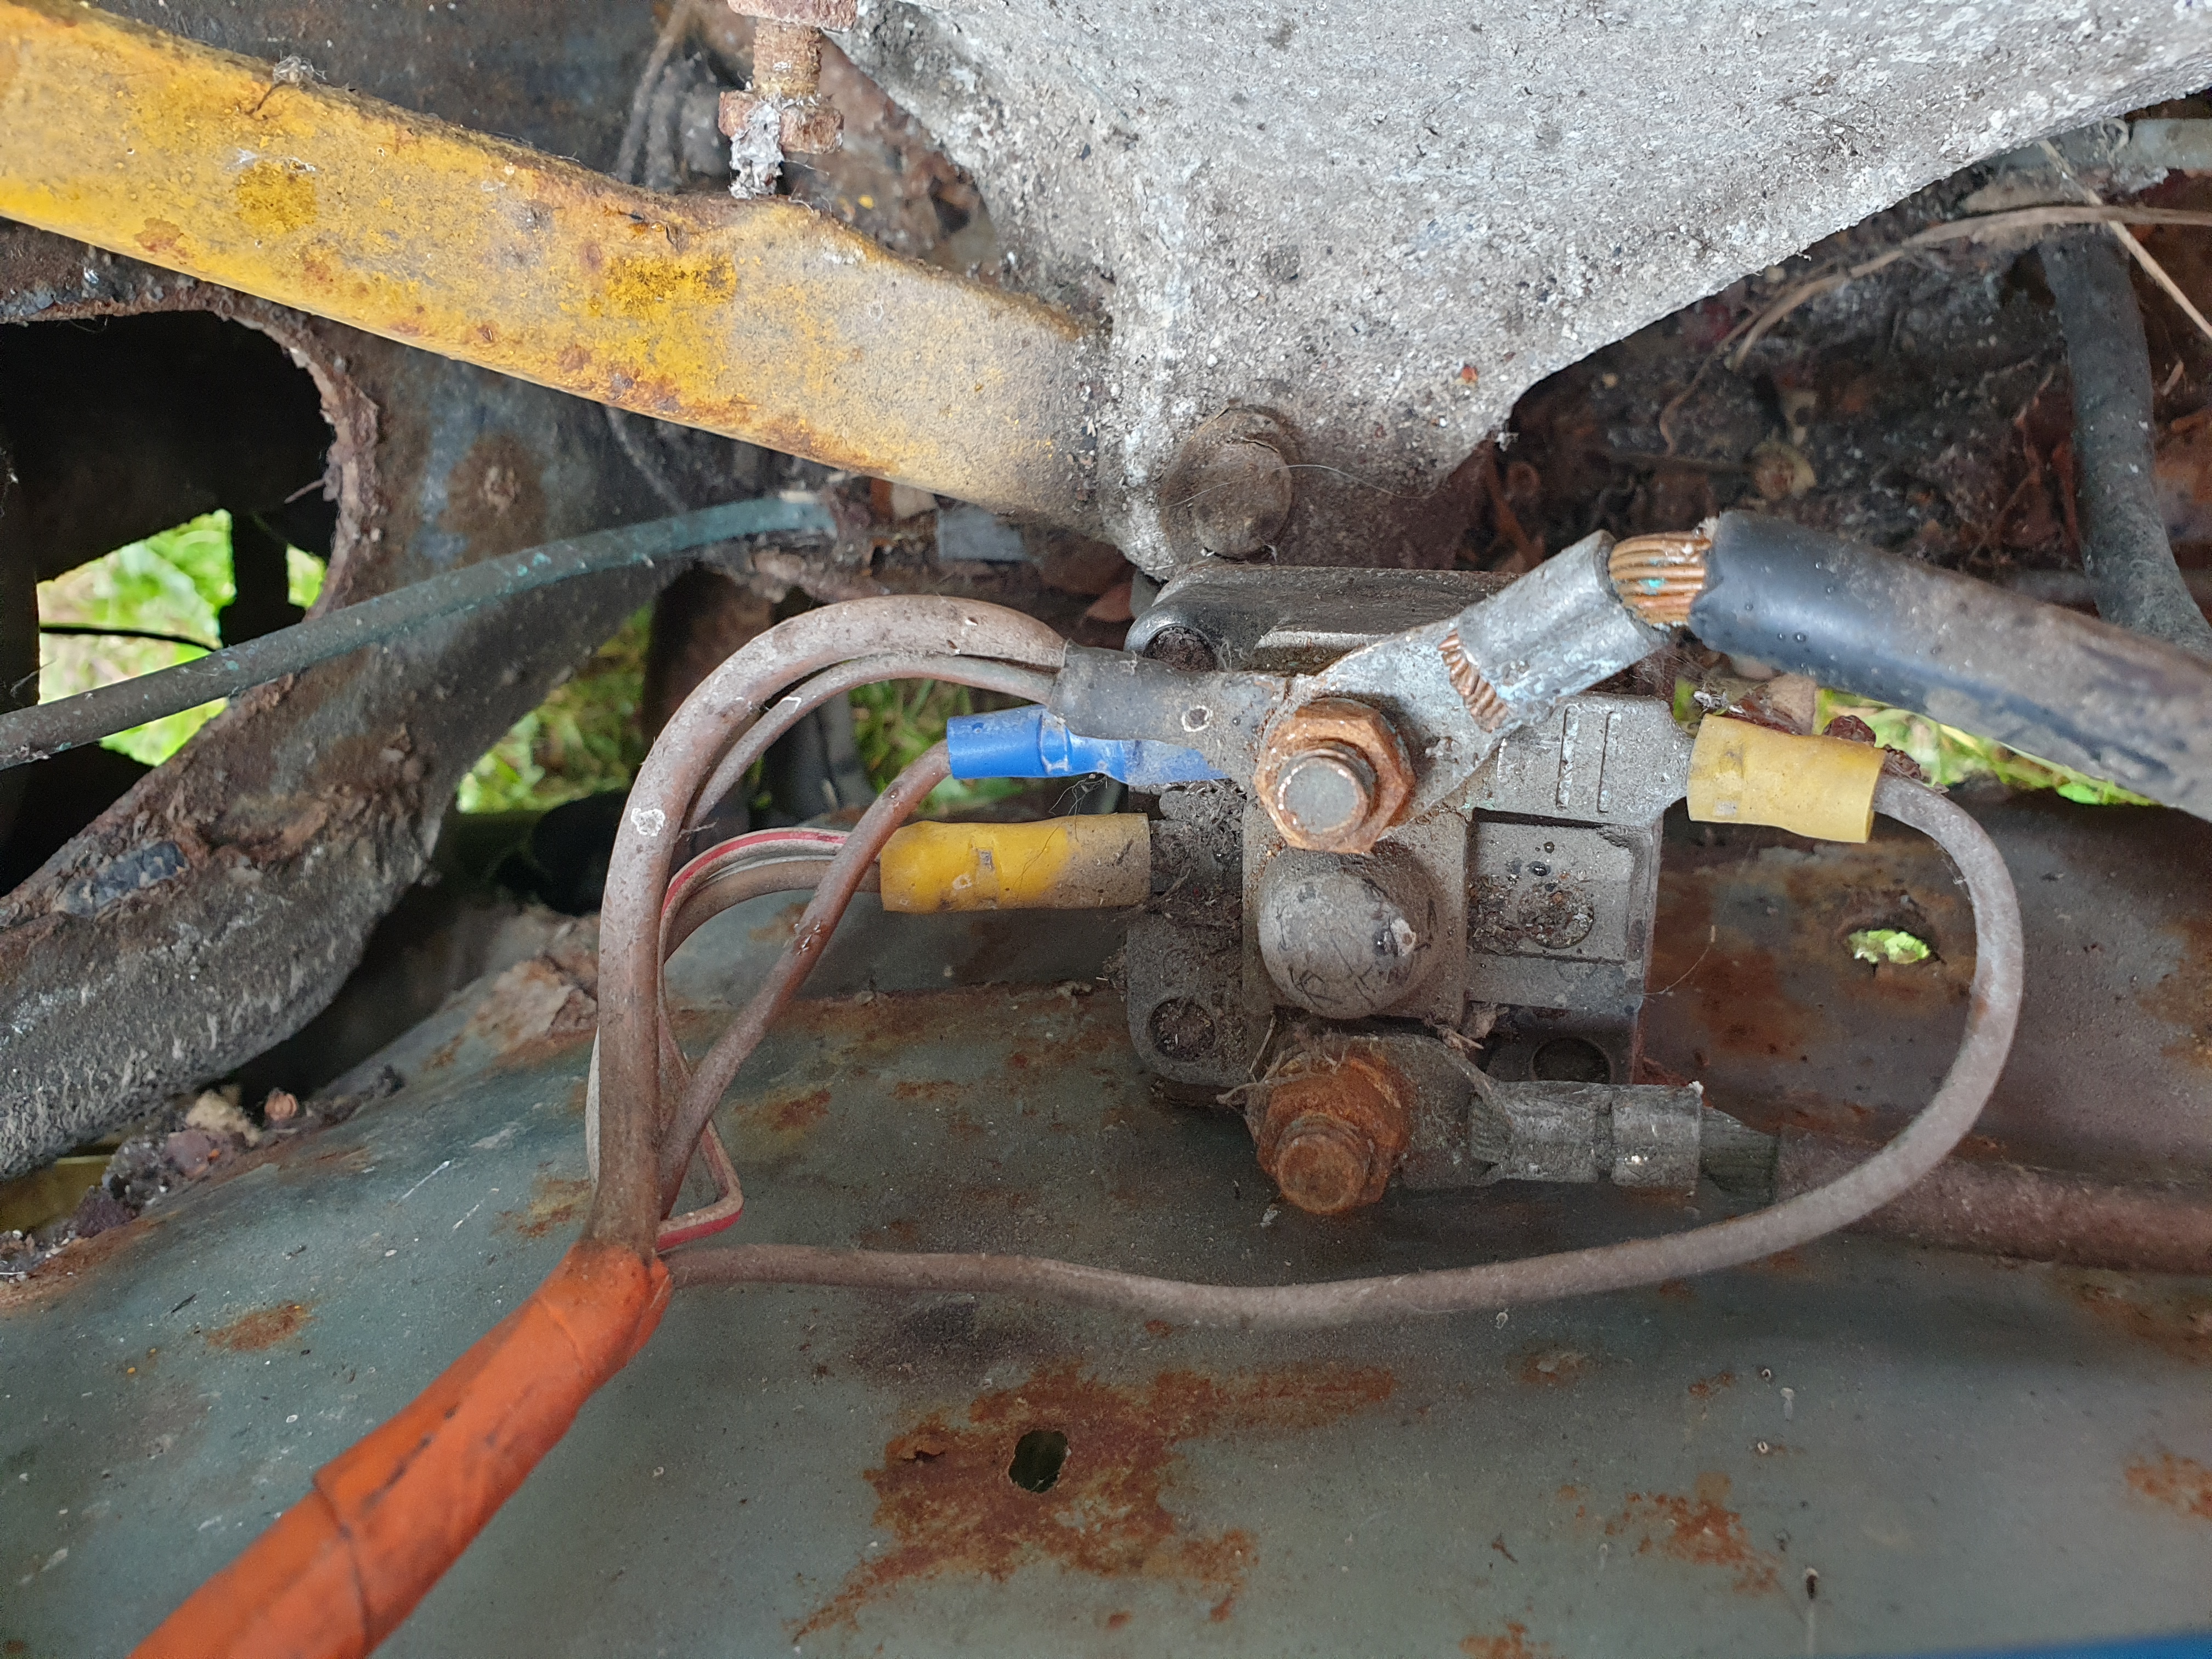
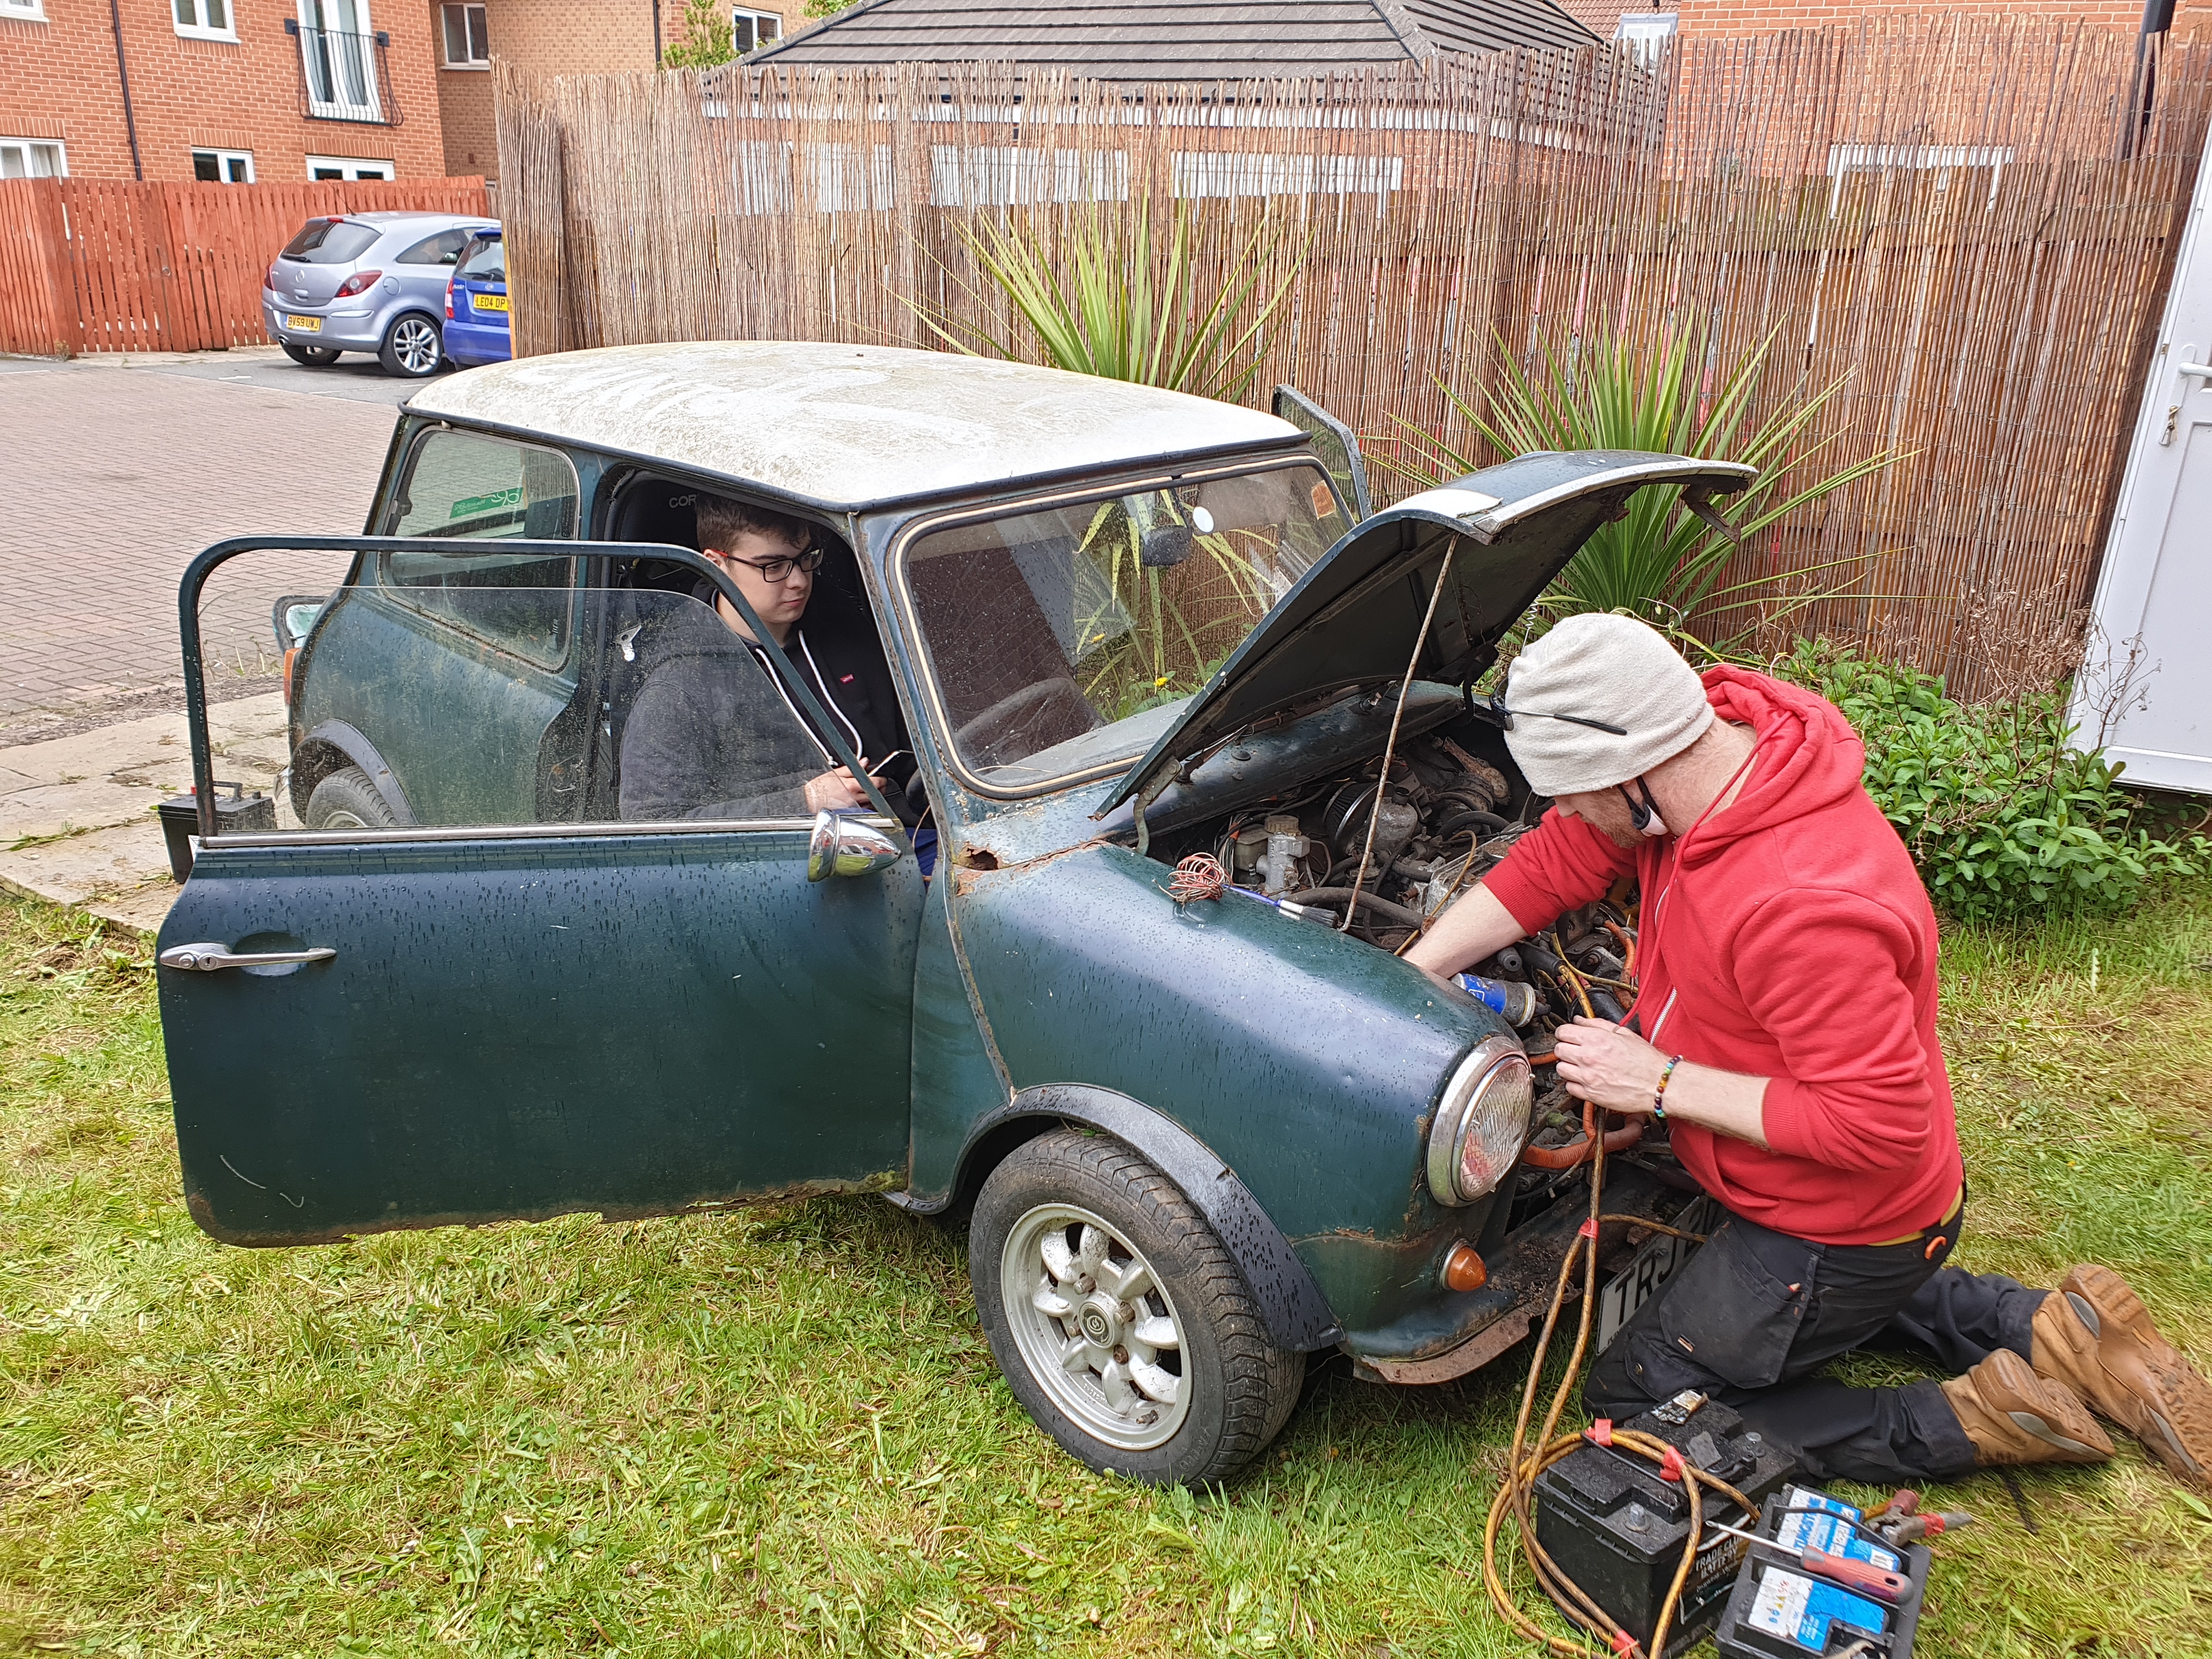
The Mini was delivered on a flatbed van, and dropped off with skates under the wheels as the rear drum brakes were seized. With the help of a couple of friends, we got the car into the garden and started inspecting what I'd bought, getting a good look at the side that had been up against the fence; thankfully it was no worse than the rest. We attempted to start the engine as it still had oil, but got no spark and gave up before causing damage.
 |
 |
 |
 |
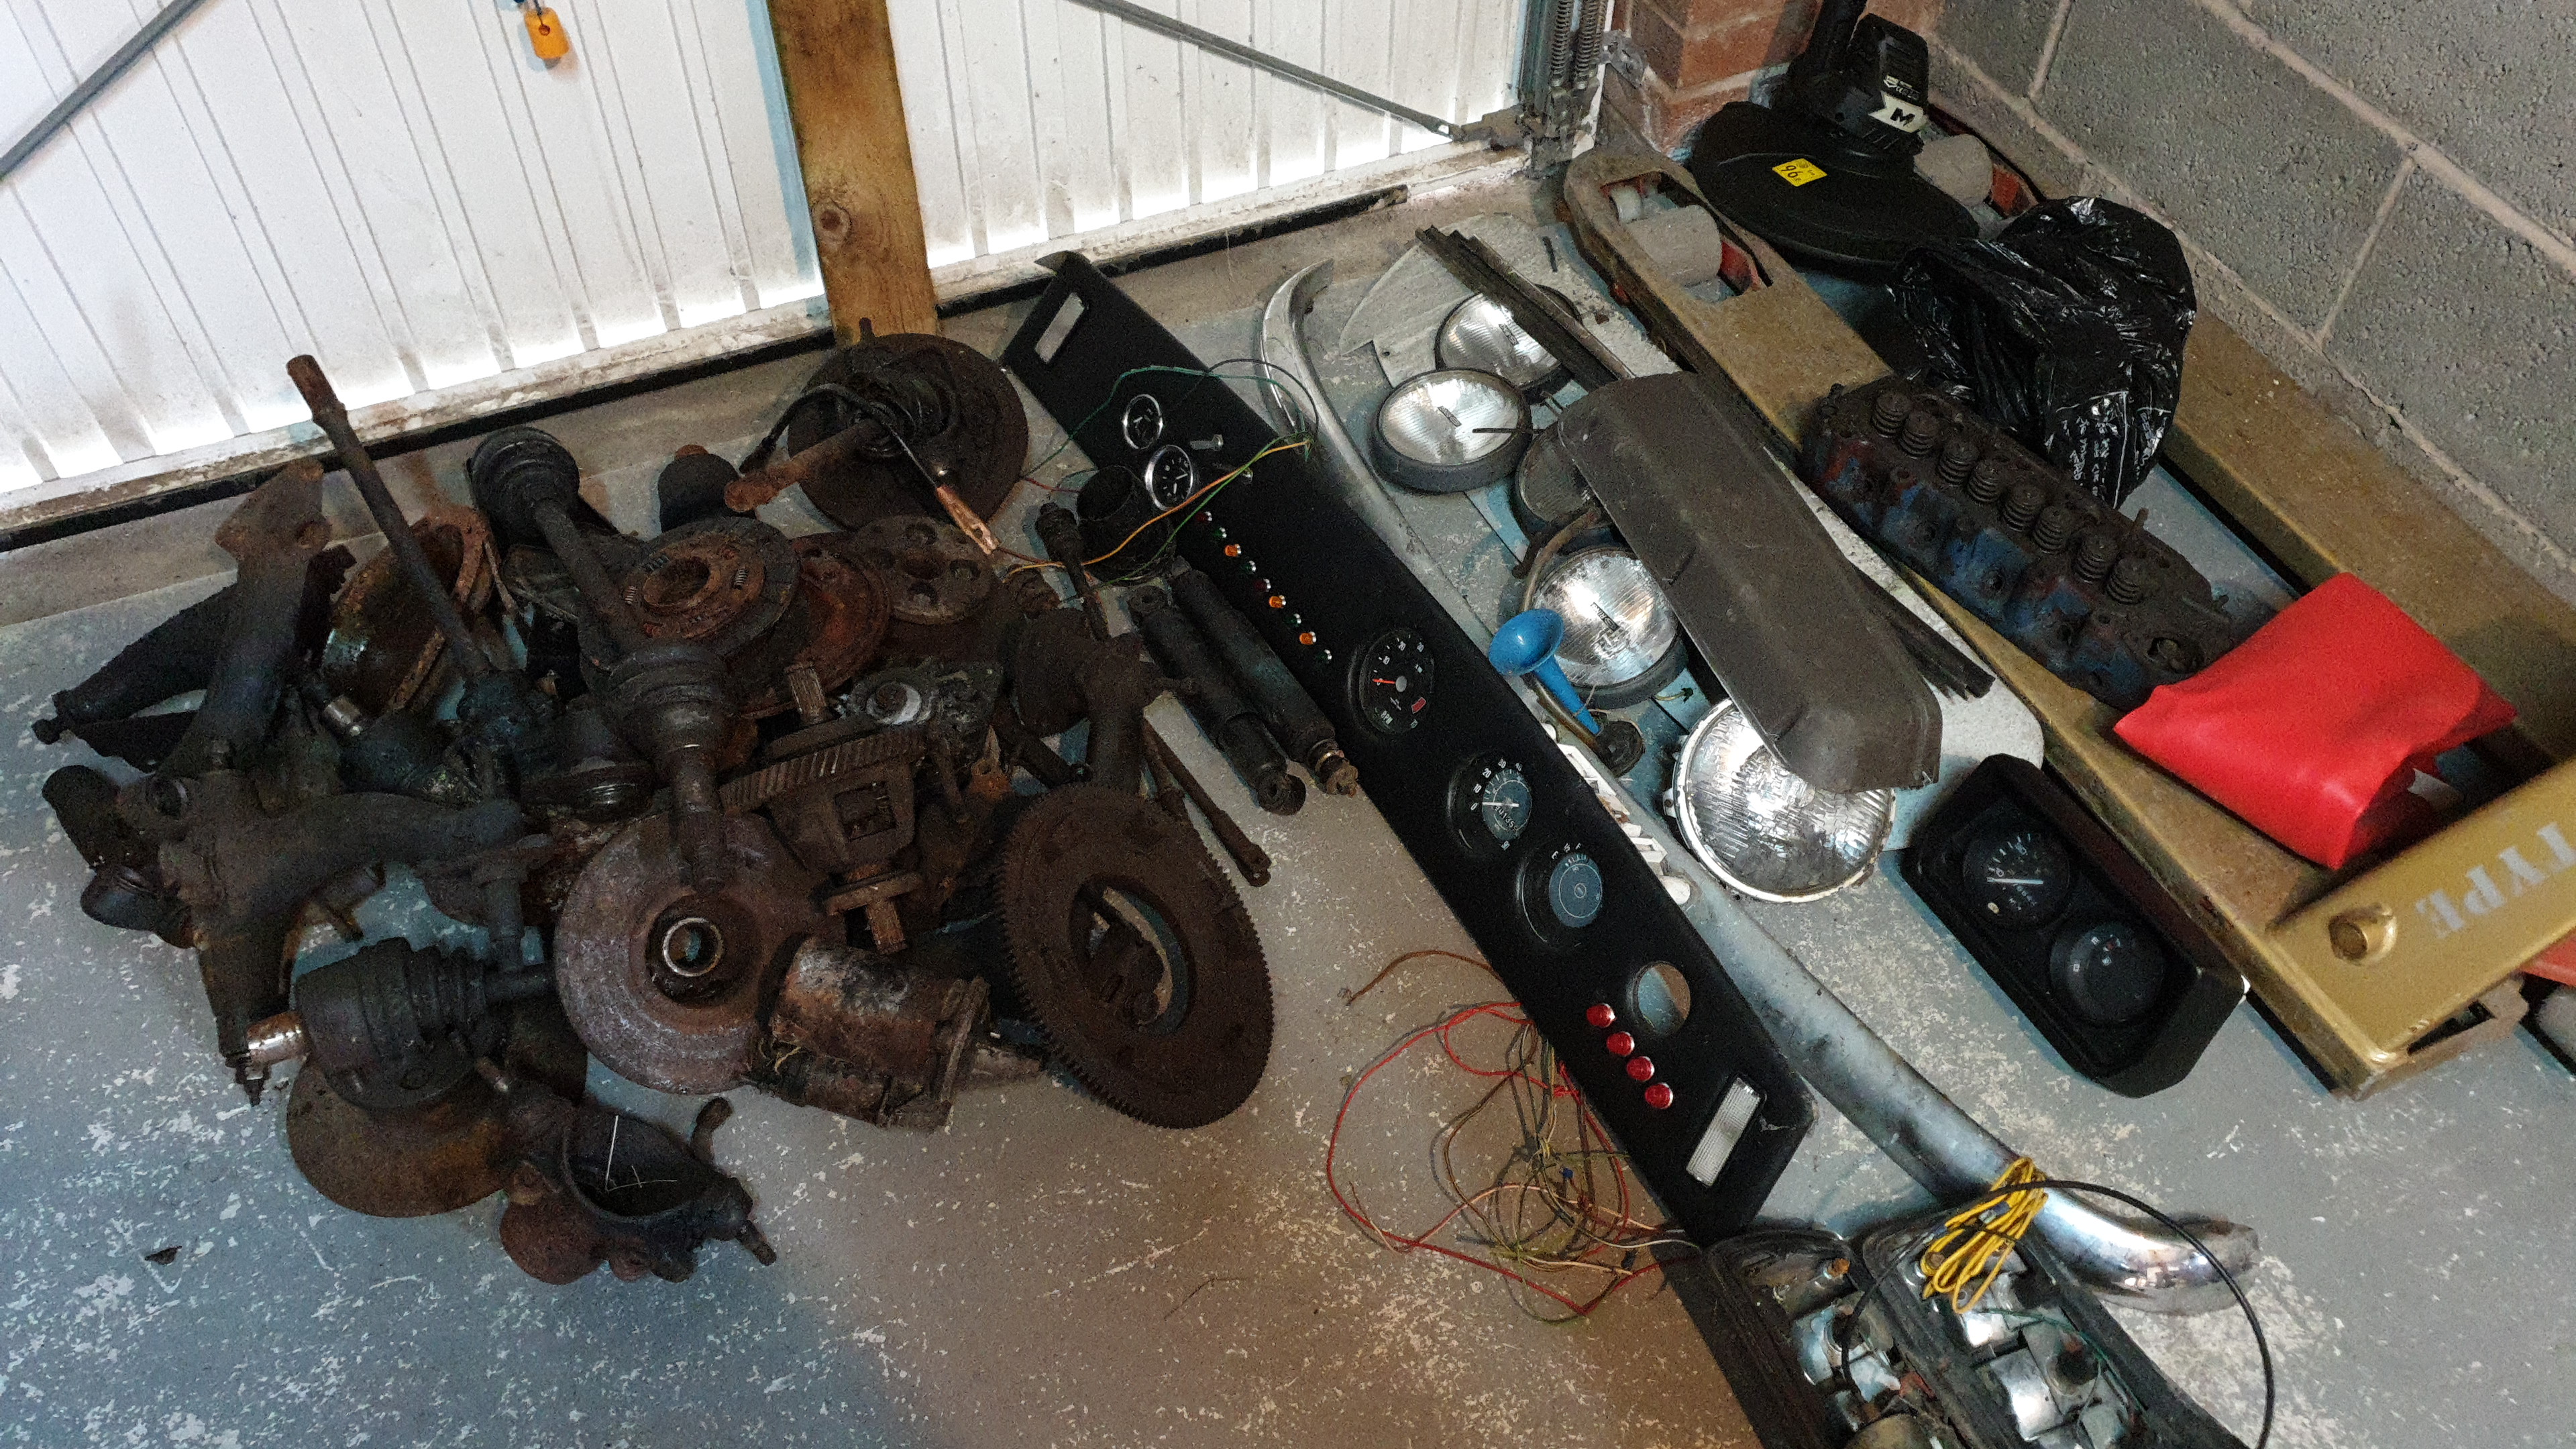 |
| Taking the fence down | Freshly delivered | Signs of things to come | Friends helping out and trying to start it | Assorted spares |
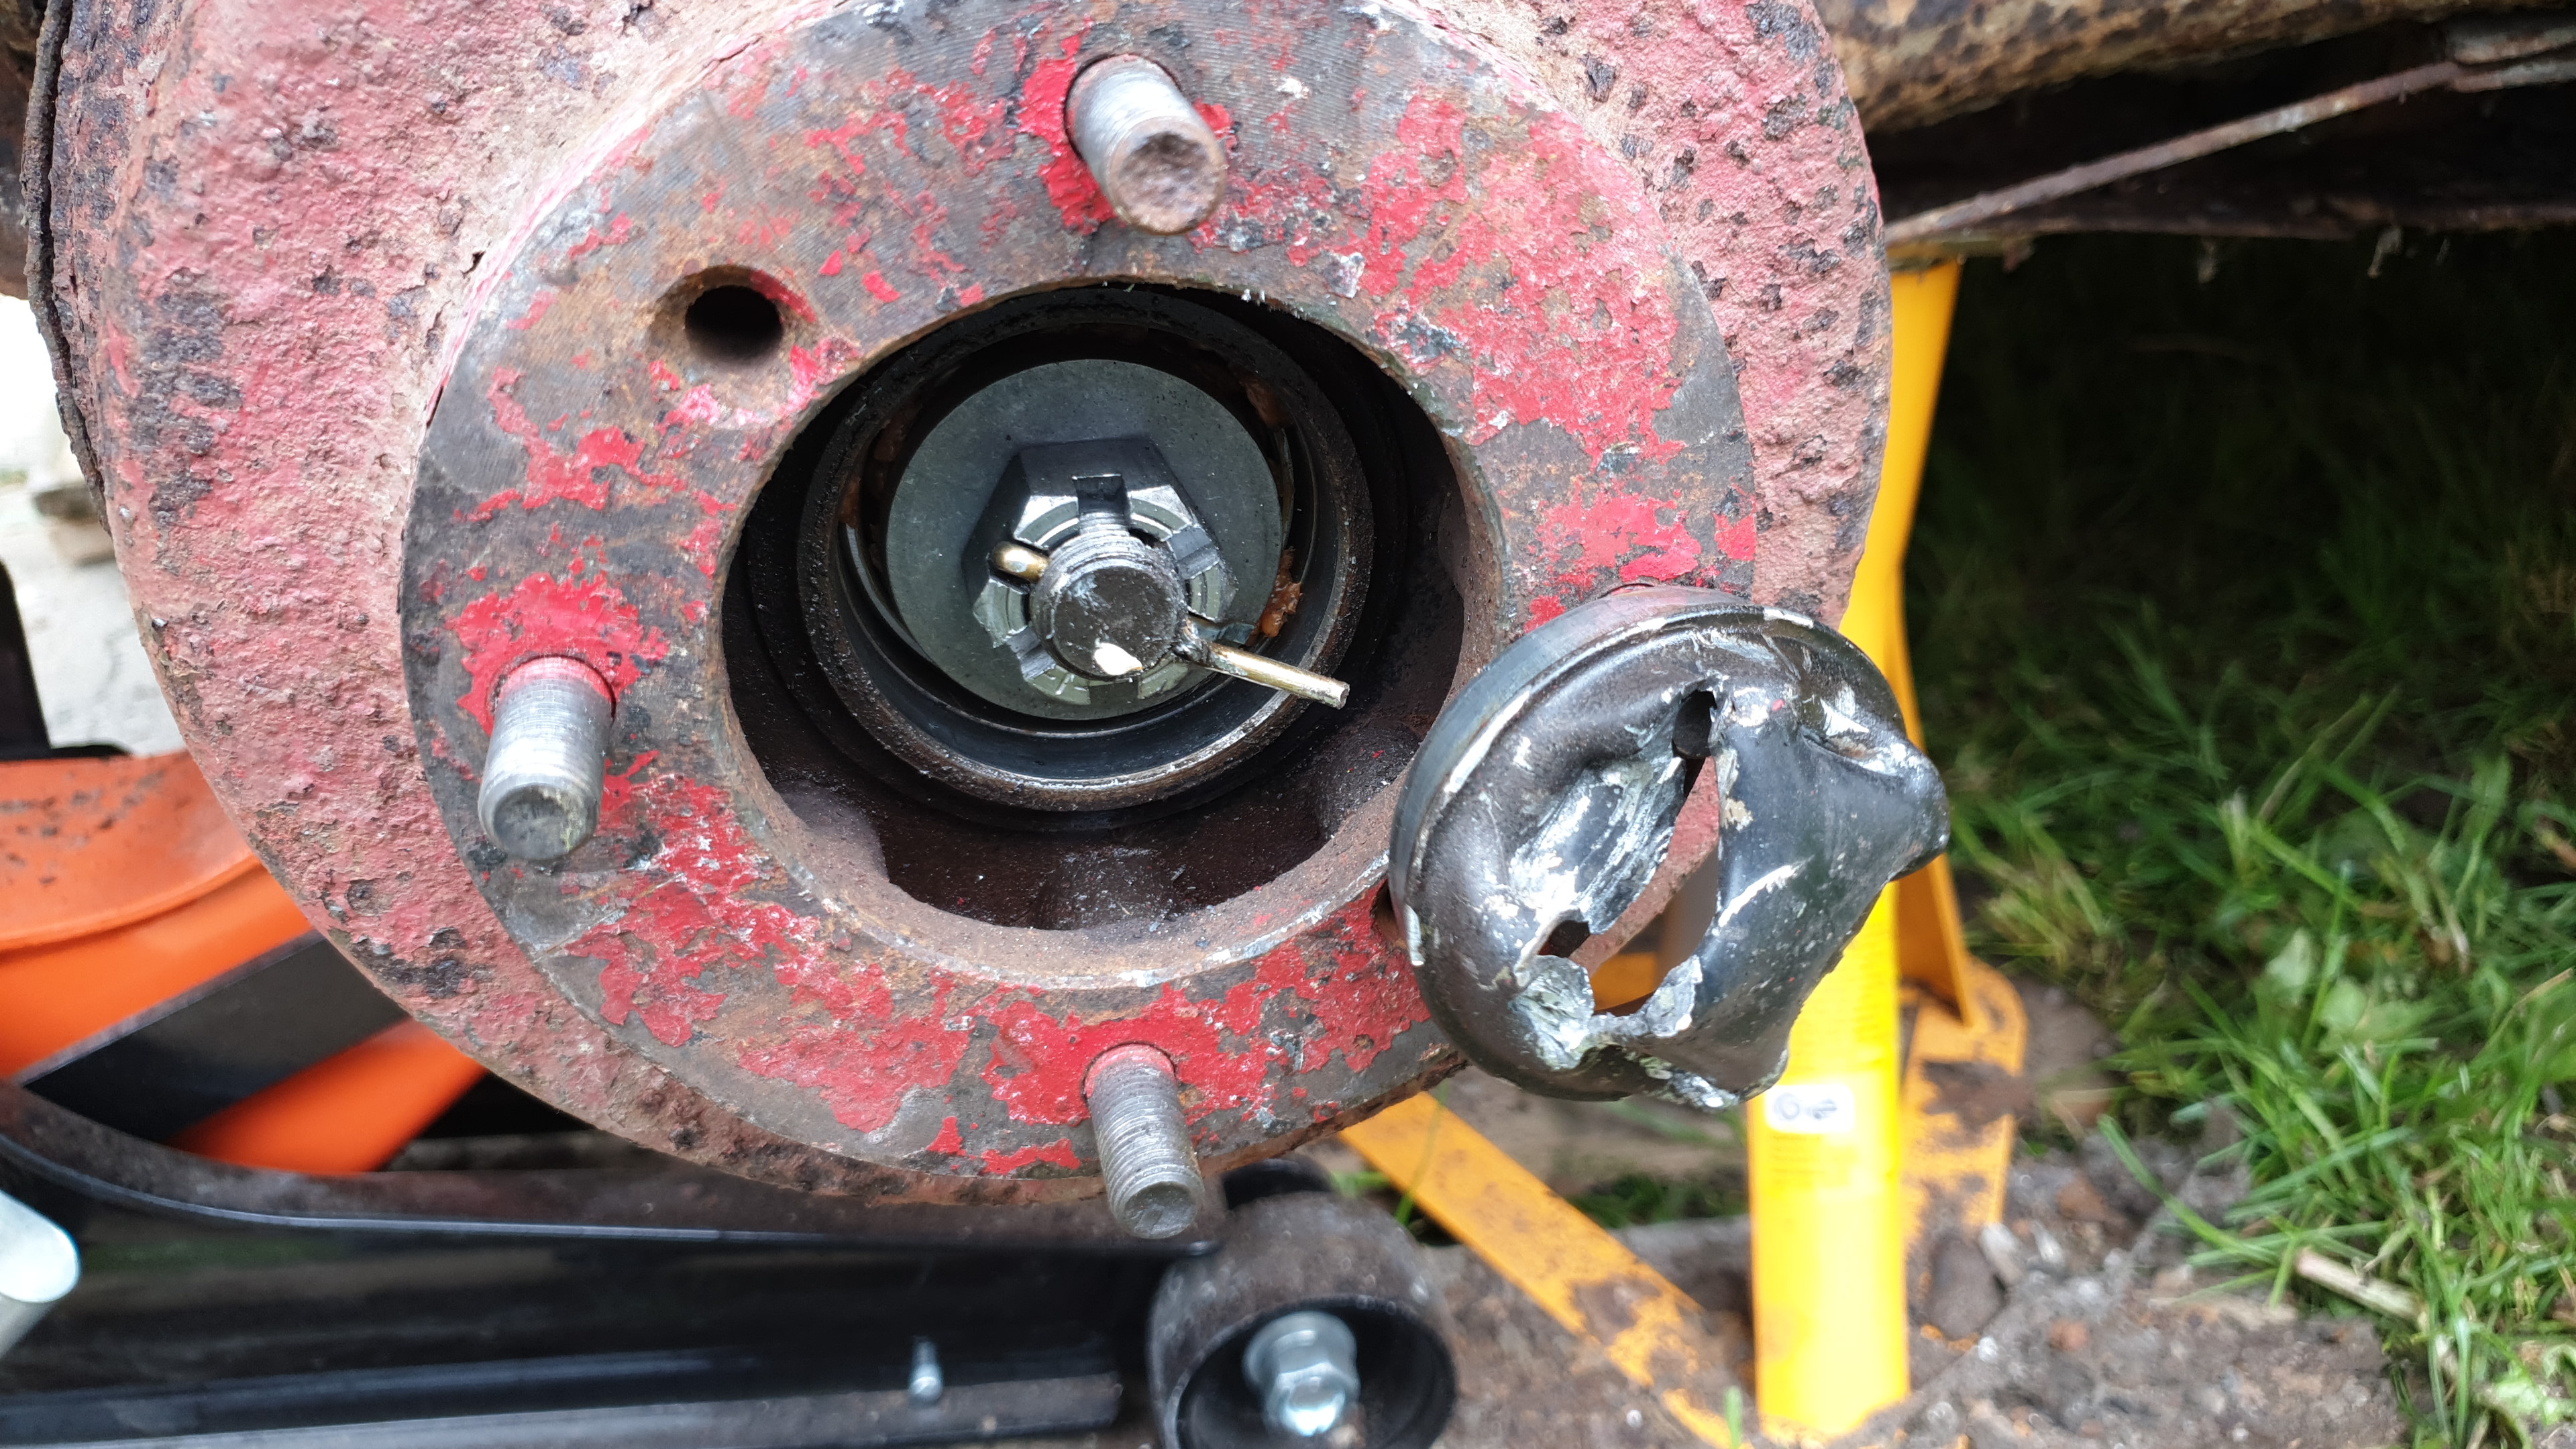
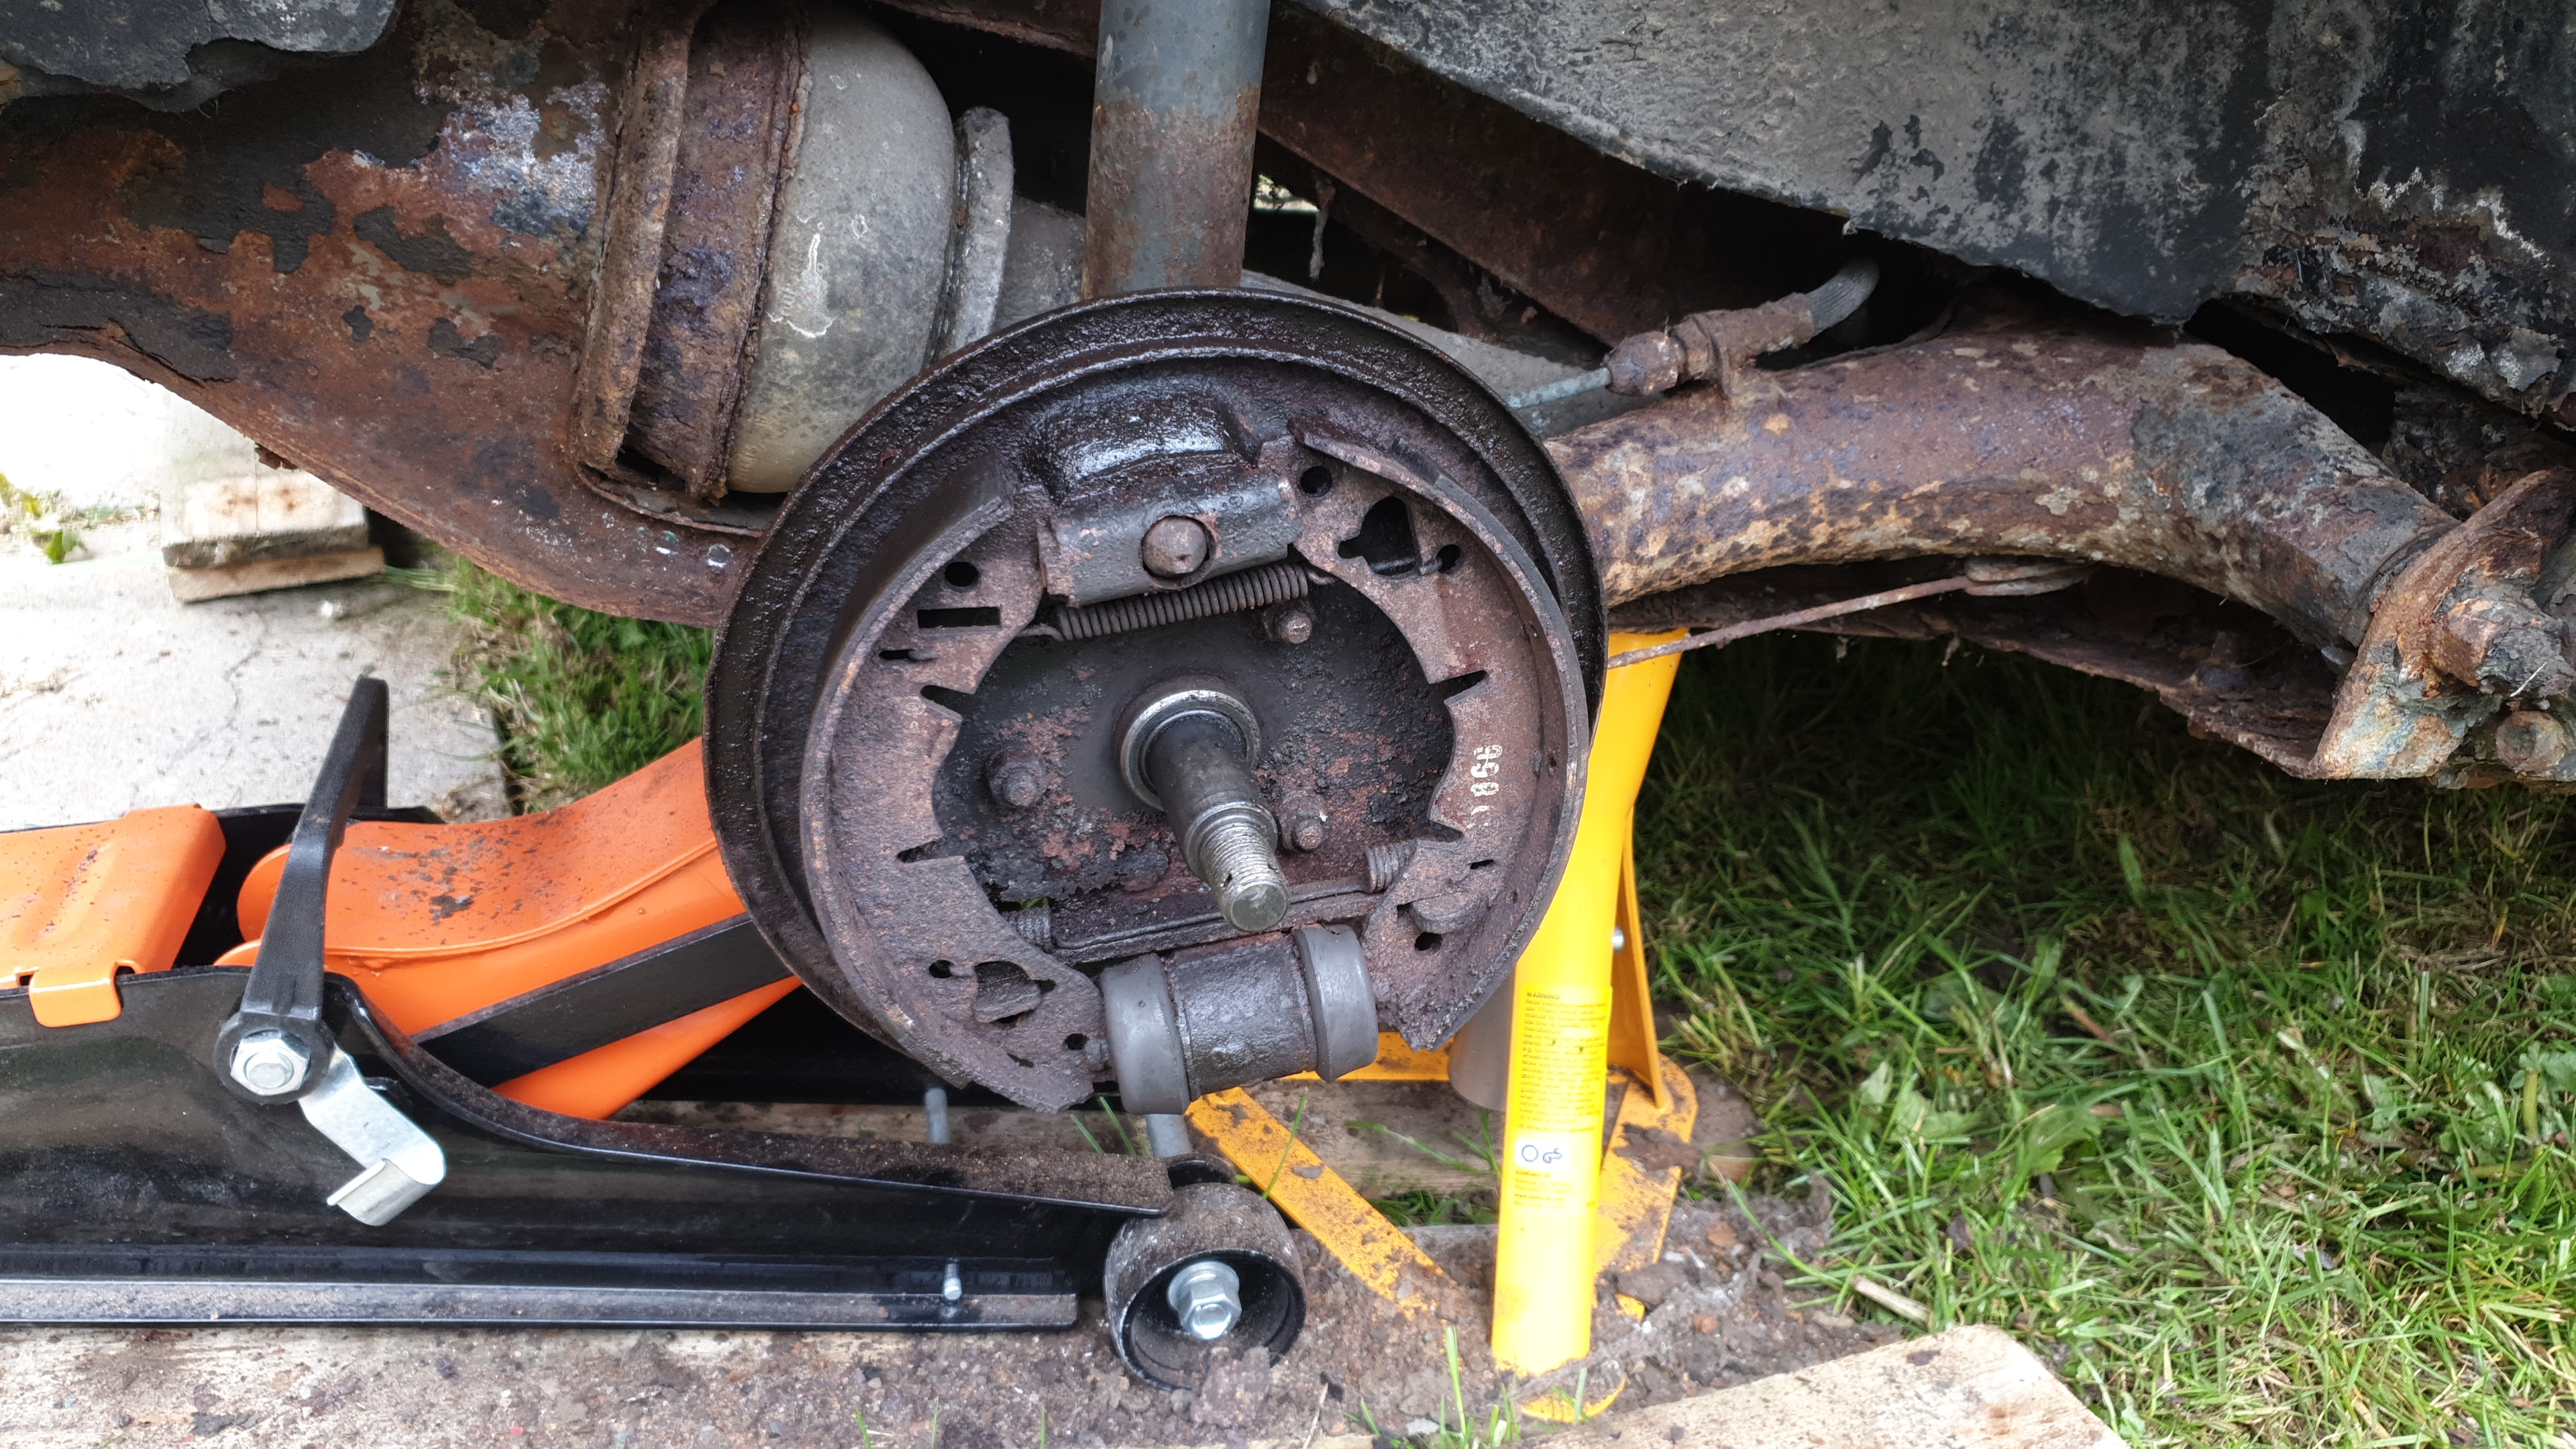
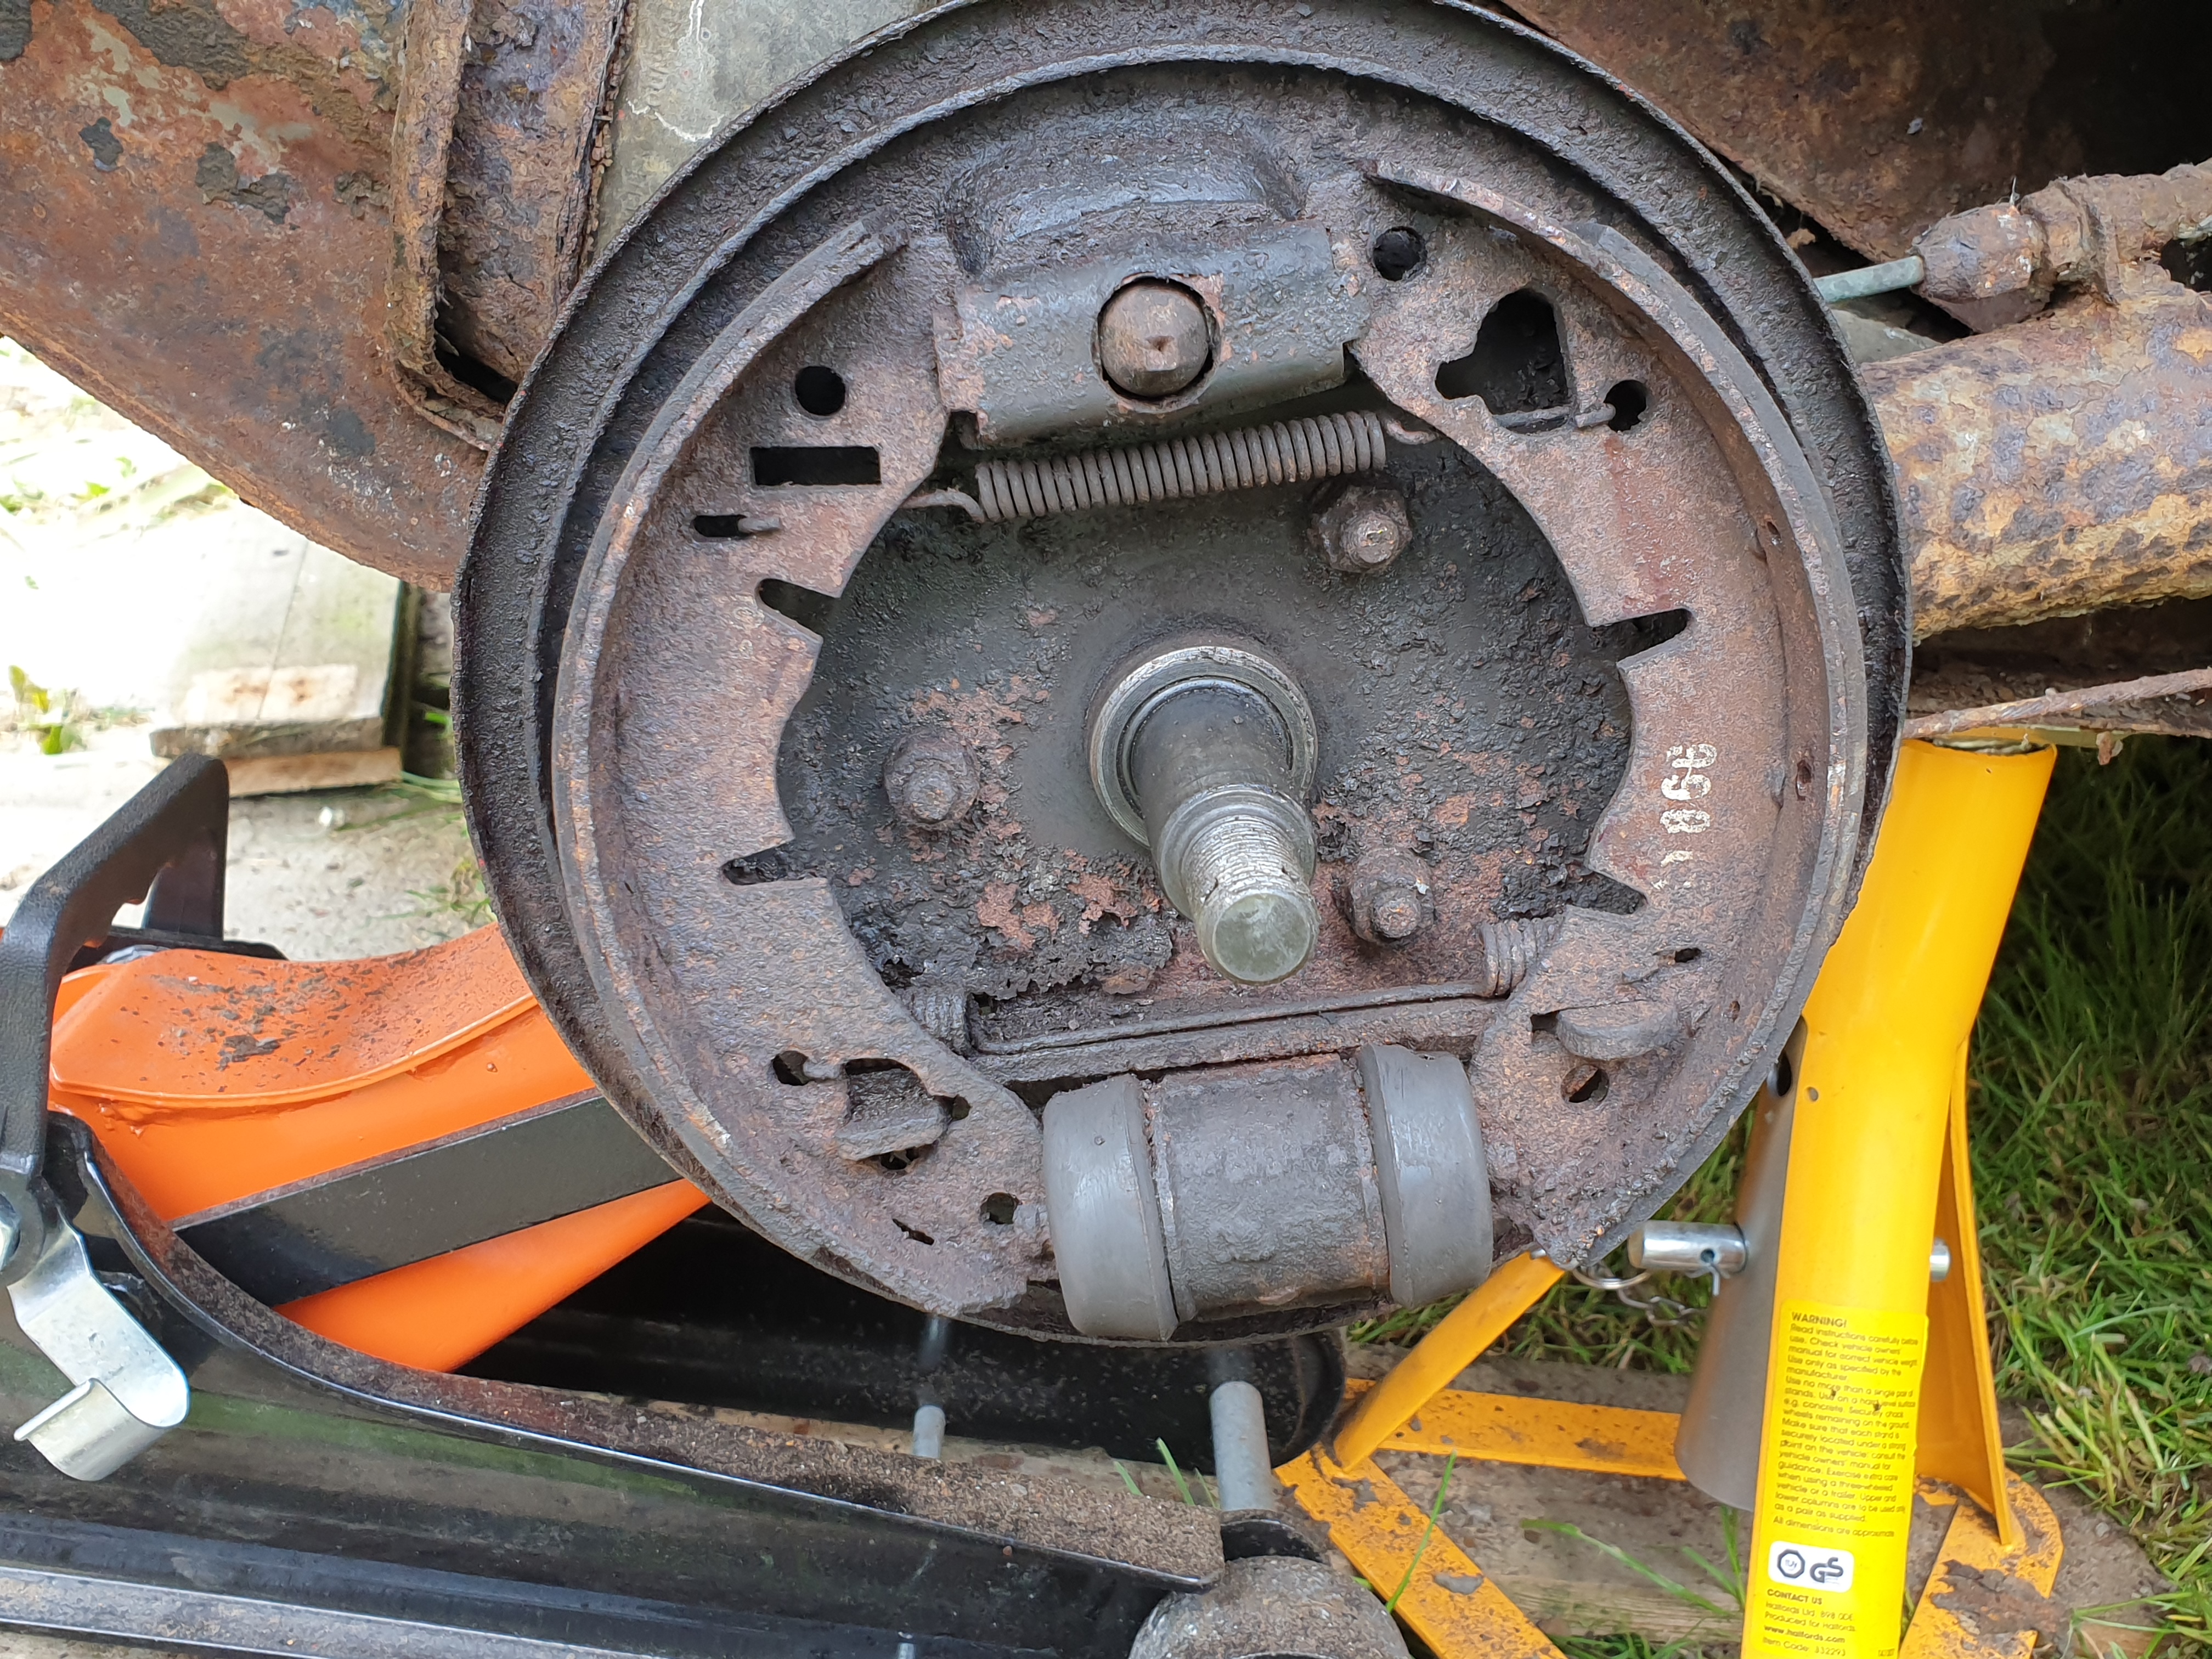
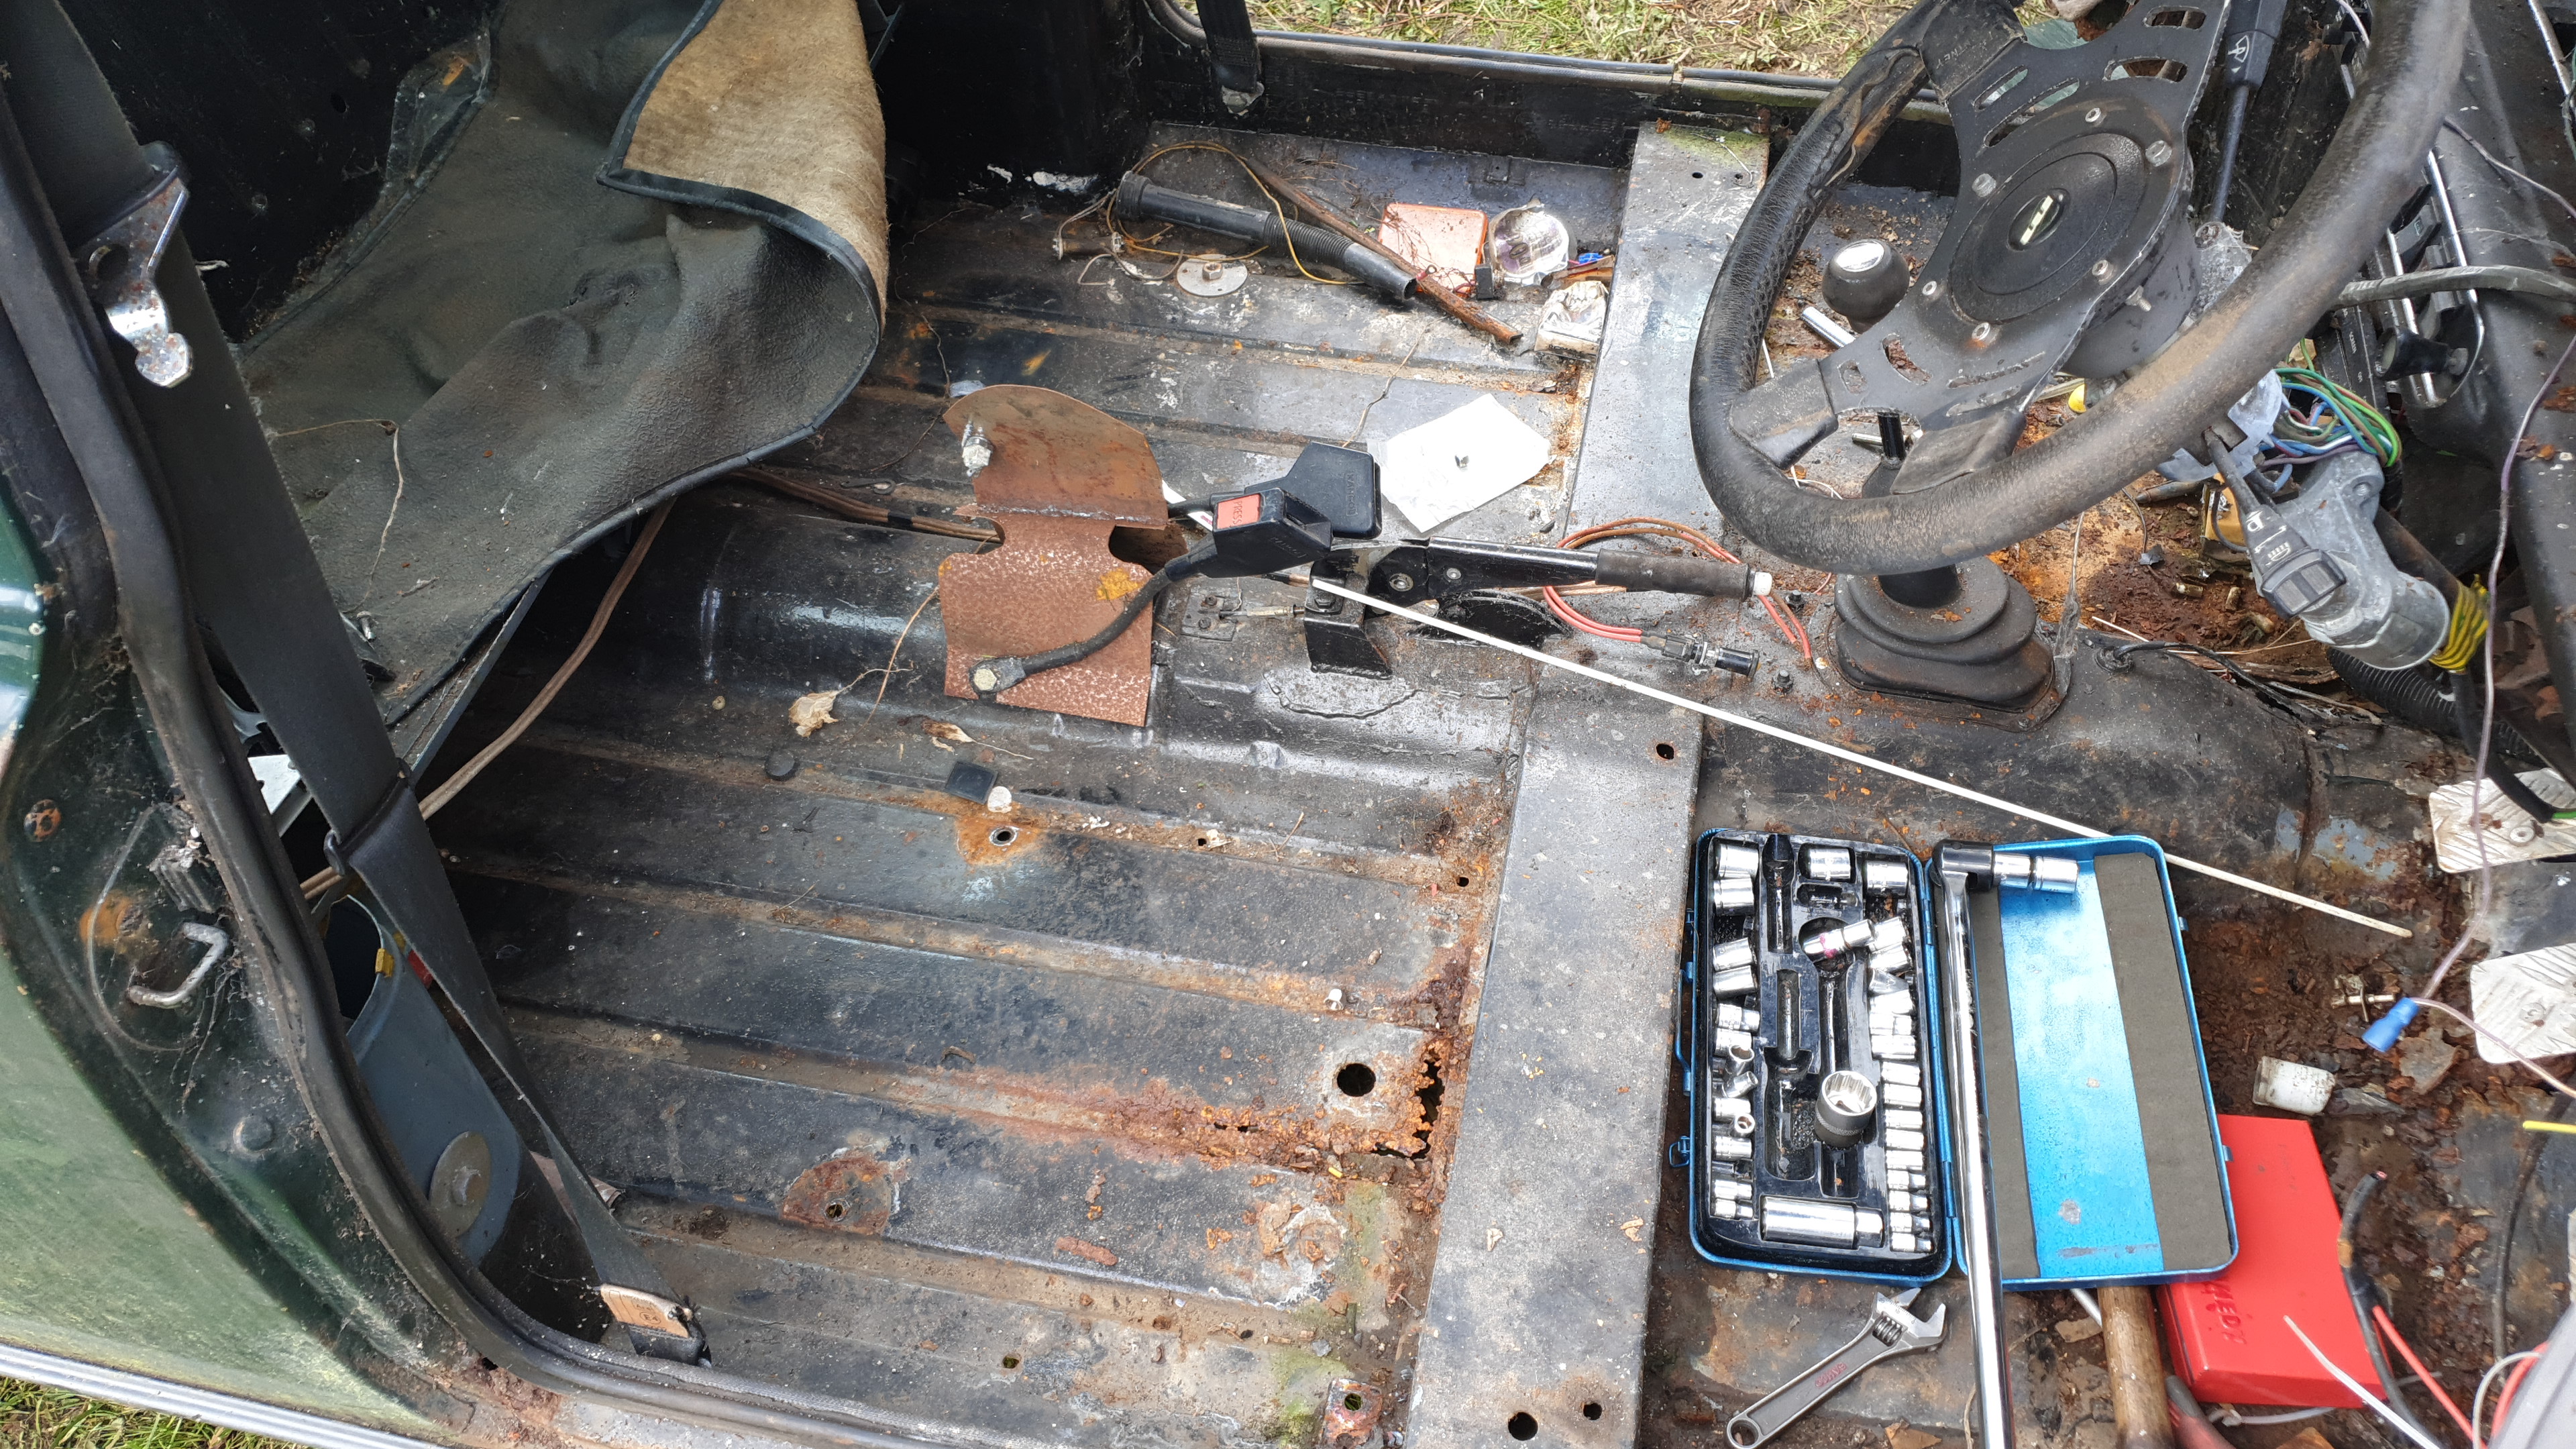
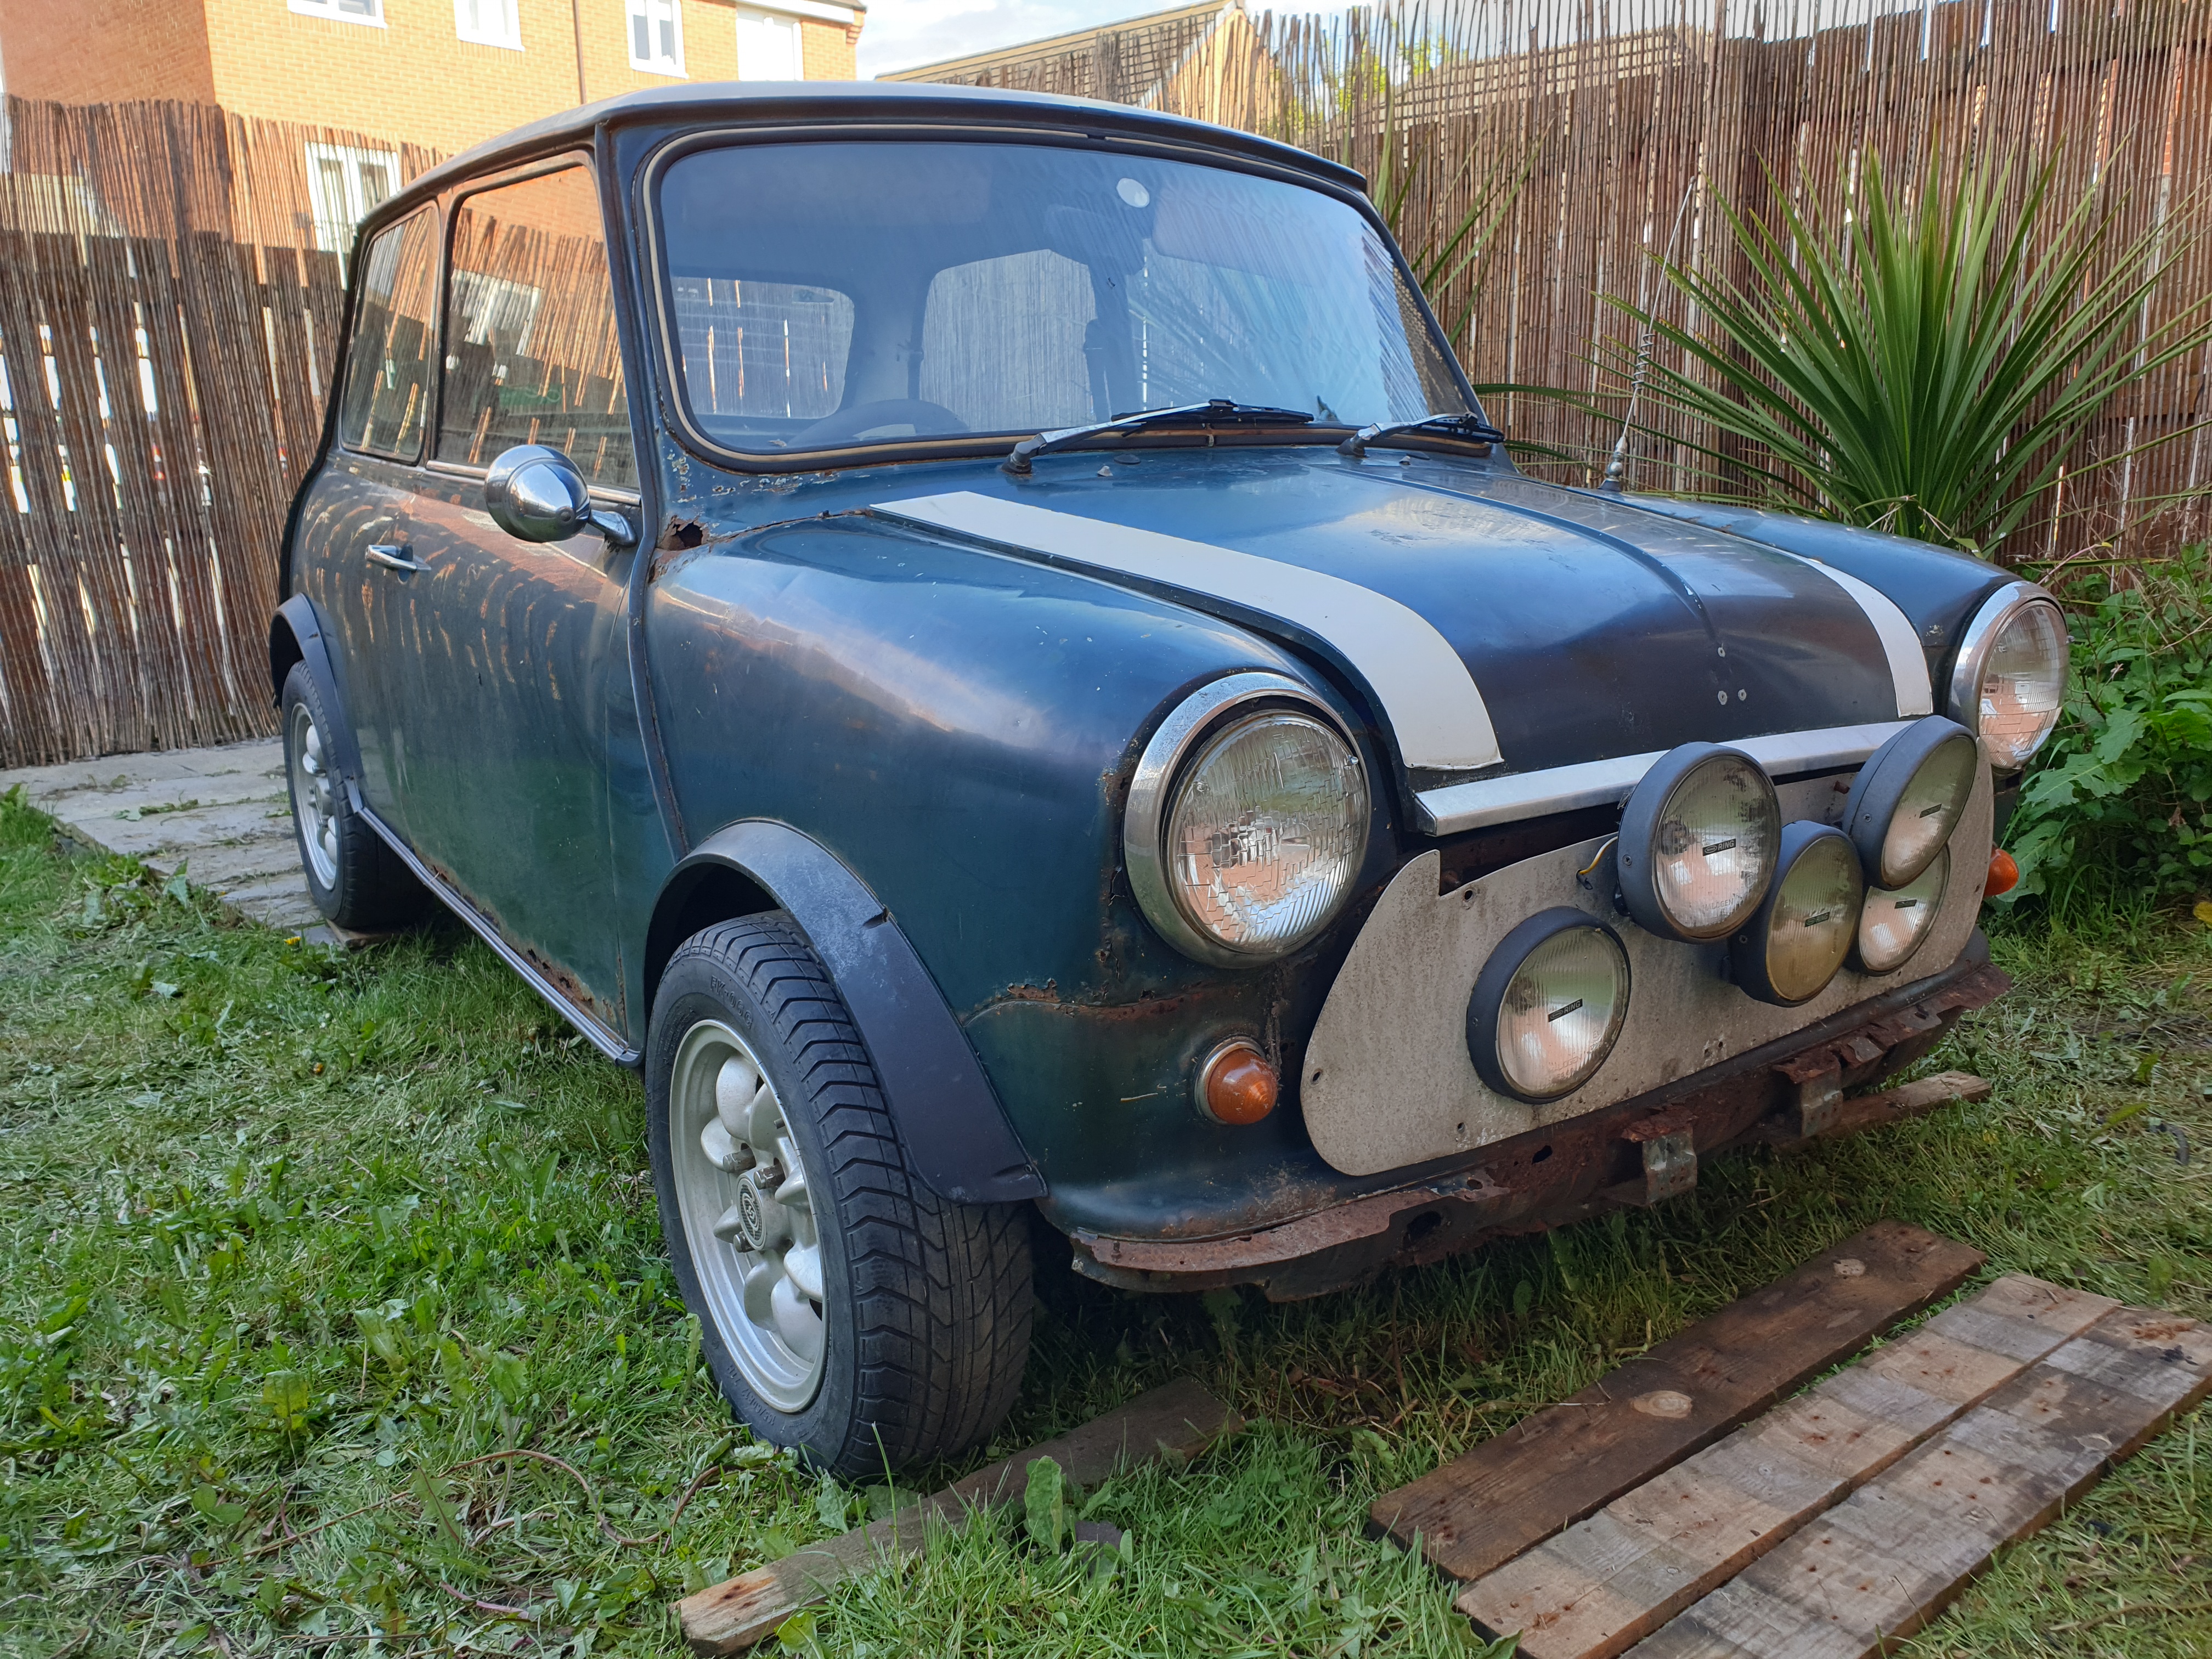
The garage had been cleared and rearranged to fit the mini, and I spent a day removing the pile of extras, rubbish and large items like the seats. I would need to push the car to the garage, so needed it to roll. After fighting to get the wheels off - I didn't have the locking wheel nut key - I then had to fight with the spindle caps, eventually resorting to stabbing a screwdriver through them to lever off. The mechanics of the drums was quite rusty and difficult to move, so I simply removed the shoes and put everything back together.
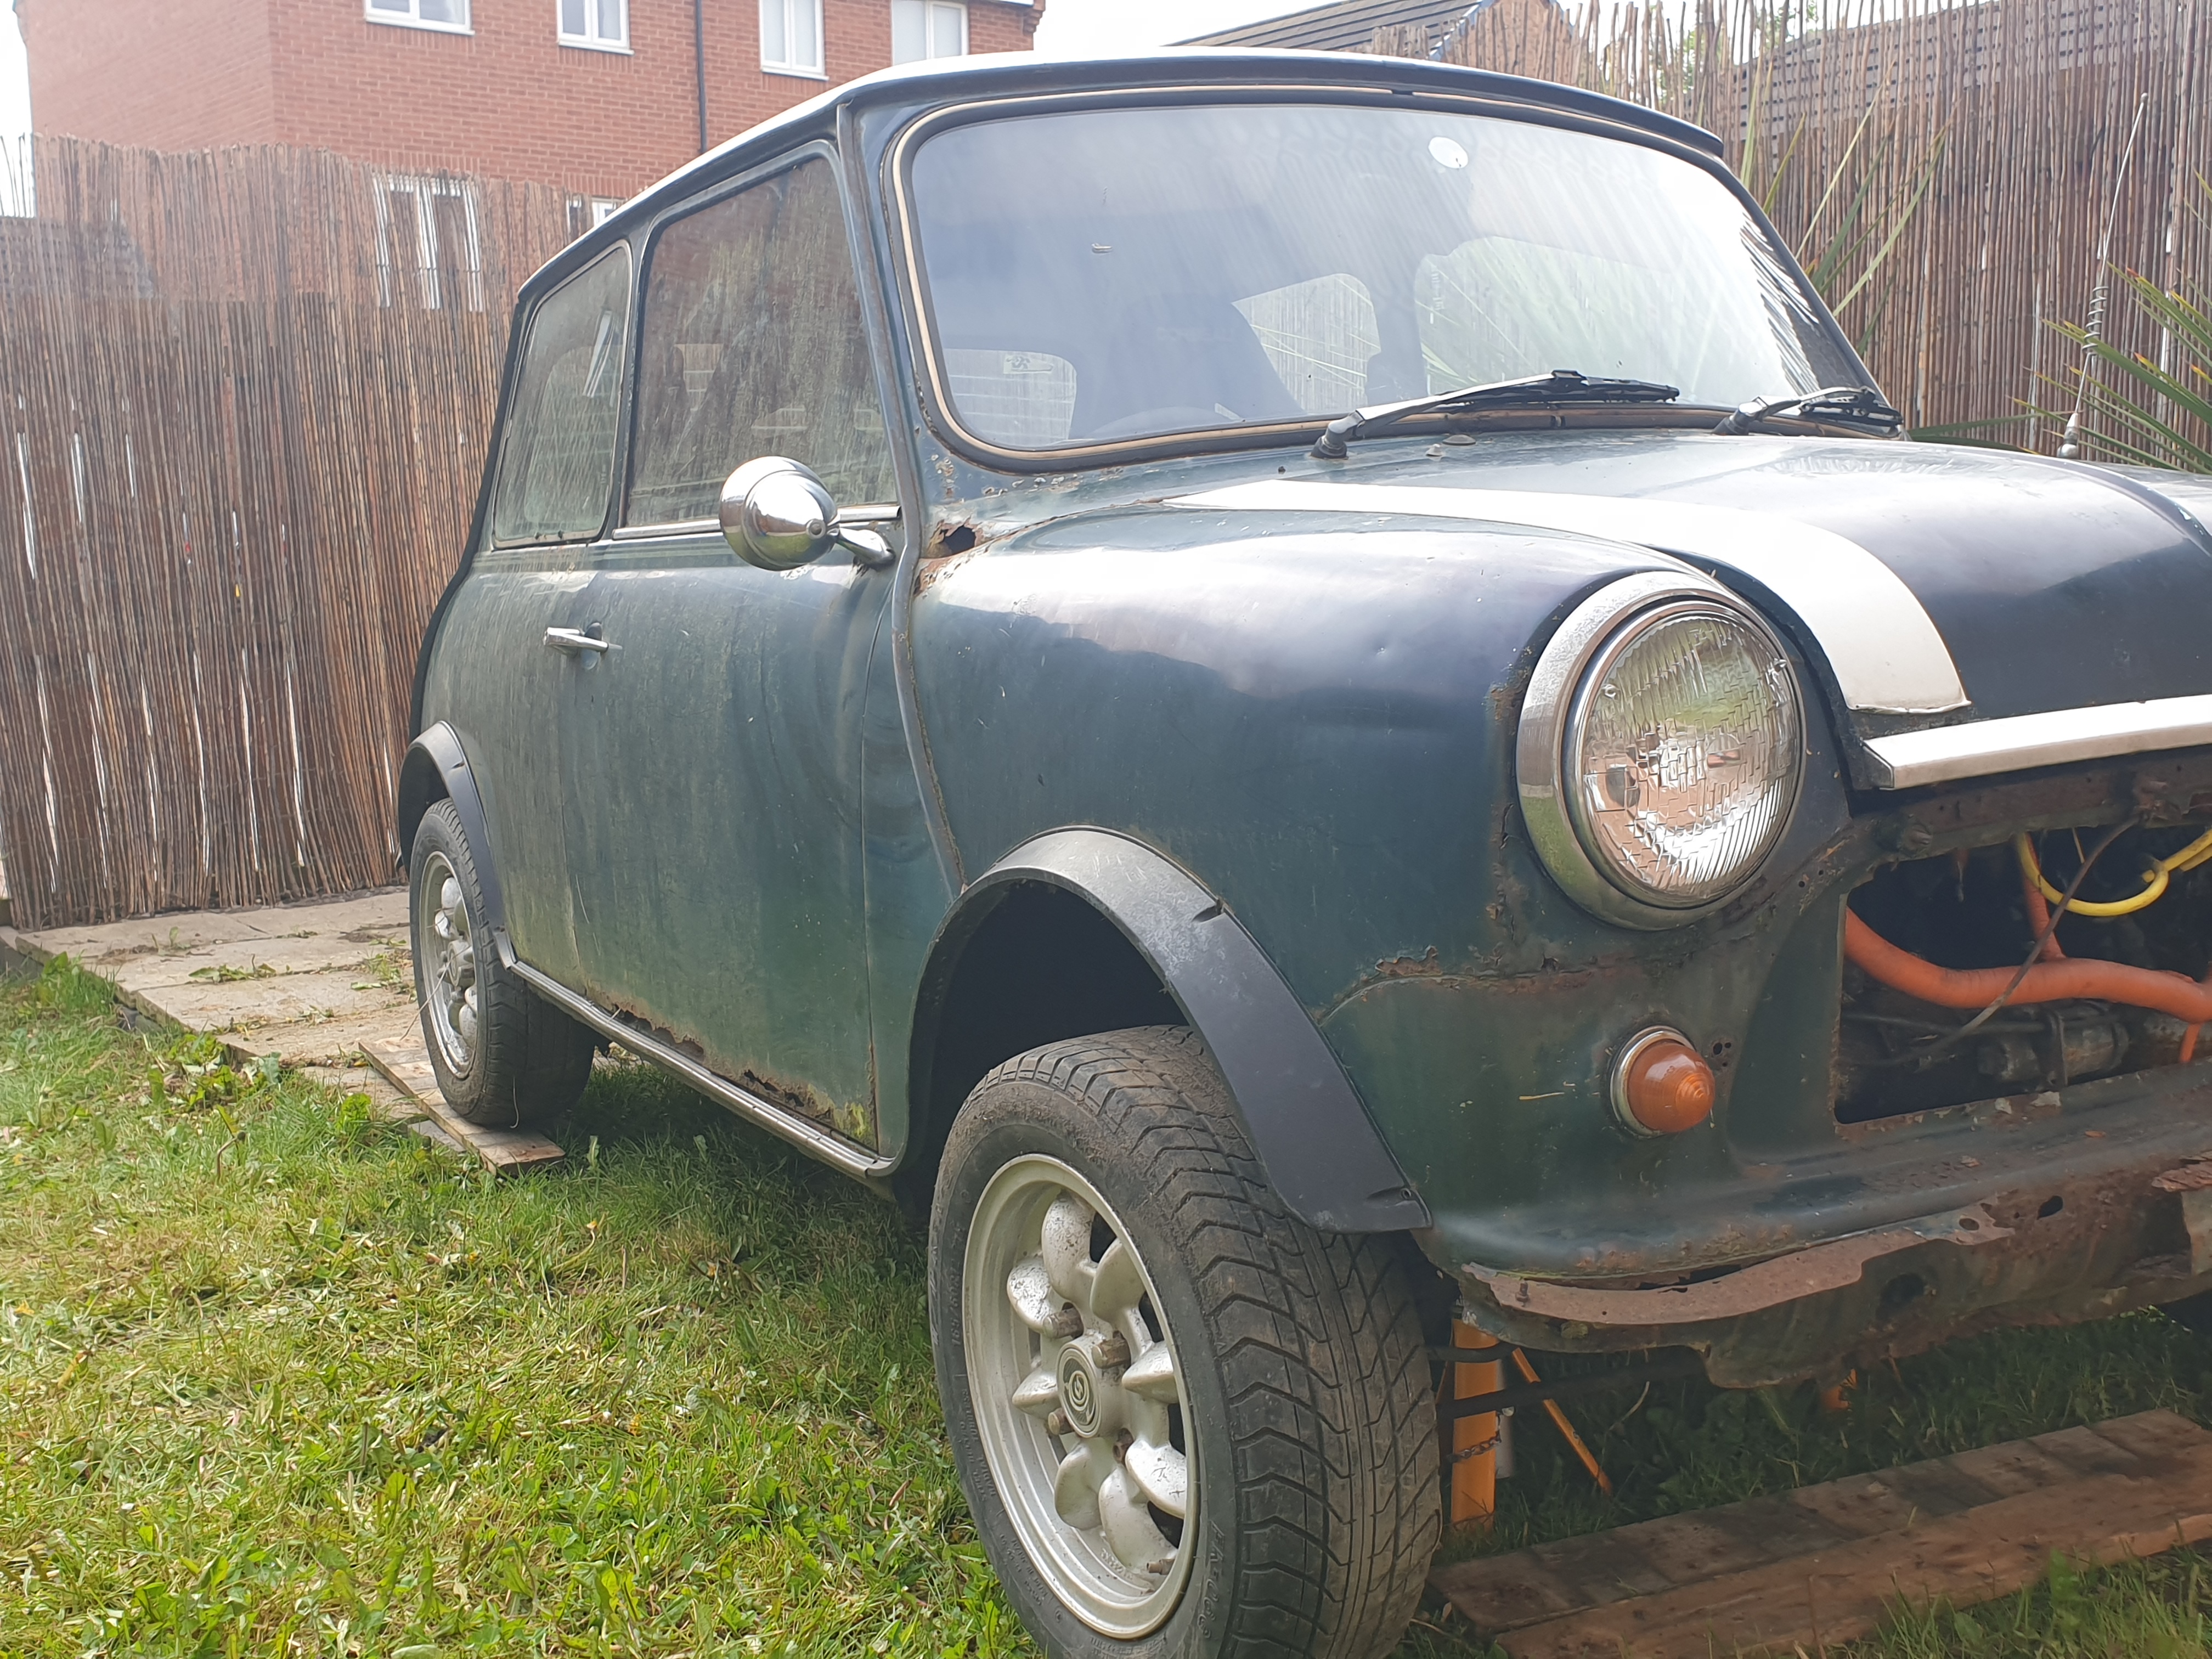
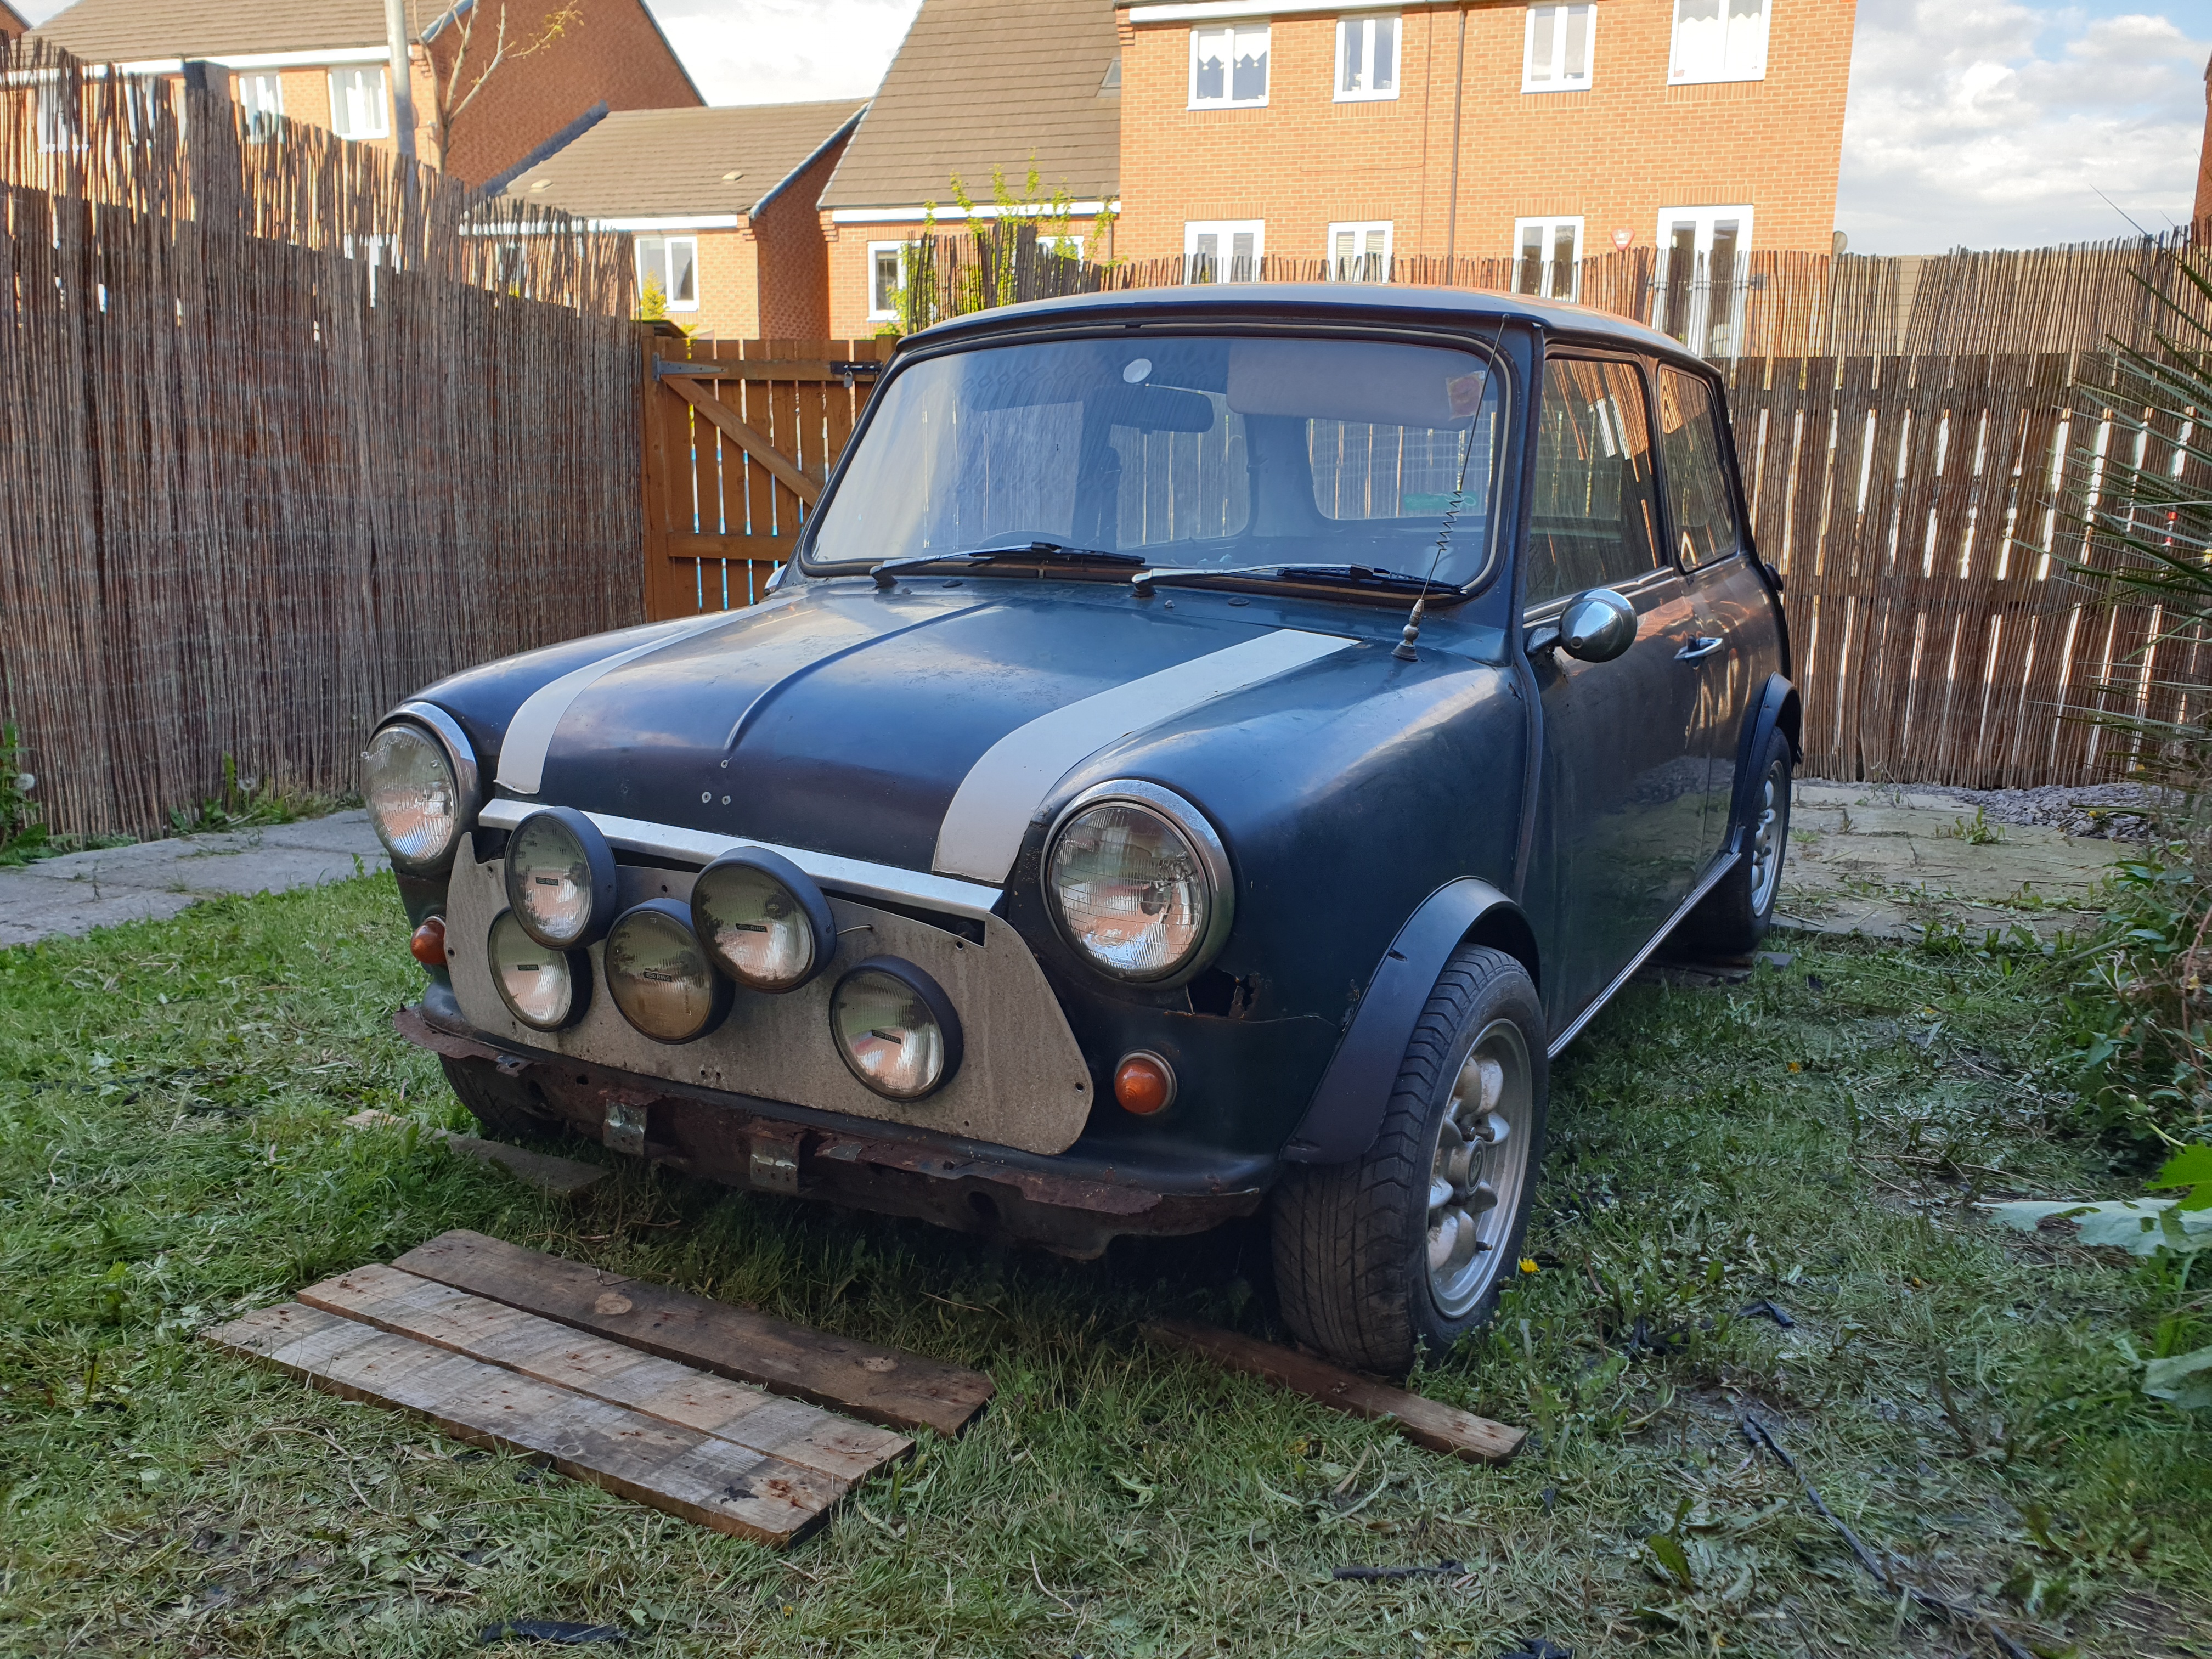
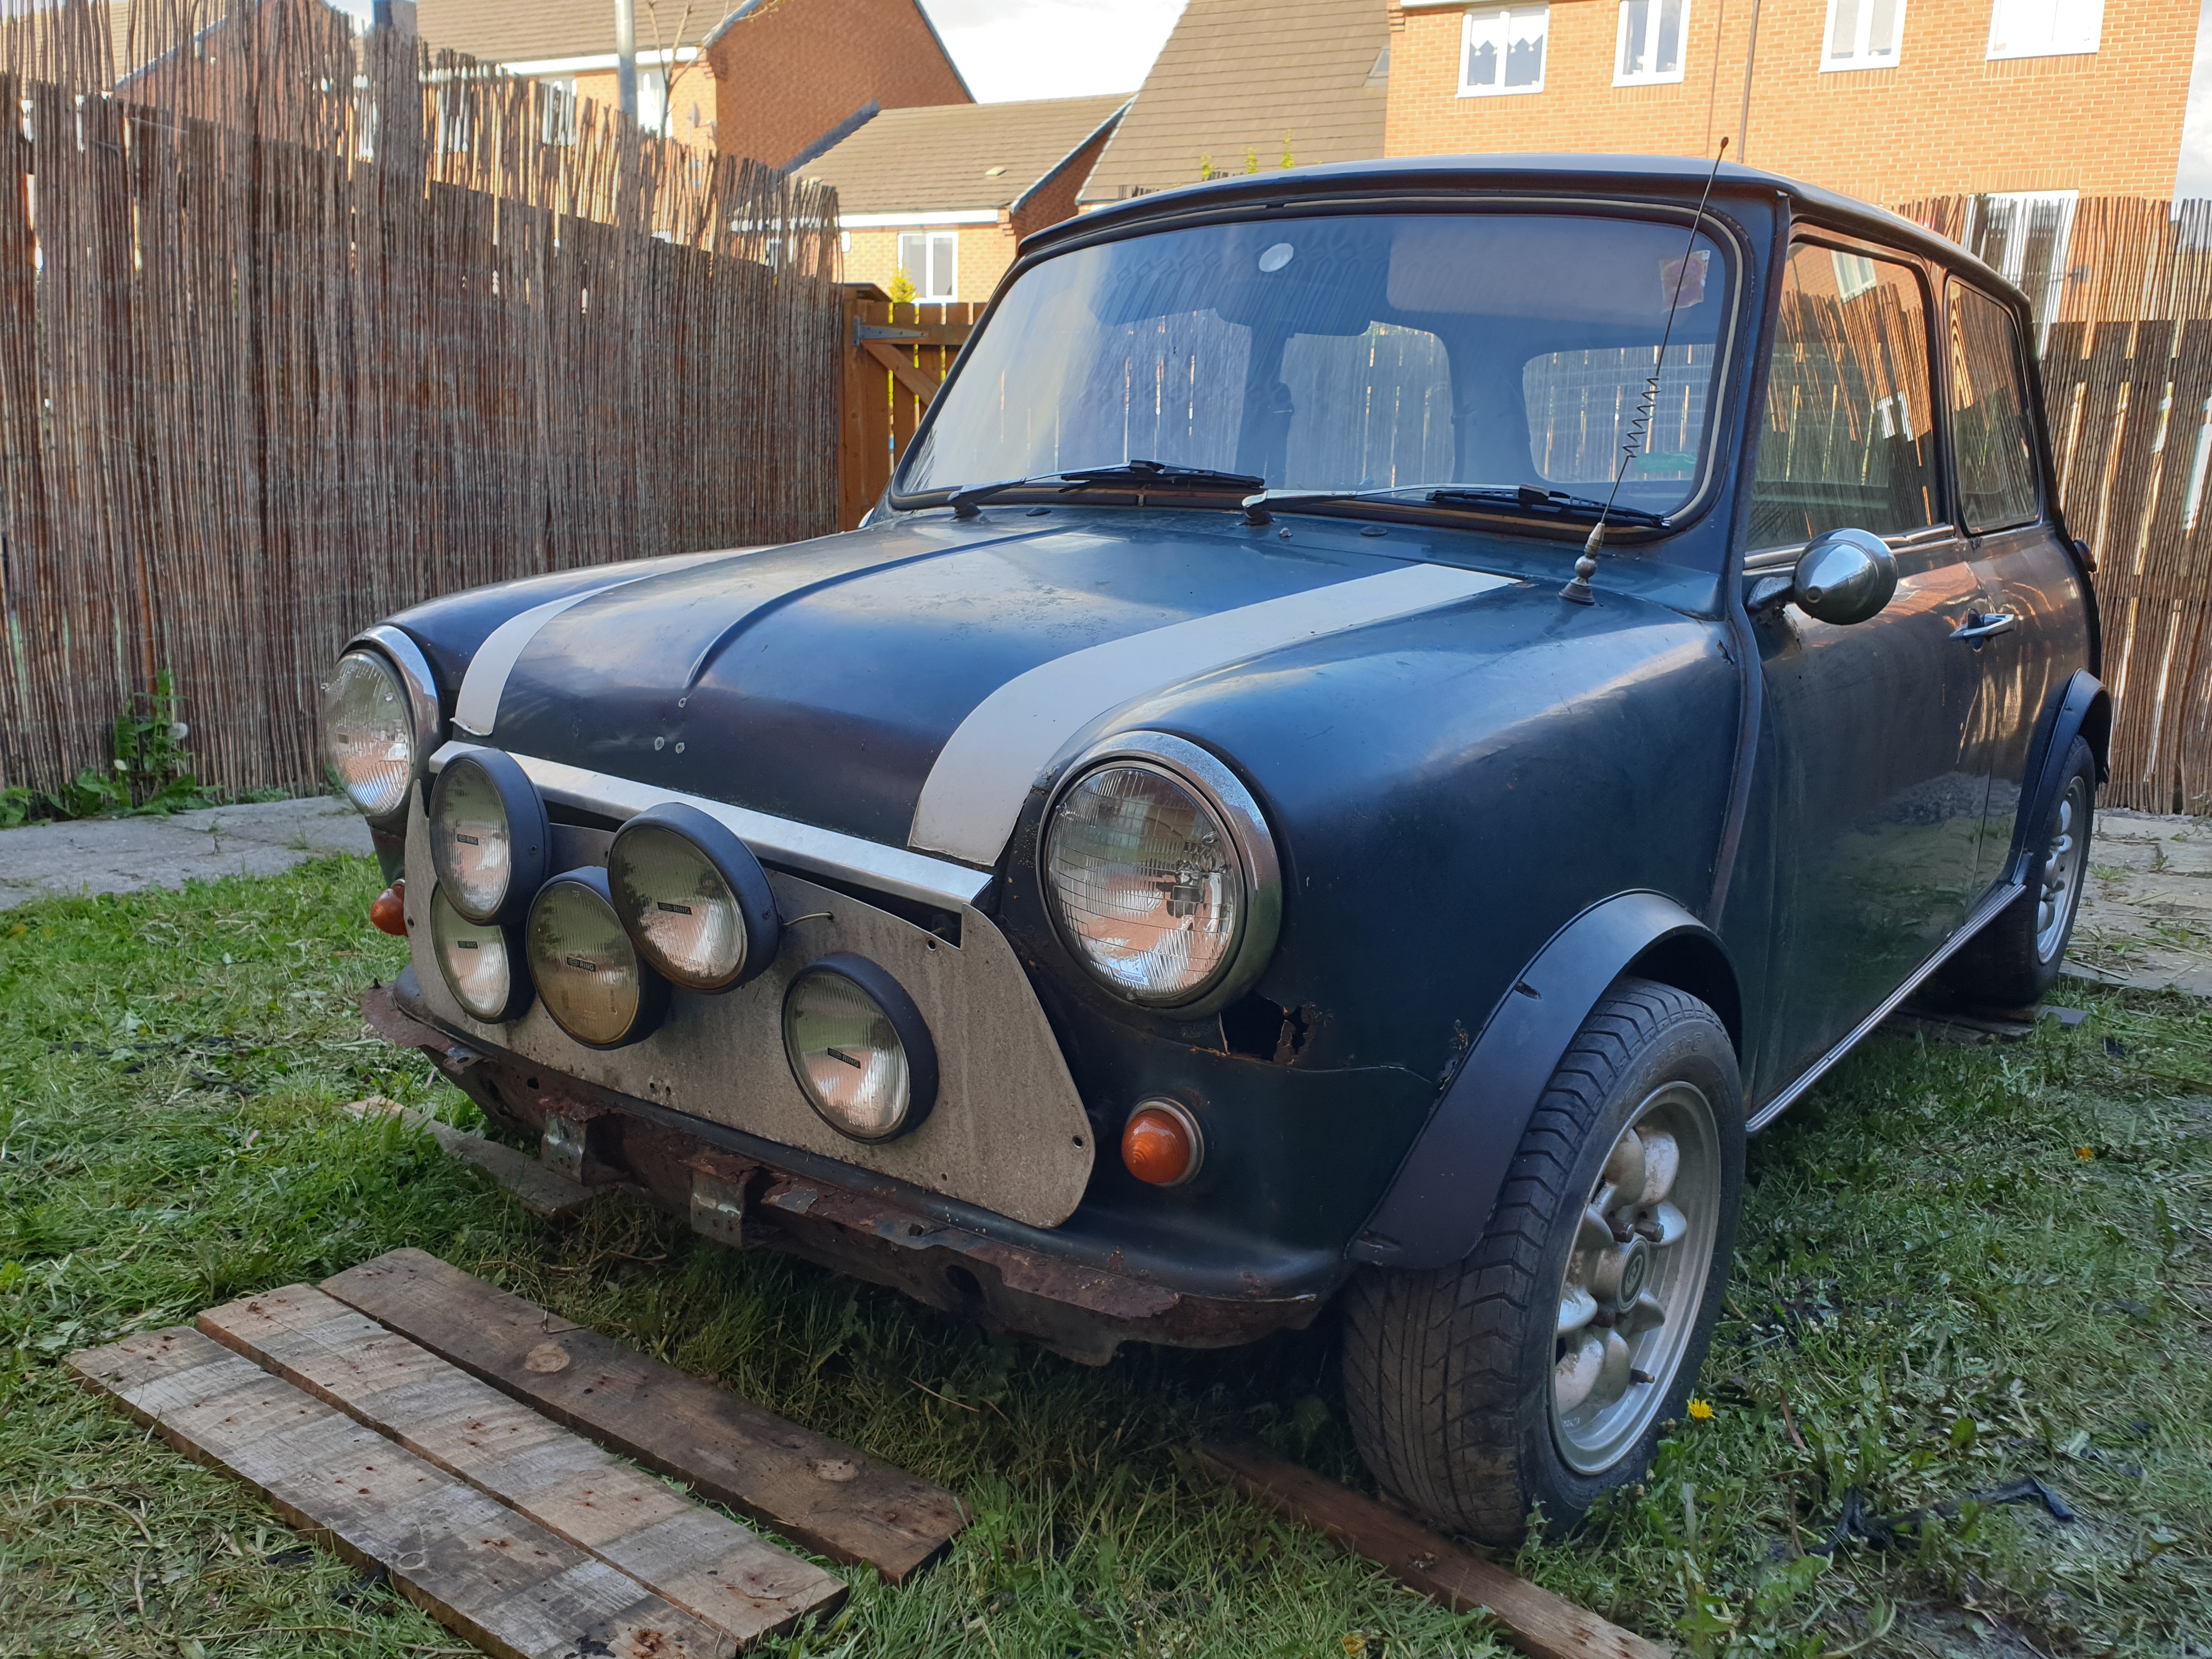
A quick wash and some photos for posterity, then it was time to roll it to the garage; the hardest part being getting it off the grass onto the patio. The ground was soft from recent rain and washing, the tyres soft and rotten, and I was on my own. In the end grunting and swearing succeeded.
 |
 |
 |
 |
 |
 |
 |
 |
 |
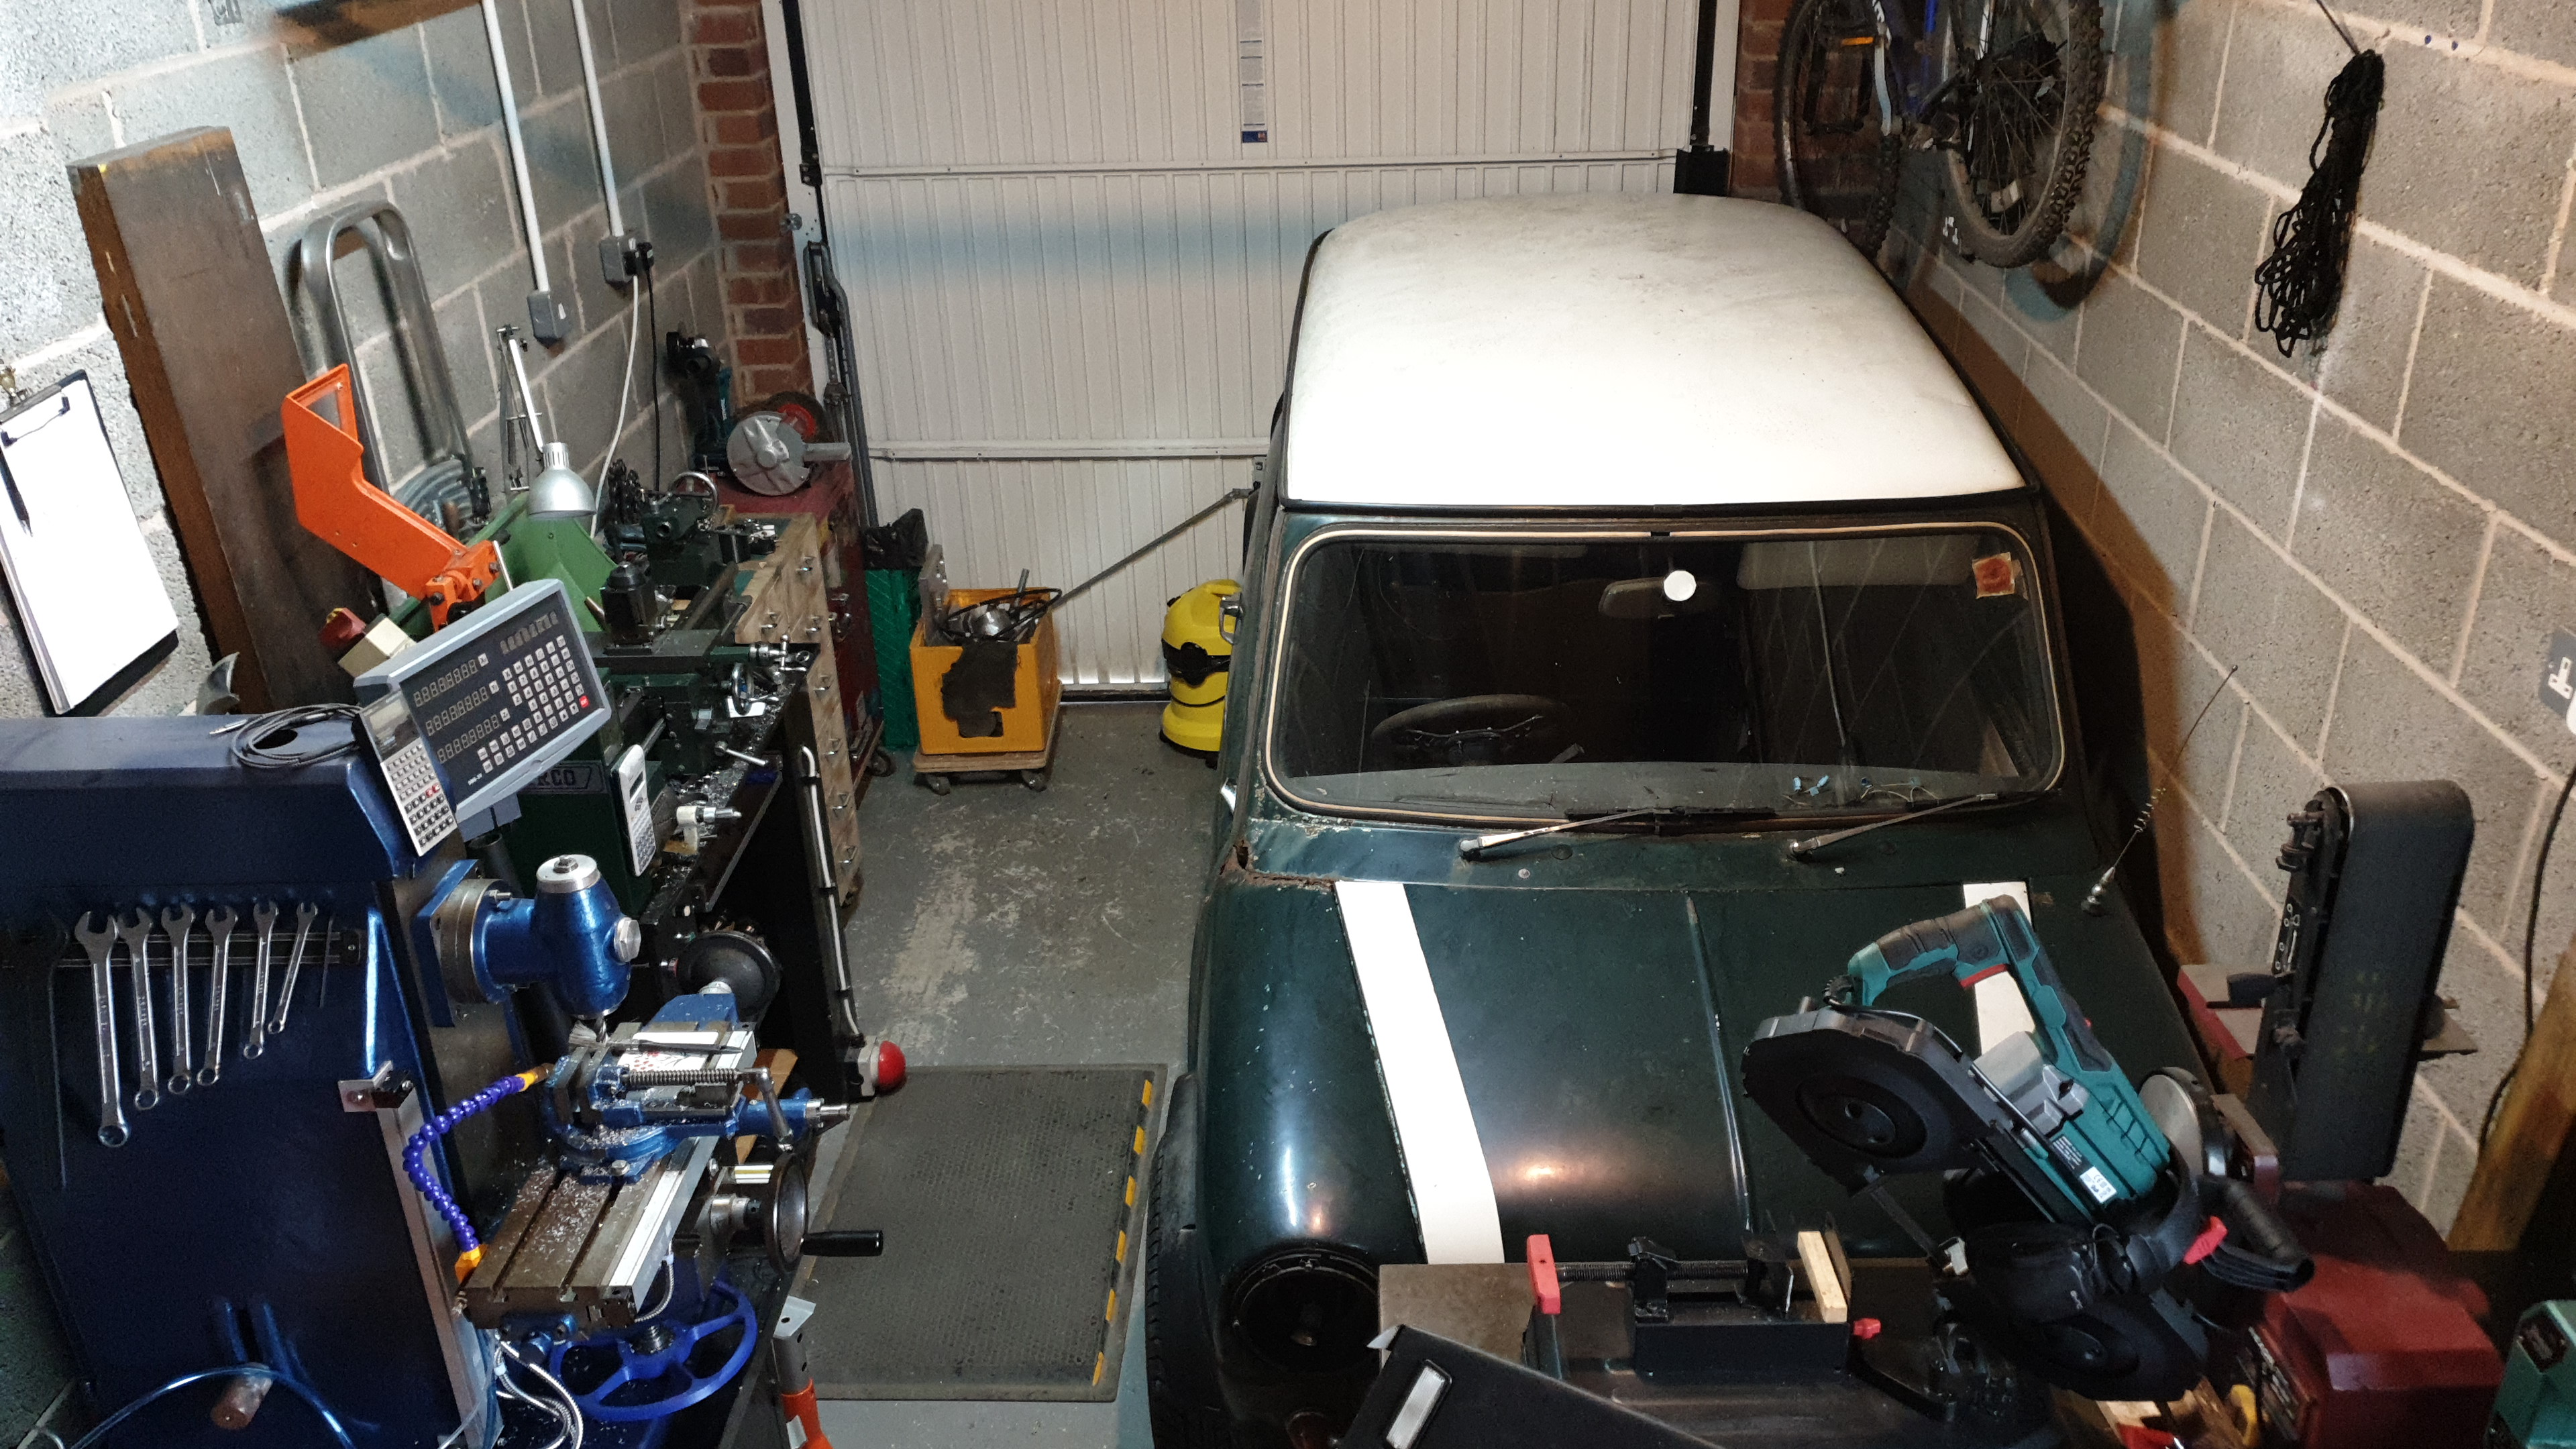 |
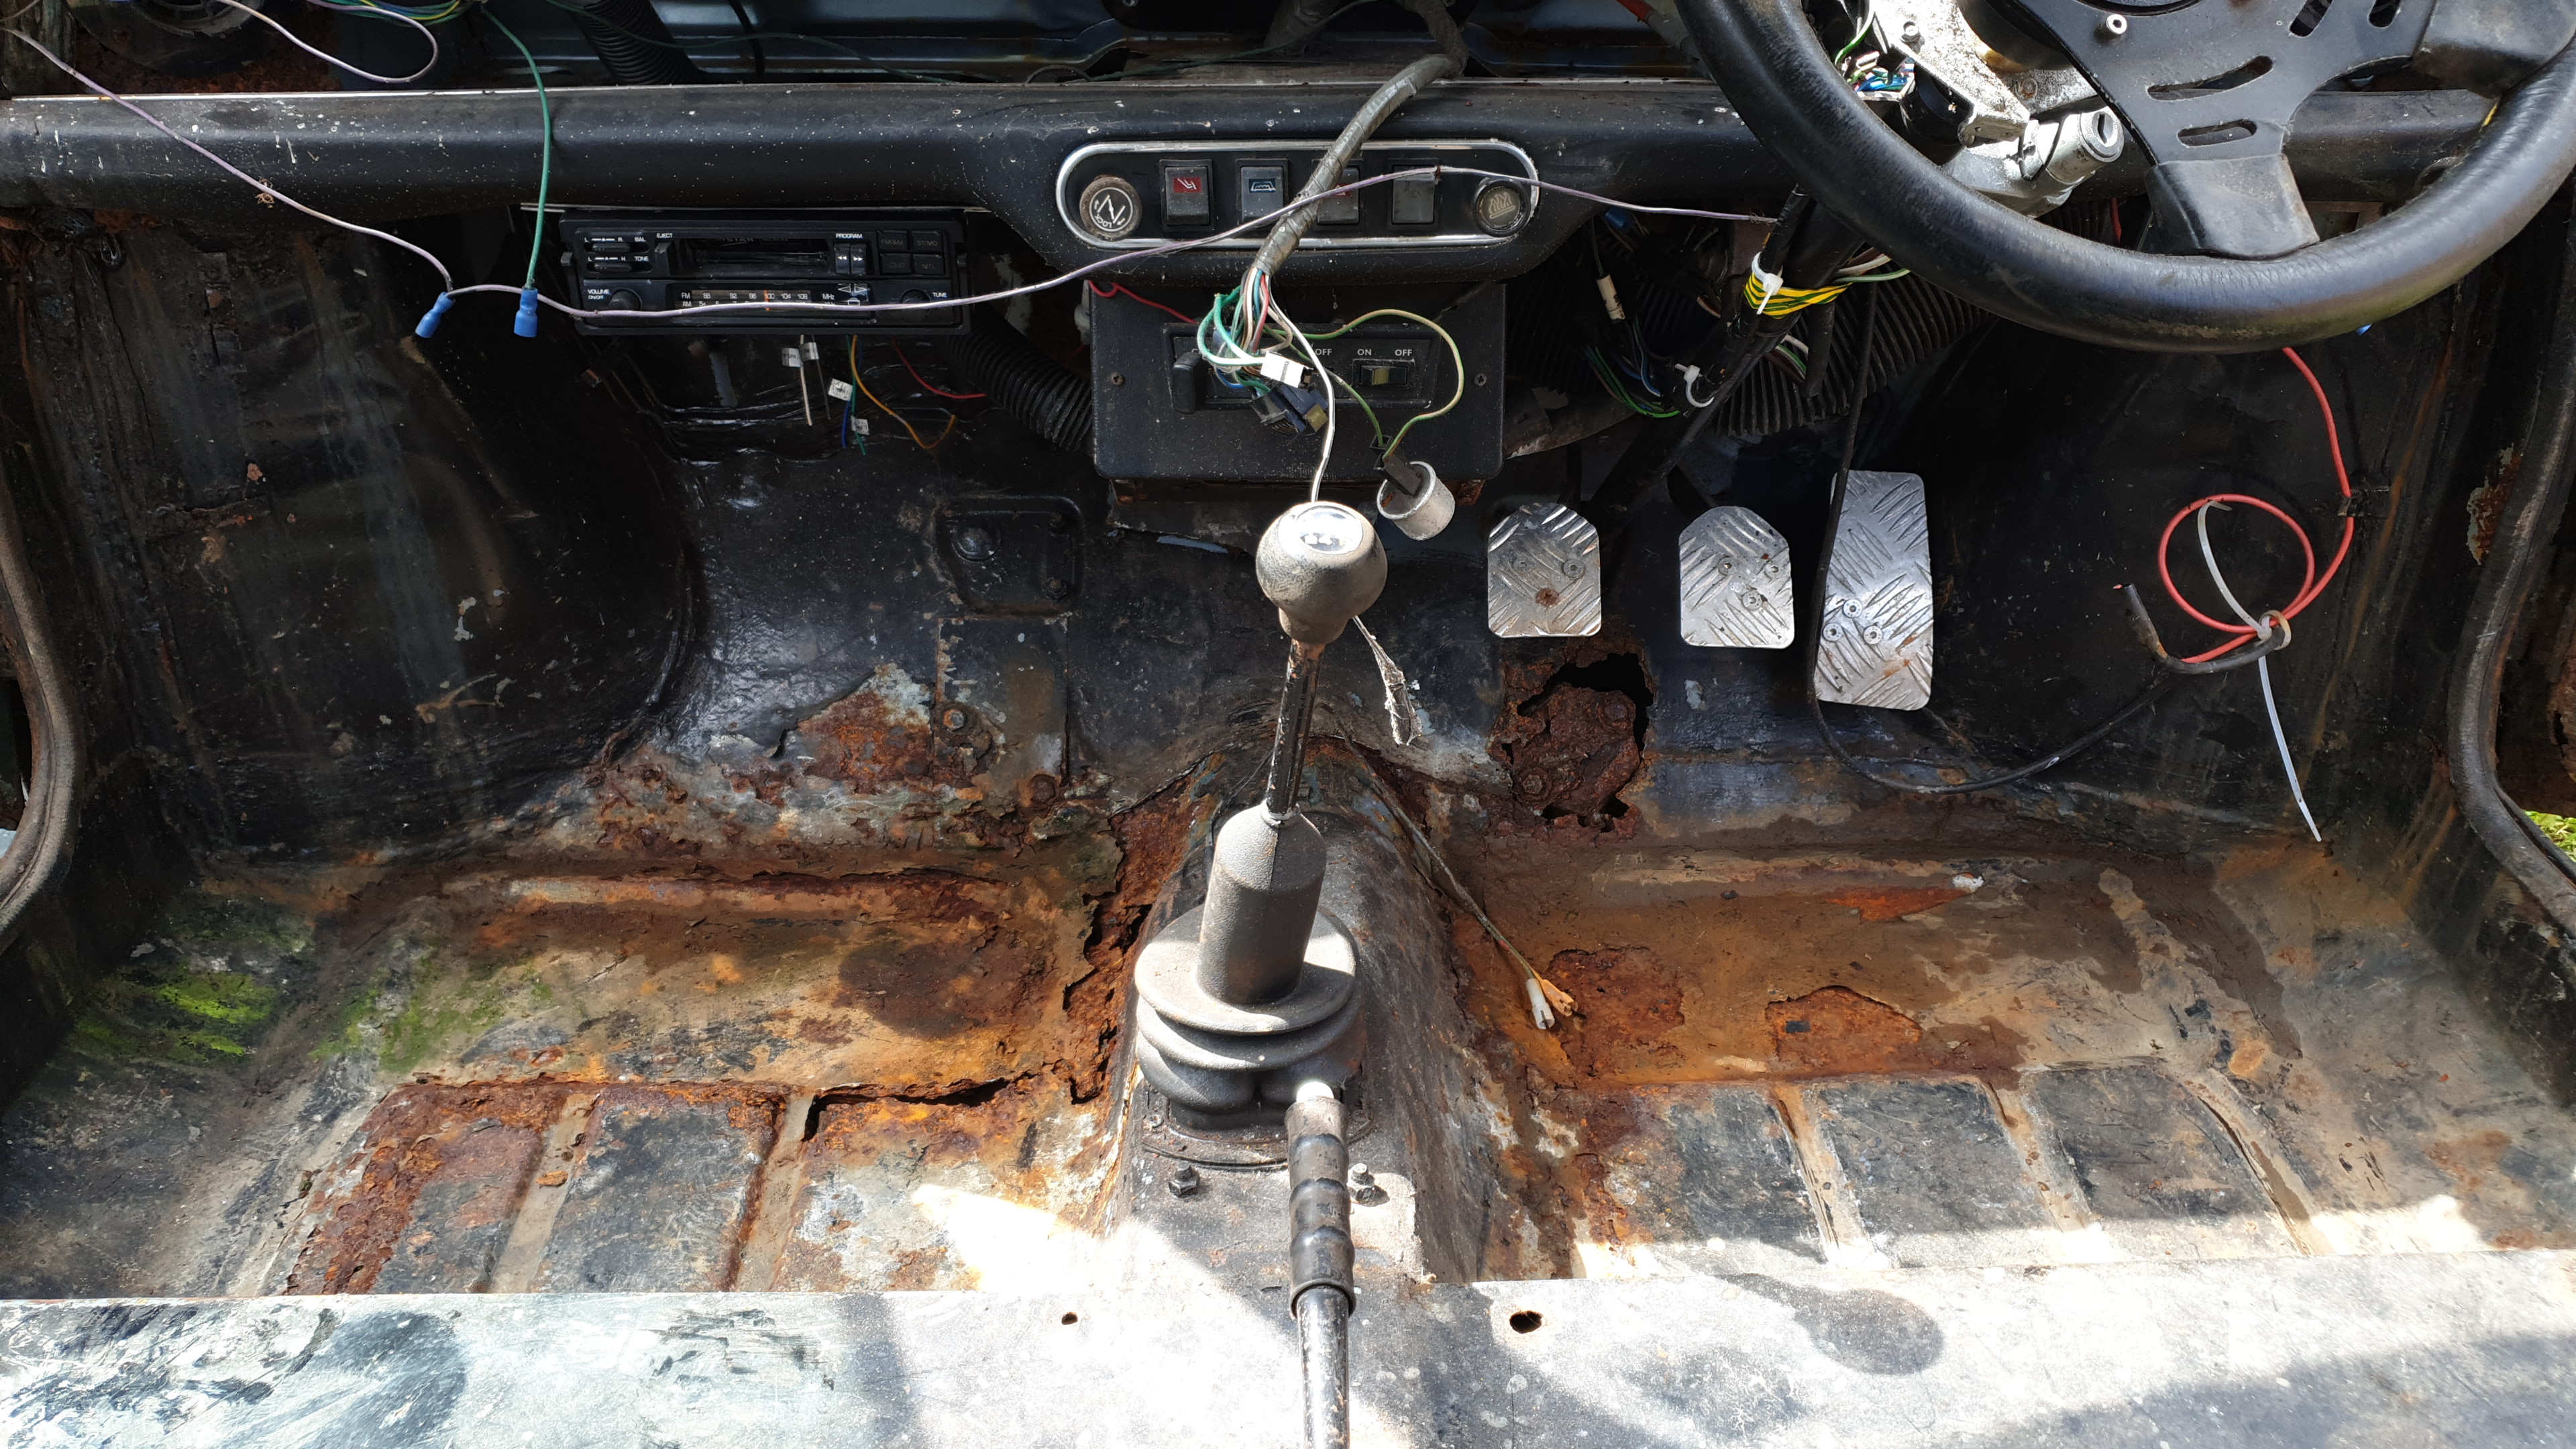
| Removing spindle nut cover | Trying to free the brakes | Easier to just remove the shoes | Seats removed | Rusty floor | Planks and jacks to get it up onto the patio | Quick wash and some "before" shots | The fog-lamp cluster was sold | Count the rust holes! | Squeezed into the garage |
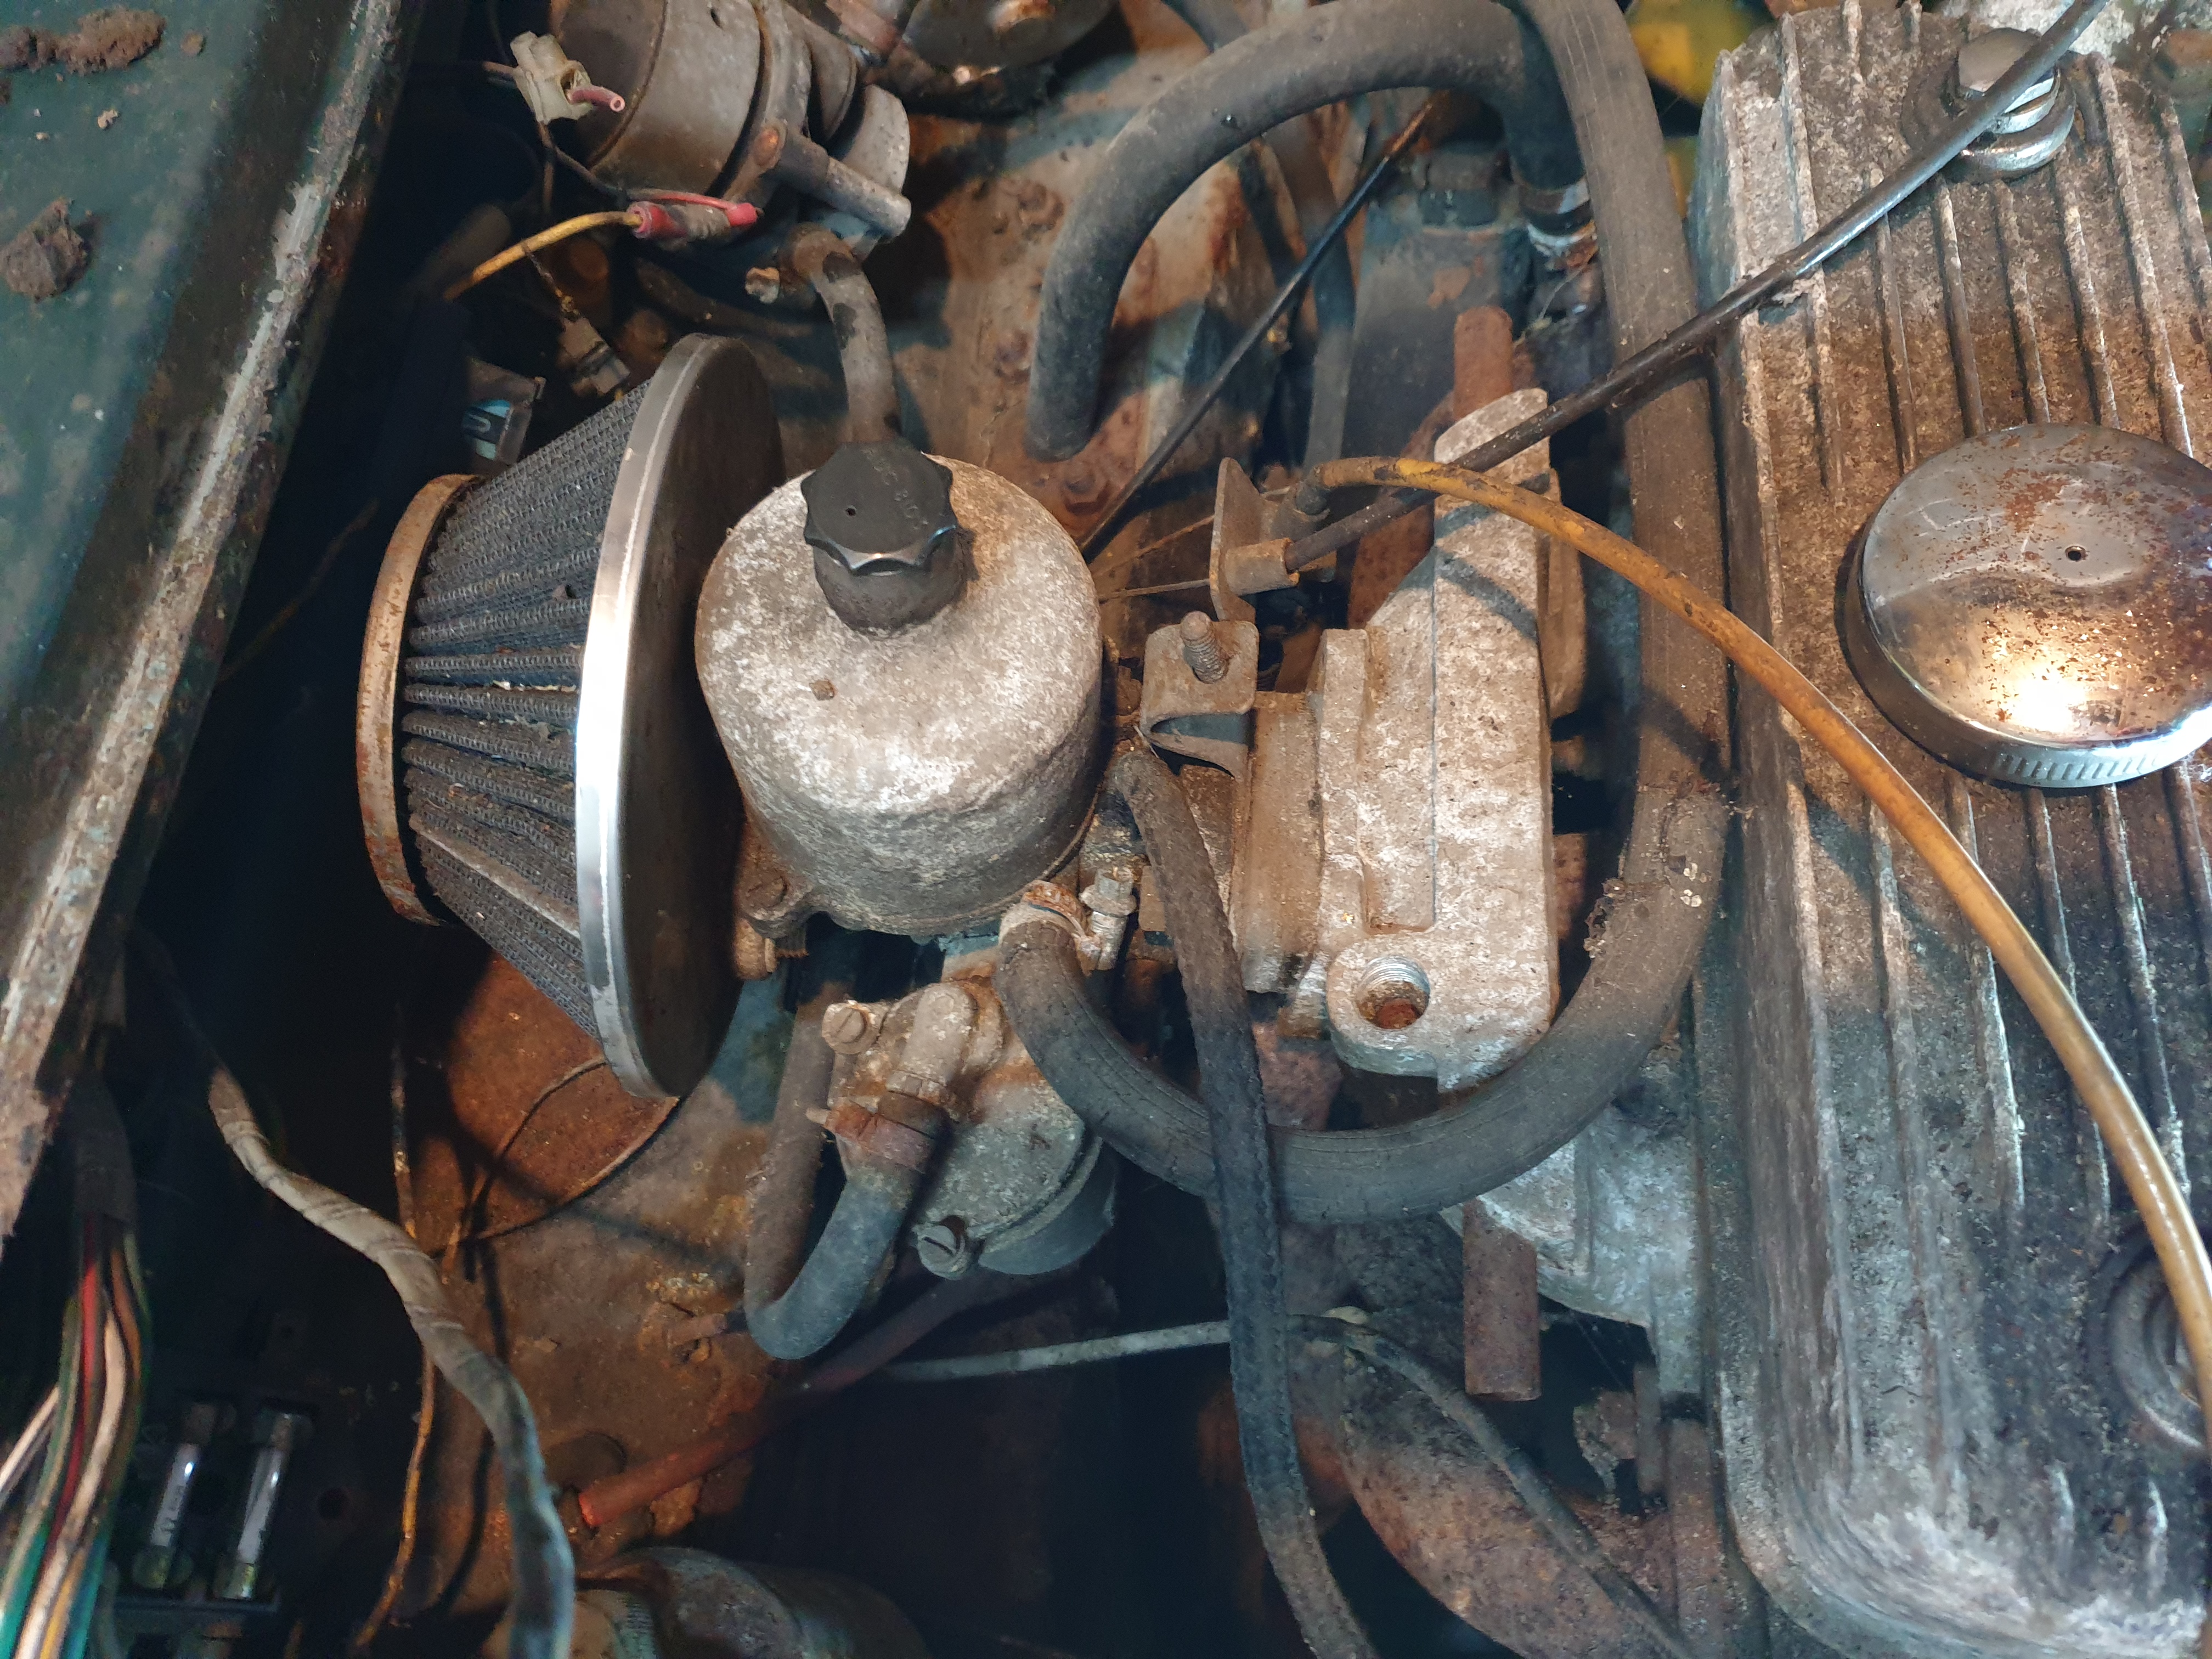
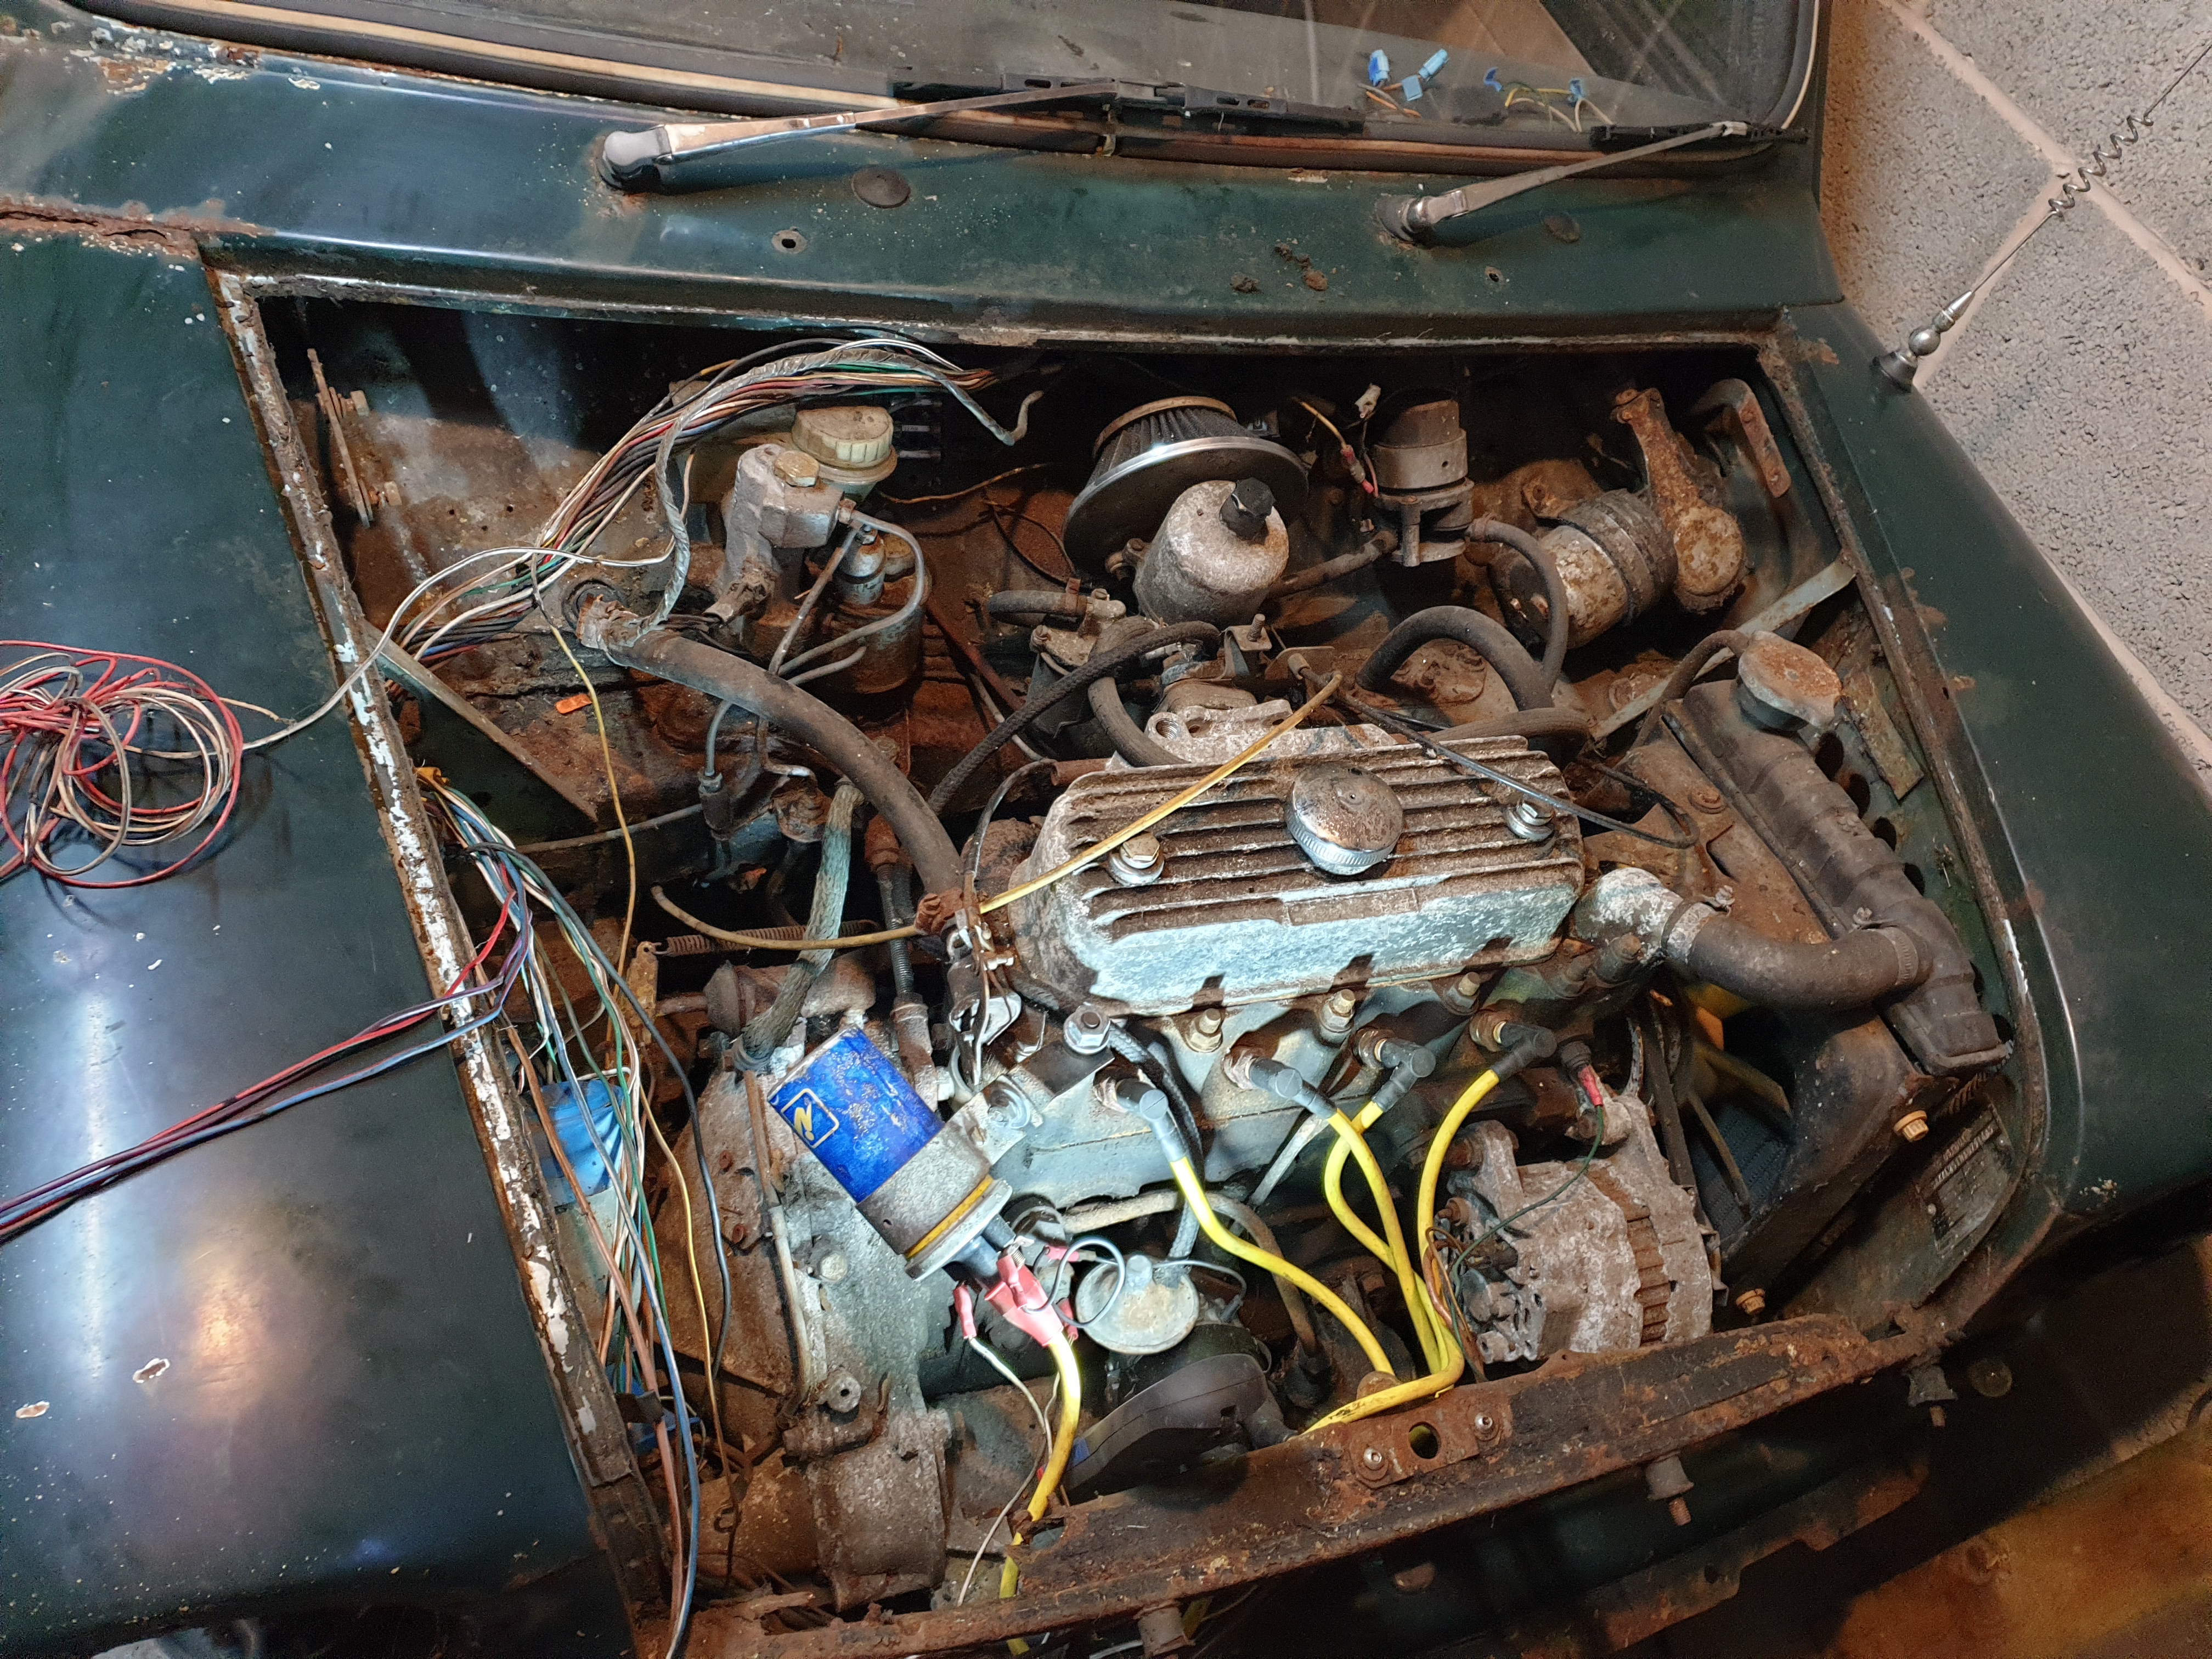
Now in the dry it was time to pull the car apart for restoration. Starting with everything under (and including) the bonnet, it was all pulled out and stored in boxes. I'm saving restoring the engine to last as that will be fun, and I'll need something to look forward to.
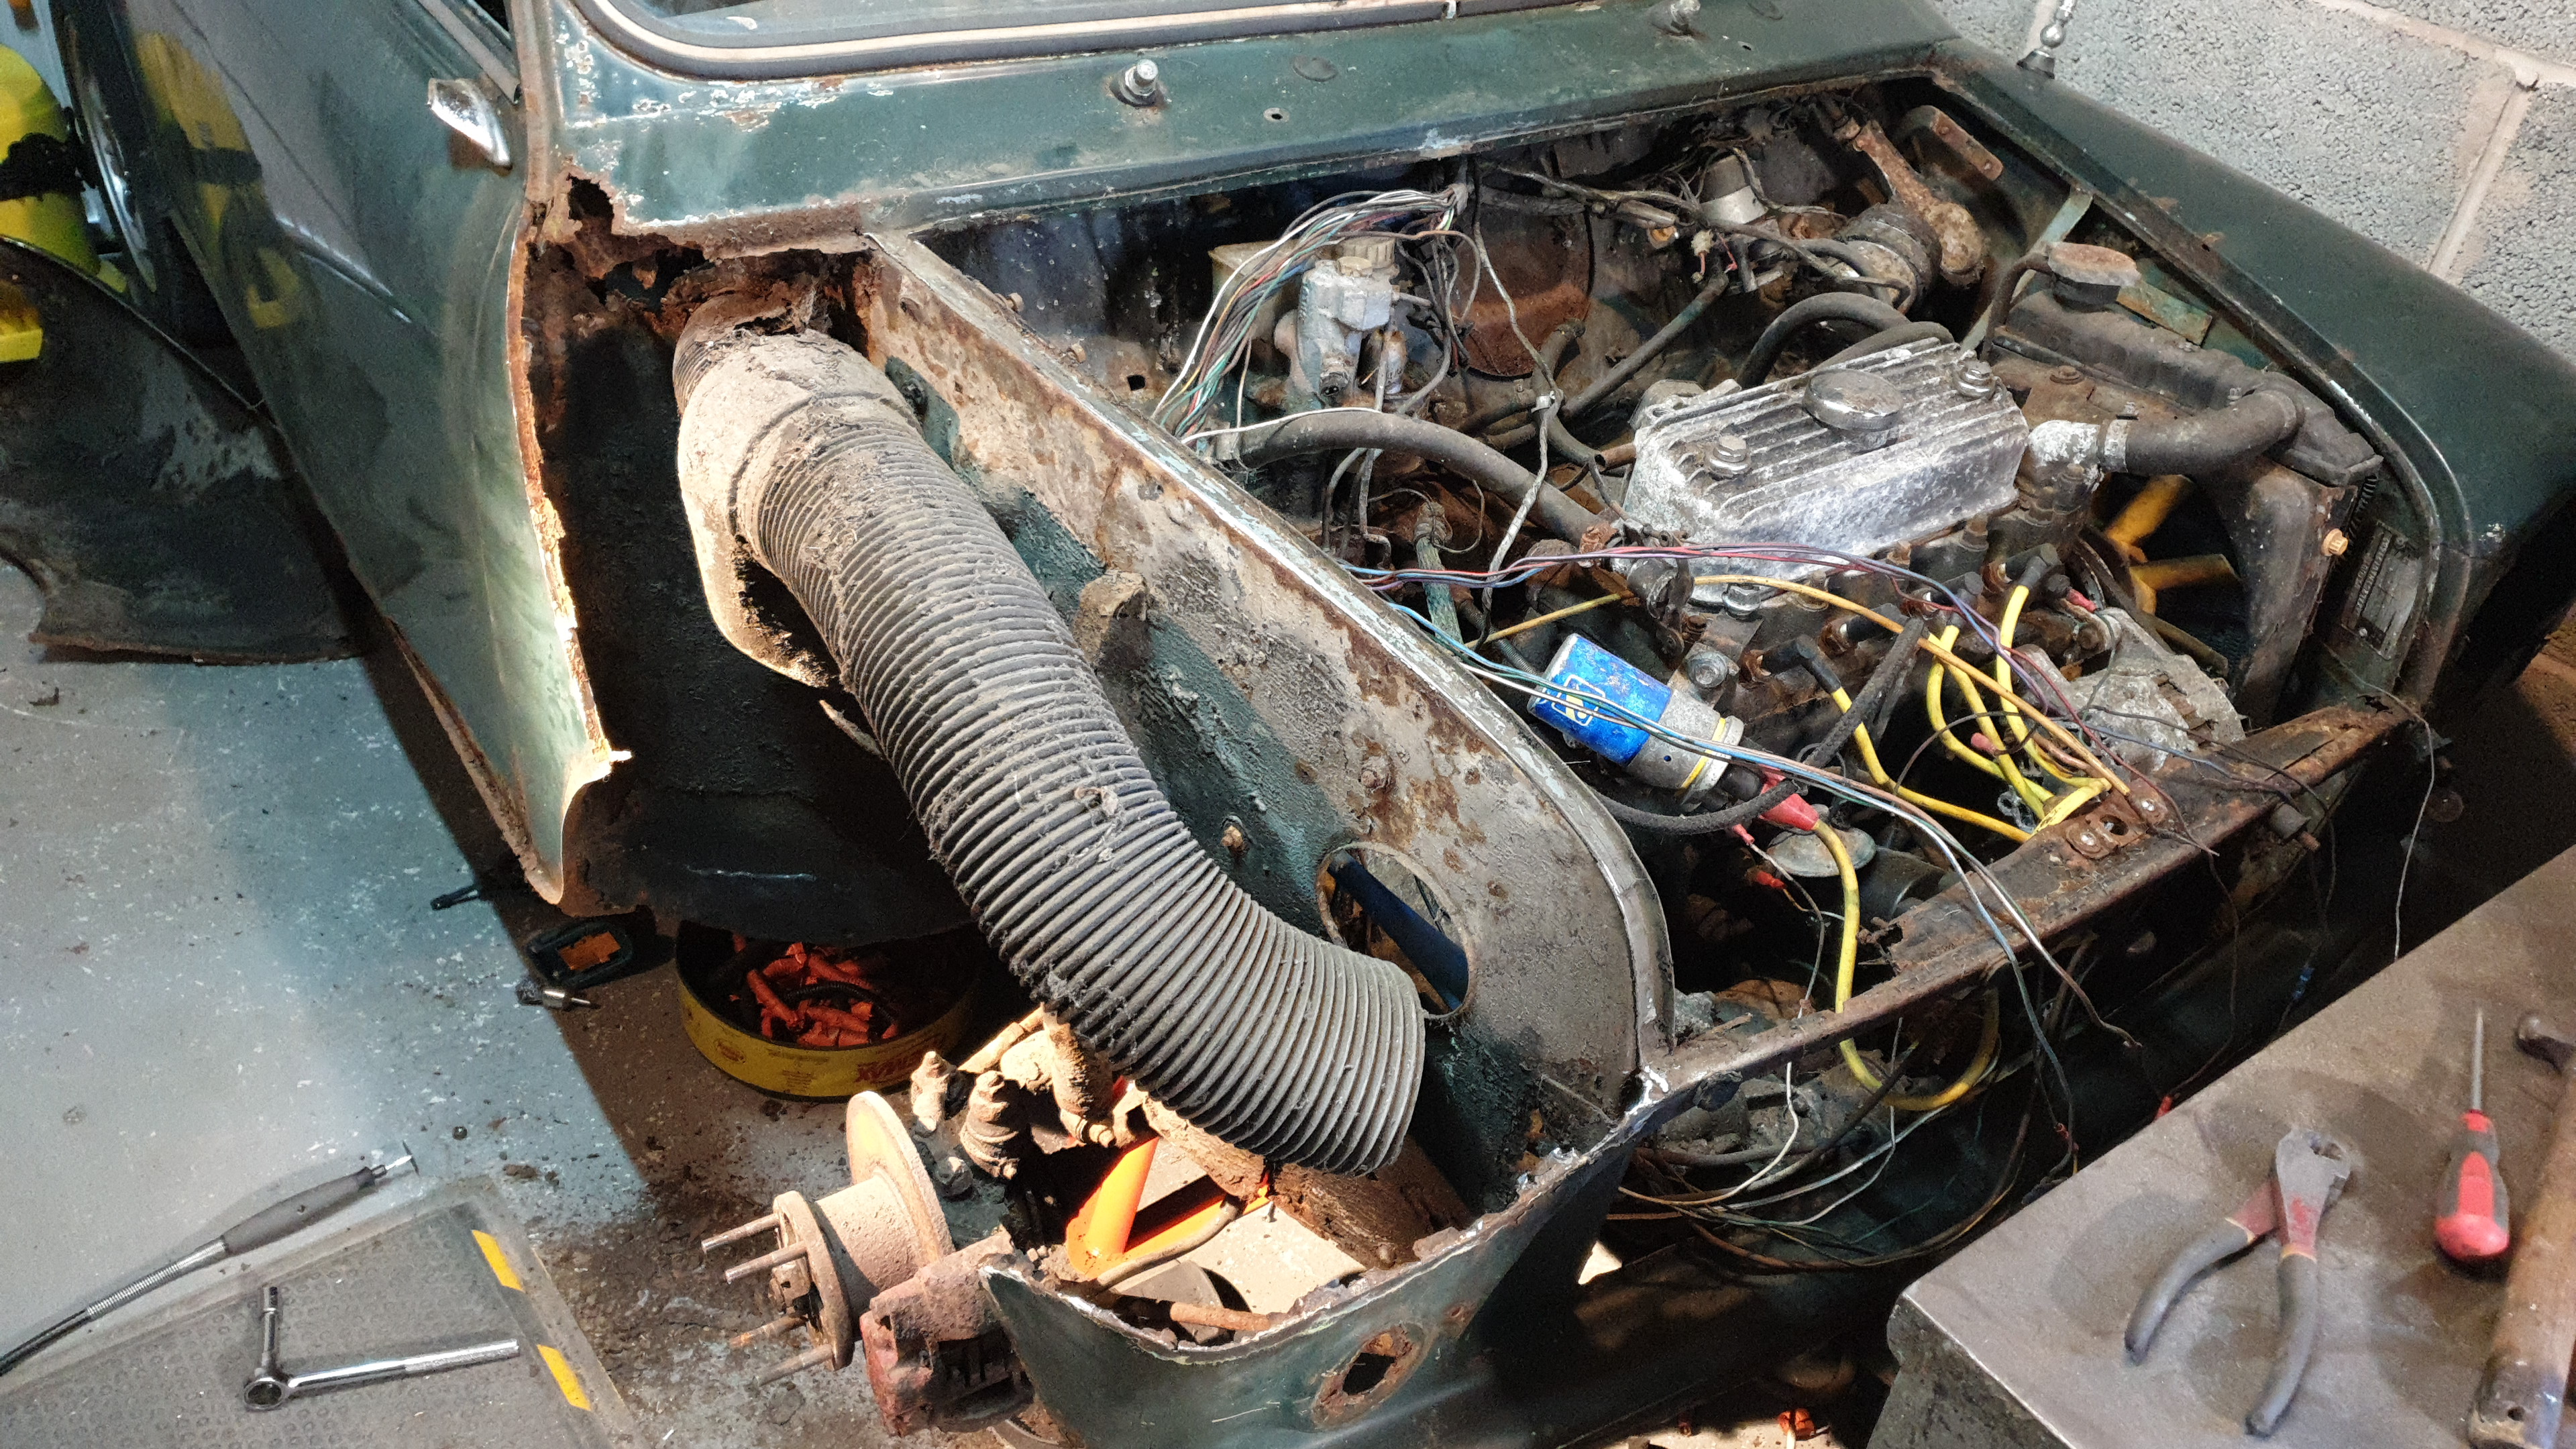
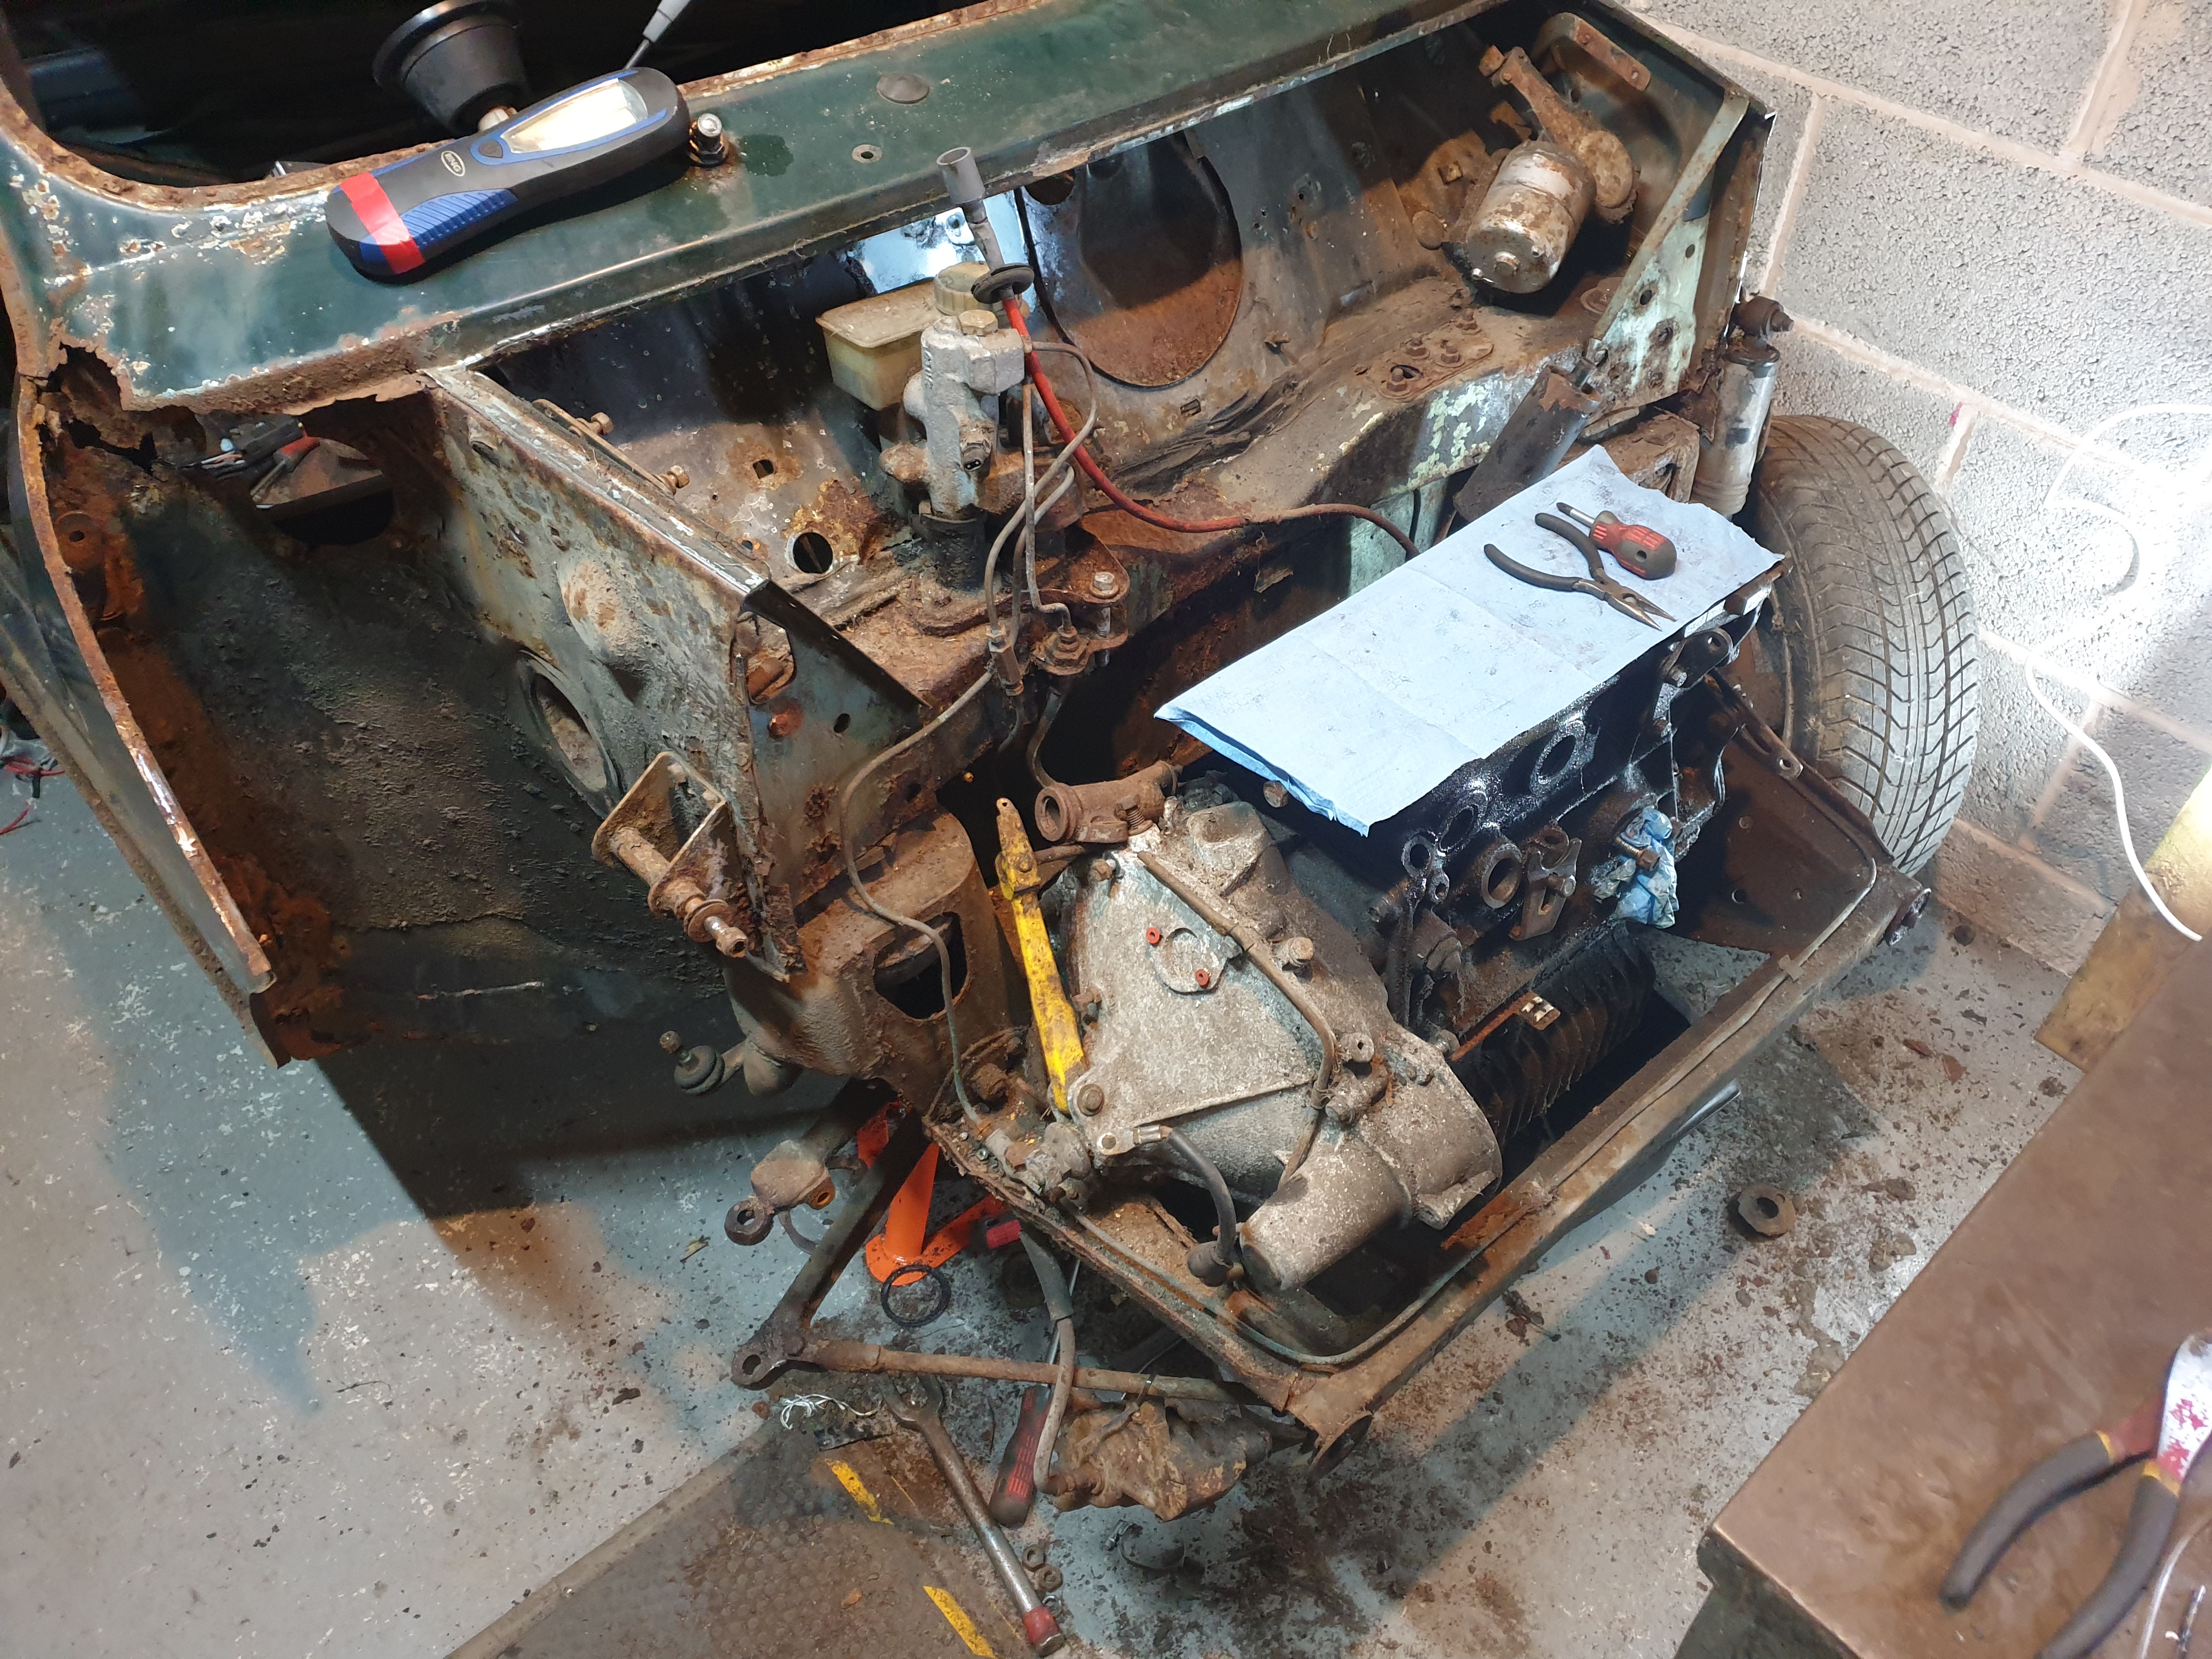
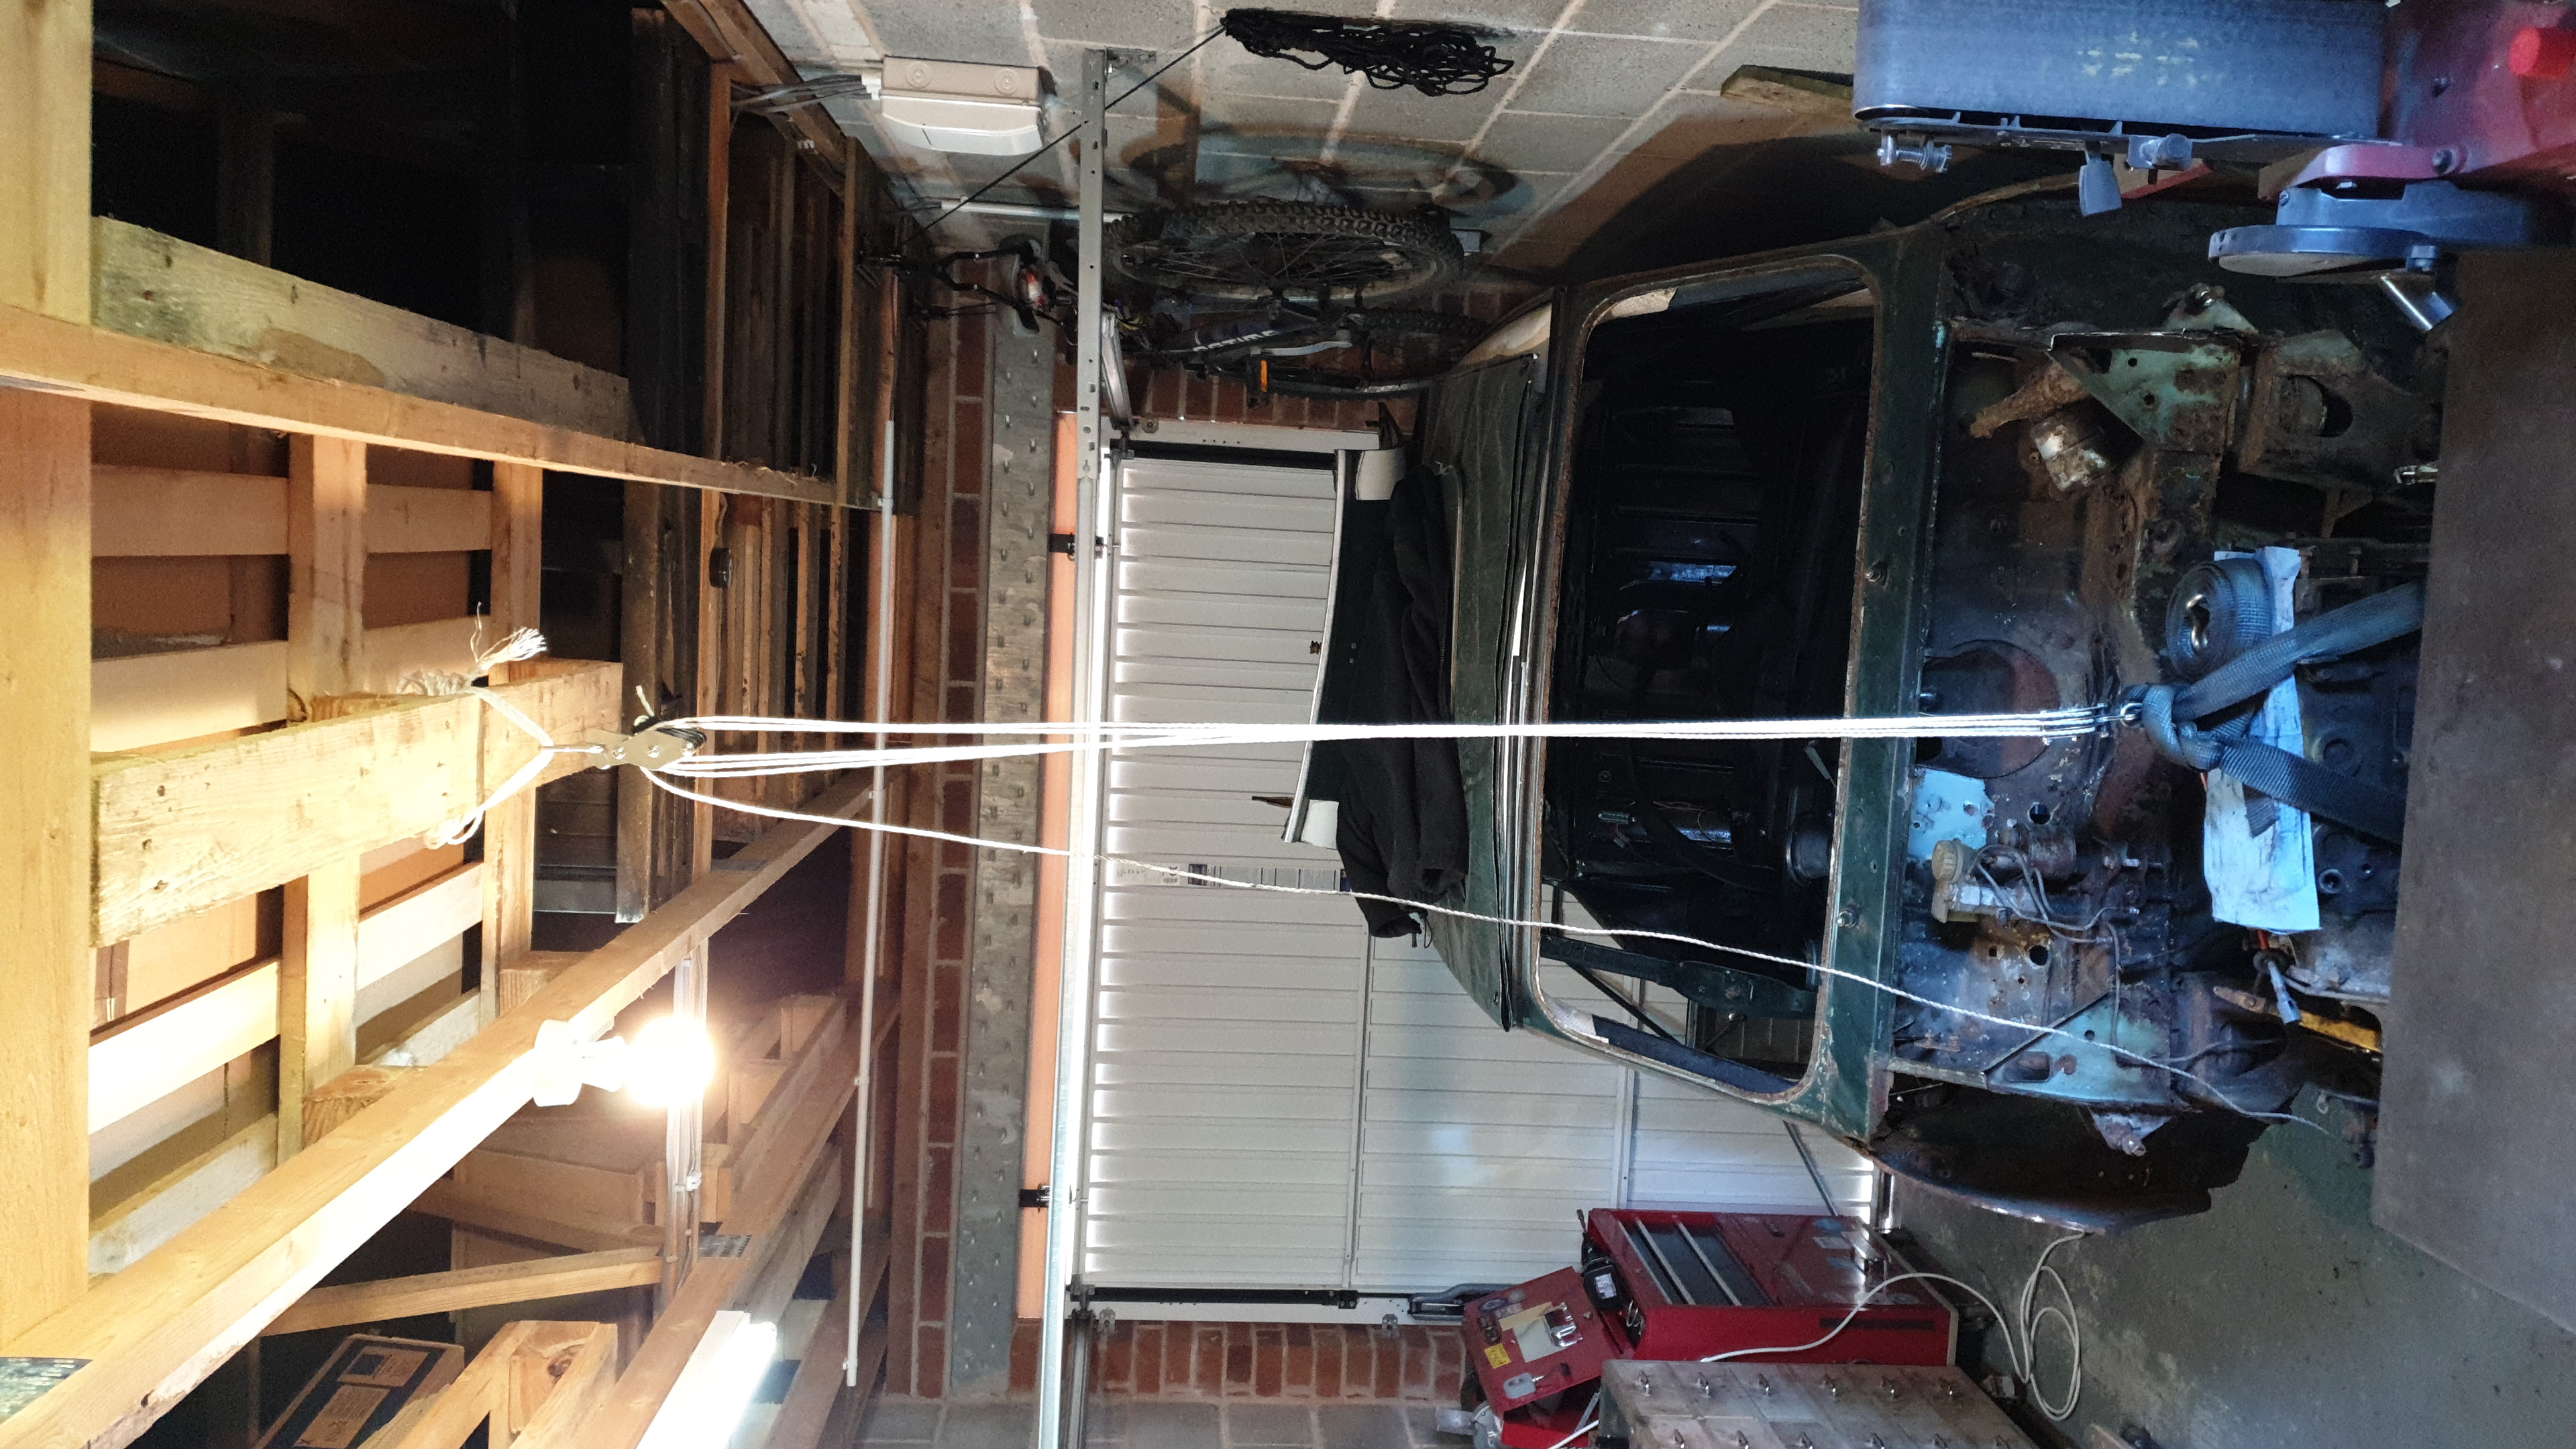
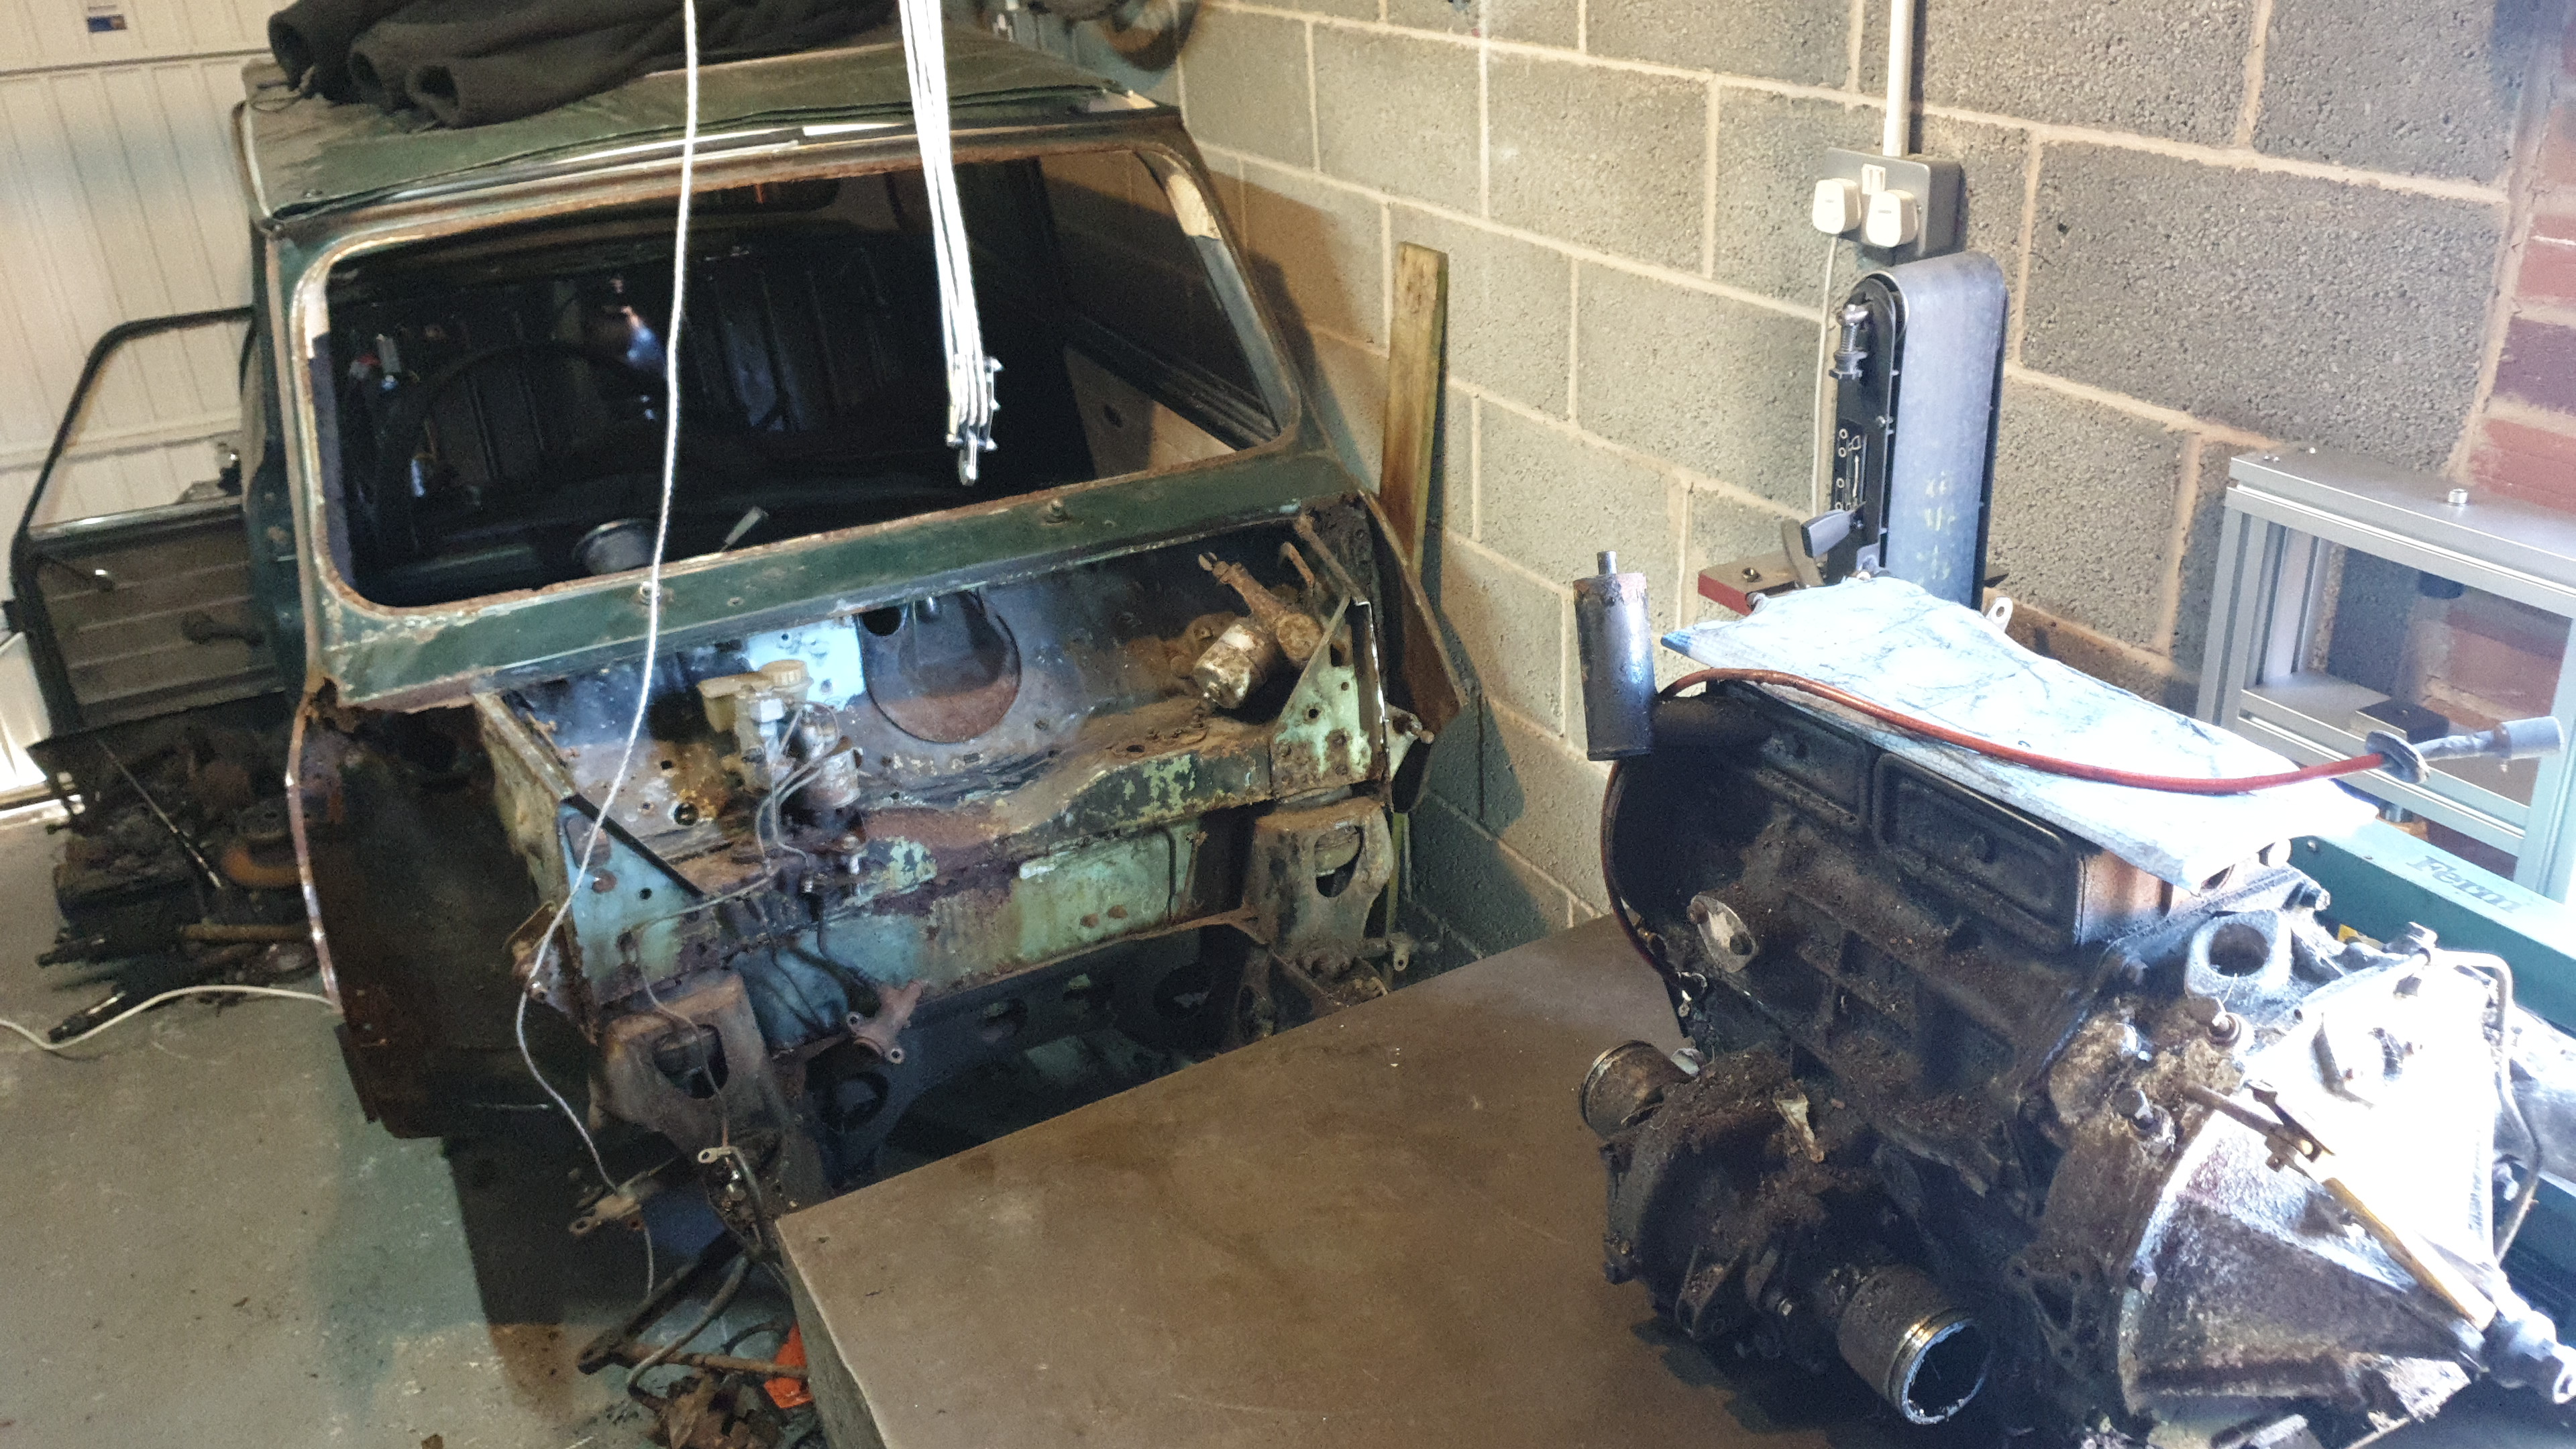
The wiring had been heavily modified in it's past and I had decided to completely rewire the car from the beginning. The wings were removed to give more access to the engine, which was lightened by removing the head and then lifted out using an £8 block and tackle. It wasn't easy, but it worked. I'll either rebuild the engine into the car or borrow a proper hoist to lift is in a safer manner.
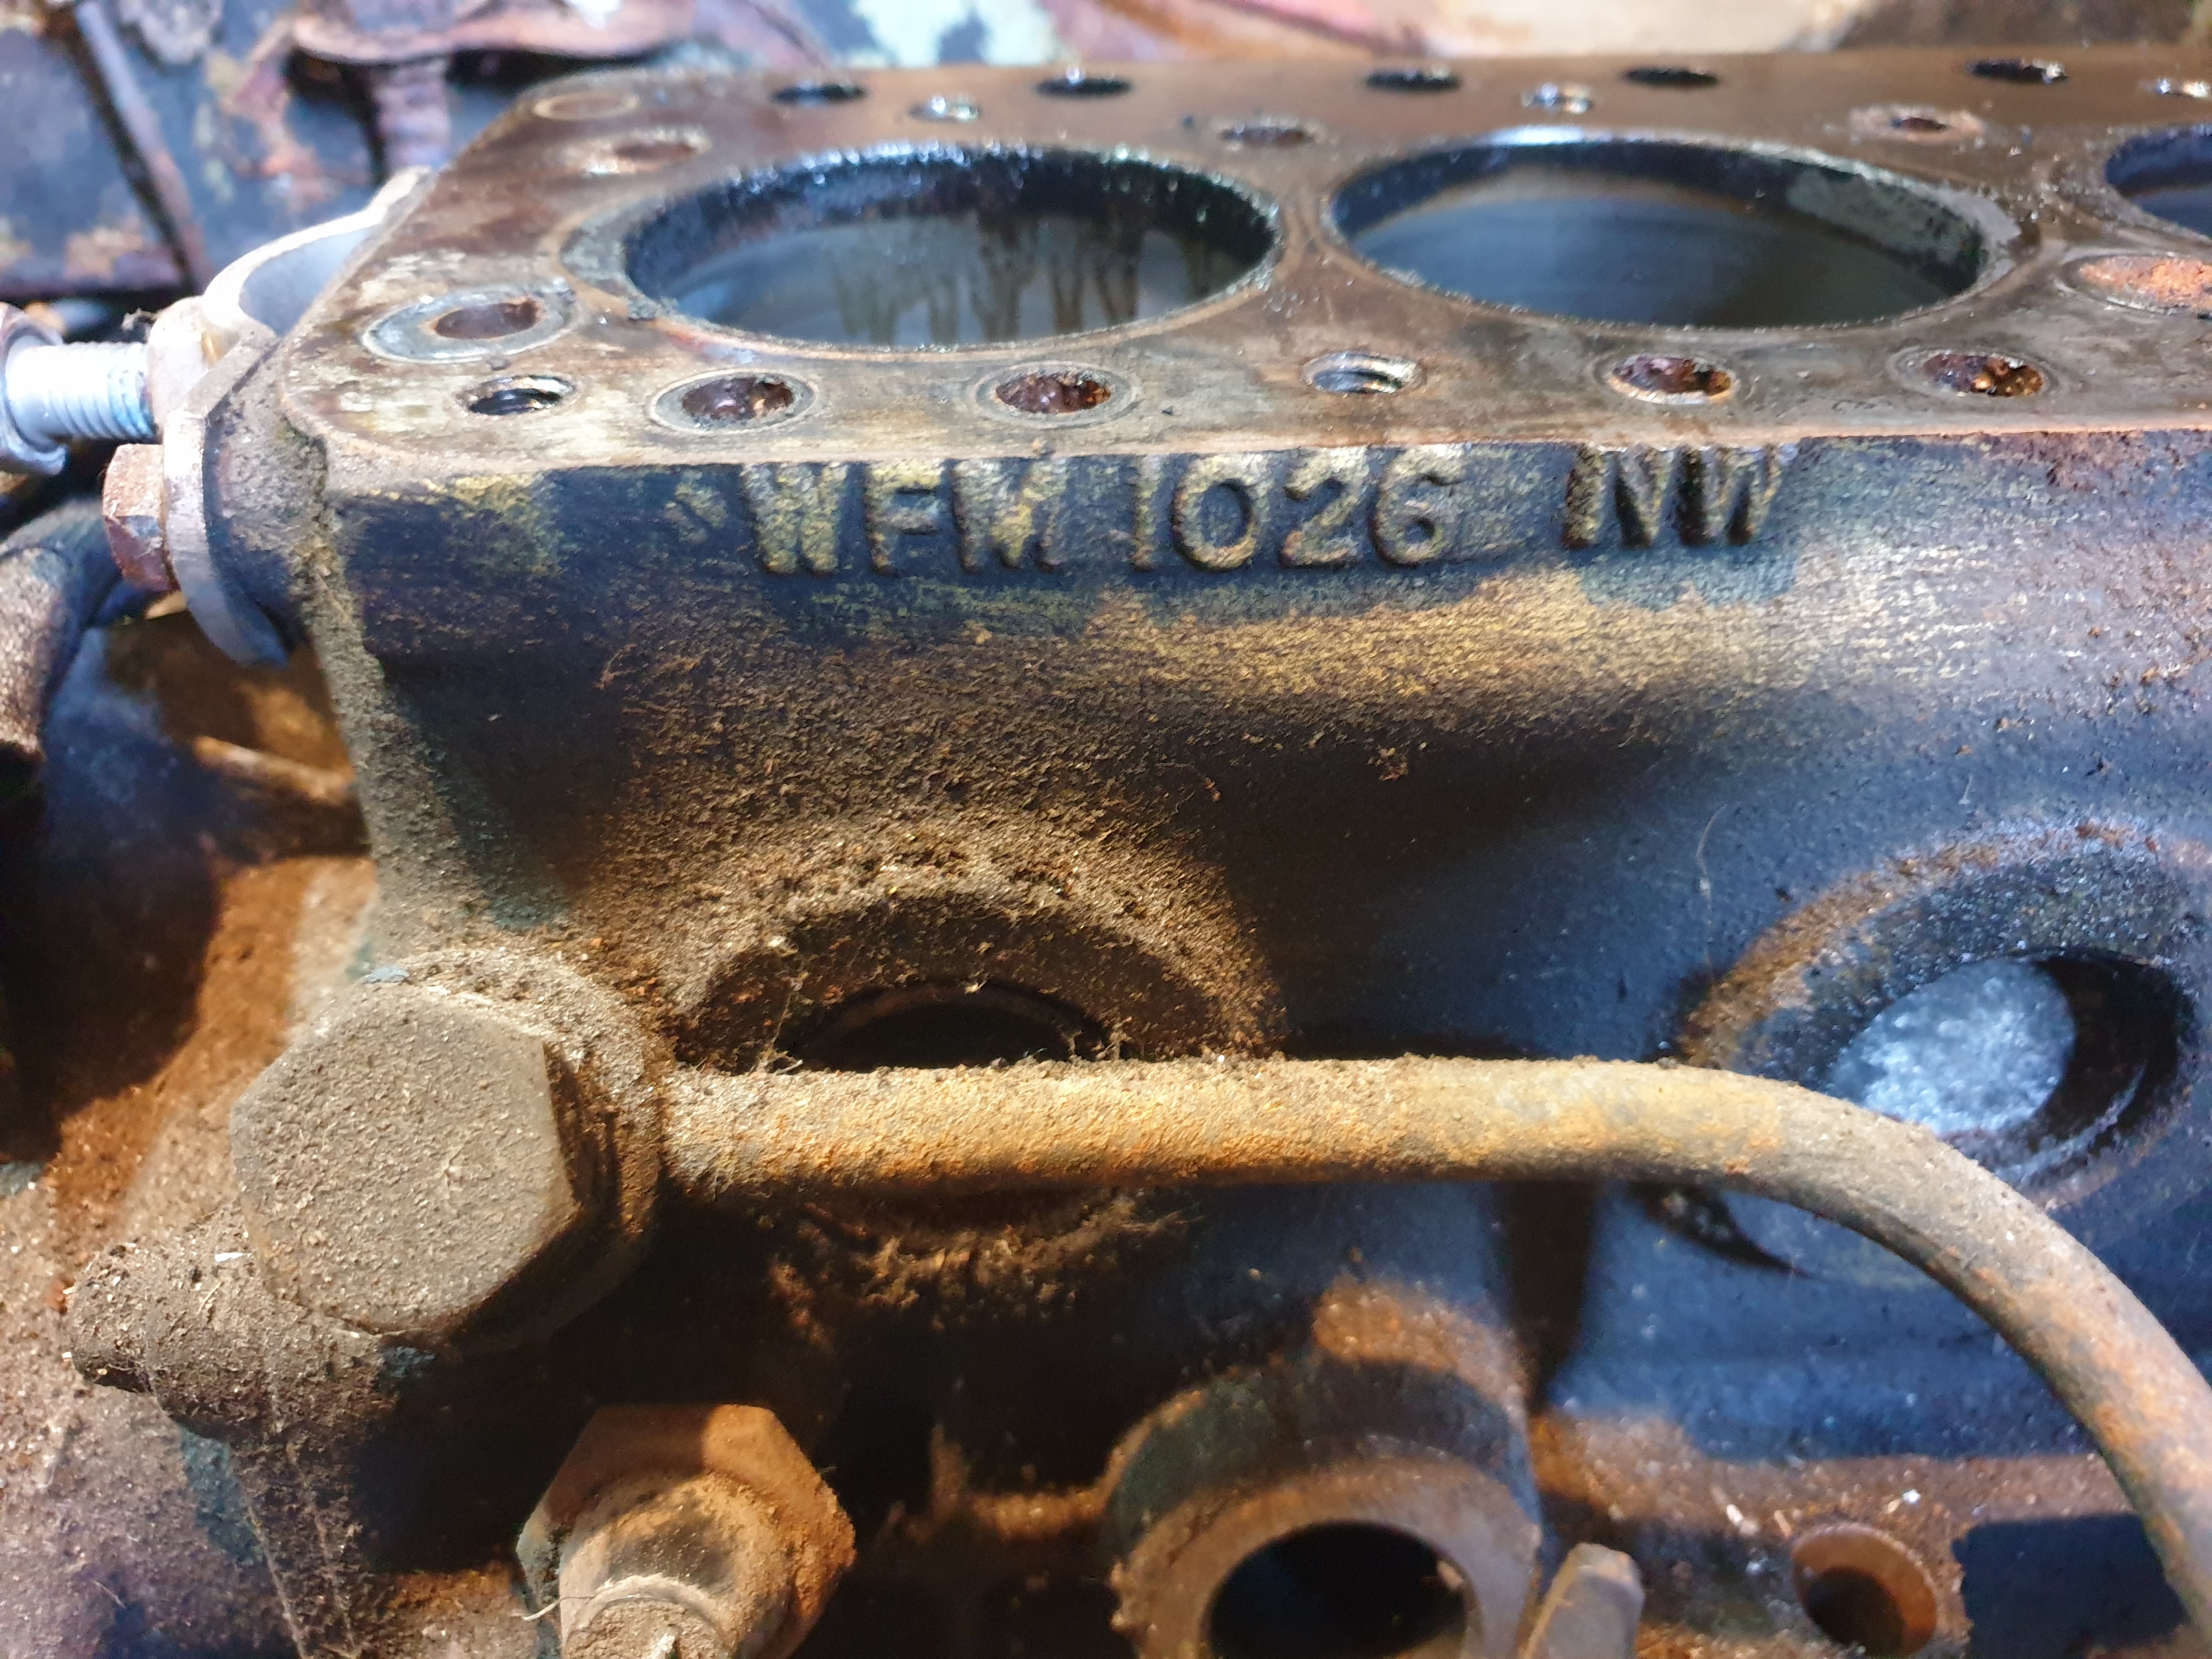
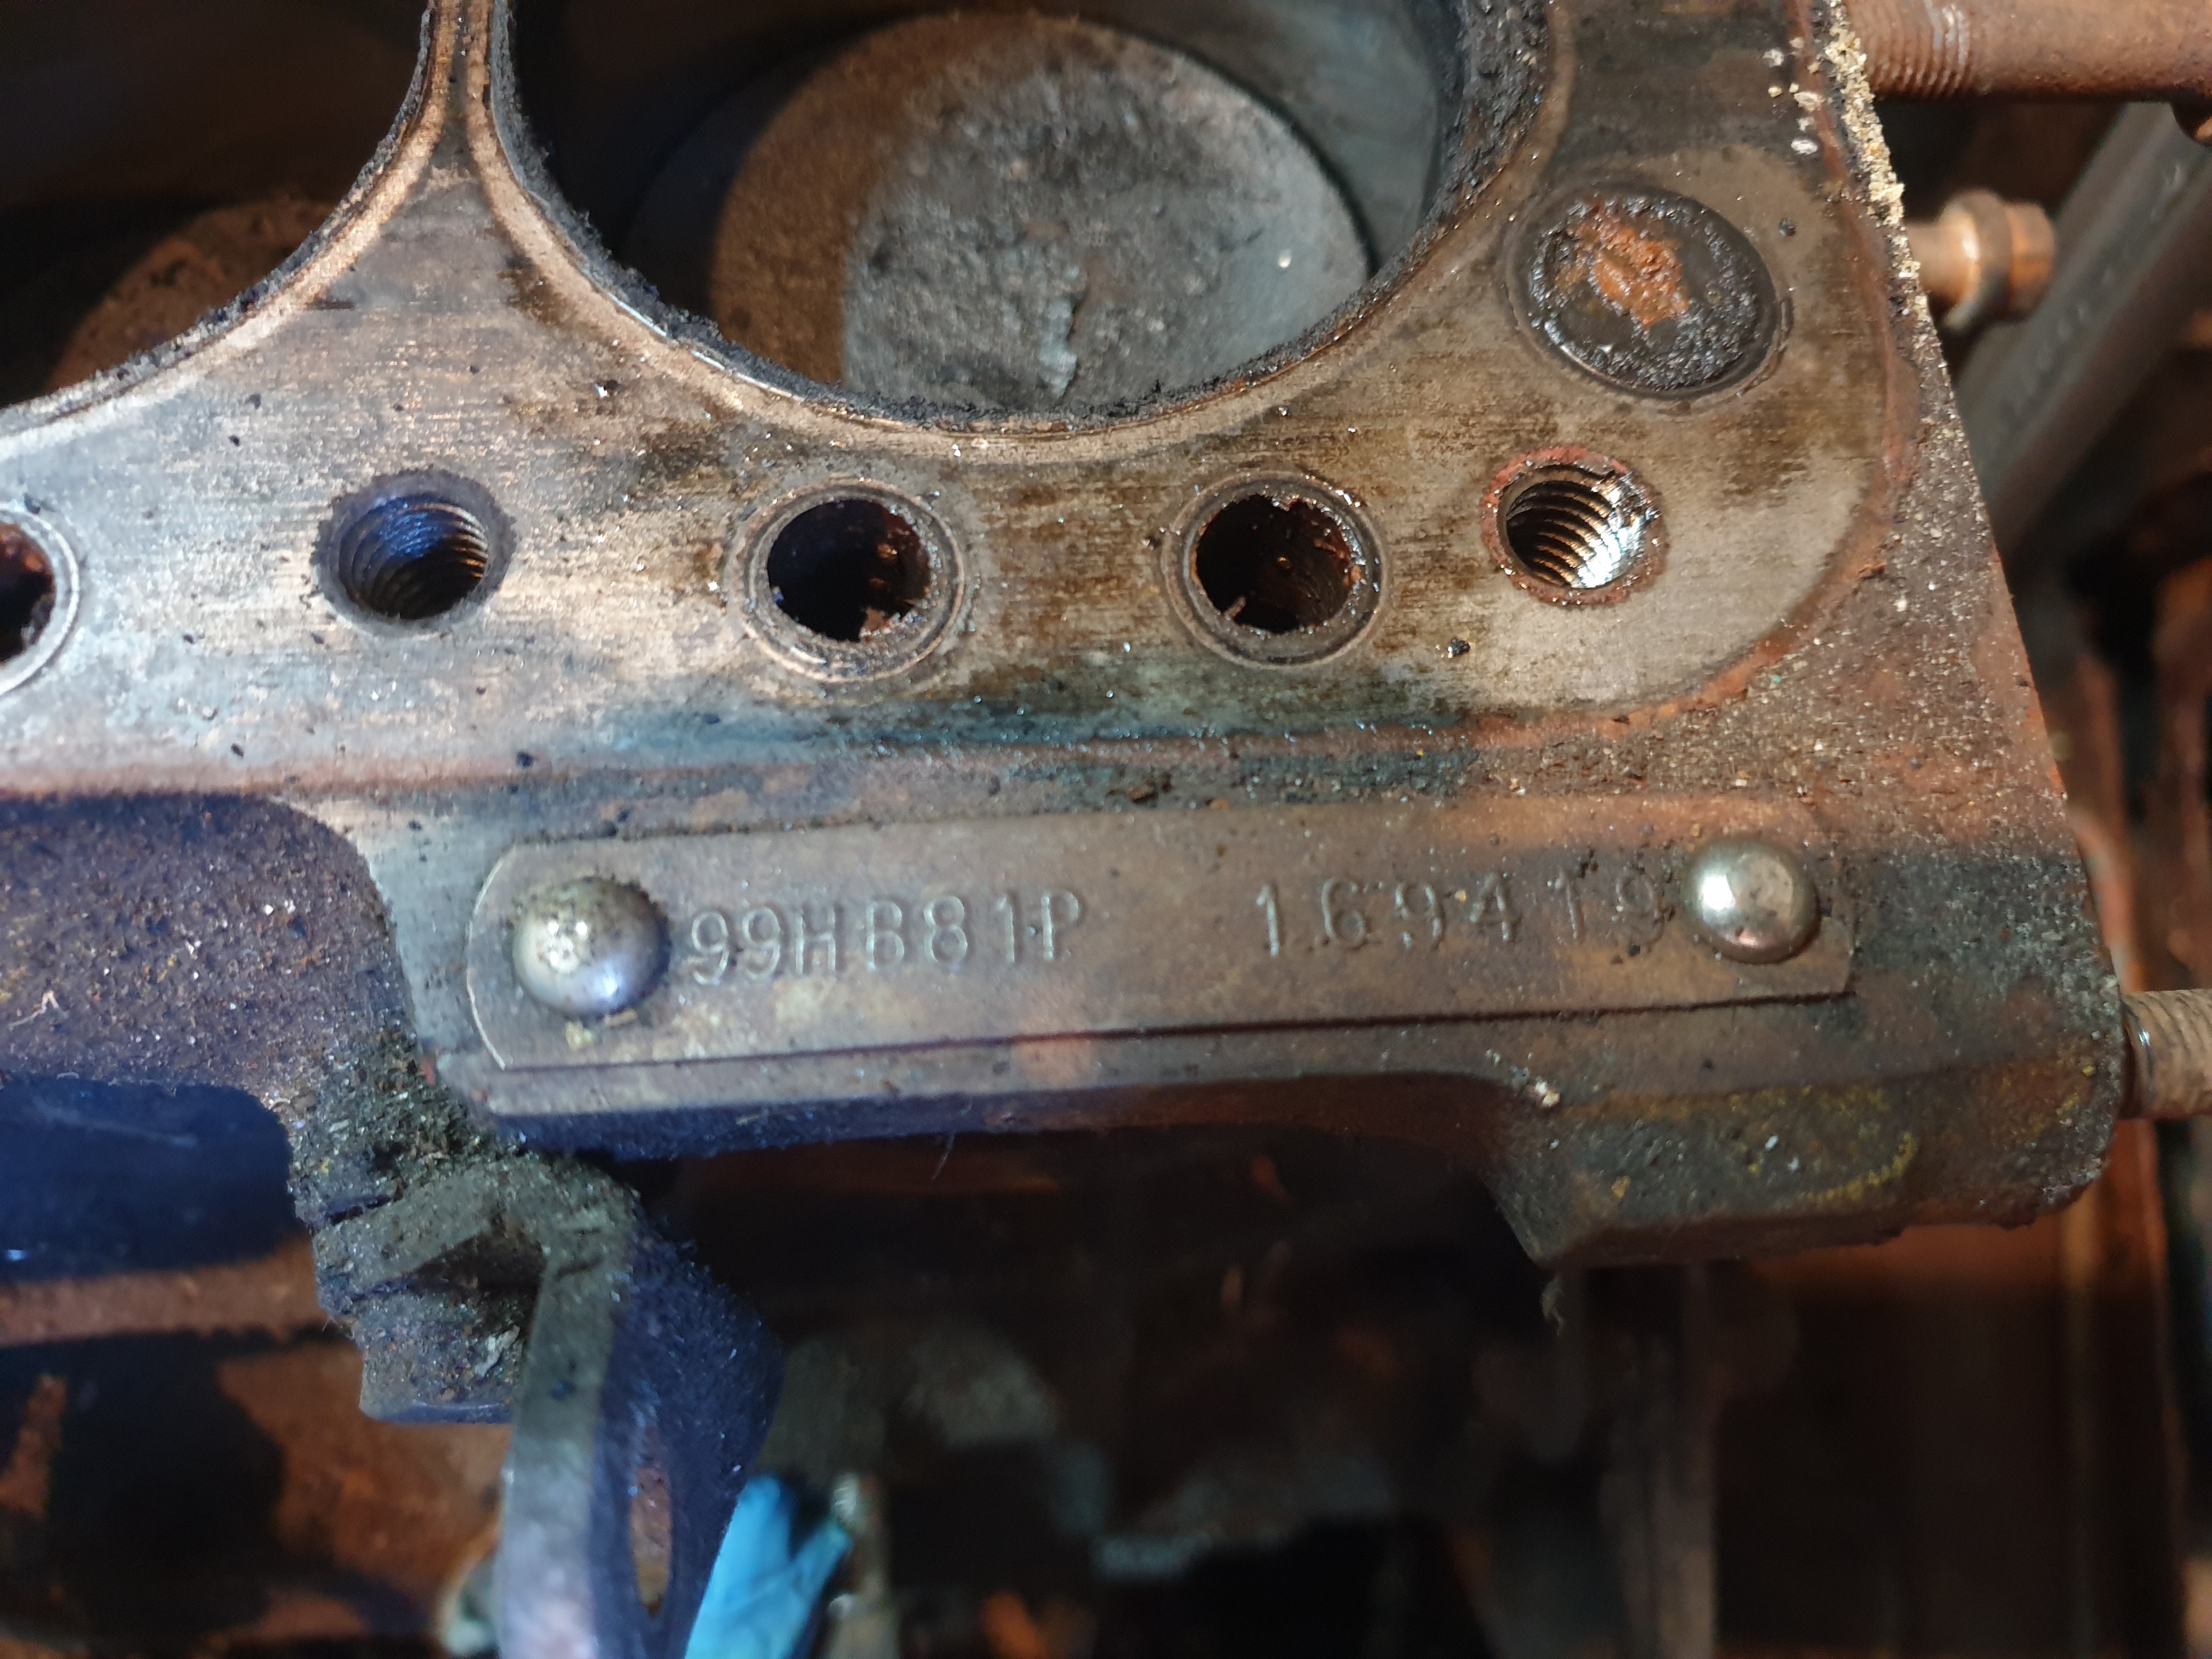
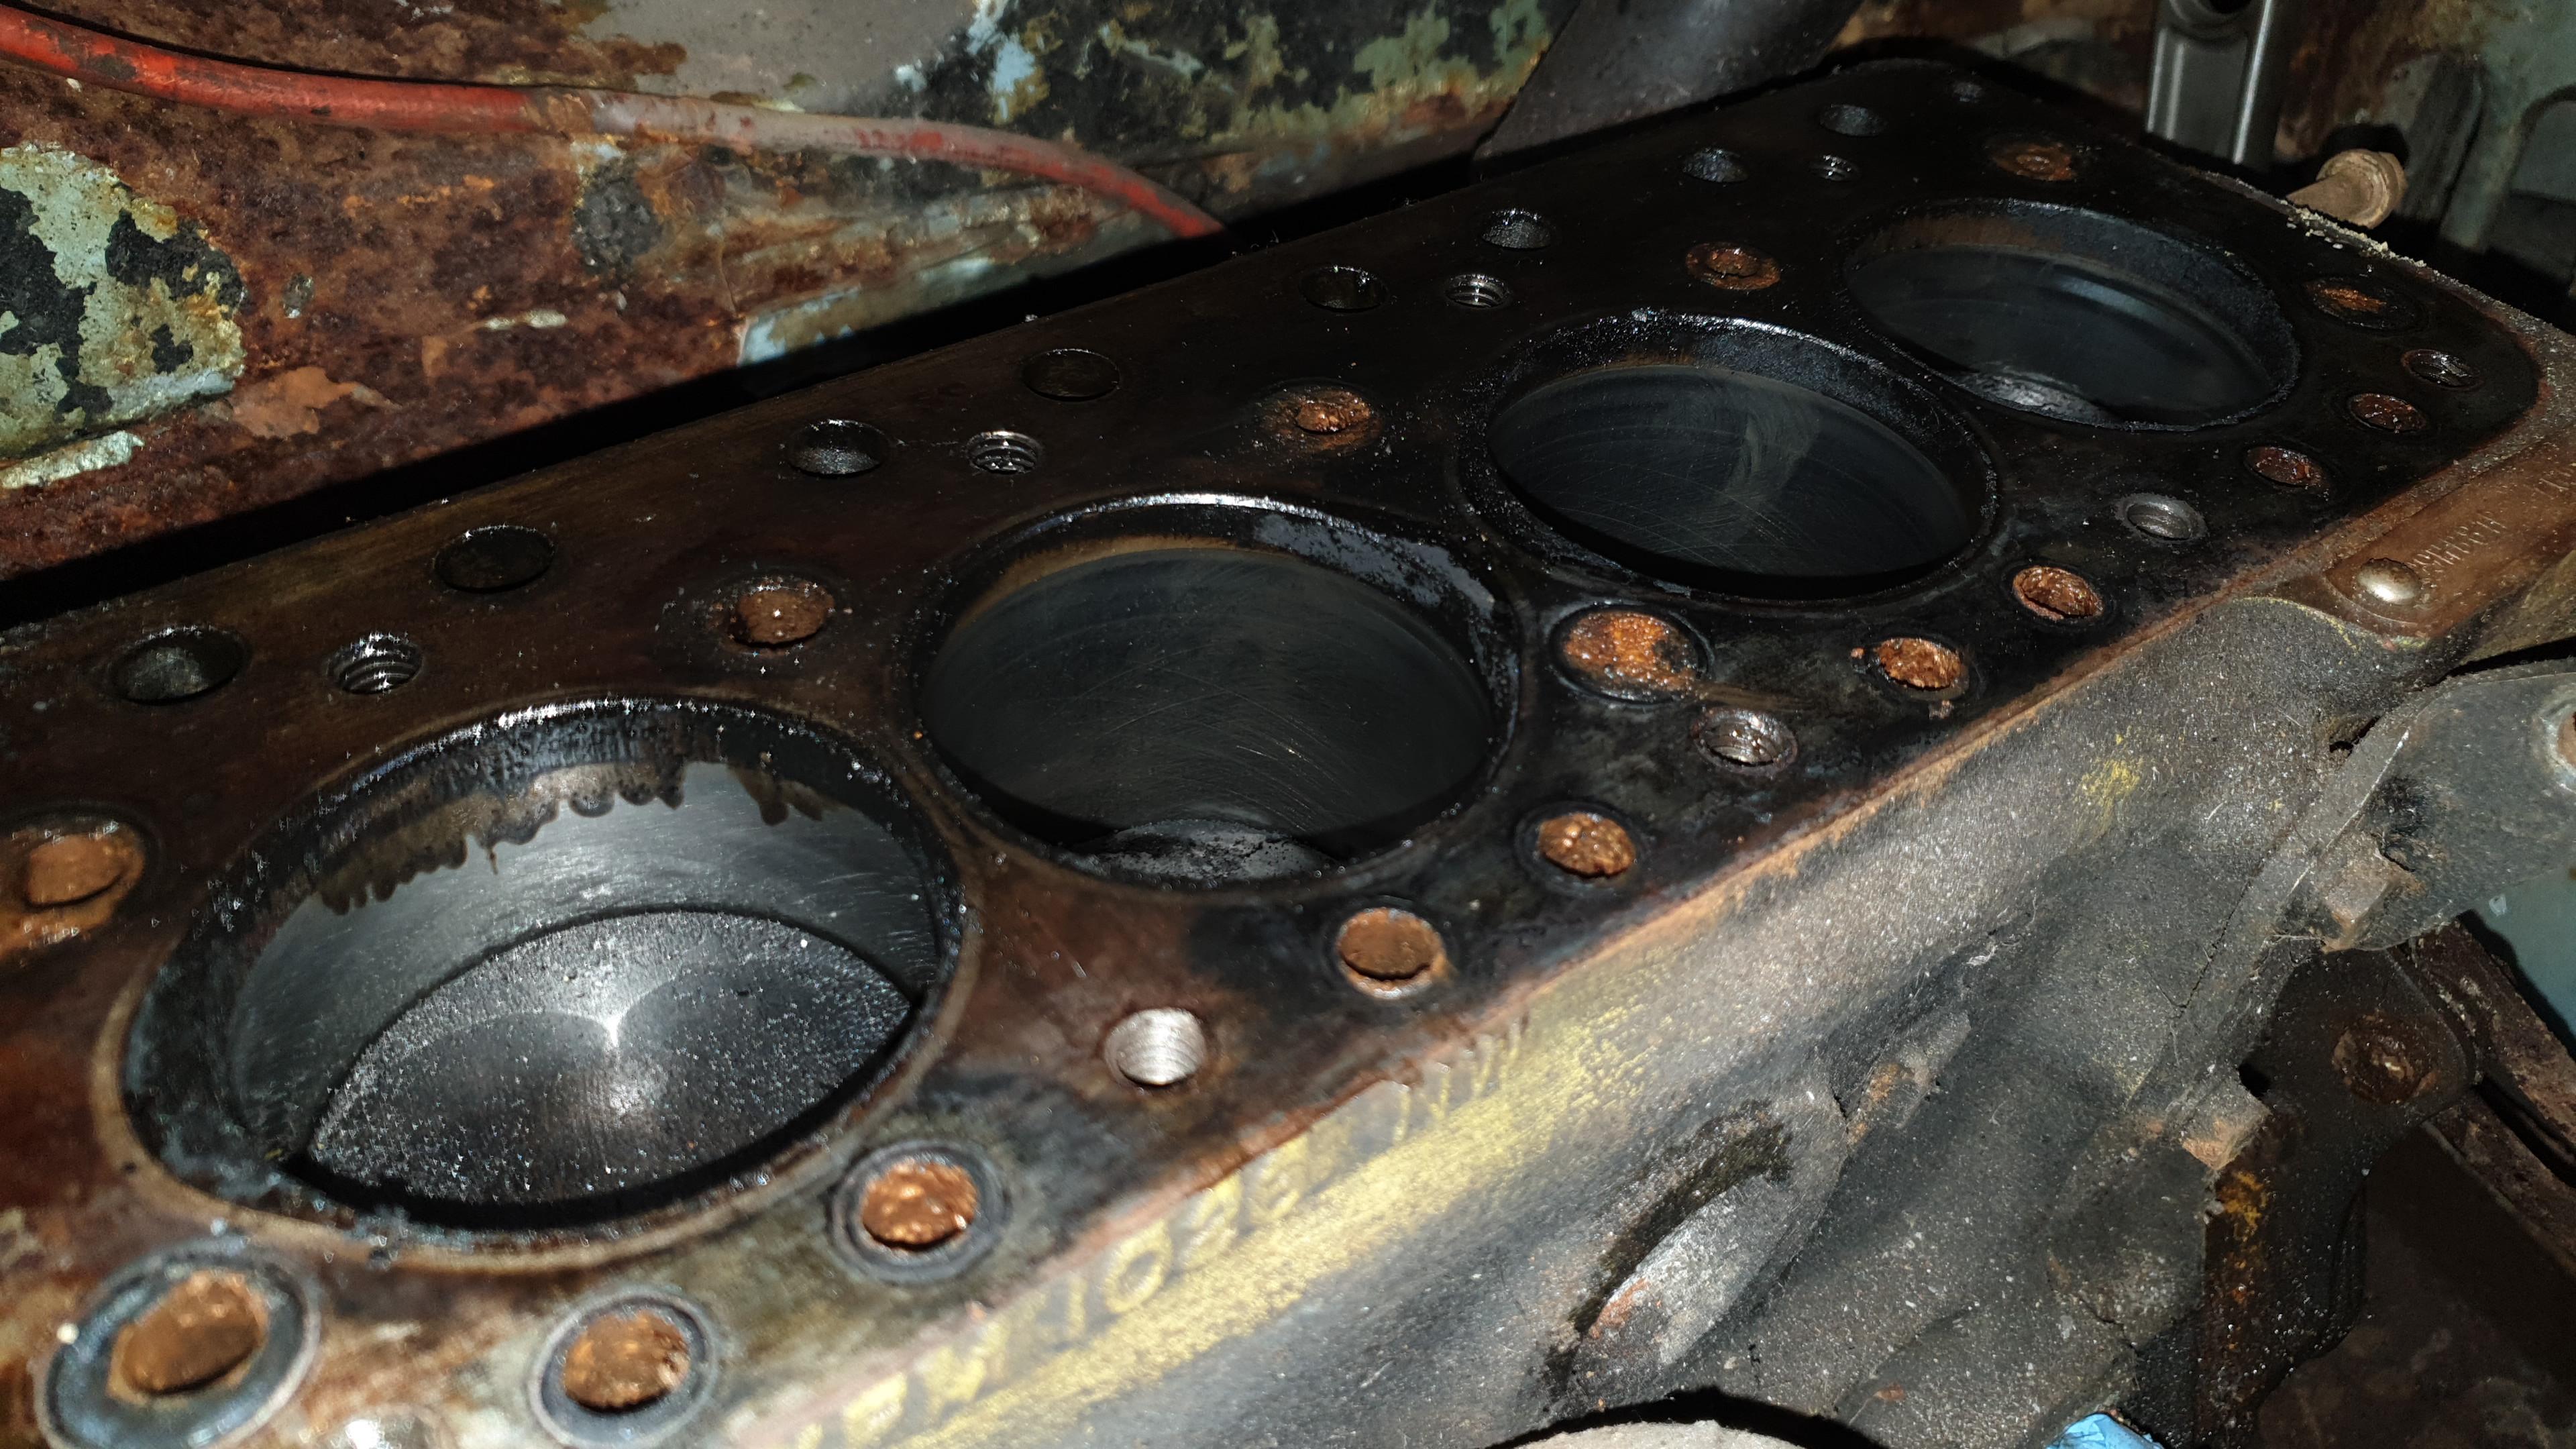
With the head off the cylinders look to be in pretty reasonable condition. The two spare engines; another 998cc and a 1275cc are in unknown condition. The 1275 has spent a long time with the head off and the cylinders are rusty. Hopefully a careful rebuild will be enough, but boring them out is always an option.
 |
 |
 |
 |
 |
 |
 |
 |
 |
 |
 |
 |
| Carburetta | Pulling the mess of wires | Signs of rust everywhere | Carefully removed wing | Head off the engine | It's a 998cc | Removed the wings and inner fenders | Cylinders look reasonable | Sketchy engine hoist | Lifted onto the iron table | Getting a look at the subframe | Subframe removed |
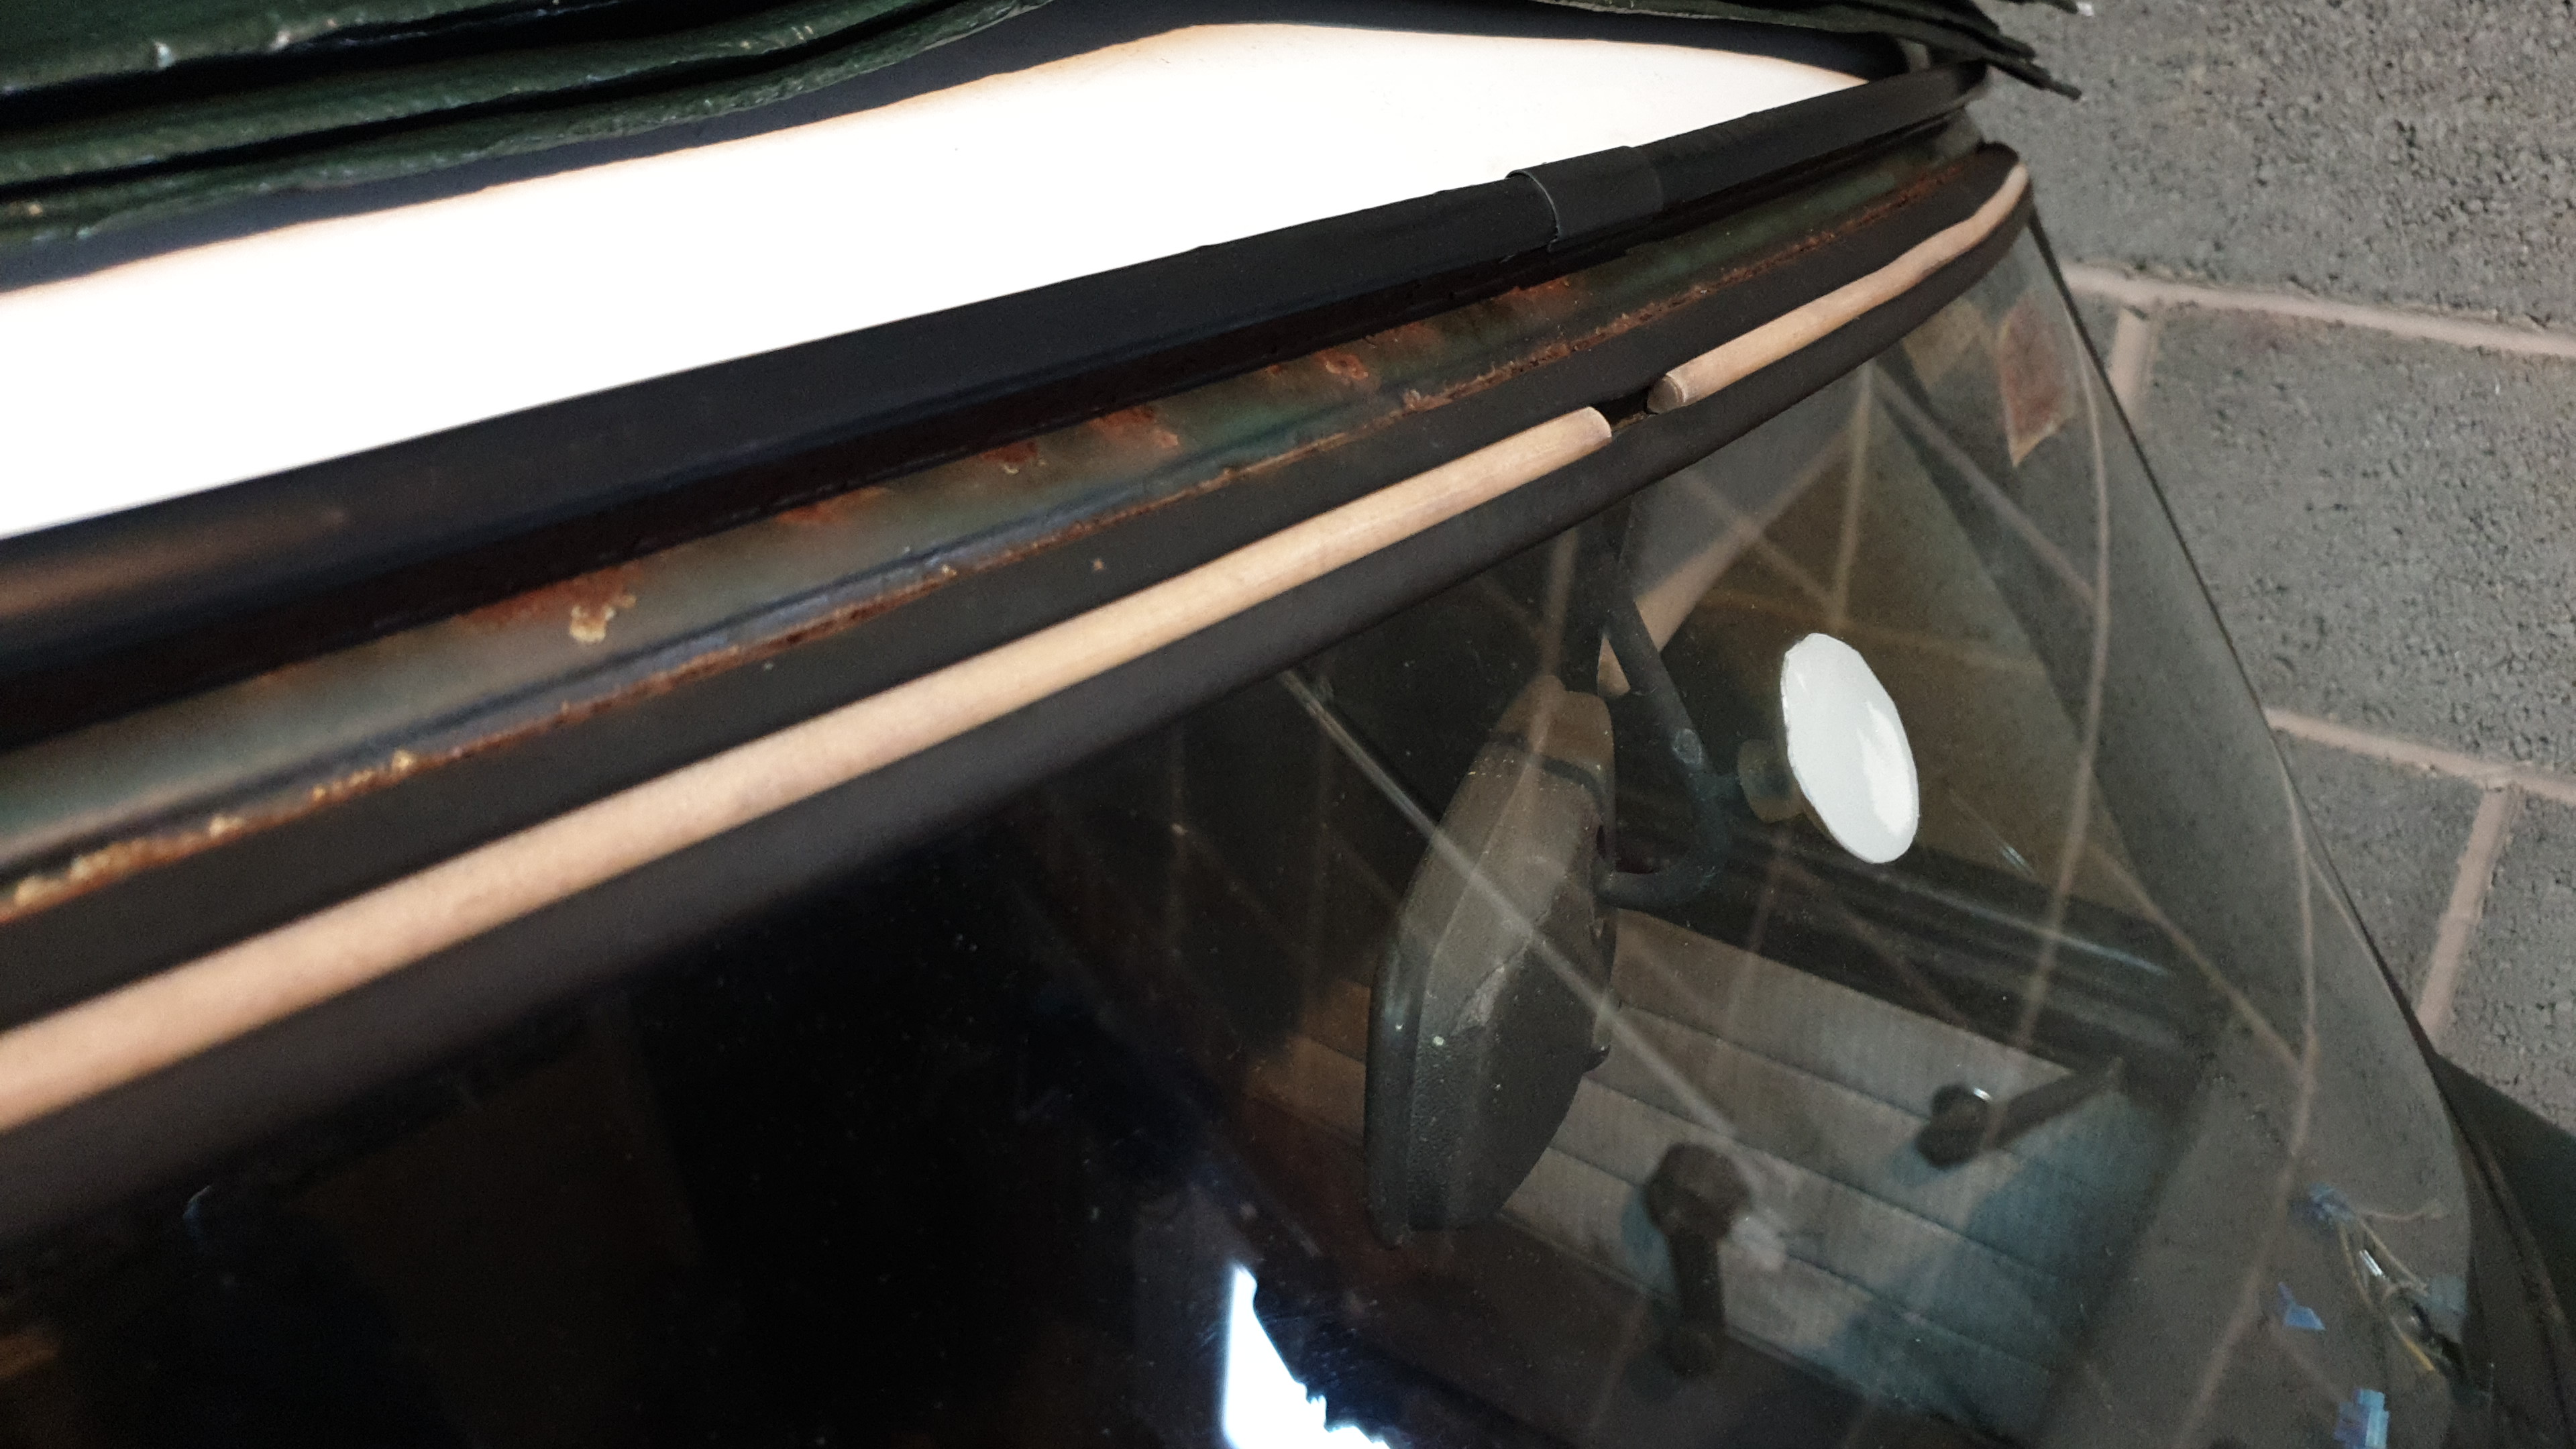
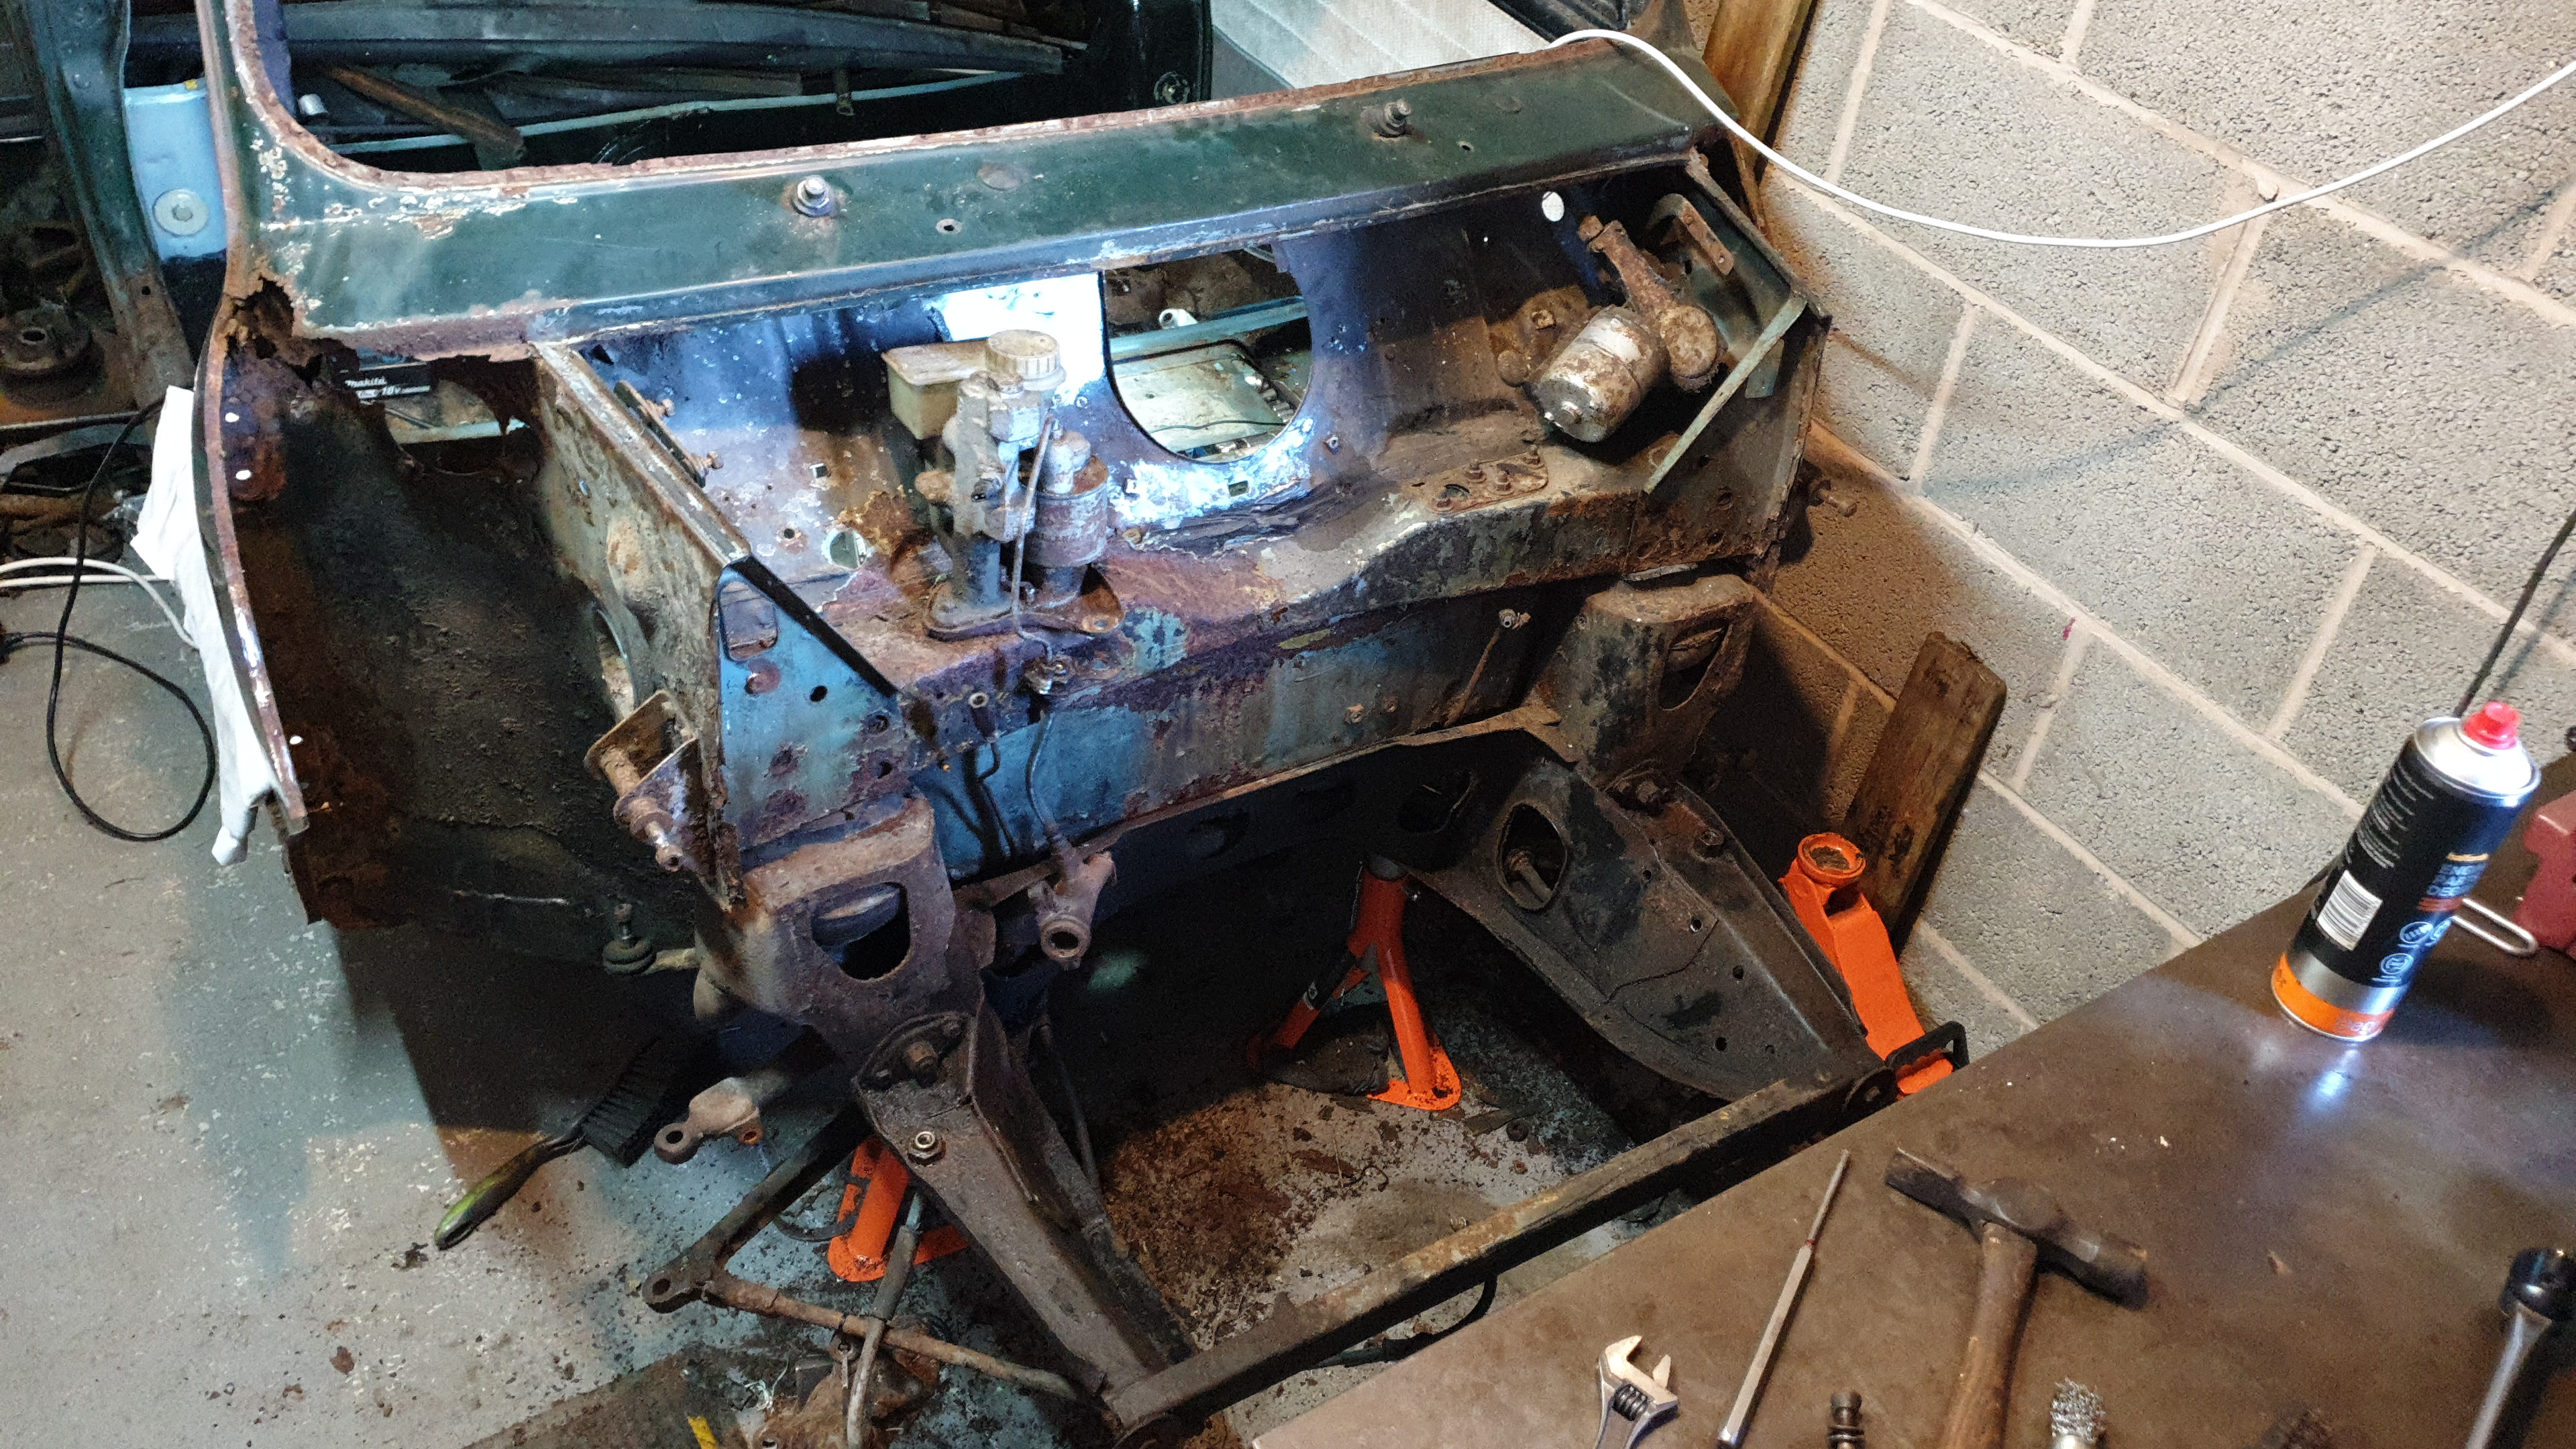
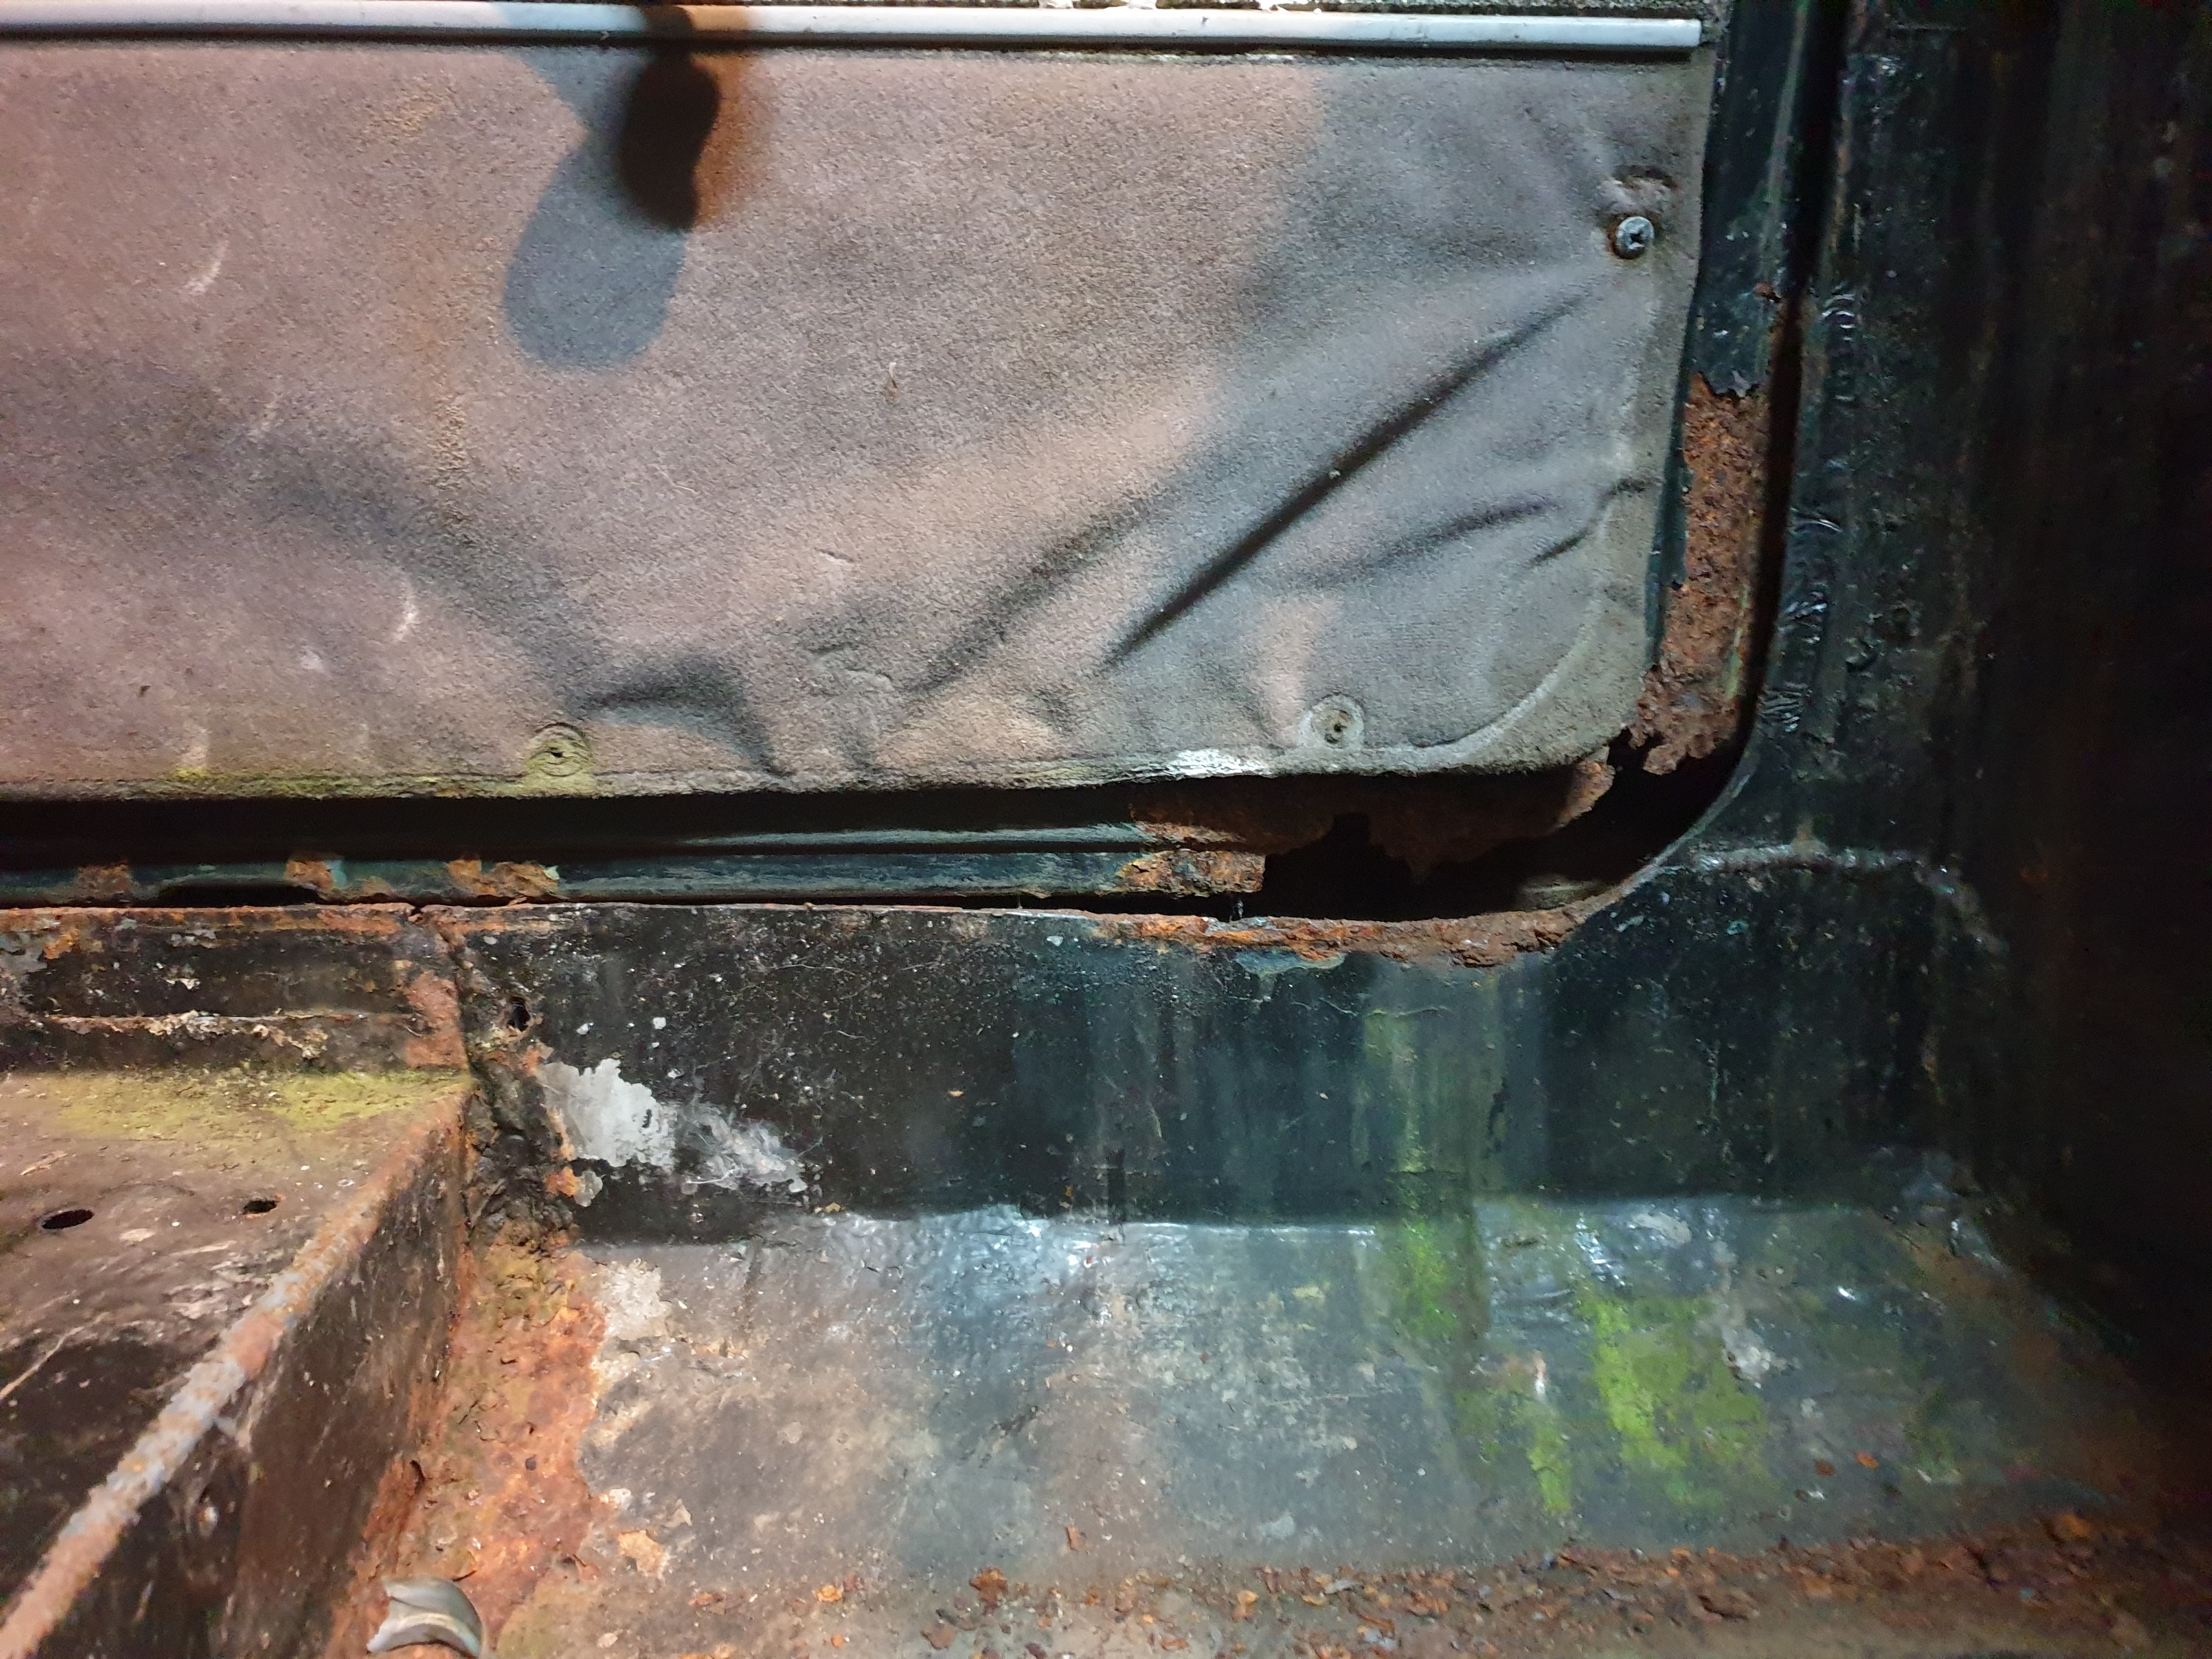
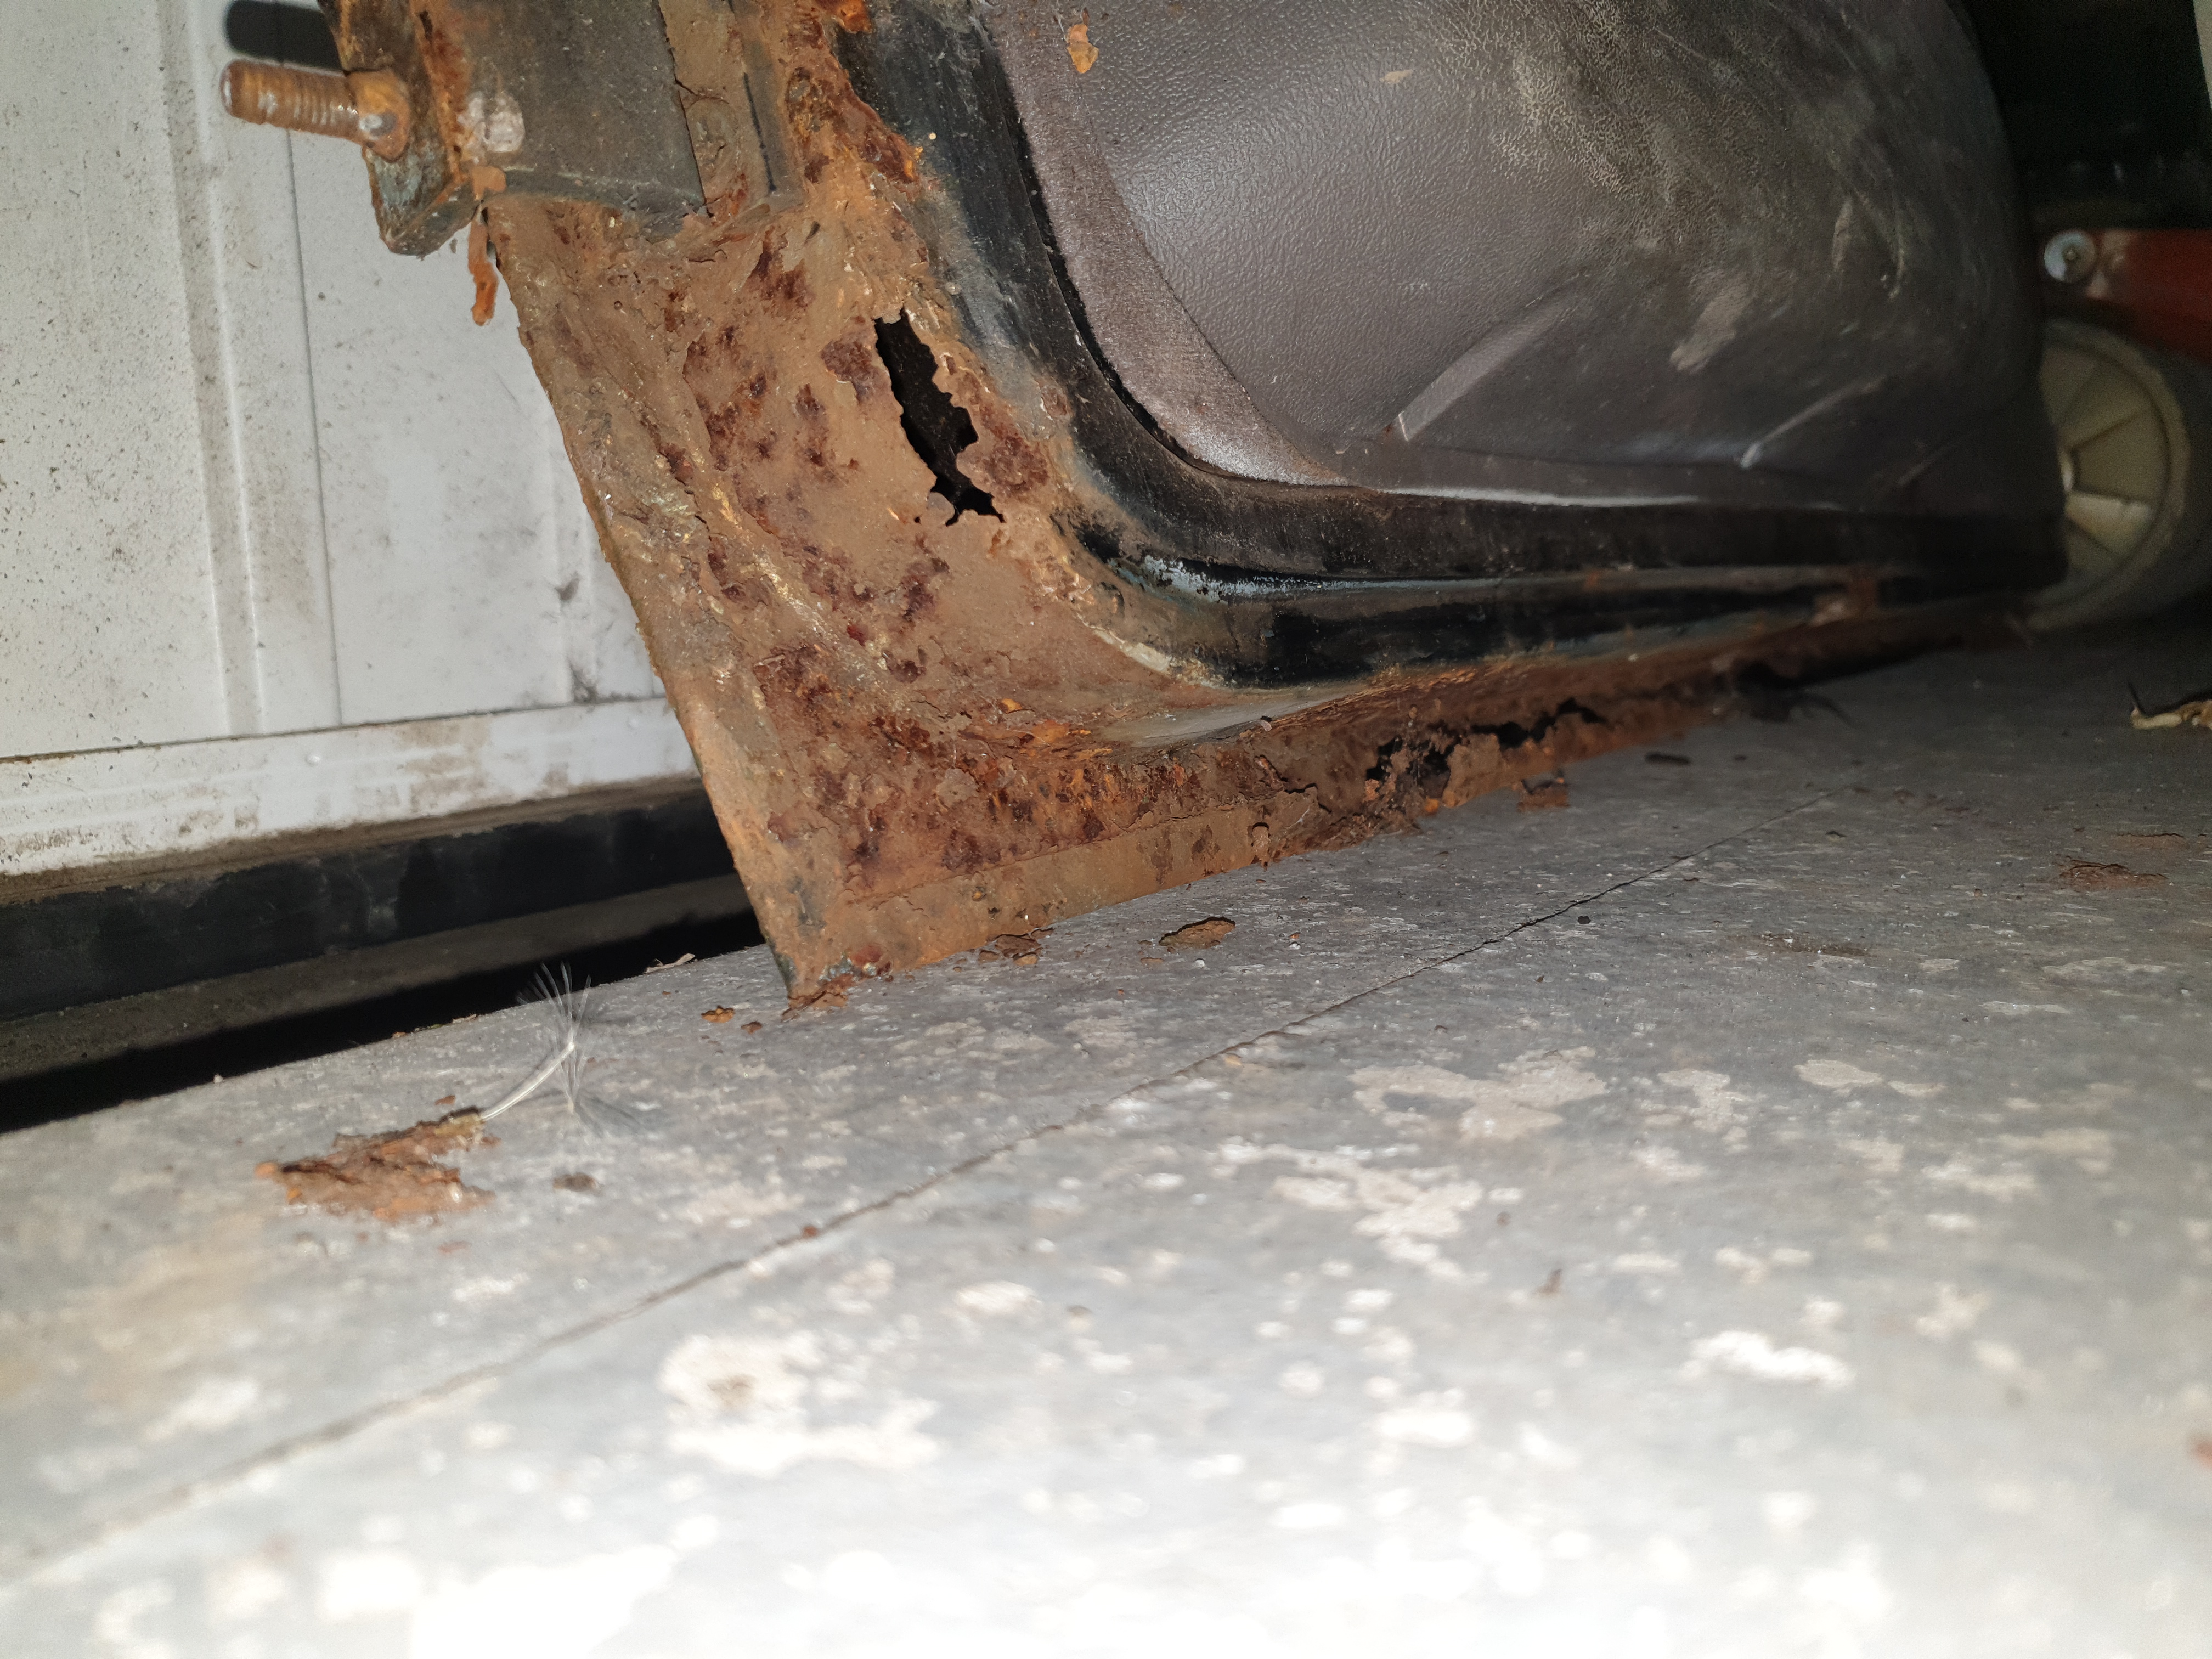
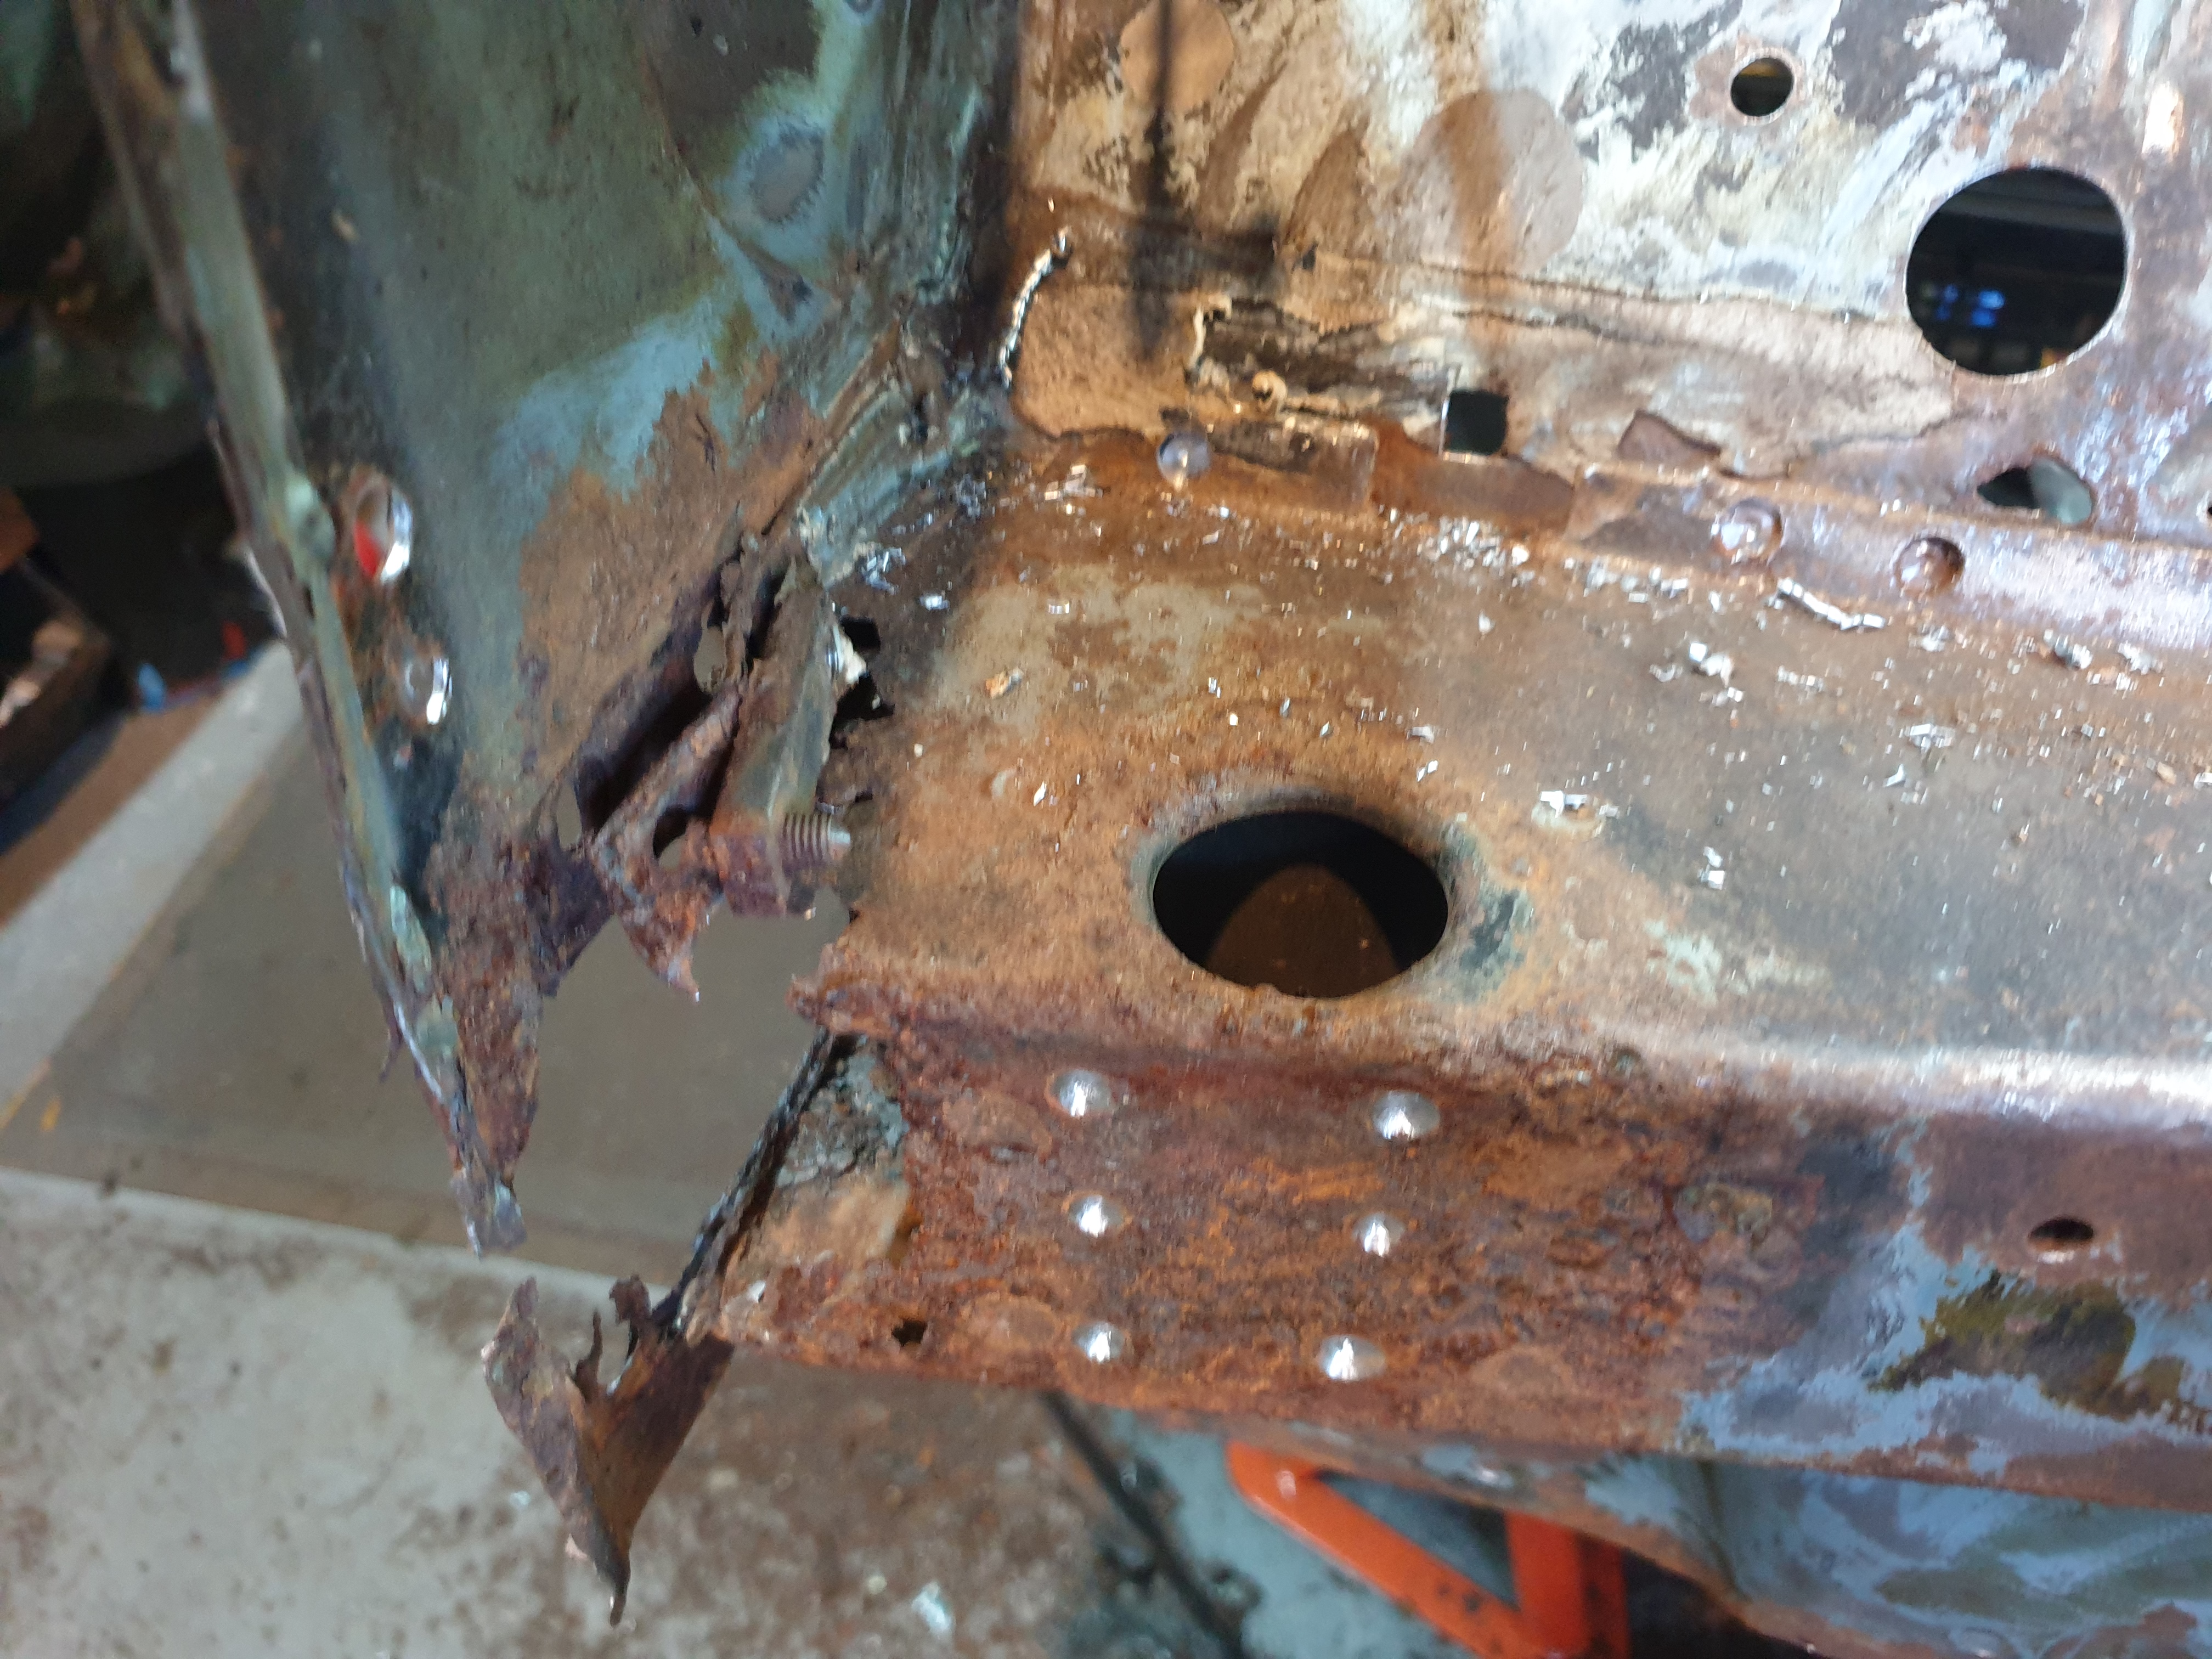
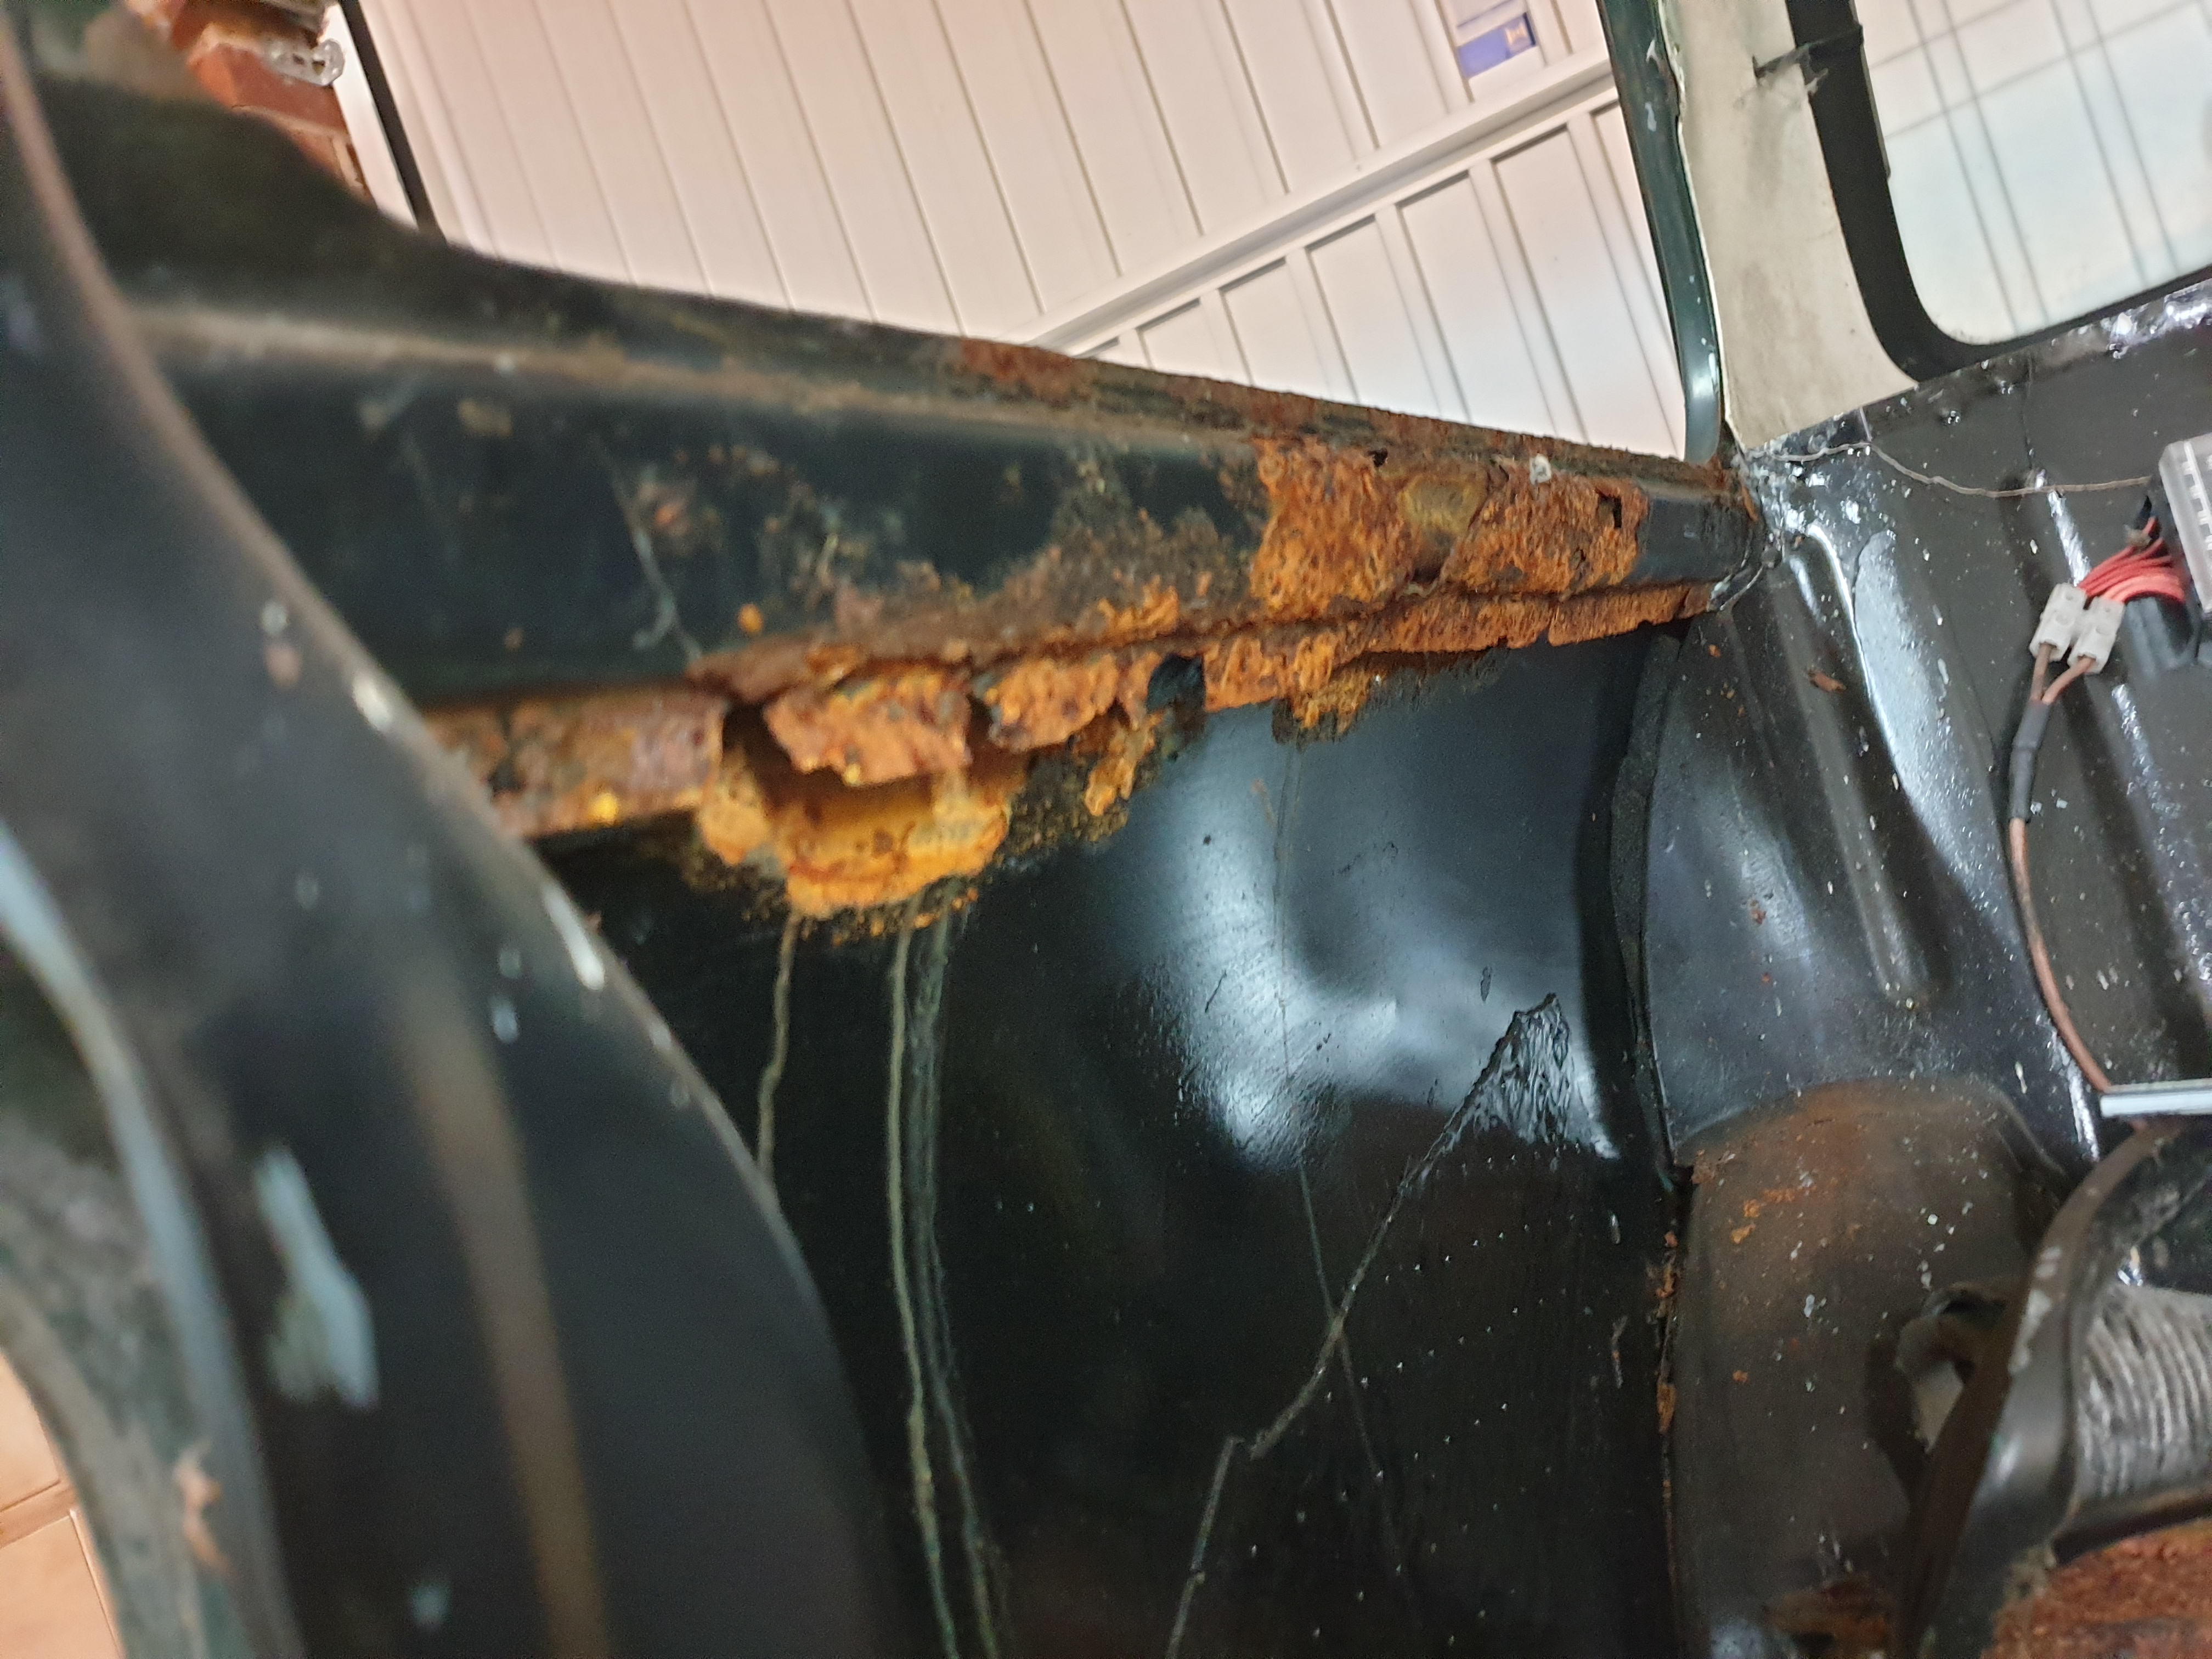
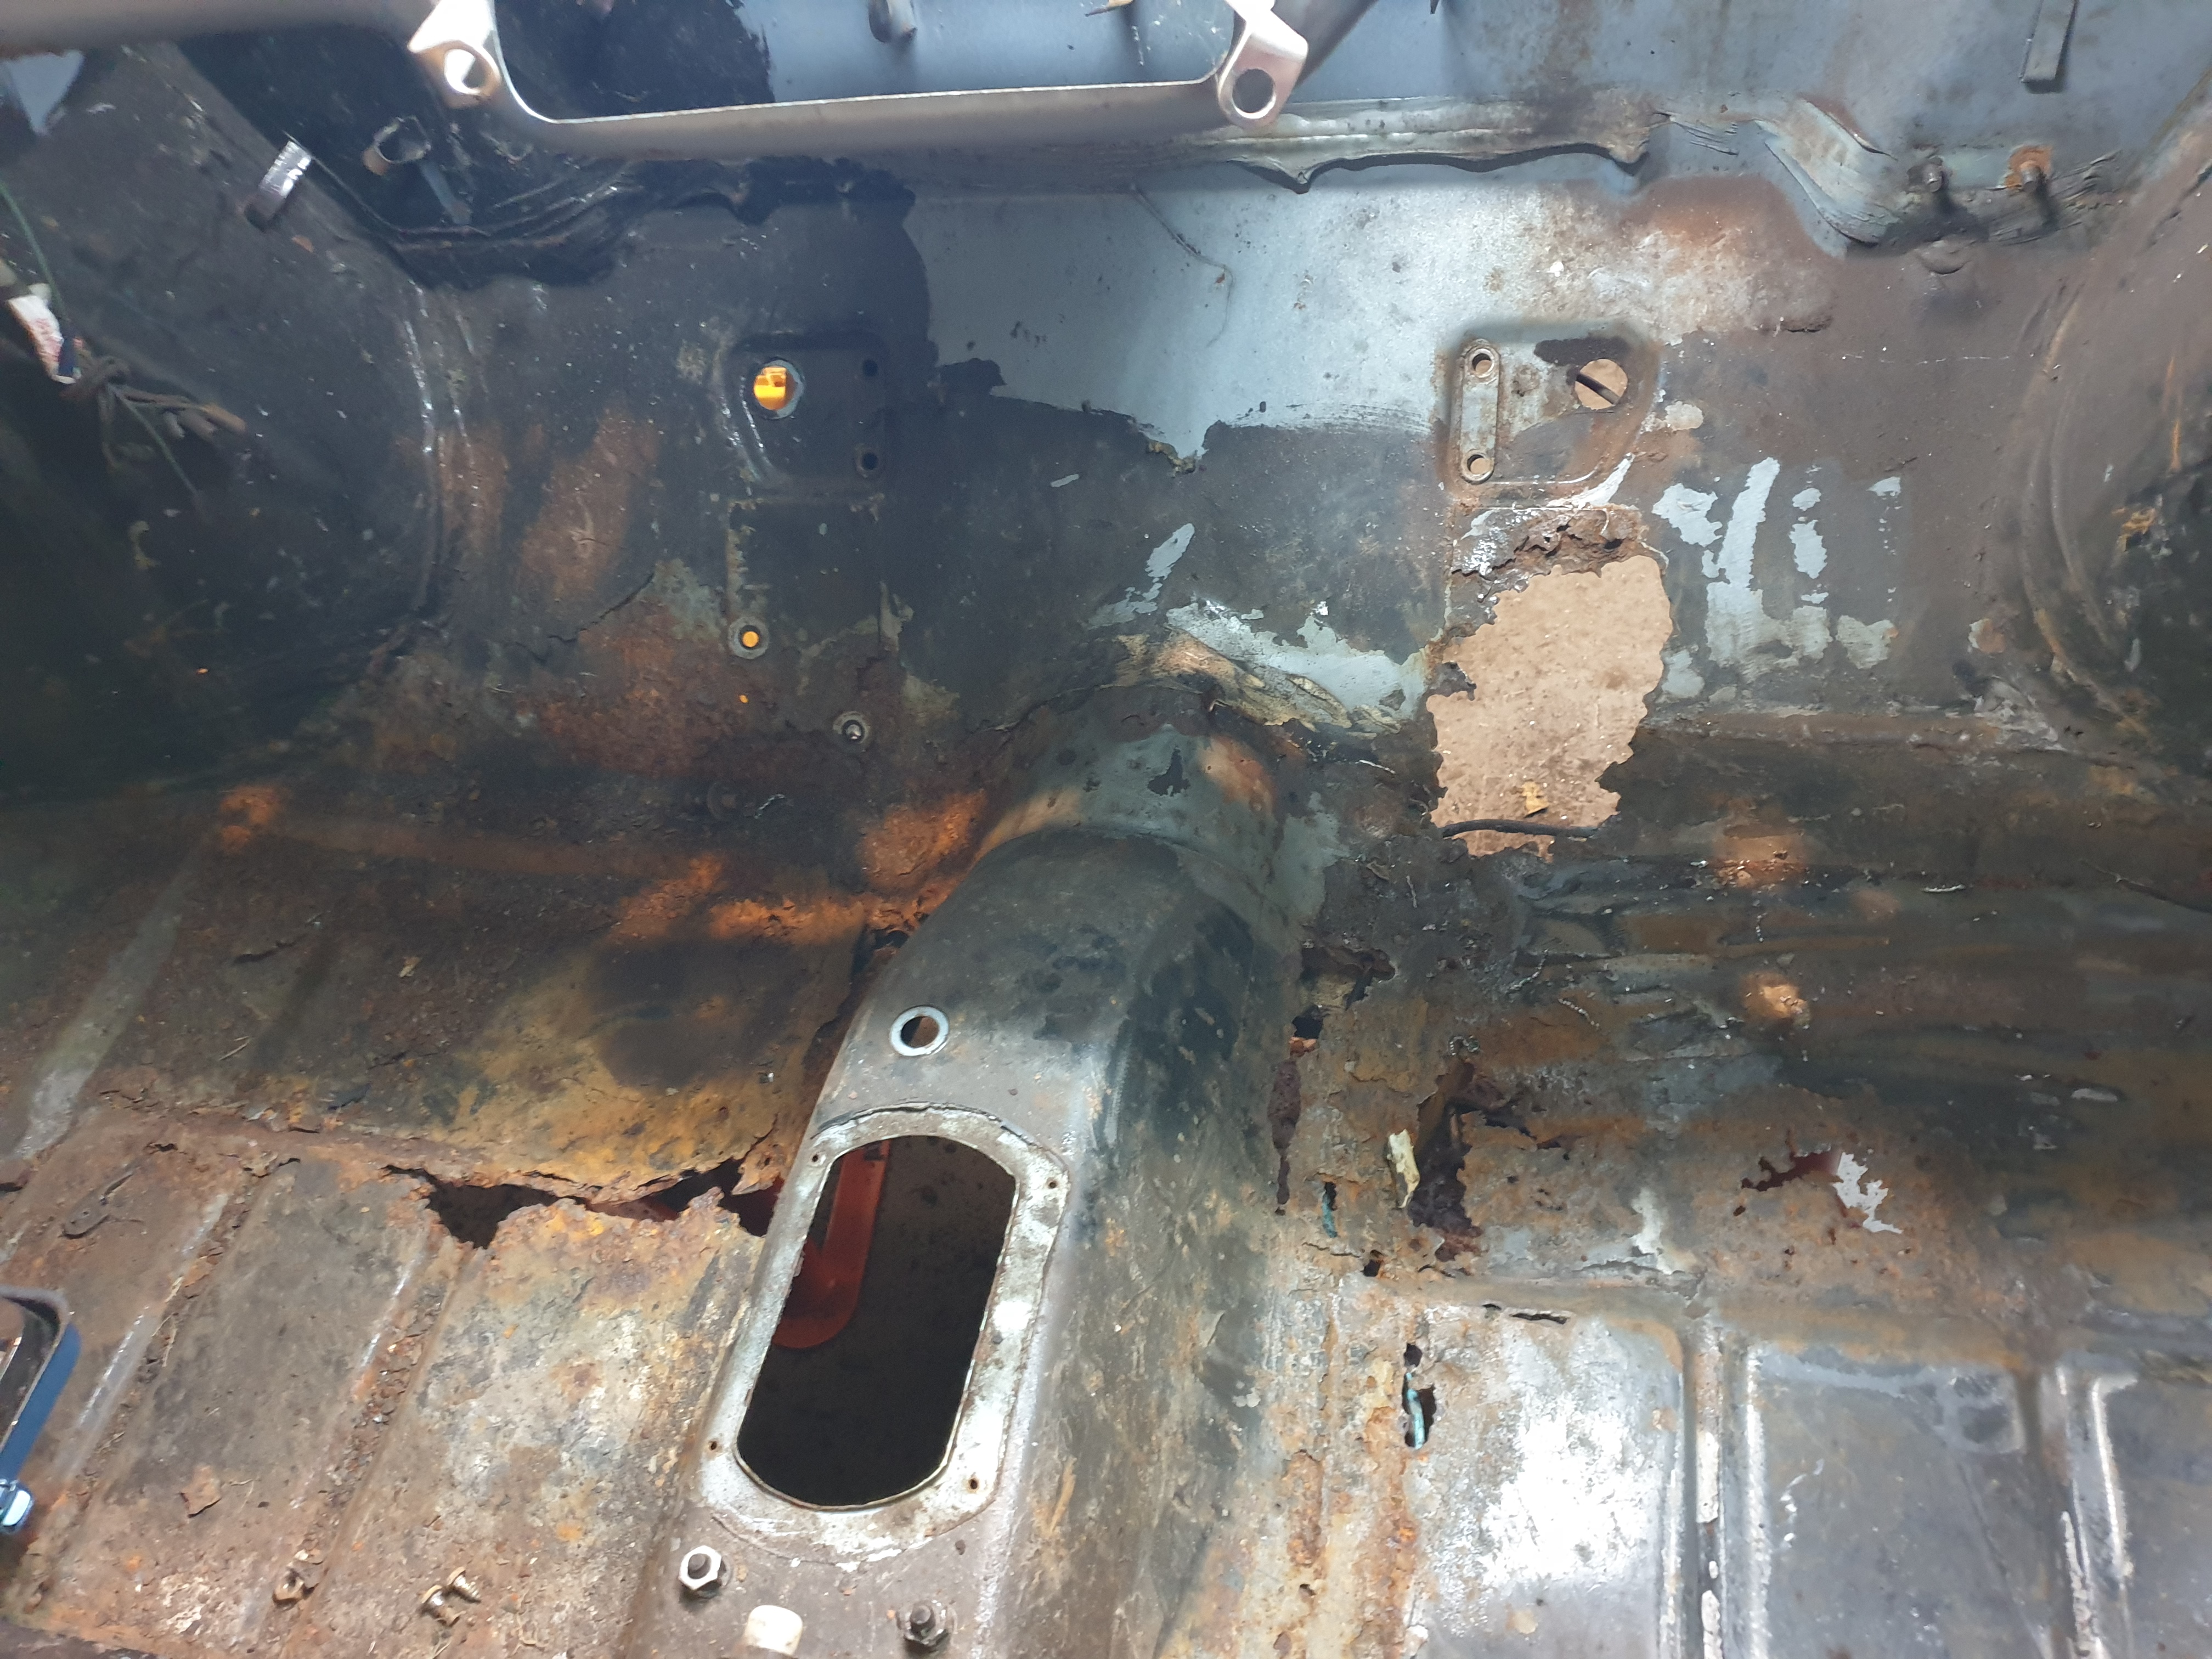
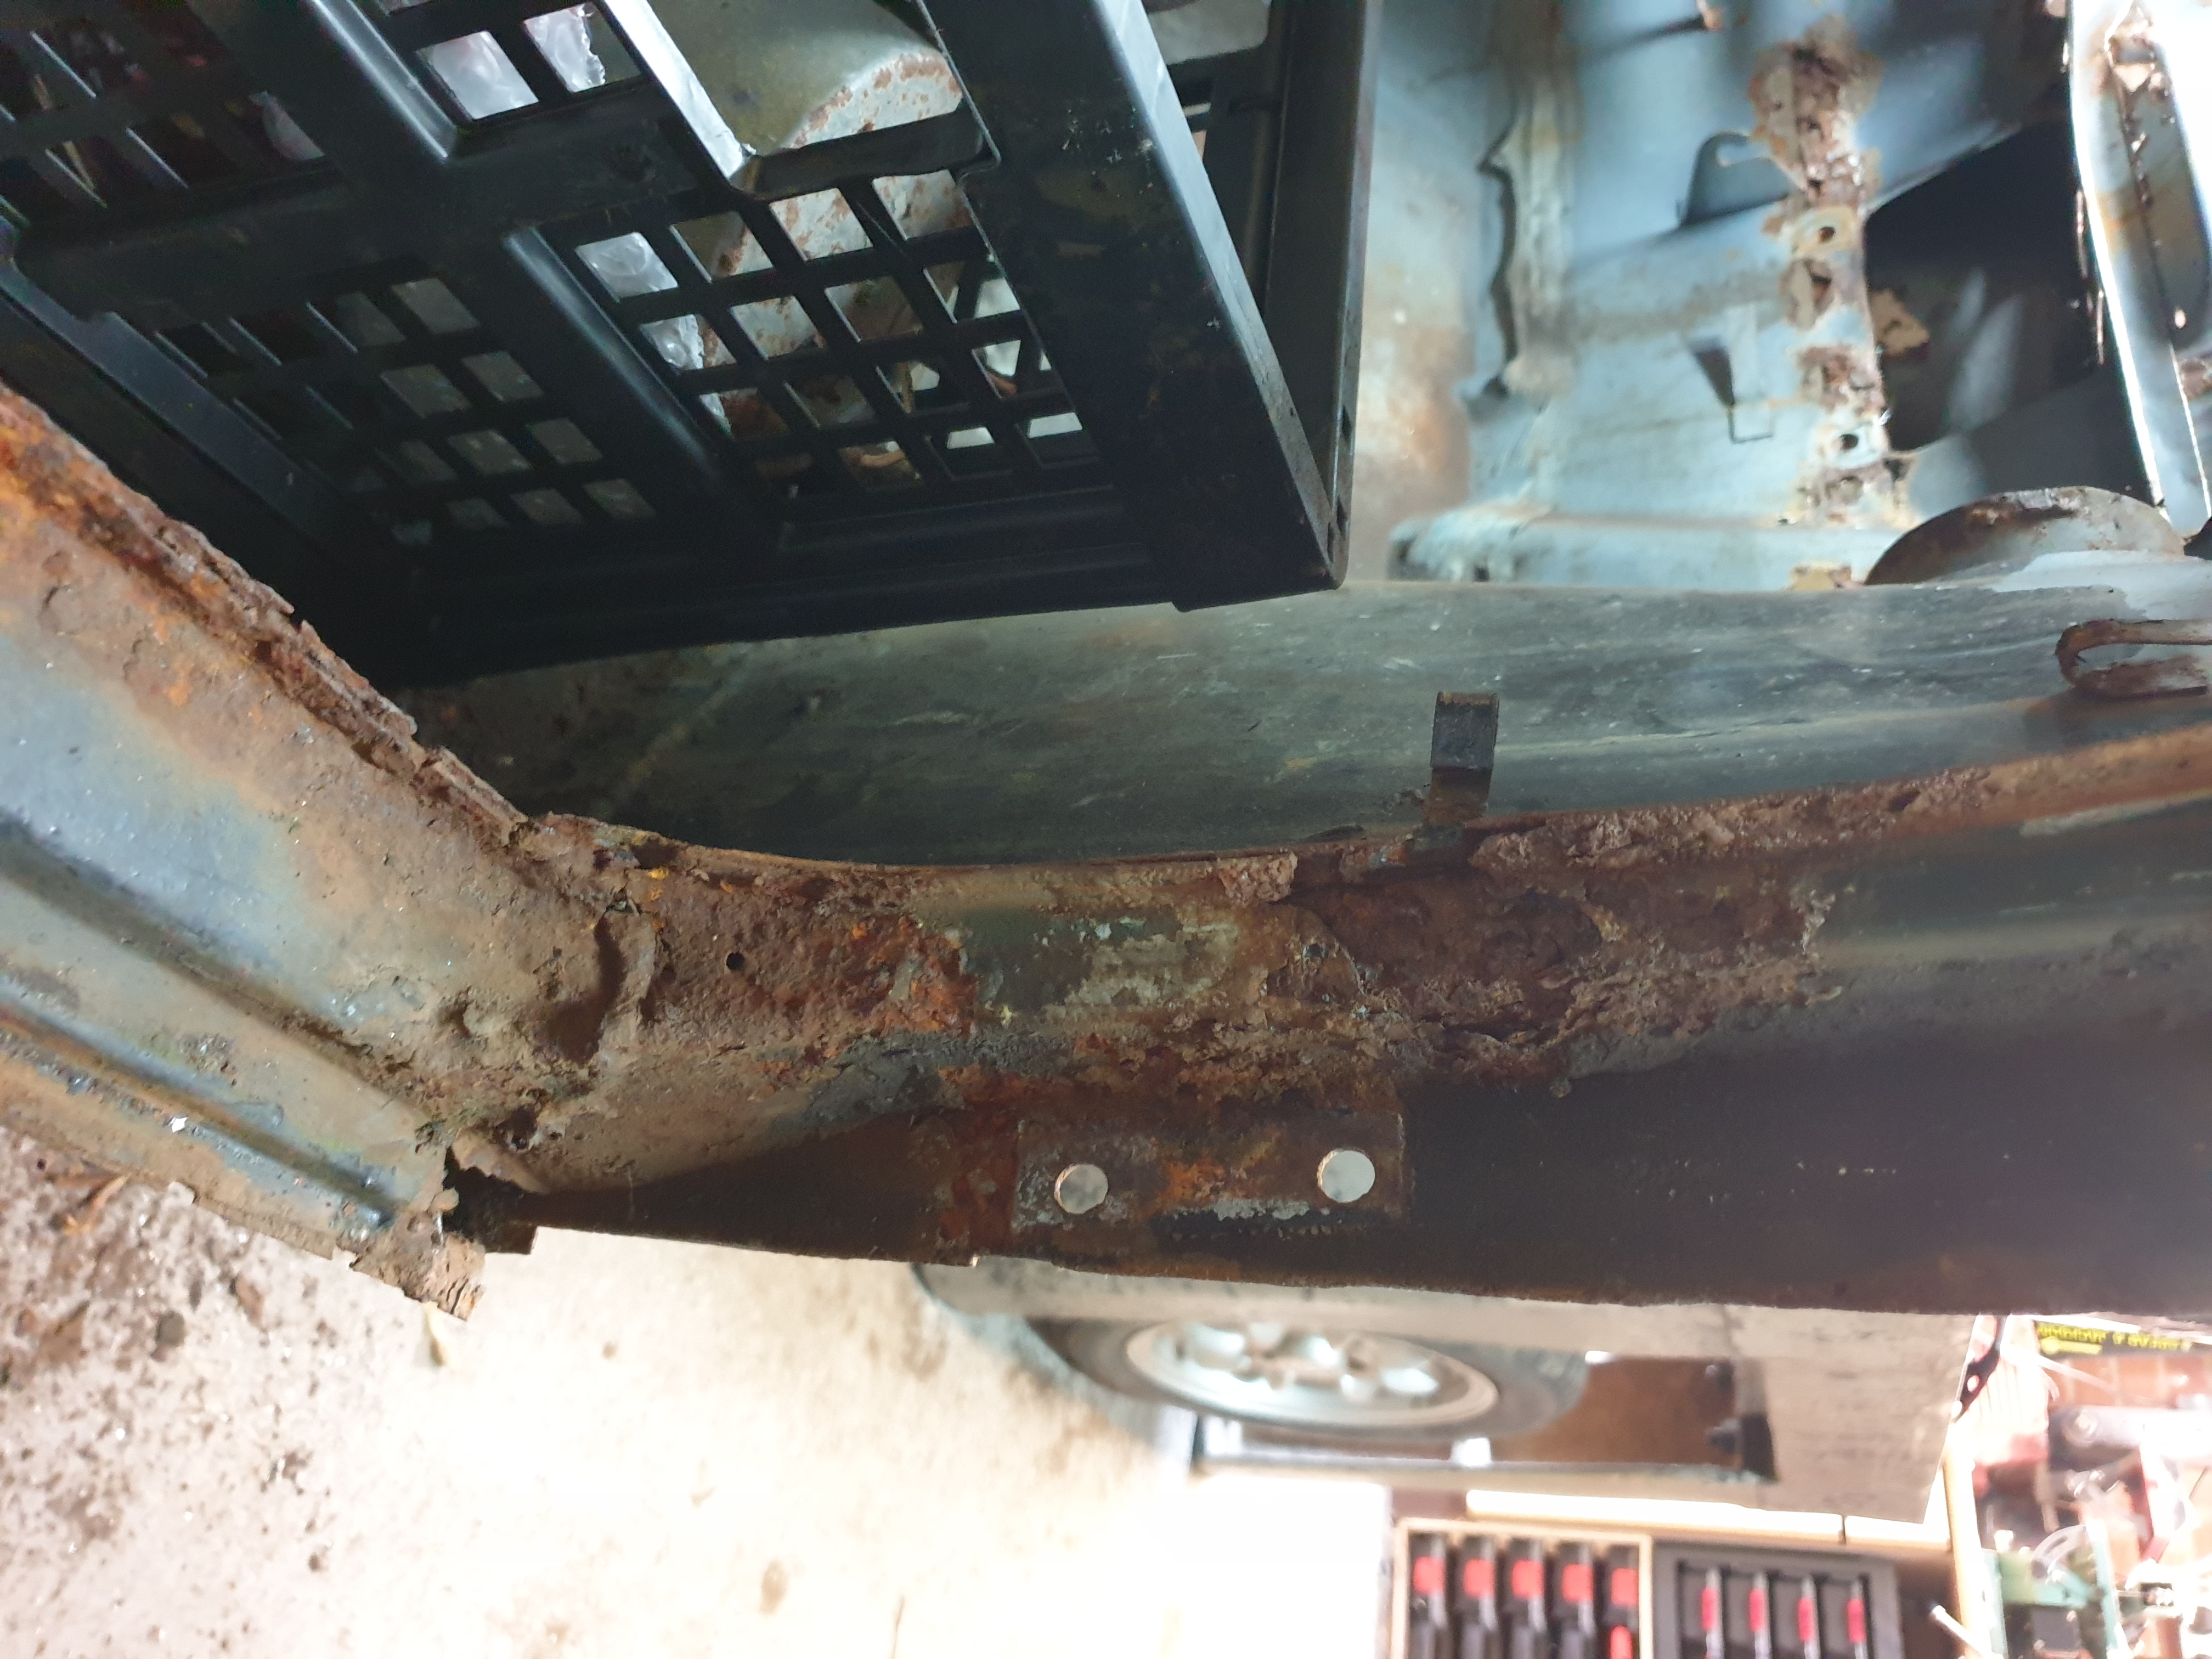
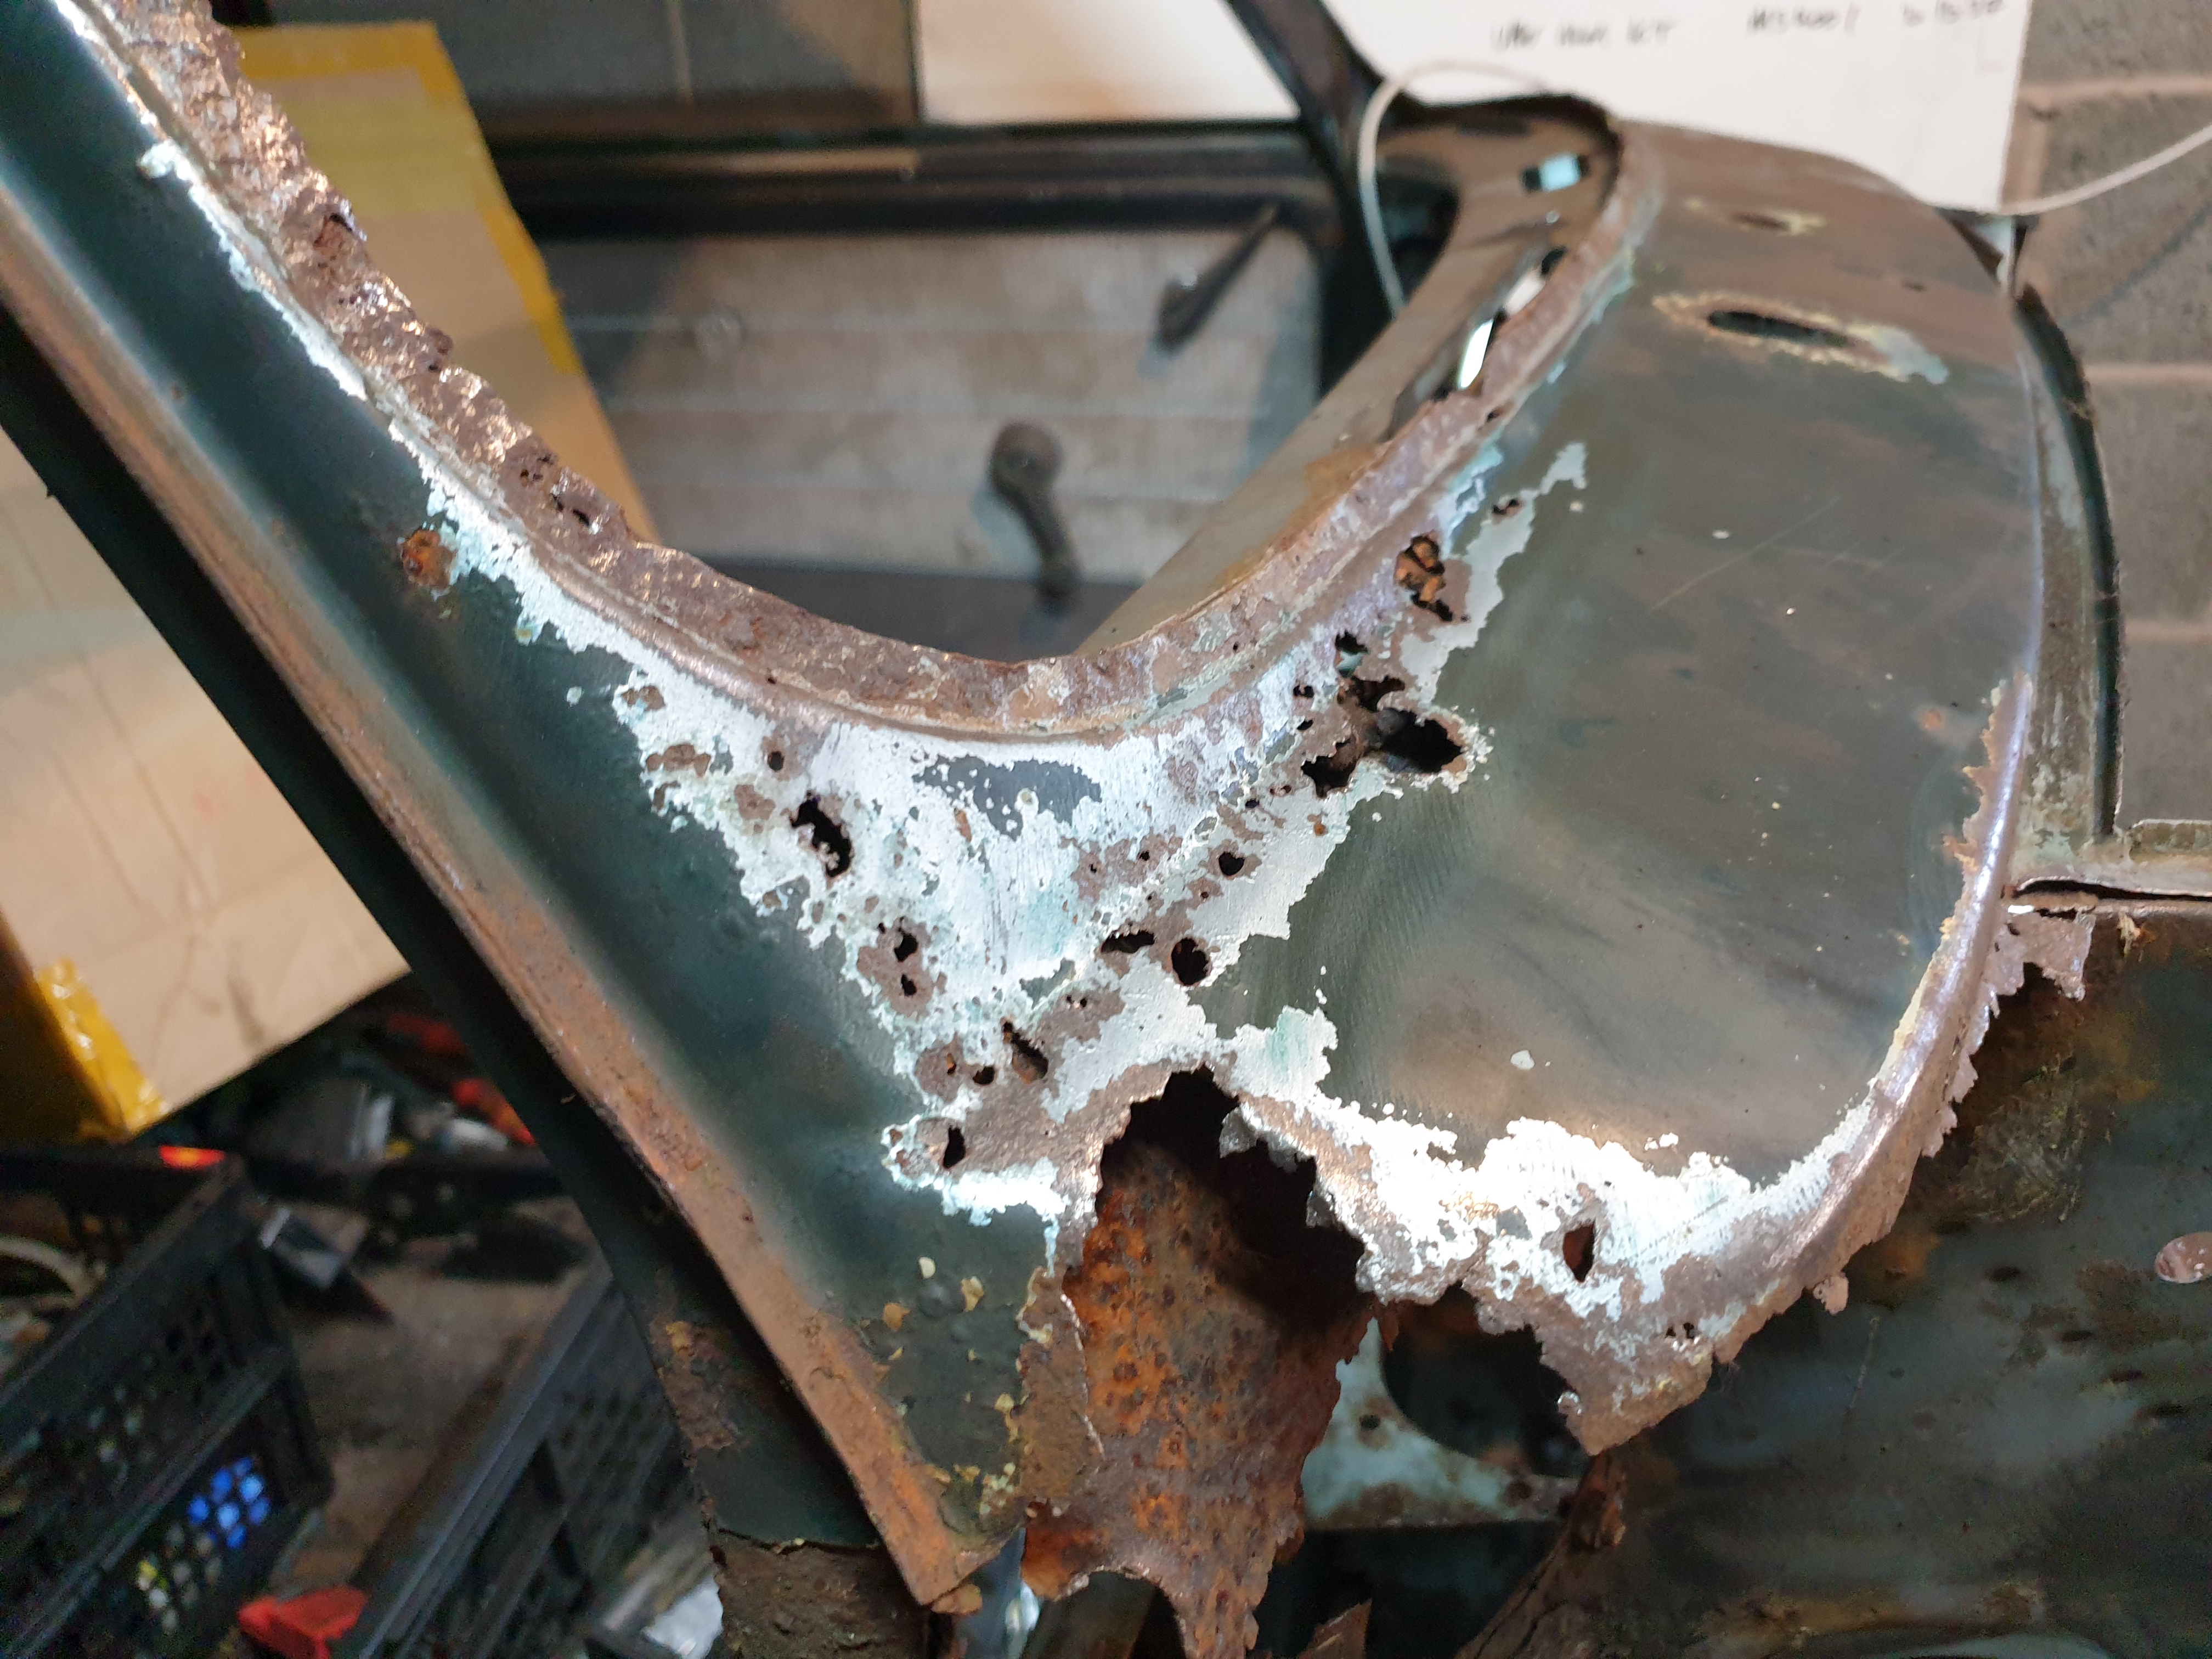
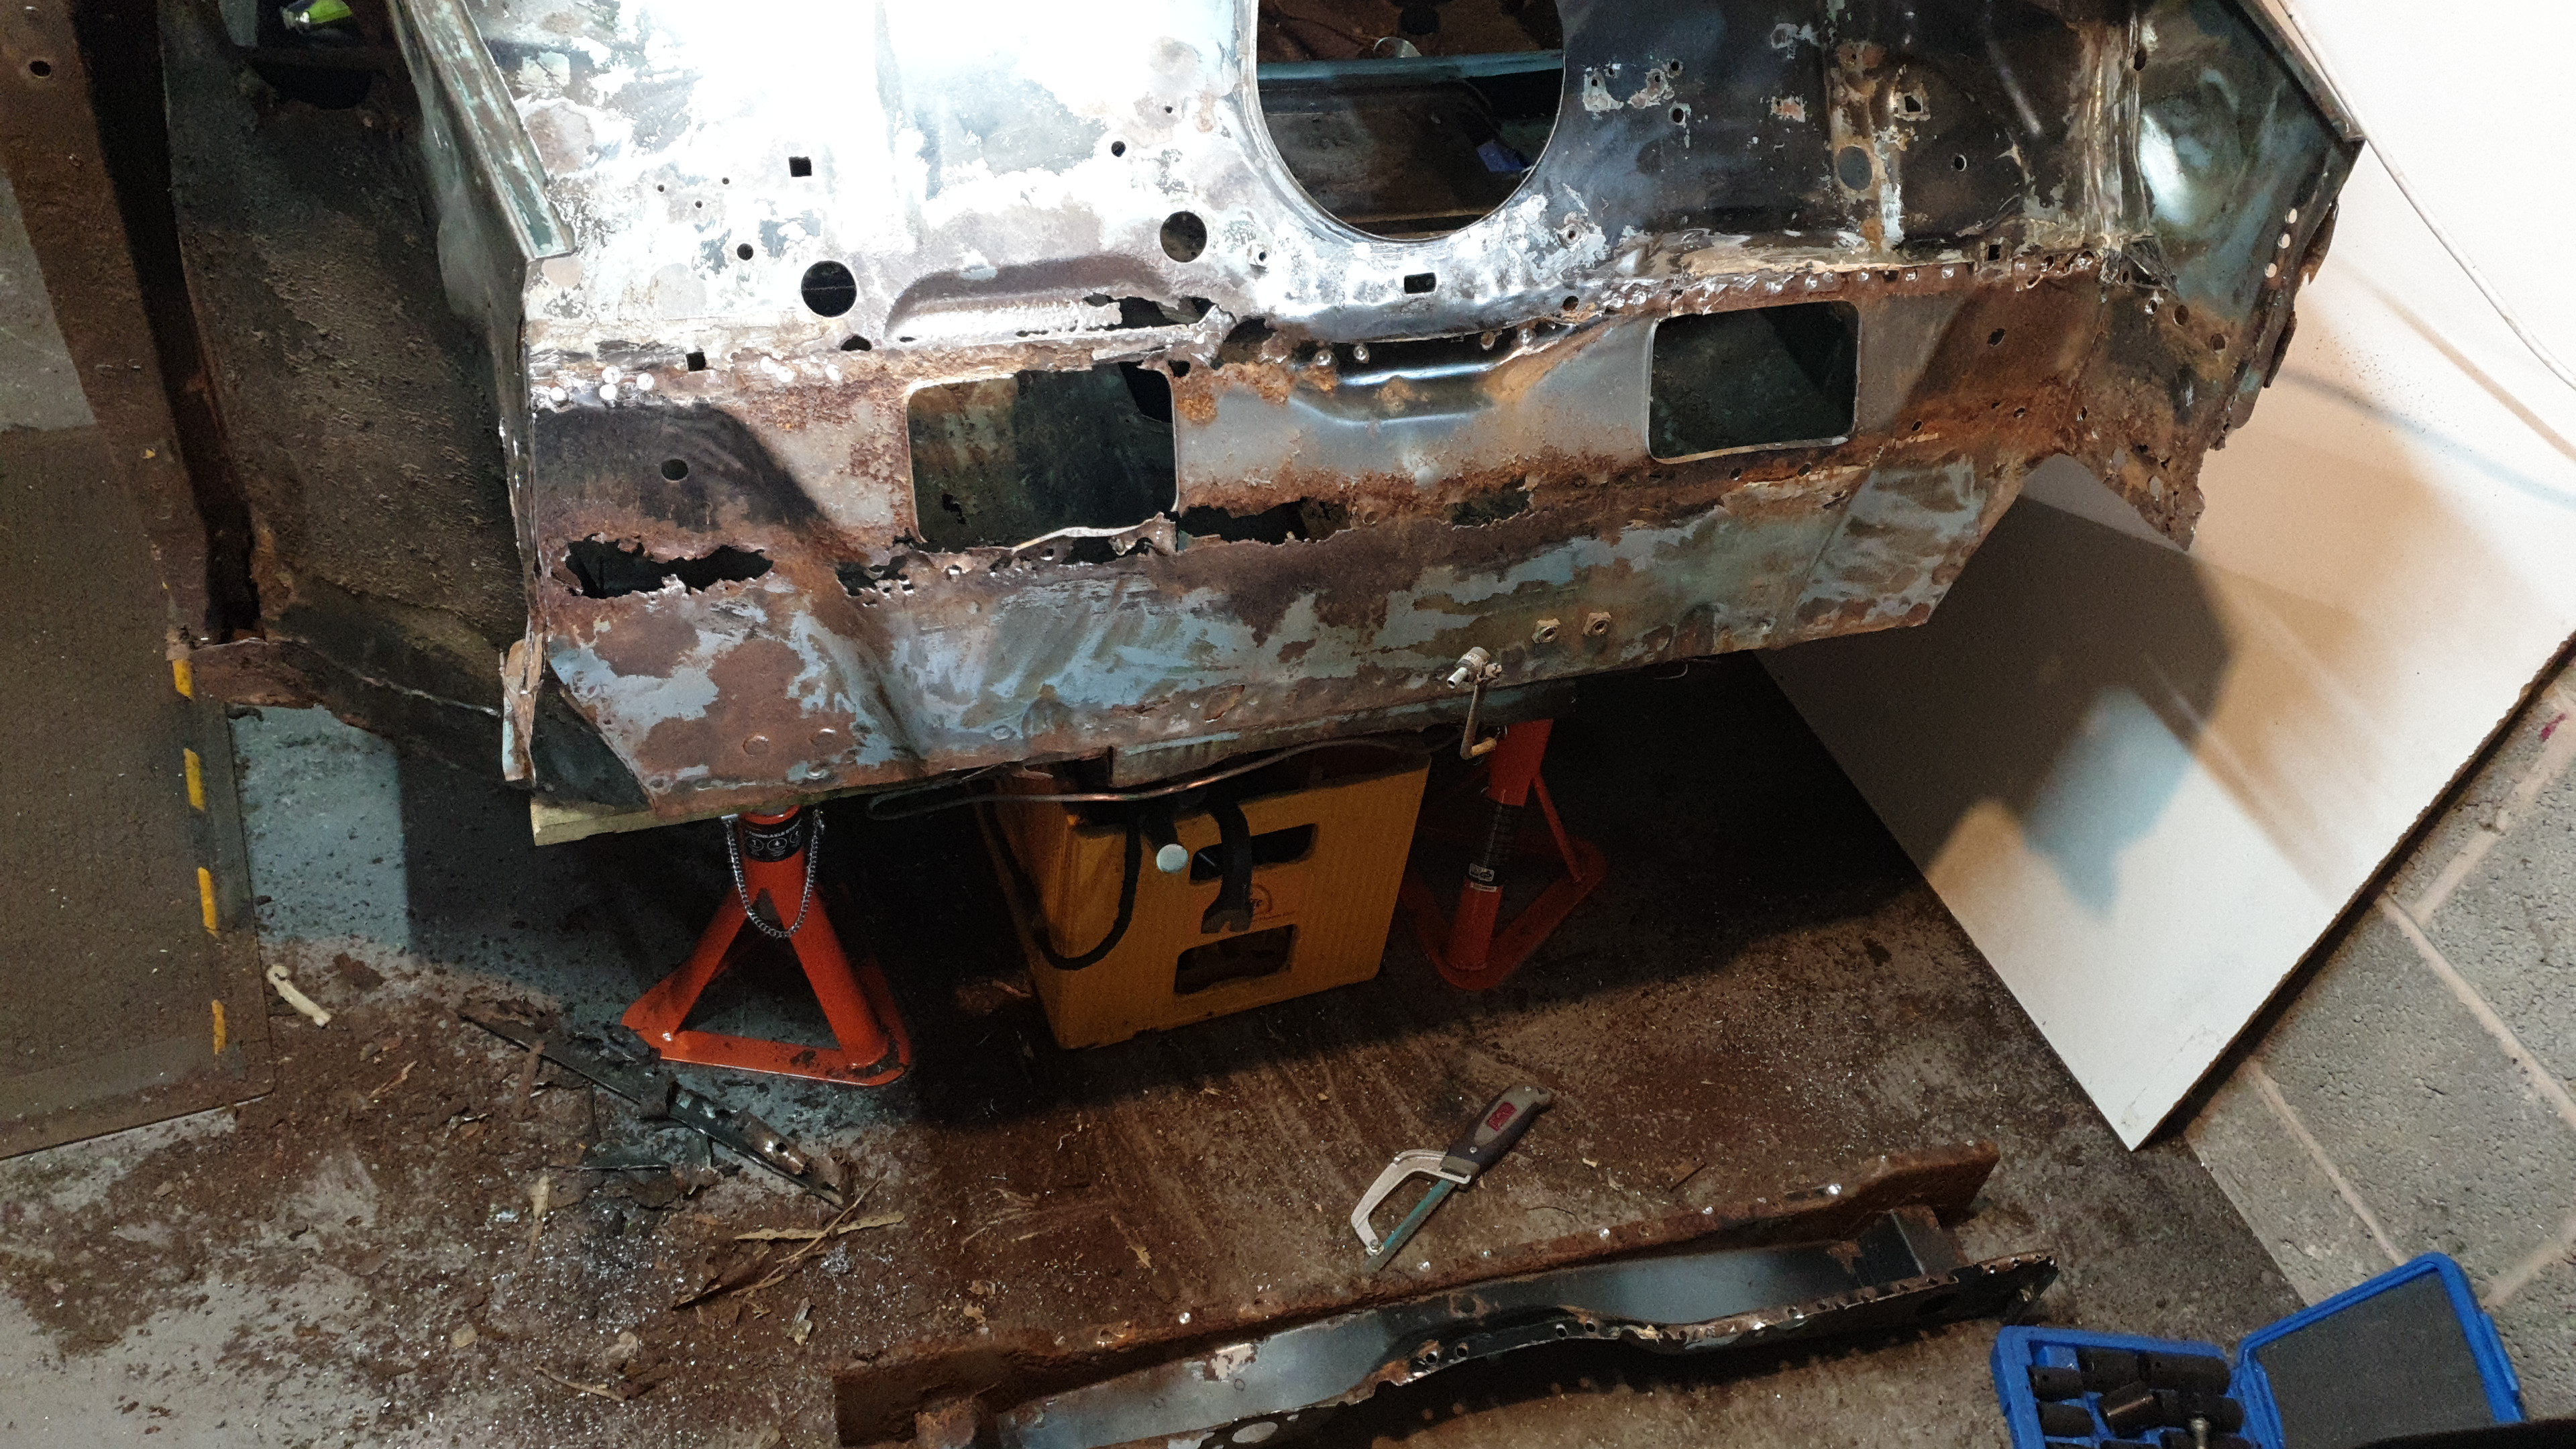
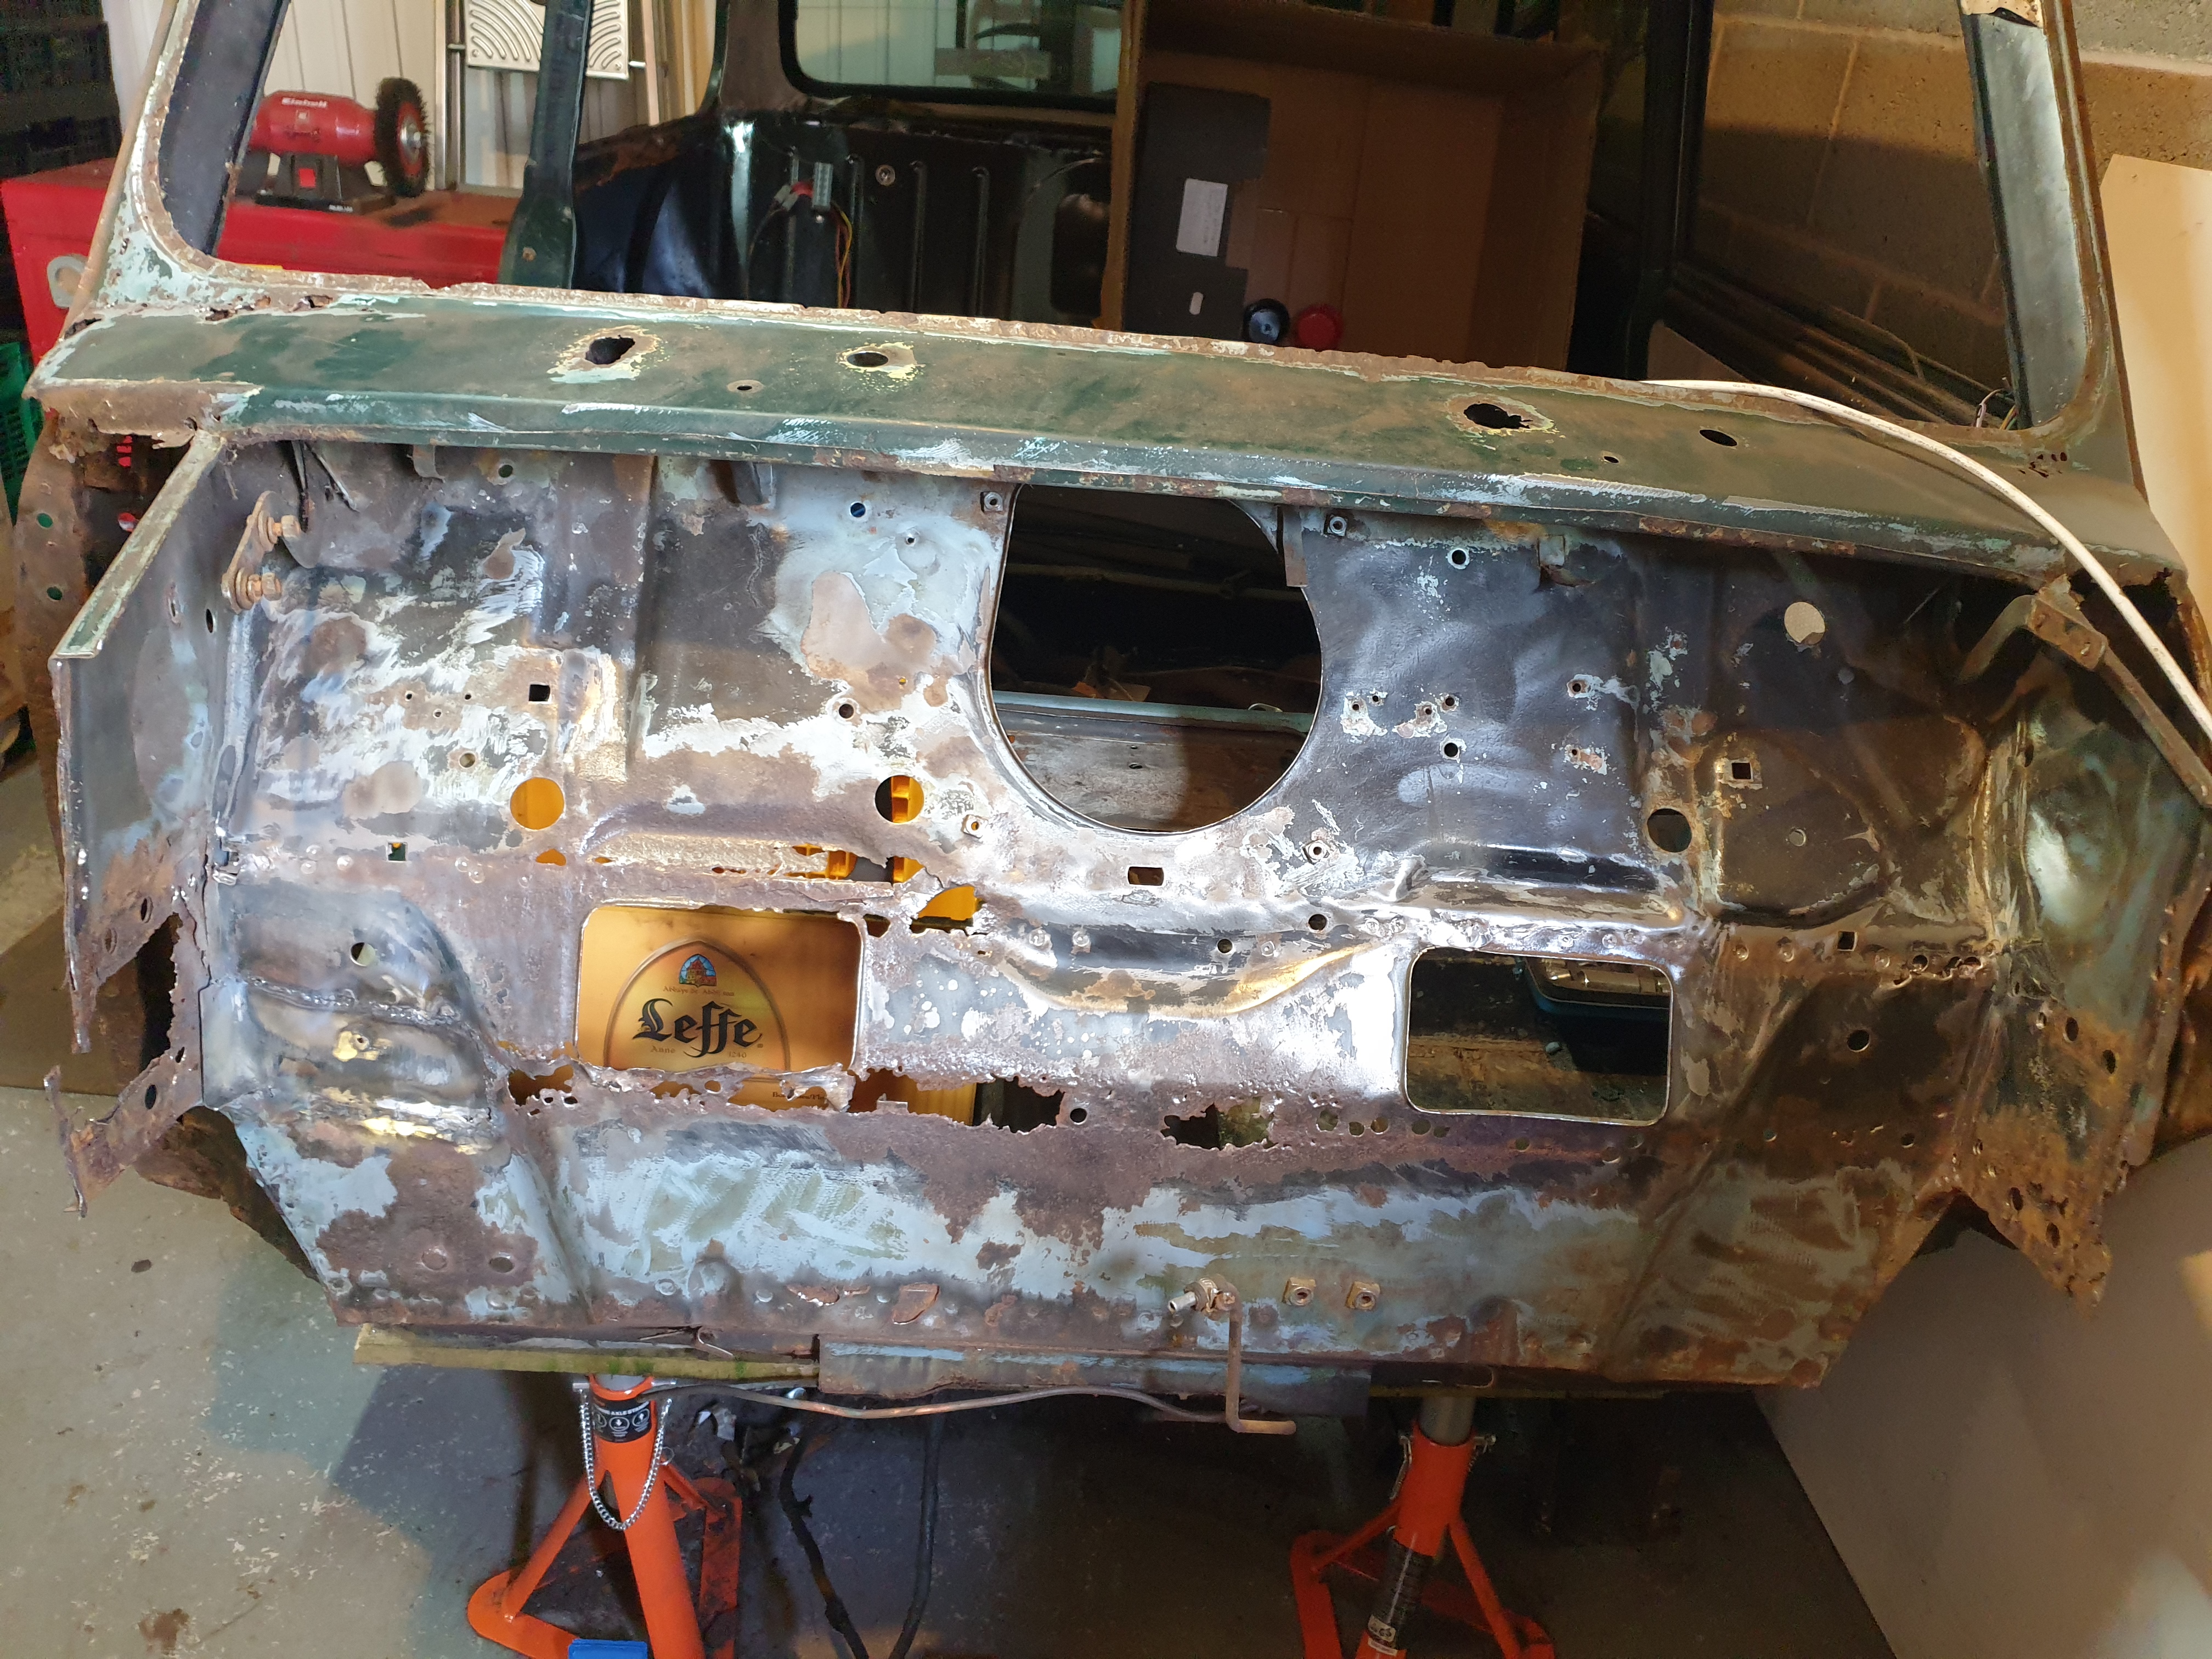
And here we get to the scary part, the rust. Basically, everywhere we looked was rust.
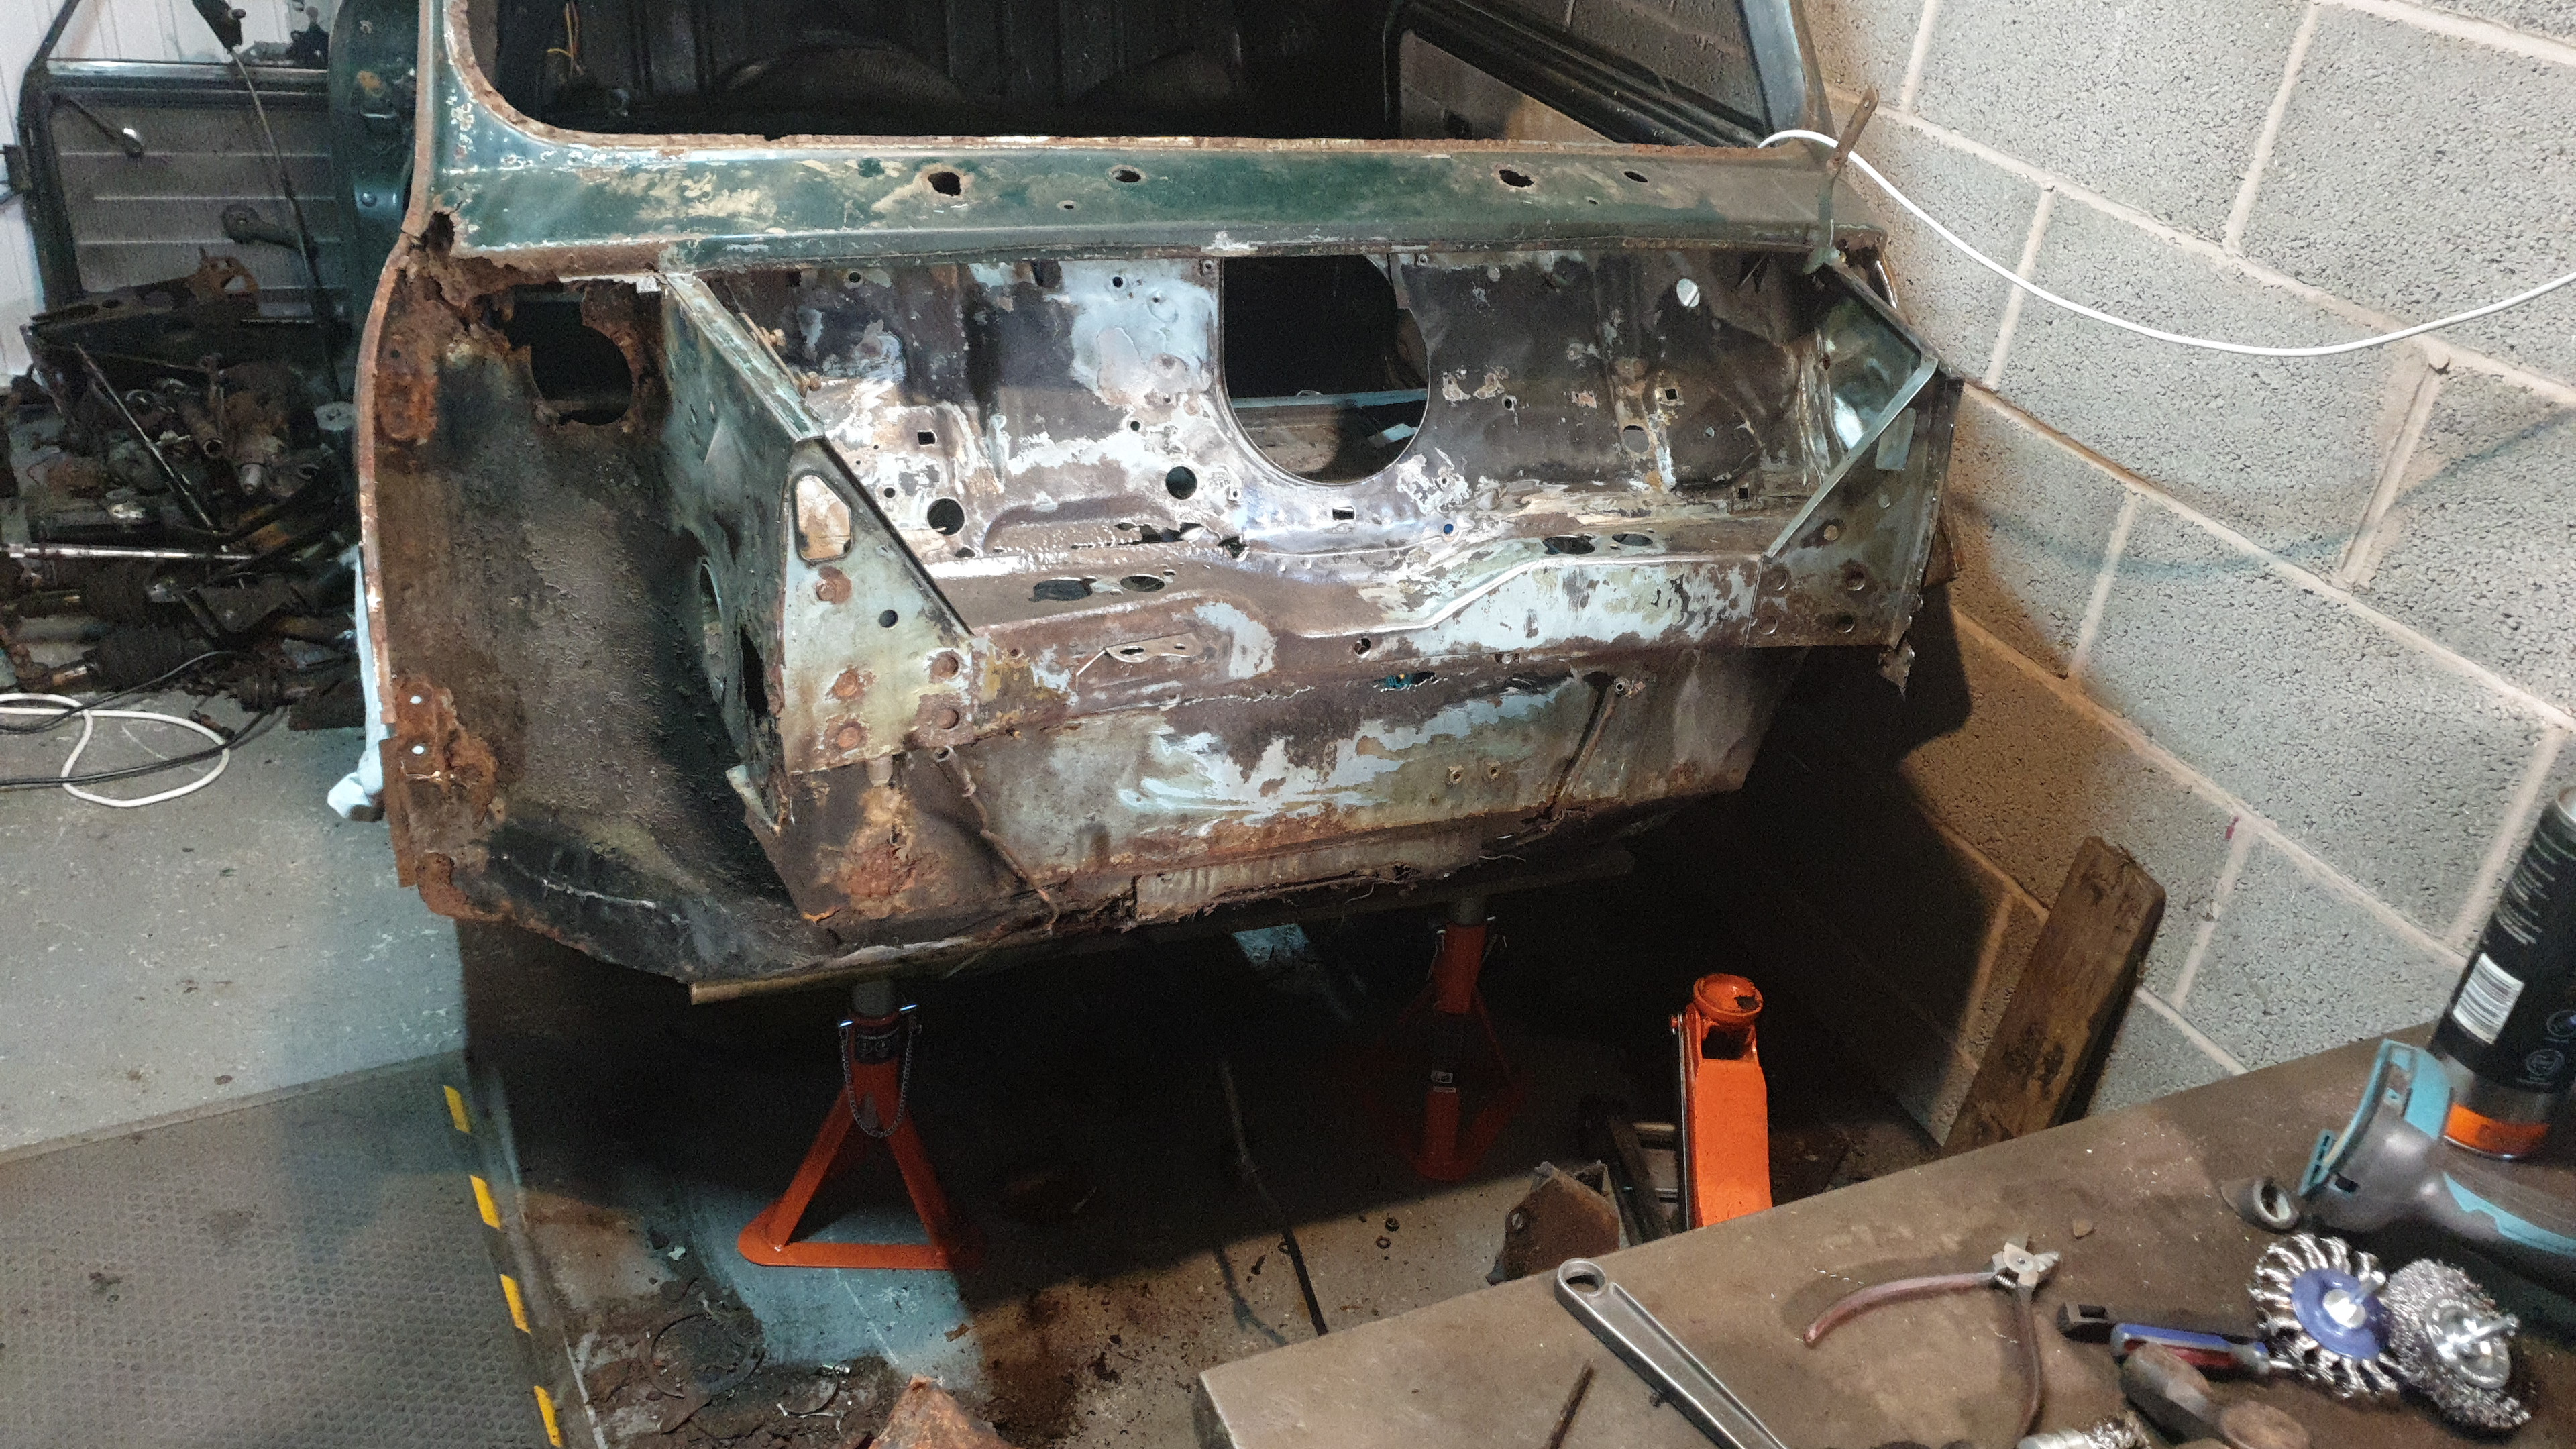
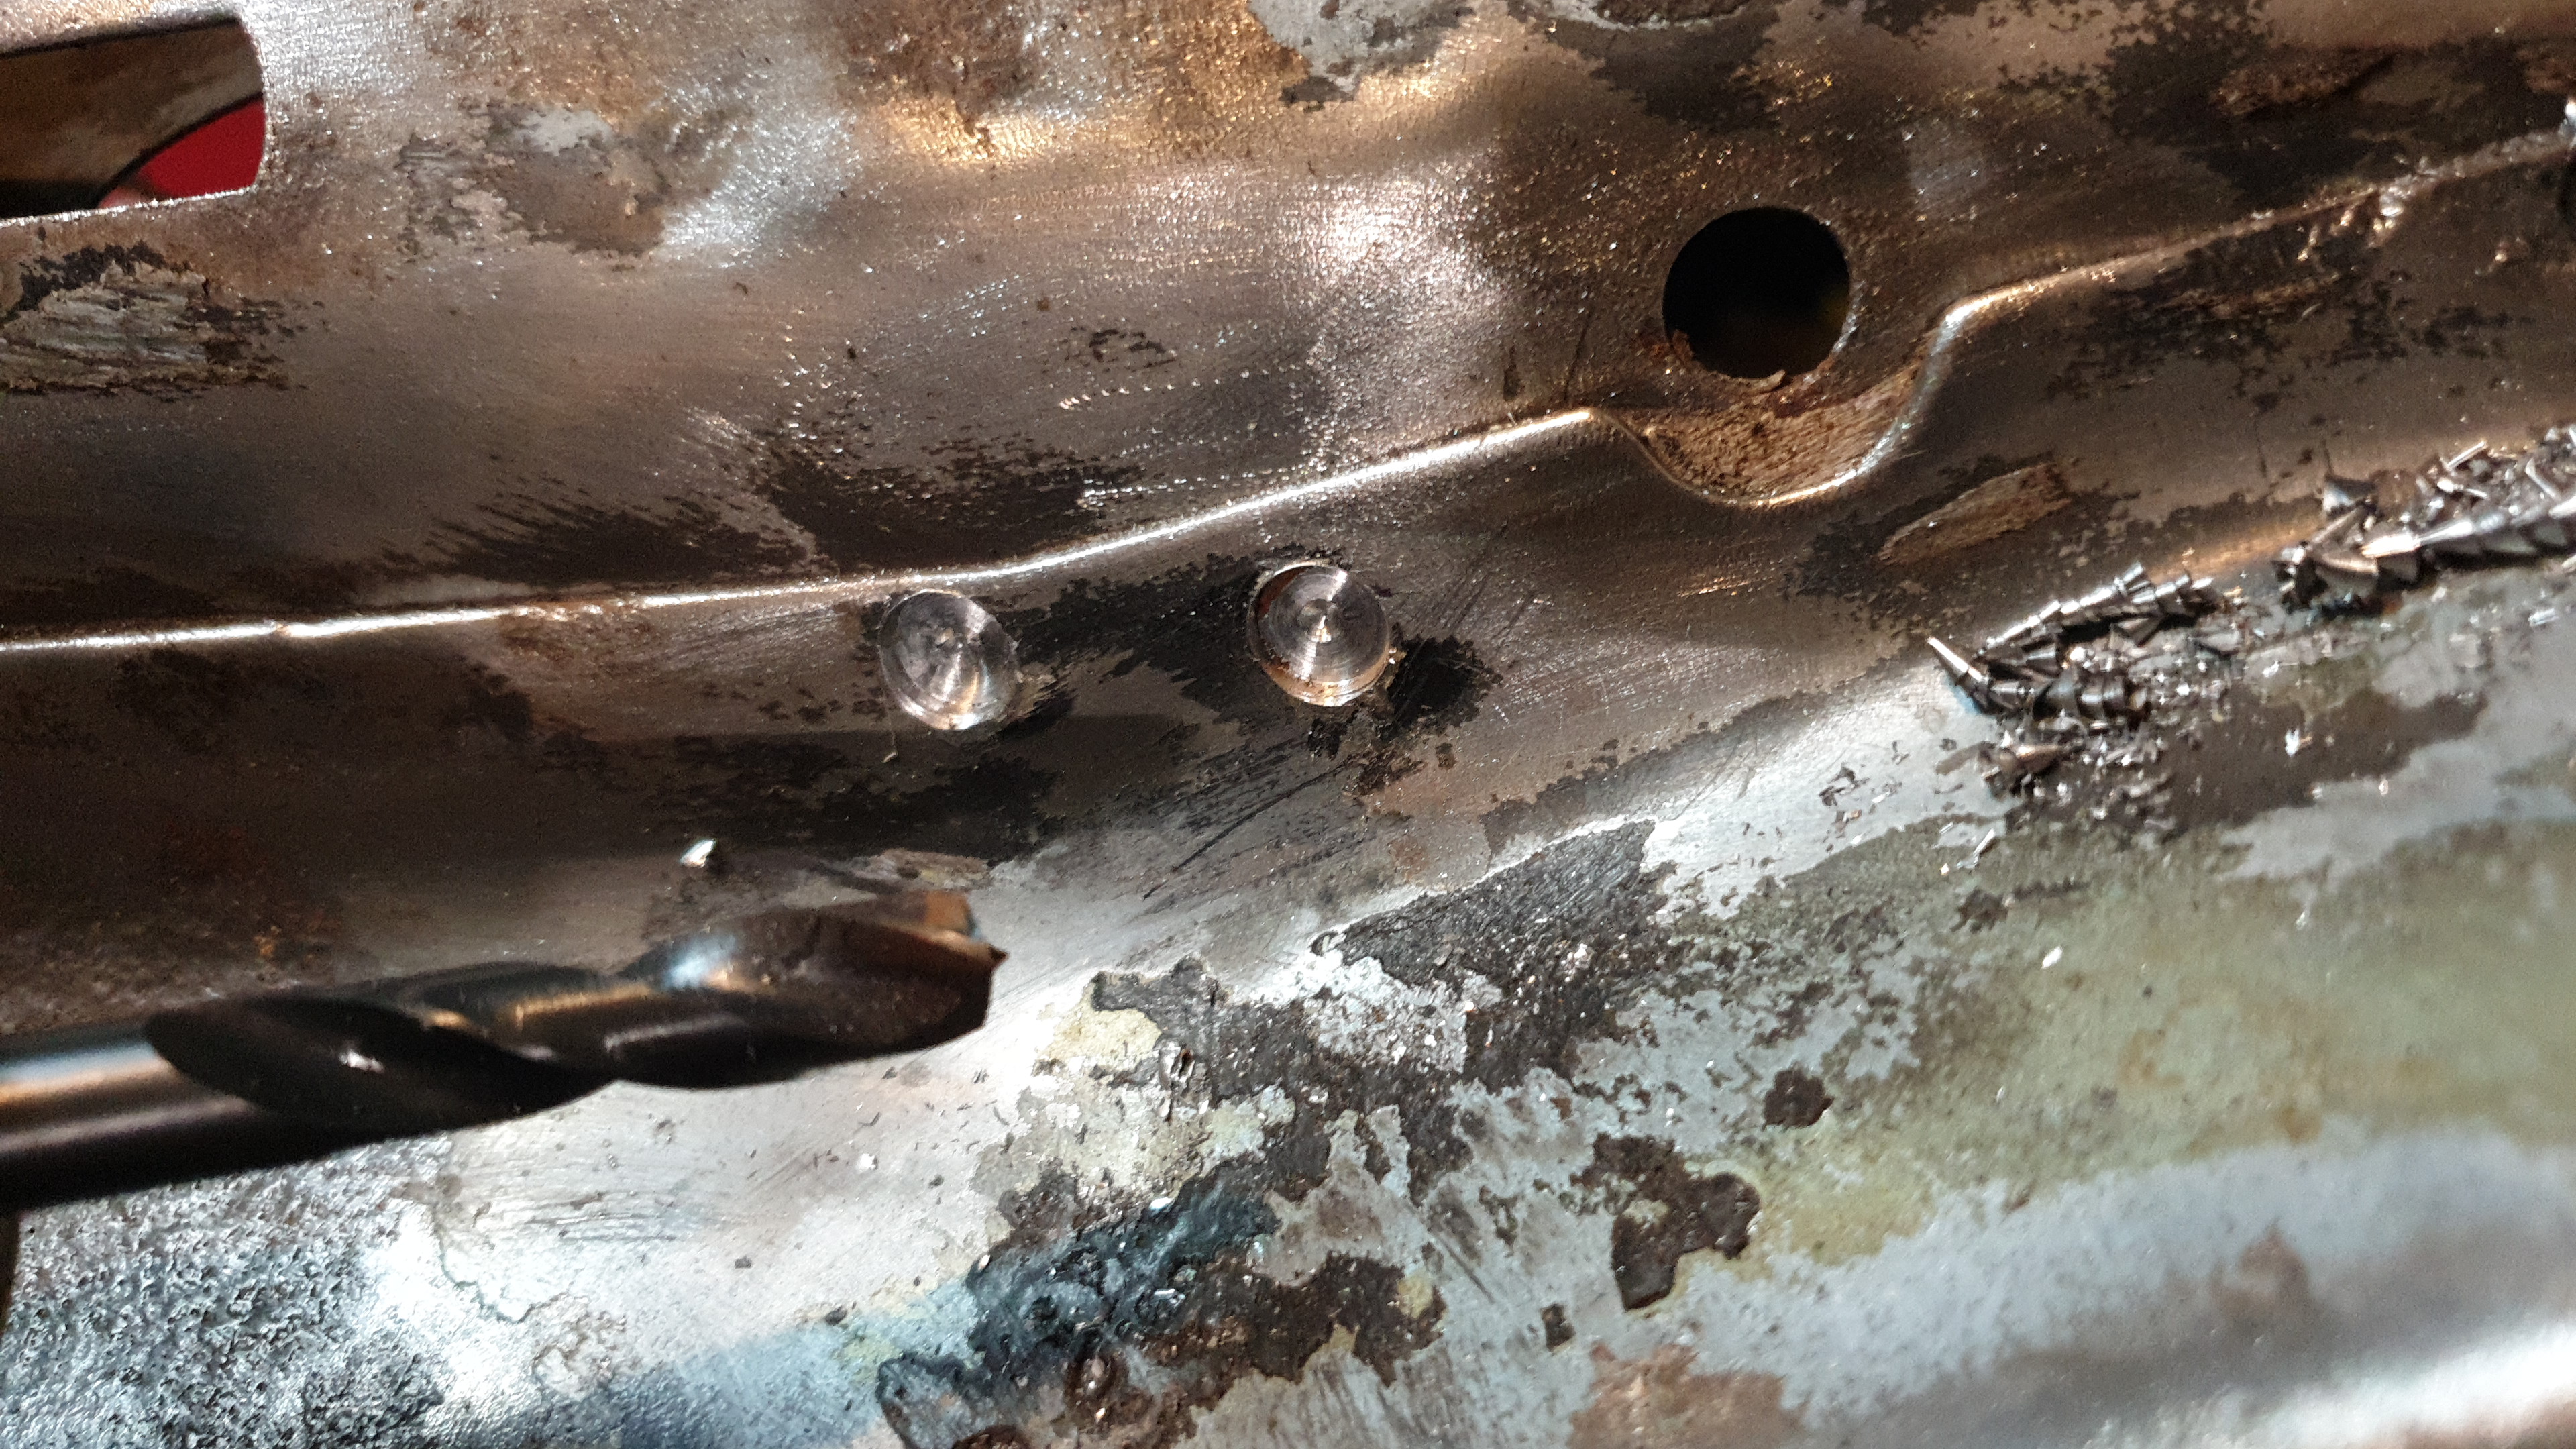
It took hours with a wire wheel in an angle grinder to clean up the front end and get an idea of what was needed - basically a whole new bulkhead. Unfortunately the replacement bulkheads are very expensive, so I settled for swapping the crossmember and patching the holes with new metal. Getting the old crossmember off was a chore, requiring drilling out all the spot welds, cutting previous repair welds and liberal use of a hammer.
 |
 |
 |
 |
 |
 |
 |
 |
 |
 |
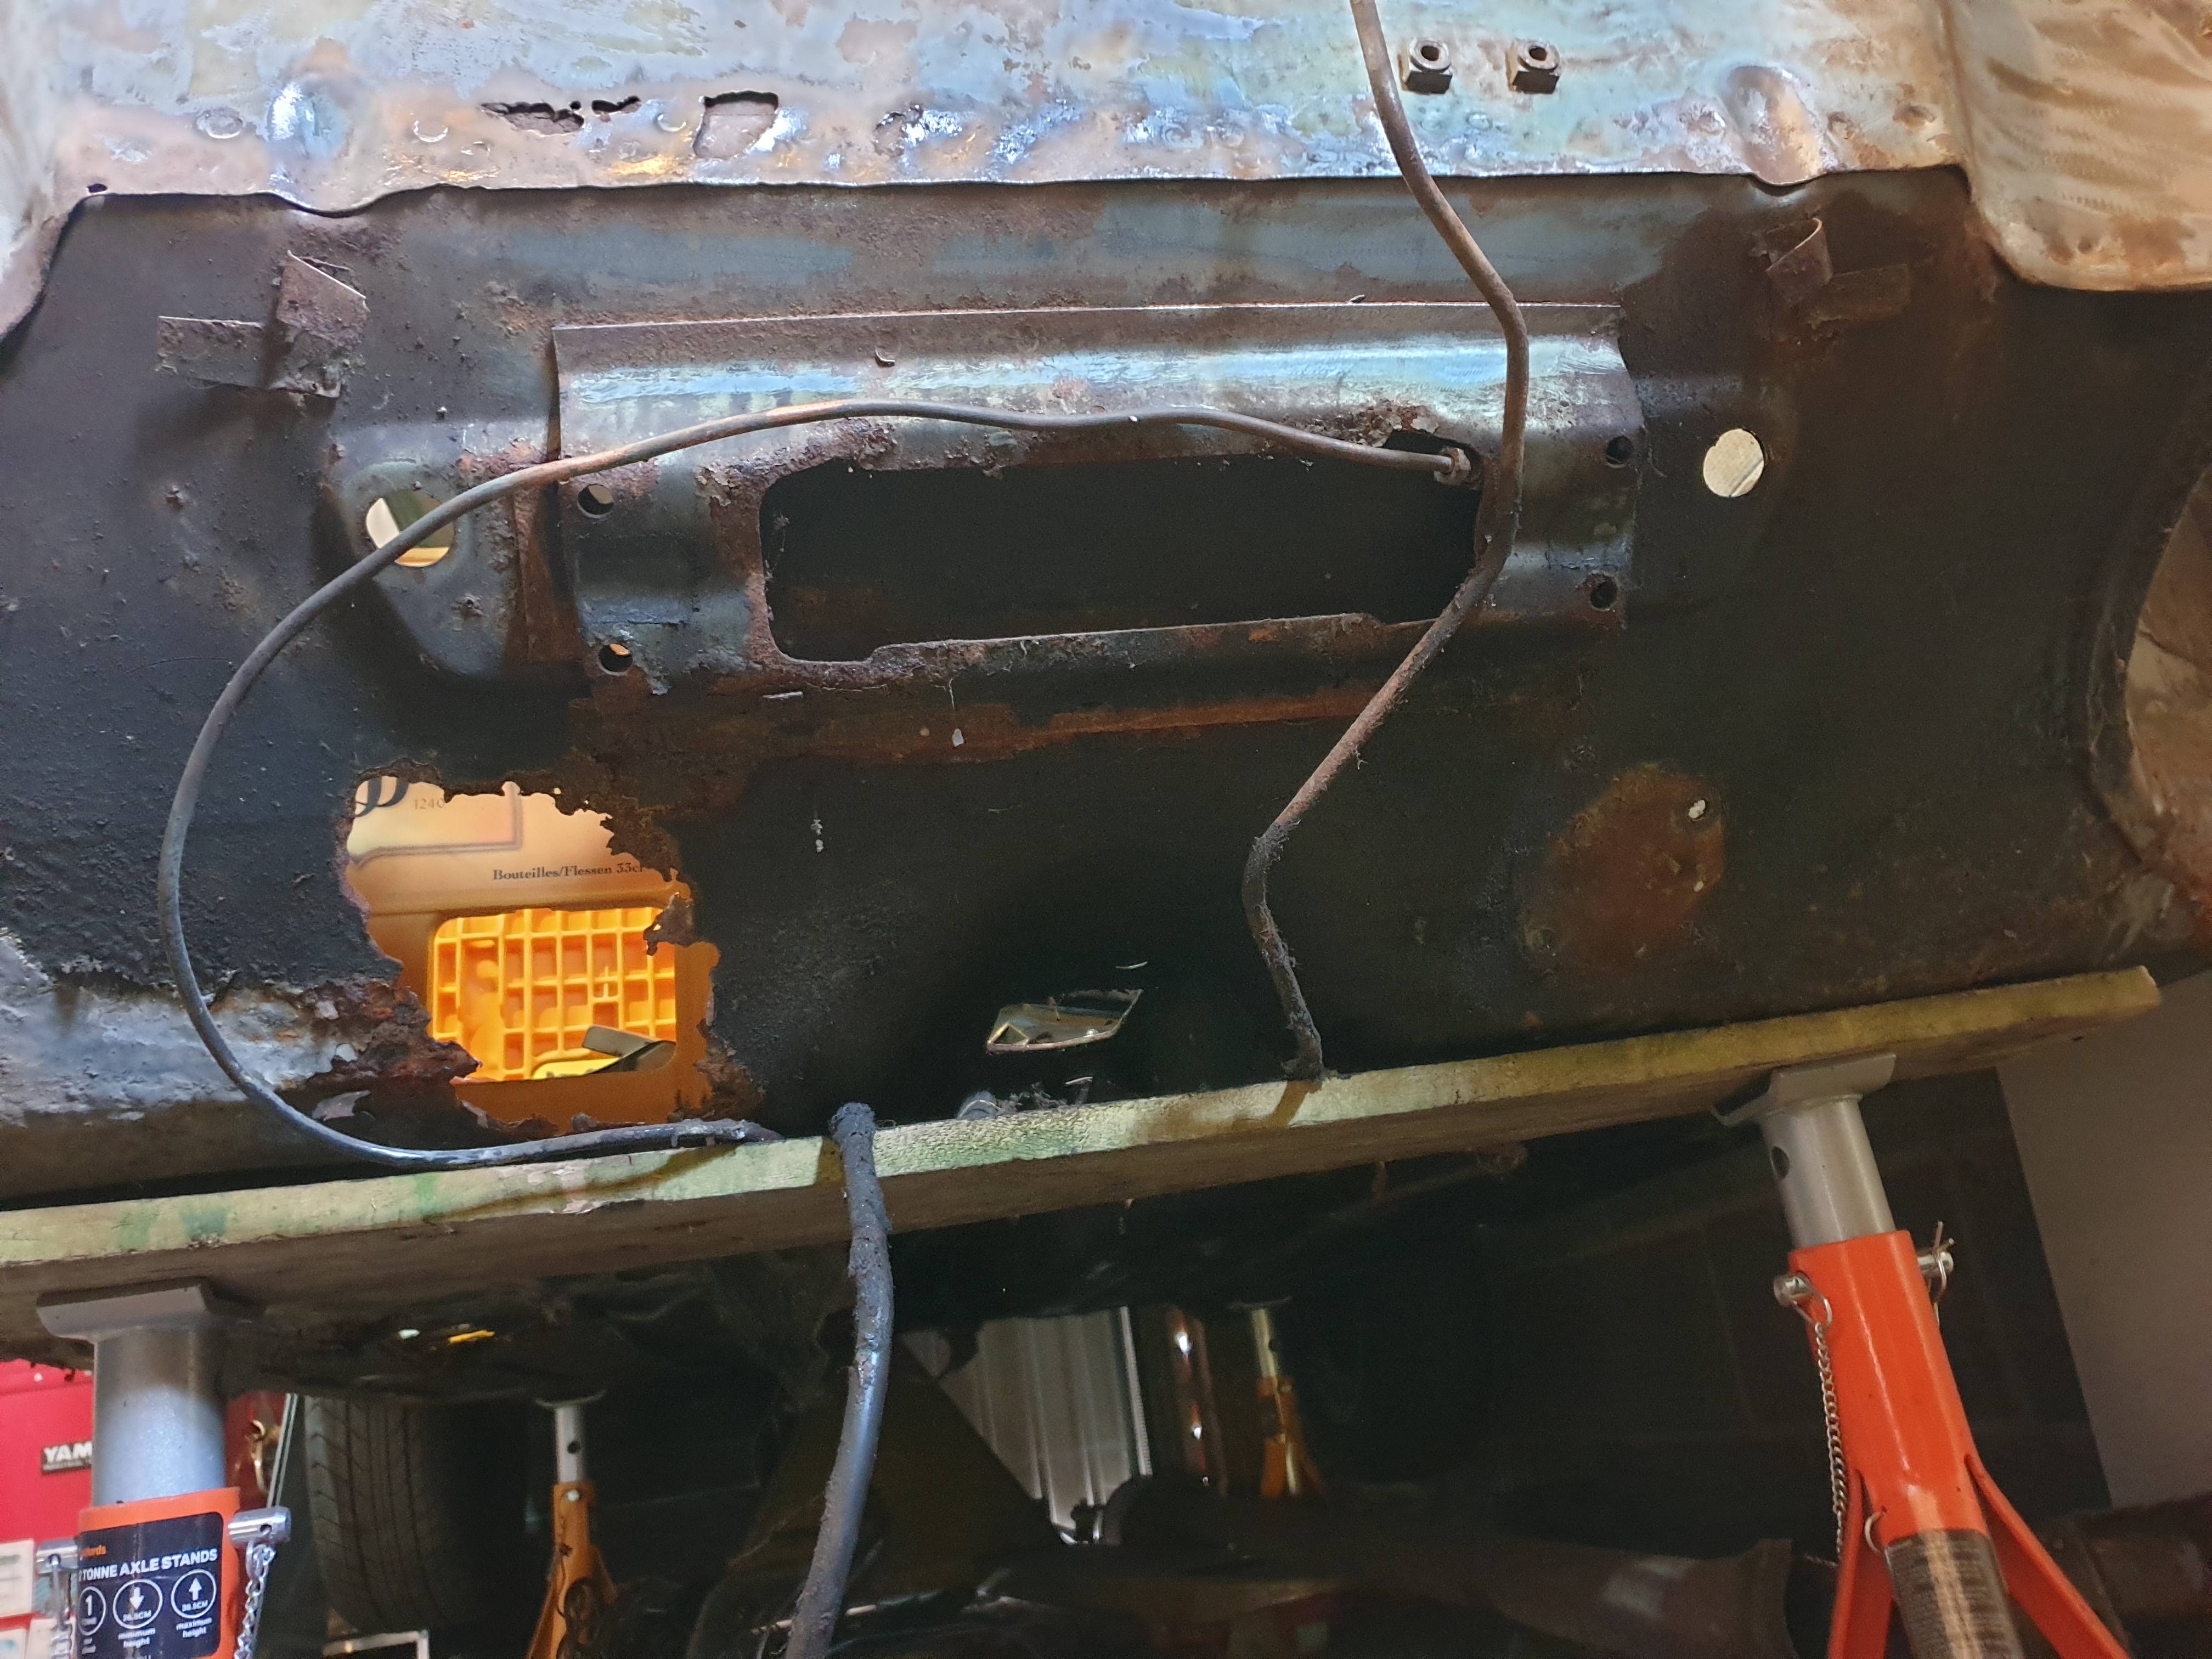 |
| Both doors are gone | Inside and out | Bulkhead crossmember | Rear windowsill | Floor | Door frames and sills | Scuttle more like a strainer | Spot-weld drill bit | Crossmember removed to see more rust | Thoroughly attacked with a wire wheel | Lots of holes to patch |
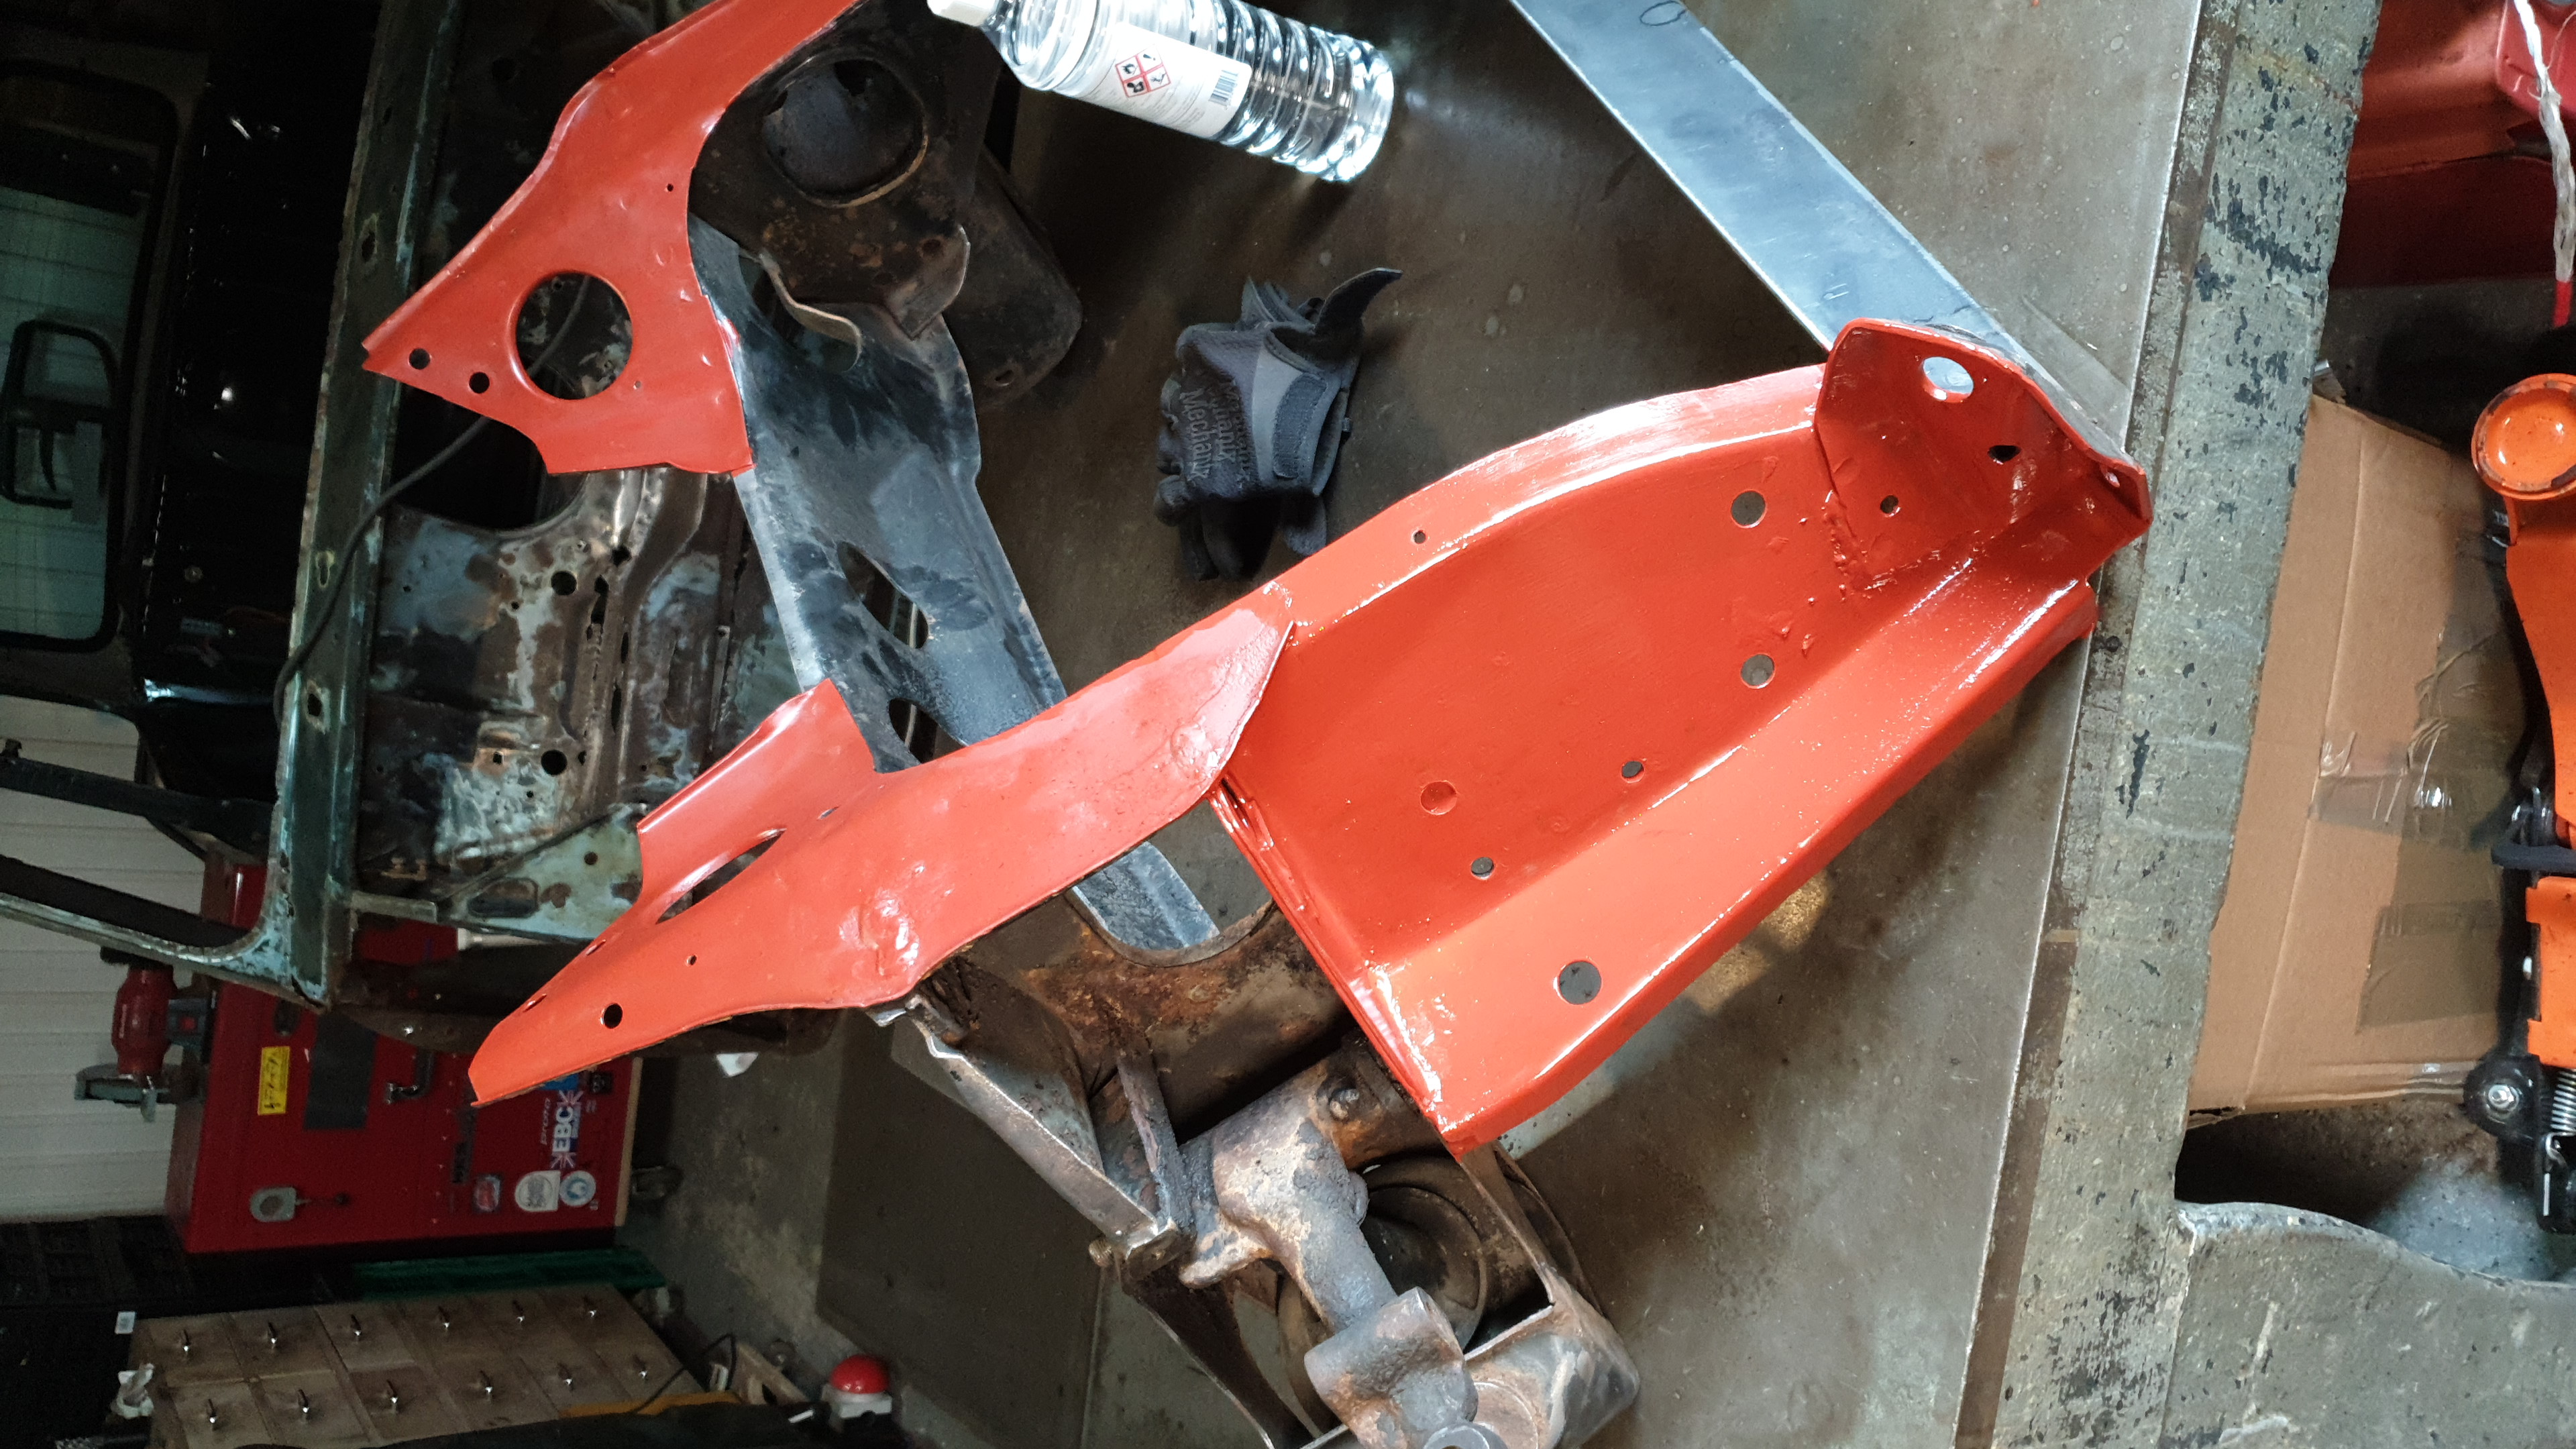
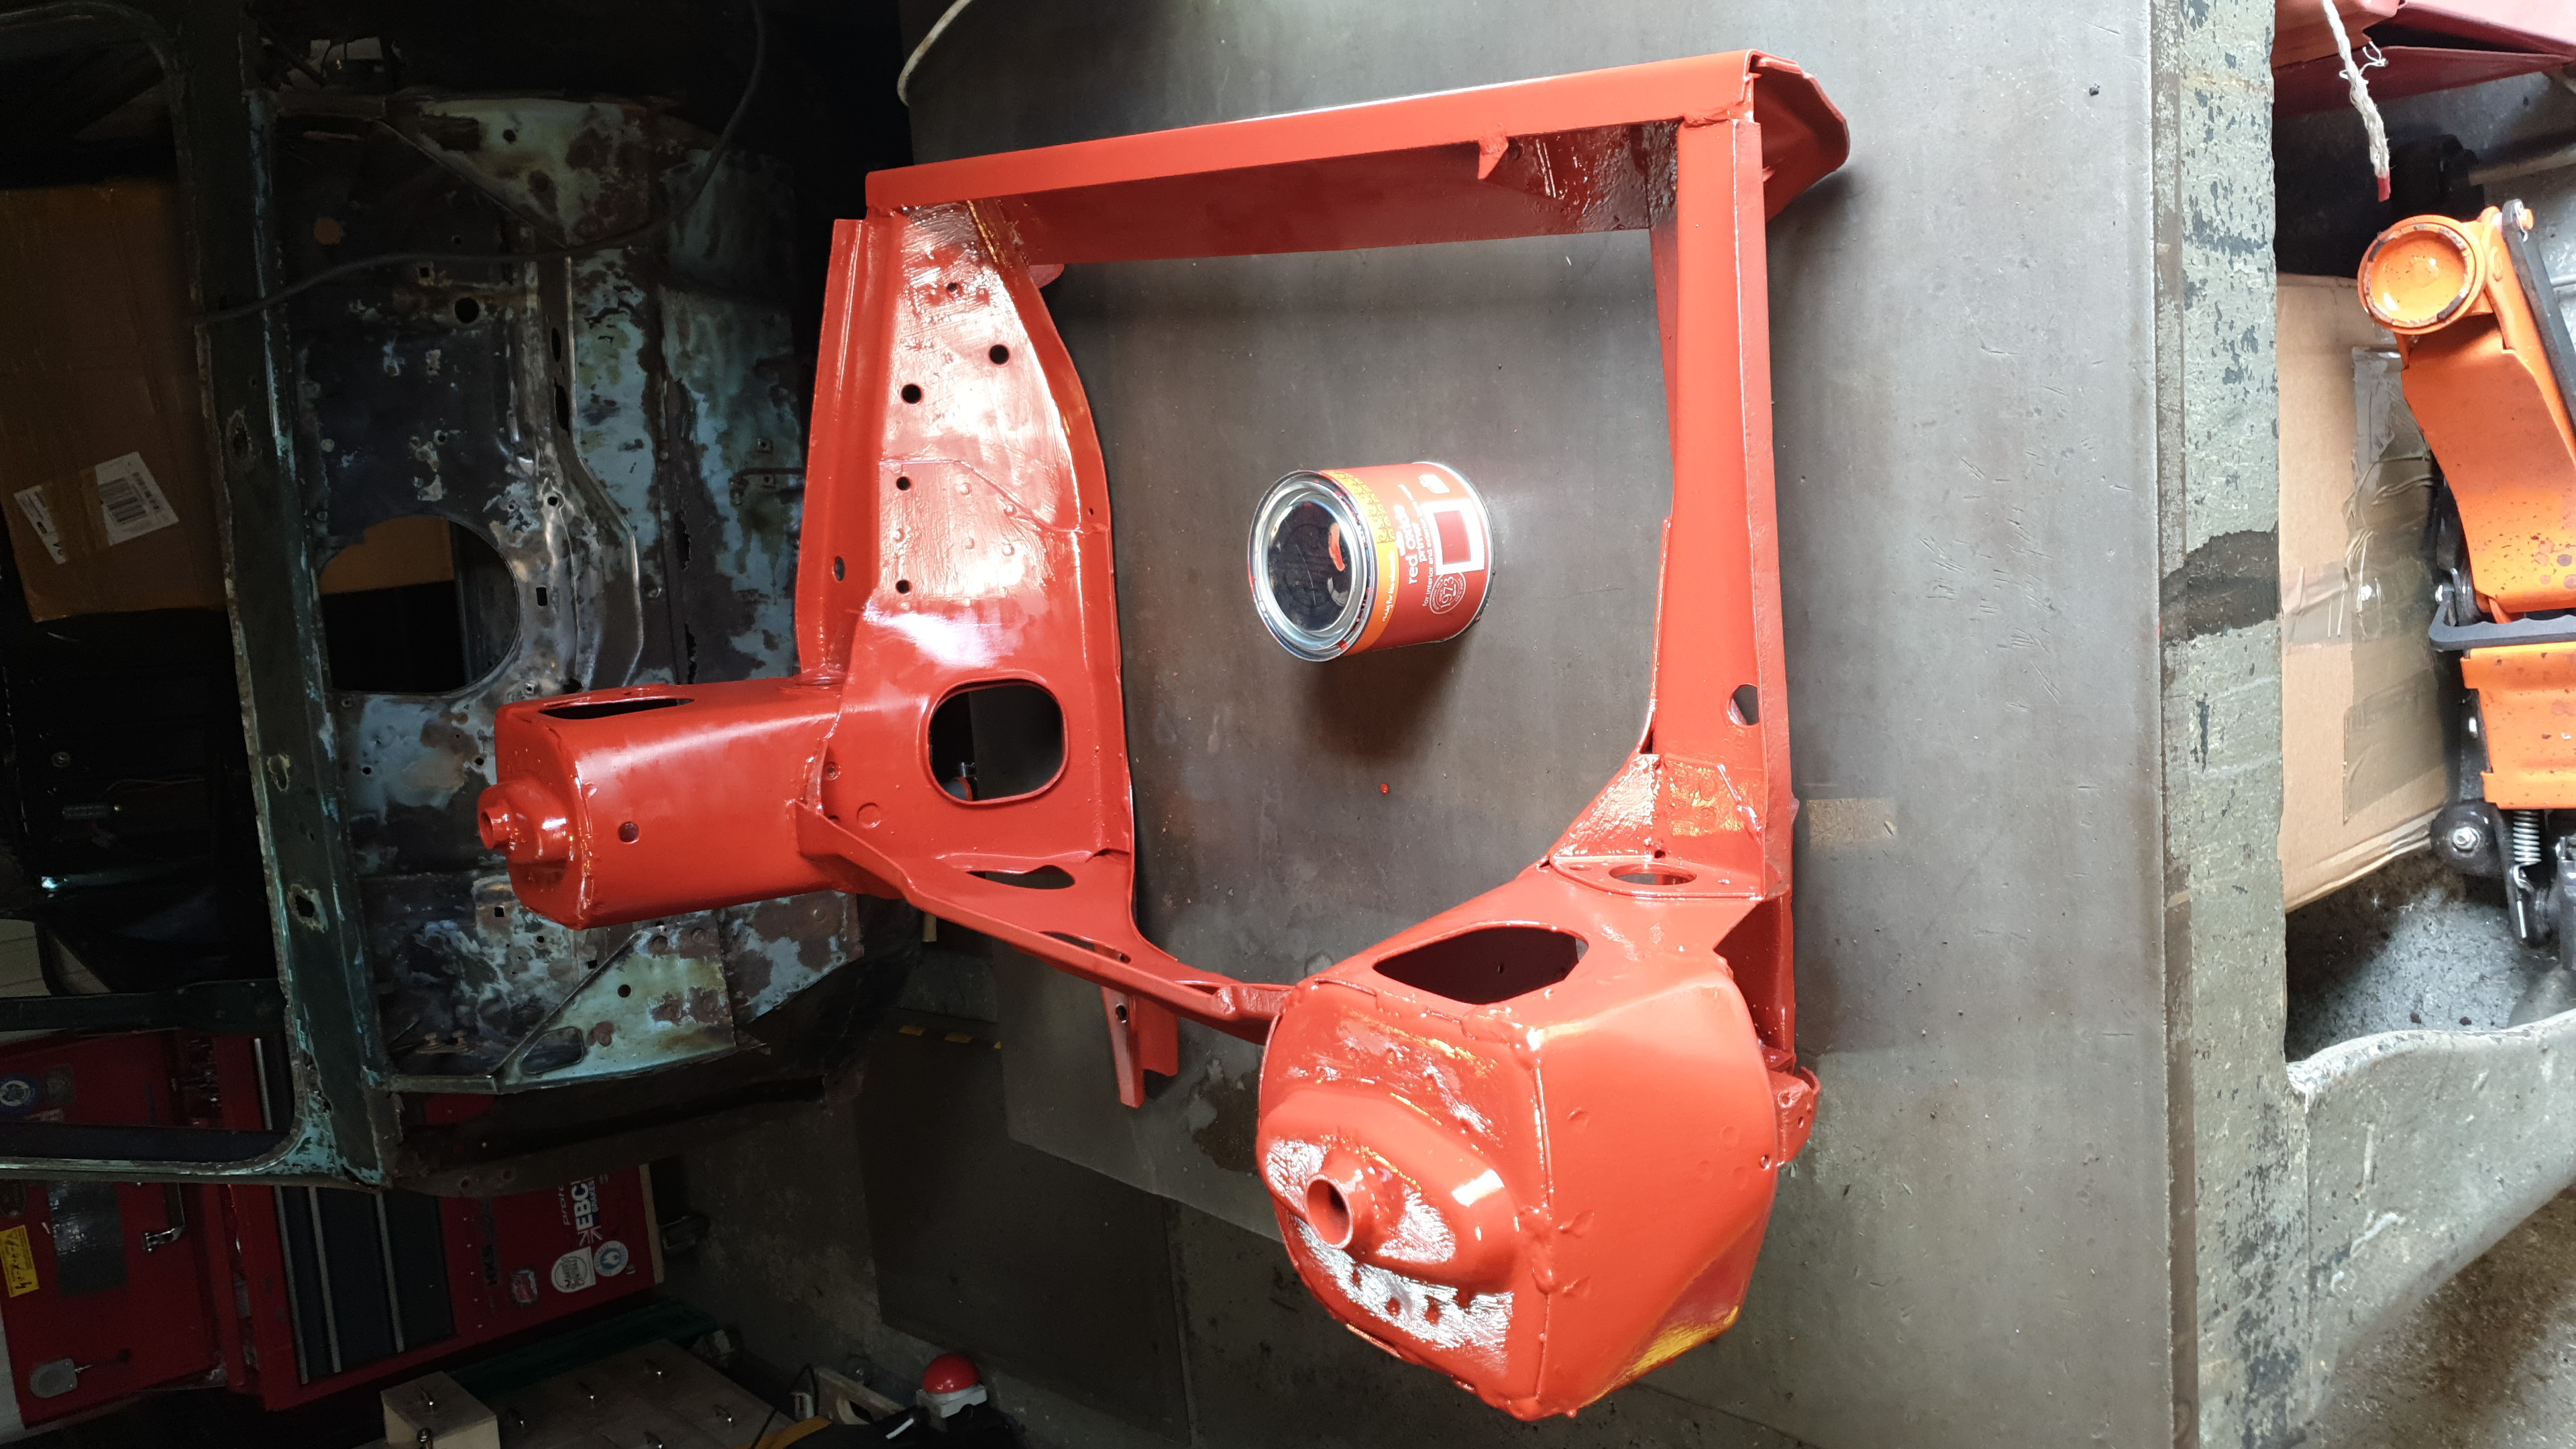
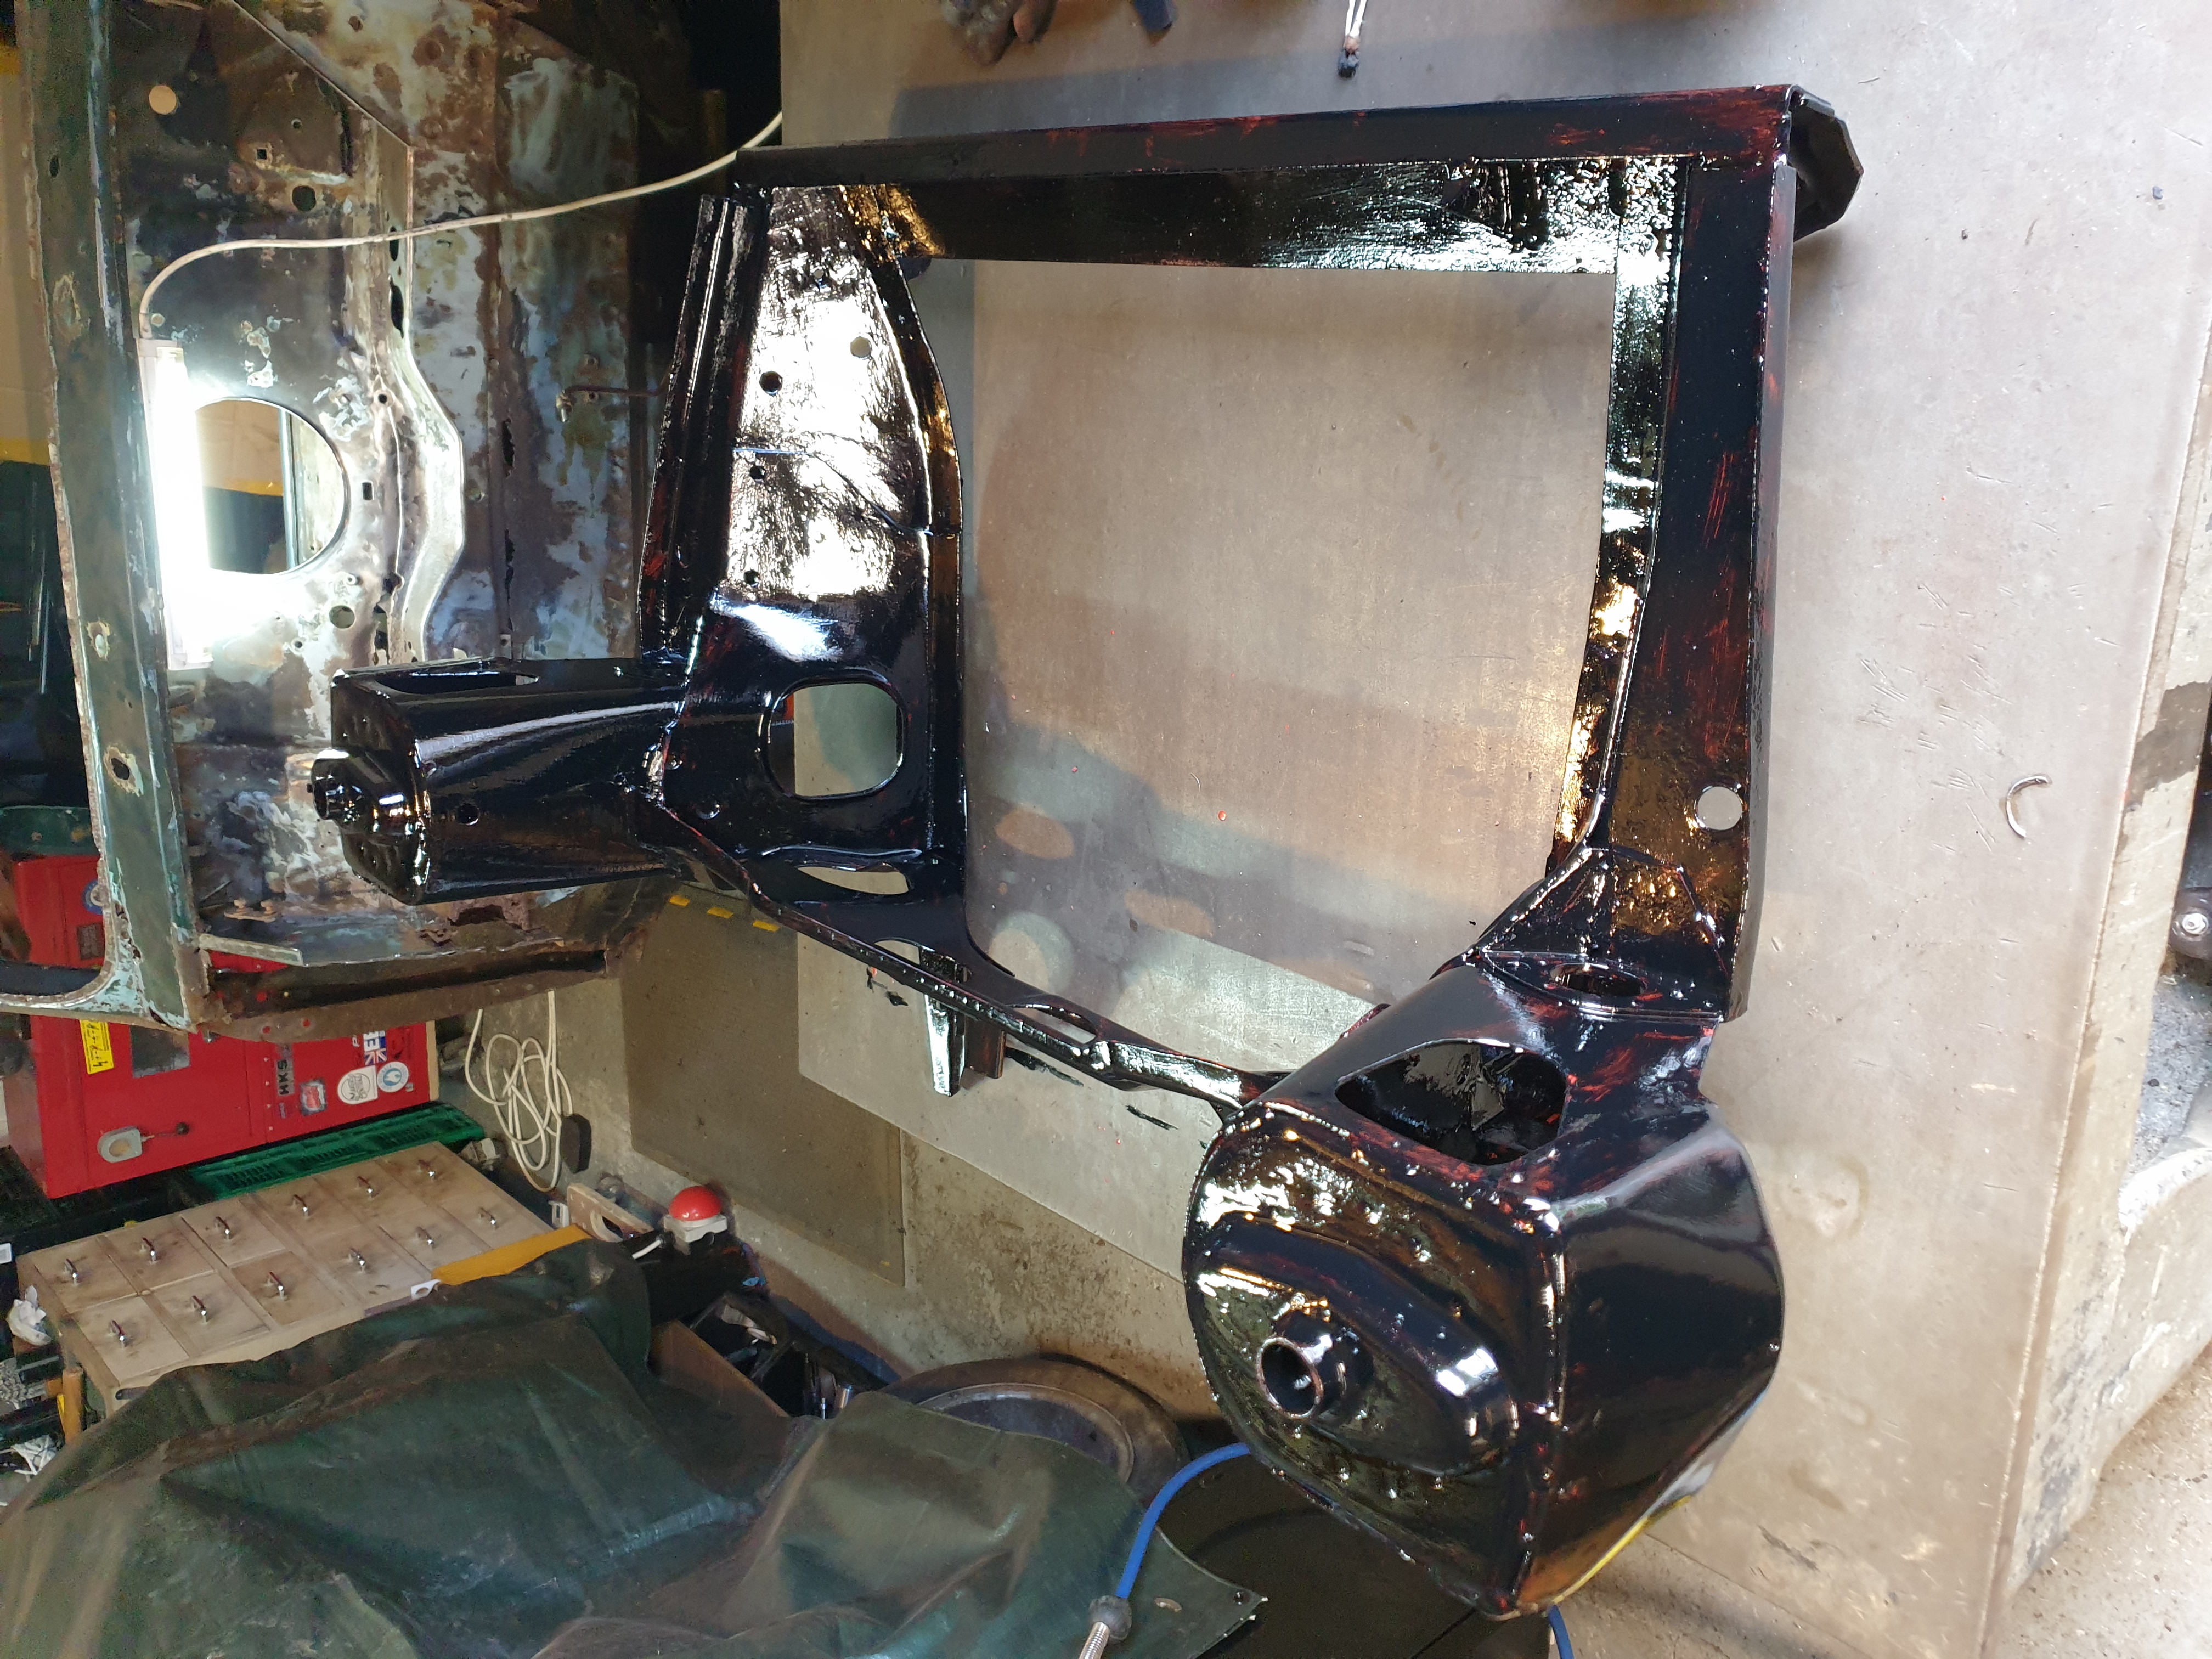
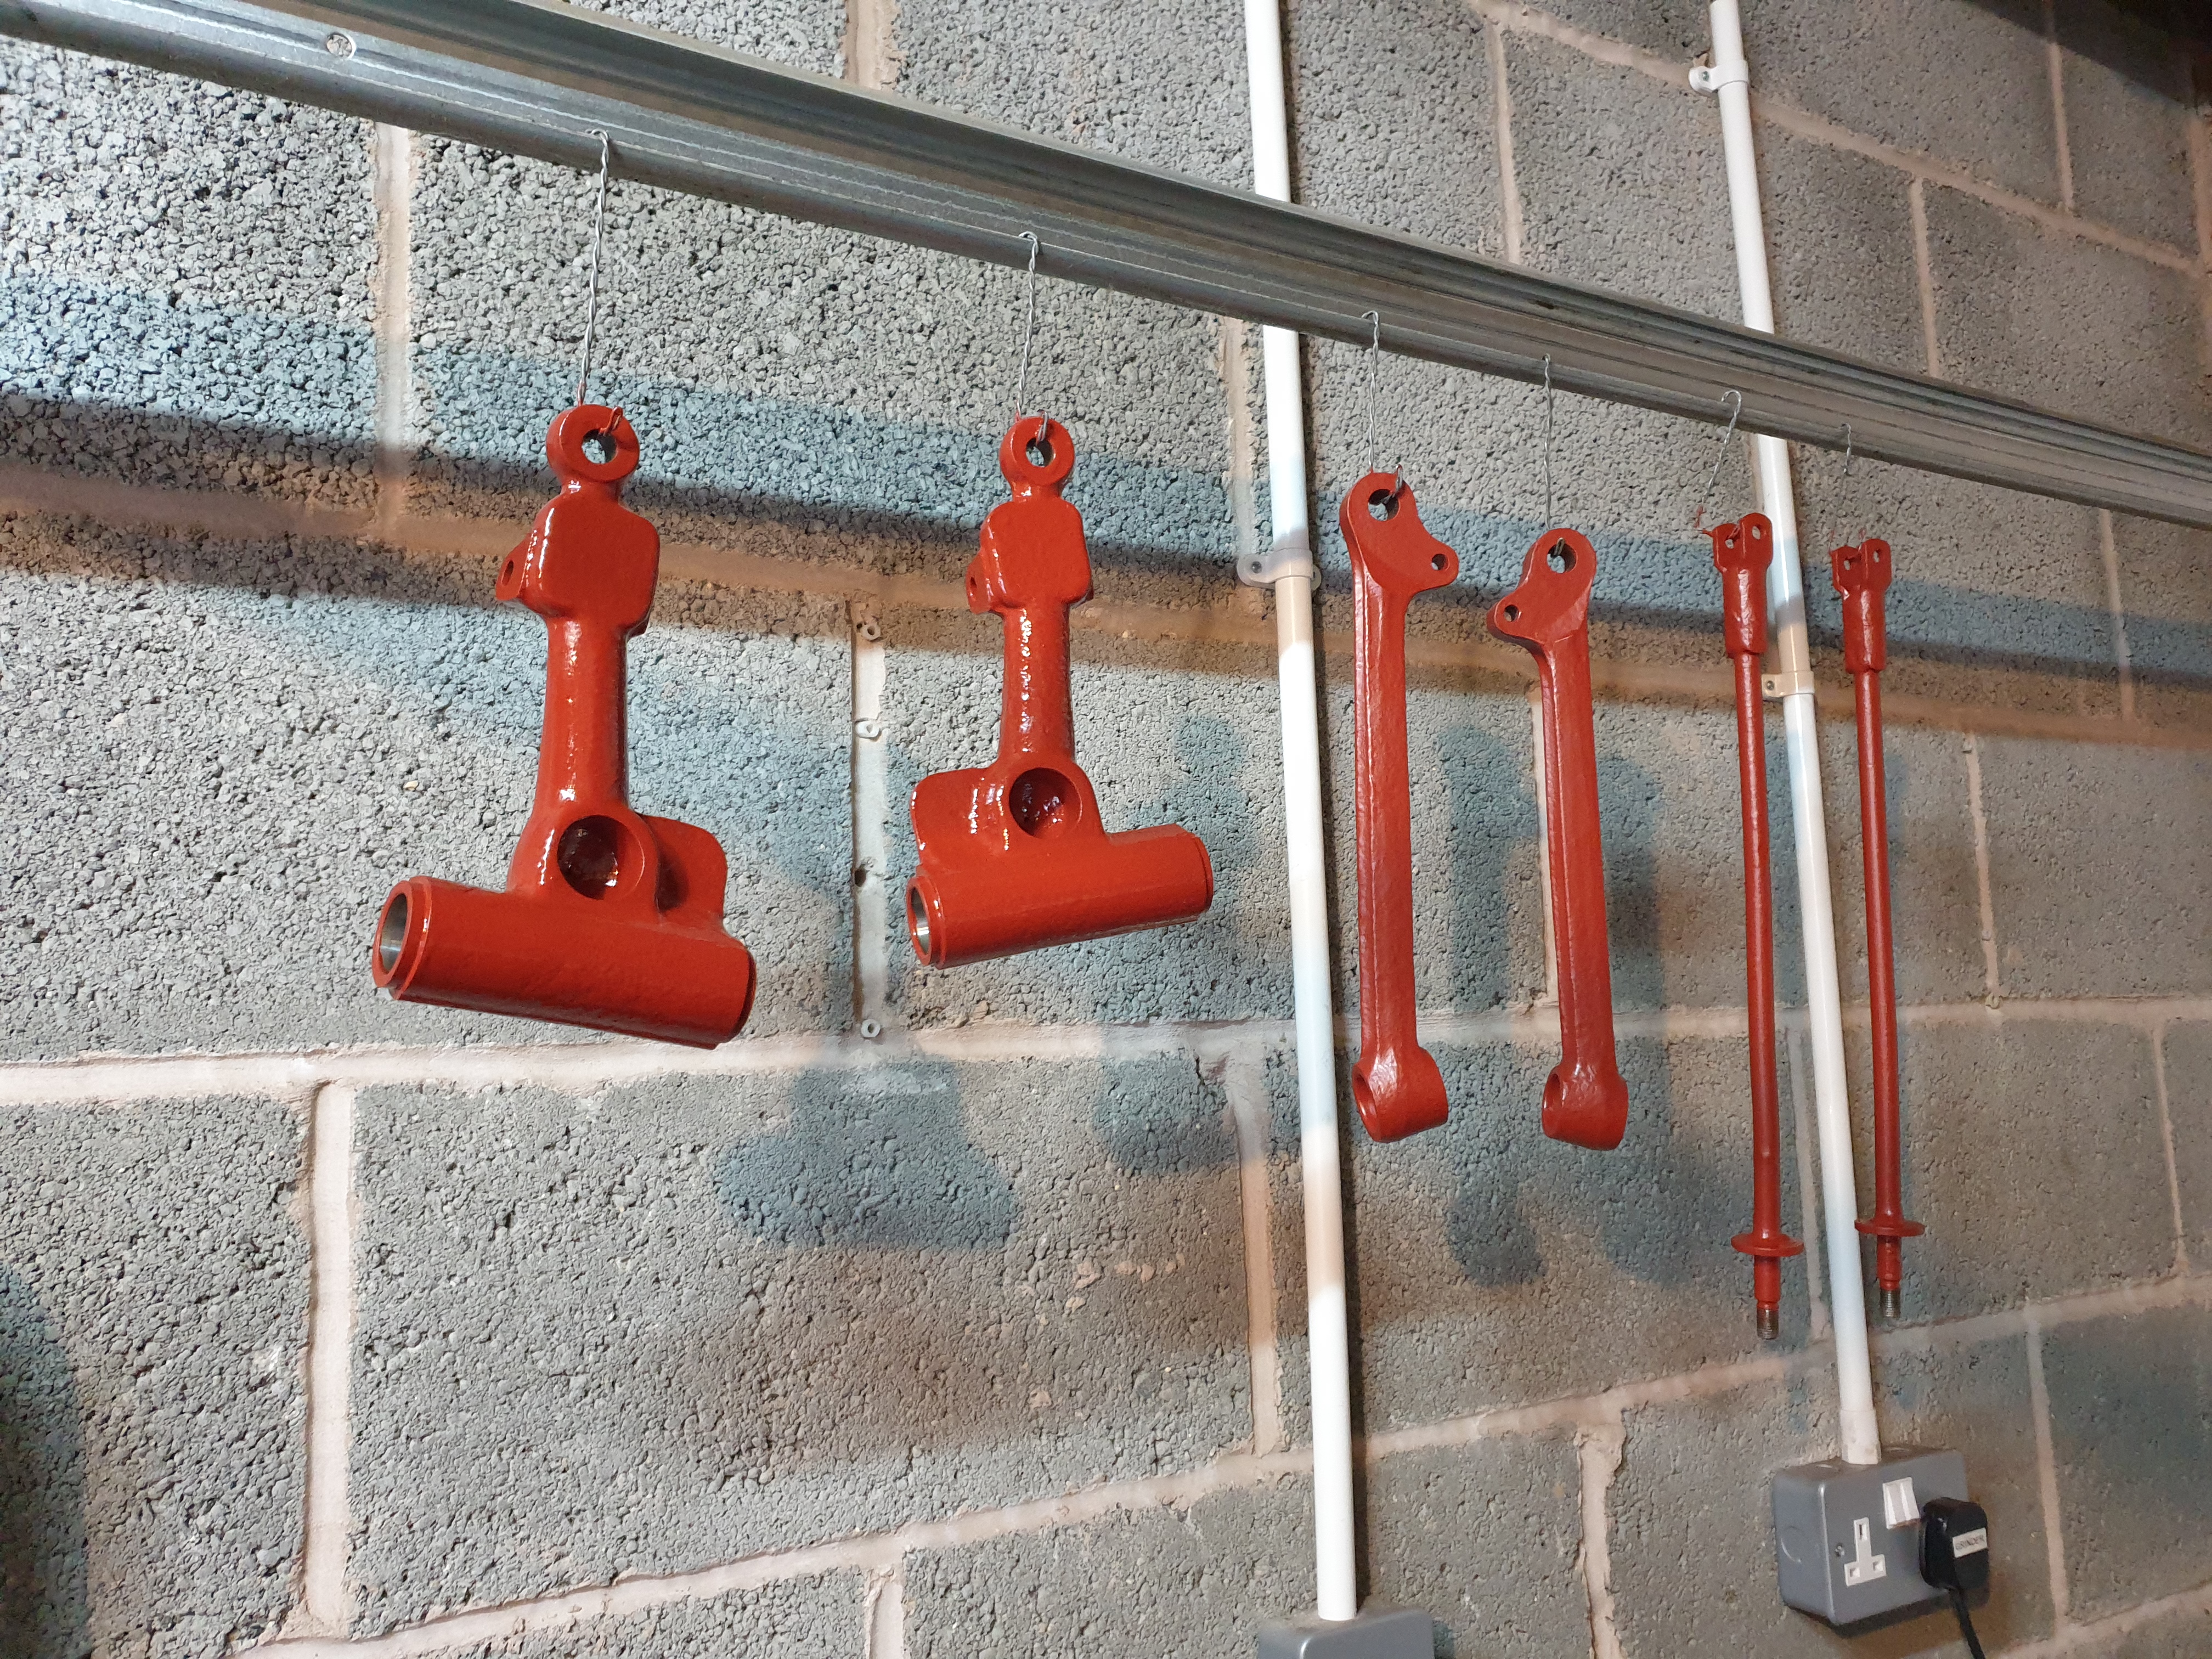
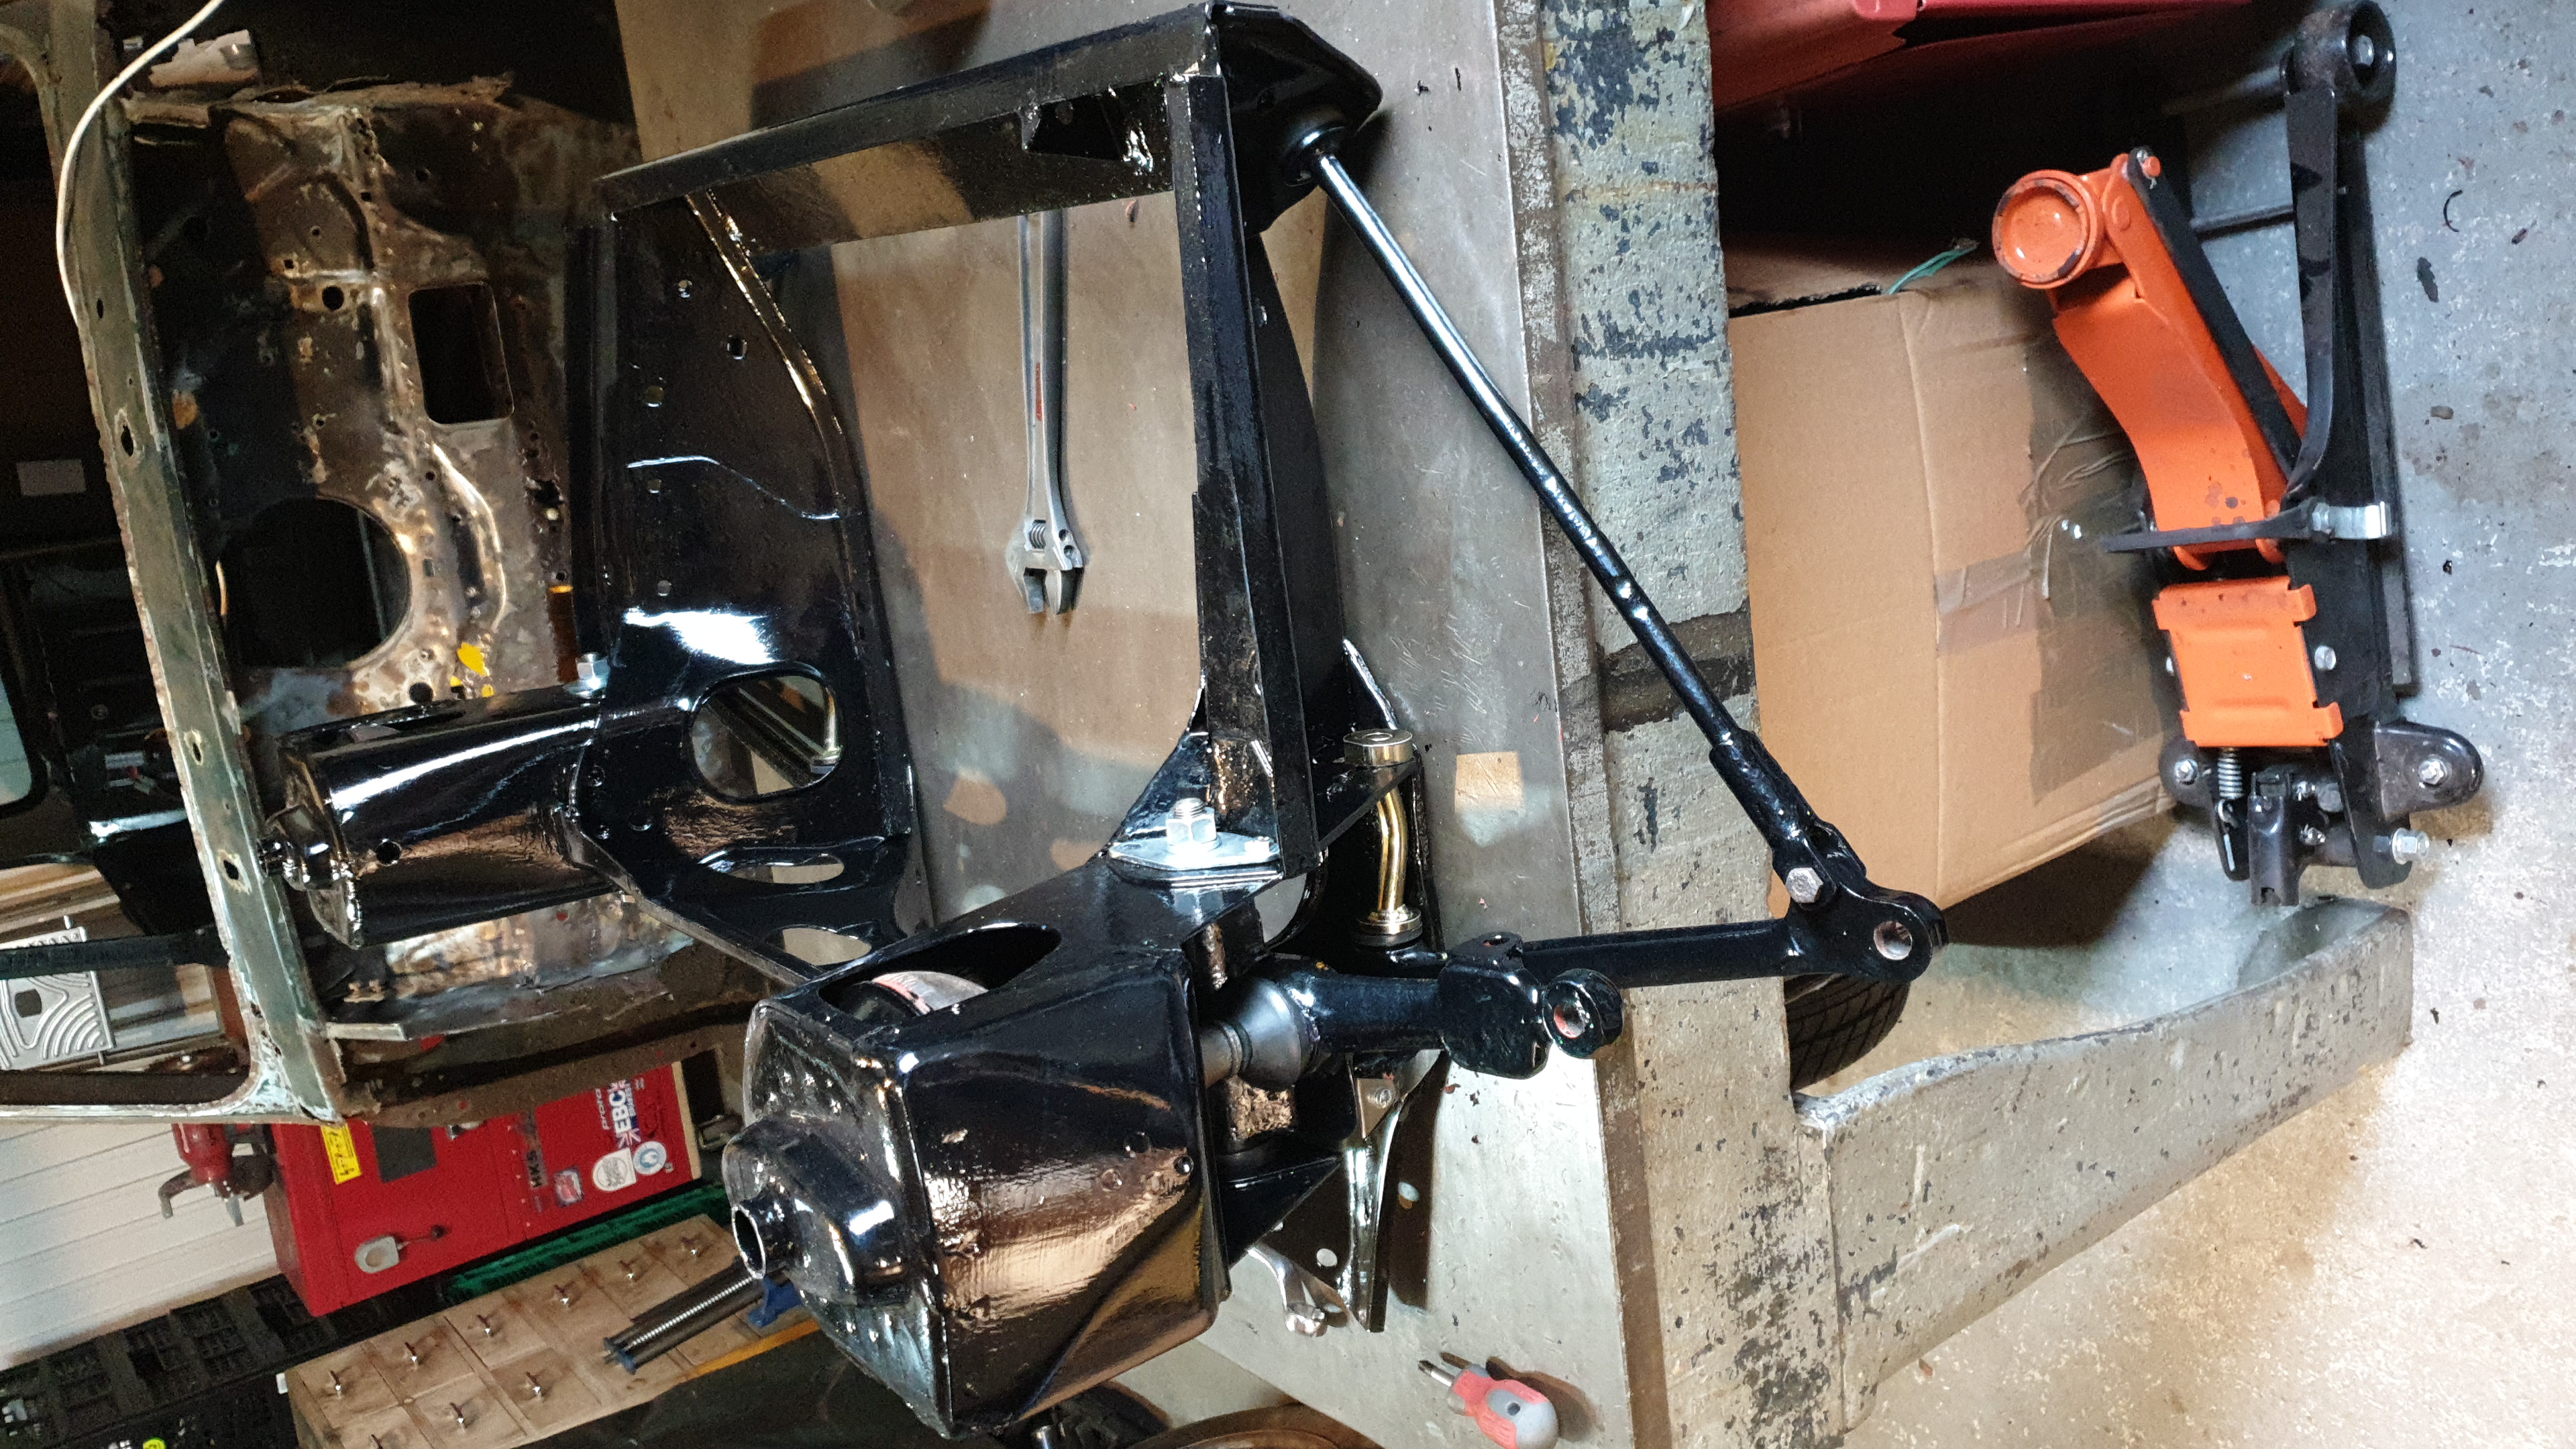
The front subframe was removed in order to get access to the bulkhead, and while I investigated solutions and mulled it over, I worked on cleaning the subframe. It had obviously been replaced, presumably not long before it was parked up. It was covered in surface rust, but nothing deep. A thorough wire wheeling, some Kurust and it was ready for paint. All the suspension parts were removed; all fasteners and wear items binned in favour of new parts and stainless fasteners. Currently all that's being carried over are the arms, rubber cones and trumpets. I'll weigh up the cost of new rubbers when it's all back together - these seem to still have life in them.
 |
 |
 |
 |
 |
| Cleaning and painting | Fully primered | First coat of black | Arms in primer | Assembled with new hardware |
I have owned a cheap Parkside gasless MIG (FCAW) for a couple of years, without much use. I initially tried to use it for welding in the patches, but a lack of control and skill lead to messy results. I was looking to get either a proper MIG or a TIG welder; the latter being preferable for learning skills and general usefulness, the former in theory easier to pick up.
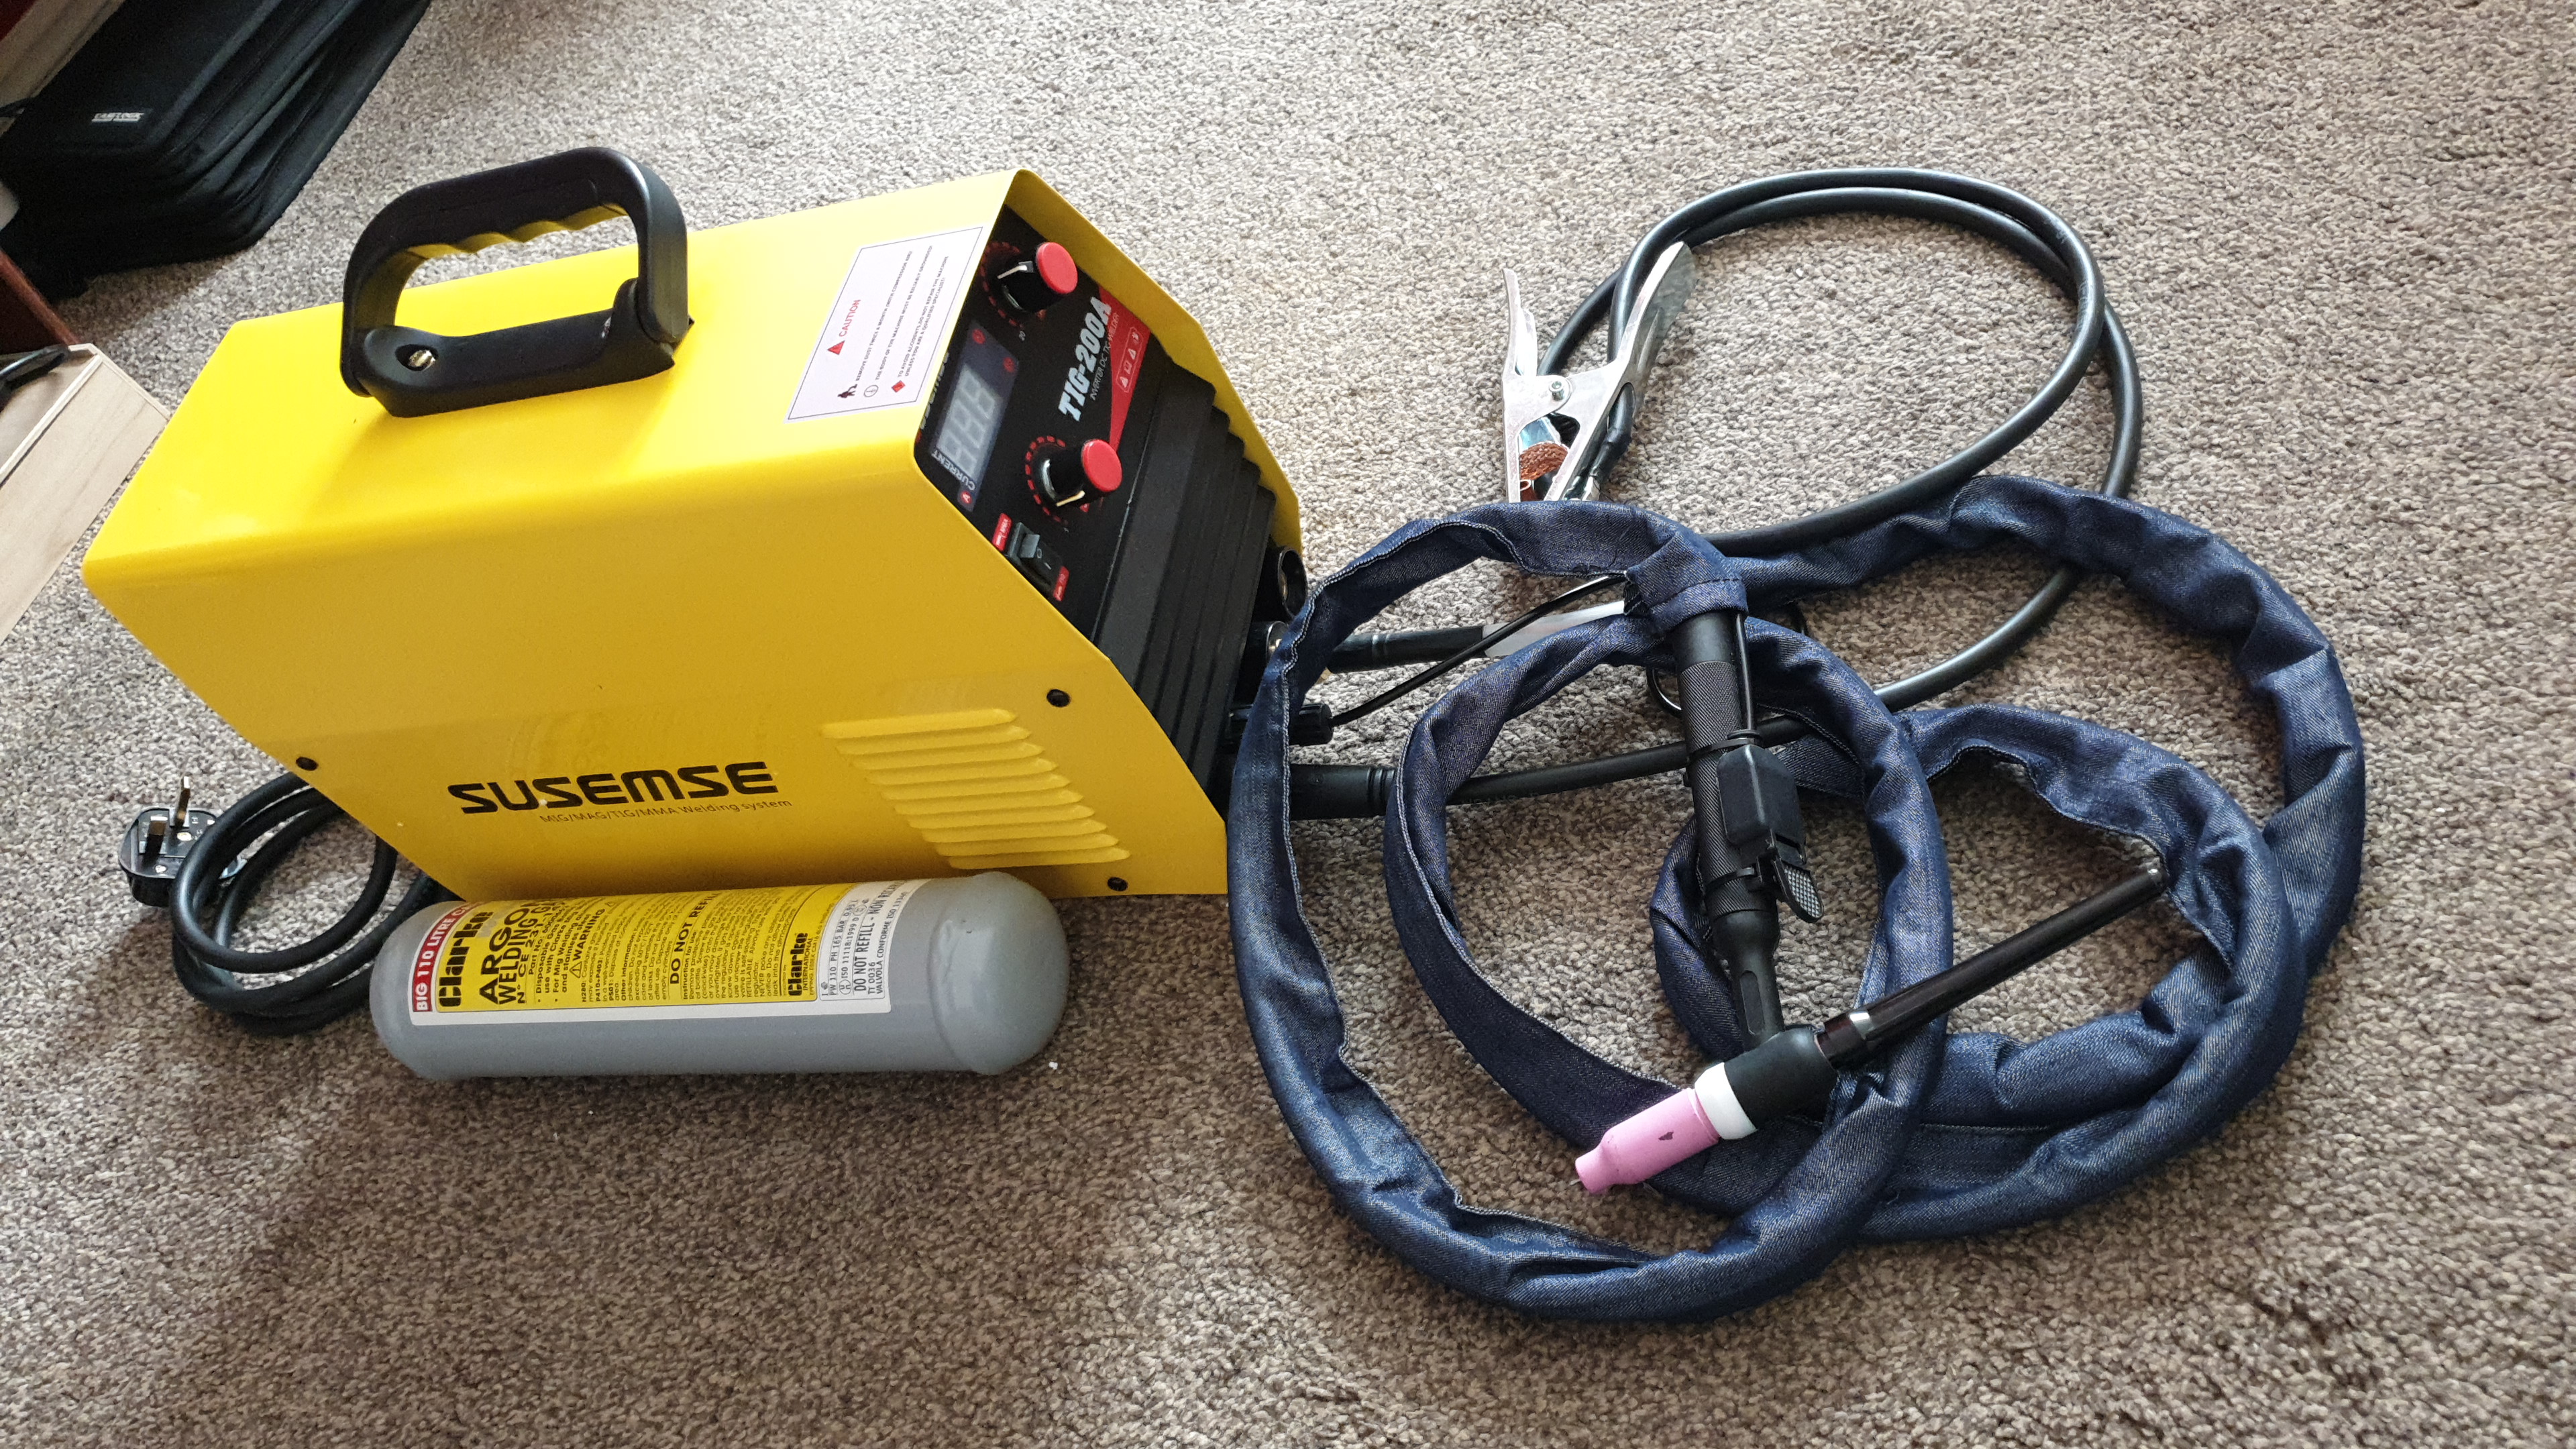
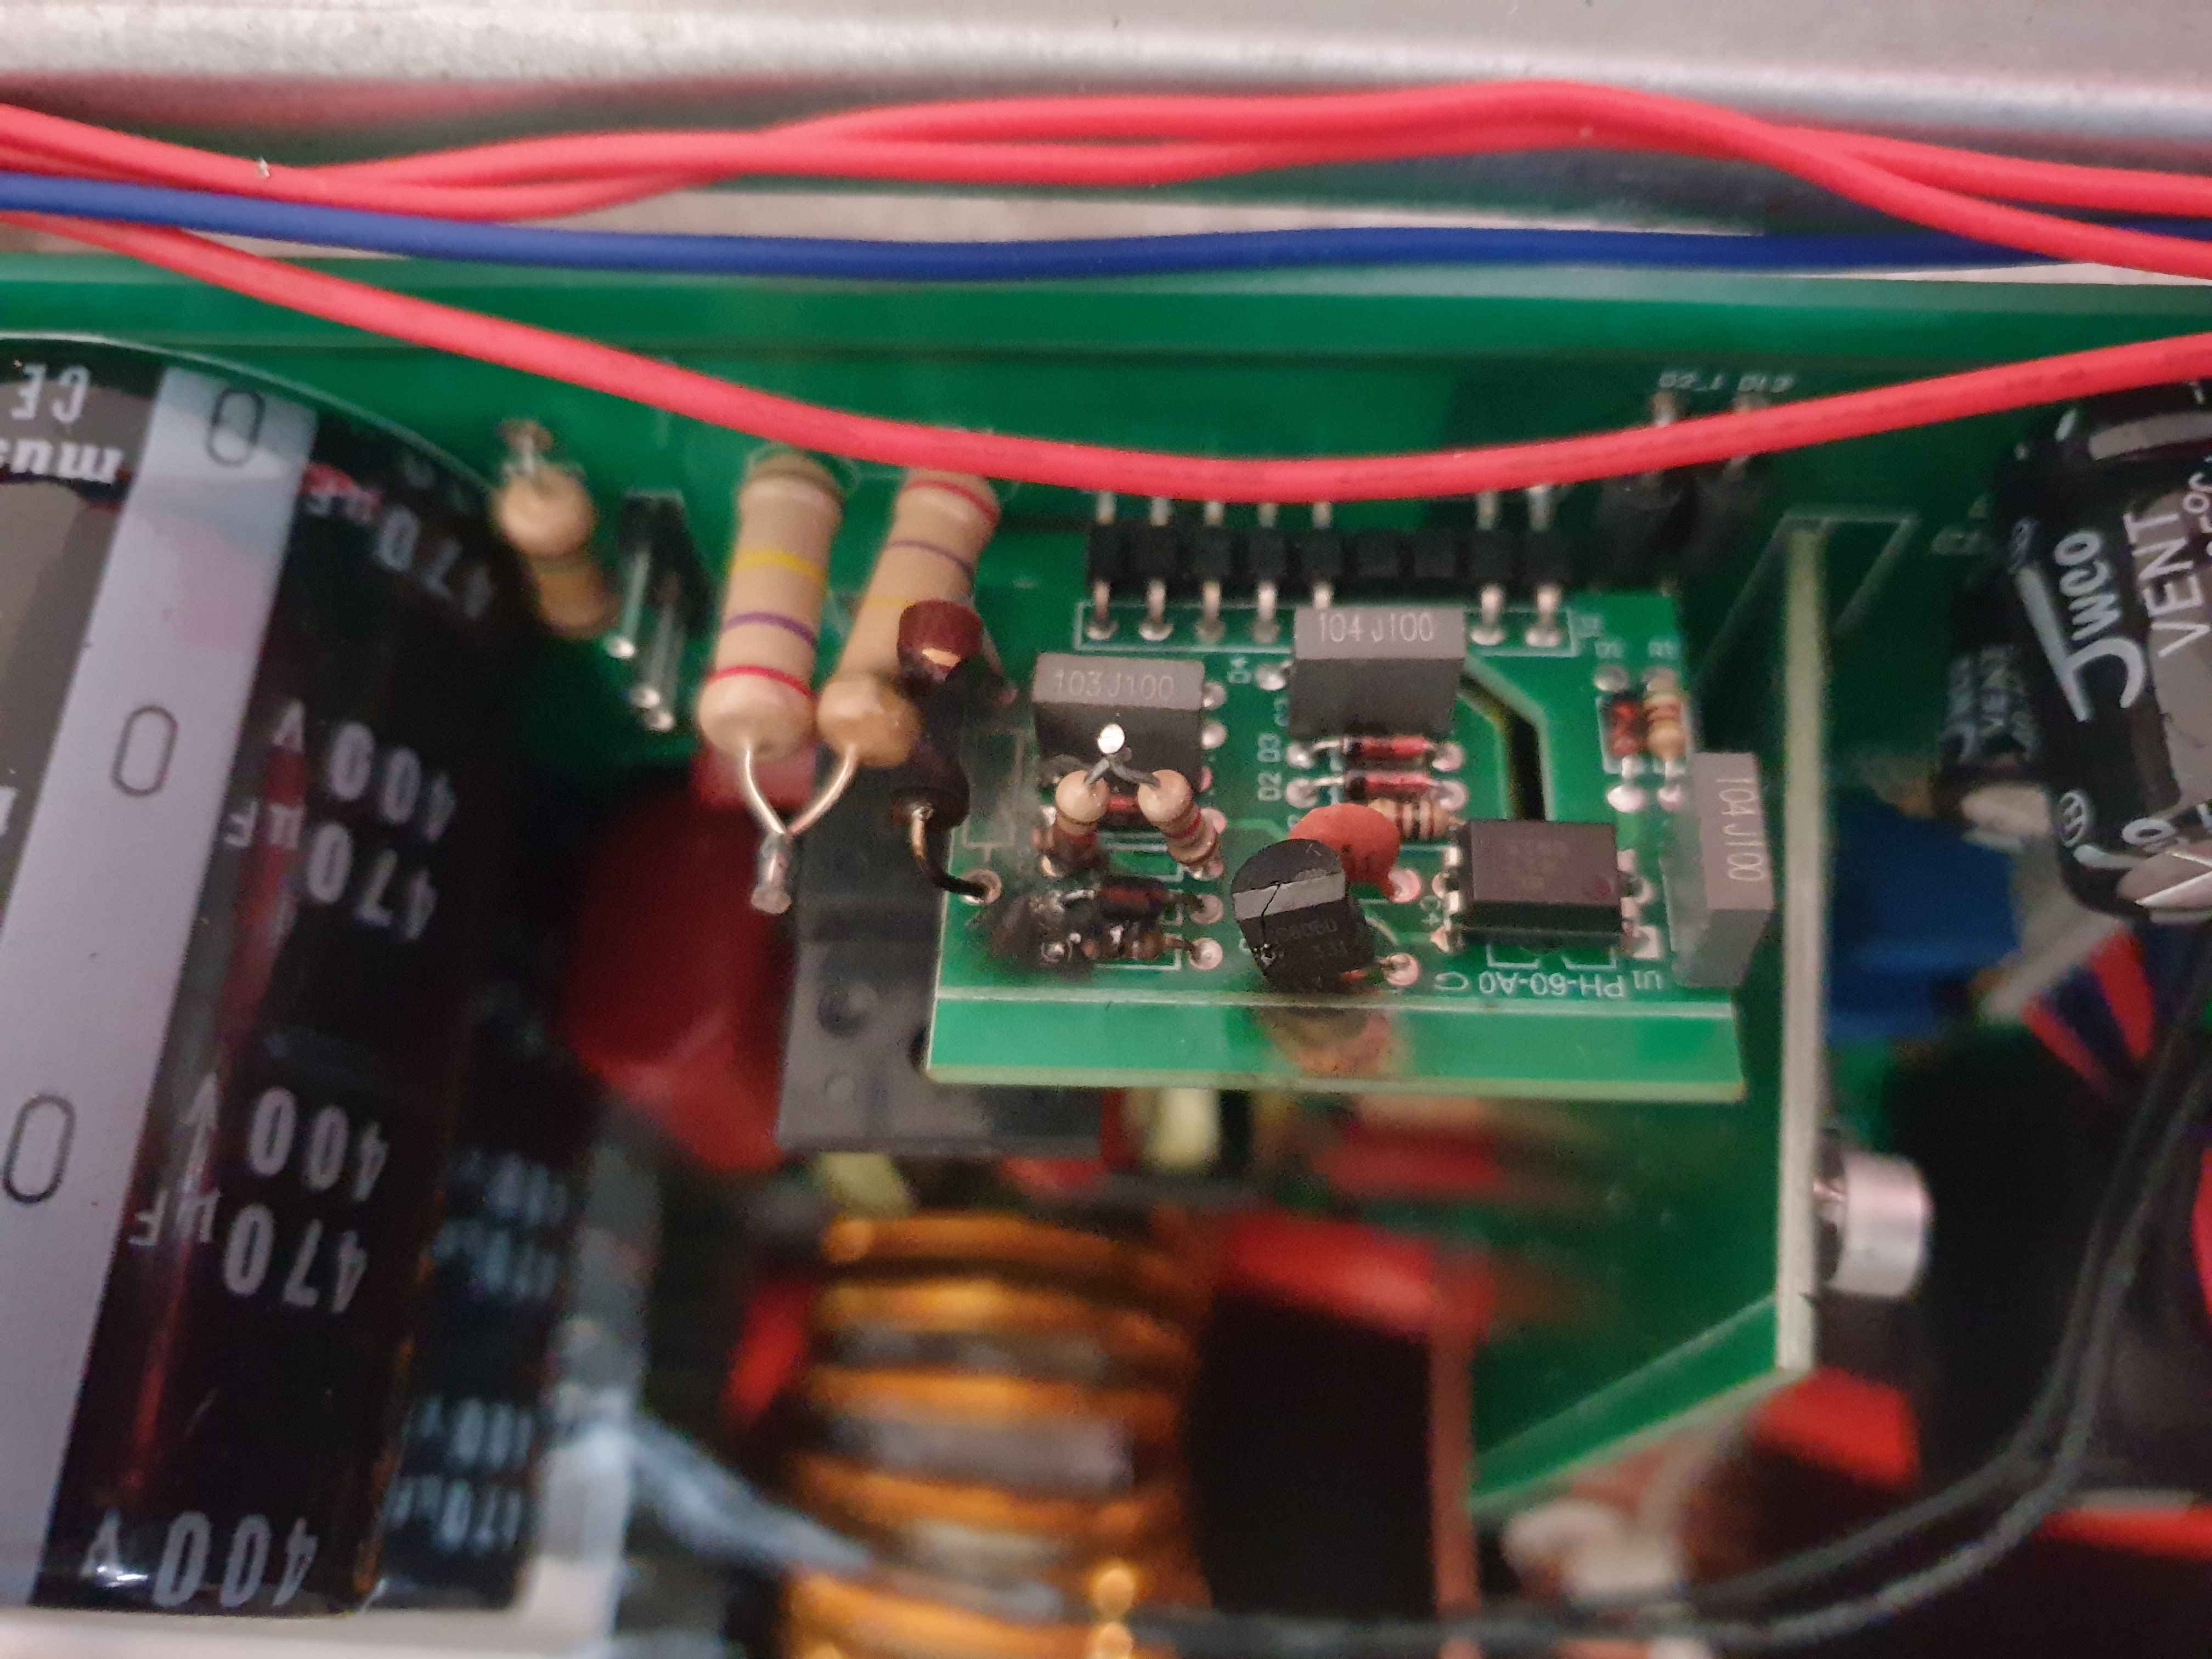
I ended up deciding on TIG, and bought the cheapest high frequency start model on eBay. For £150 I reasoned that if I got on with it, when (not if) it died, I'd replace it with something better. The welder arrived, I plugged it in and POP! There was a slight smell of smoke, but otherwise deafening nothingness. I messaged the seller, and they were very good about getting a replacement sent out. While I waited, I tried to fix the welder, tracing the fault to a small board that seems to produce the low voltage power for the control board. Replacing the burnt components with higher rated parts only resulted in louder pops.
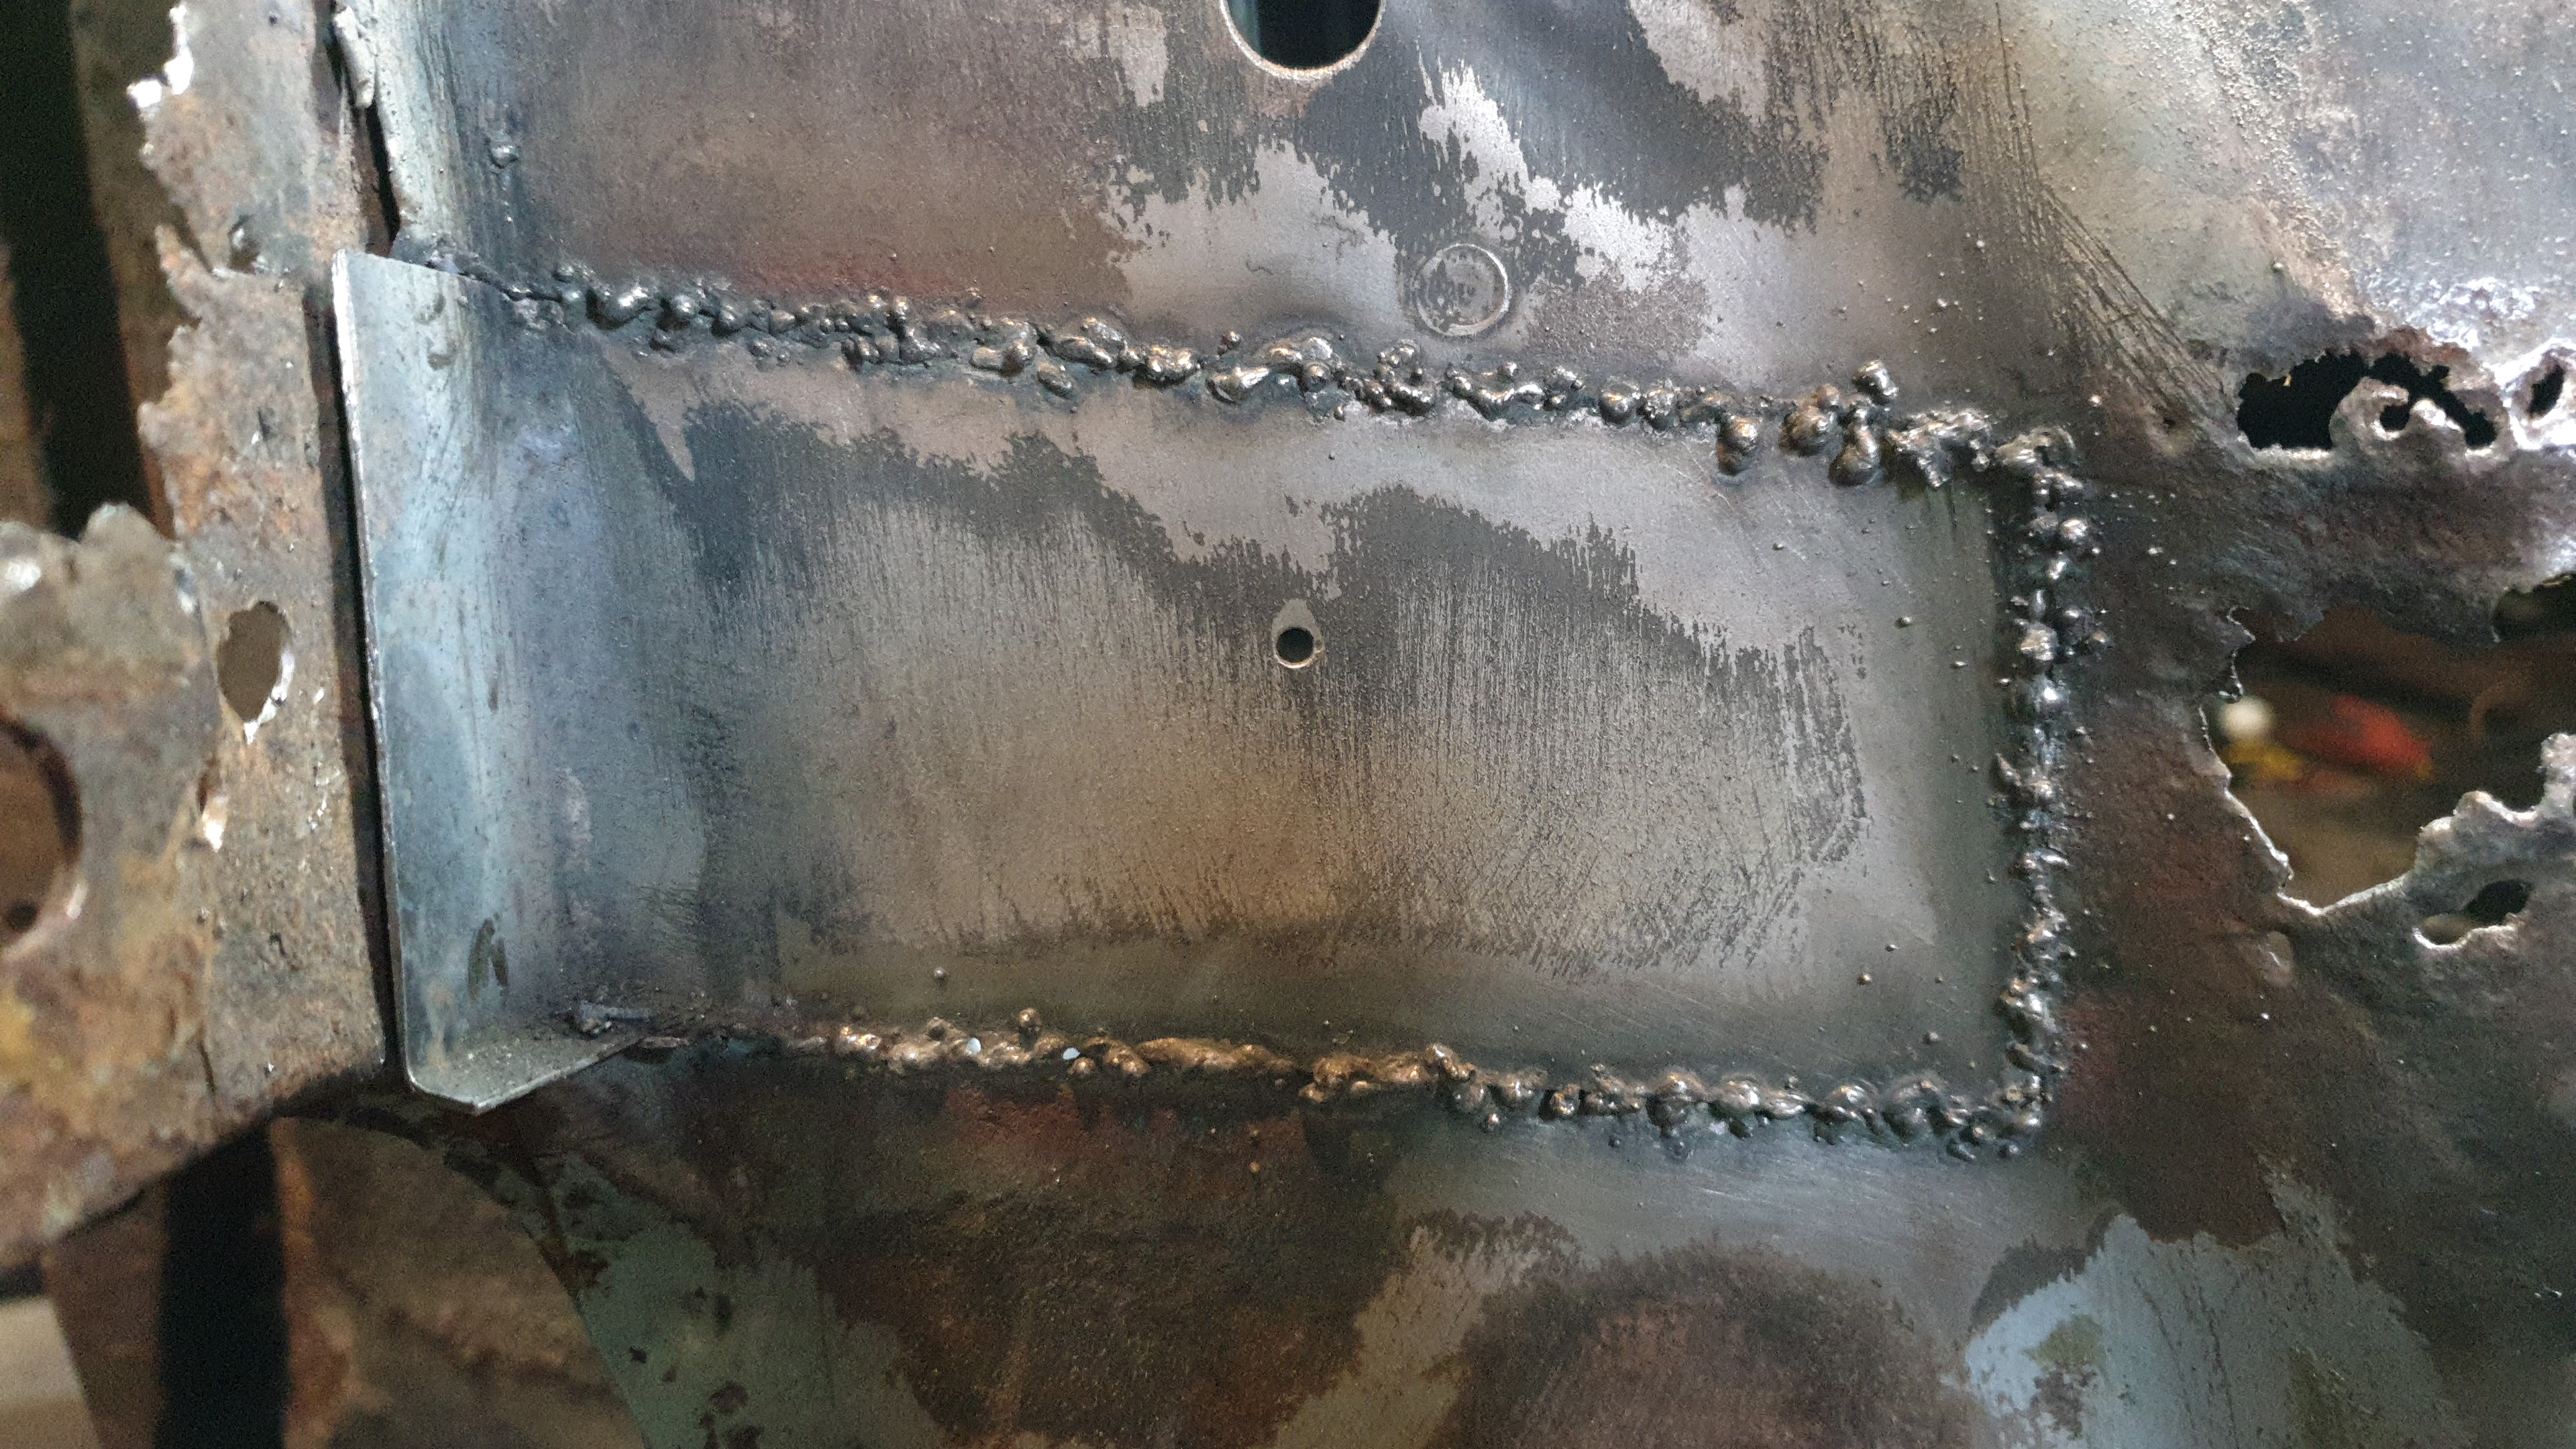
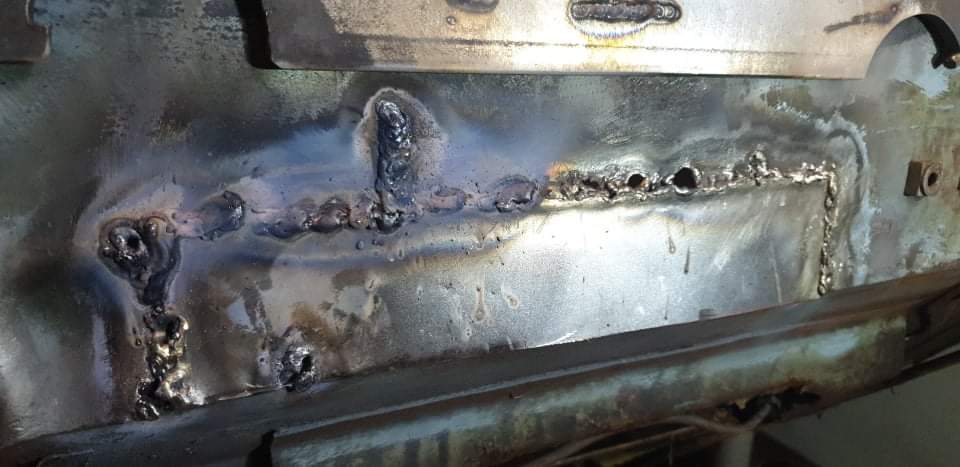
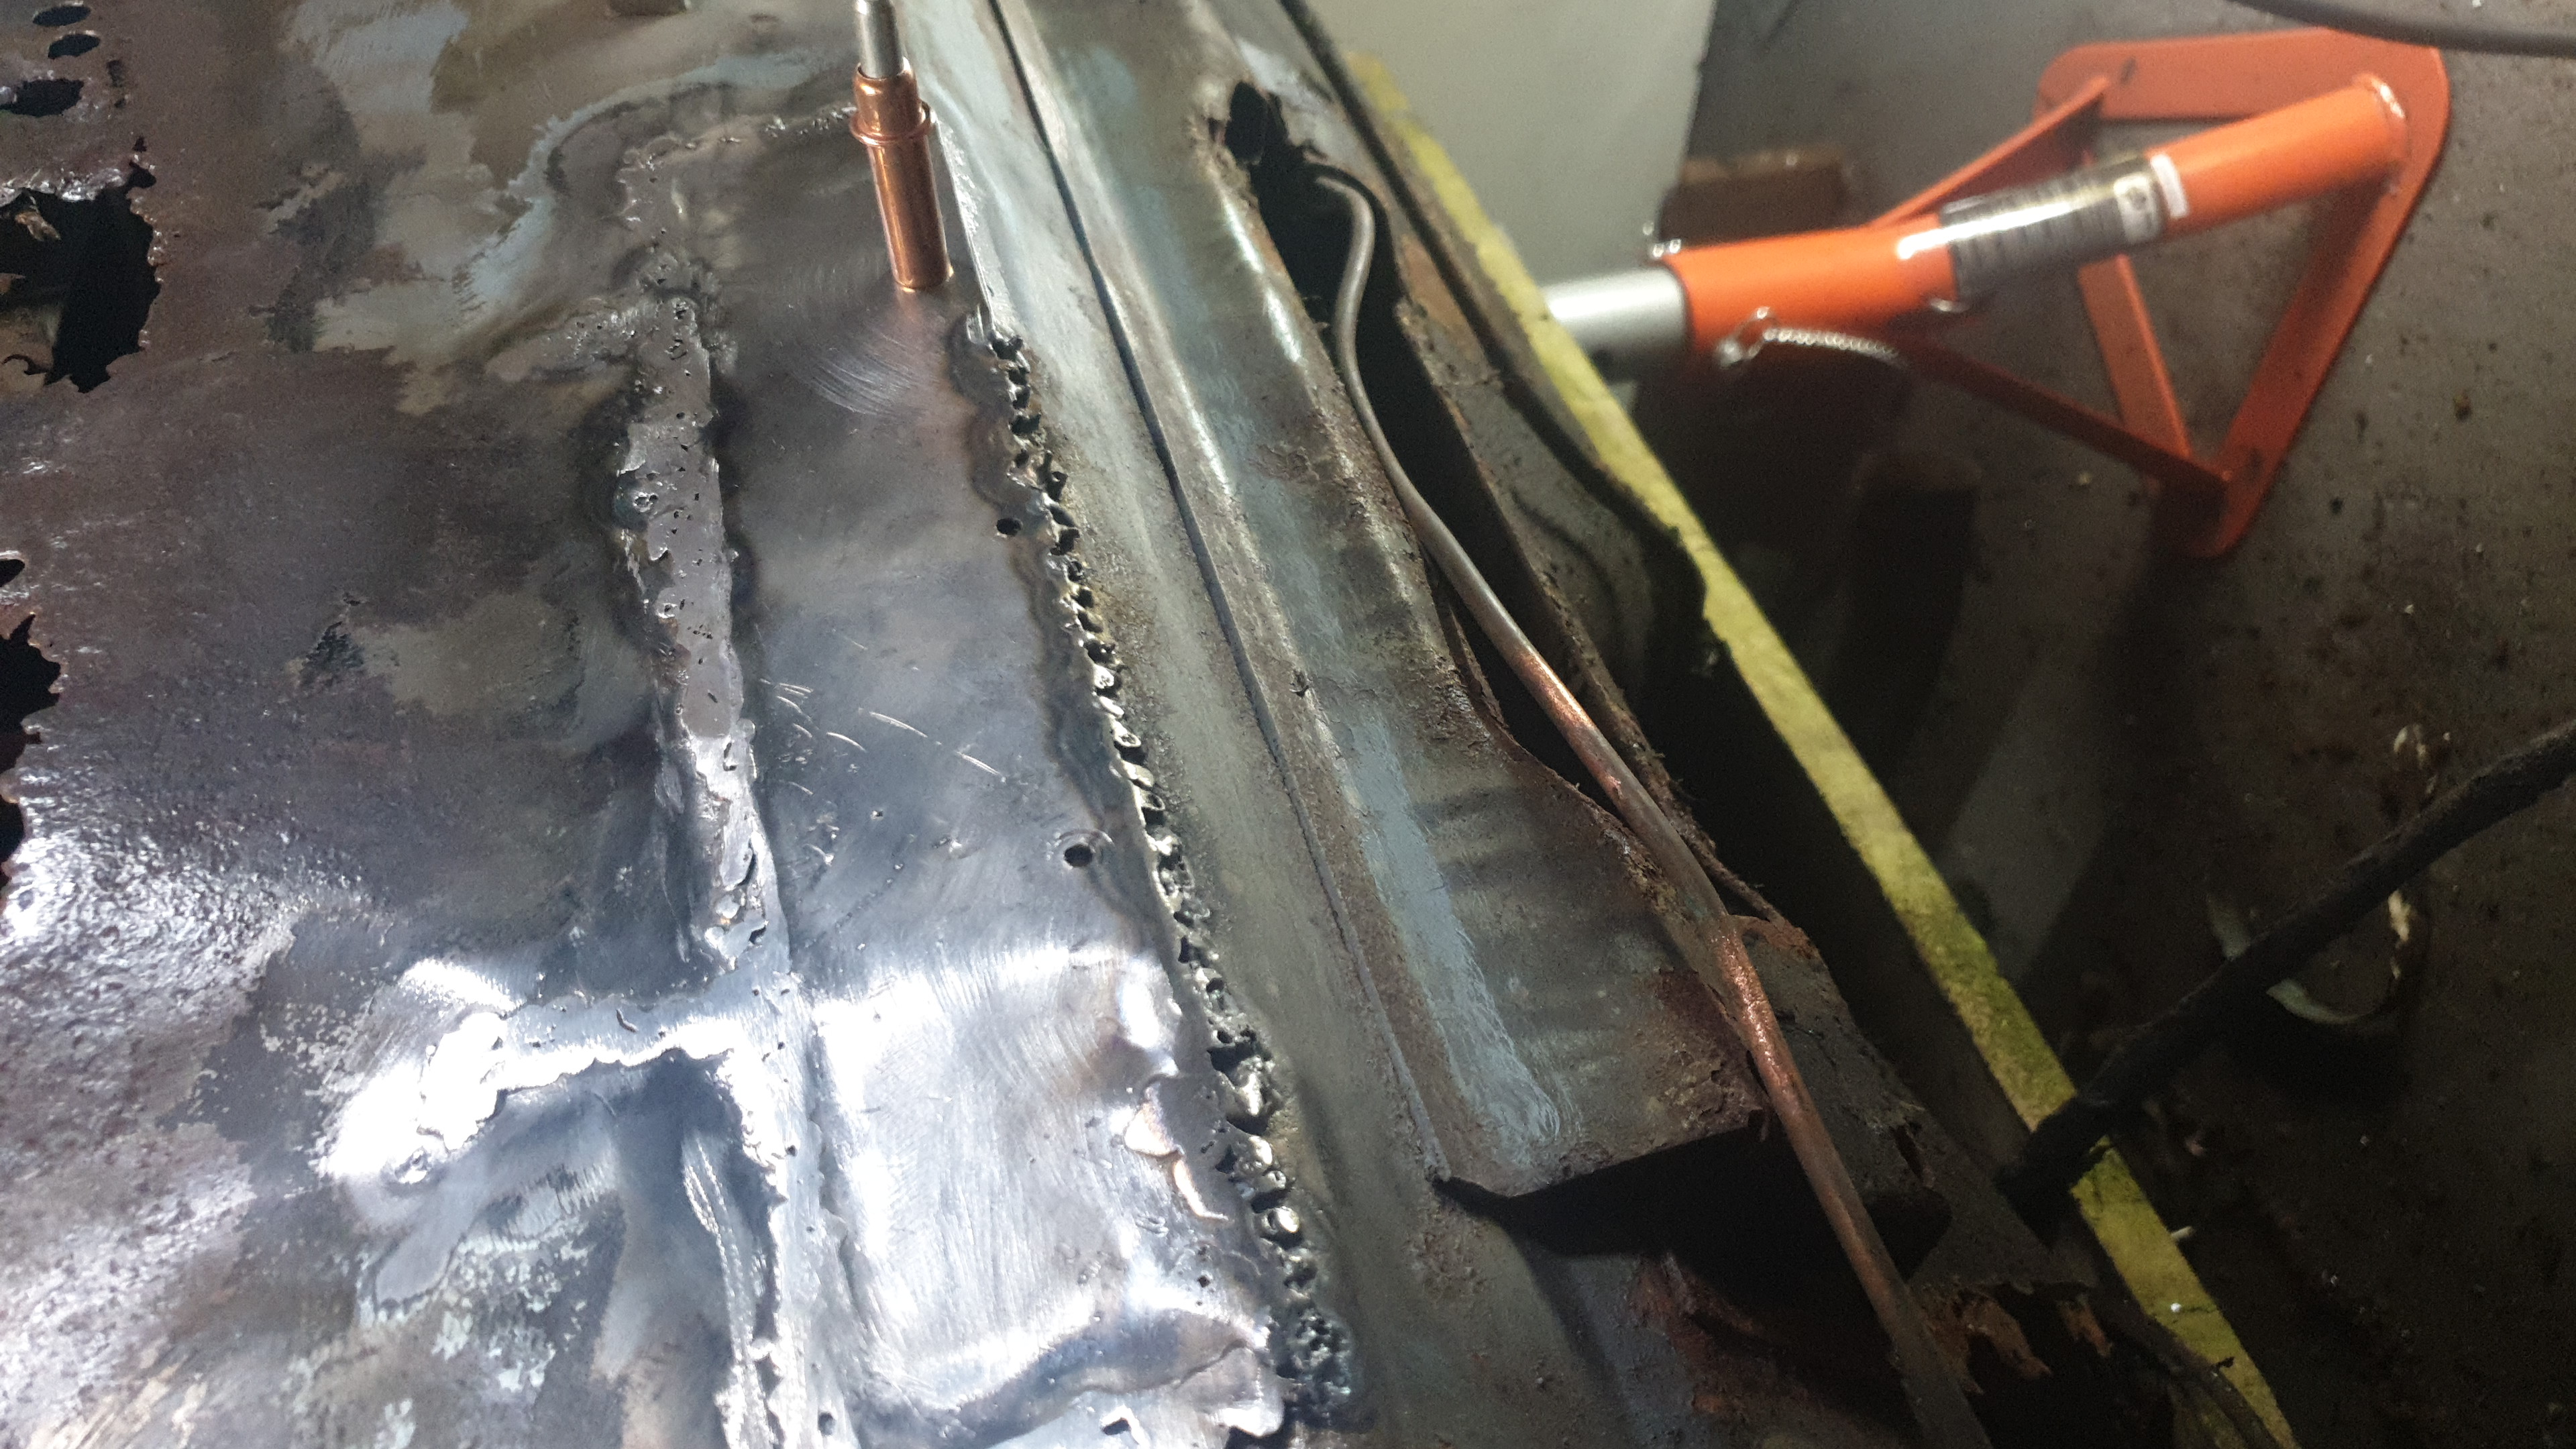
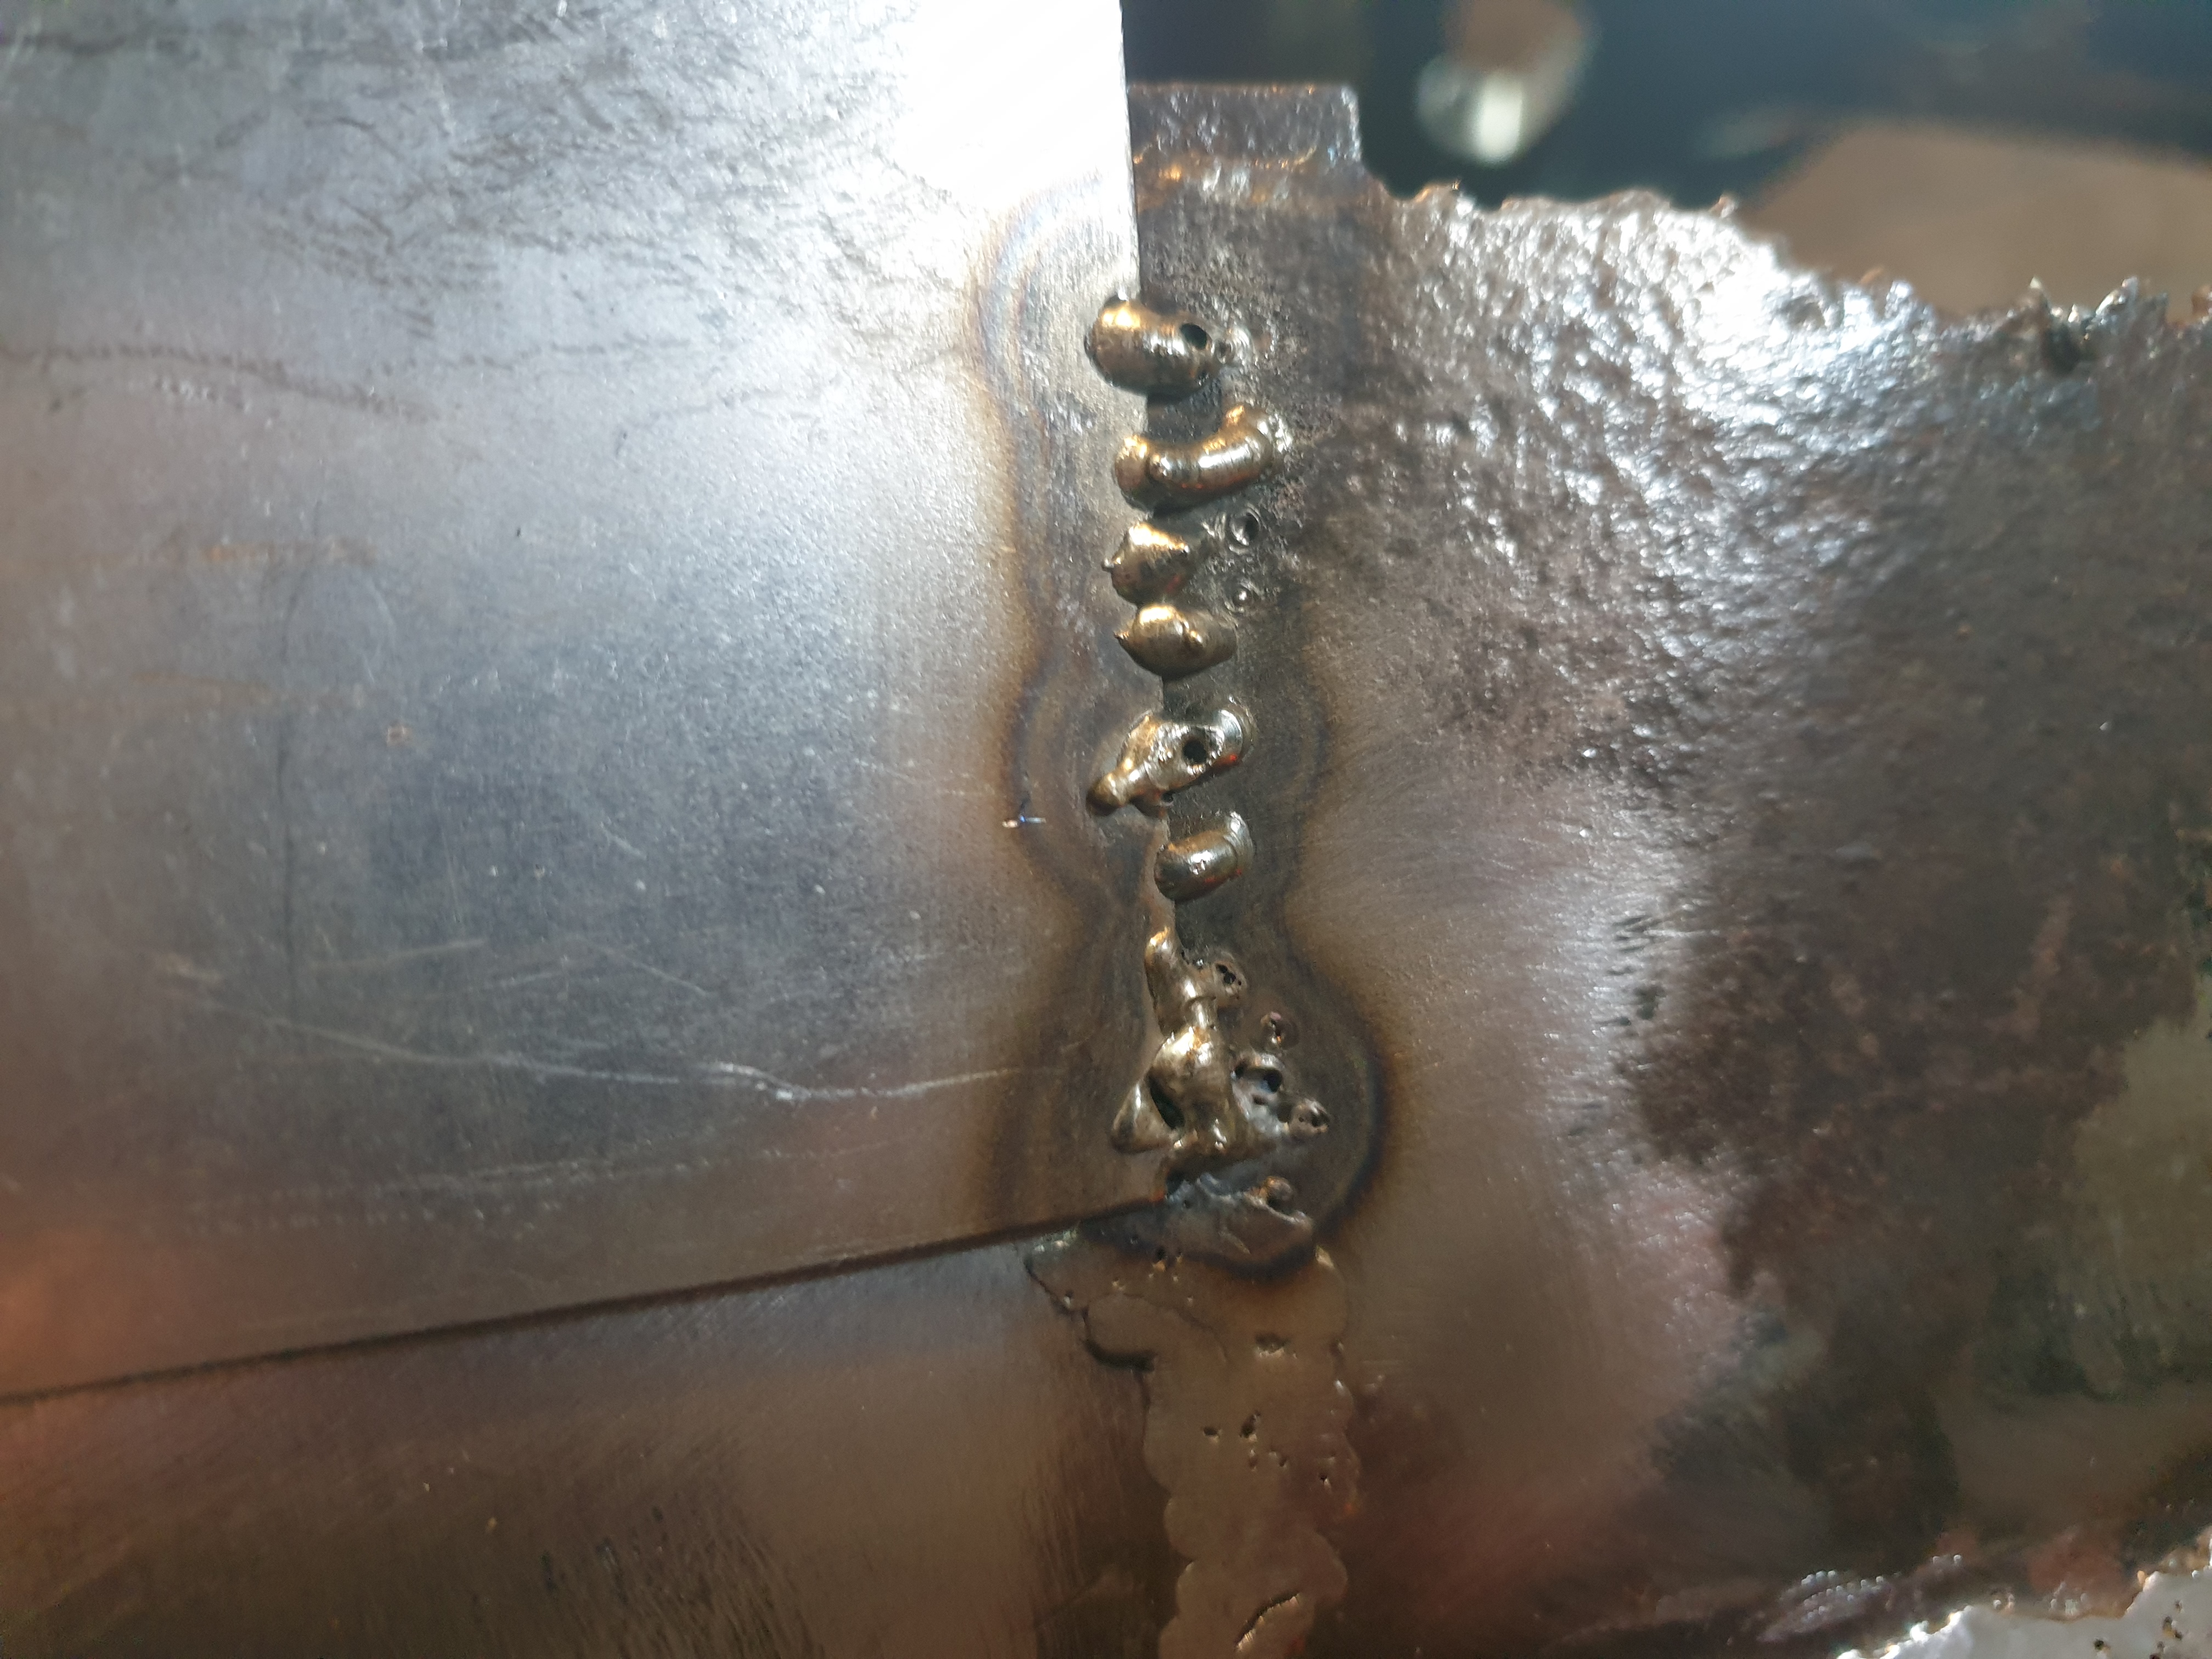
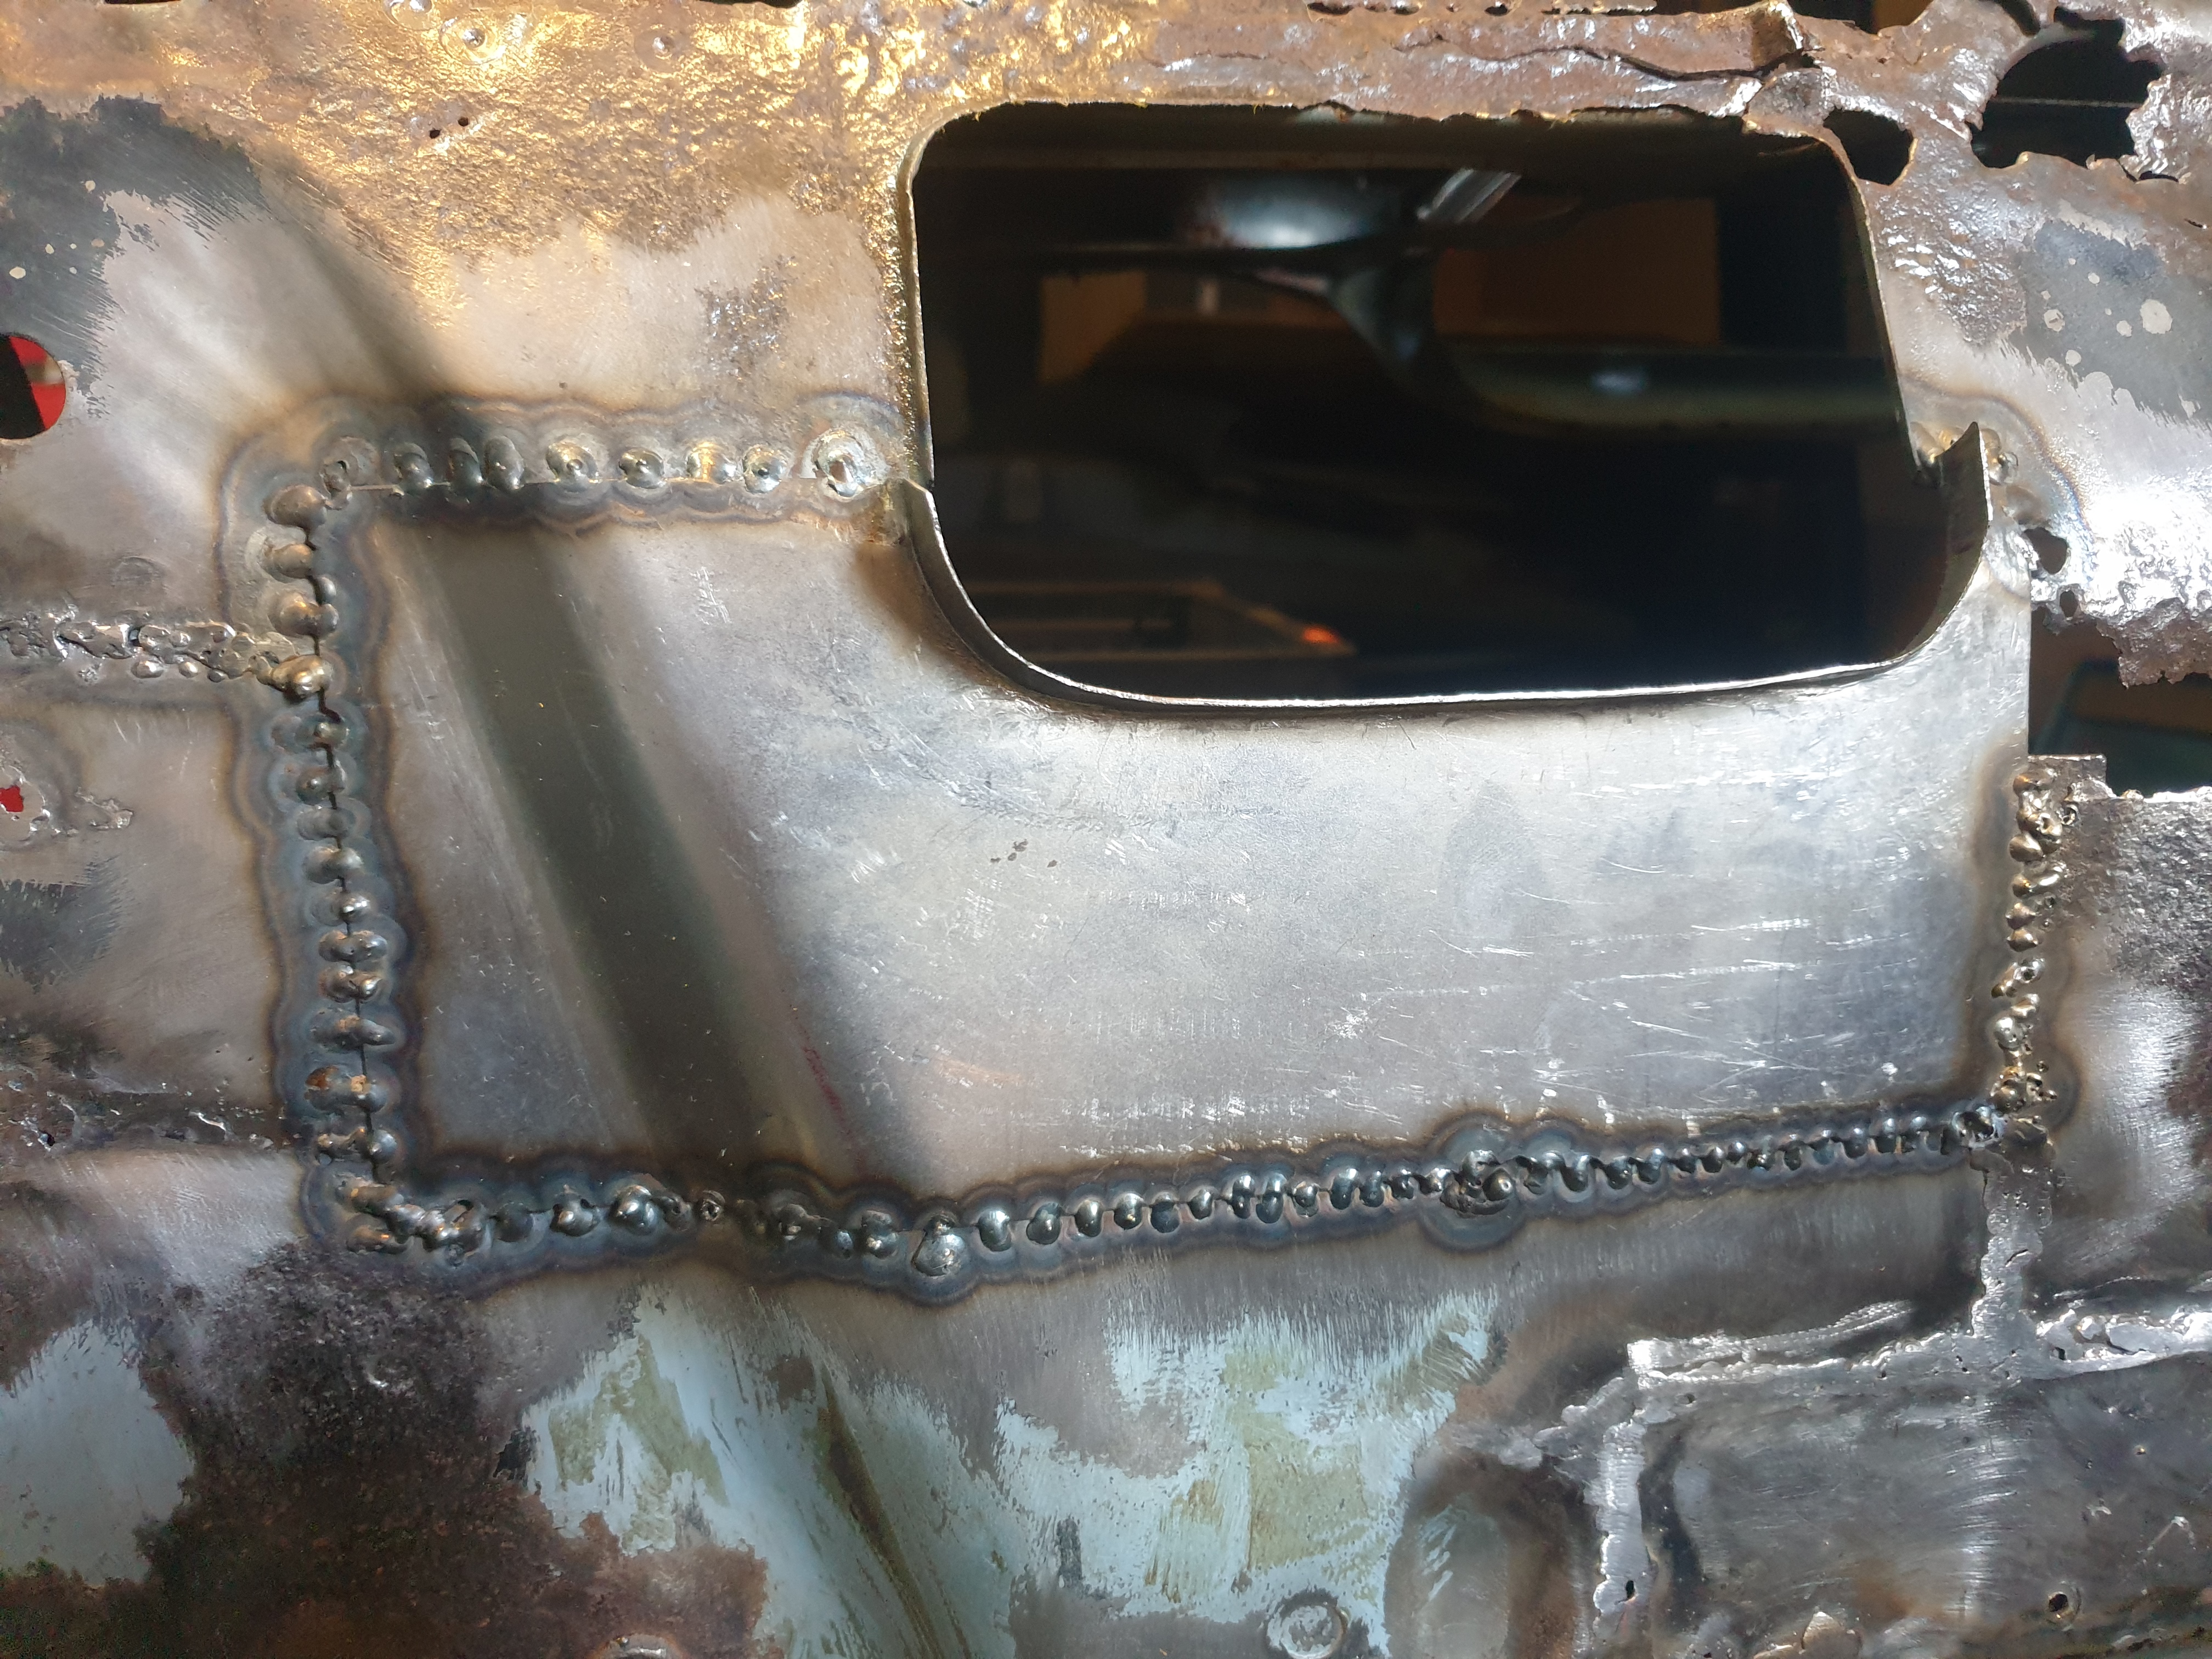
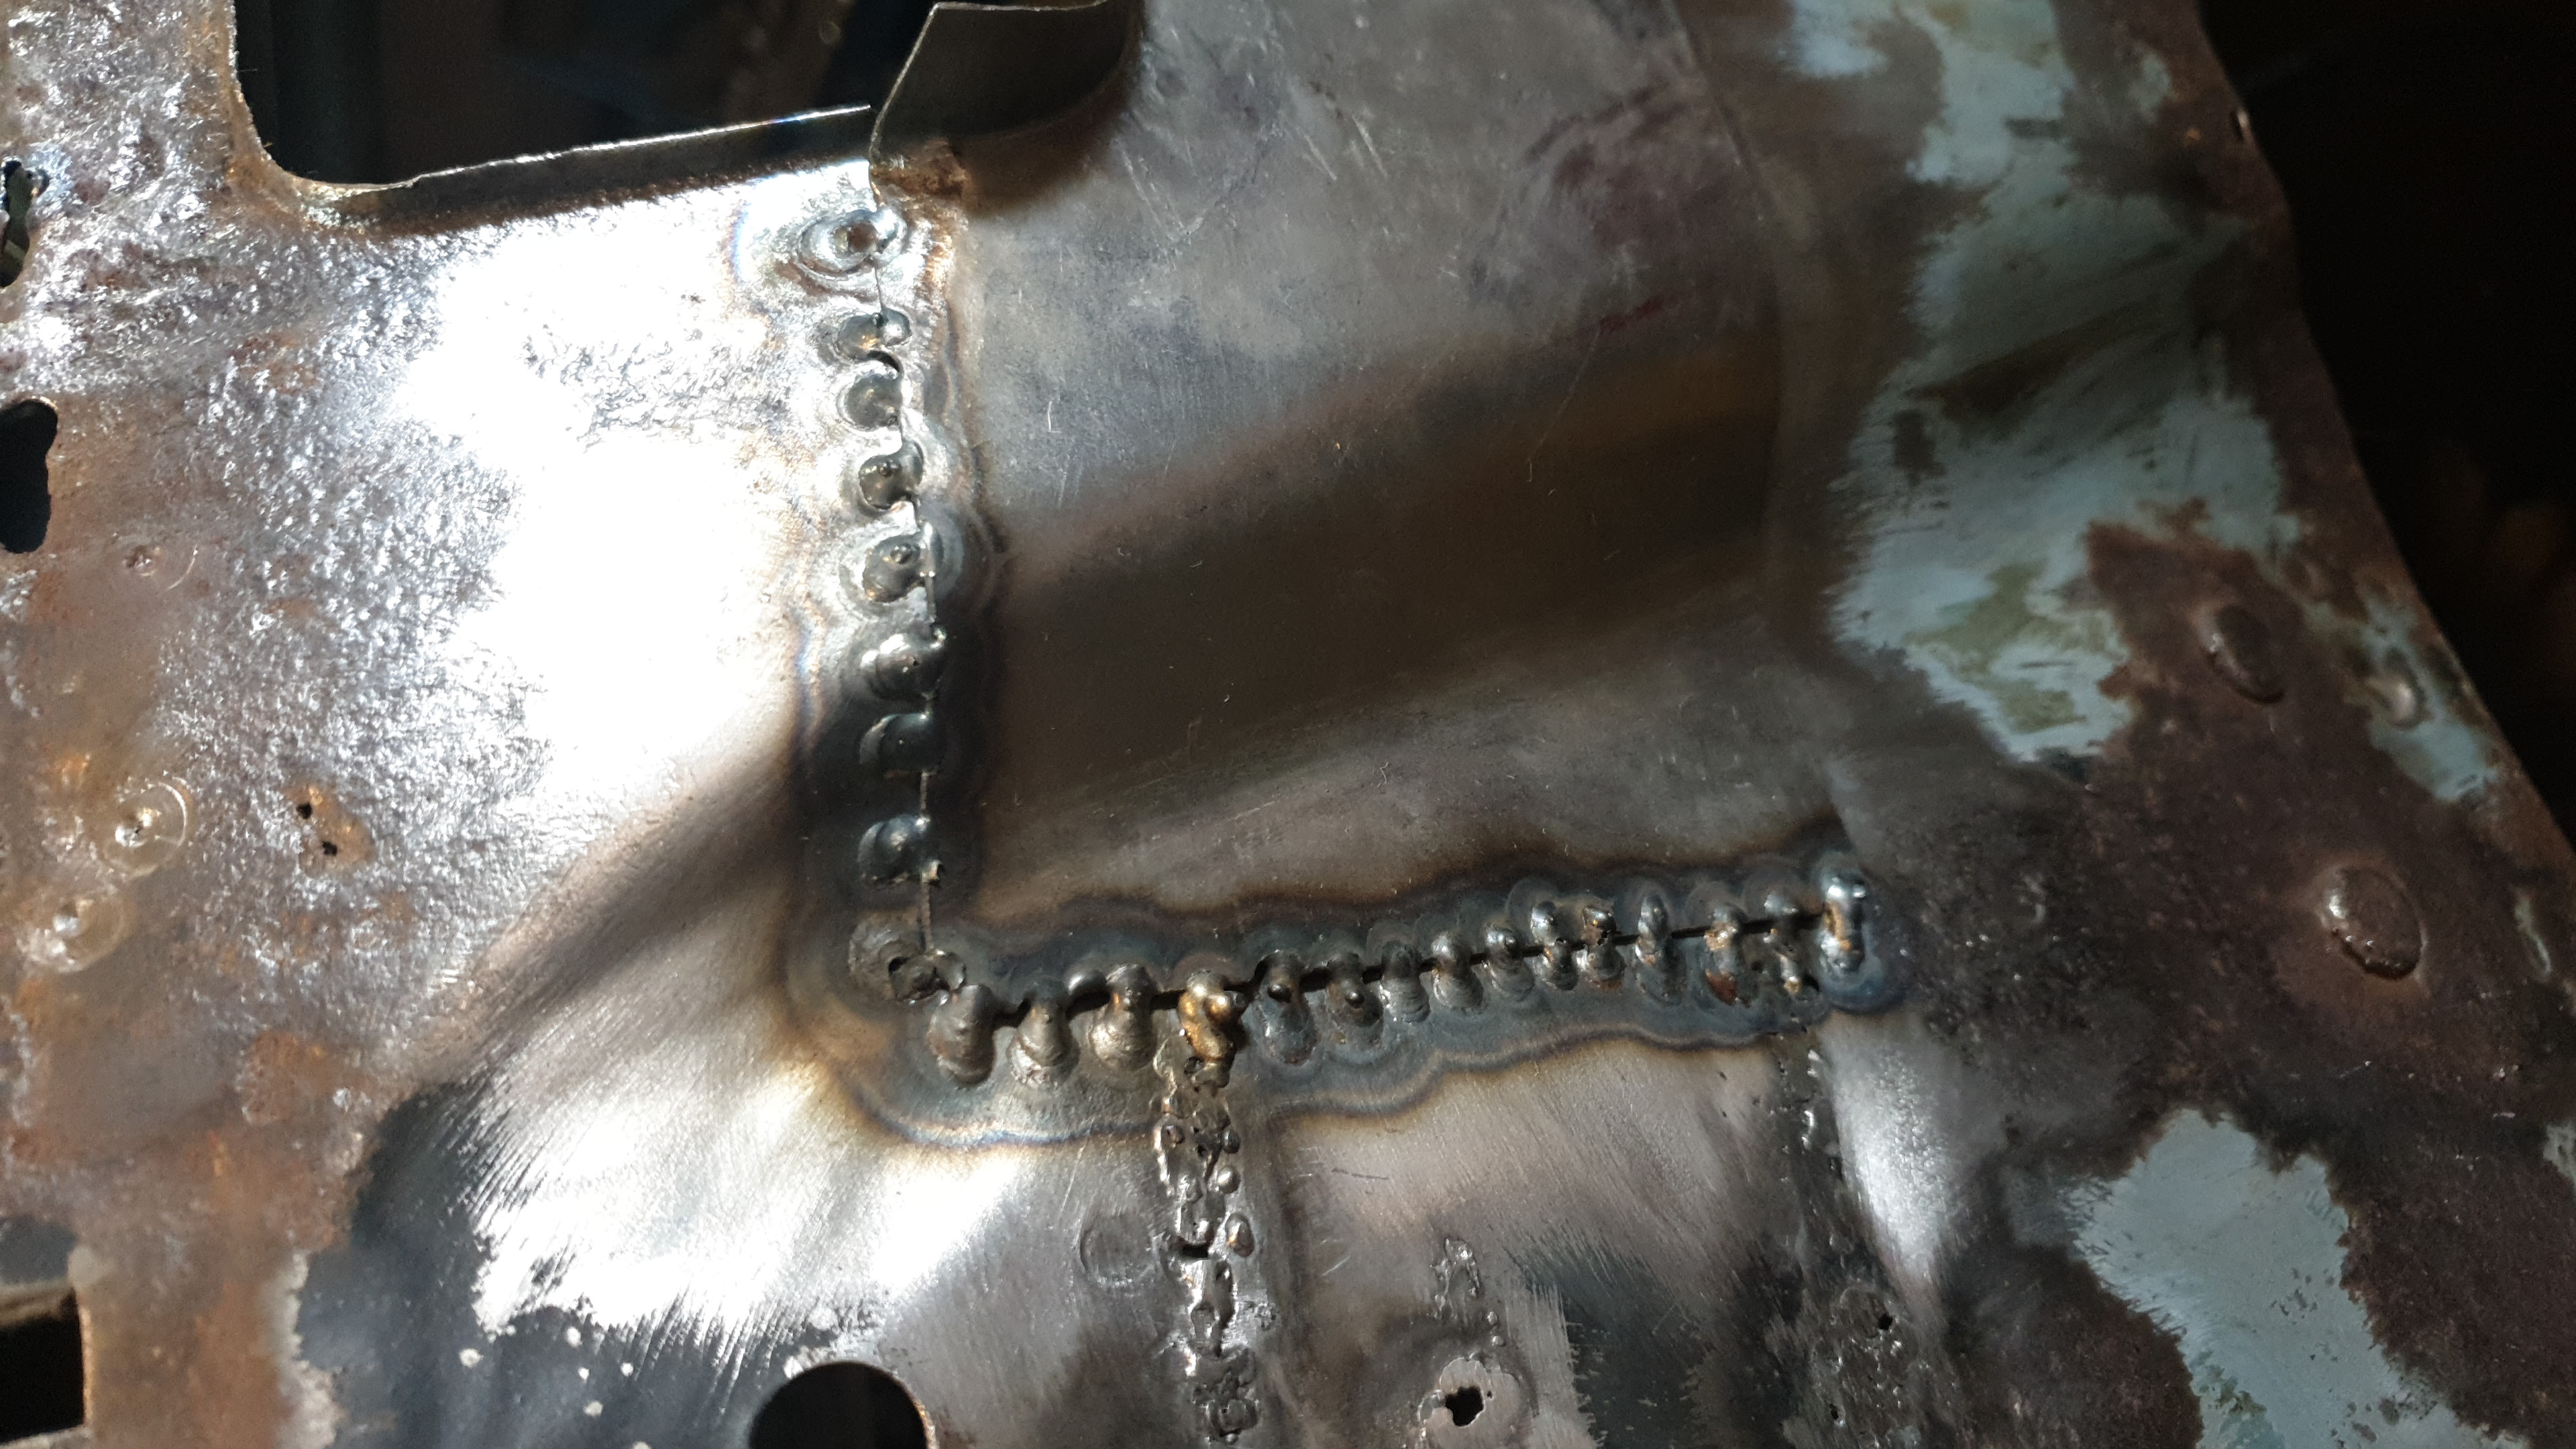
Eventually the replacement welder arrived and I was able to start learning to weld. Starting with stick as I was waiting for gas. This was just as messy as expected and fairly unenjoyable. Looking back now I think I might be able to do better, but only with practice. With the TIG setup all together, I was able to start "welding". Really, just running multiple tacks. As I practiced more, I got more comfortable, and later went back over the tacks, and filling in all the way round.
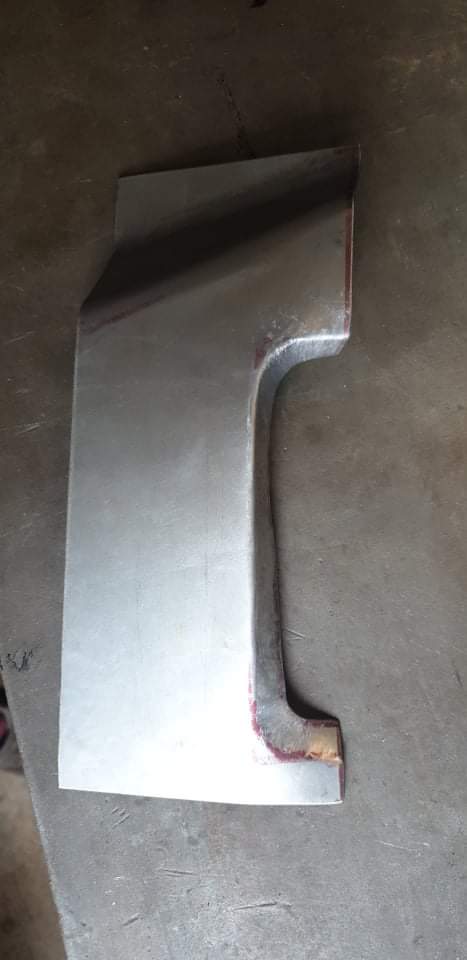
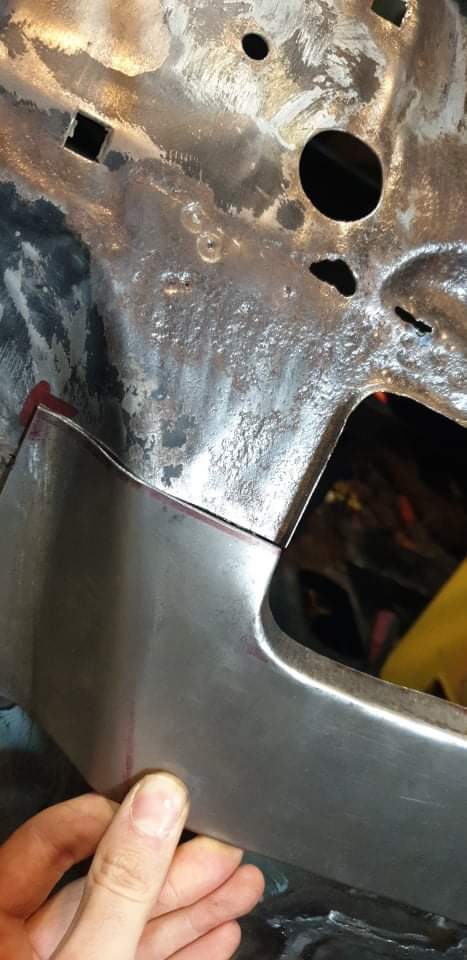
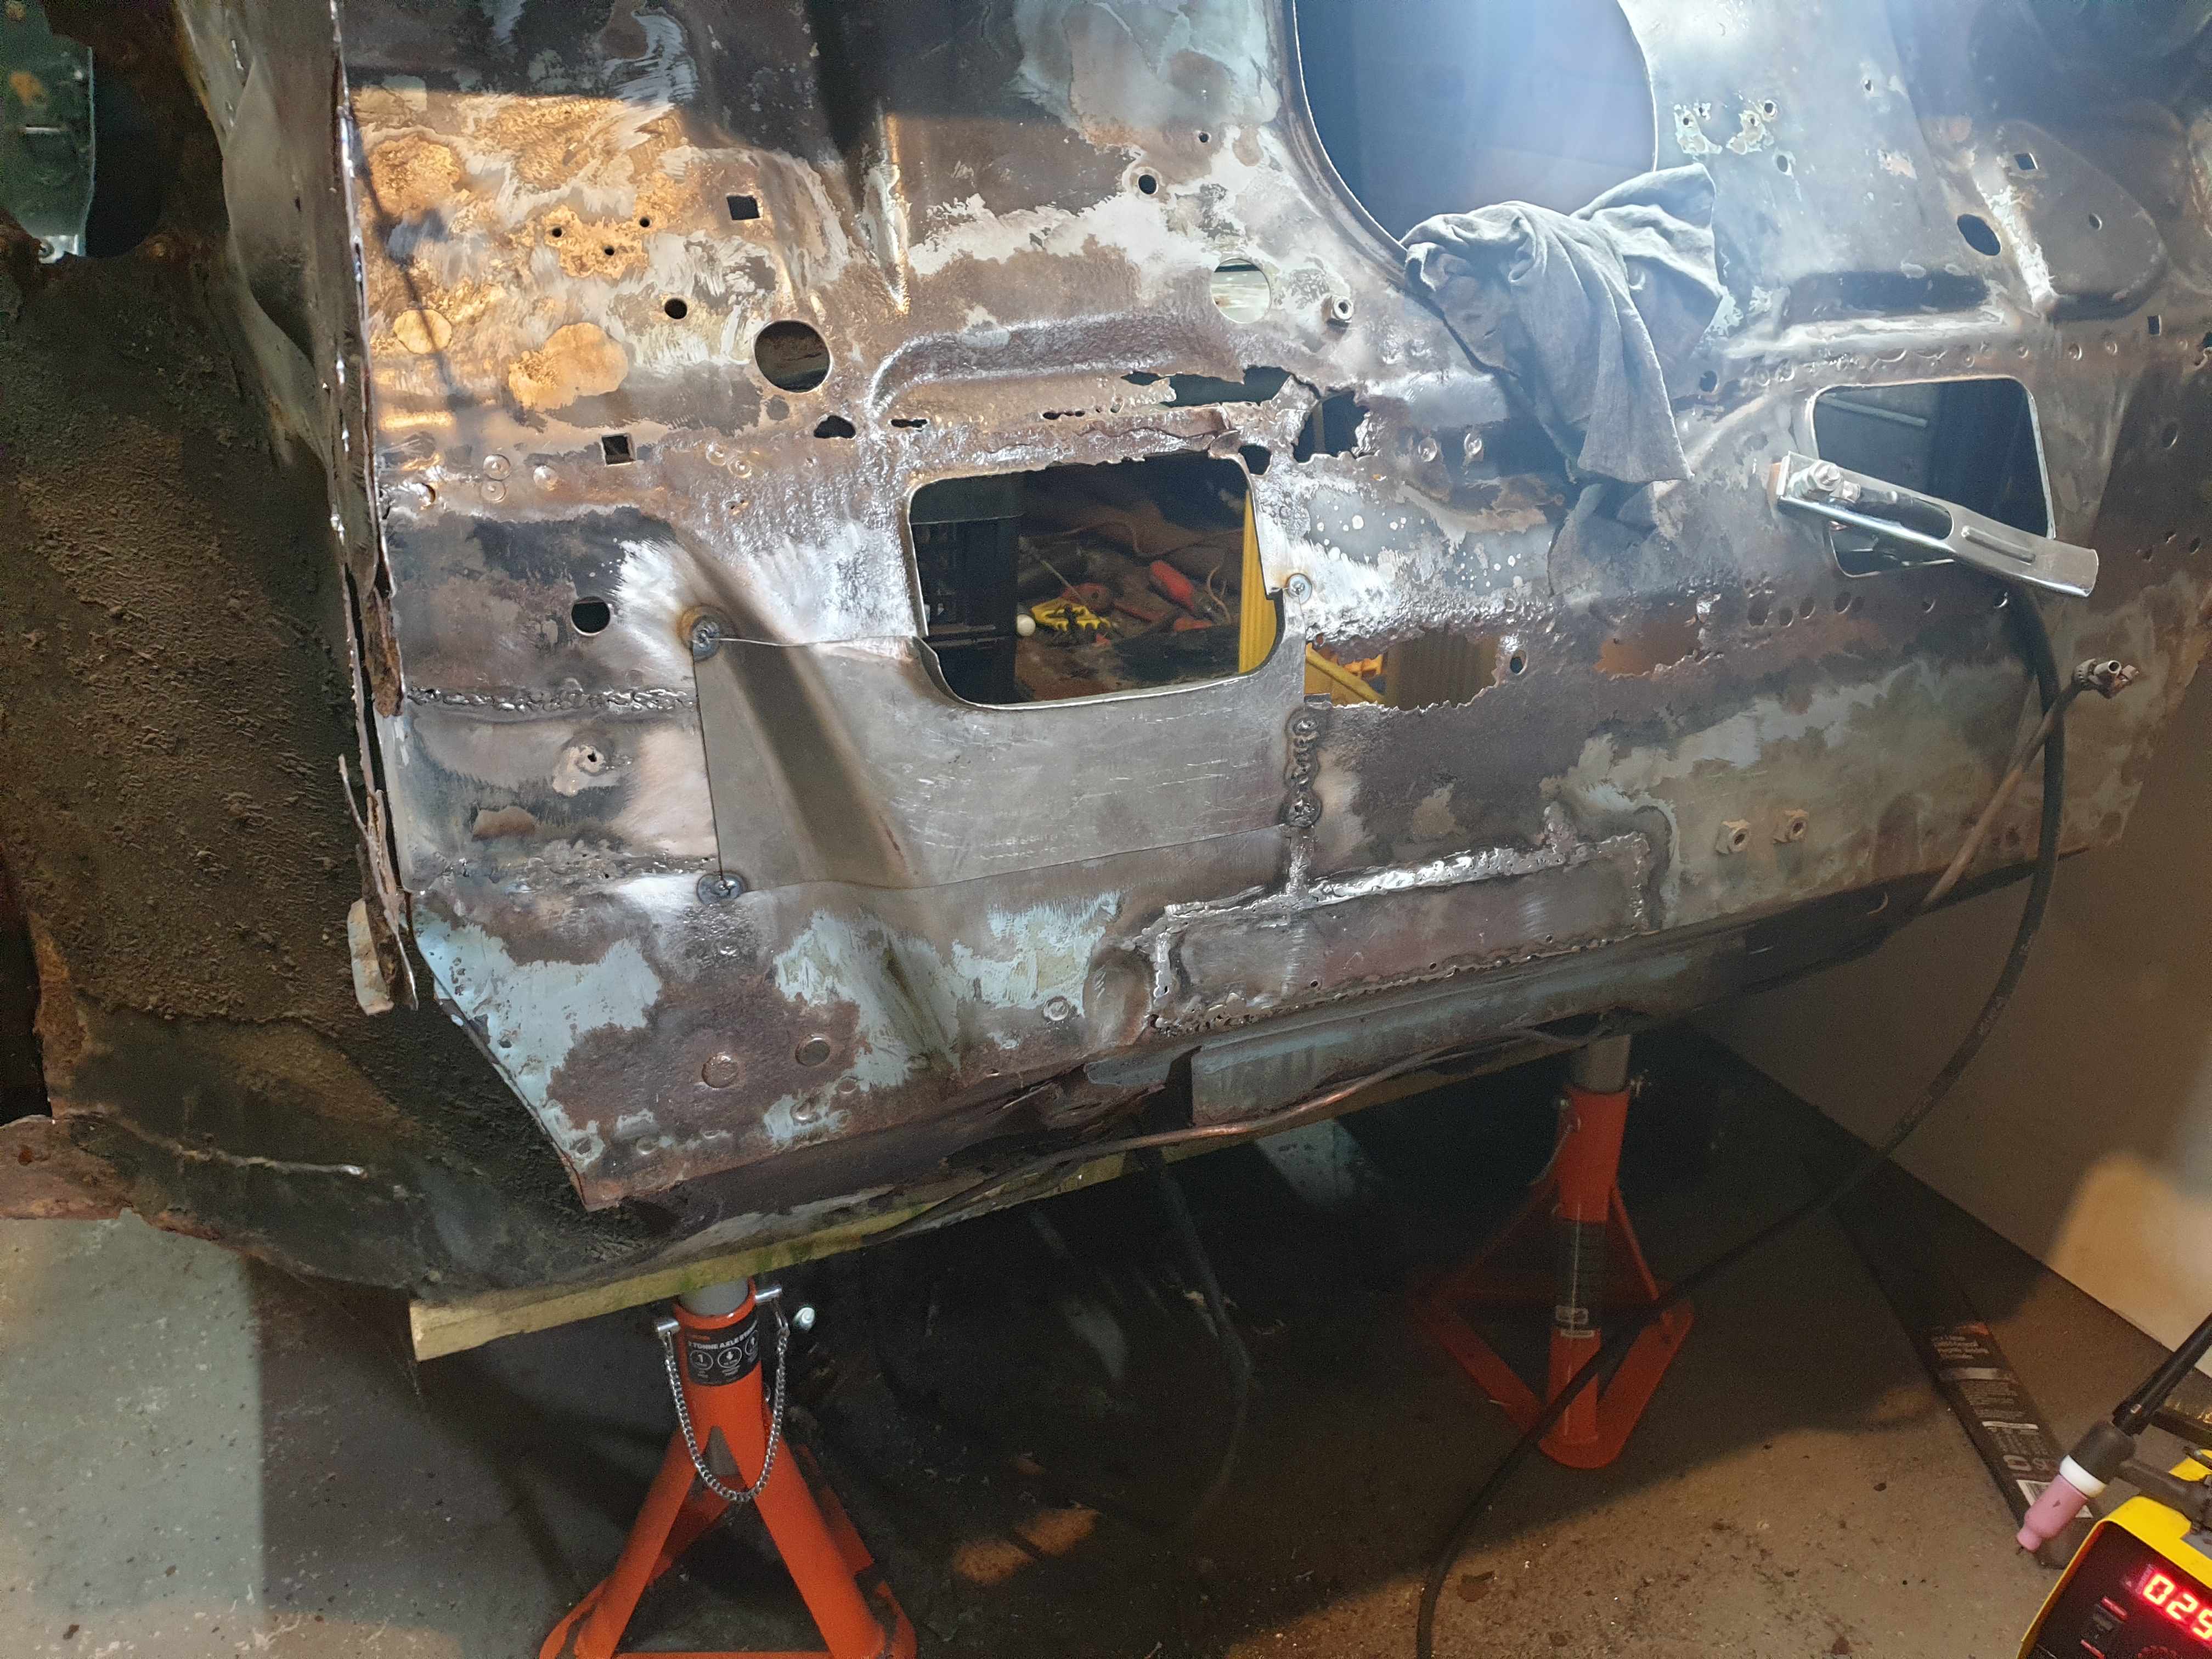
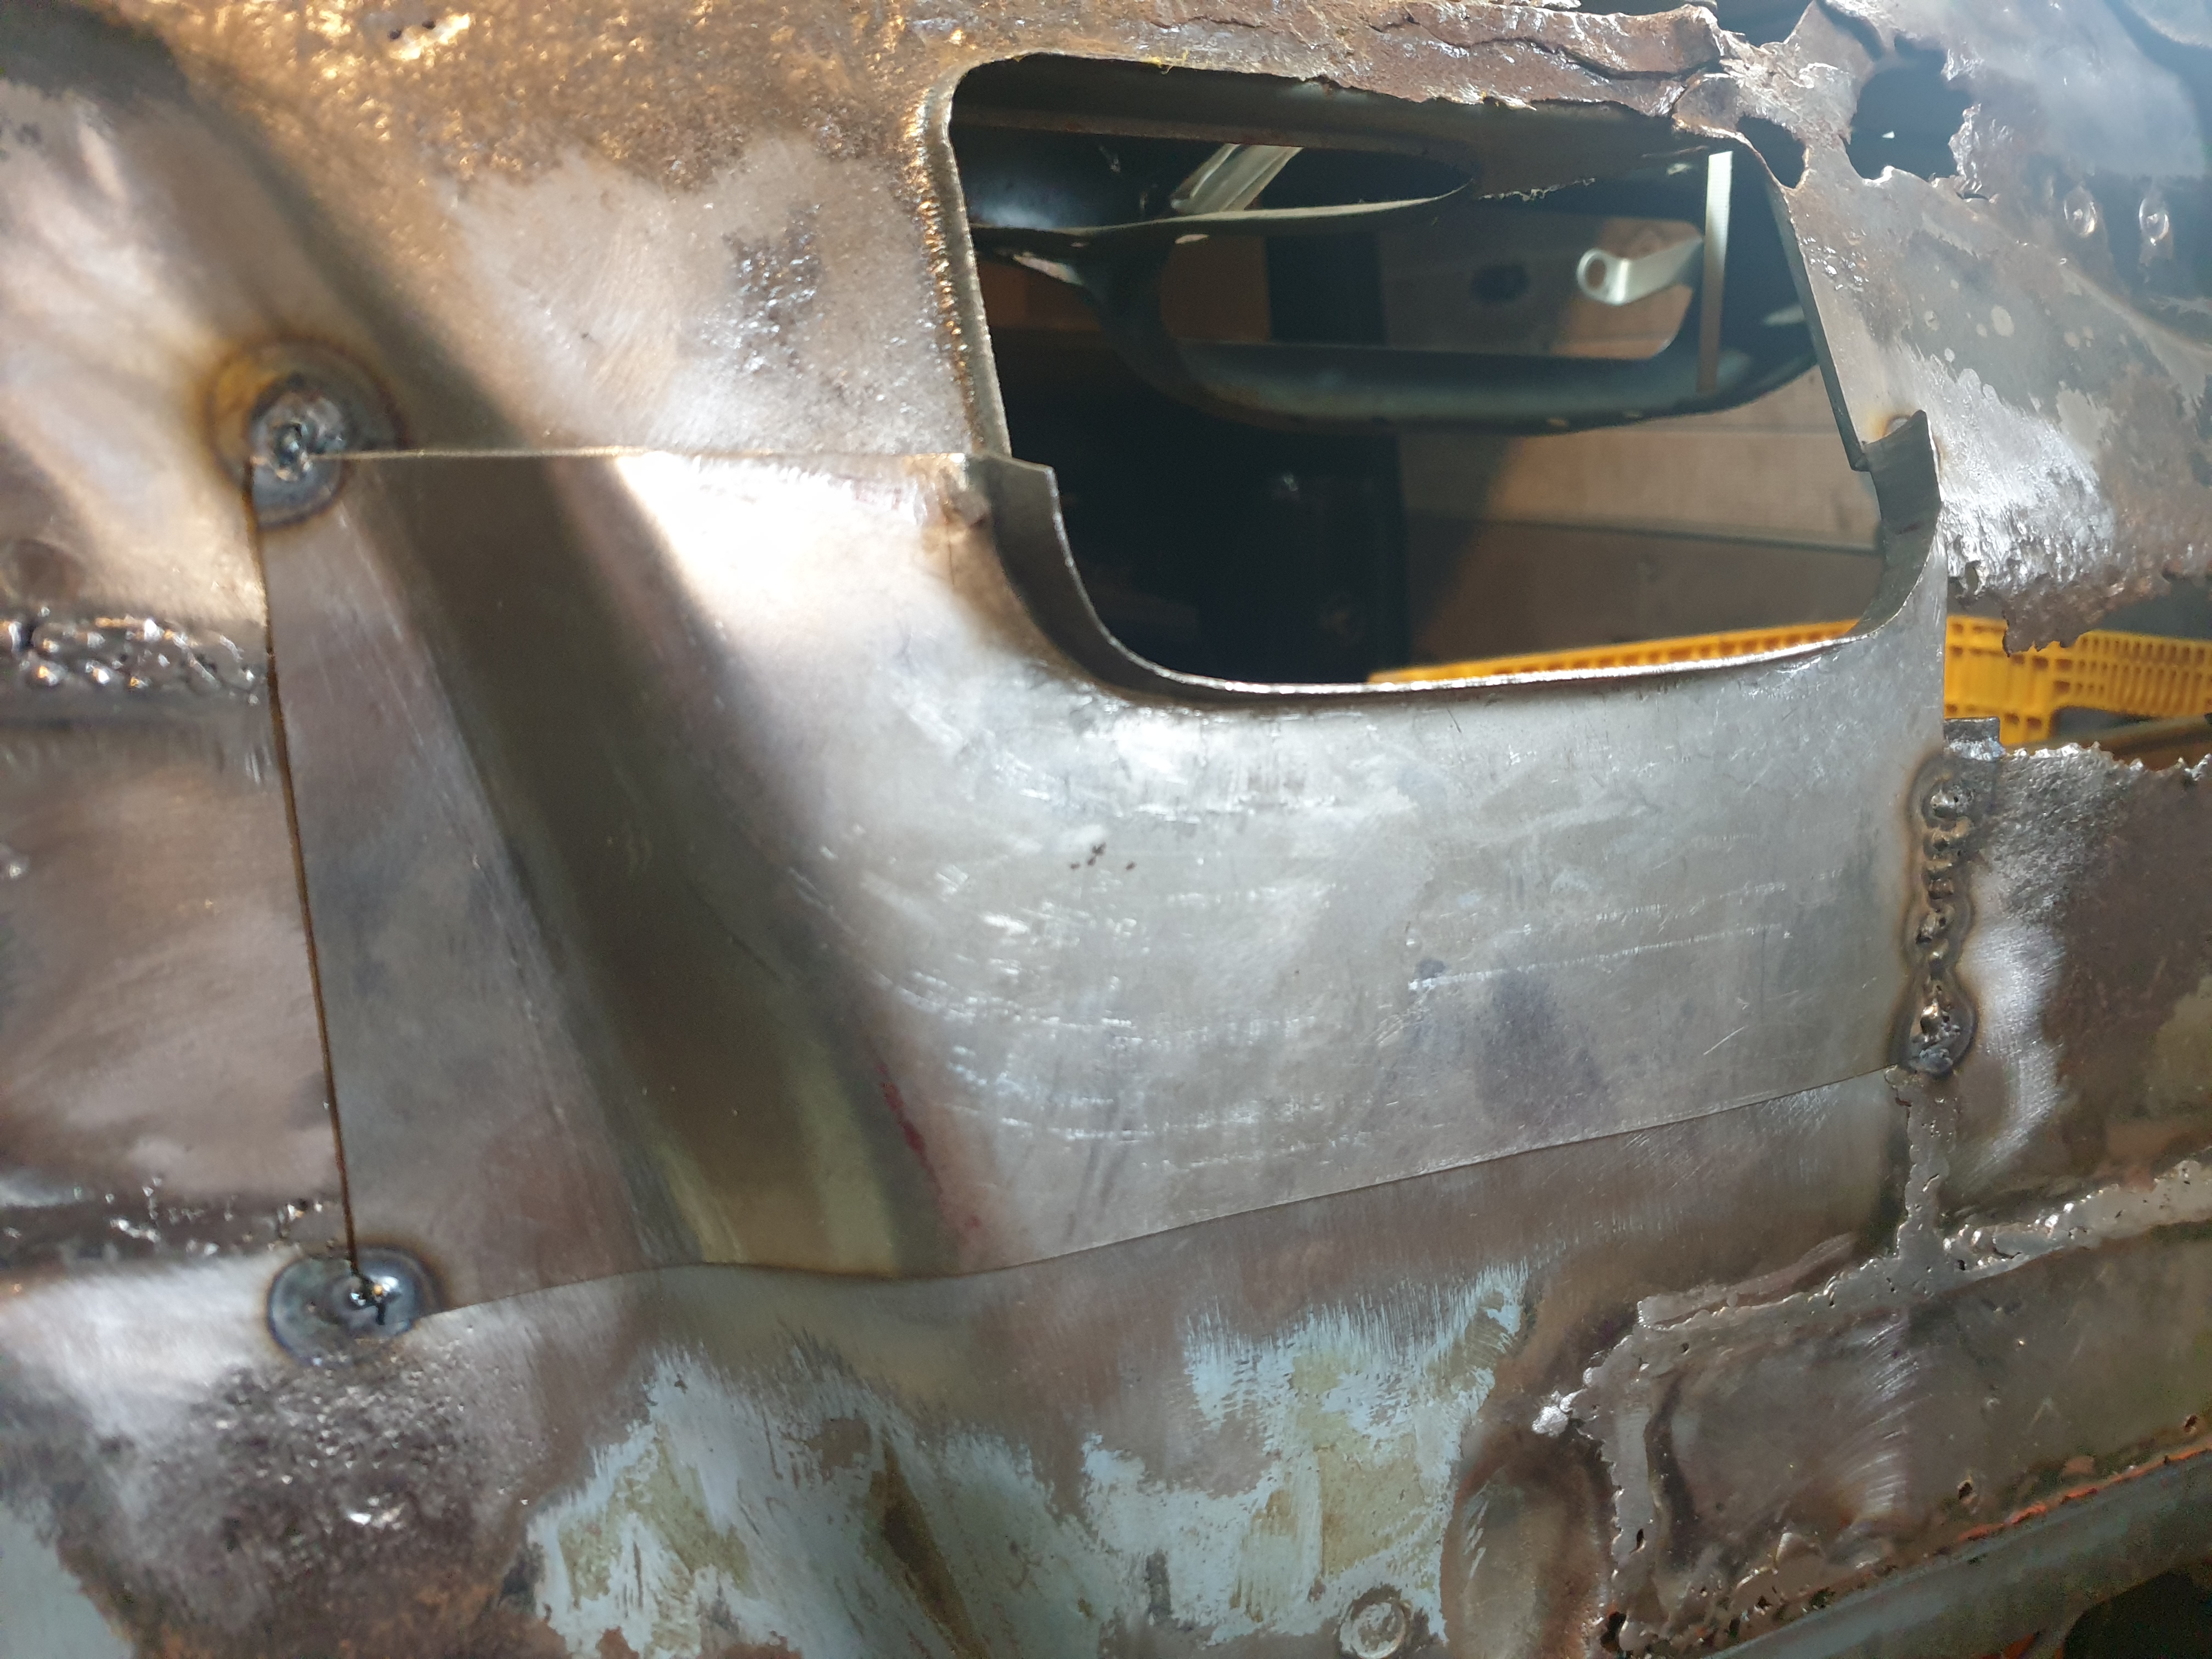
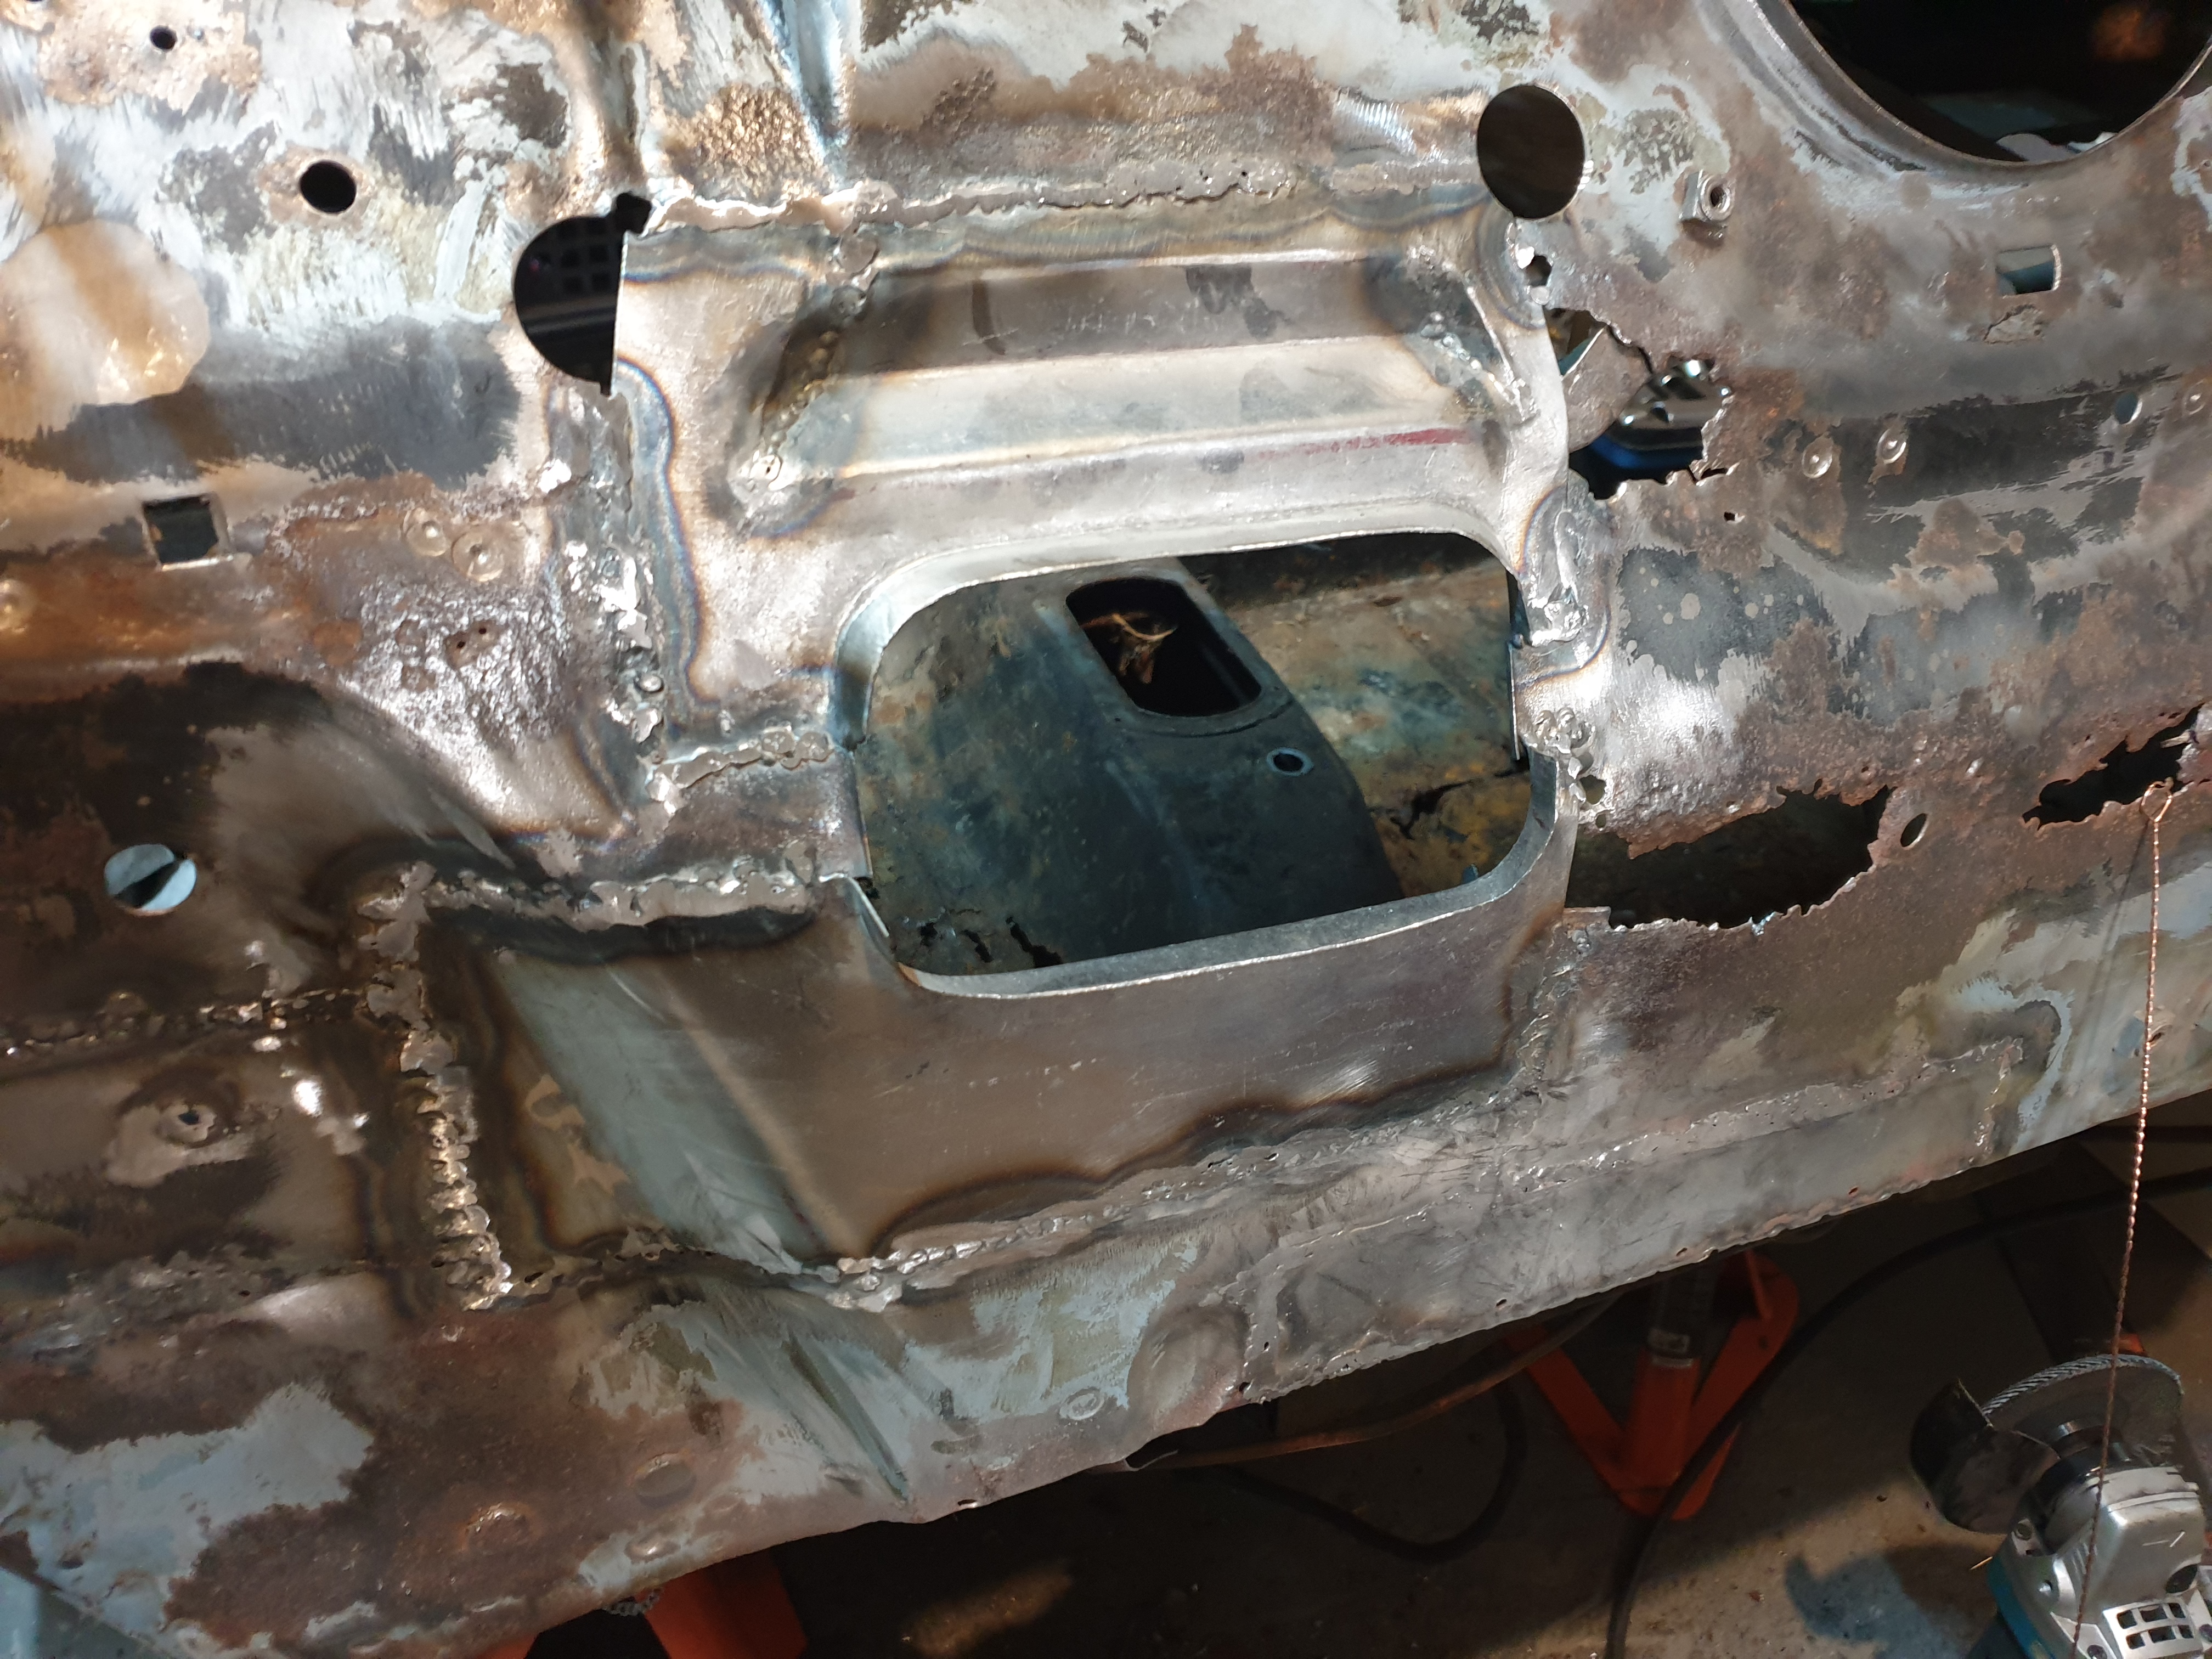
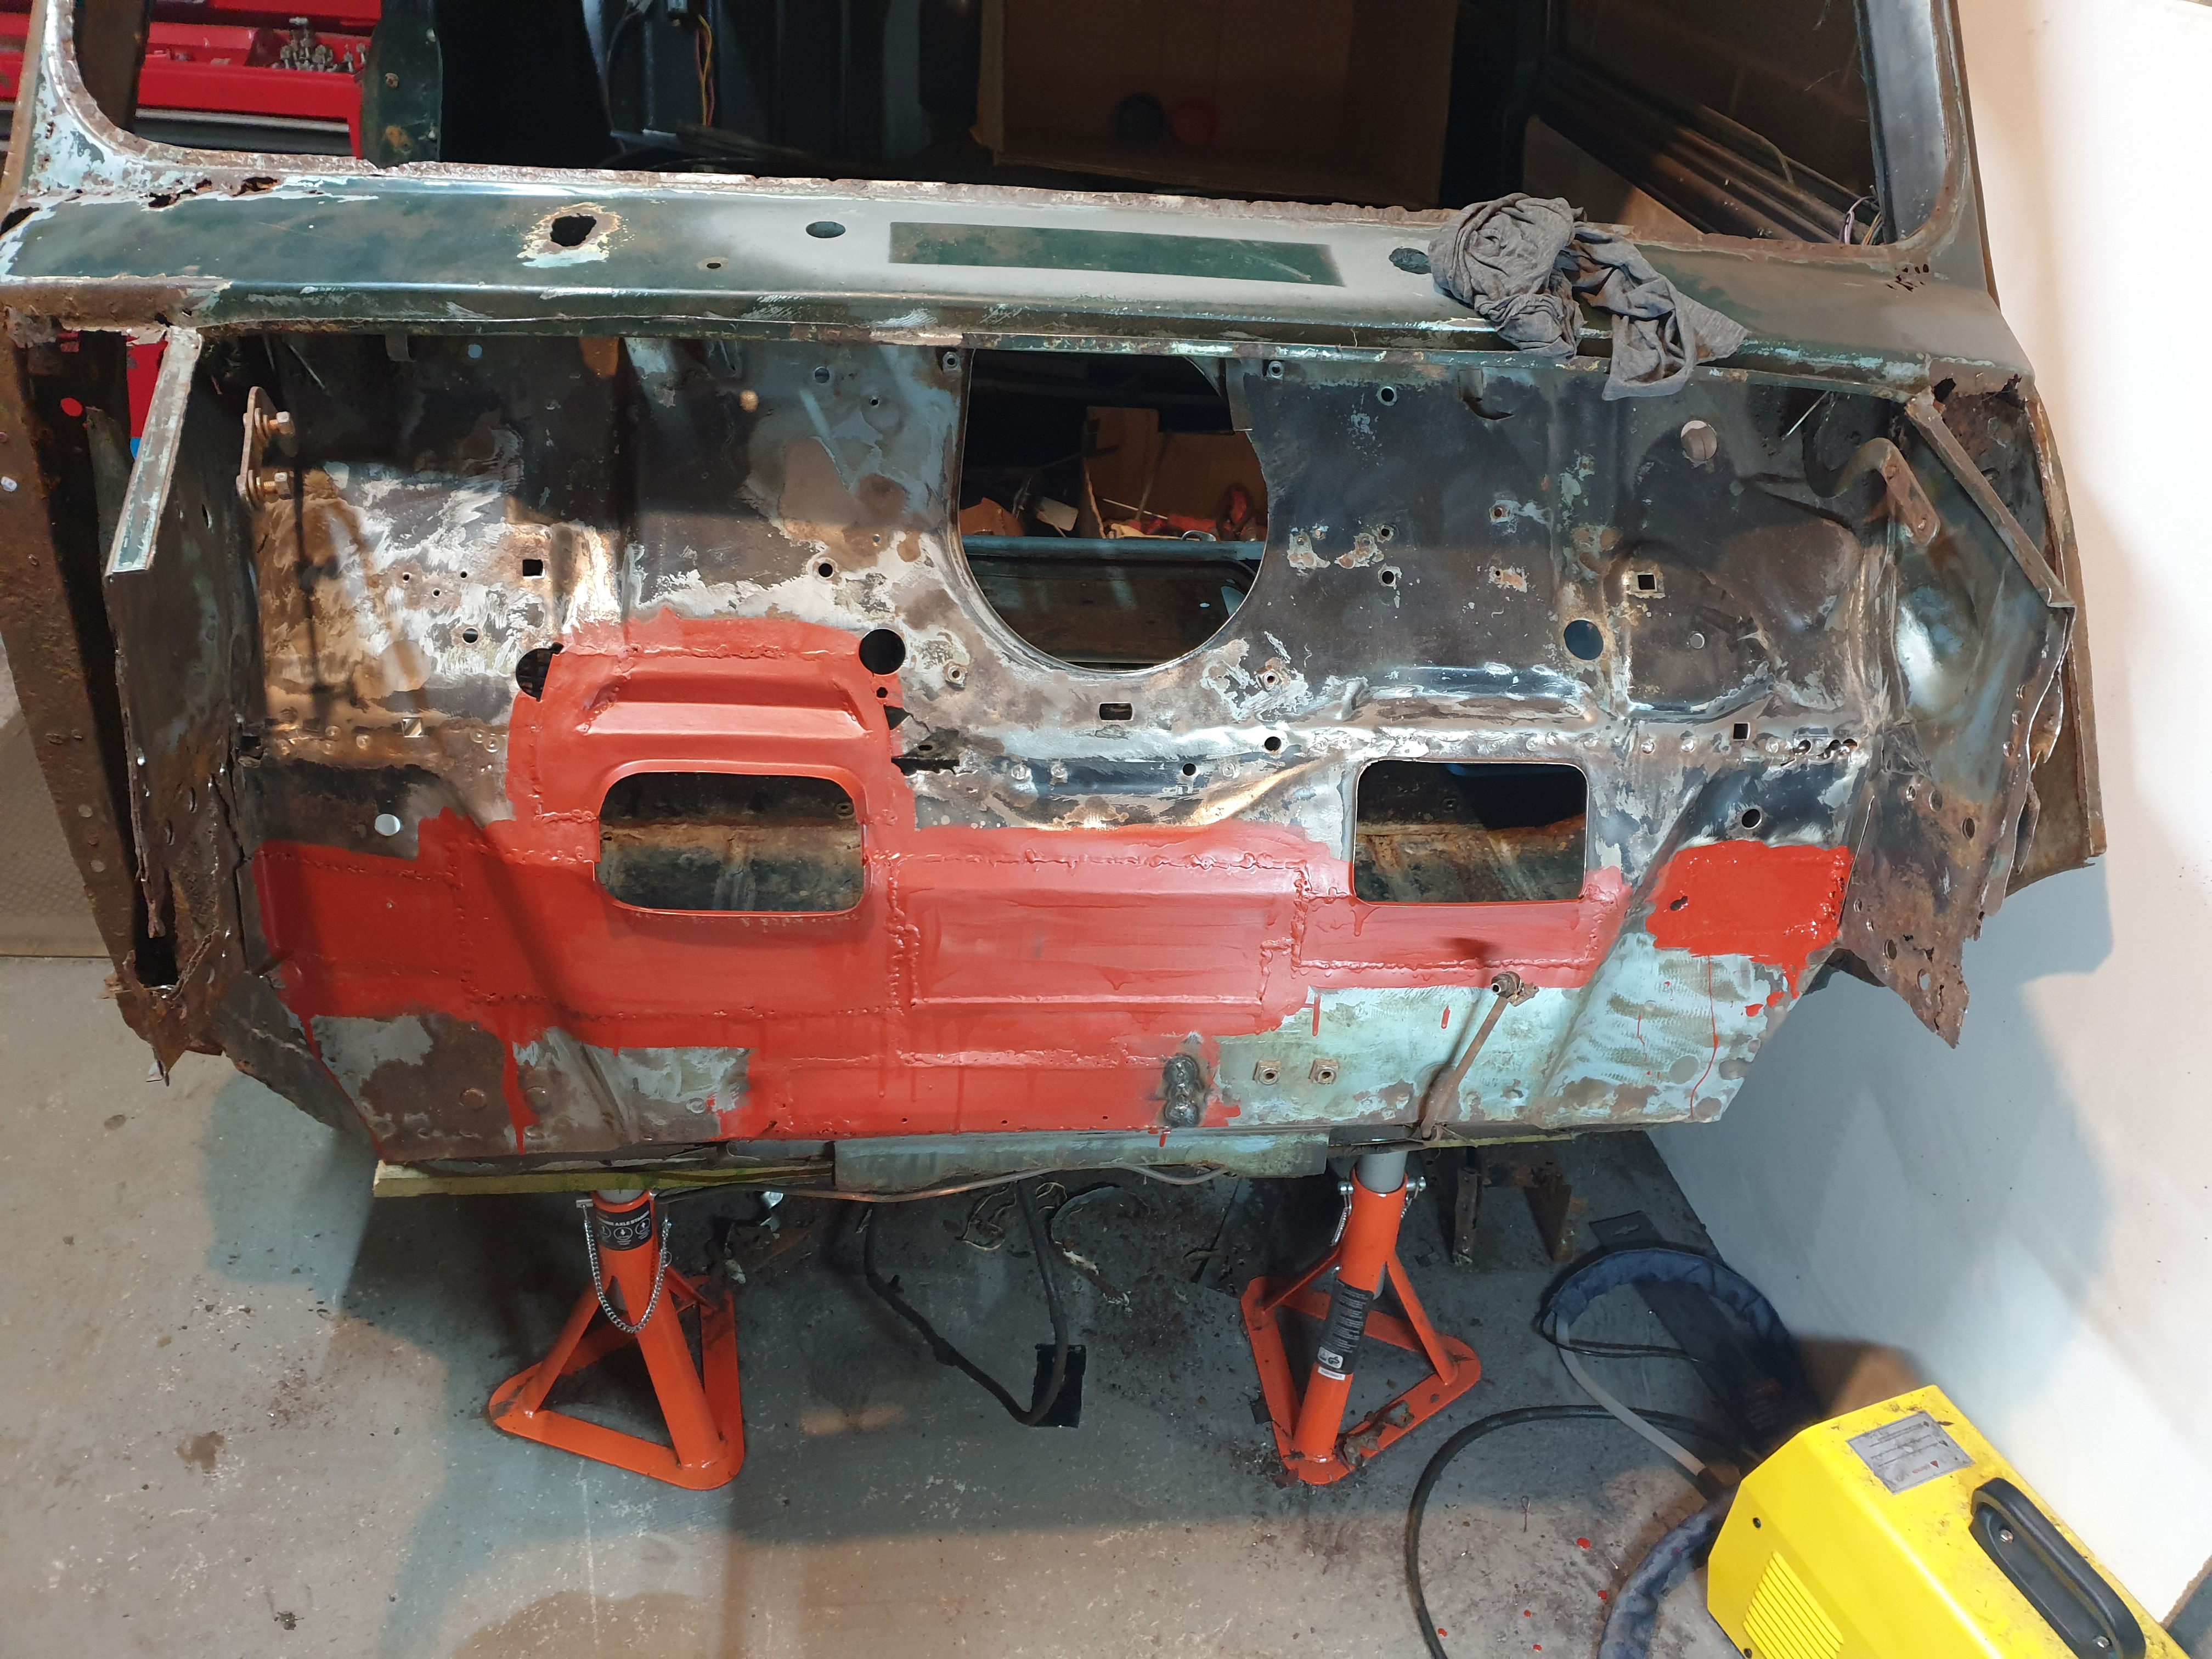
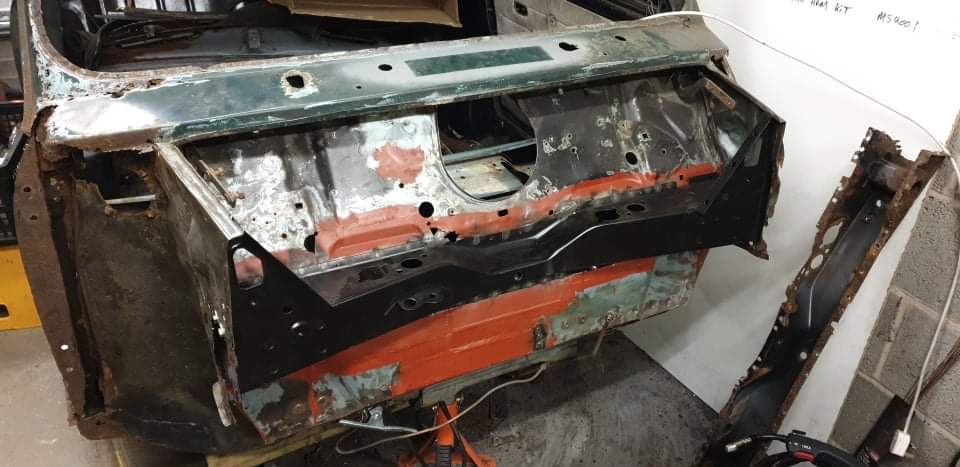
Many of the patches needed forming to match the contours of the panels, and I was quite pleased with myself hammer forming the bottom half of the pedal cutout return, before noticing that I'd bent it the wrong way! The patchwork was slow work but I eventually got enough done to fit the new crossmember. This was a pleasing moment.
 |
 |
 |
 |
 |
 |
 |
 |
 |
| Snot weld from my gasless MIG | The cheapest TIG on eBay | The first TIG didn't last long | Attempting stick welding | Grinder and paint... | Patch panel hand formed | Though bent the wrong way | Patch tacked in | First attempts at TIG |
 |
 |
 |
 |
 |
 |
 |
 |
|
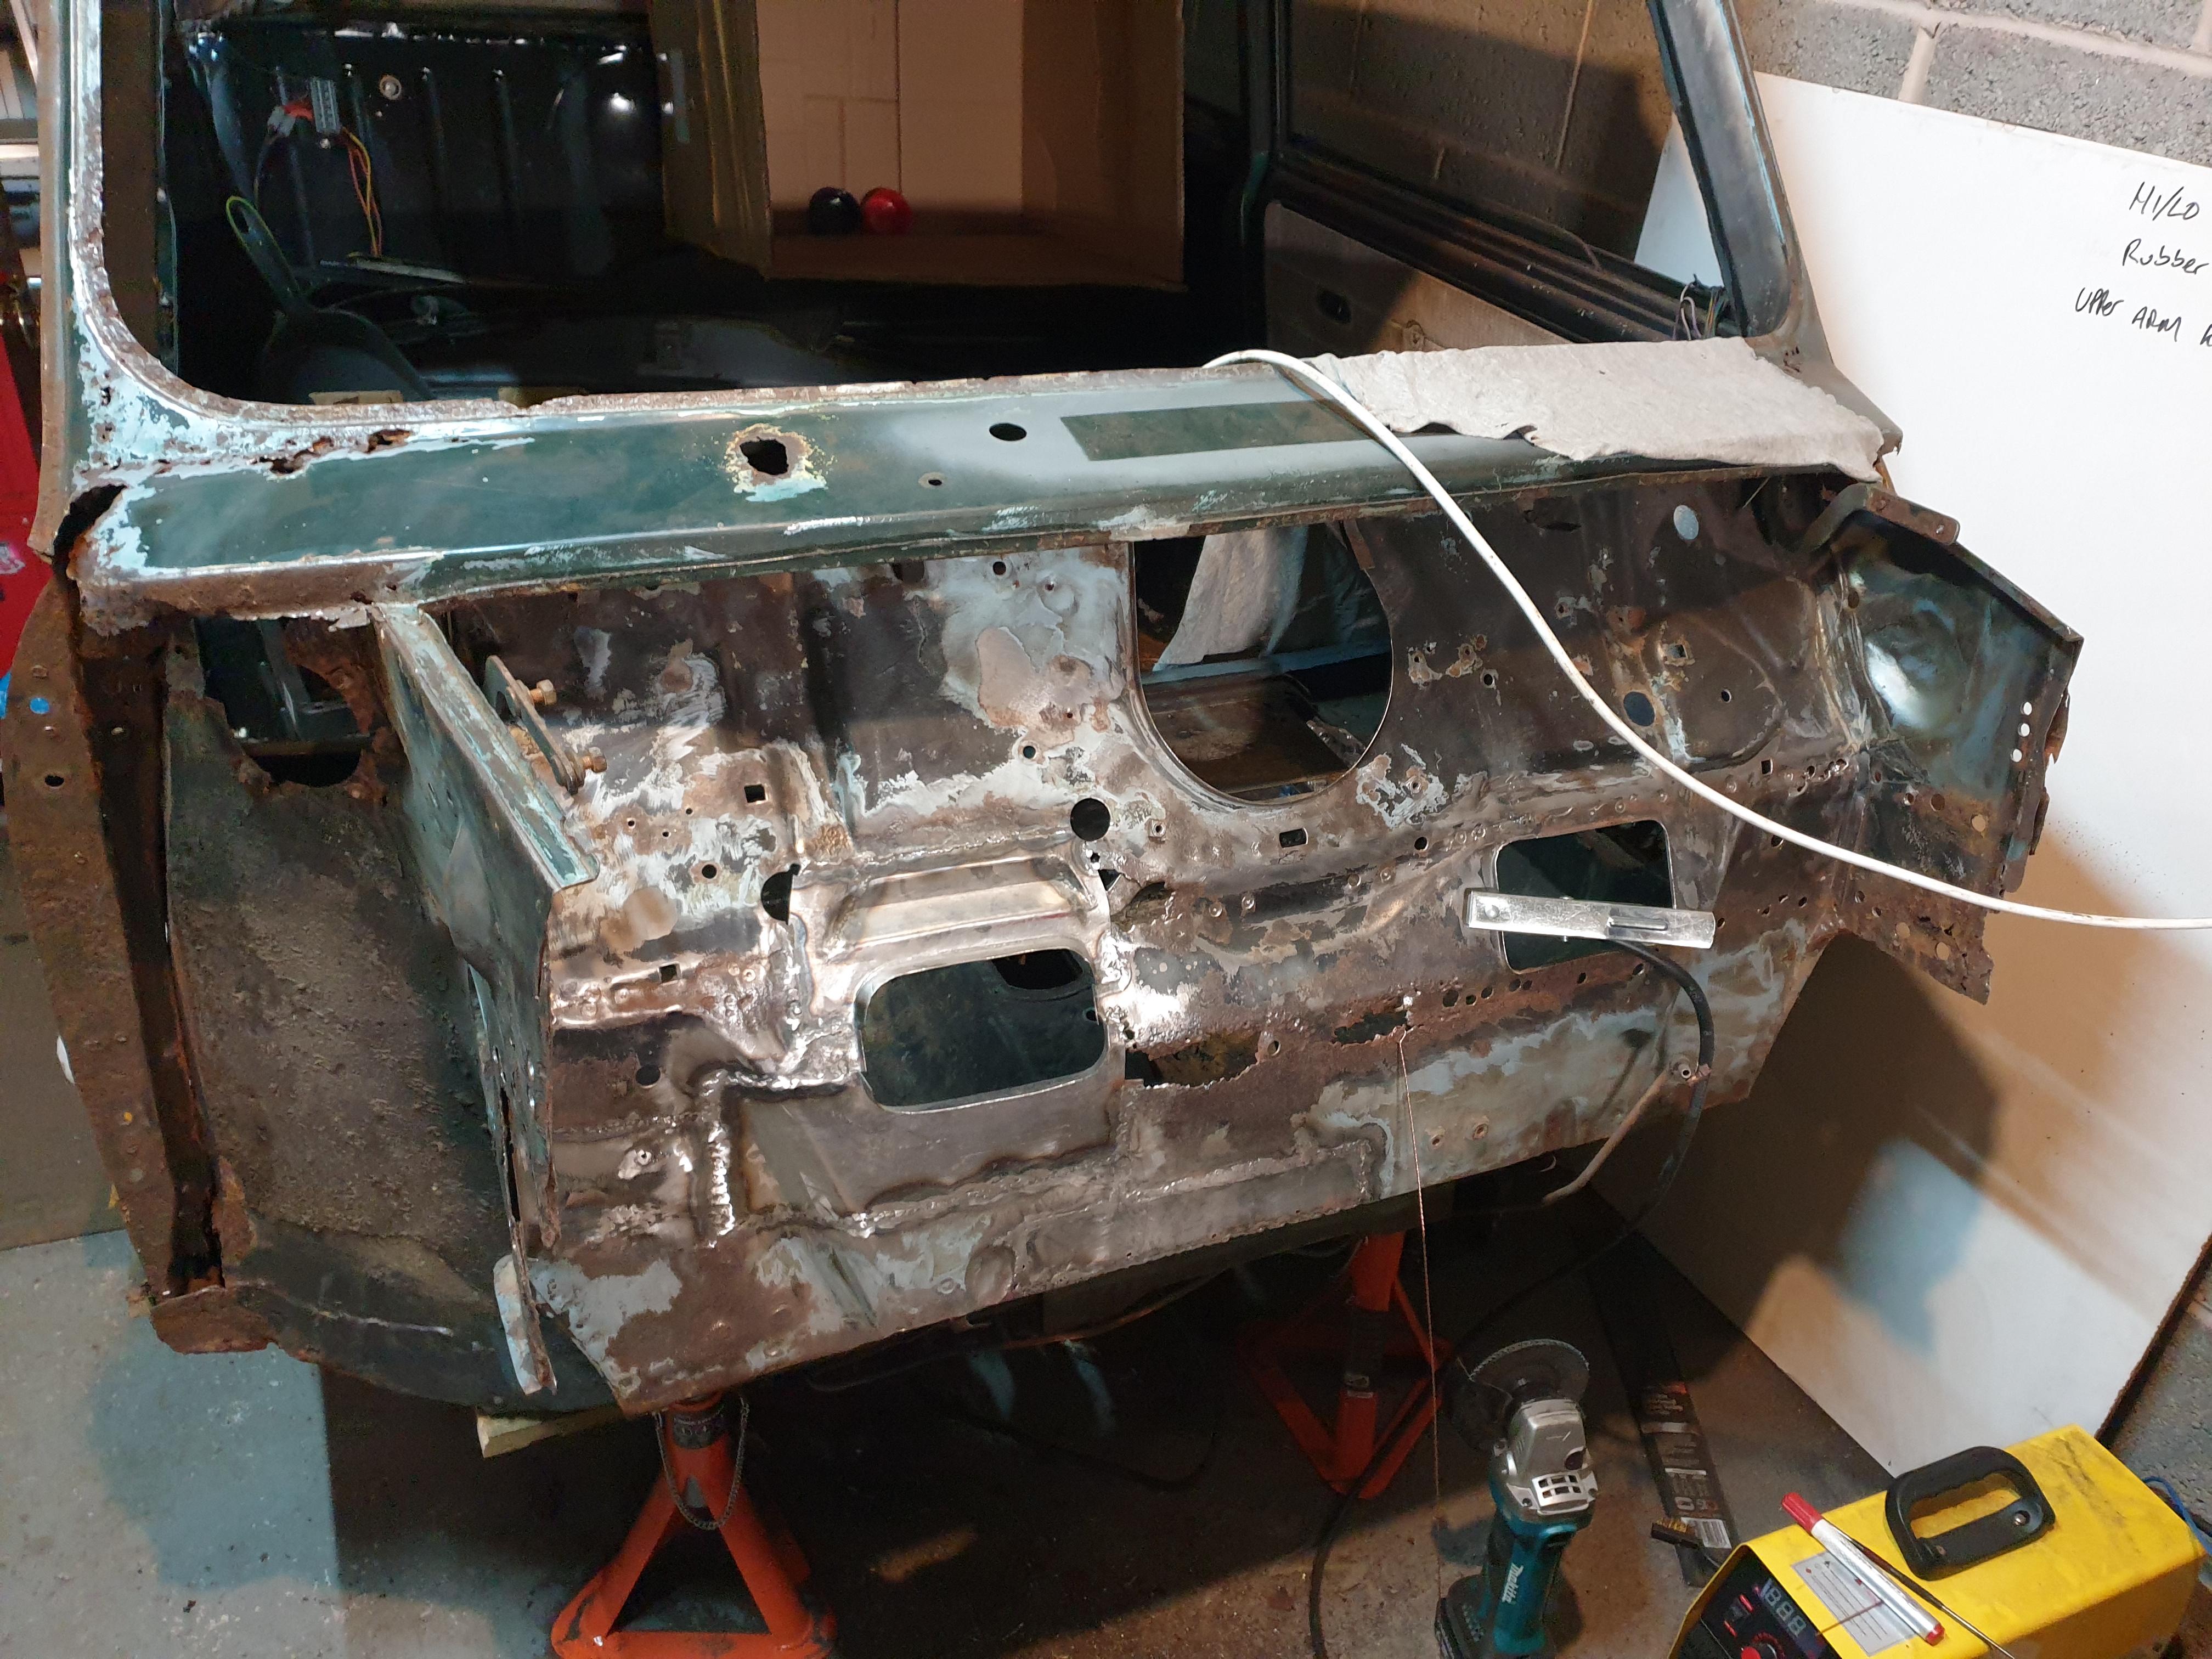
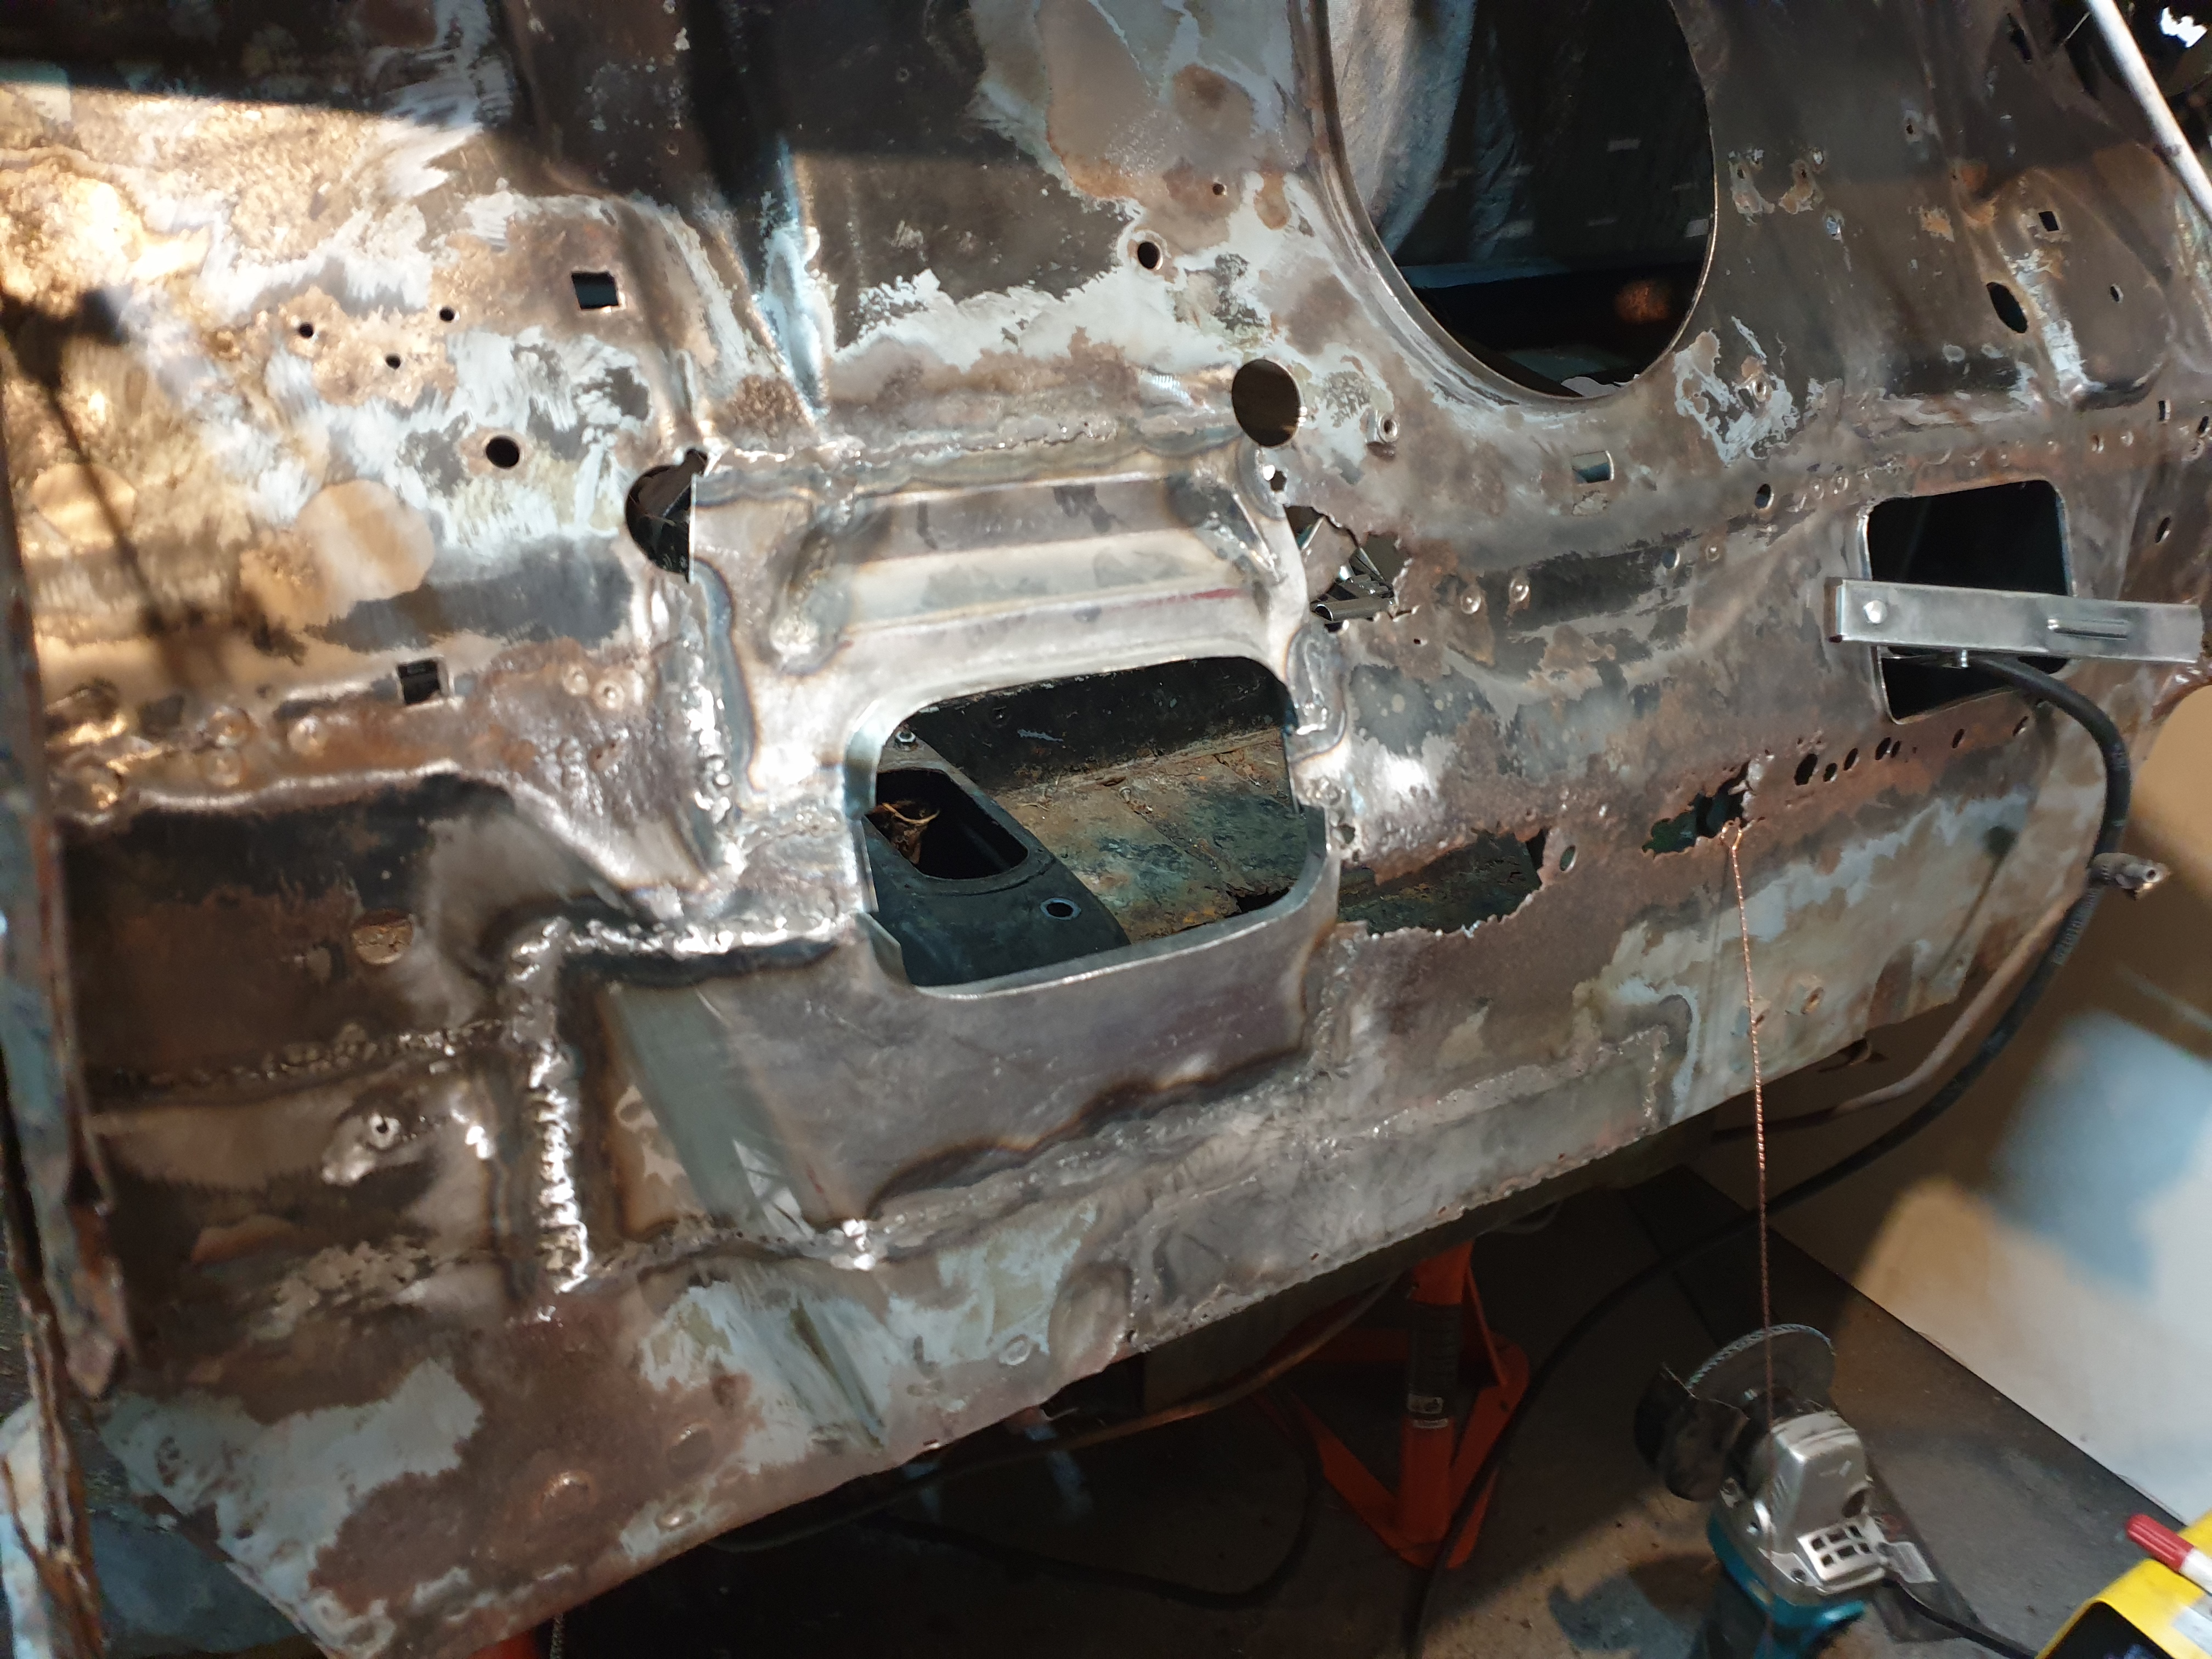
| It is at least attached... | Stitched all round | More stitching | More patches welded in | Stitches ground down | I did fill in some more weld | Red oxide primer to keep the rust at bay | New crossmember welded in |
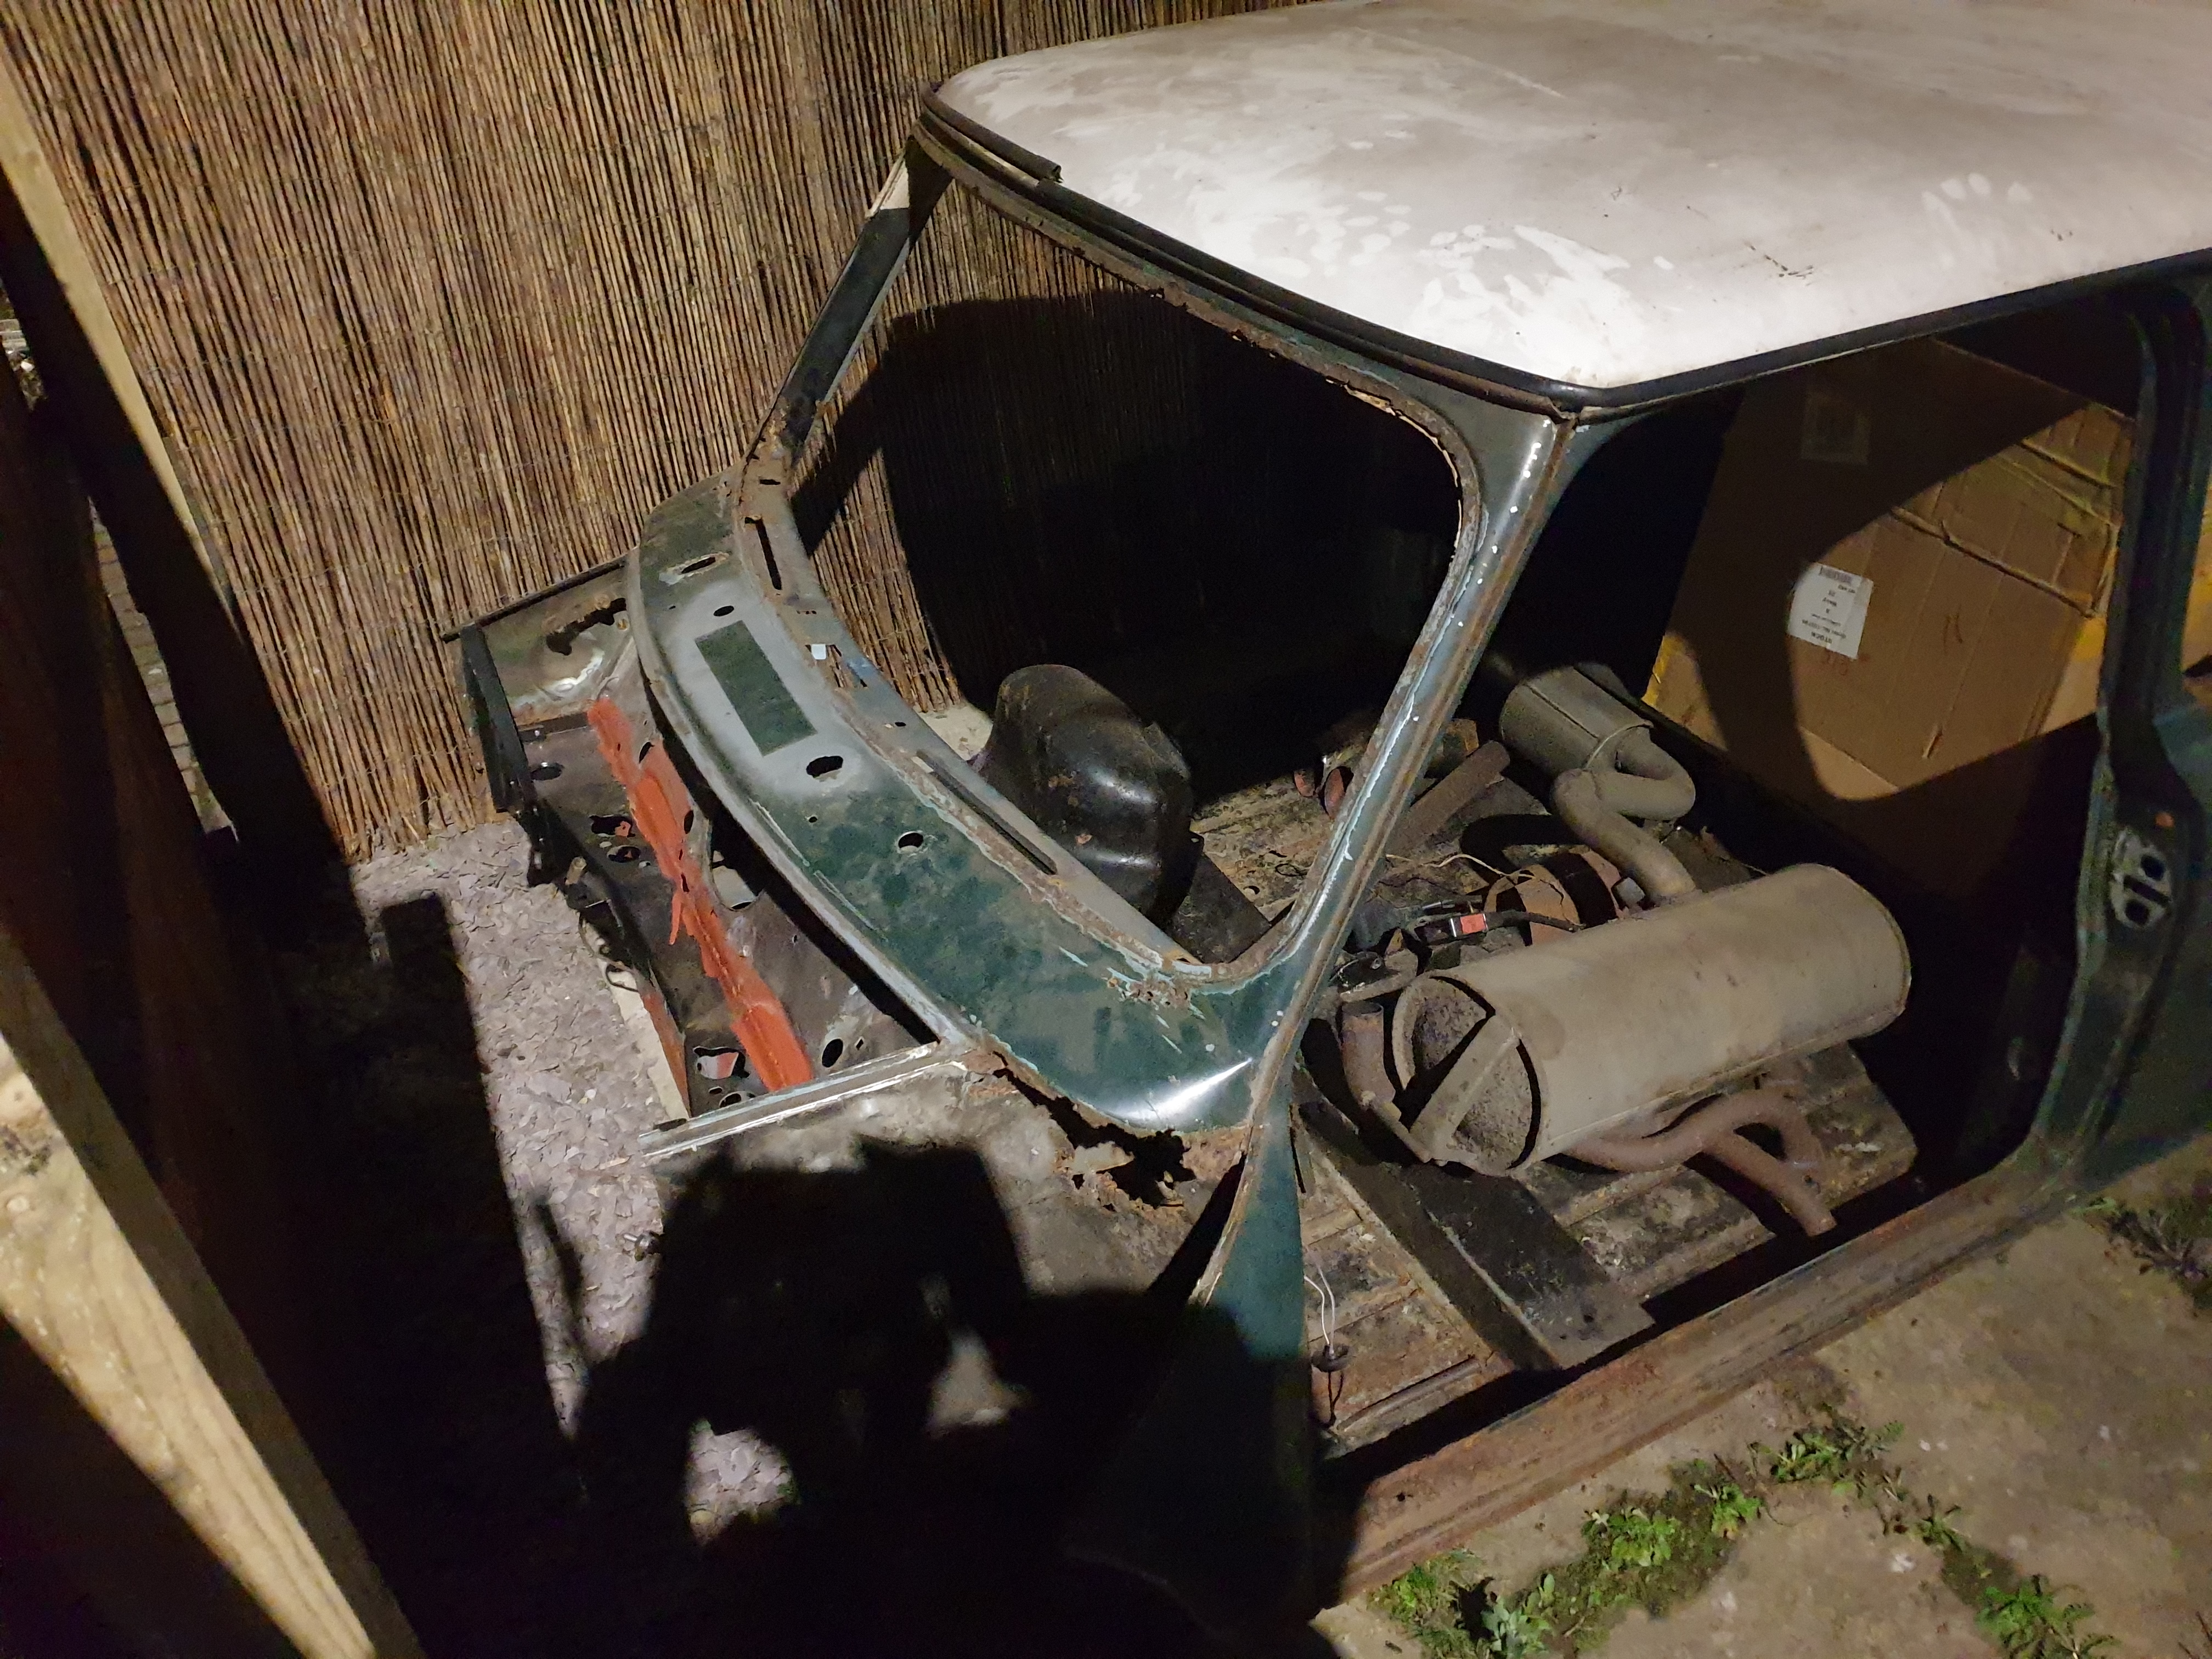
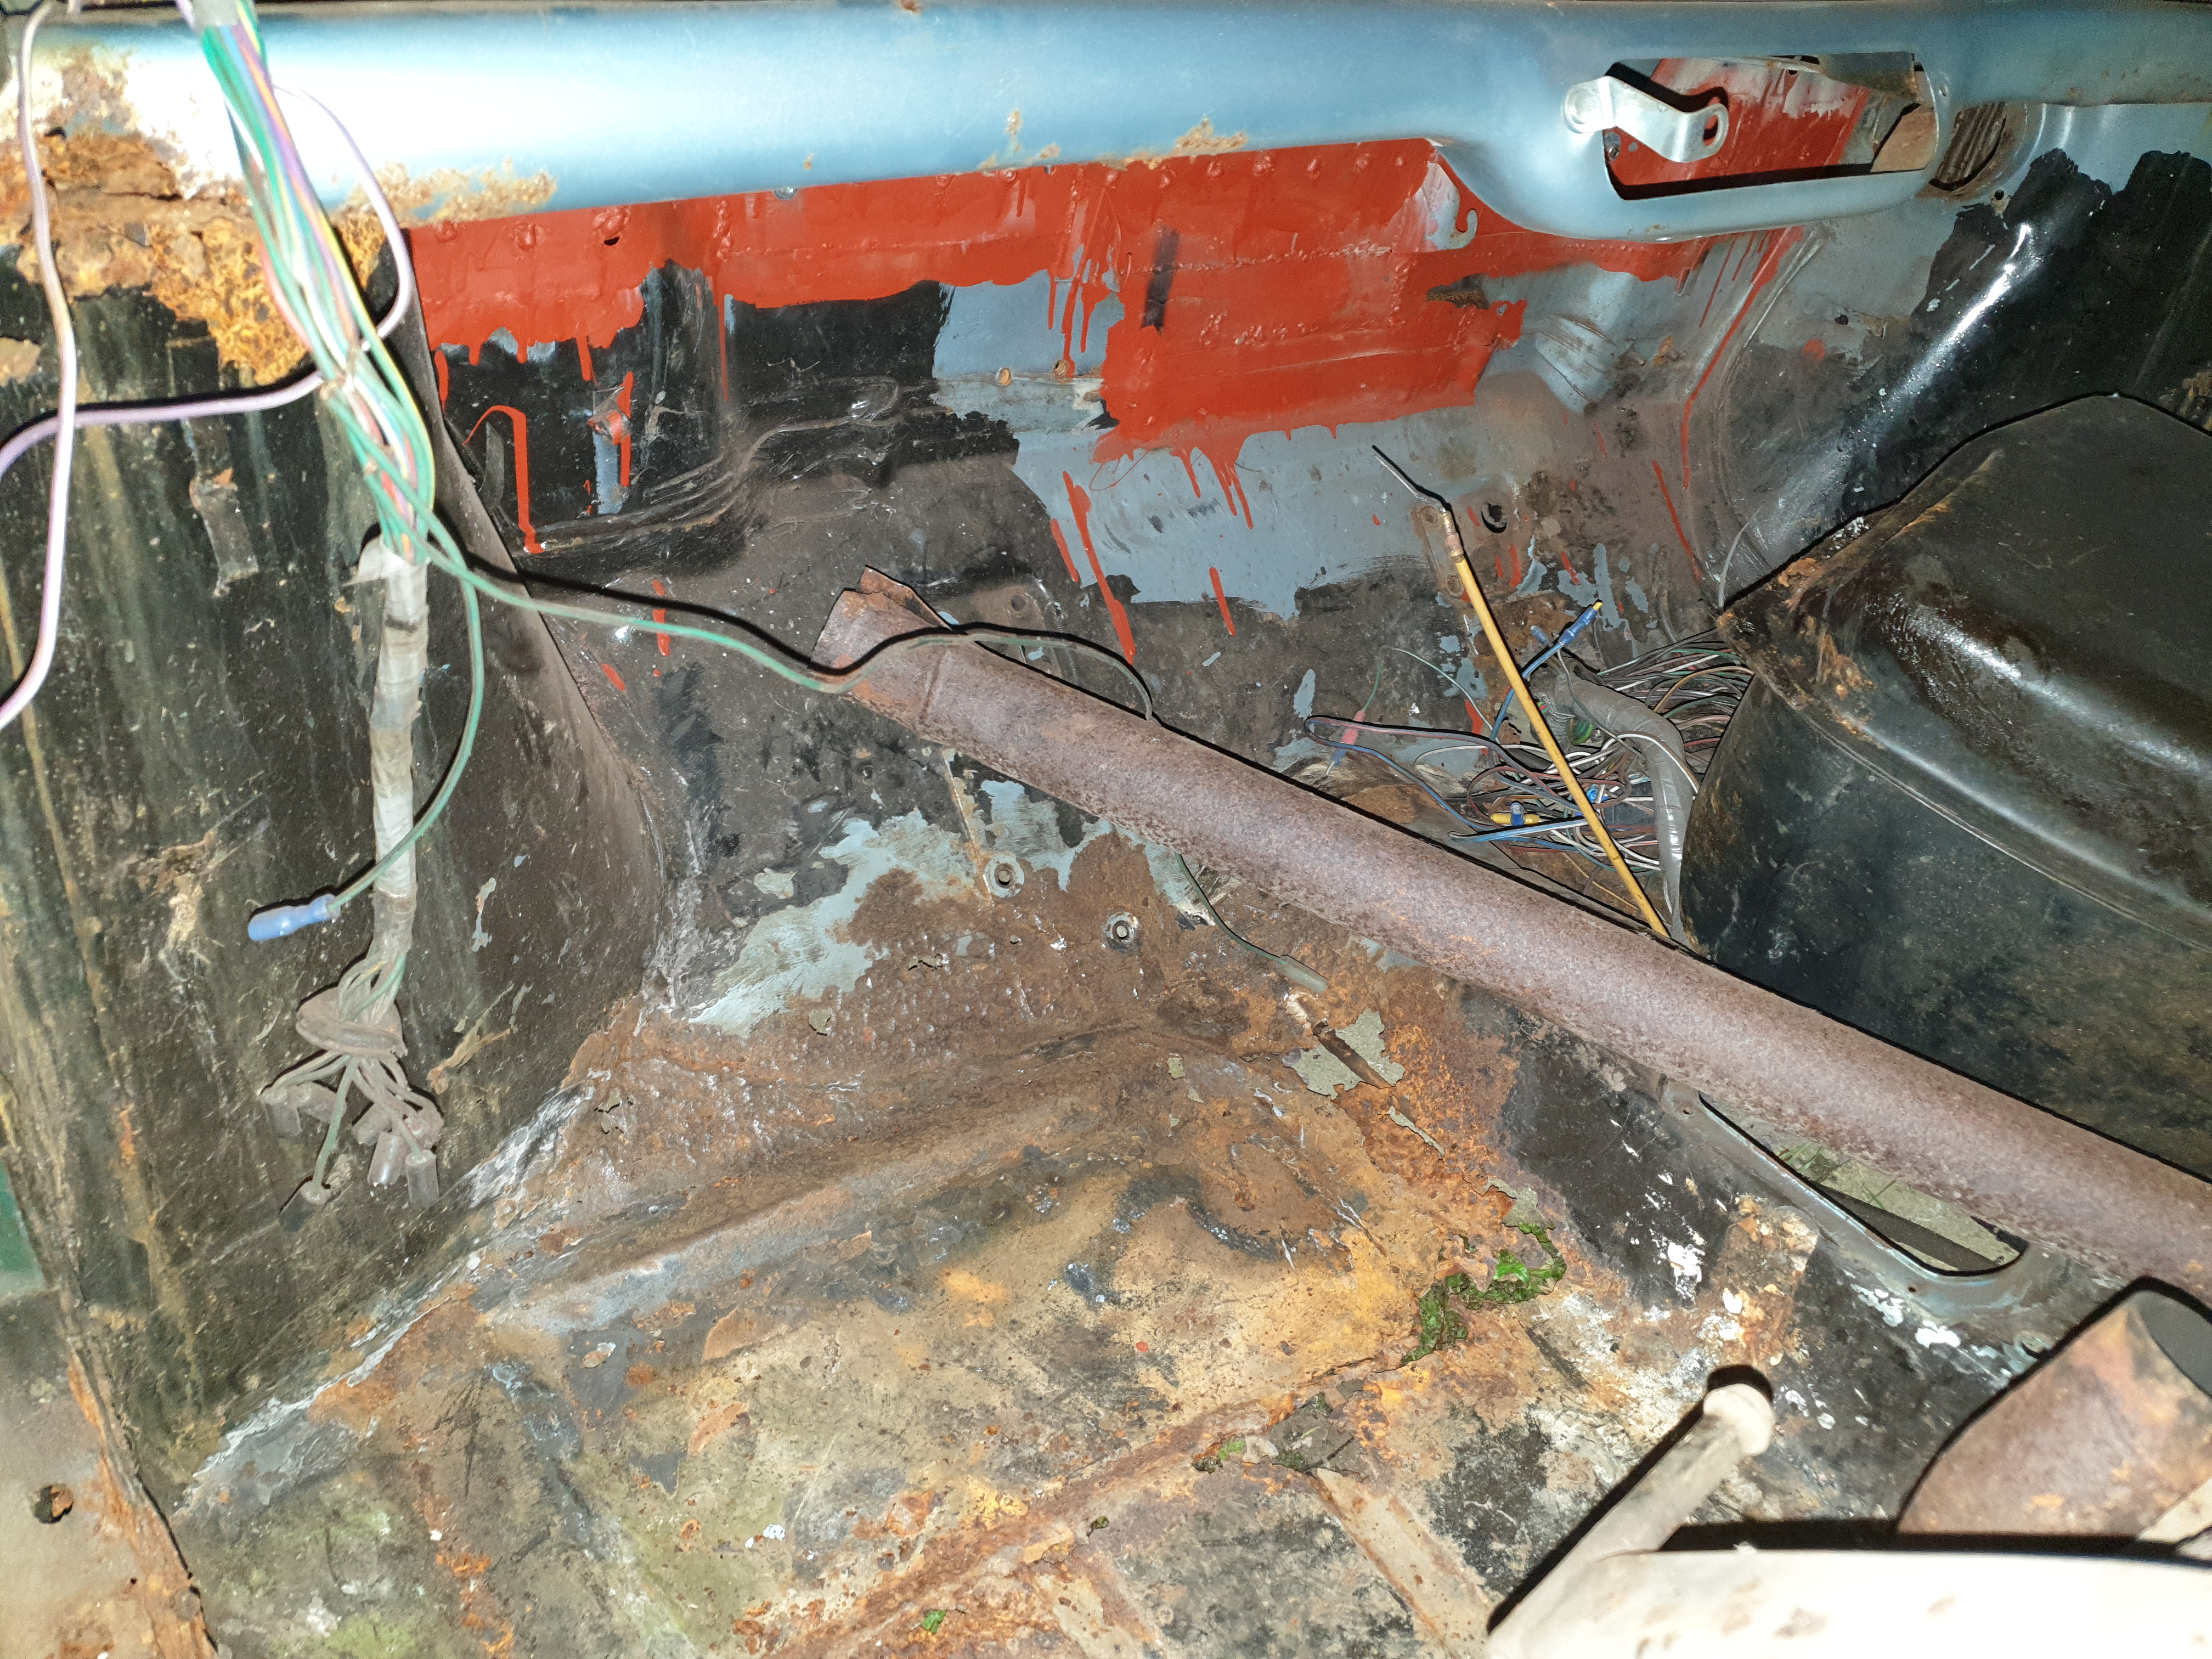
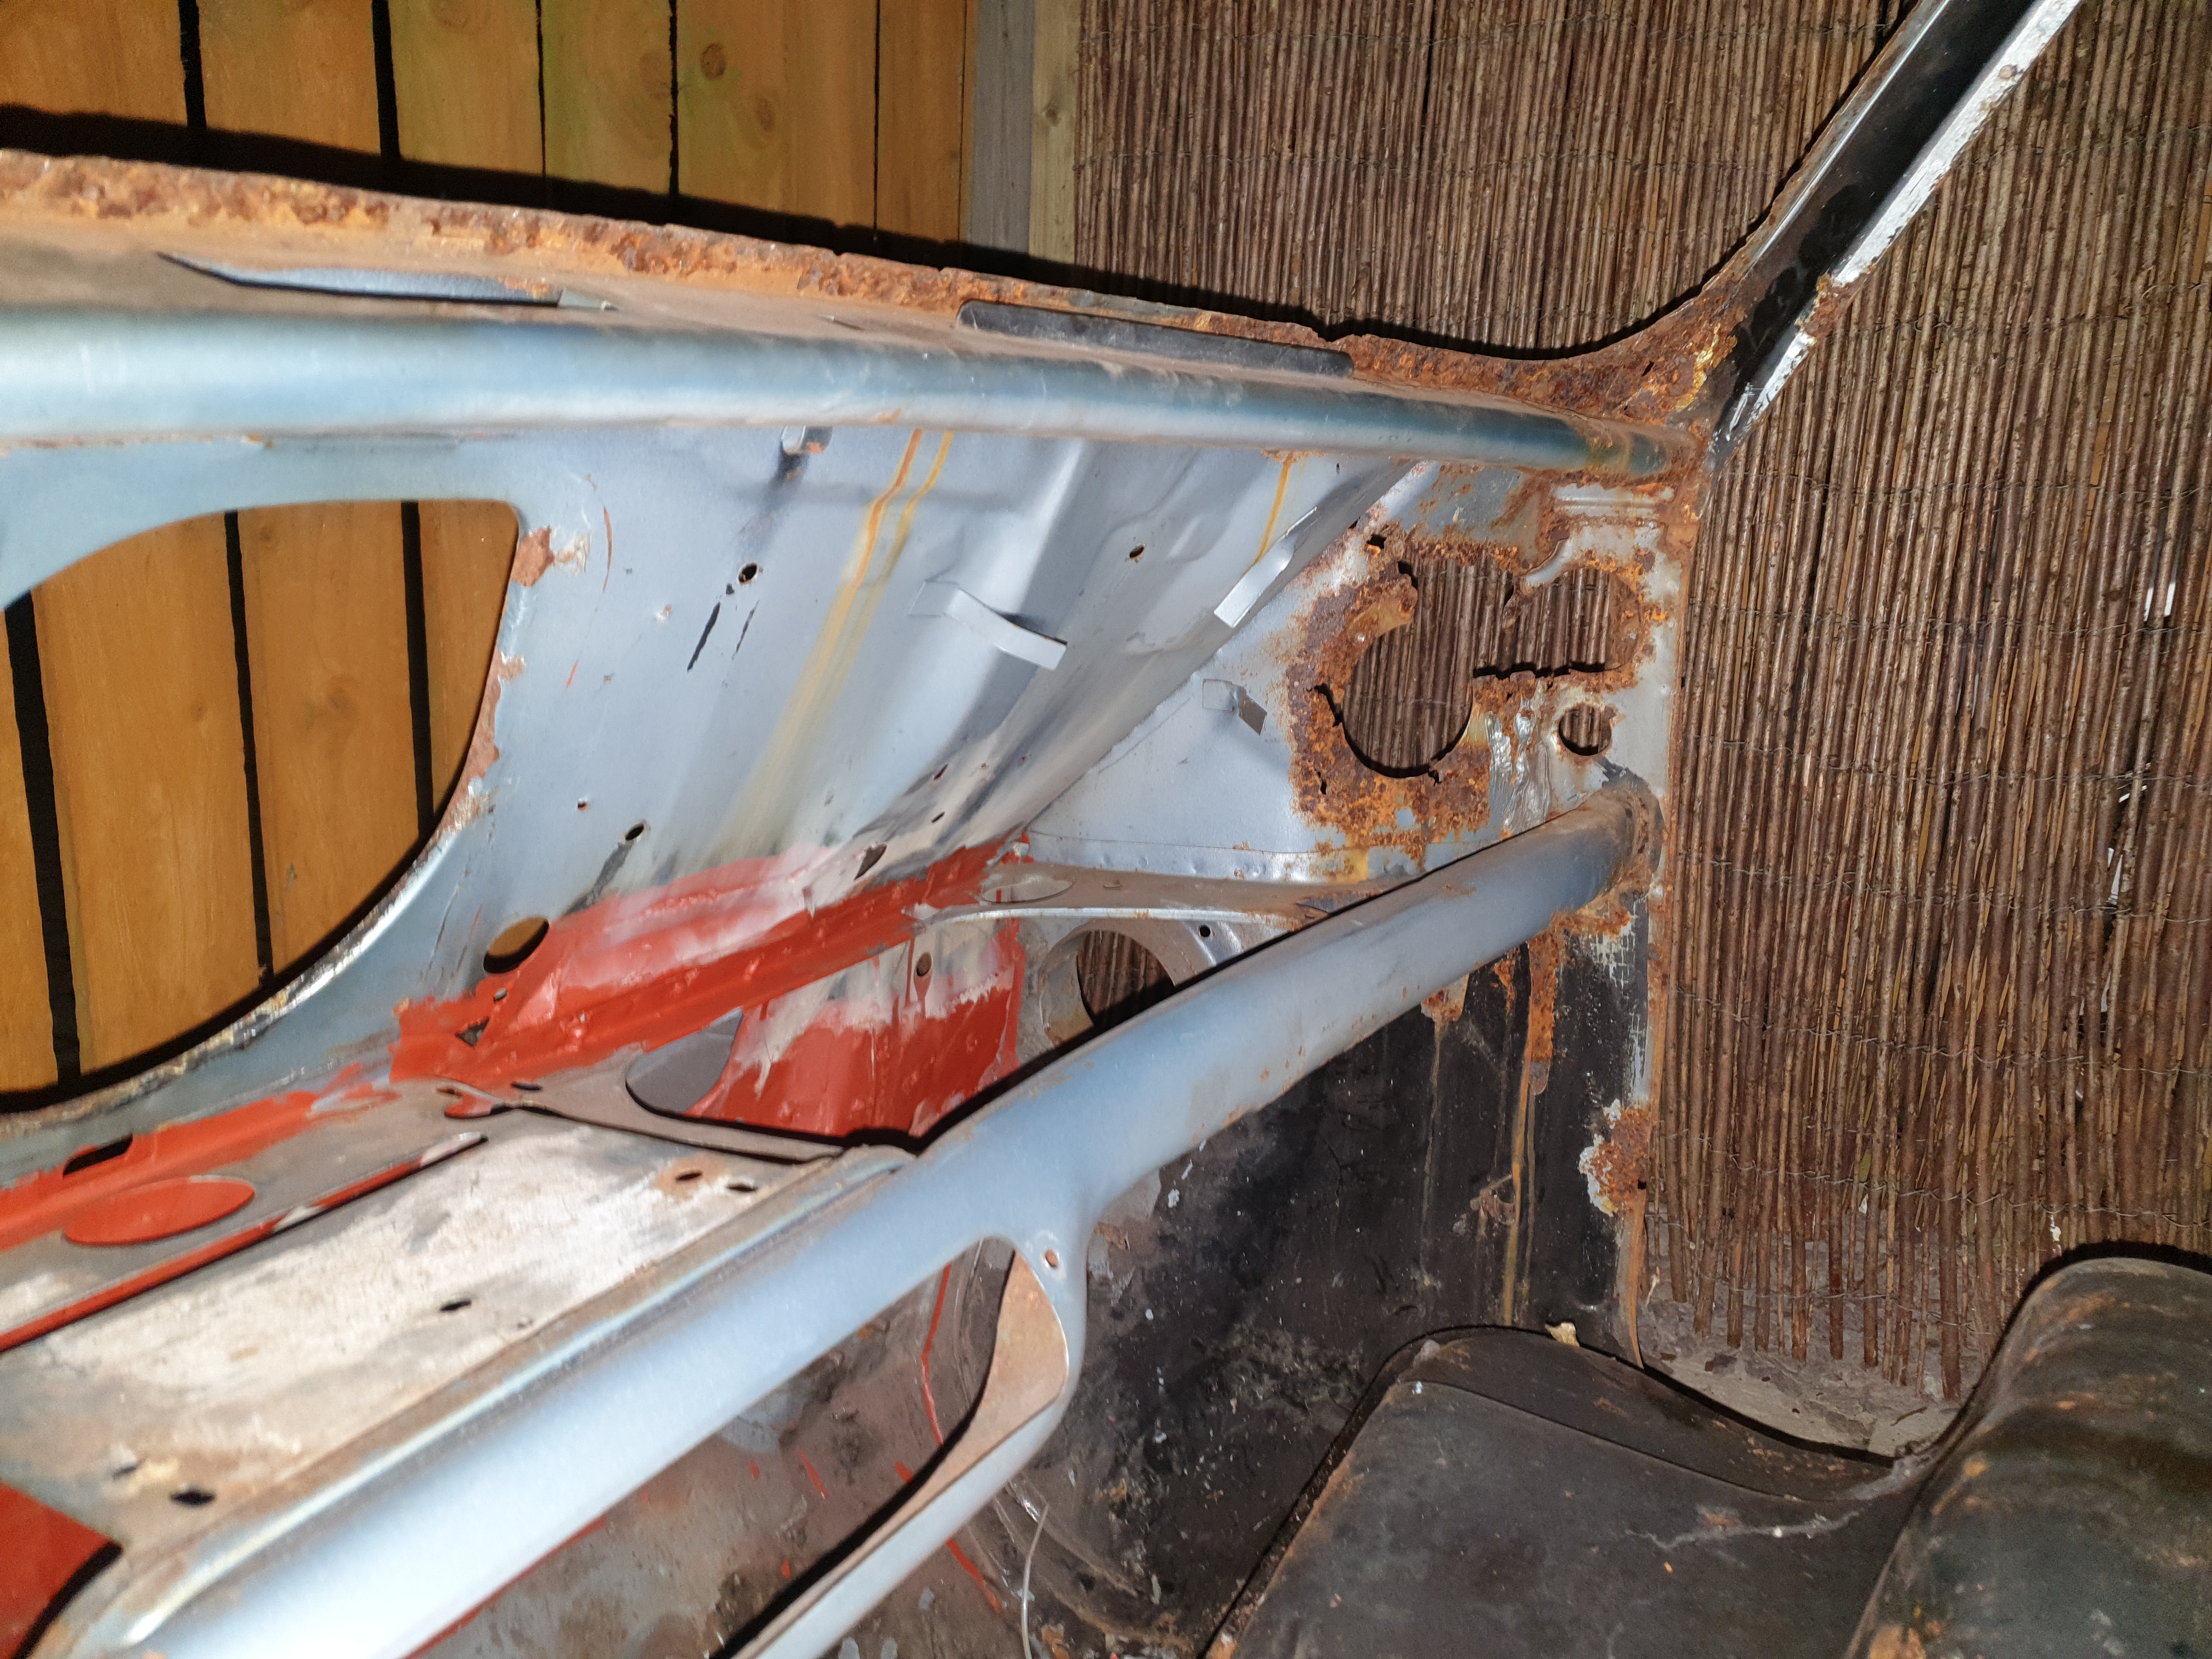
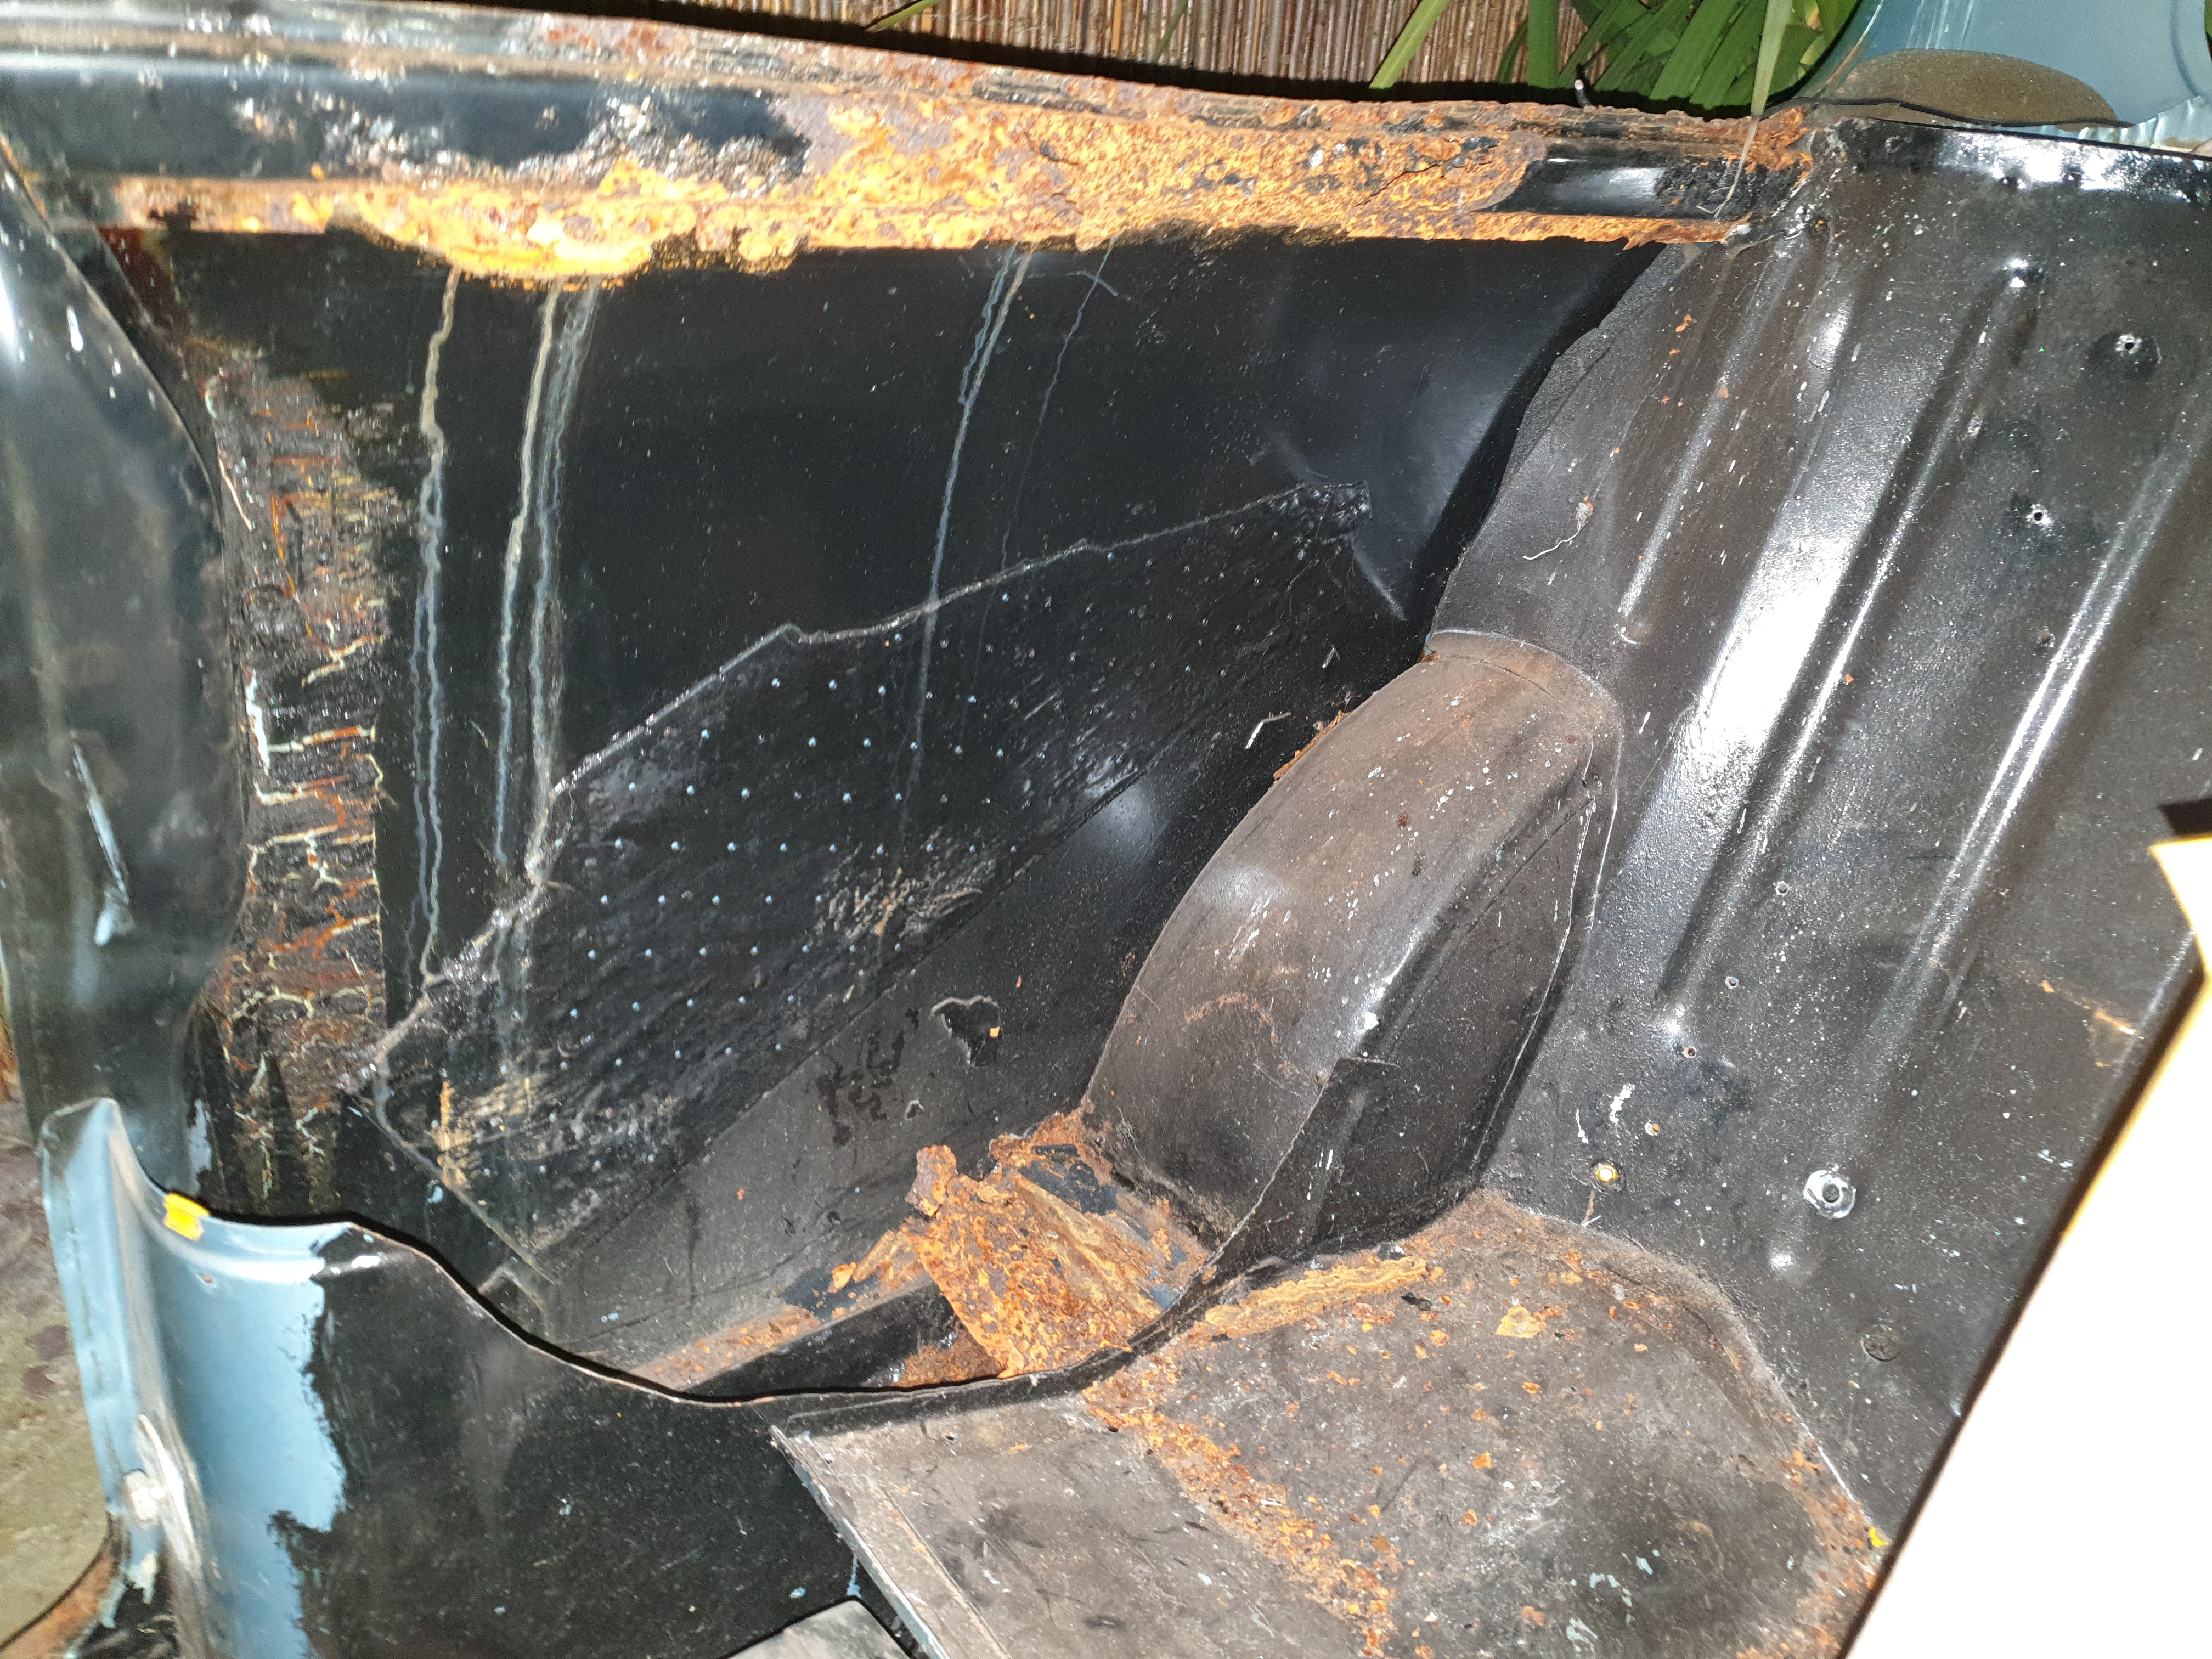
About 5 months passed with little to report. Partially due to work, and taking part in a sim-racing league, but mostly I was having trouble working up the enthusiasm to continue with what seemed like an impossible challenge. I knew the car was in poor shape when I bought it, and was prepared to do the work required, but after digging into it, there was a lot more wrong than I initially realised. One of the biggest parts was the rear windowsill, which doesn't have an easy repair panel, and would be very visible if done poorly.
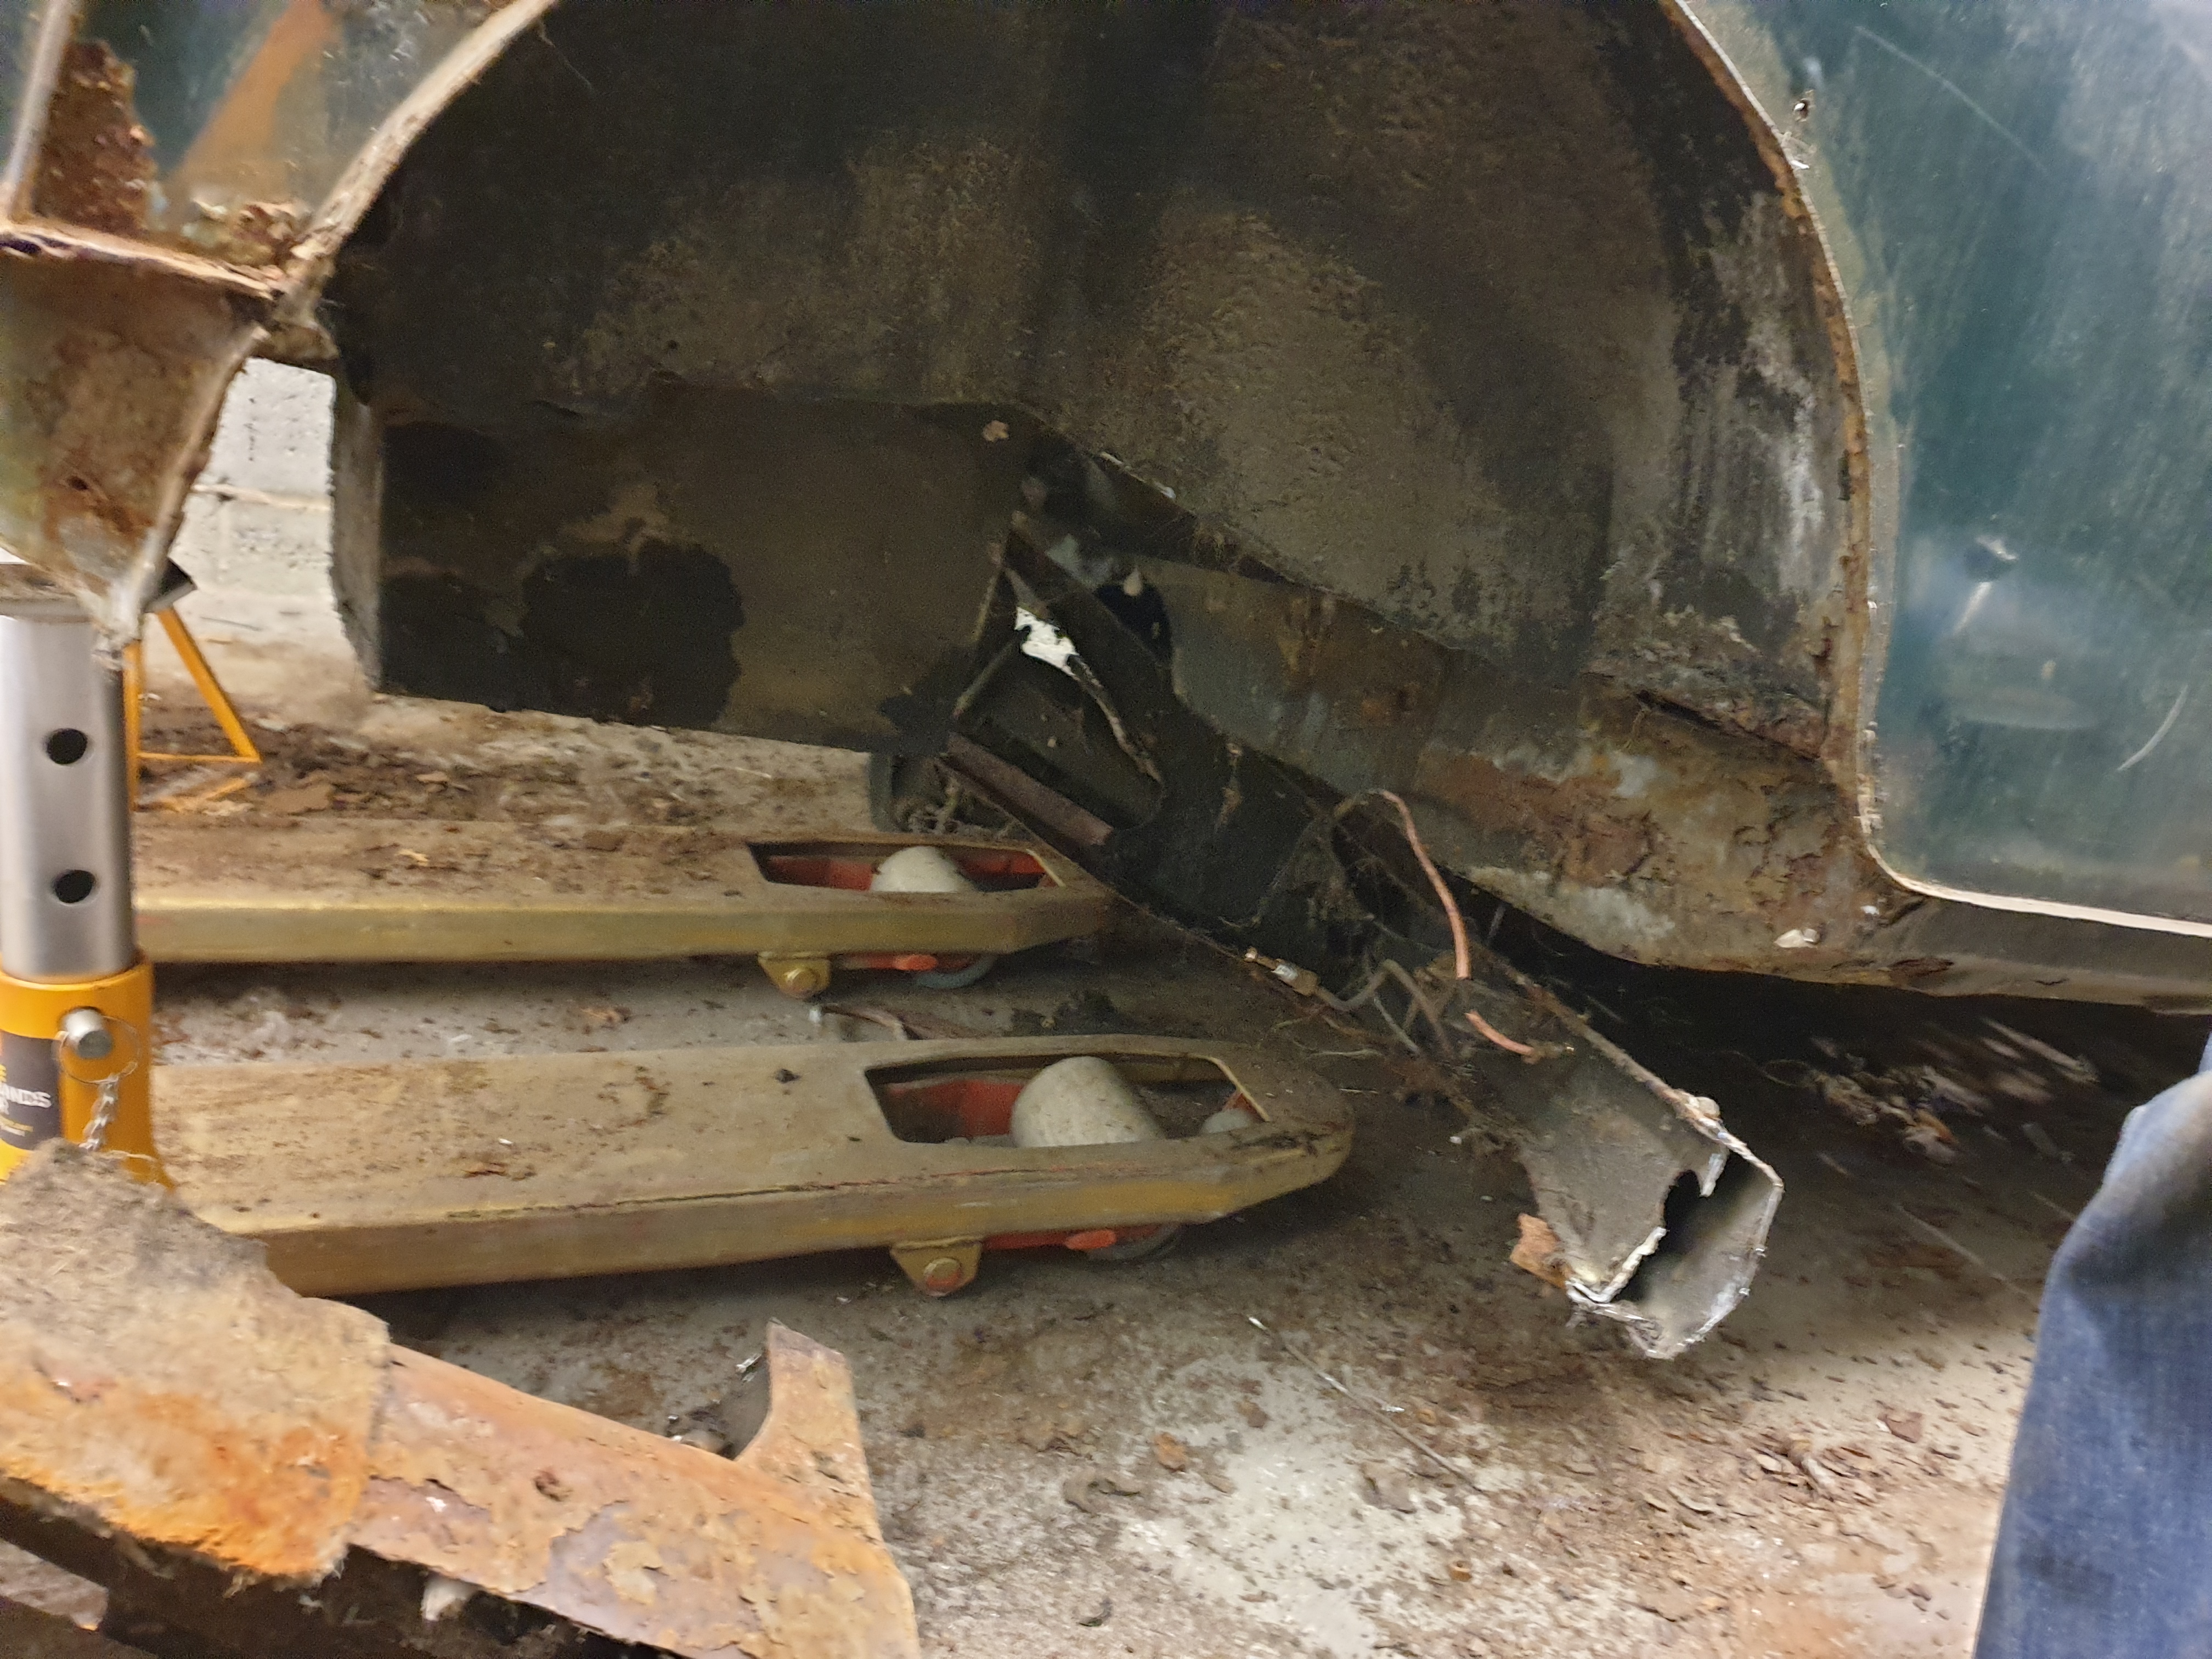
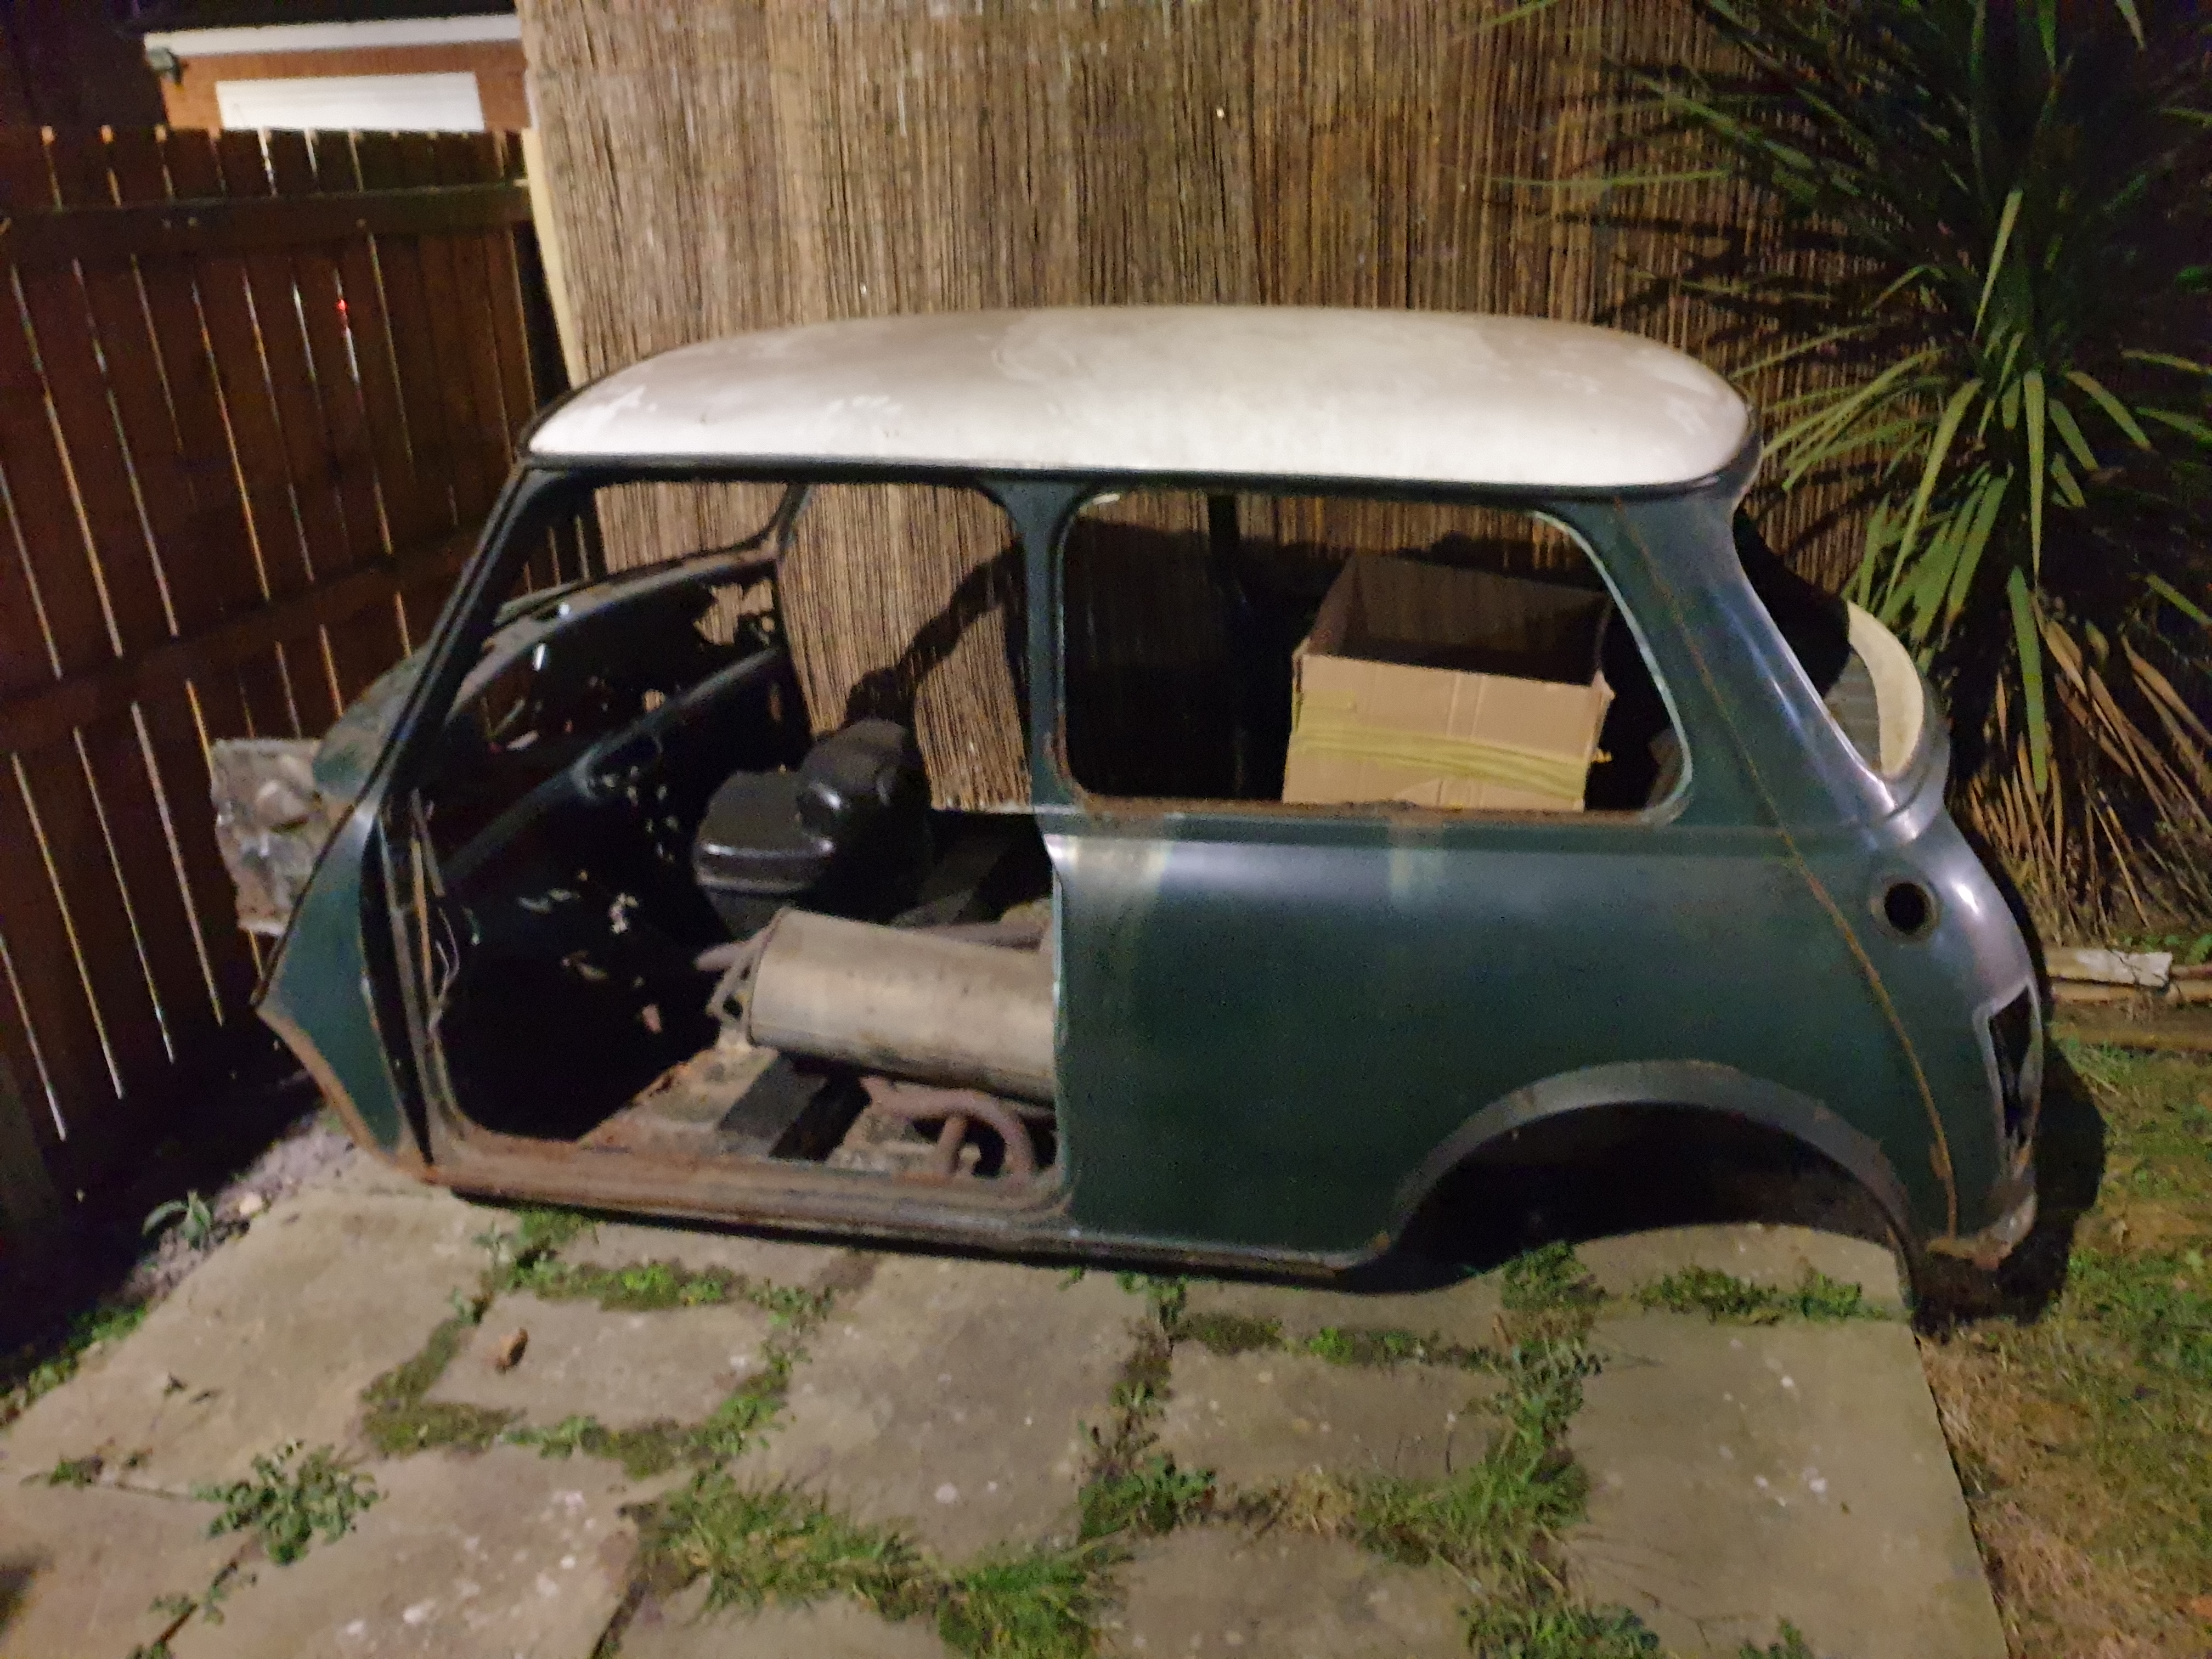
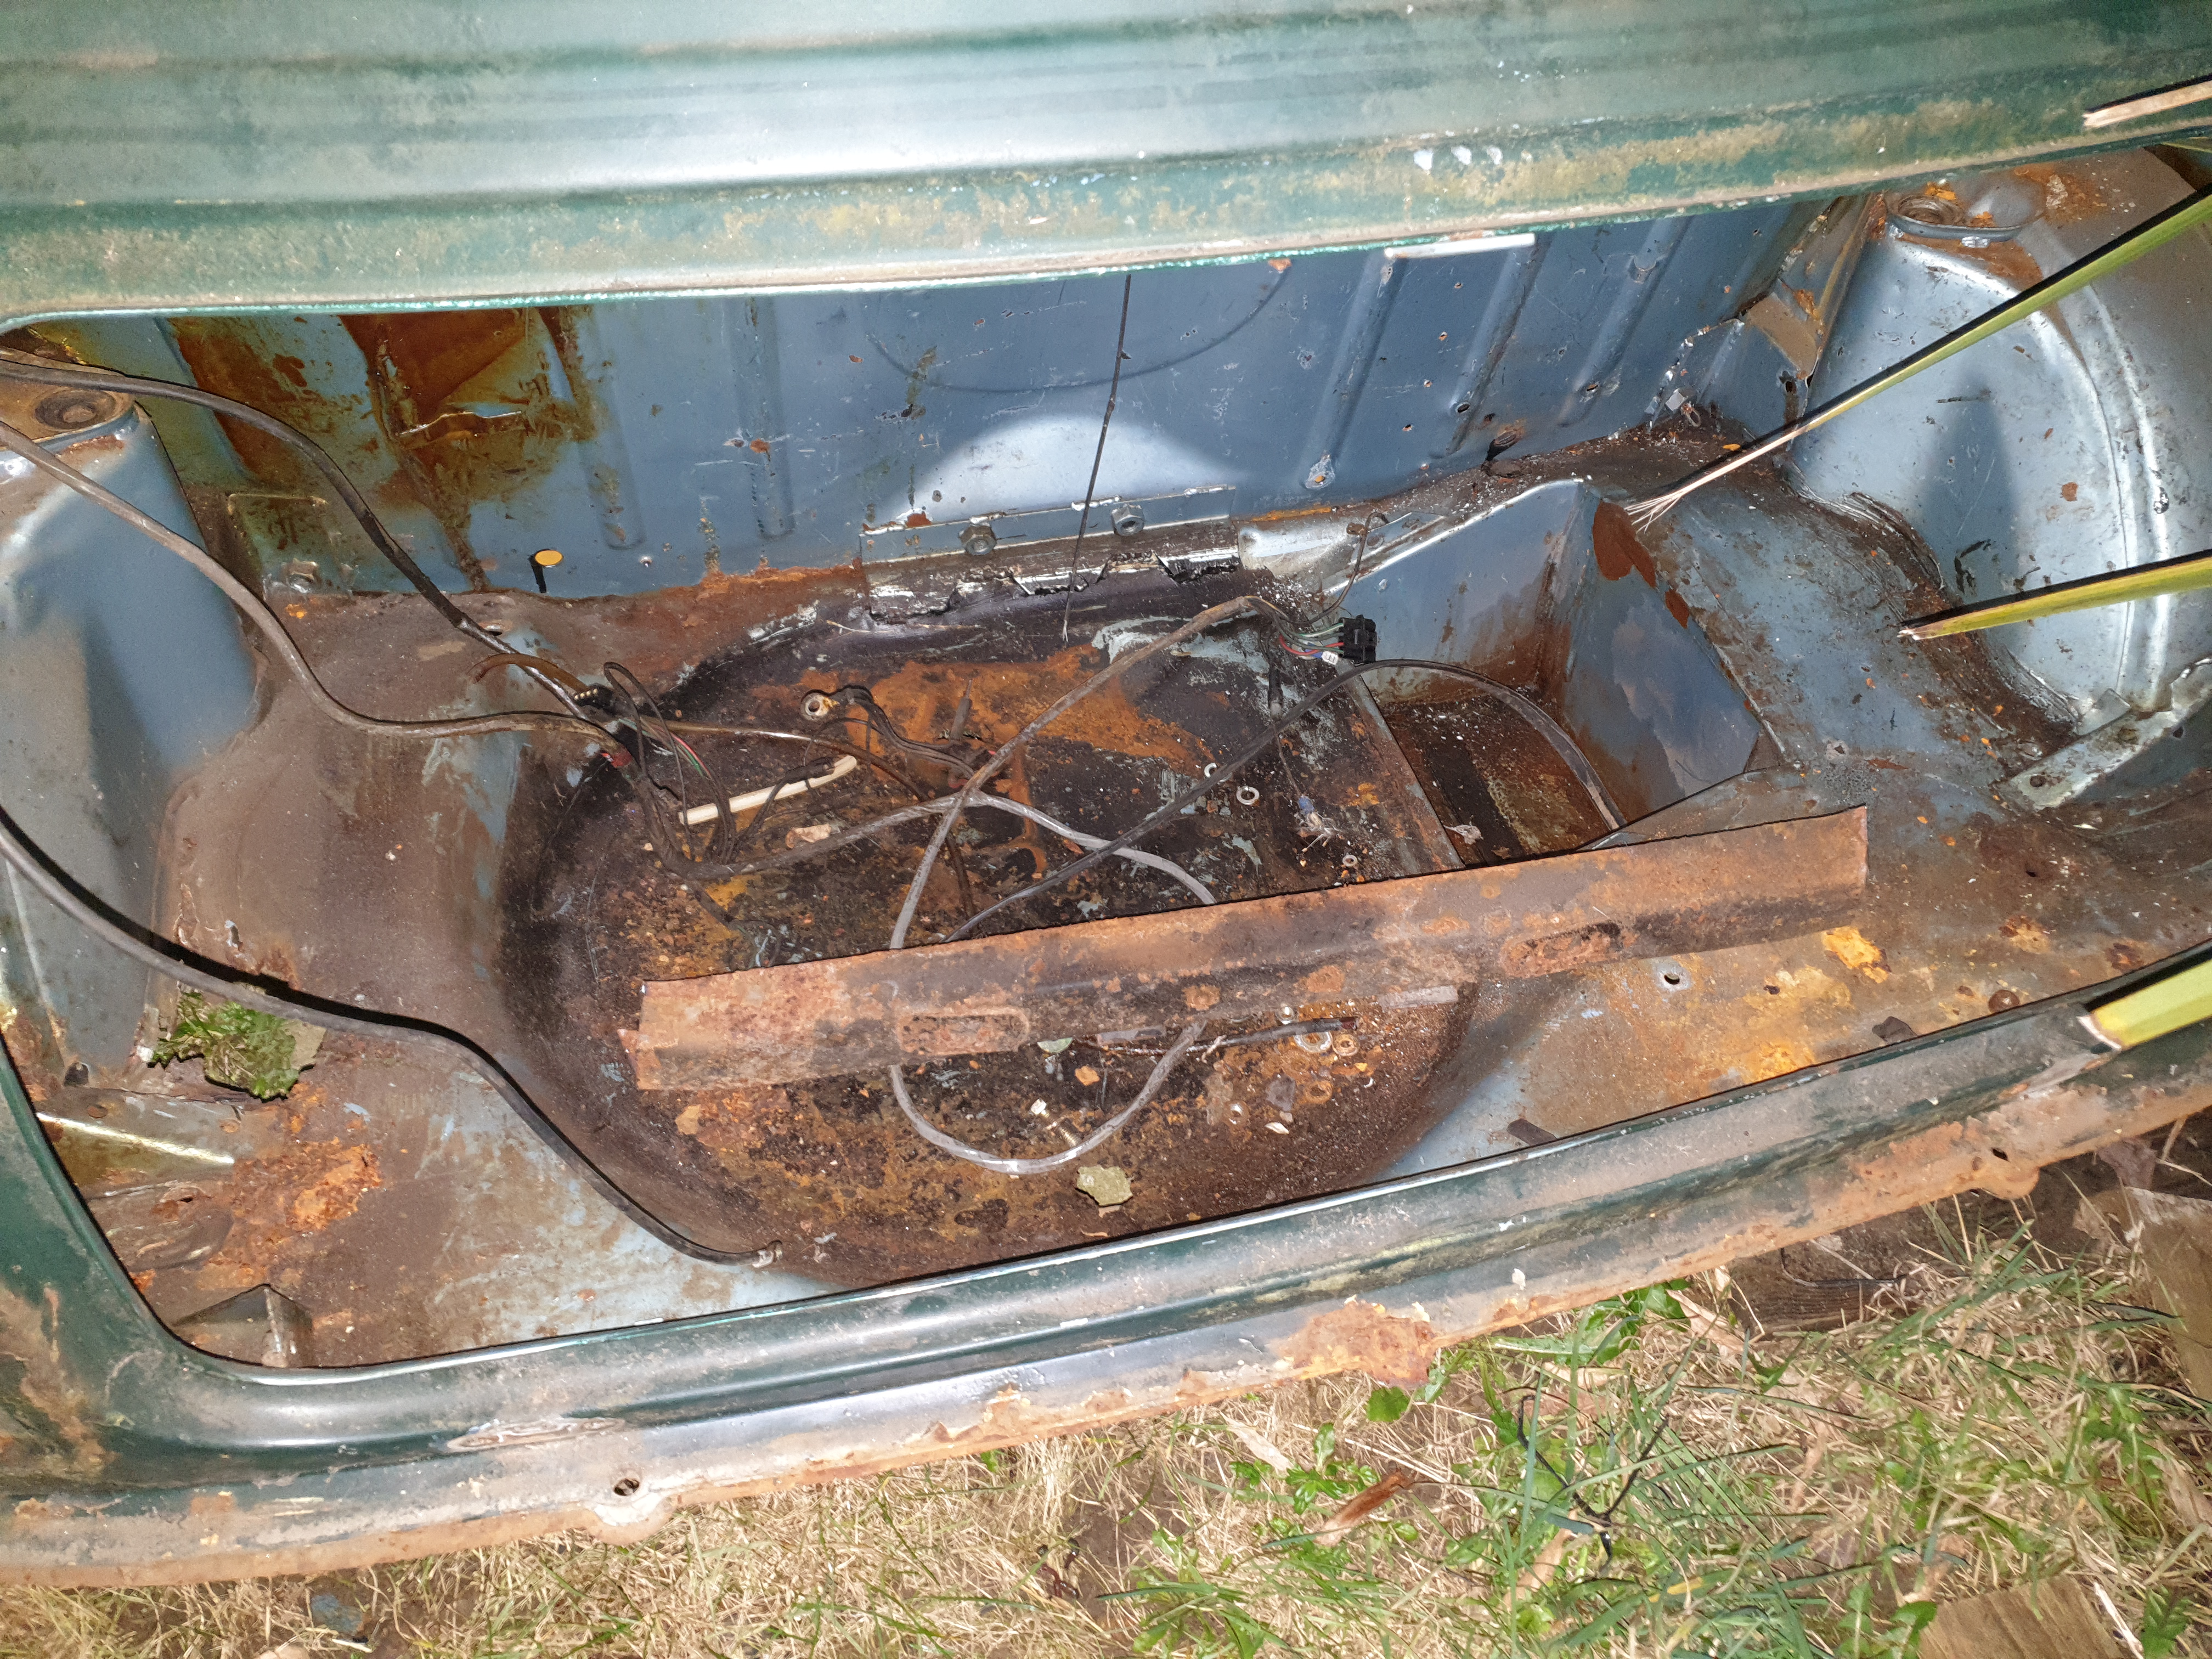
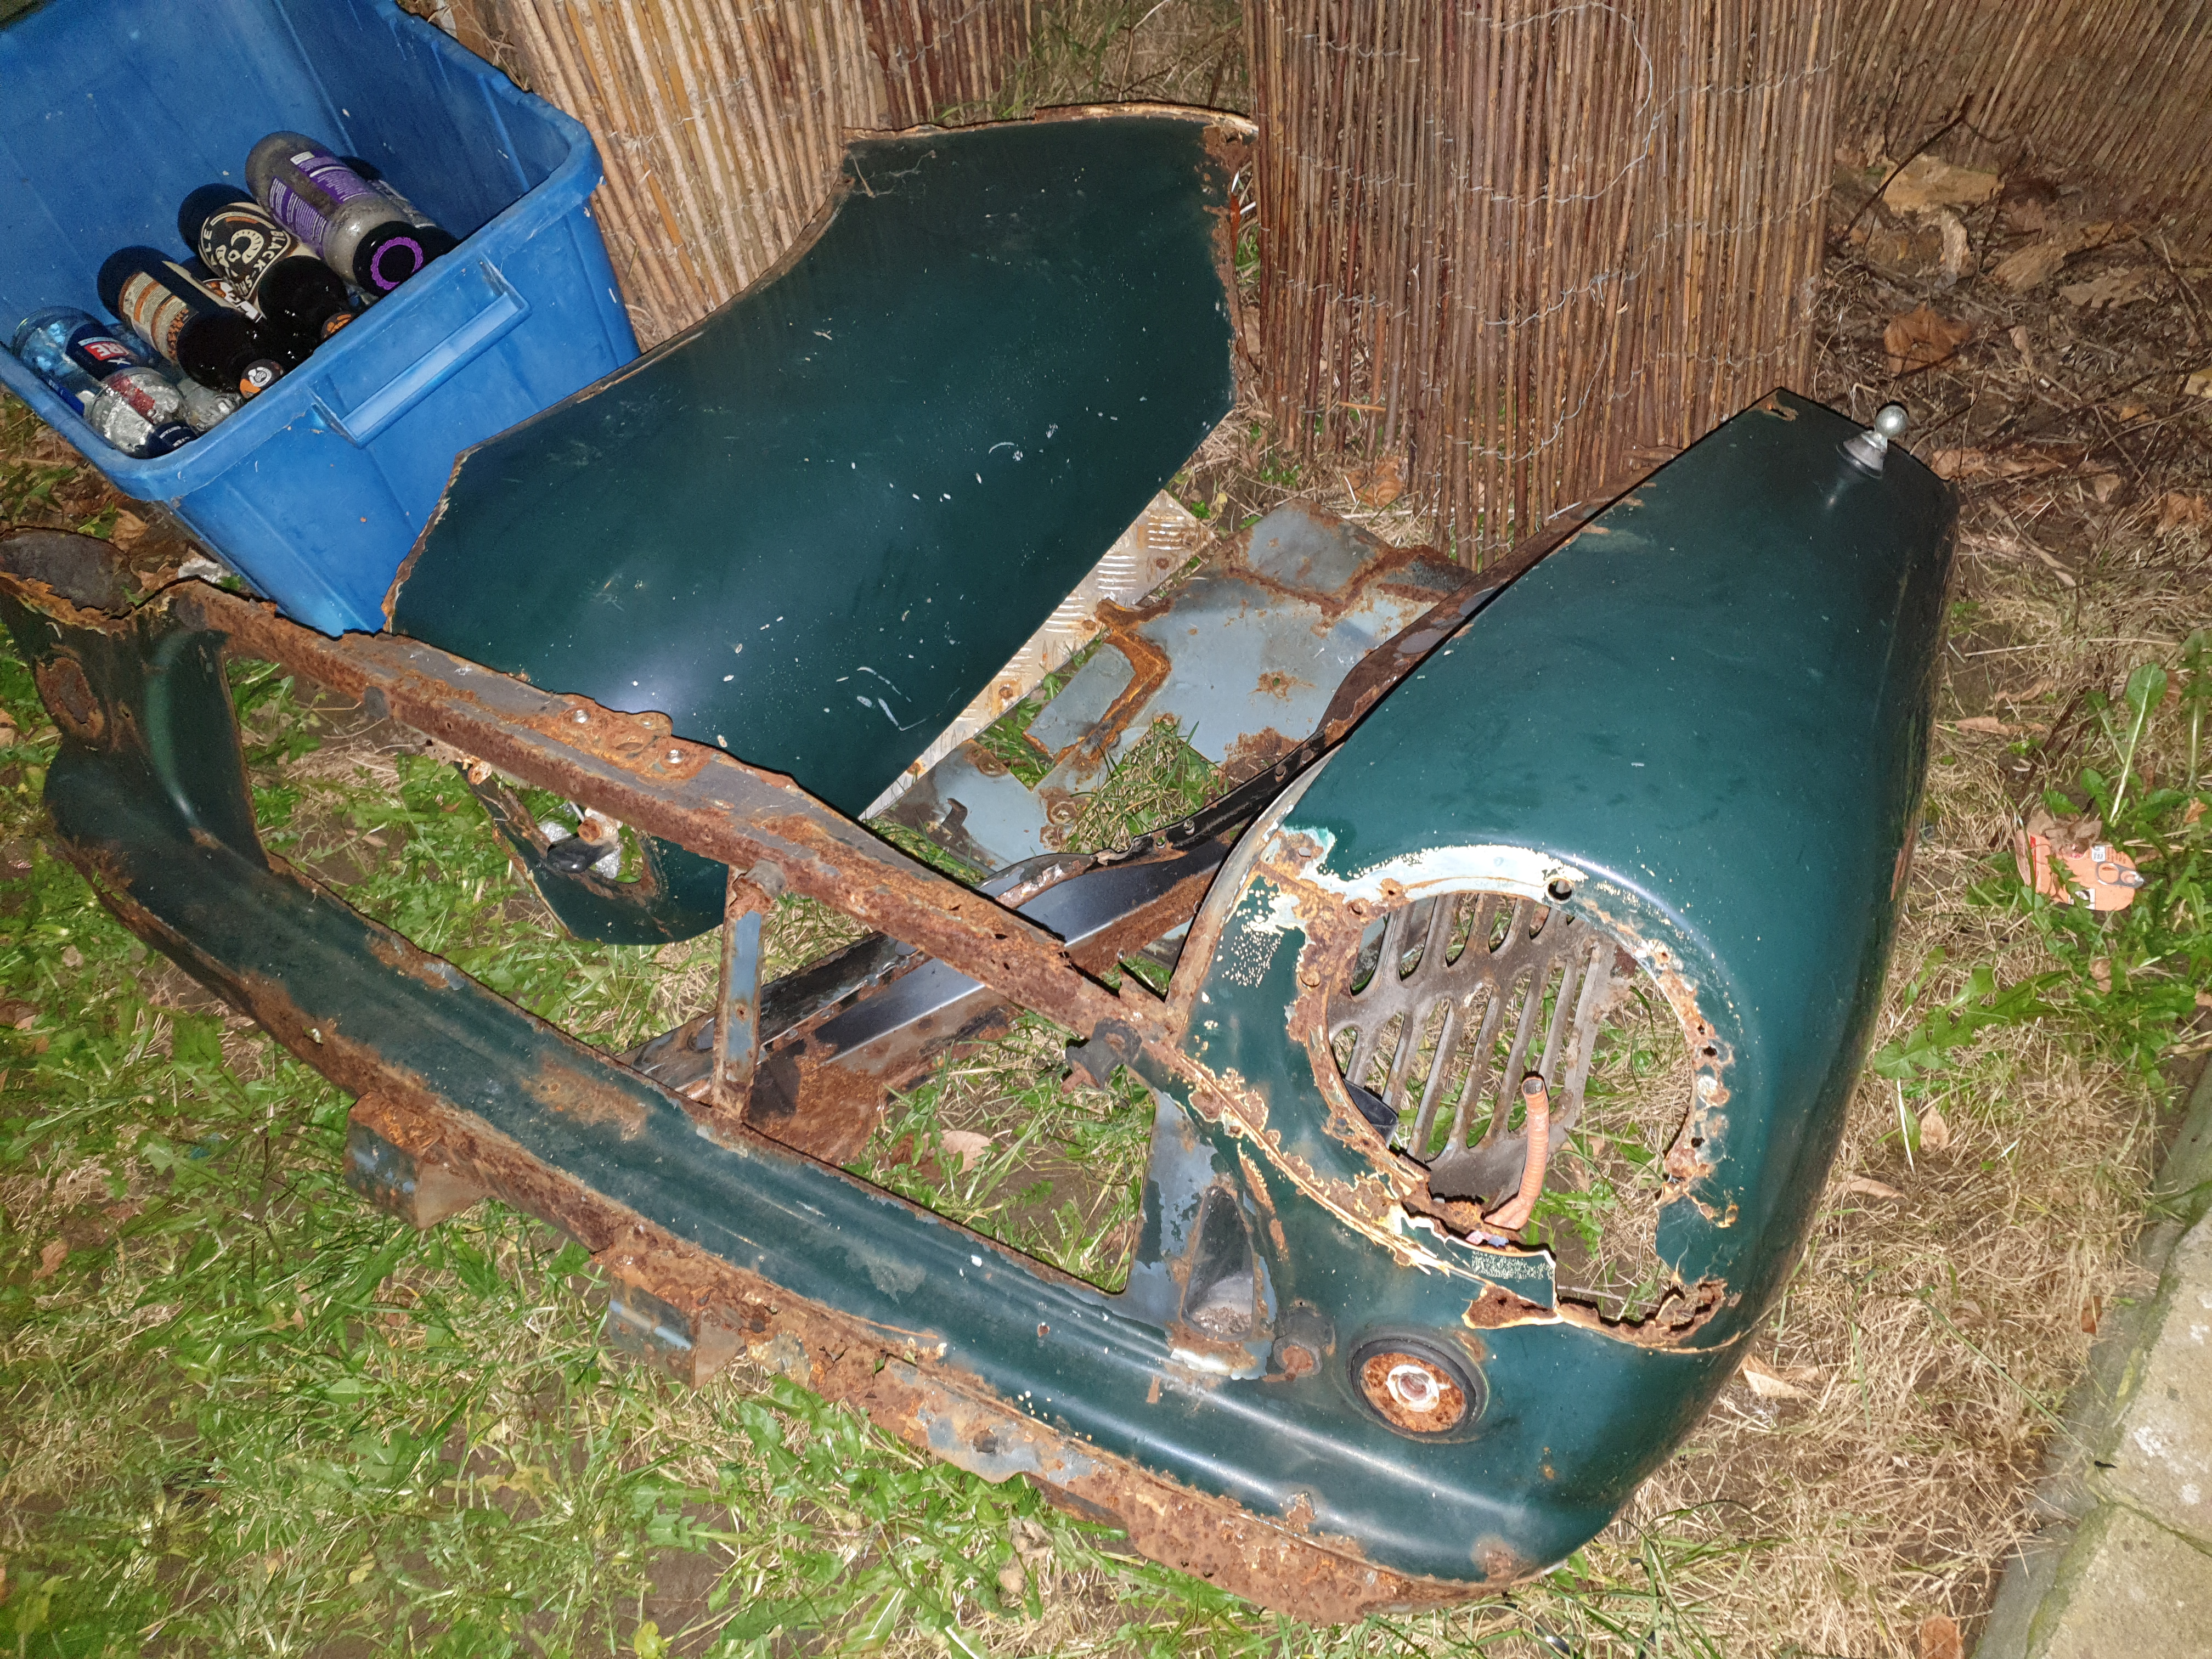
I was looking into rollover jigs to work on the underneath, when I came across a shell on eBay for £500. It was described as fairly solid, with only "the usual" parts needing attention. I eventually decided that it would save a lot of time and money to get this shell. I removed the last of the parts from the green shell, including the rear subframe, which needed cutting up. It was far too rotten to re-use, and was going to be replaced regardless. The shell was put on a pallet and dumped in the garden to serve as a storage unit for parts that may or may not come in useful in the future.
 |
 |
 |
 |
 |
 |
 |
 |
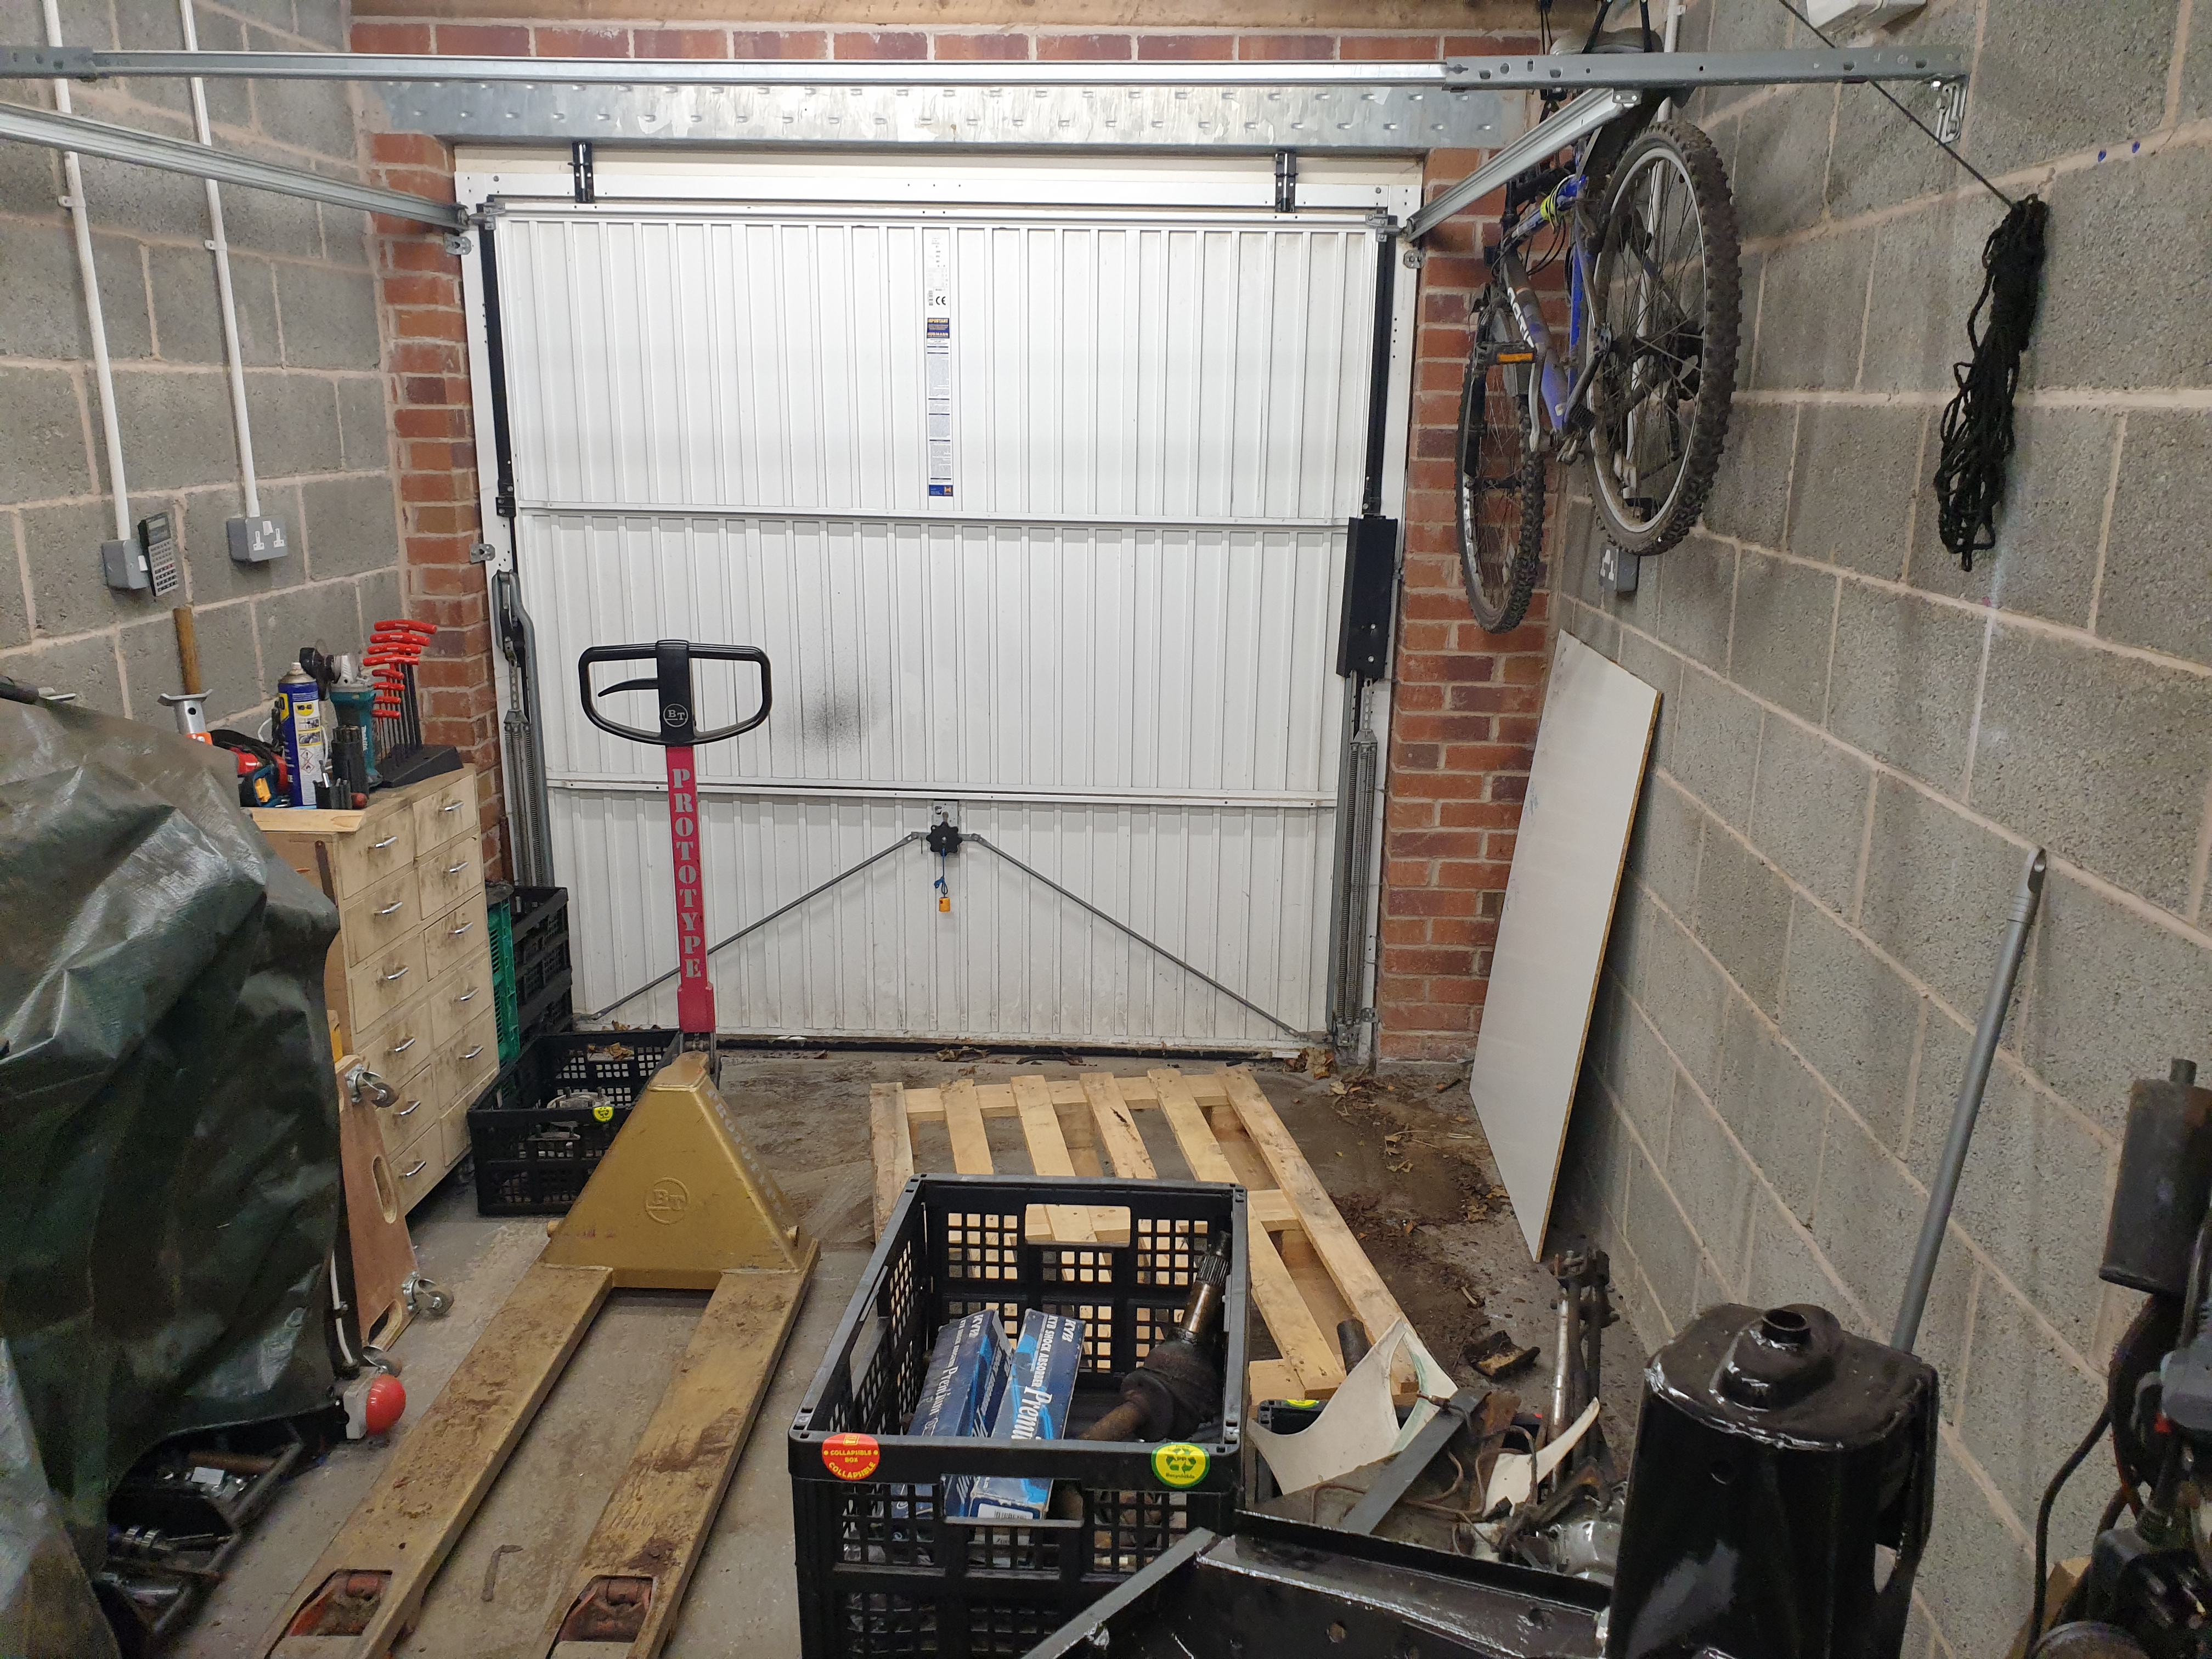 |
| Chopping up the rear subframe | Shell out of the garage | It'll live hear til I'm sure I don't need it | Check out the rust in the top left | This was daunting to repair | And the rear windowsill too | Boot was surprisingly sound | Only ever fit for the bin | Empty garage awaits |
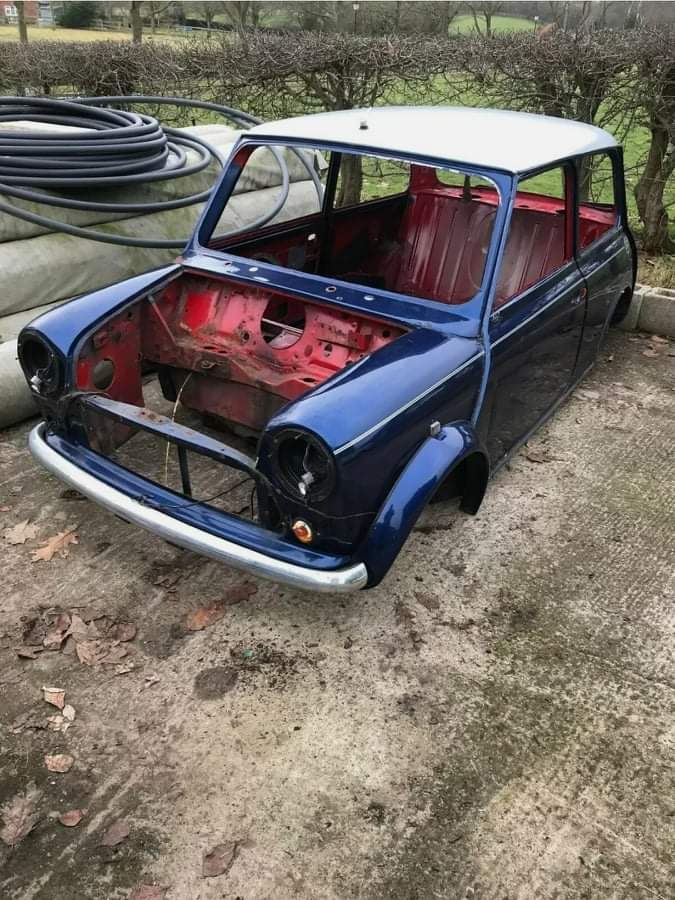
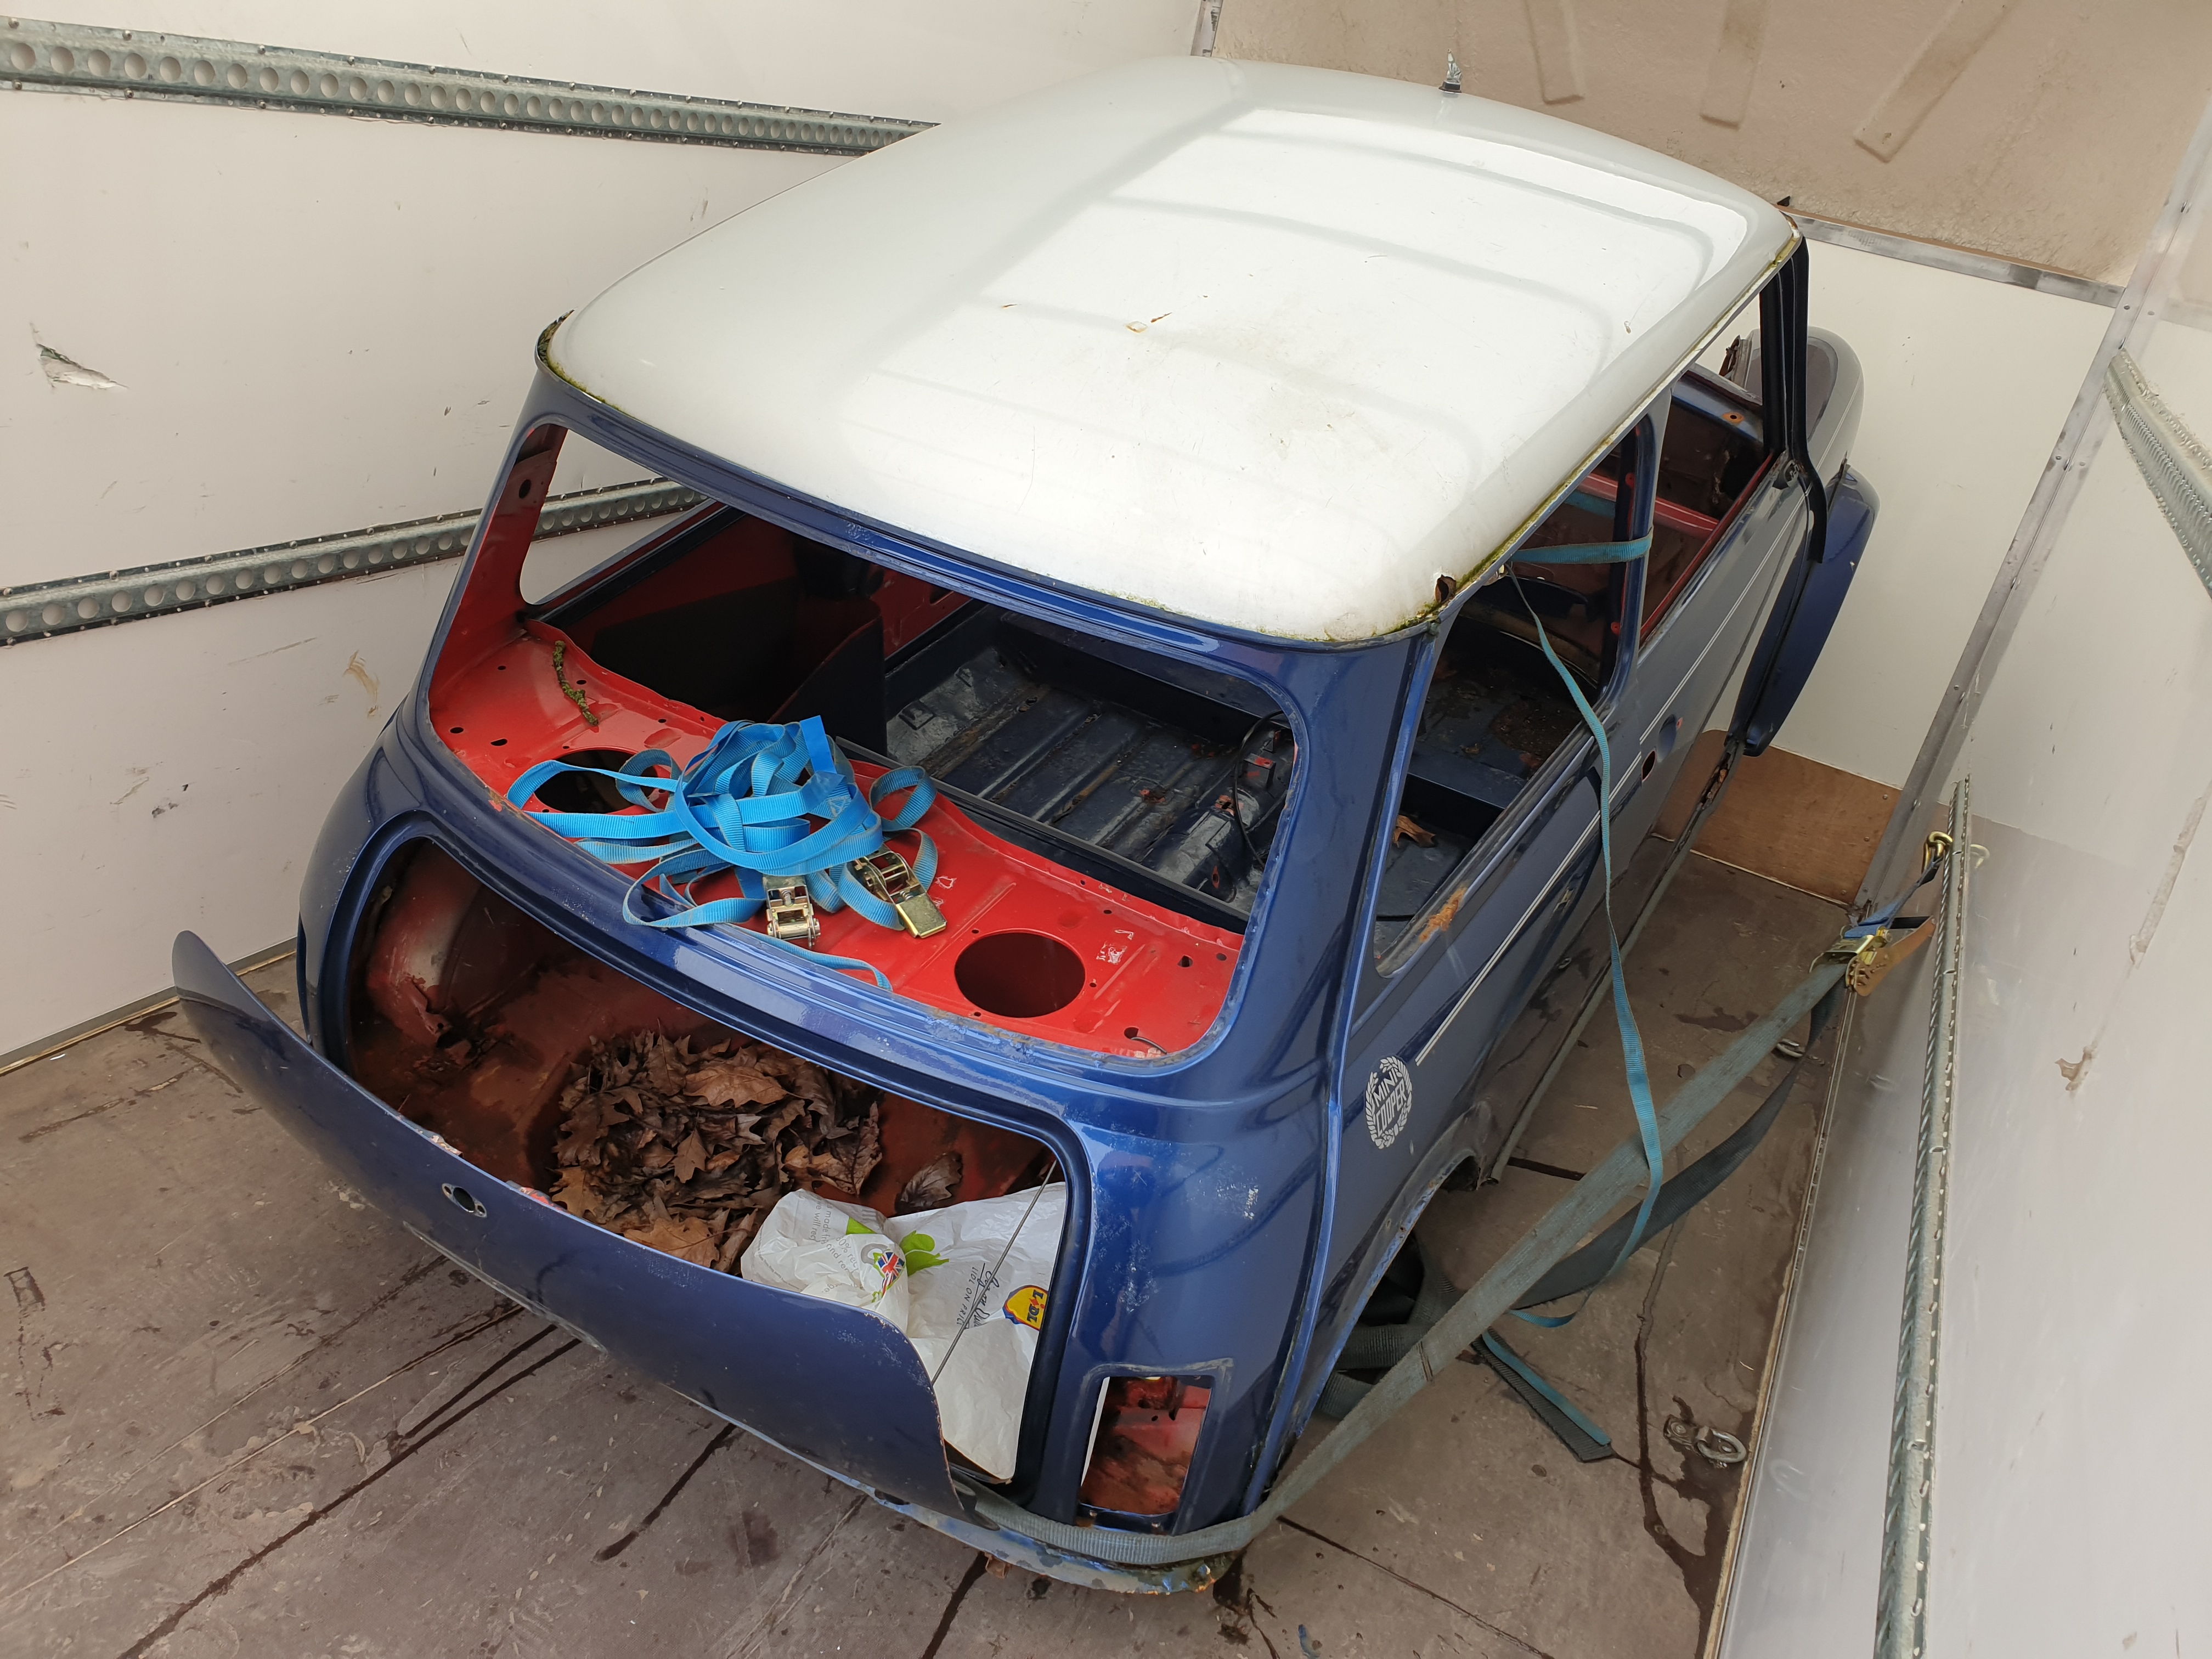
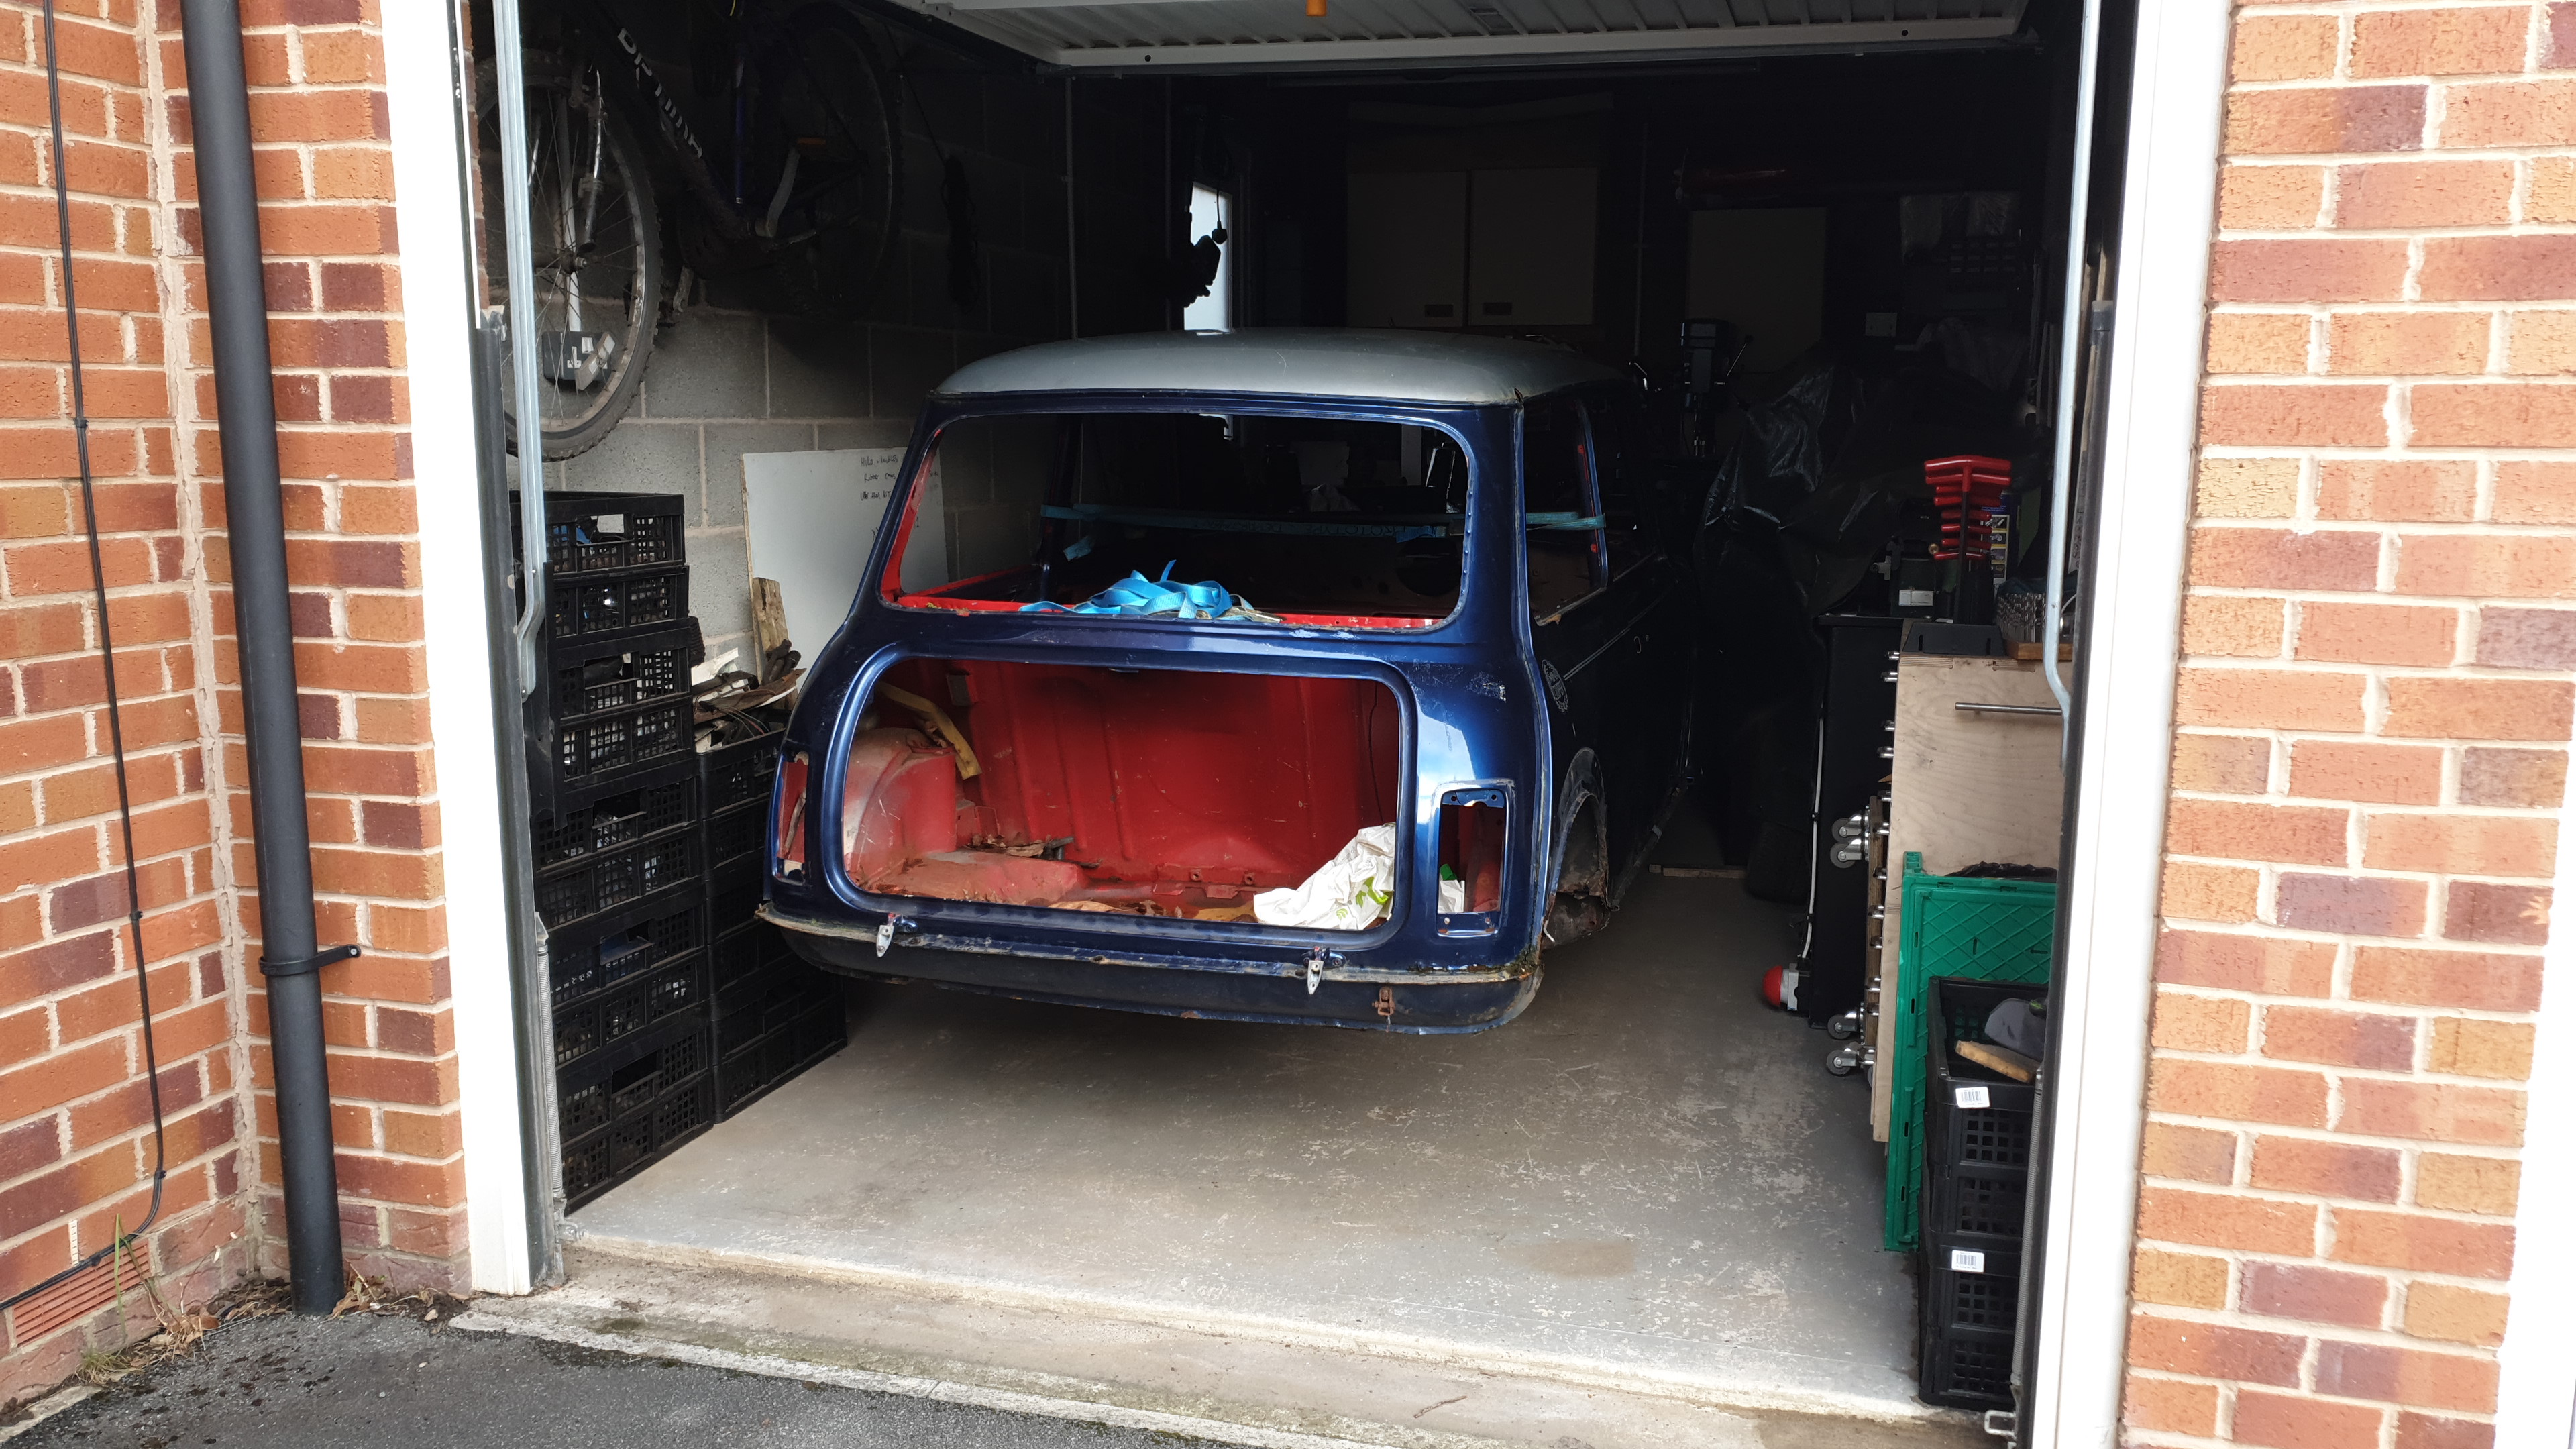
The new shell was collected in a Luton van. We lifted it onto a pallet which I had bolted some castors to, and then wheeled it onto the tail lift, and into the van. This was the easy part, with two of us to keep it steady - it overhung the tail significantly. Getting it off at the other end was far more of a struggle as I was on my own. I did succeed without dropping it on the neighbour's car, which is always a good thing.
It has been left on the wheeled pallet since, which has made moving it around much easier, as well as raising it up to a slightly more comfortable height.
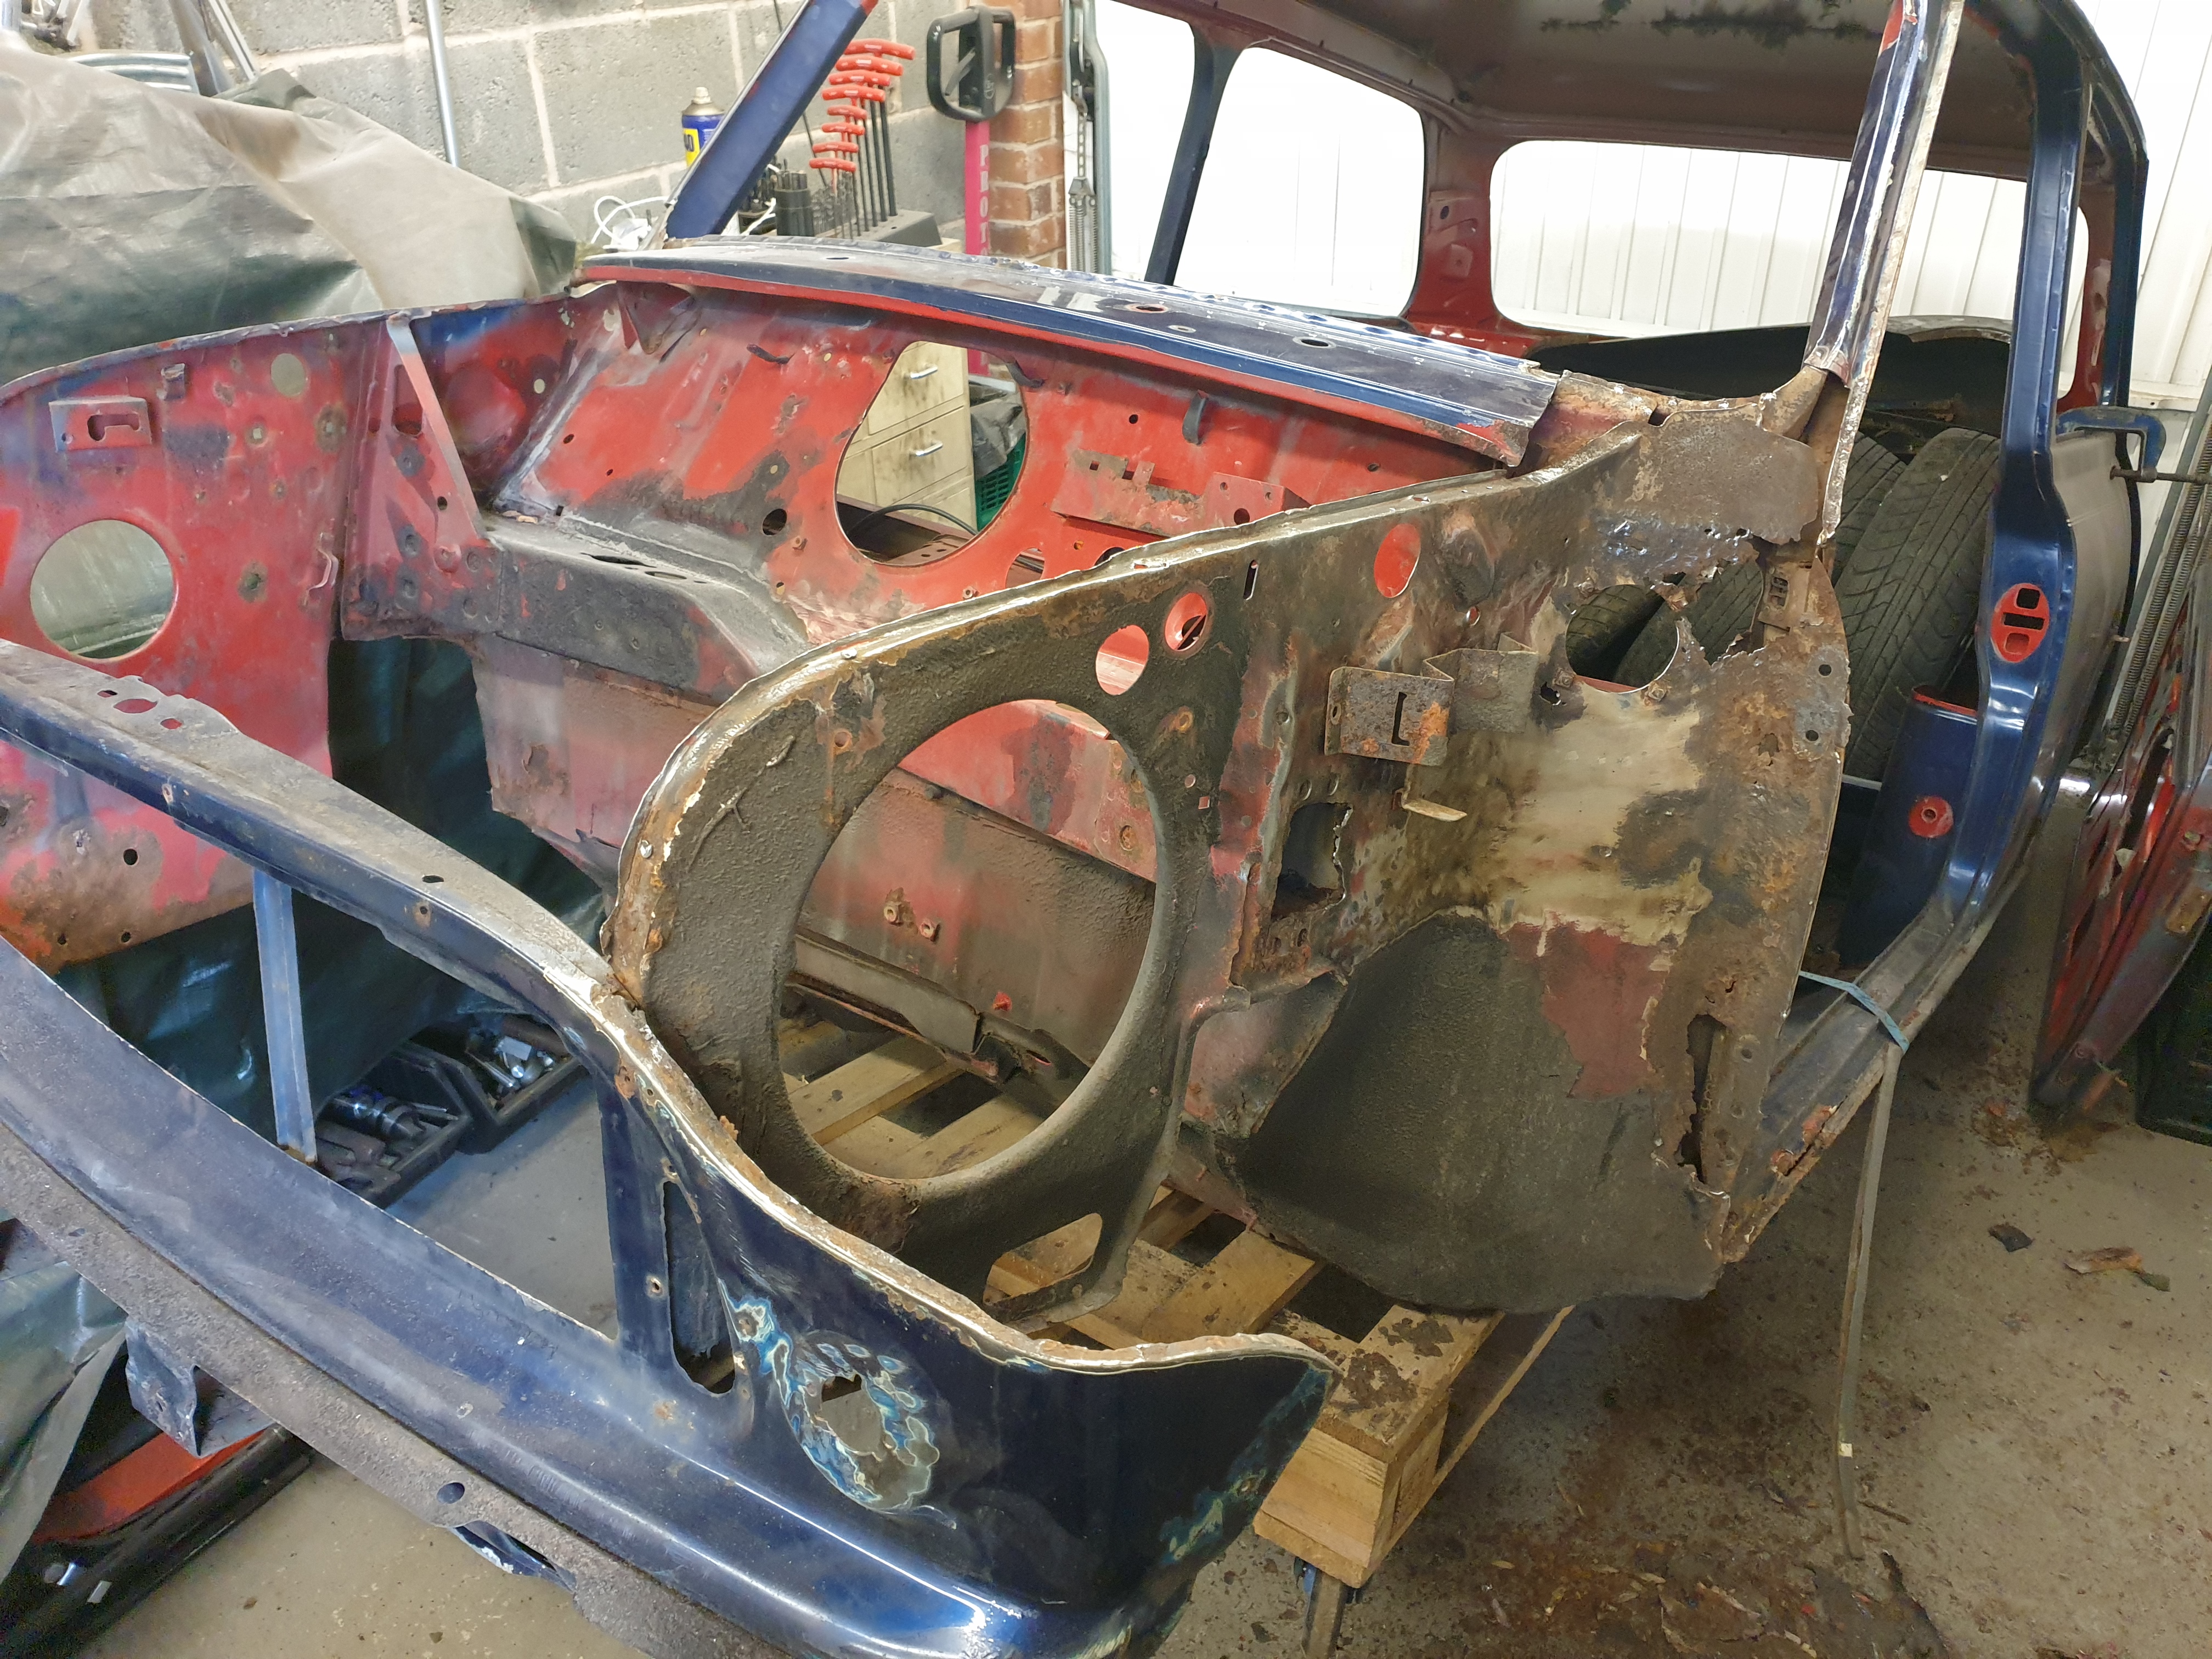
I quickly realised that the front end had been replaced, and not well.
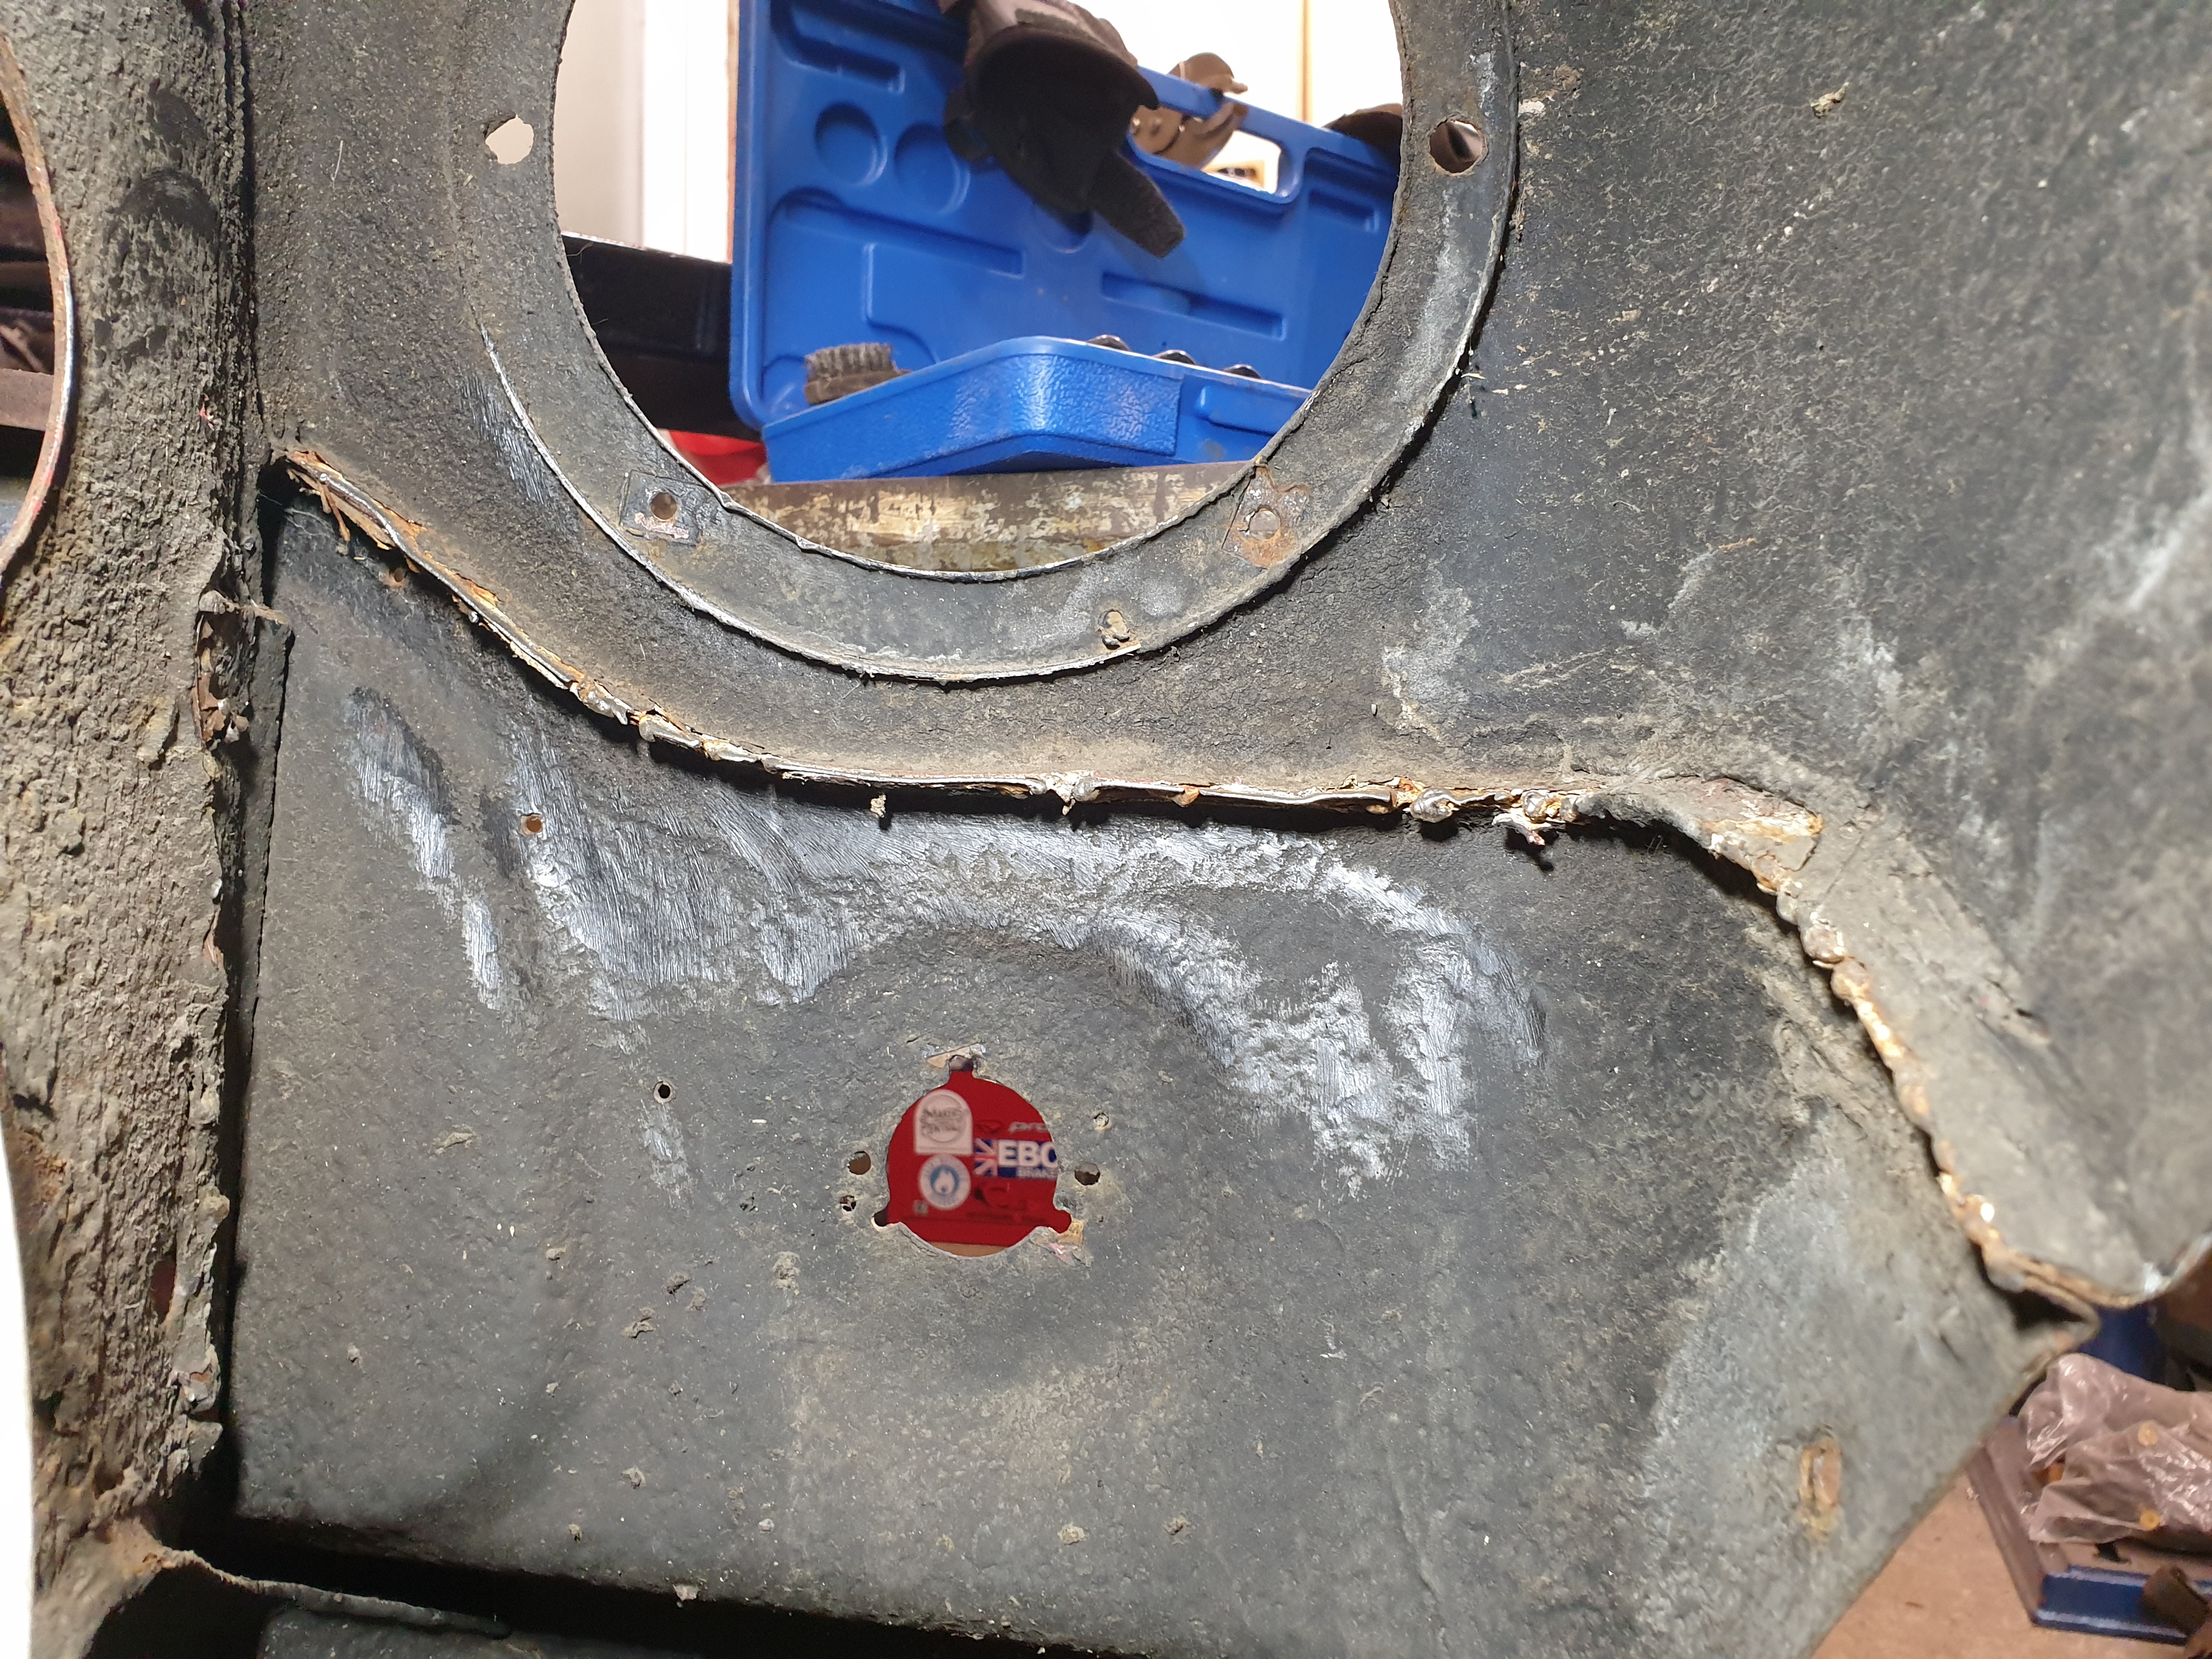
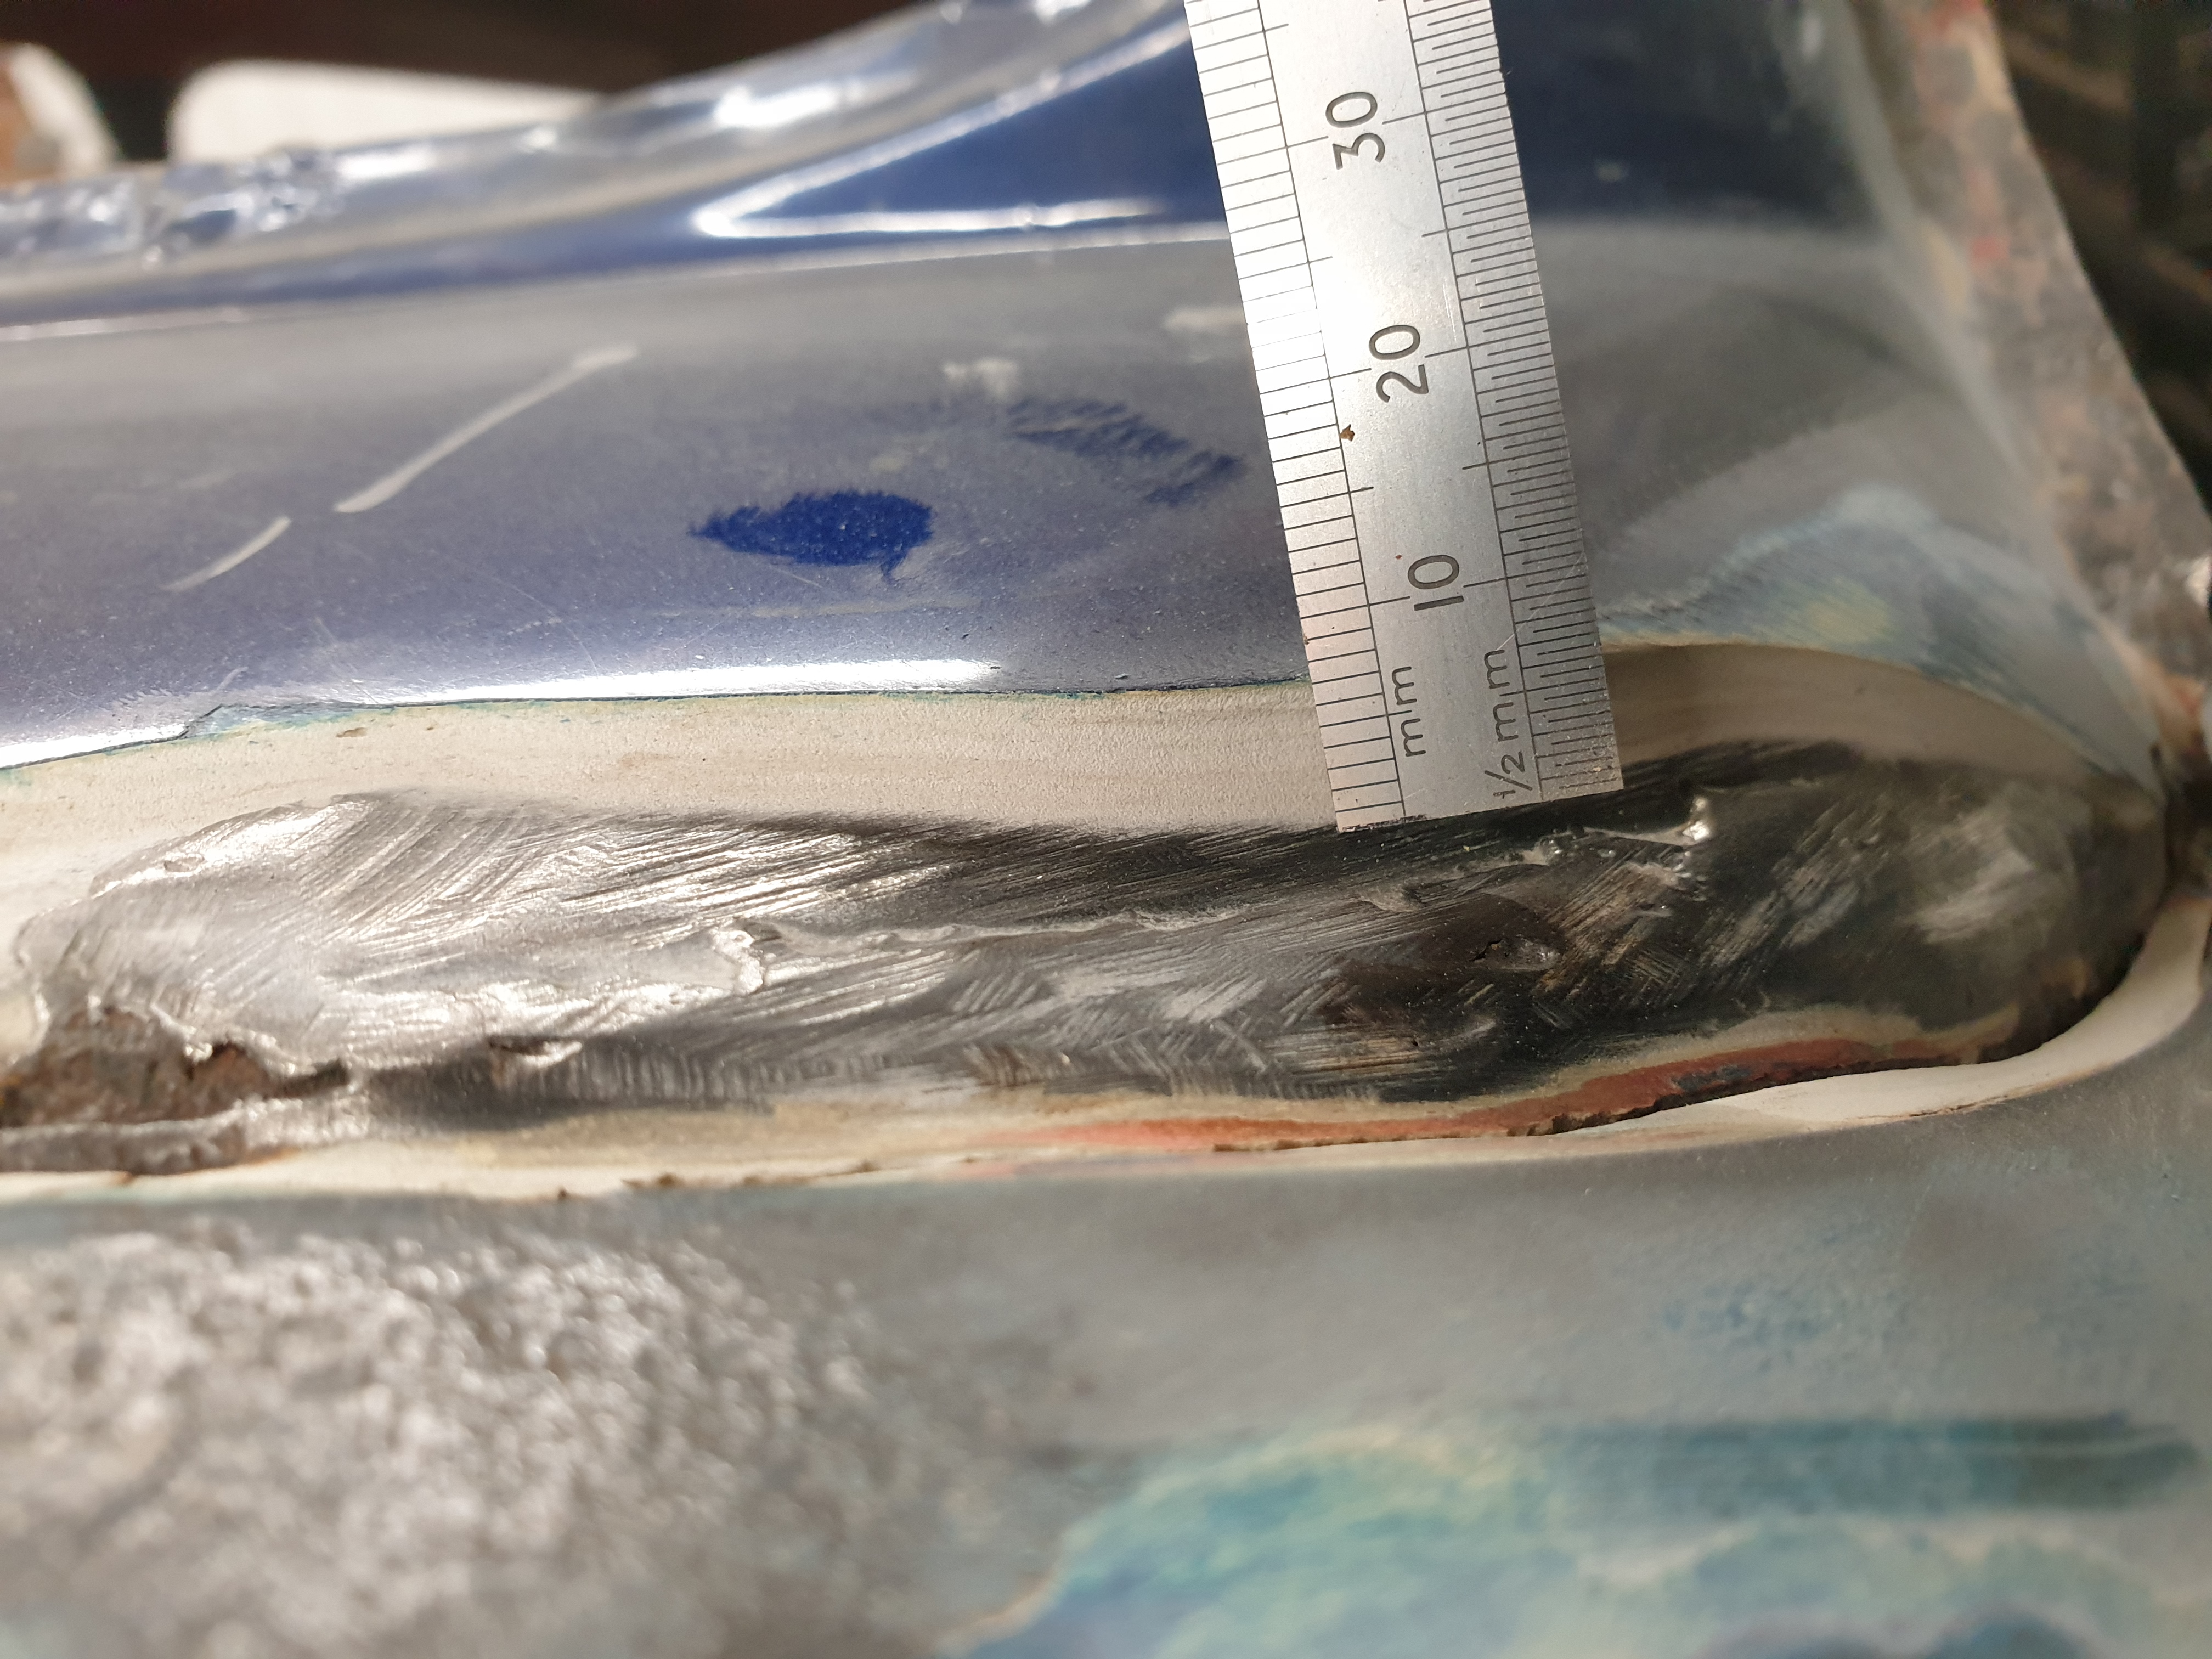
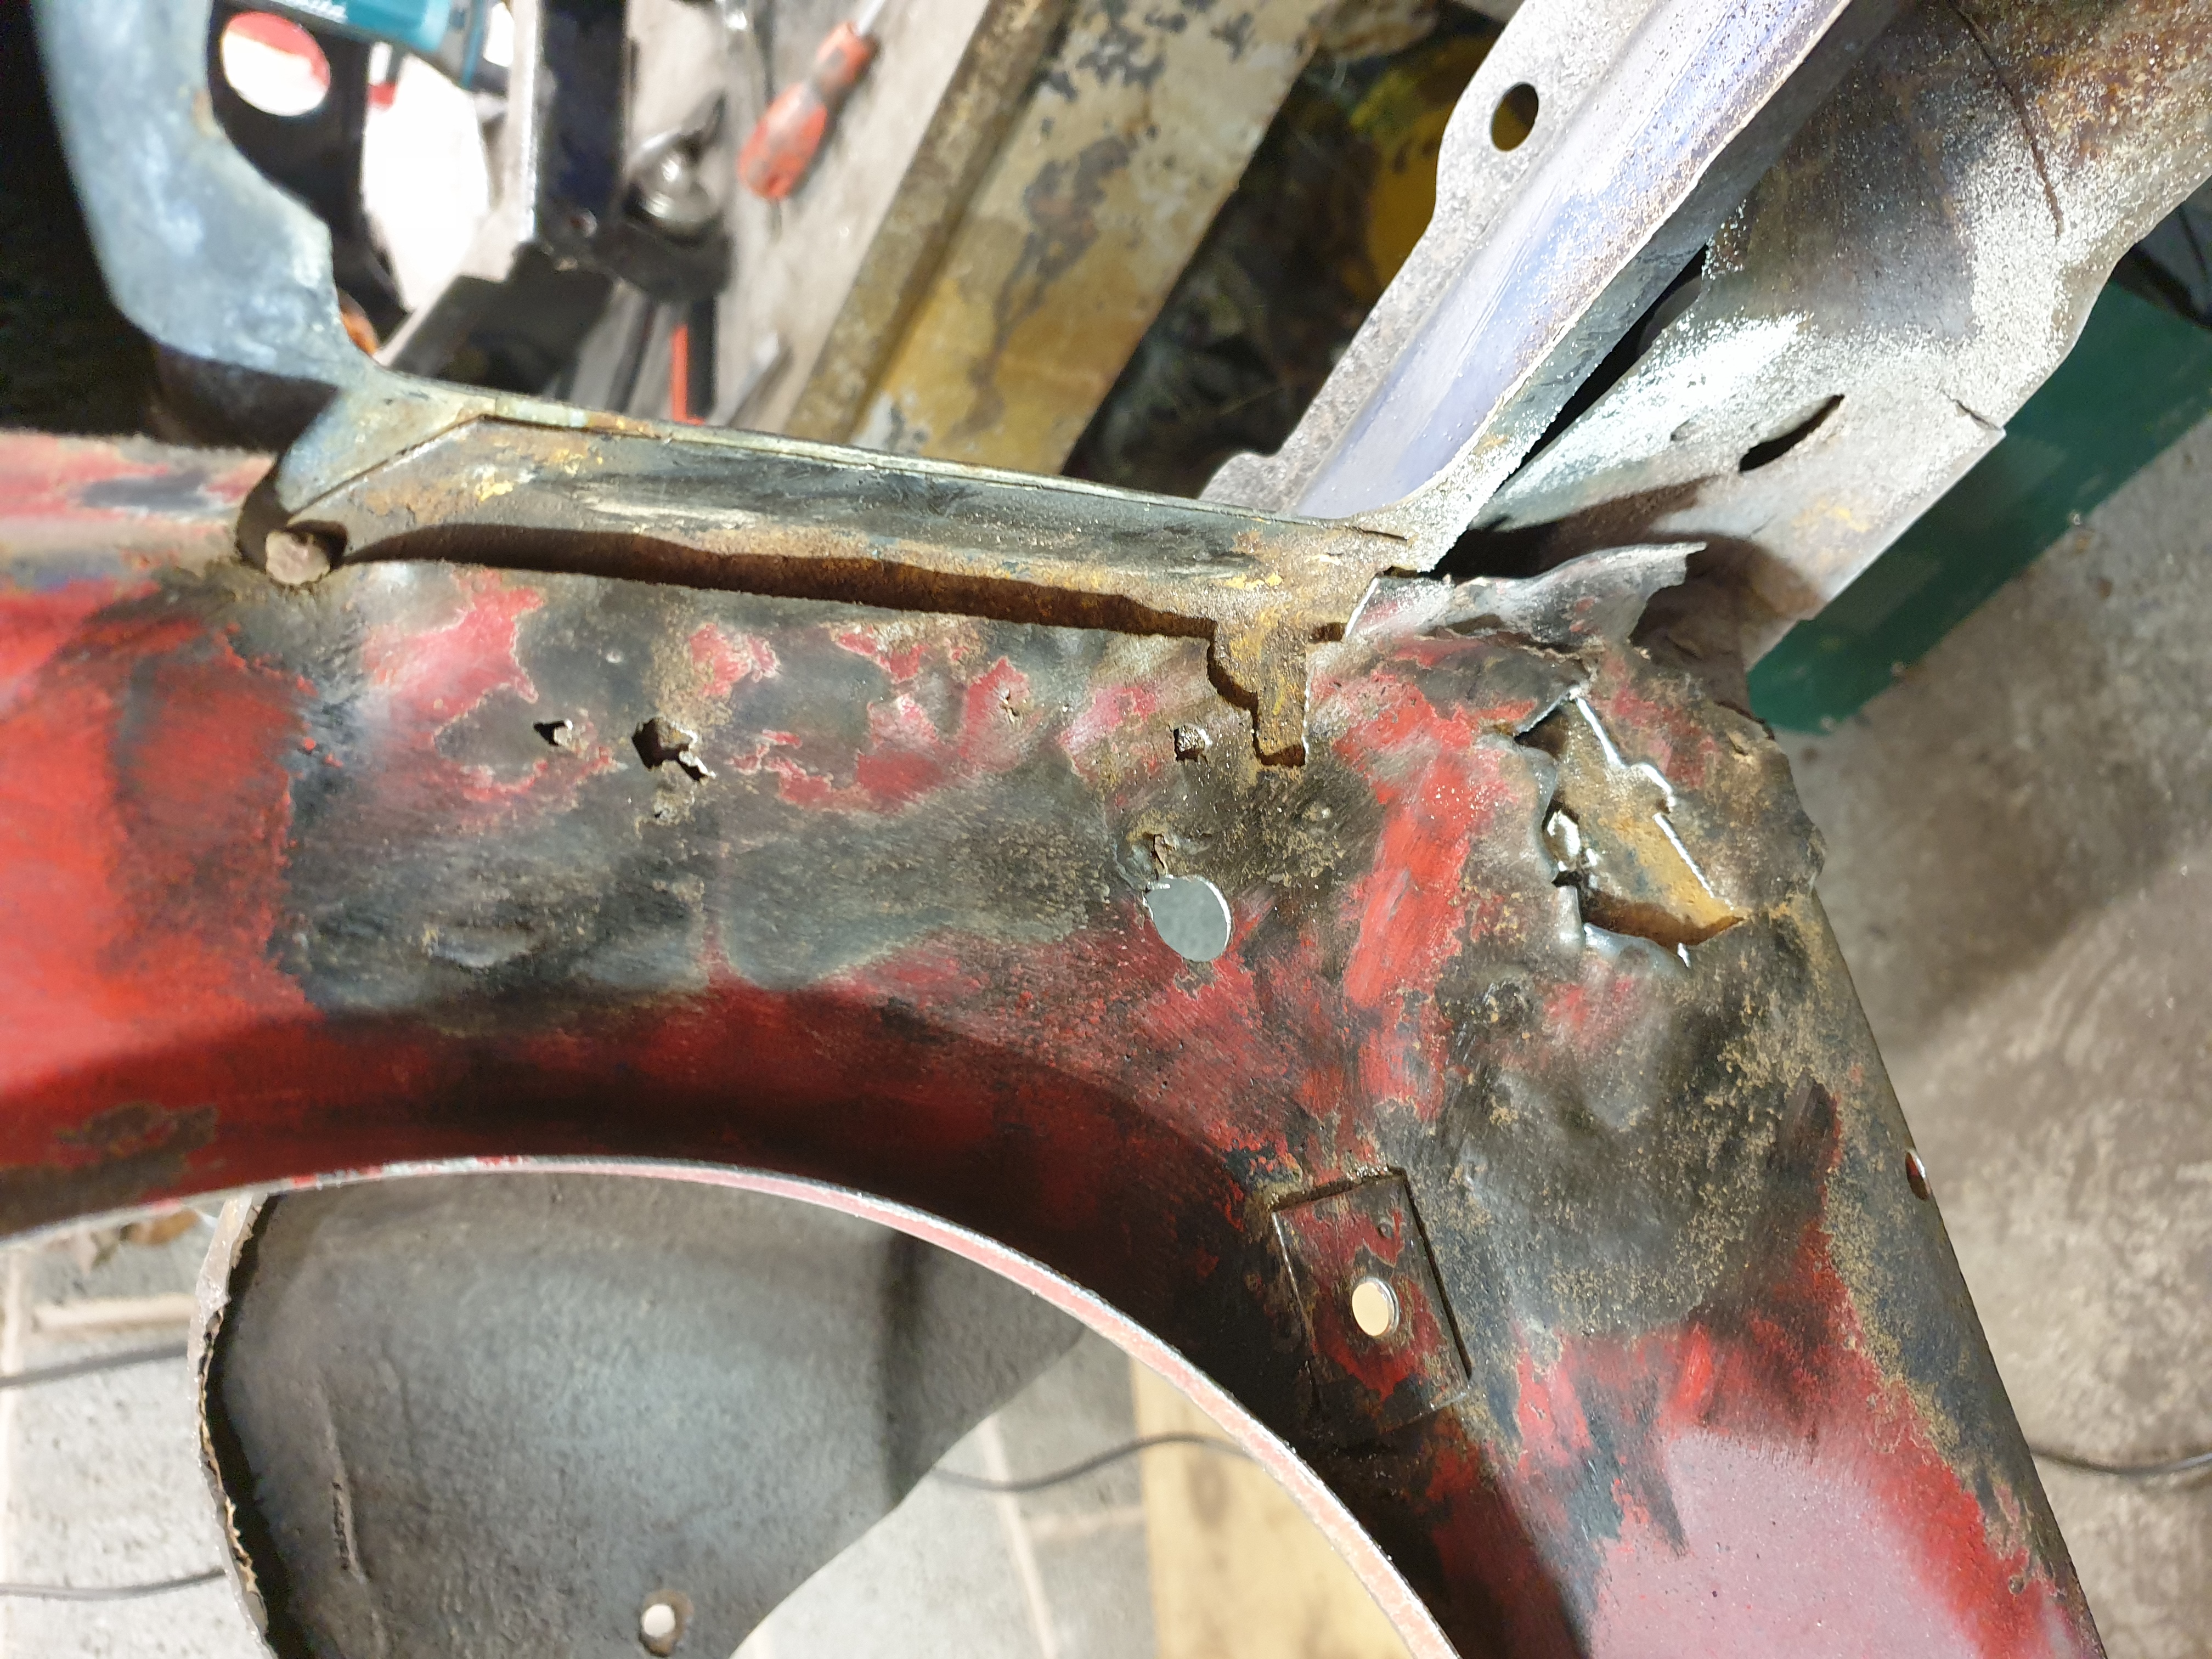
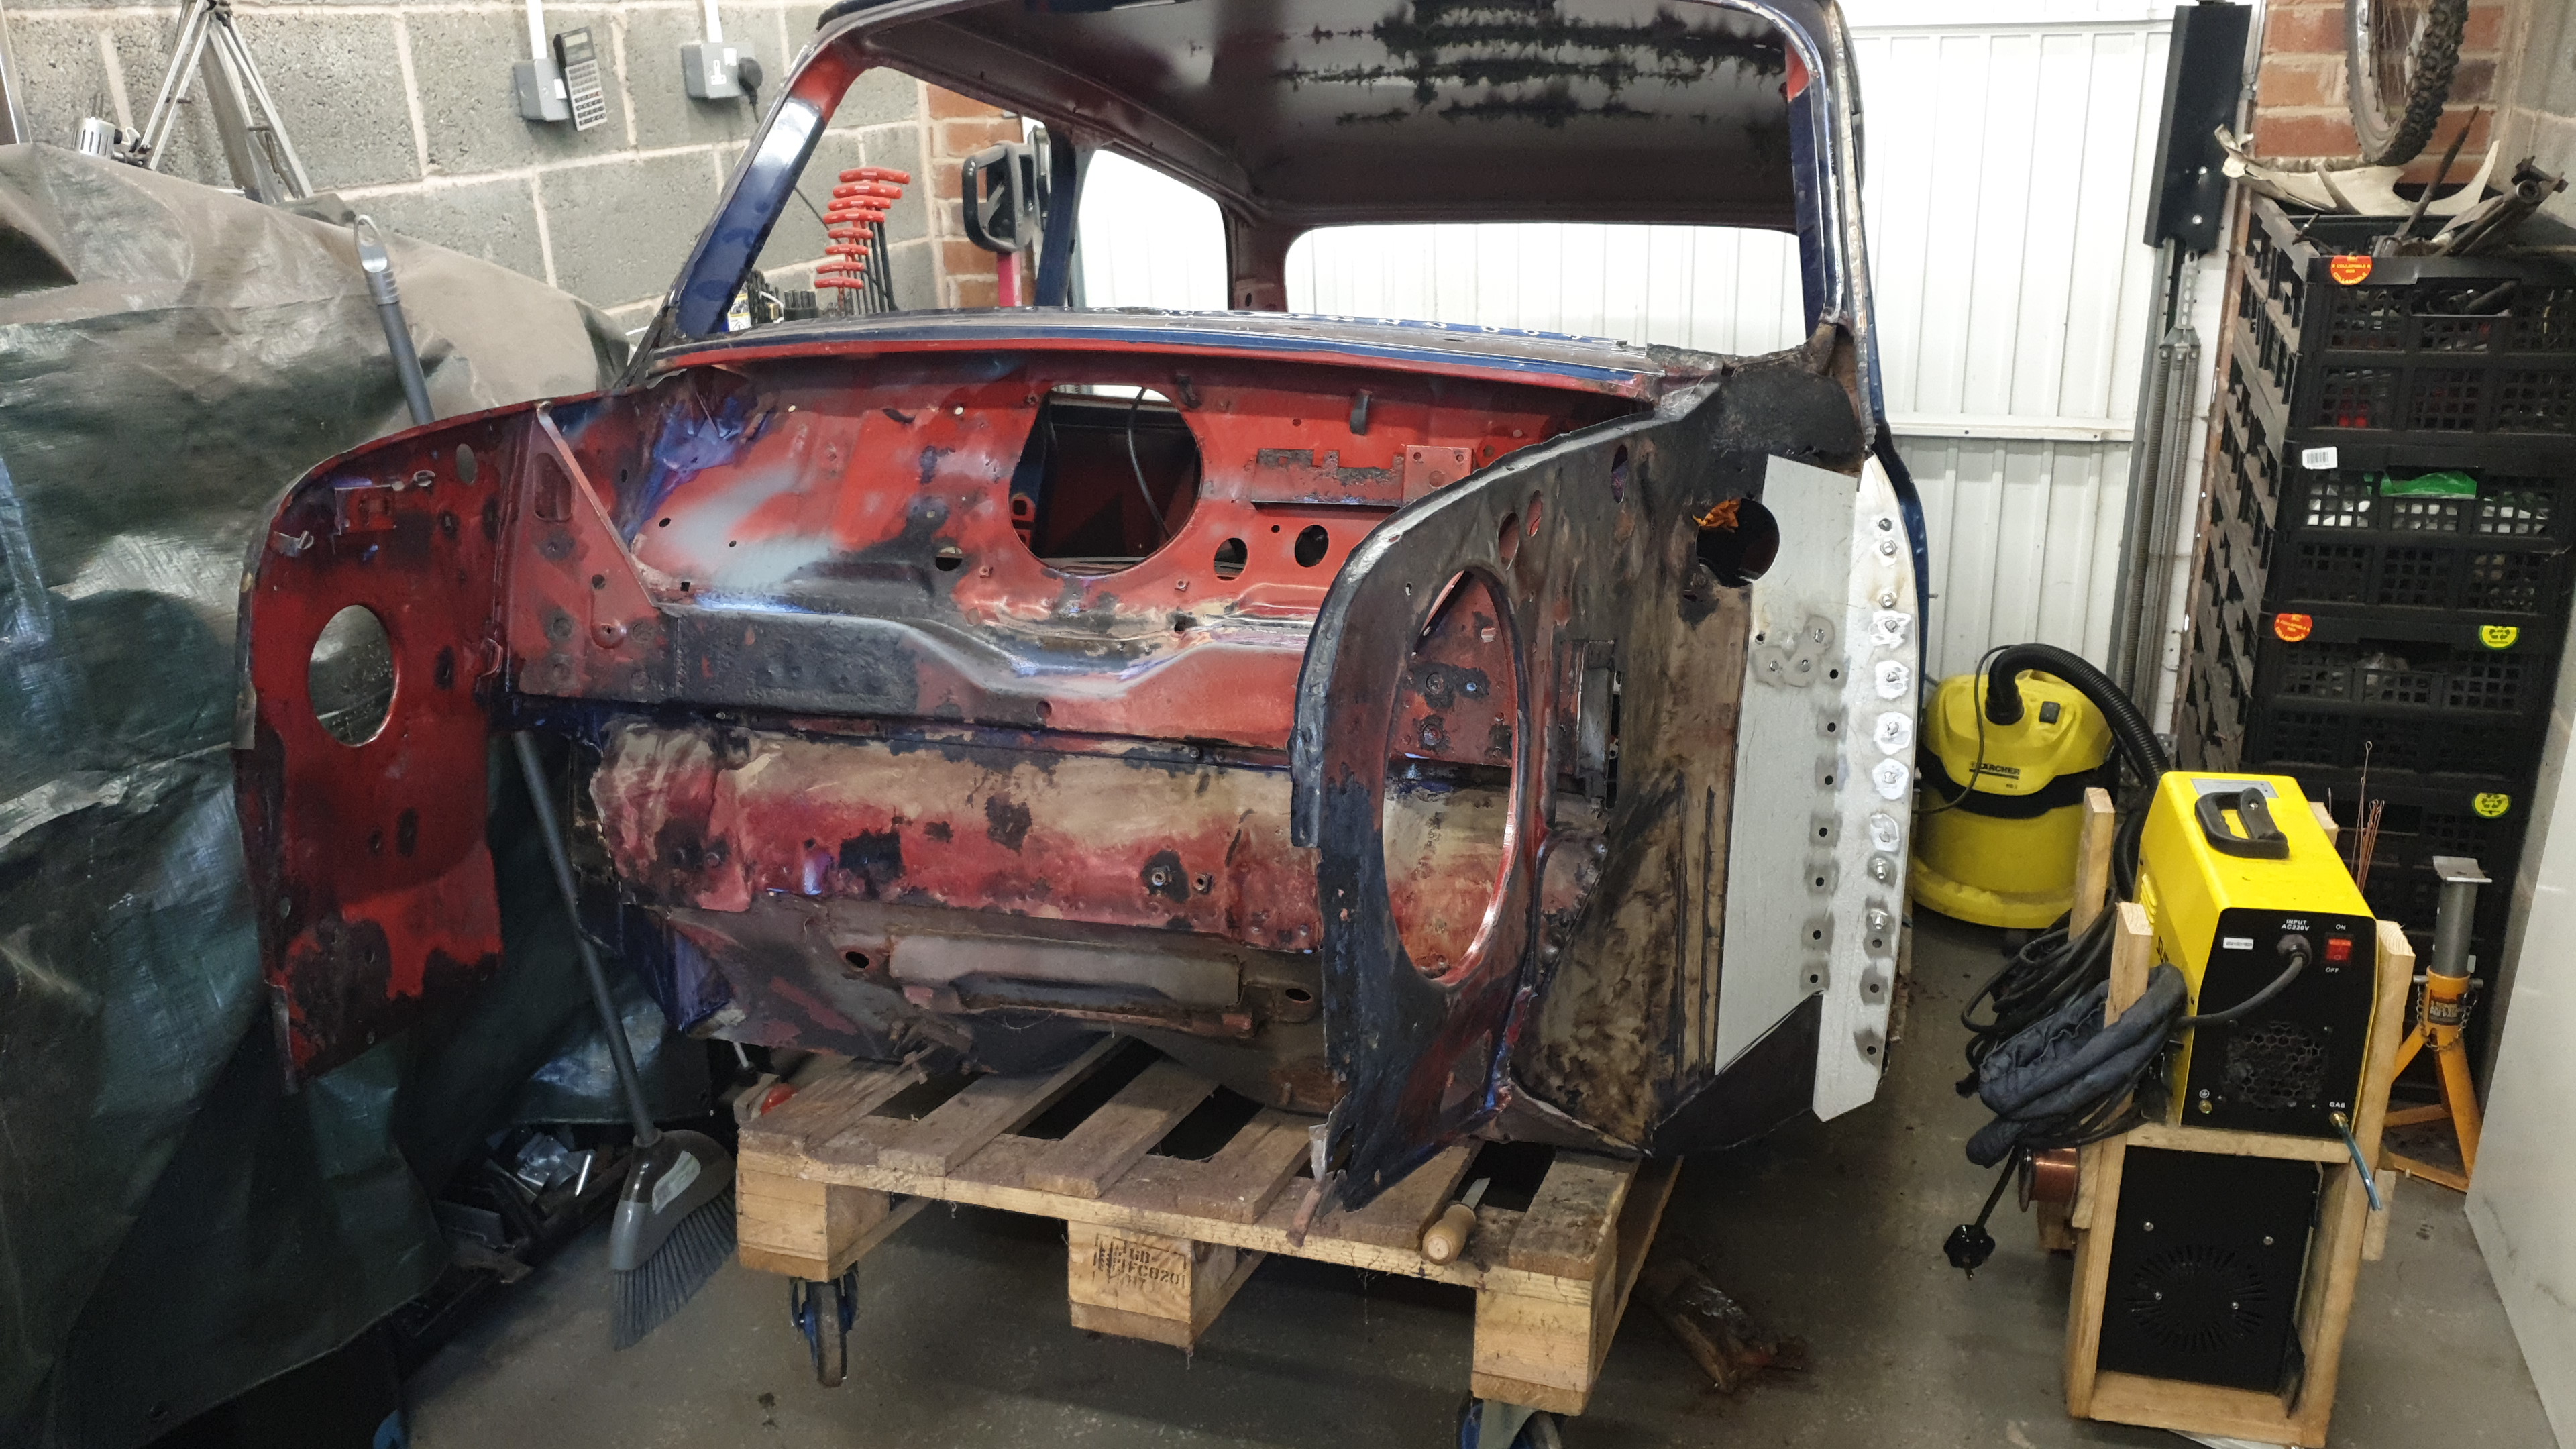
All the panels were tack welded on, but mostly held on with brown silicone. Pulling this mess off revealed more rust, and some industrial quantities of filler! A lot of the rust was fairly superficial, so once again with the wire wheel, followed by a bucket of Kurust and then red oxide primer.
 |
 |
 |
 |
 |
 |
 |
 |
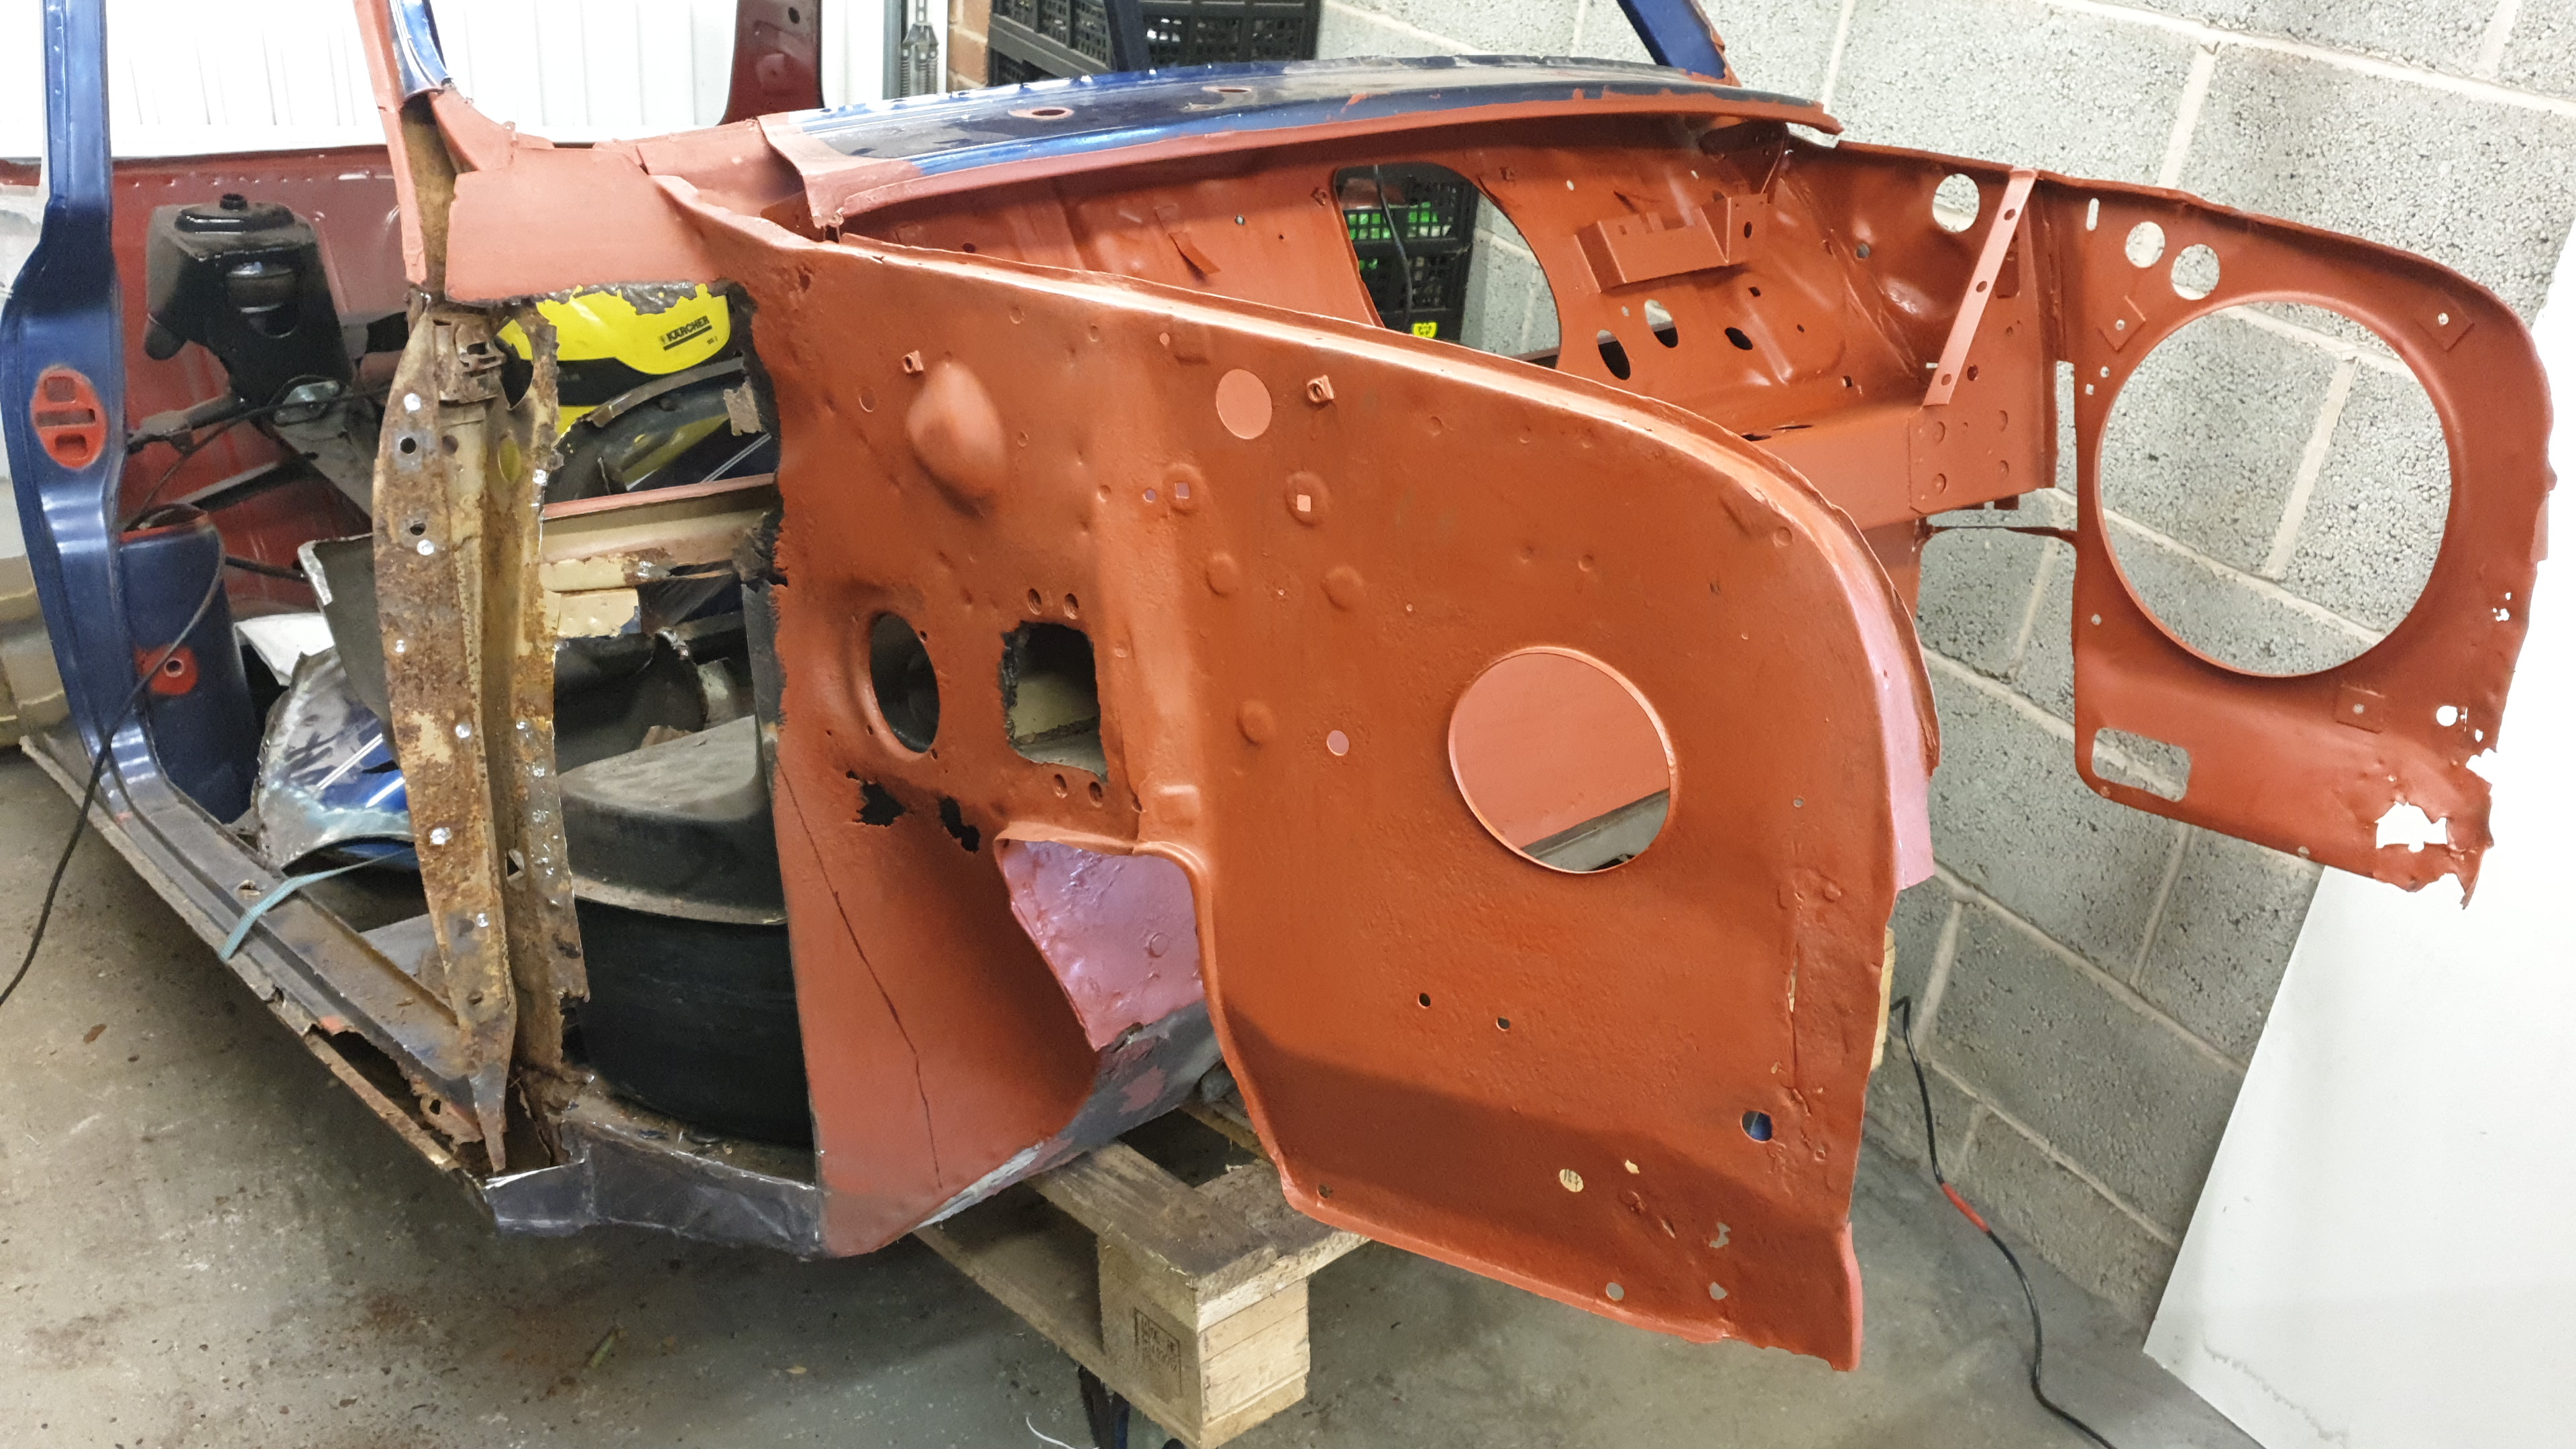 |
| New shell as advertised | In the back of a Luton van | And into the garage | Wings have been replaced | That's a lot of filler! | Wings off | Rot due to poorly done repairs | Rust treated with Kurust | Slathered with primer |
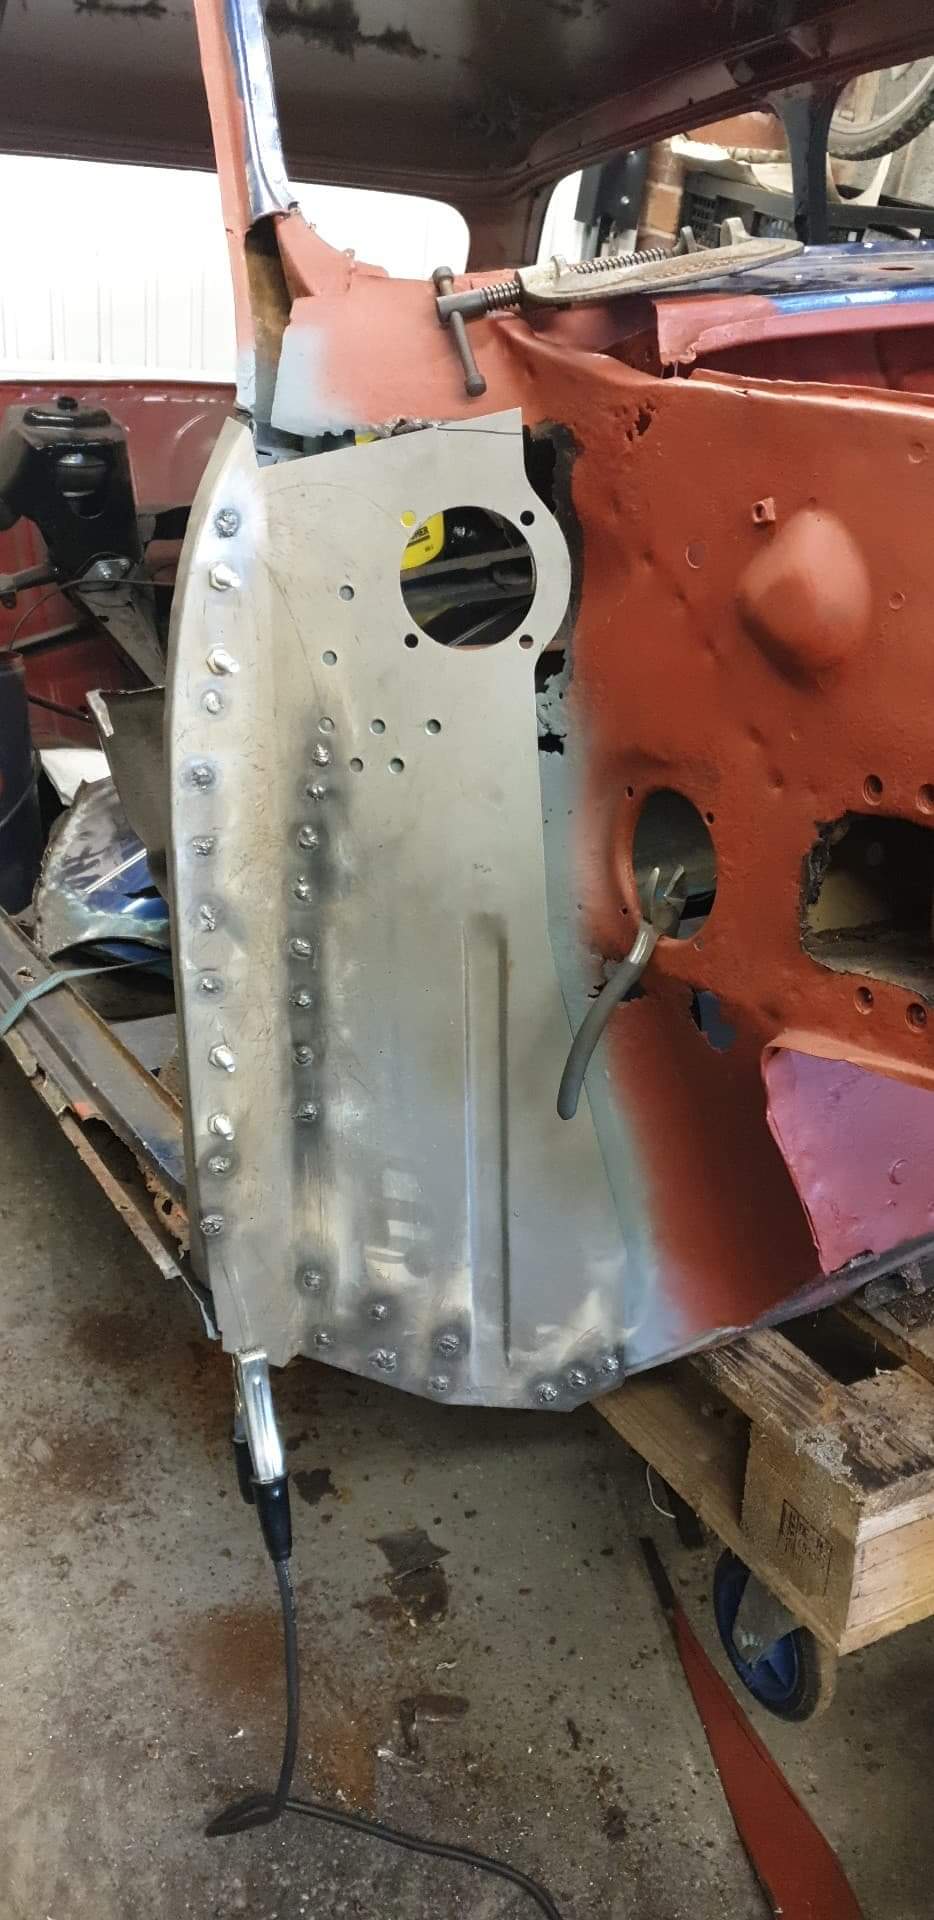
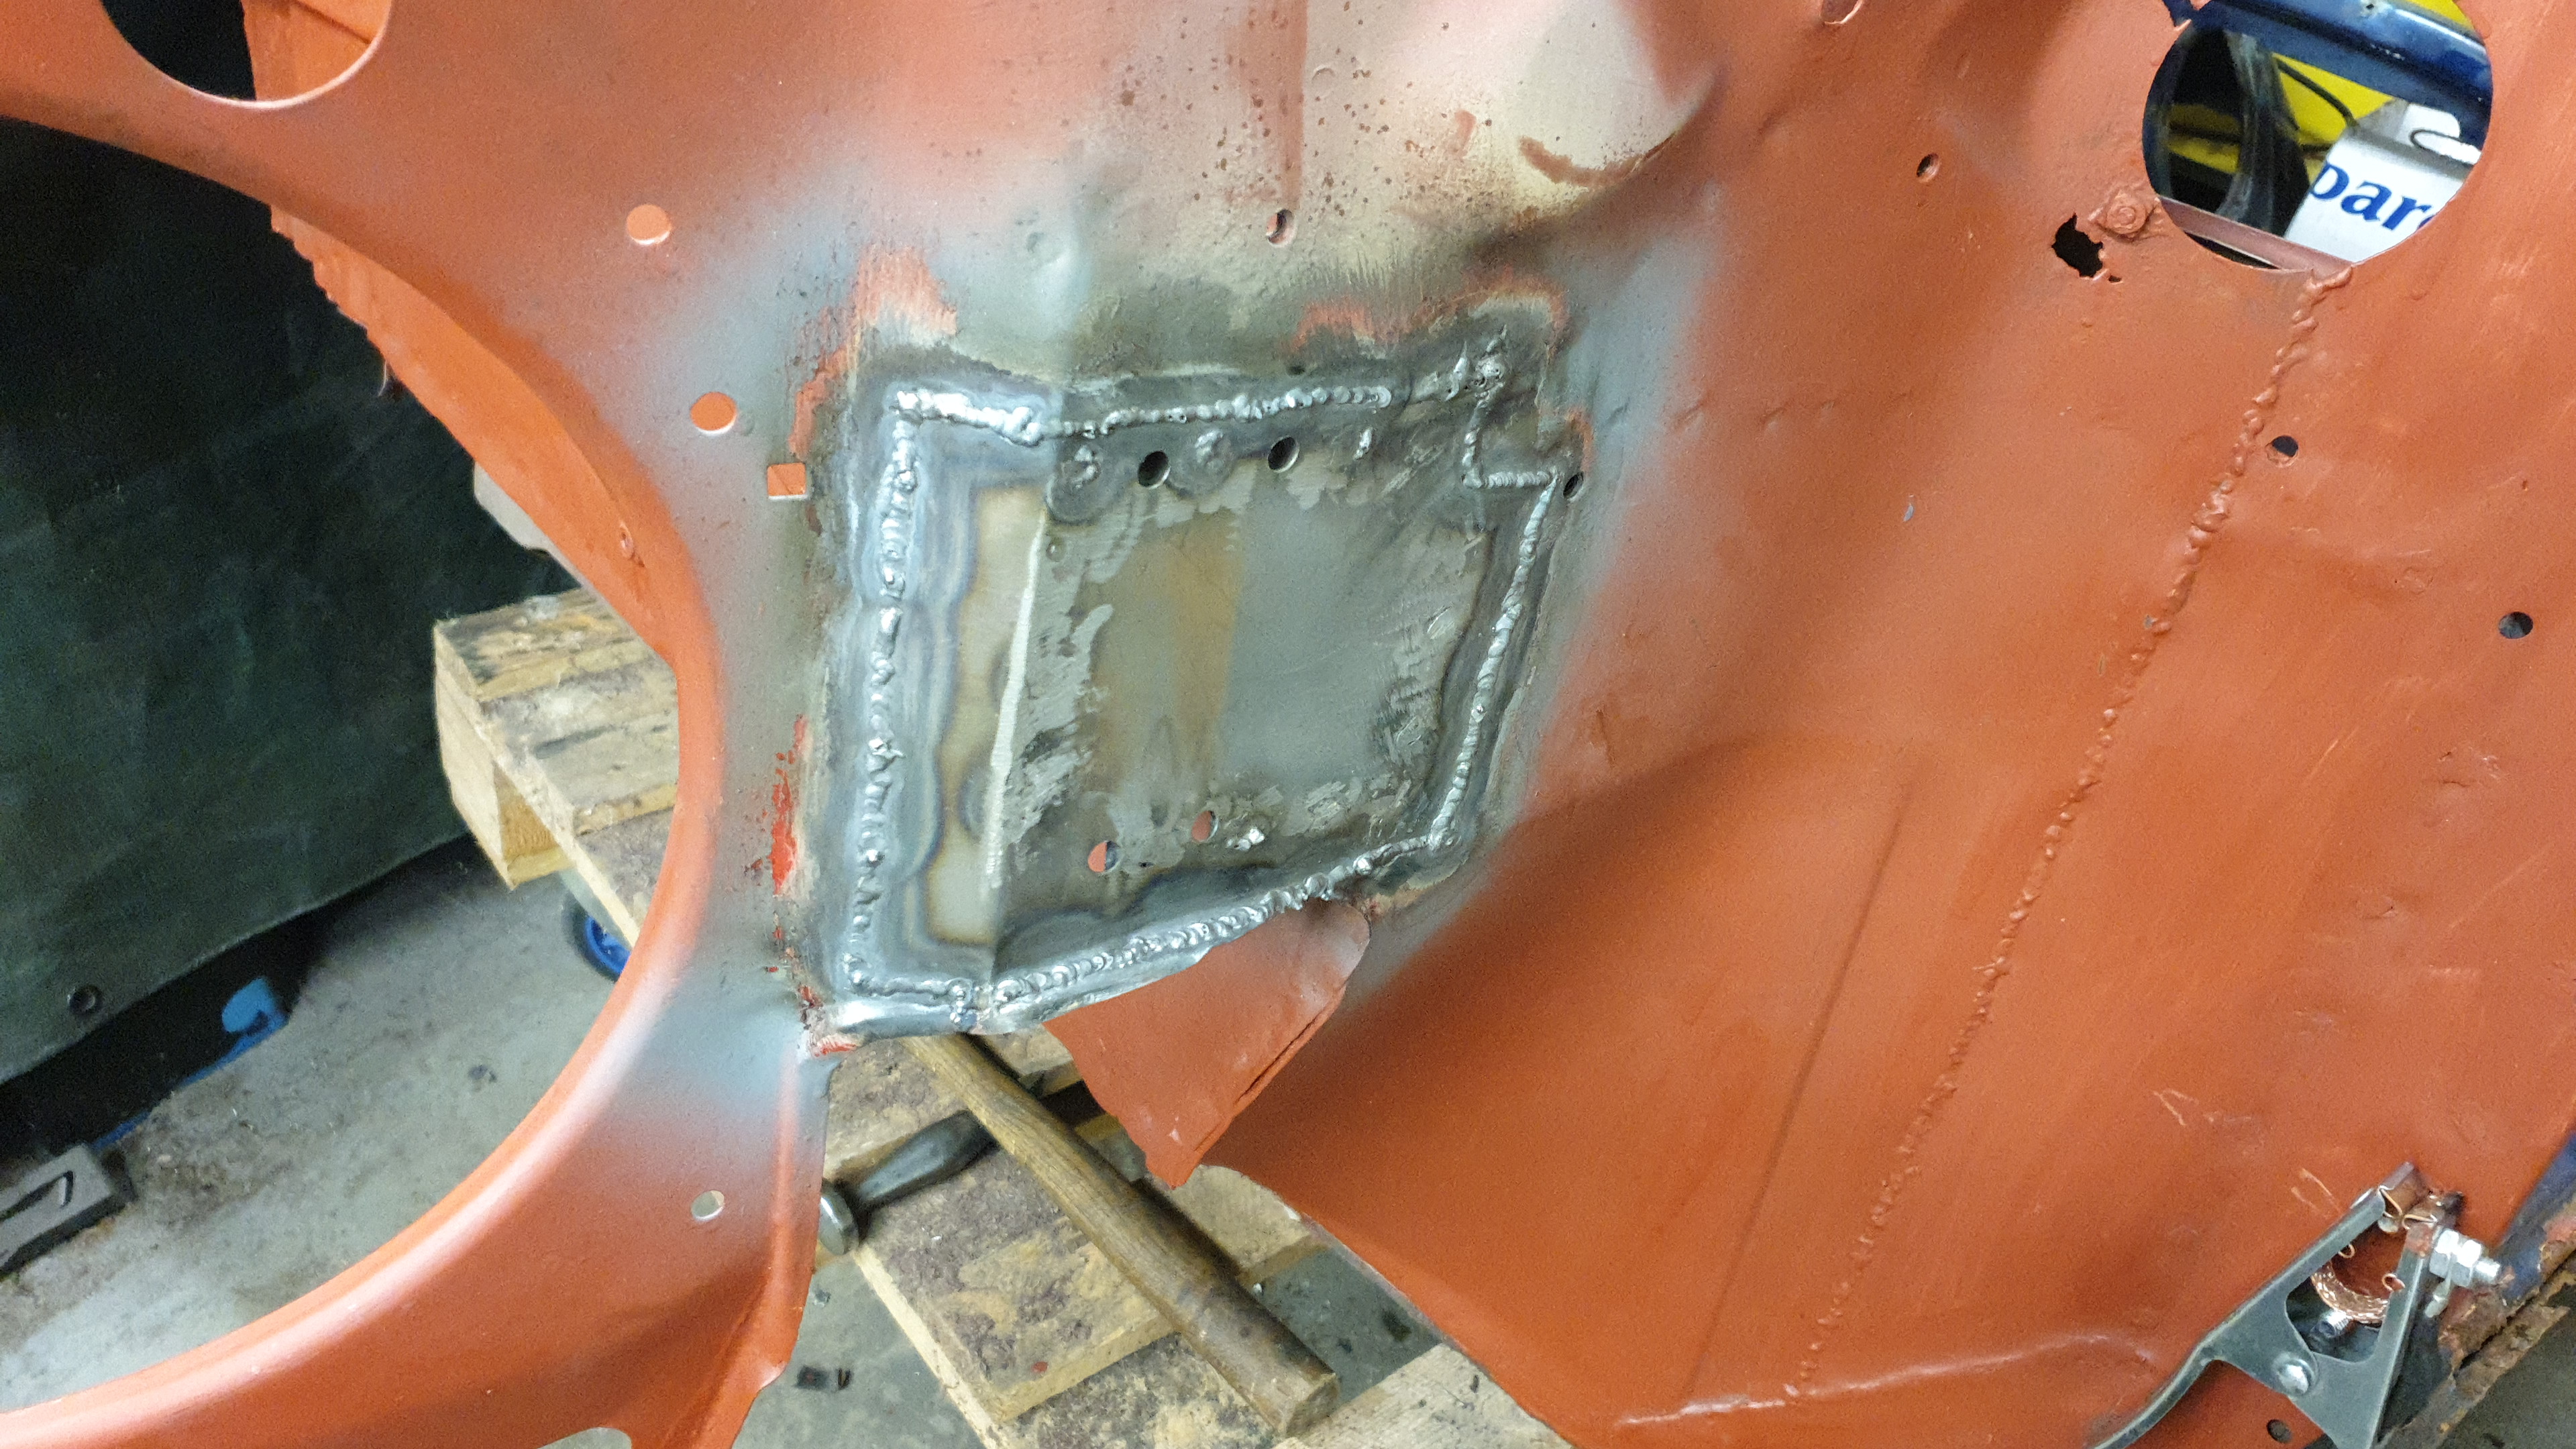
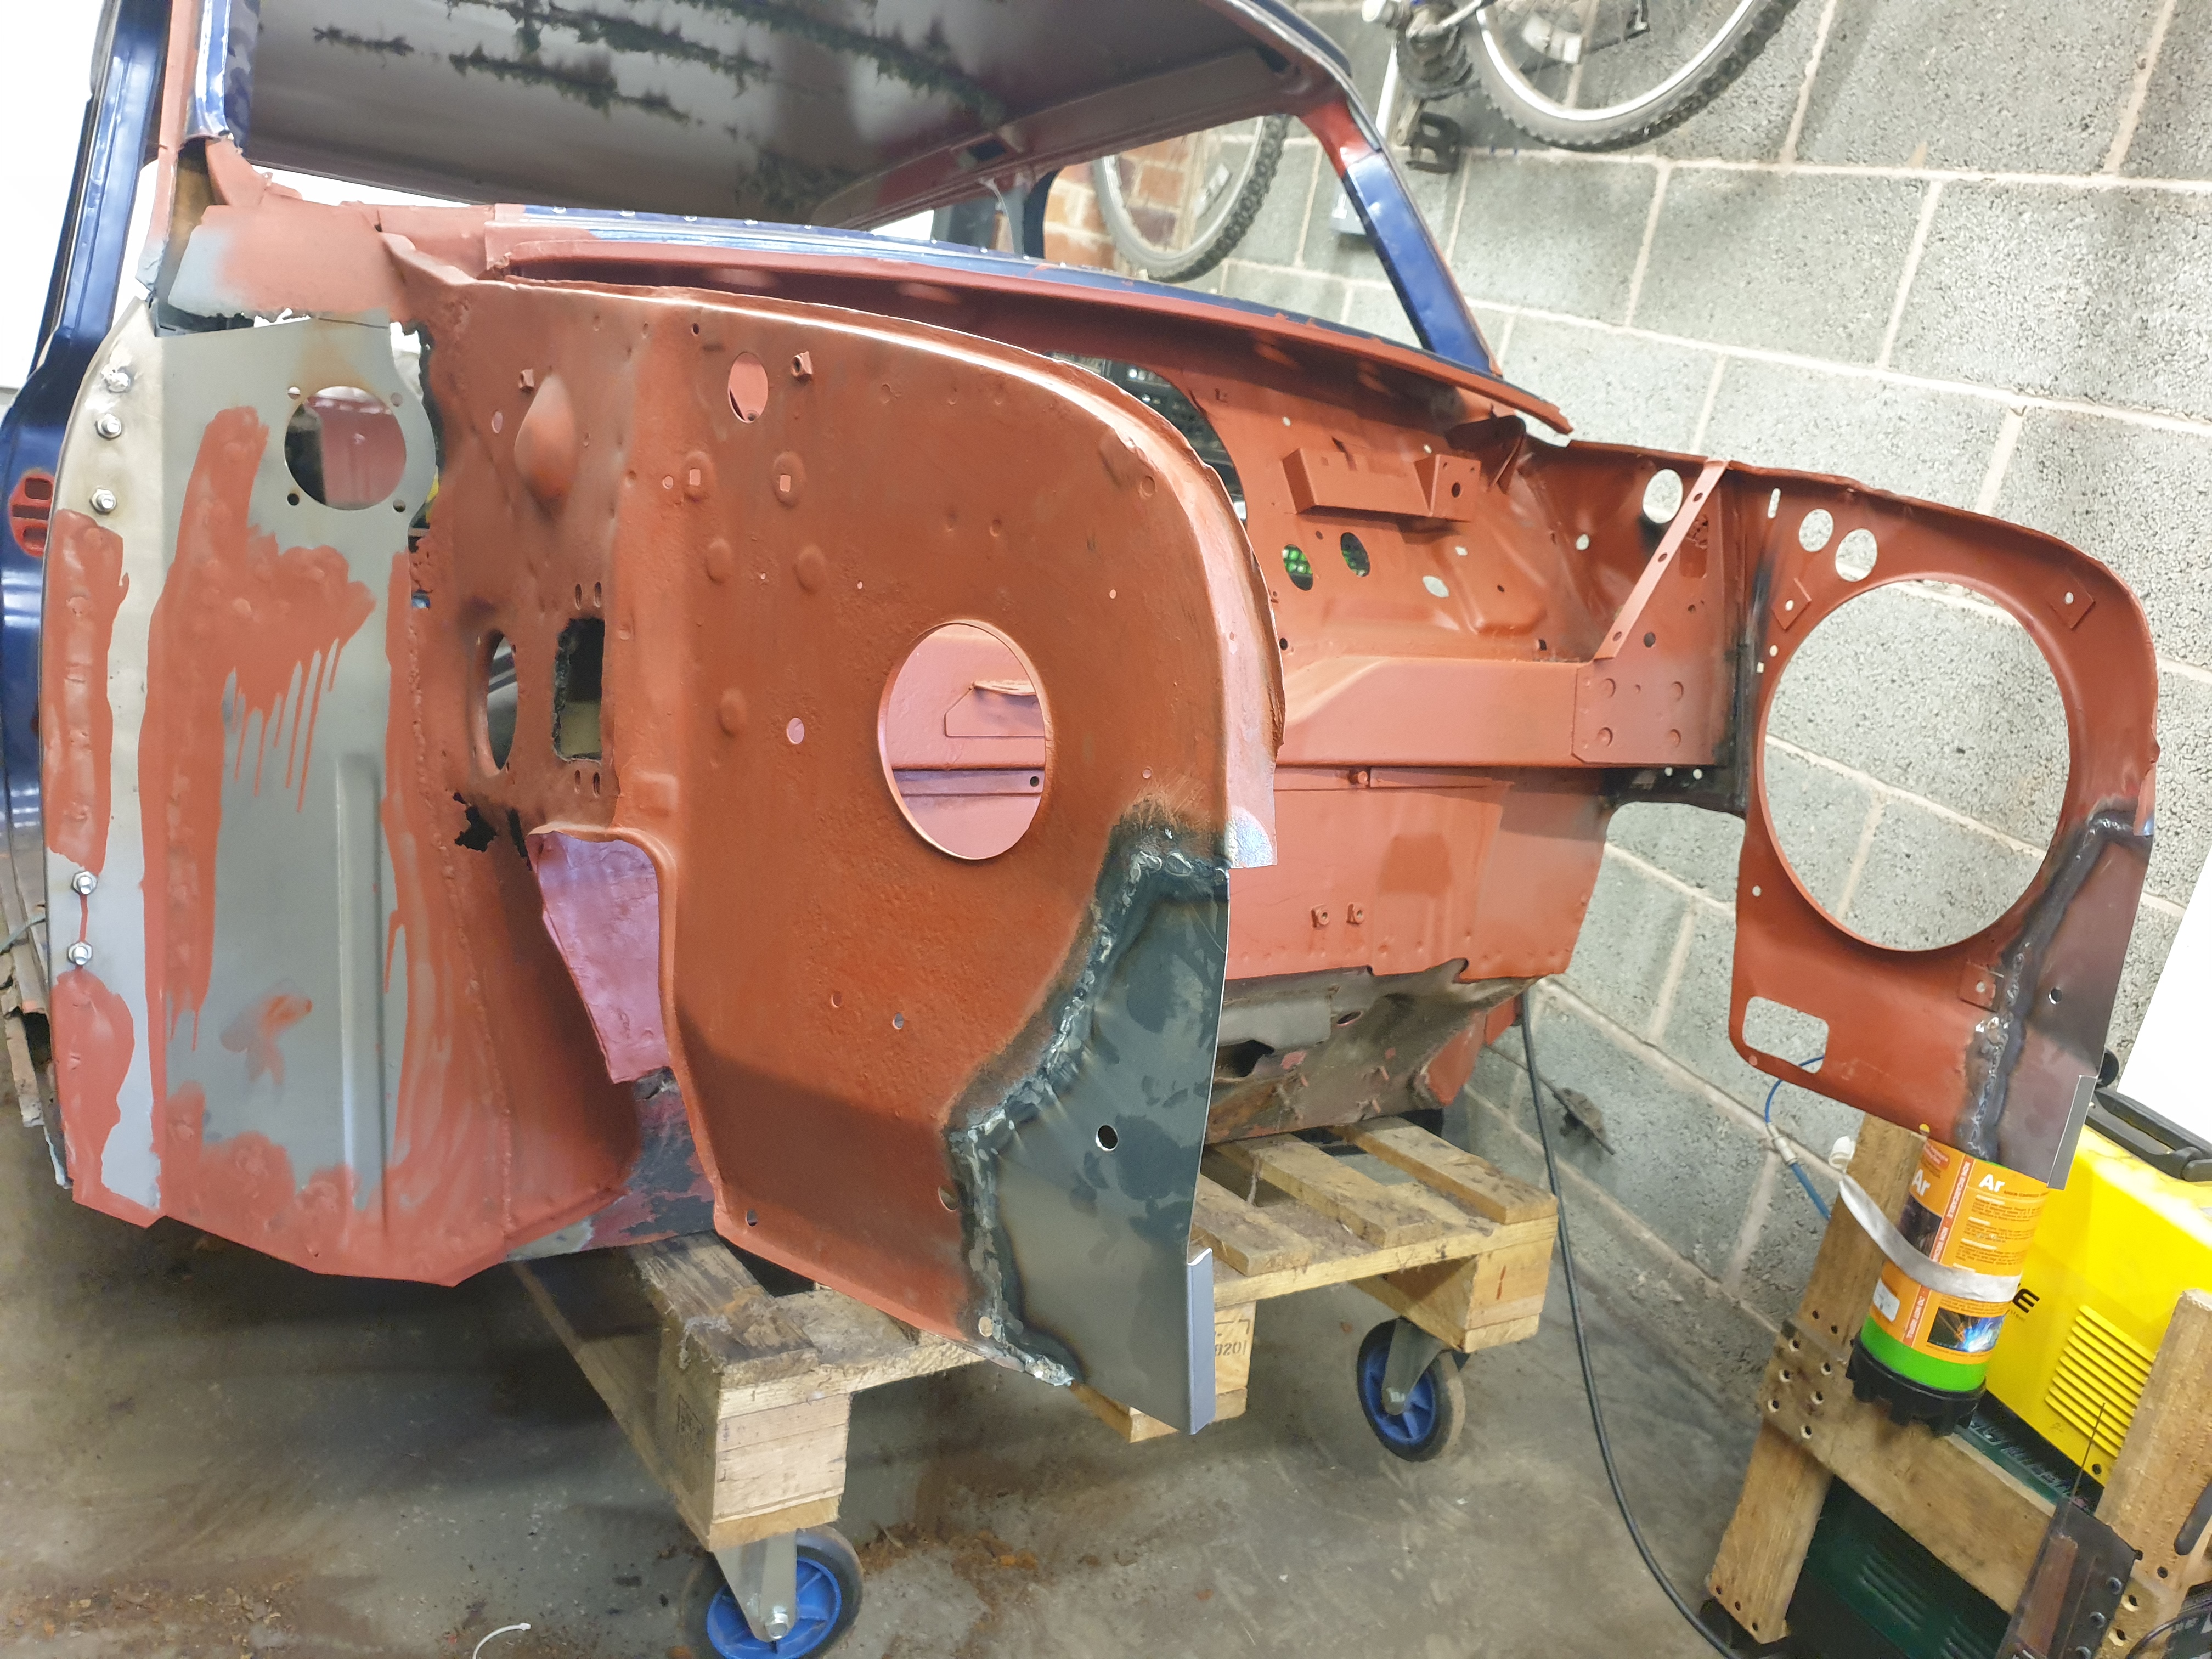
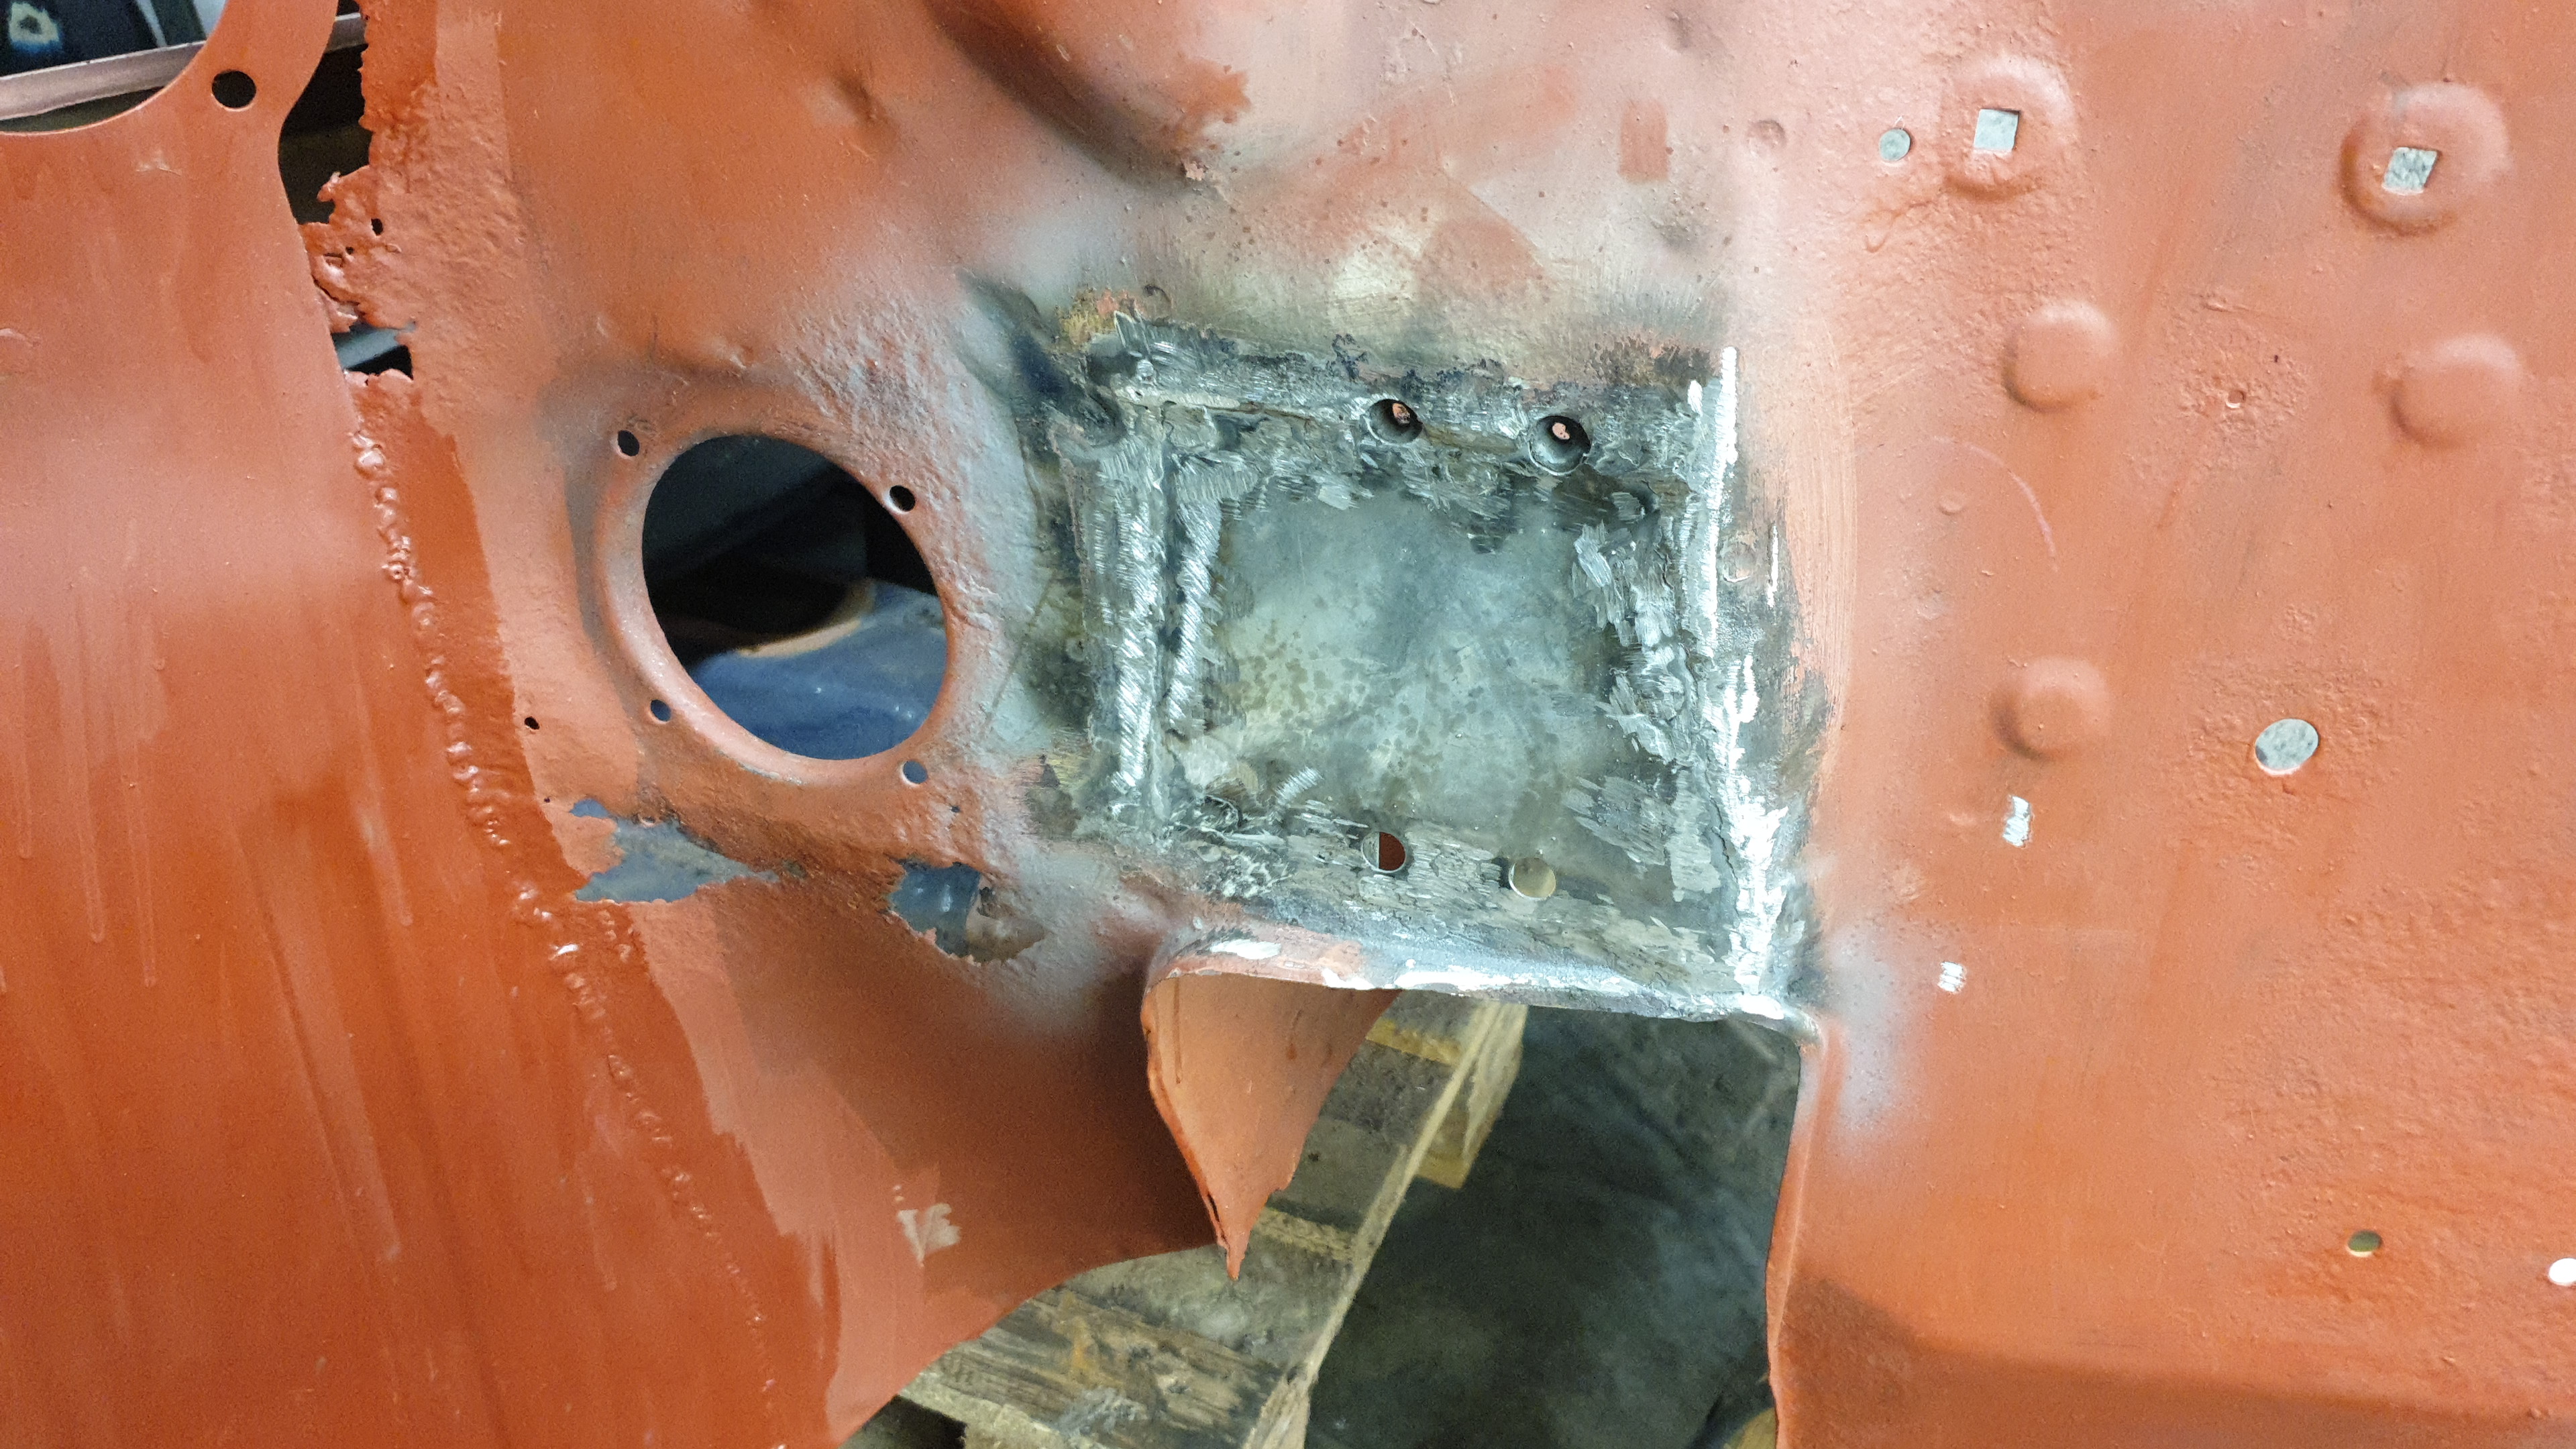
Whilst there is still a lot of holes that need patching on this shell, it is still in much better shape than the old one. My TIG welding is improving, and I'm starting to reach the limits of the cheap welder and am looking at replacing it with something more capable.
The floor has oversills which will need replacing. The rear inner arches and storage bins will need work. The majority of the visible bodywork is good, except for a hole in the roof at the rear right corner. This will be tricky to fix, but I can always cut a patch out of the green shell...
I am finding it much easier to go out and work on this shell. It's easier to see progress, which is keeping me enthused.
 |
 |
 |
 |
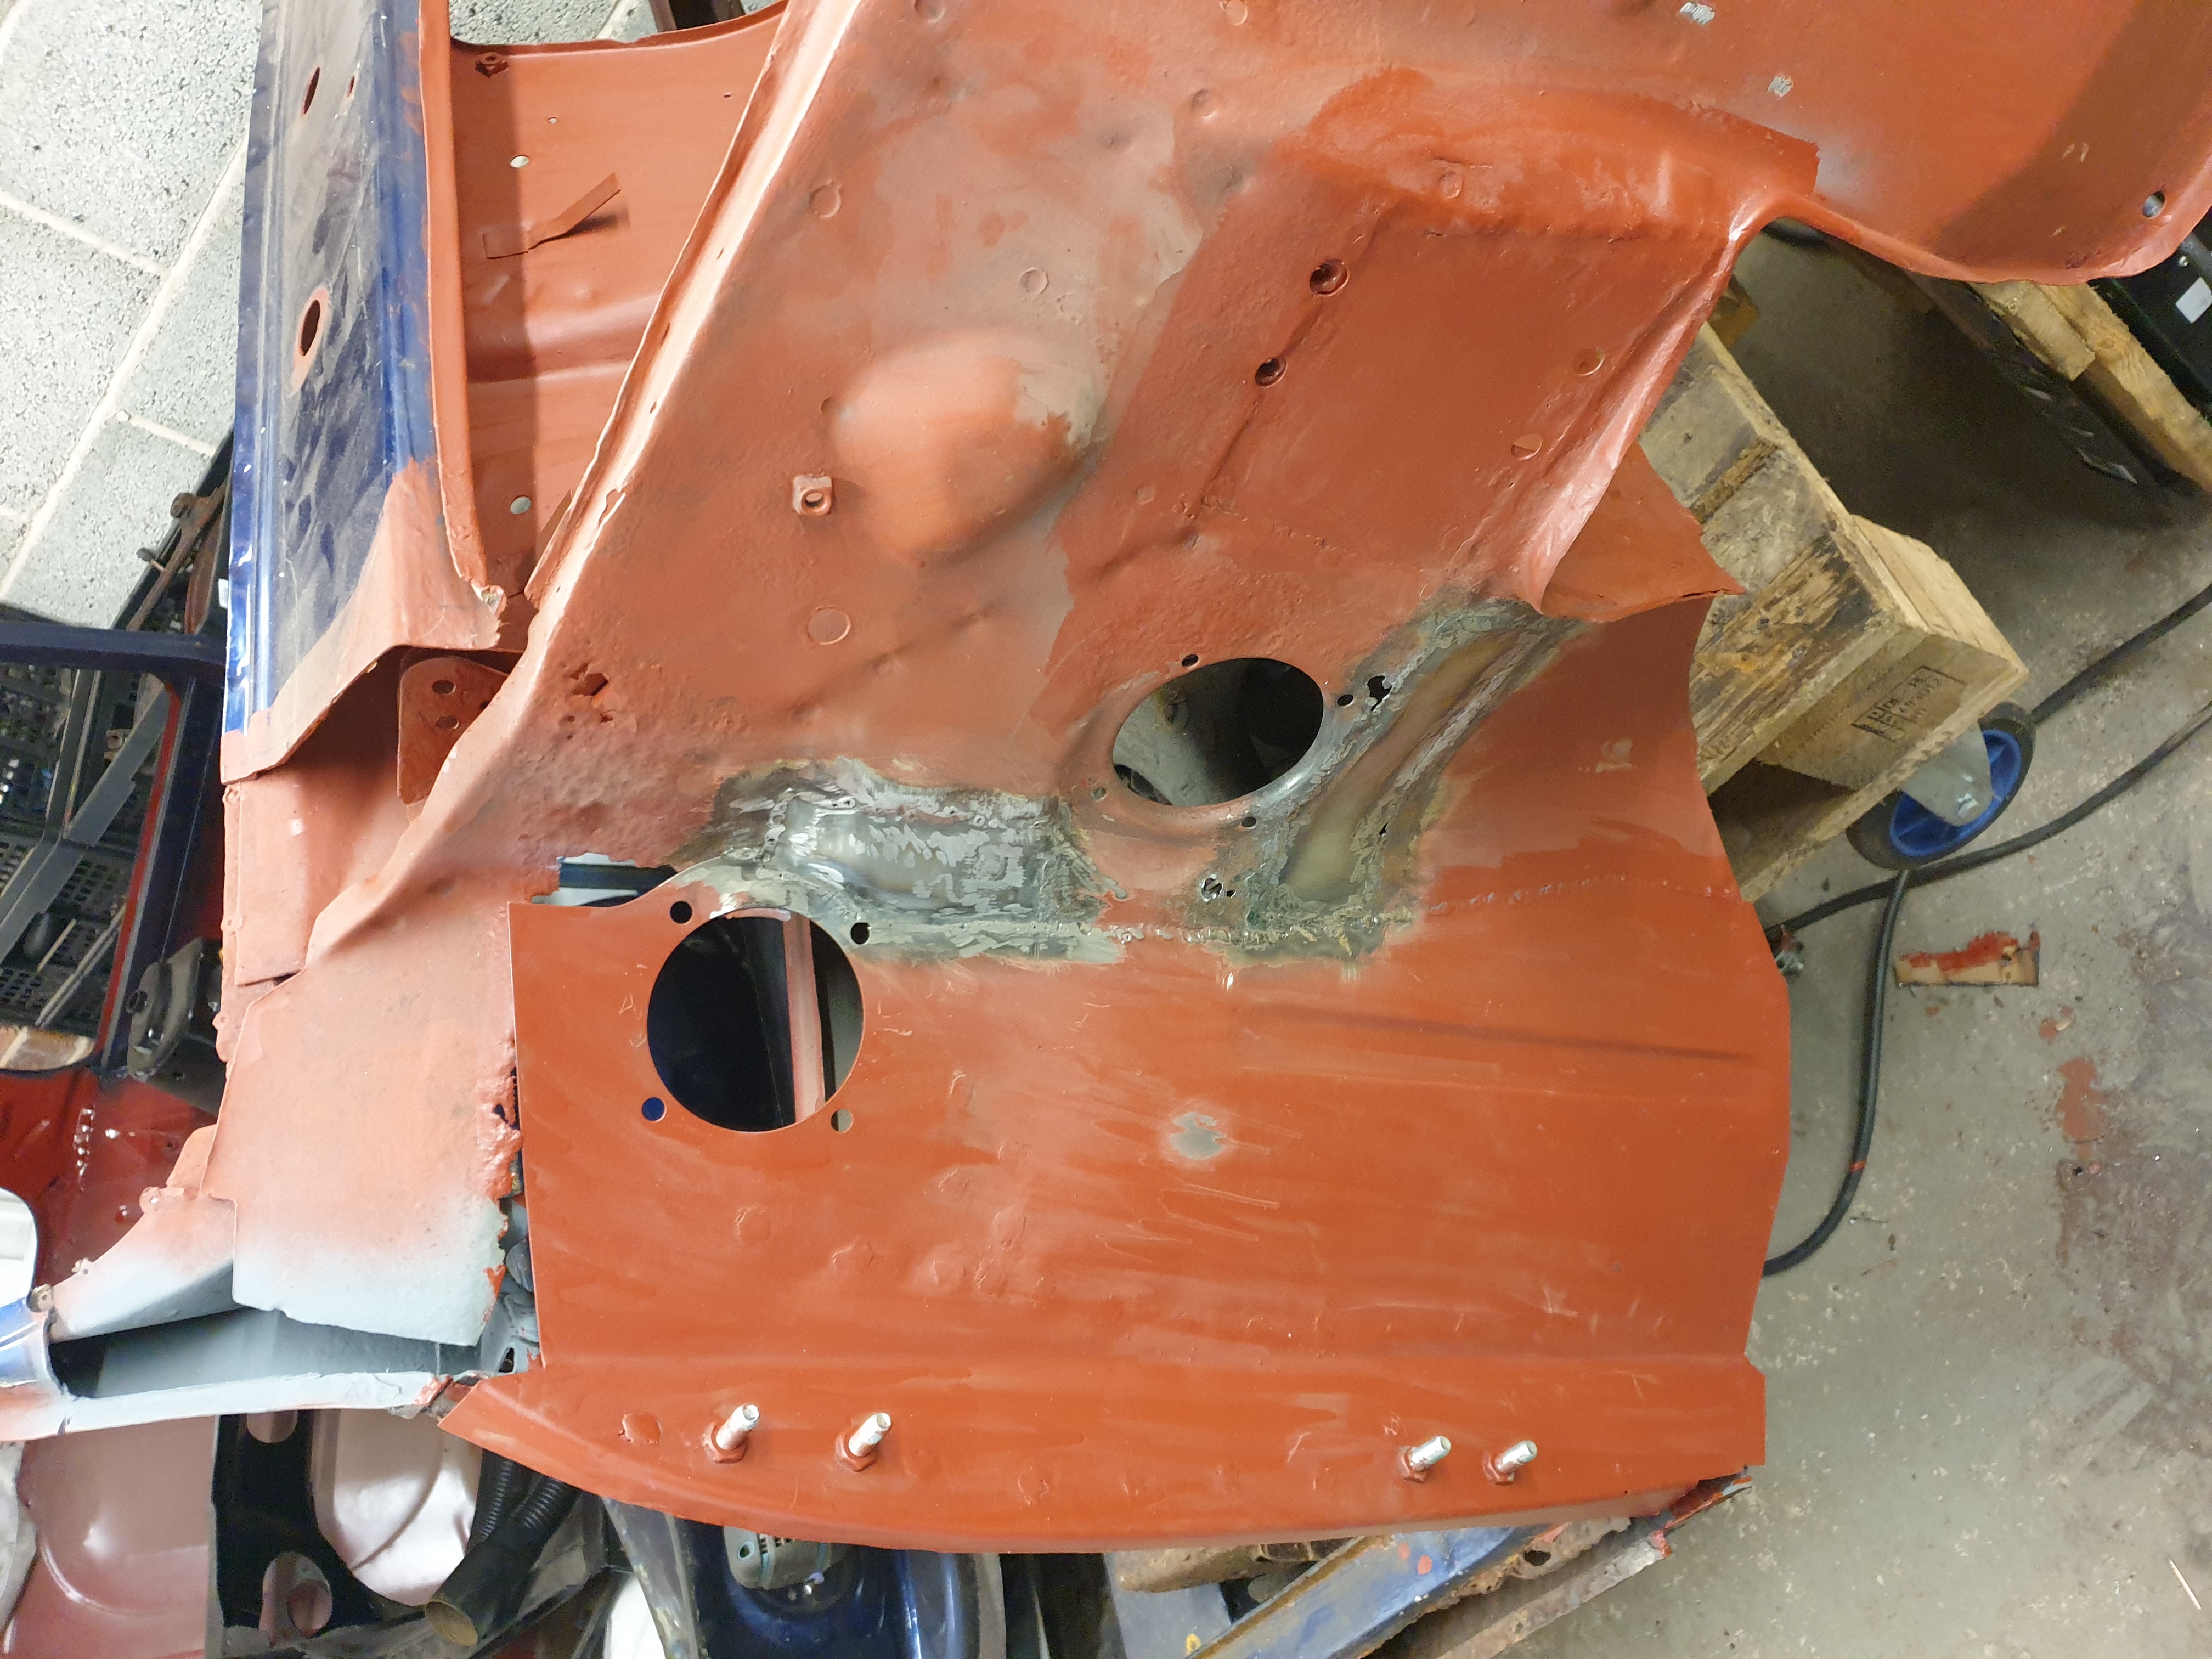 |
| Plug welding the new panels in | Patching holes | Repairing the front end | More patching | Yet more patching |
