
Portfolio - Home
This is a selection of projects I have made at home. This is in addition to, and largely superseded by, the more detailed write-ups found in: Projects, and will cover things that don't necessarily warrant a project page.
Austin 7 3D Model
While learning to use 3DS Max as a rendering software, I decided to try to learn to model in it as well. This model of an Austin 7 is the result; working from photos found online the shape and structure was created from primitive blocks and basic functions. The end goal was to import the model into a computer game: Rigs of Rods - now Beam.NG.
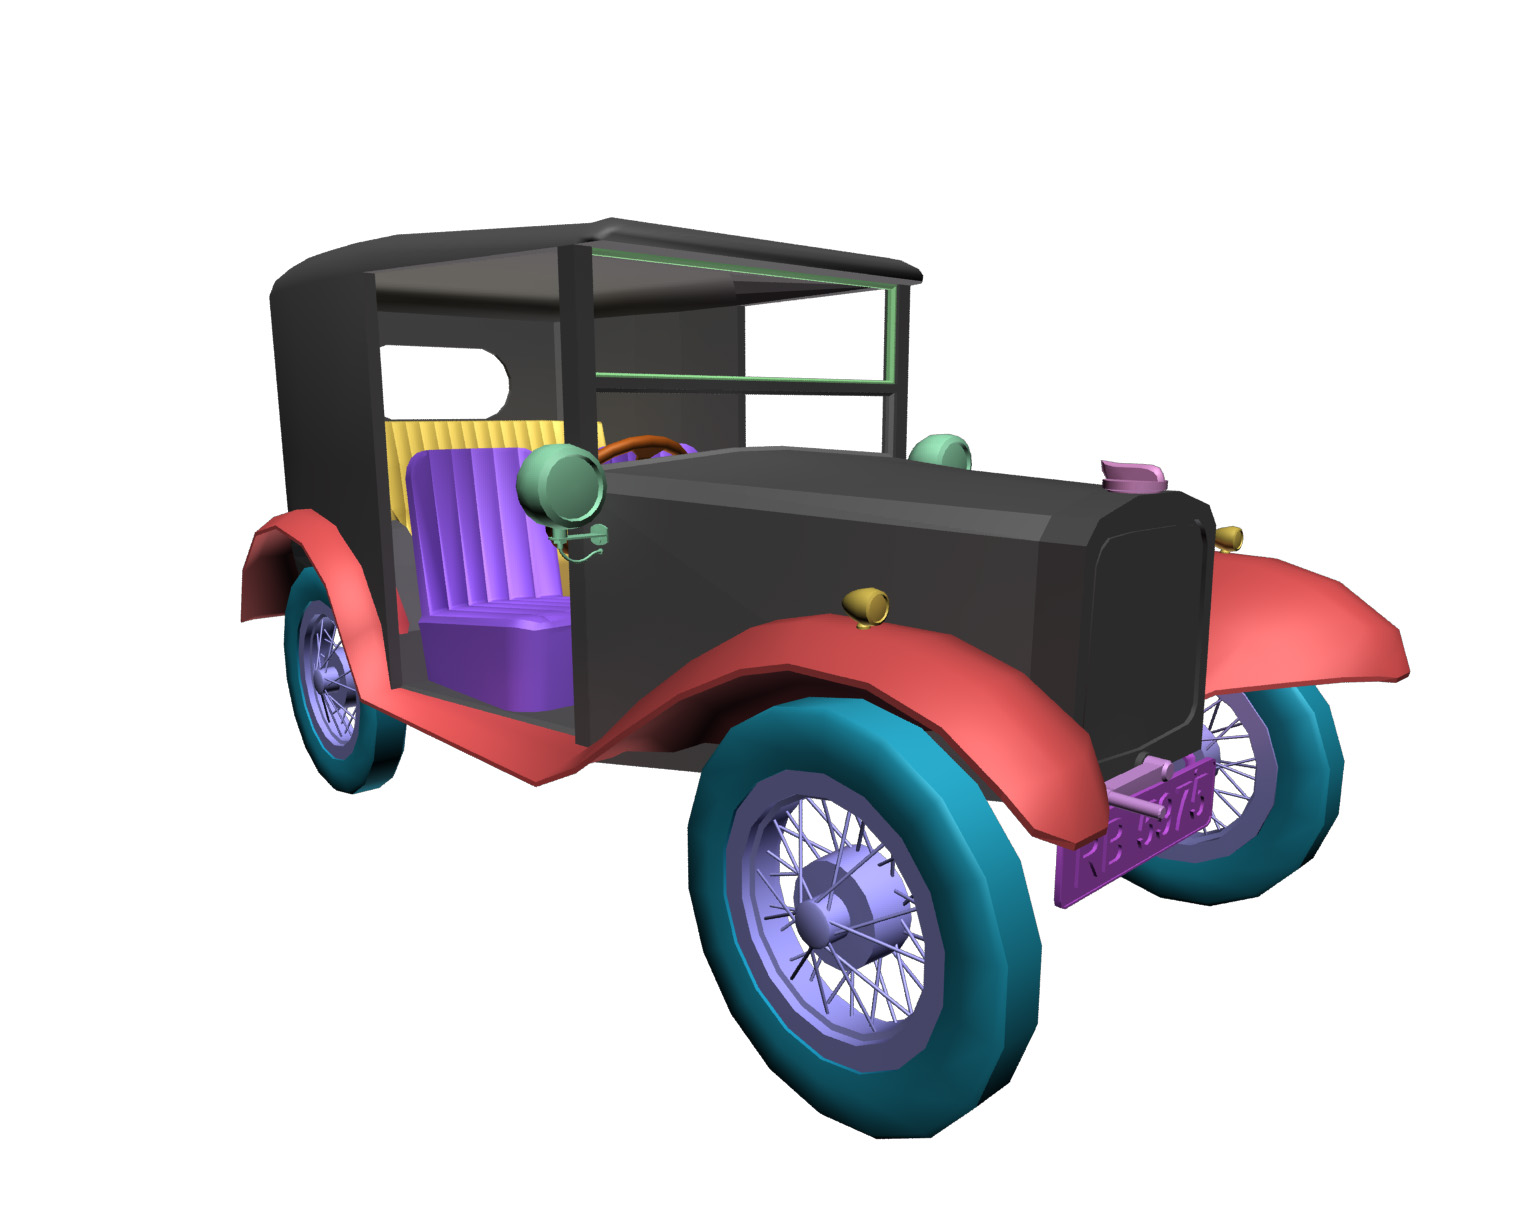 |
| Austin 7 created in 3DS Max |
Traxxas Bandit Shell 3D Model
While learning to model in Creo (previously Pro:Engineer) I replicated the body-shell of my Traxxas Bandit - a 1:10 scale RC Buggy. This was a challenging object to model as it is full of angles and the original had suffered some damage prior to me measuring and modeling it. It should be noted that the Bandit shown is not mine, as it was unavailable at the time. This will be updated.
I made a start on designing a RC Buggy to be 3D printed. Modeled in Creo, it was properly constrained so that all the parts moved as they should in reality. This was designed while I was in University and had only a passing knowledge of 3D printing, as such it is not suitably optimised, or indeed very good. The layout and style was based on the Traxxas Bandit, as it is what I had for experience. It was planned to be belt driven RWD.
 |
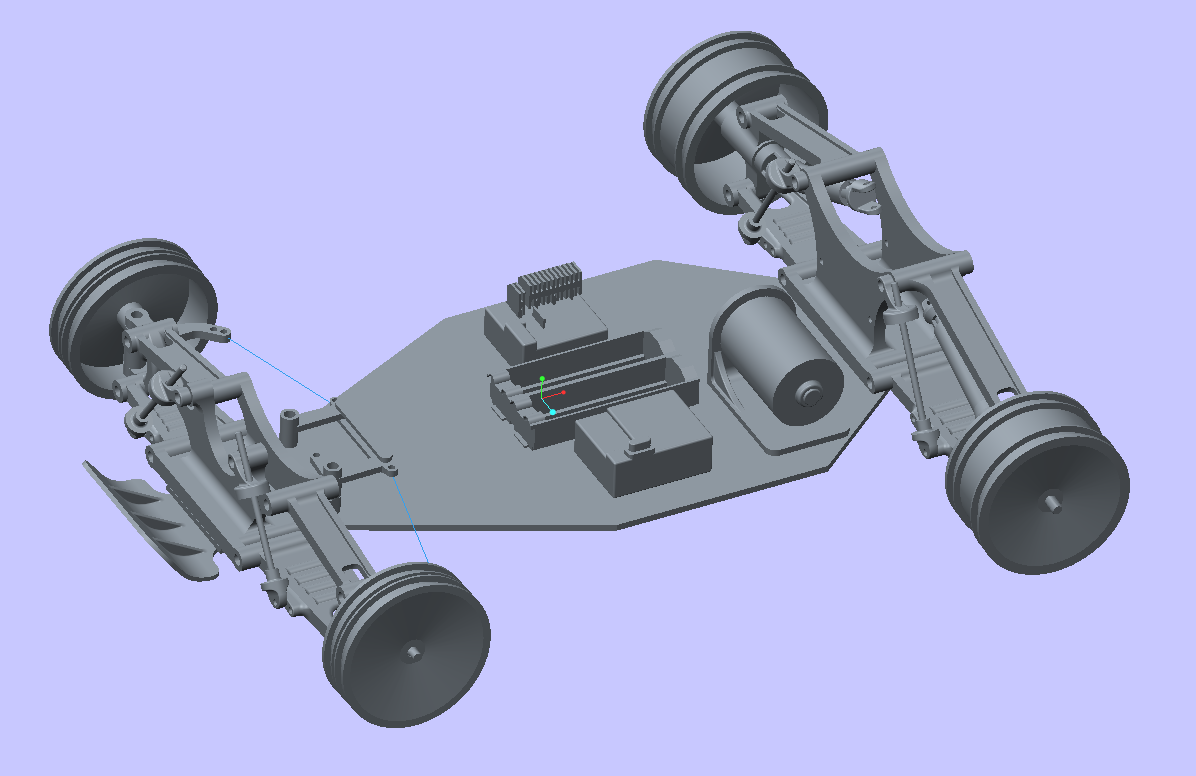 |
| Traxxas Bandit body-shell modeled in Creo | Custom RC Buggy modeled in Creo |
Lego Modeling
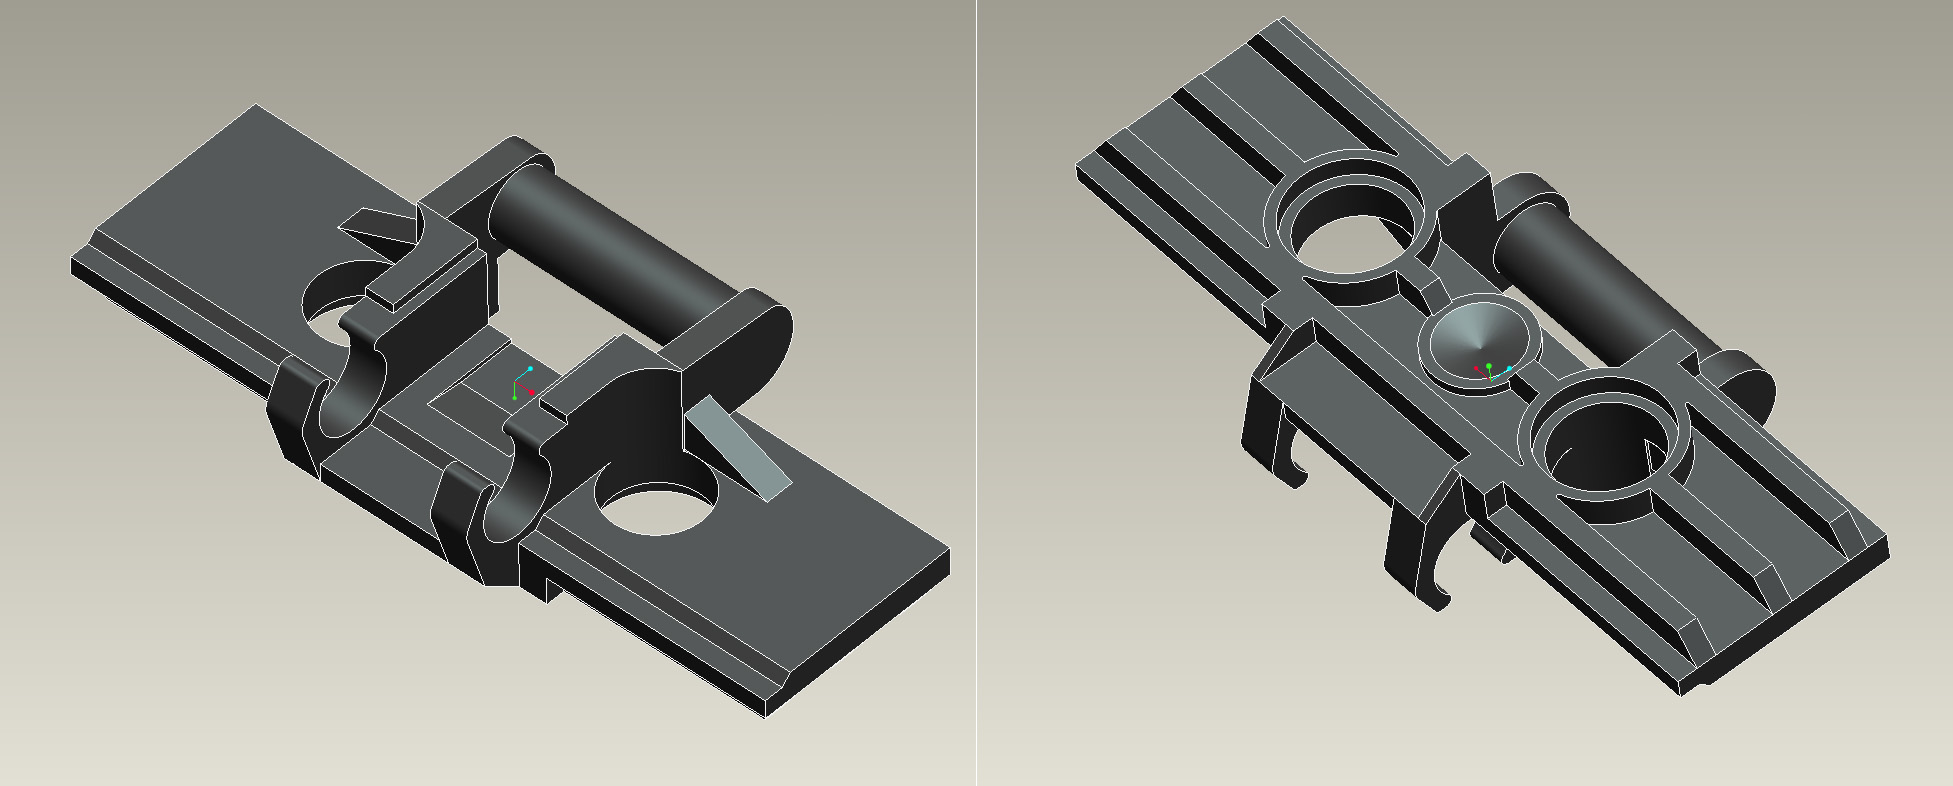
Yet more Creo and 3DS Max learning. Legos are fun to model as they are nice metric sizes and very few curves. The Minifigs image was created to be a desktop background; all the textures were hand drawn in Photoshop from real Minifigs. A lot of effort was put into the lighting for this render.
 |
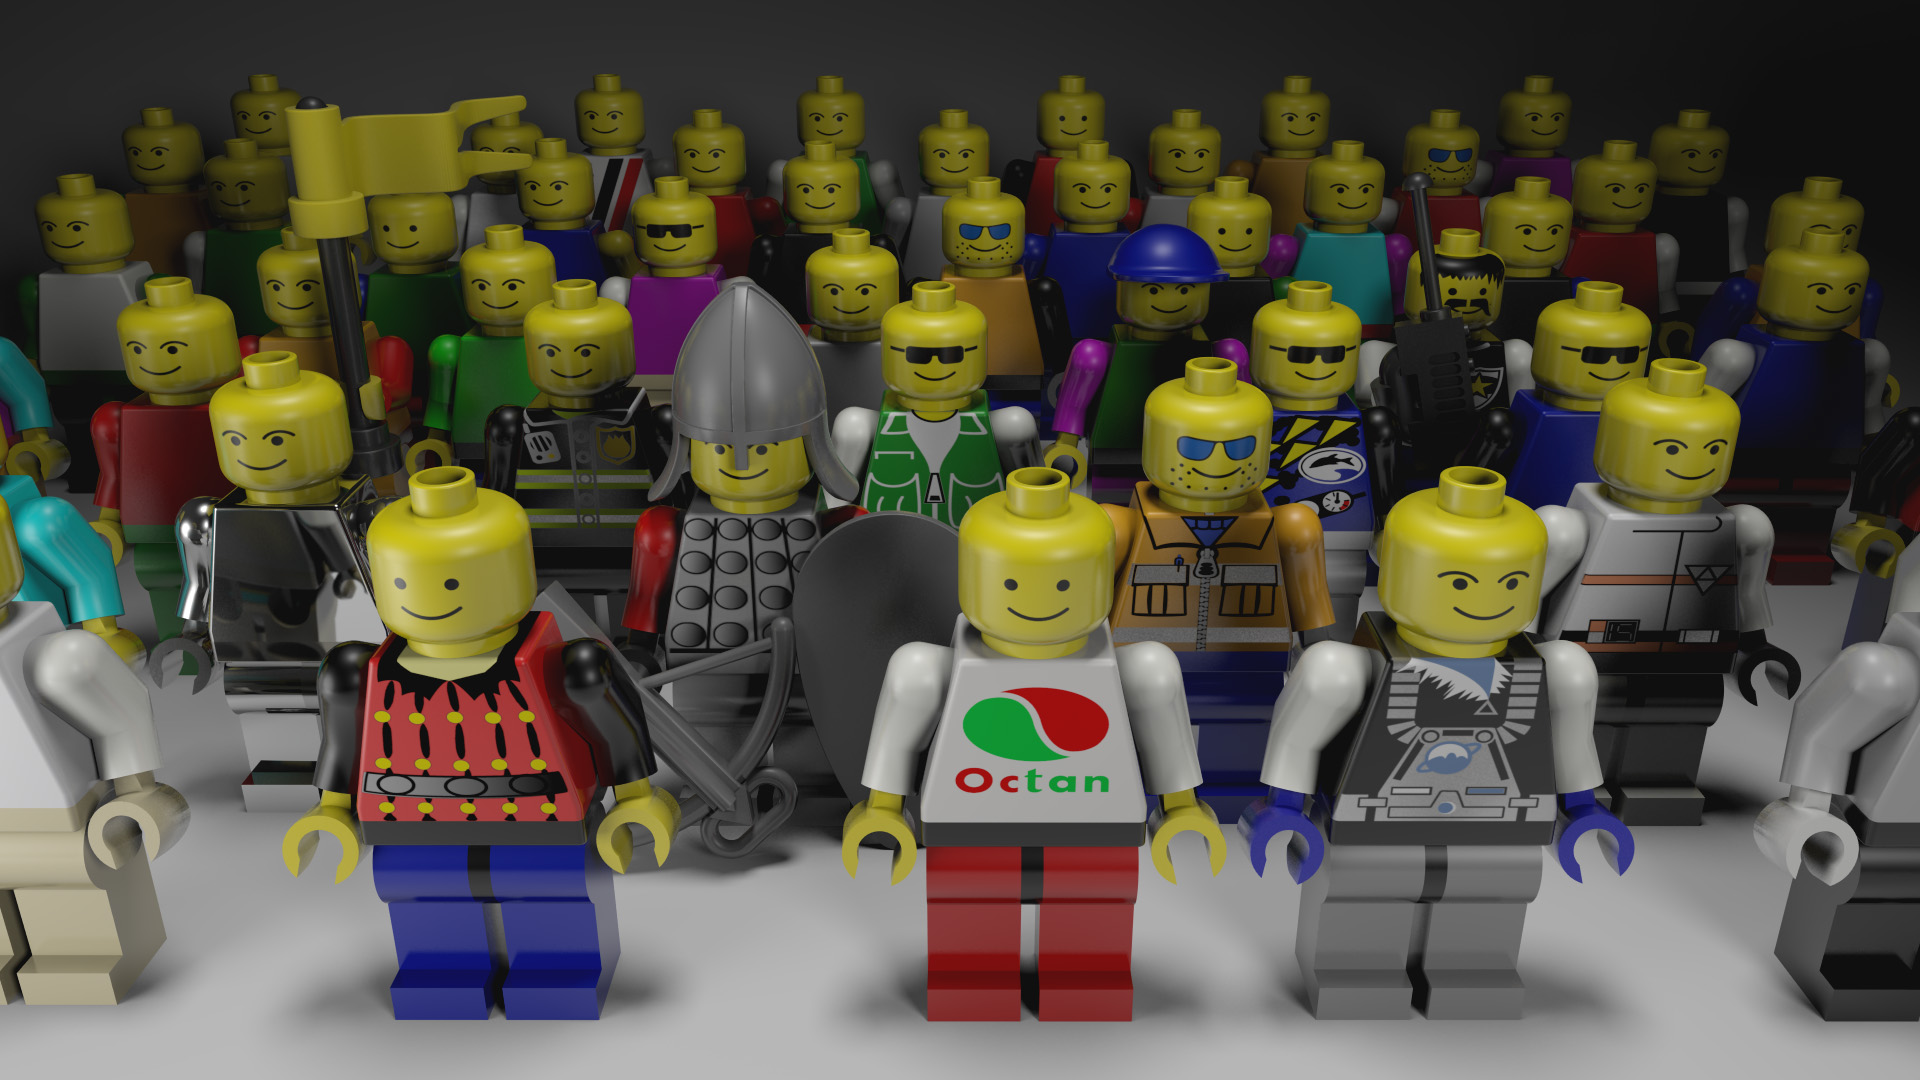 |
| Lego tank-track piece modeled in Creo | Lego Minifigs rendered in 3DS Max |
Engine Shed Layout
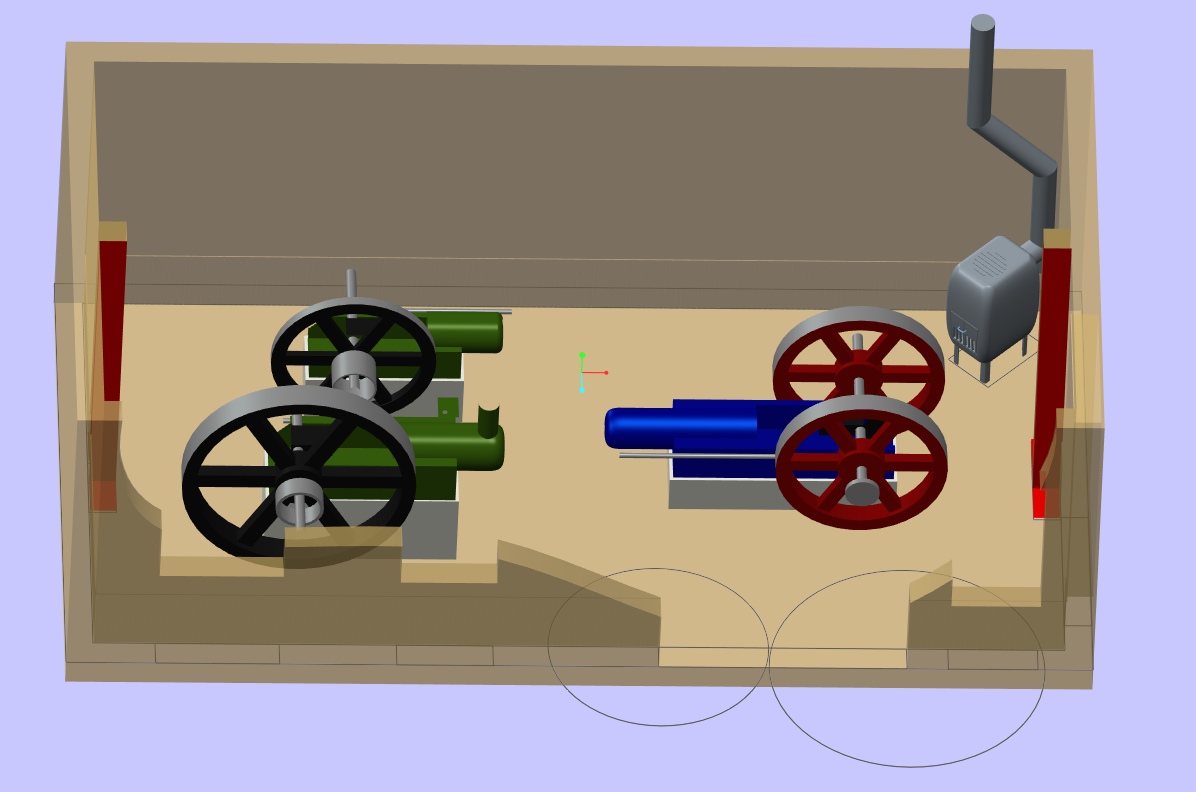
To aid my father in planning the layout of his Engine Shed, I created a to-scale model of the building and the three engines planned to be installed in it. The models were made in Creo from measurements taken from the real items.
The render was simply an opportunity to throw some 3DS Max skills at the job, in an effort to produce a realistic(ish) feel of the lighting...
The layout has since changed significantly: the engines have been mirrored, with the Shanks (Blue/Red) on the Left, and the small Ruston (Green/Black) on the right. The large Ruston has changed ownership, leaving a tempting gap to be filled.
 |
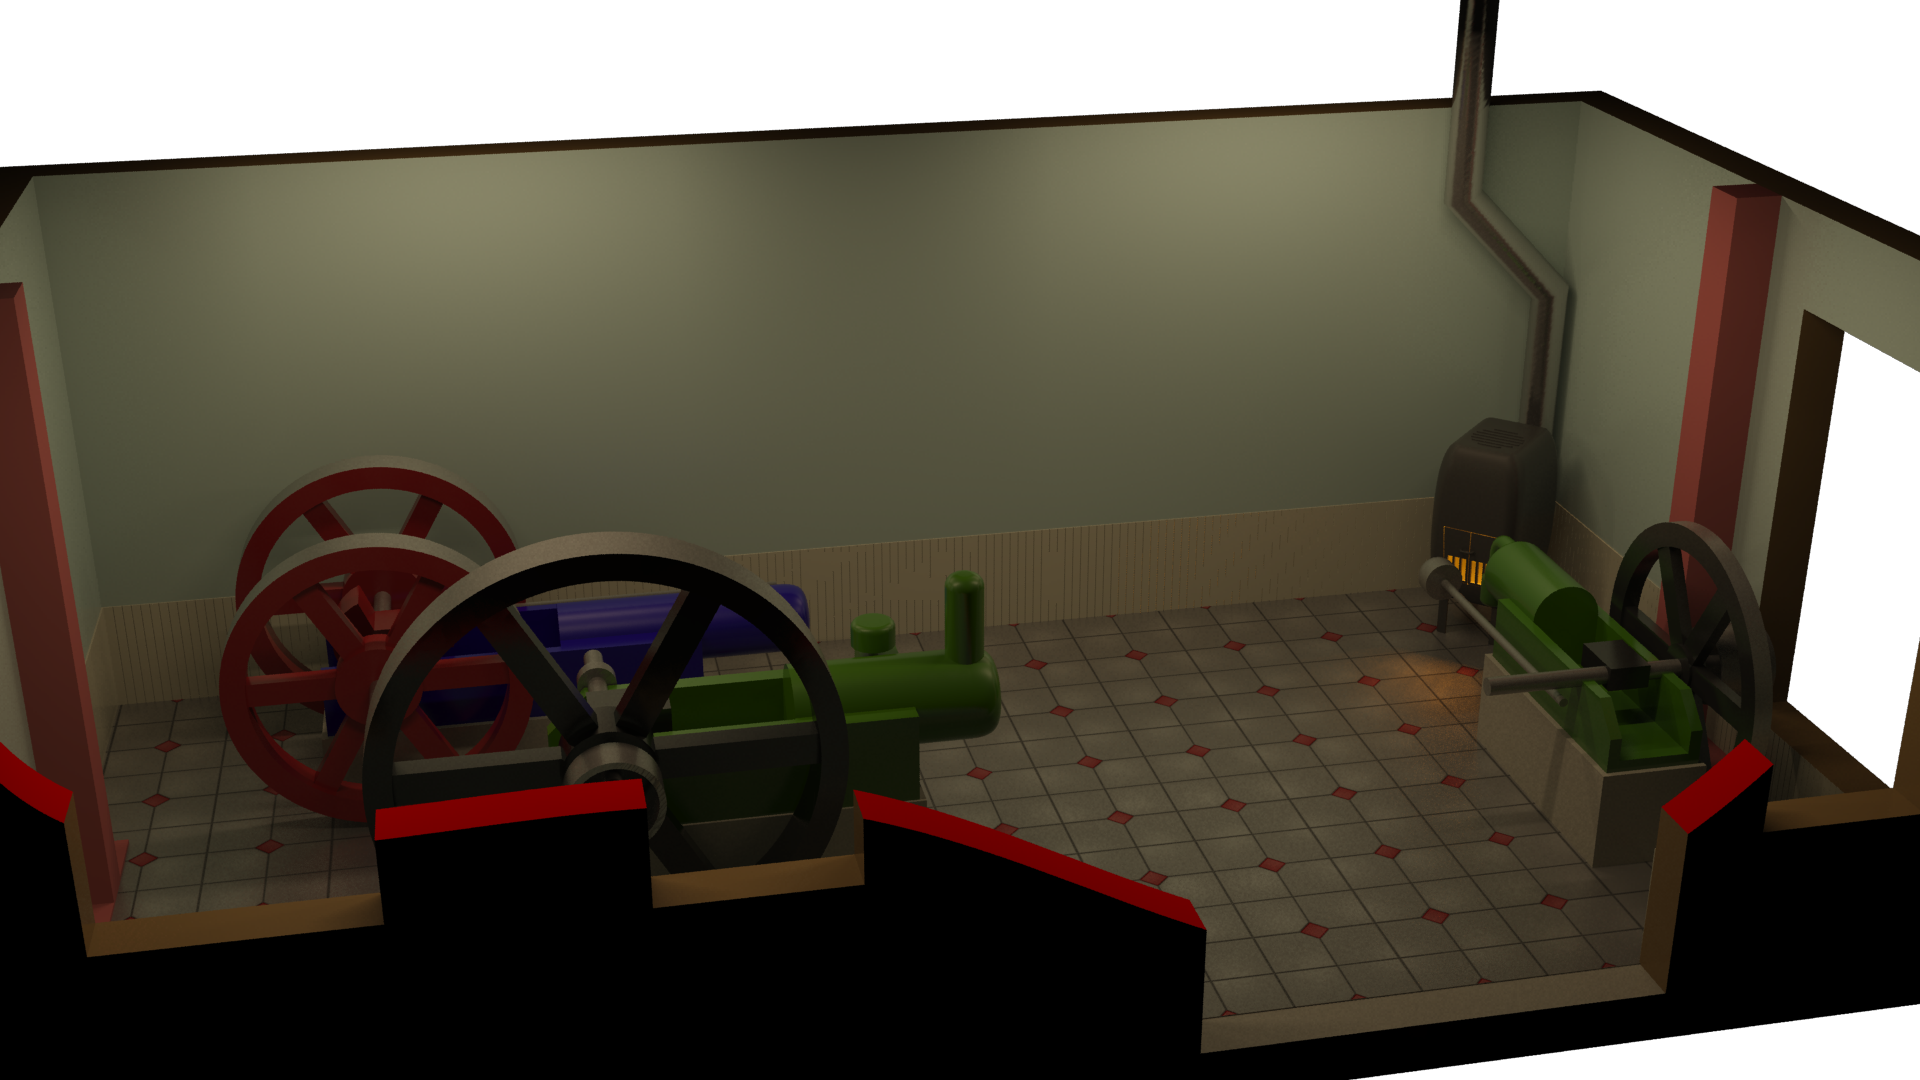 |
| Engine Shed layout created in Creo | Engine Shed layout rendered in 3DS Max |
Ruston Hornsby Logo
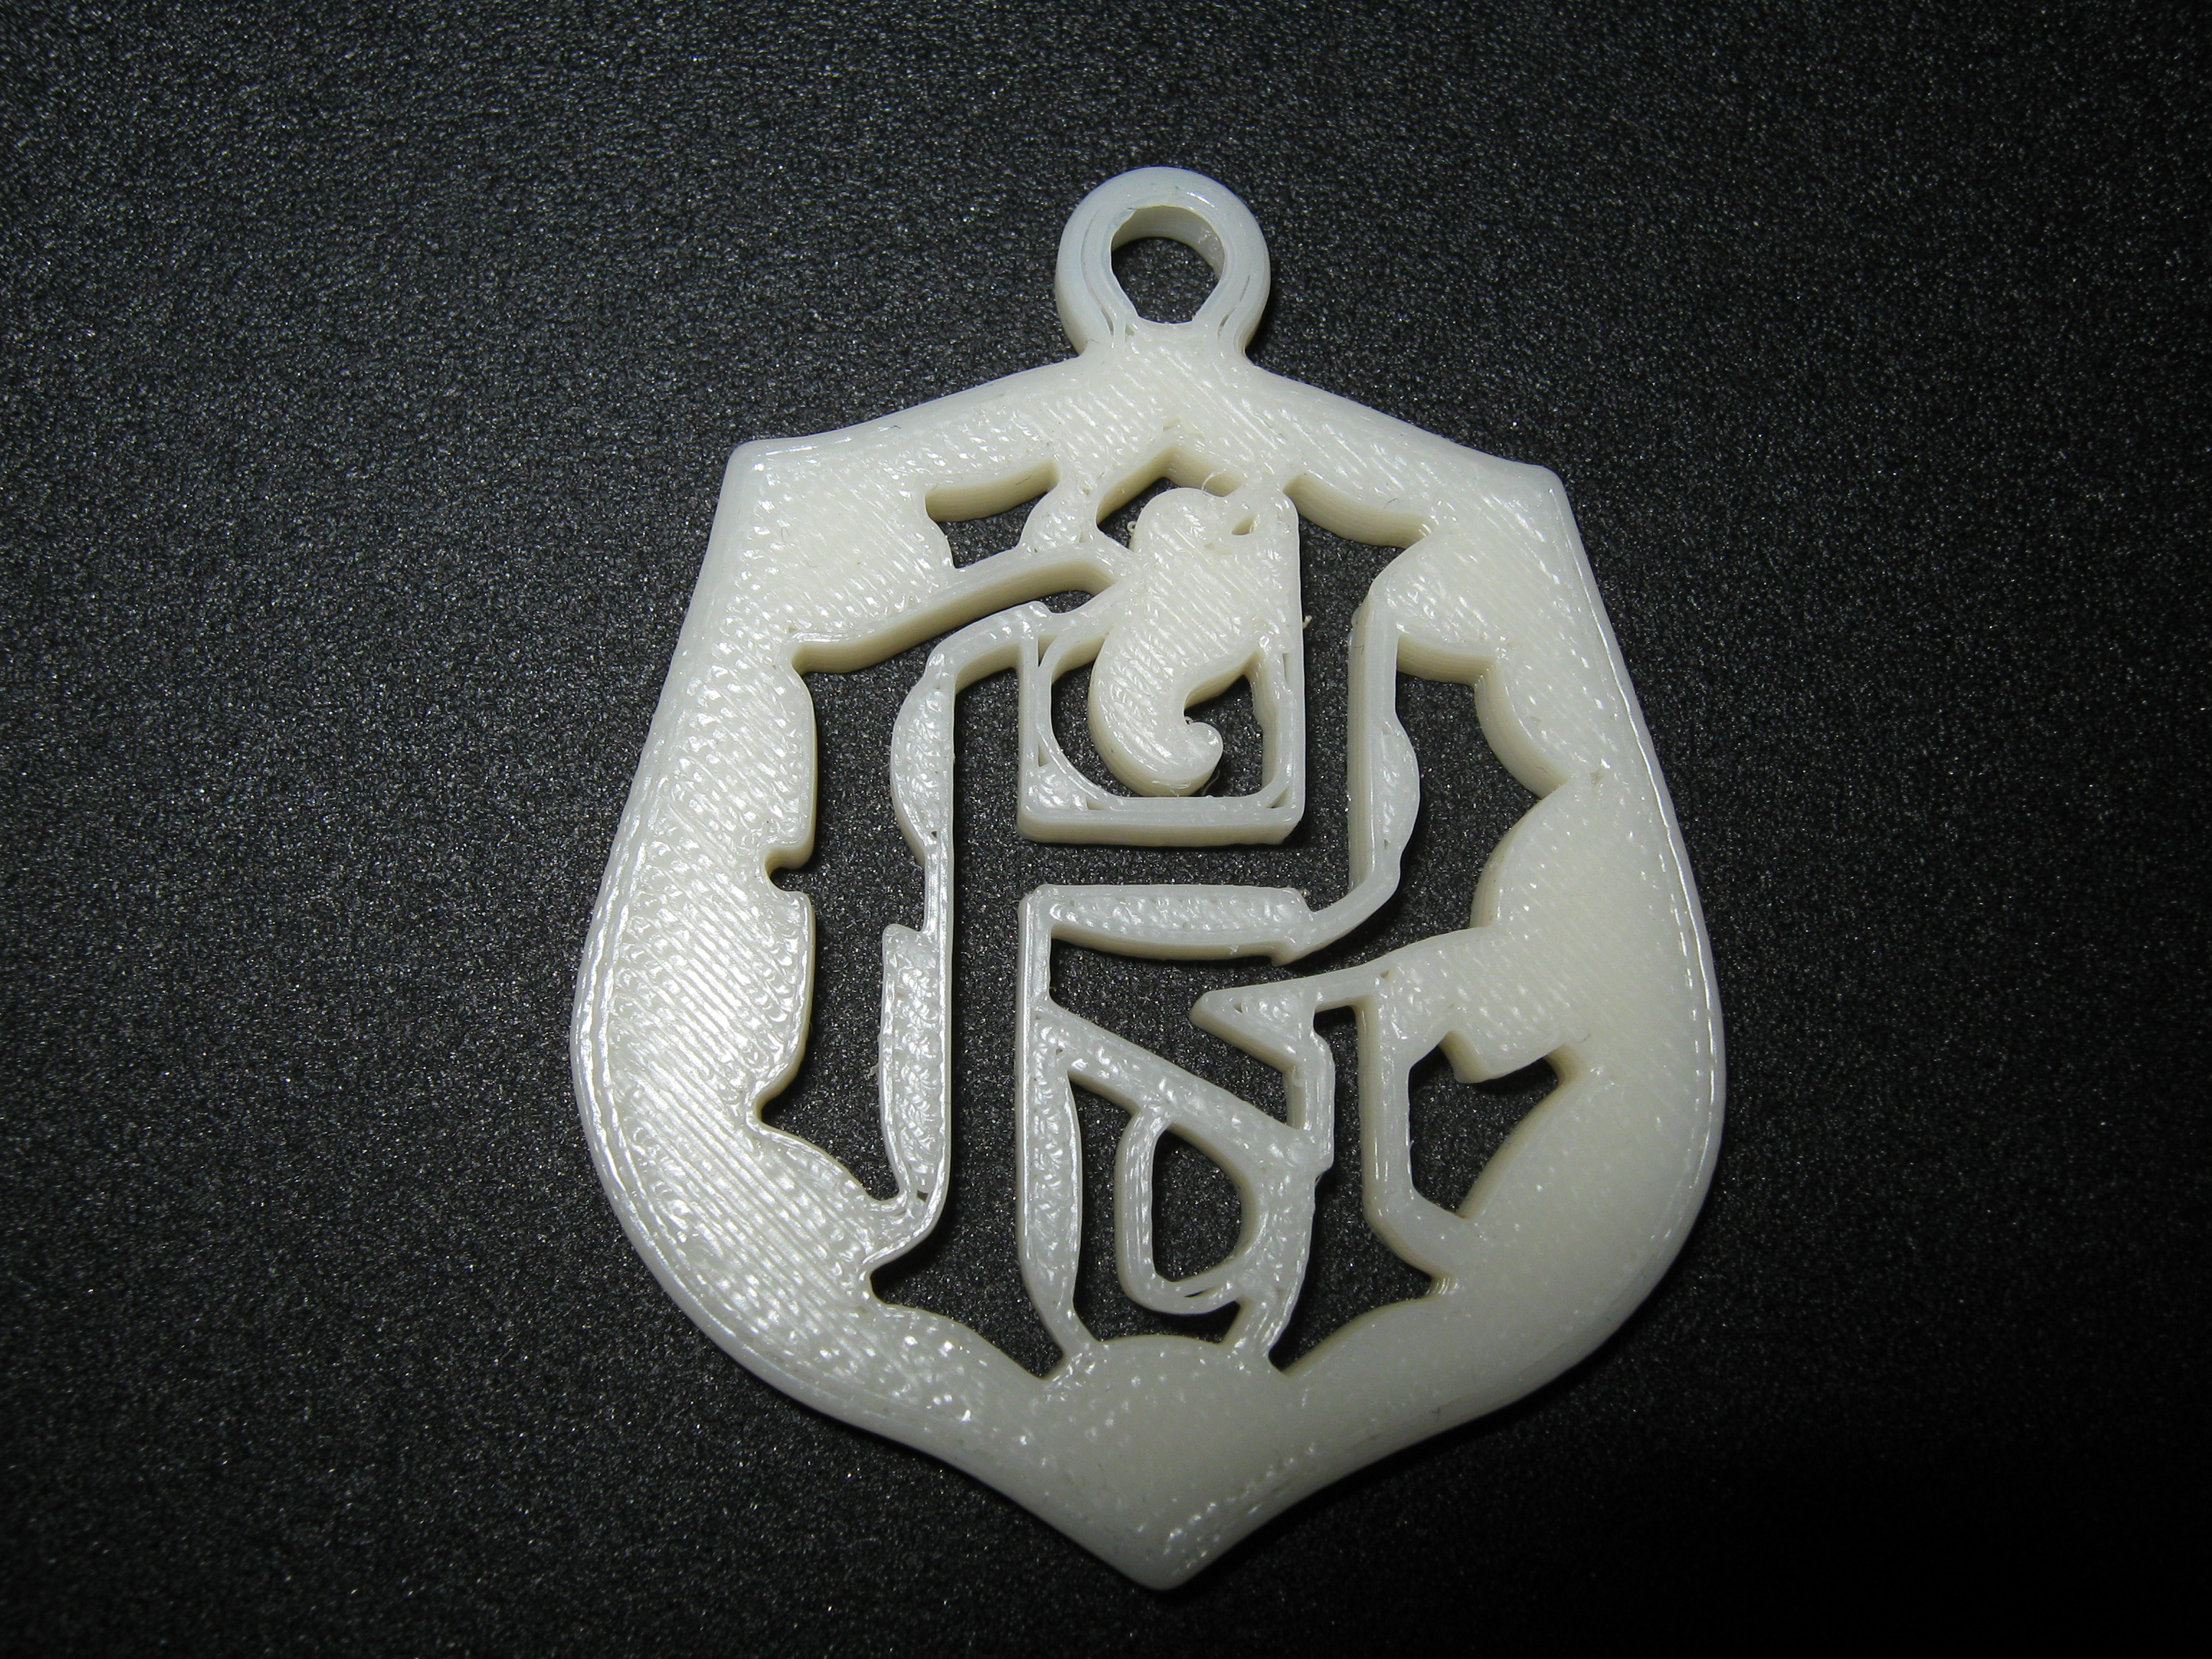
A quick job tracing over a photo in Creo, then 3D printed and laser cut/etched in Acrylic and MDF. Simple key chain tags.
 |
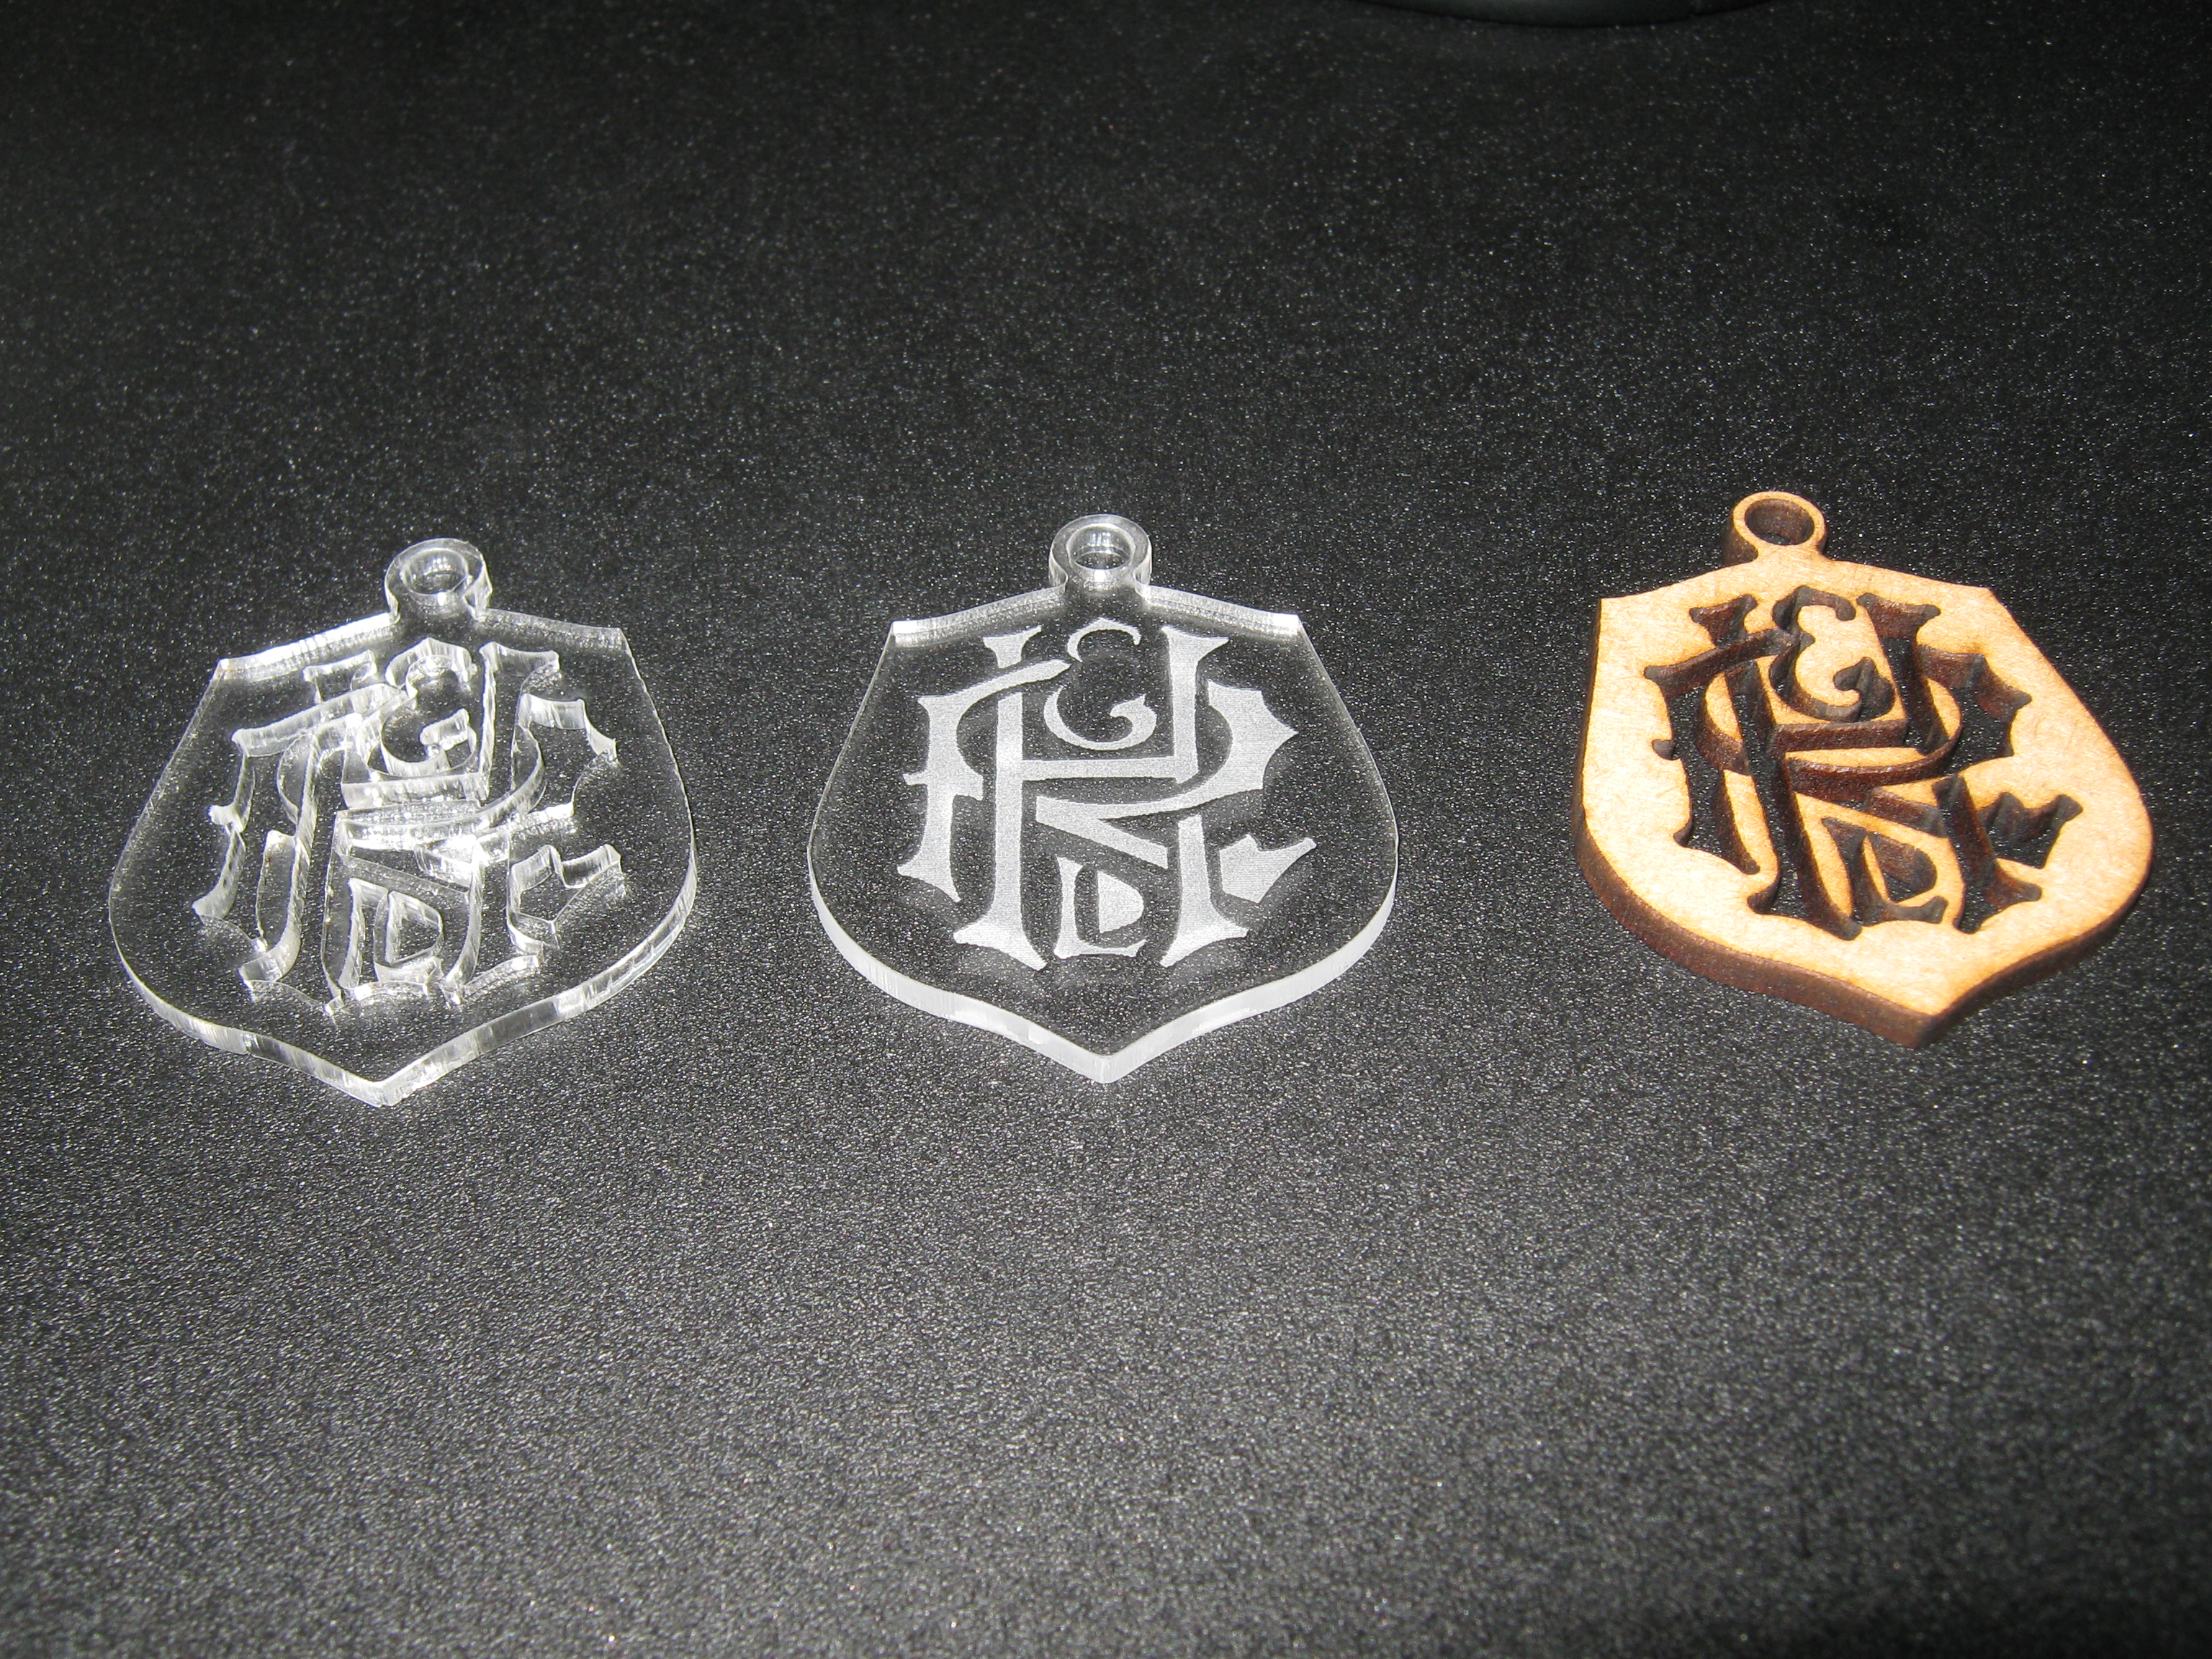 |
| Ruston Hornsby Shield printed on Stratasys FDM | Ruston Hornsby Shield laser cut; Acrylic and MDF |
Alexander Shanks Logo Transfer
When restoring old engines, generally there are only water-slide transfers for a few of the more popular/common manufacturers. When finished, my father's Alexander Shanks oil engine will need a transfer for the crank guard. Luckily there exists an engine with an original transfer in very good condition, and with some good photos, I have started to recreate the logo.
As the transfer in on a curved surface, it required stretching and skewing to get proper proportions. It was then traced with the pen tool to get a vector copy of all the details. All that remains is to tweak the shapes and proportions, and get the colours correct; then it can be printed as a transfer ready for the engine to be finished.
 |
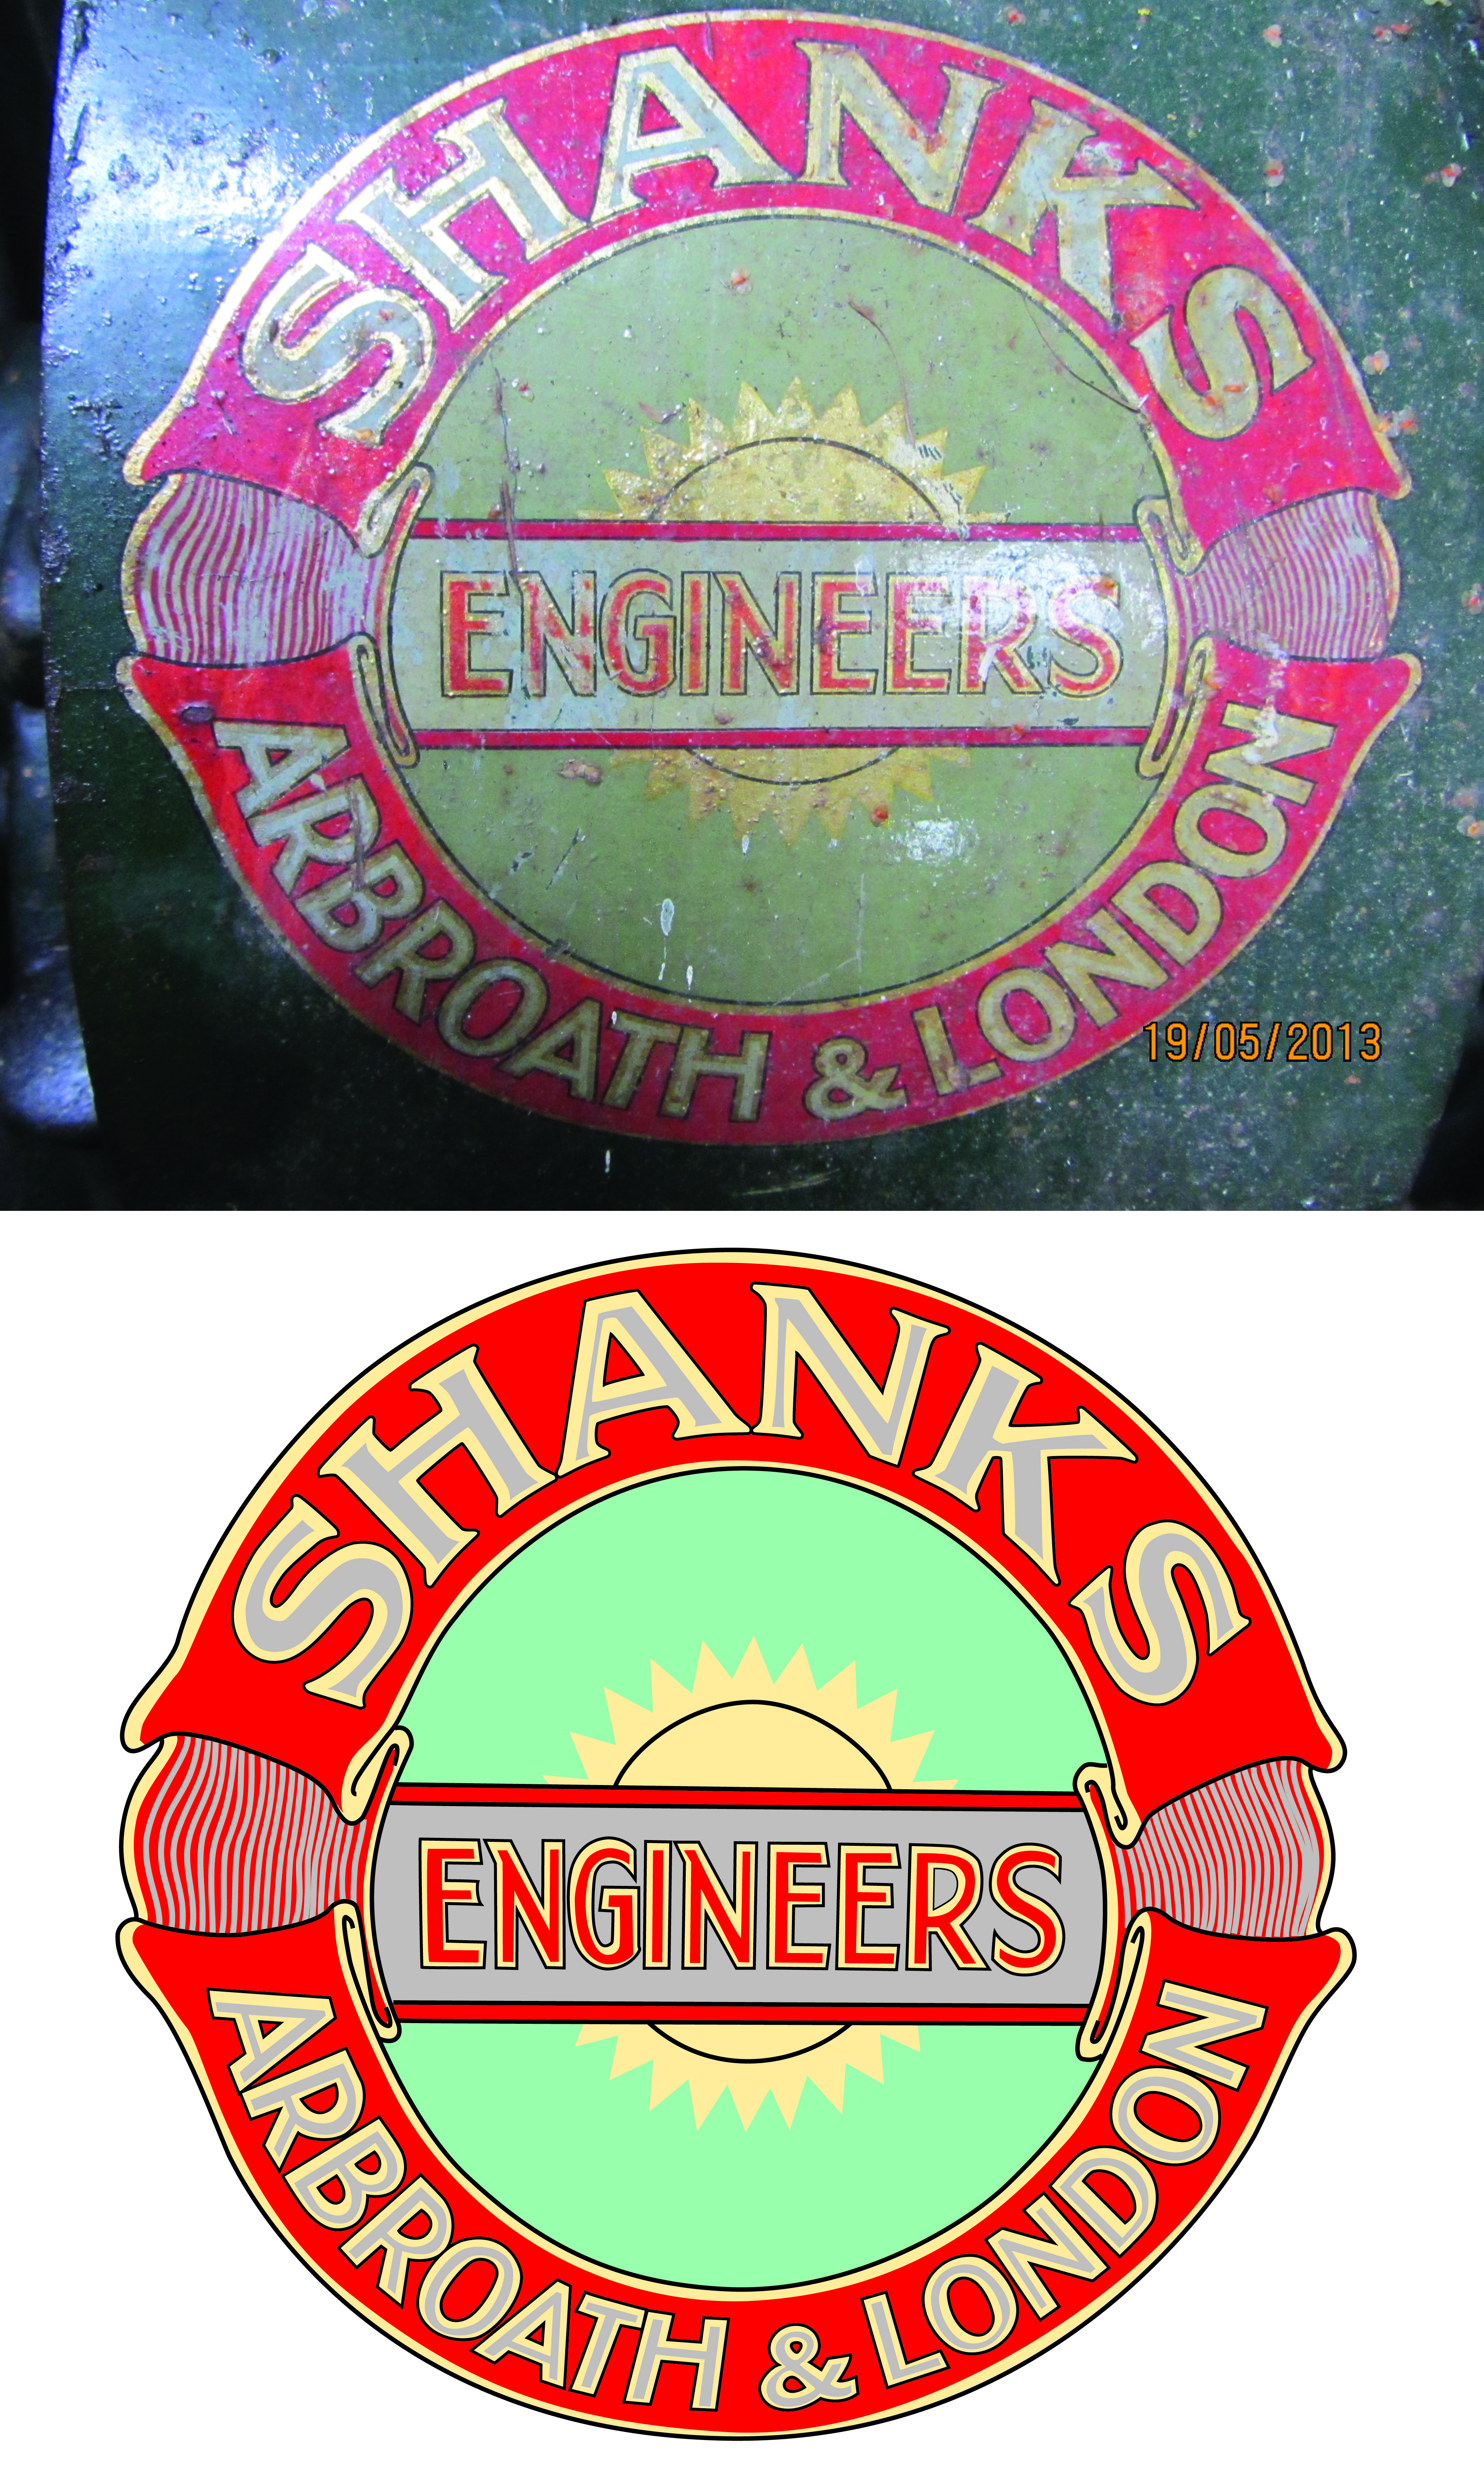 |
| Alexander Shanks logo; Photoshop | Alexander Shanks logo; Photoshop |
Mark Lubbock Midge
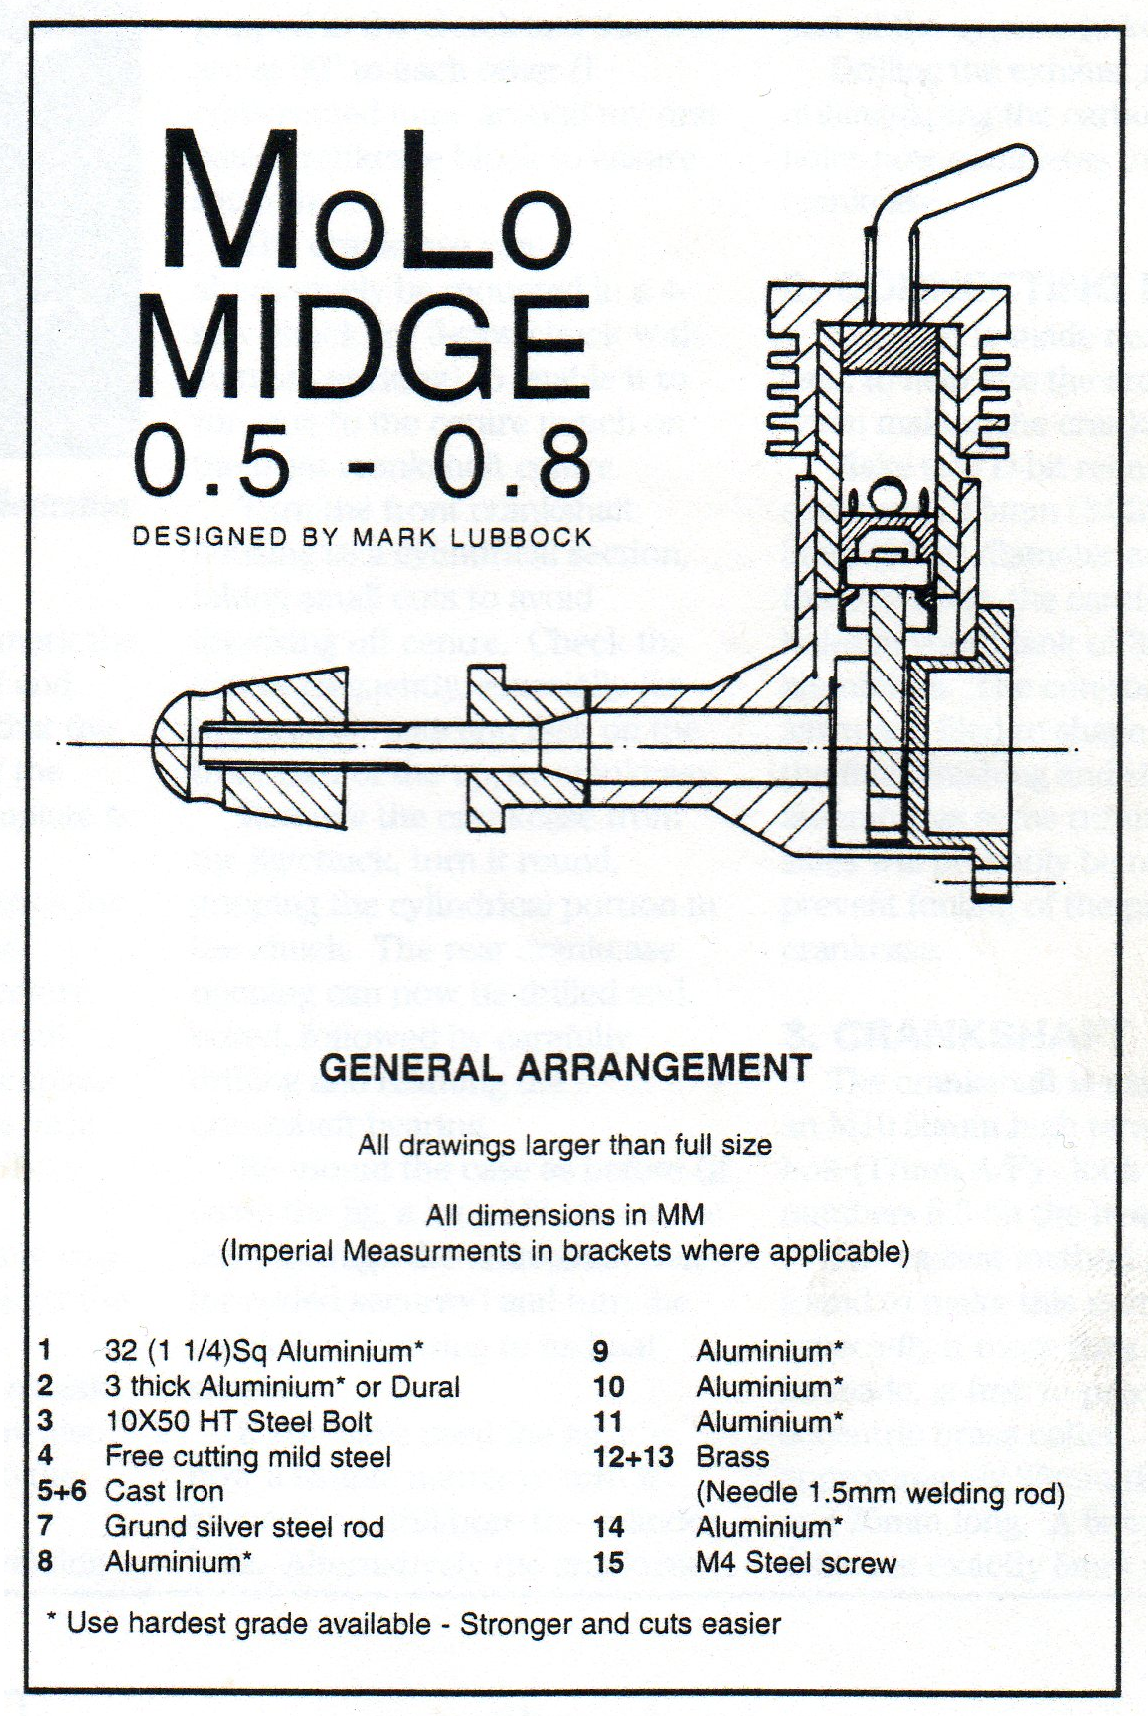
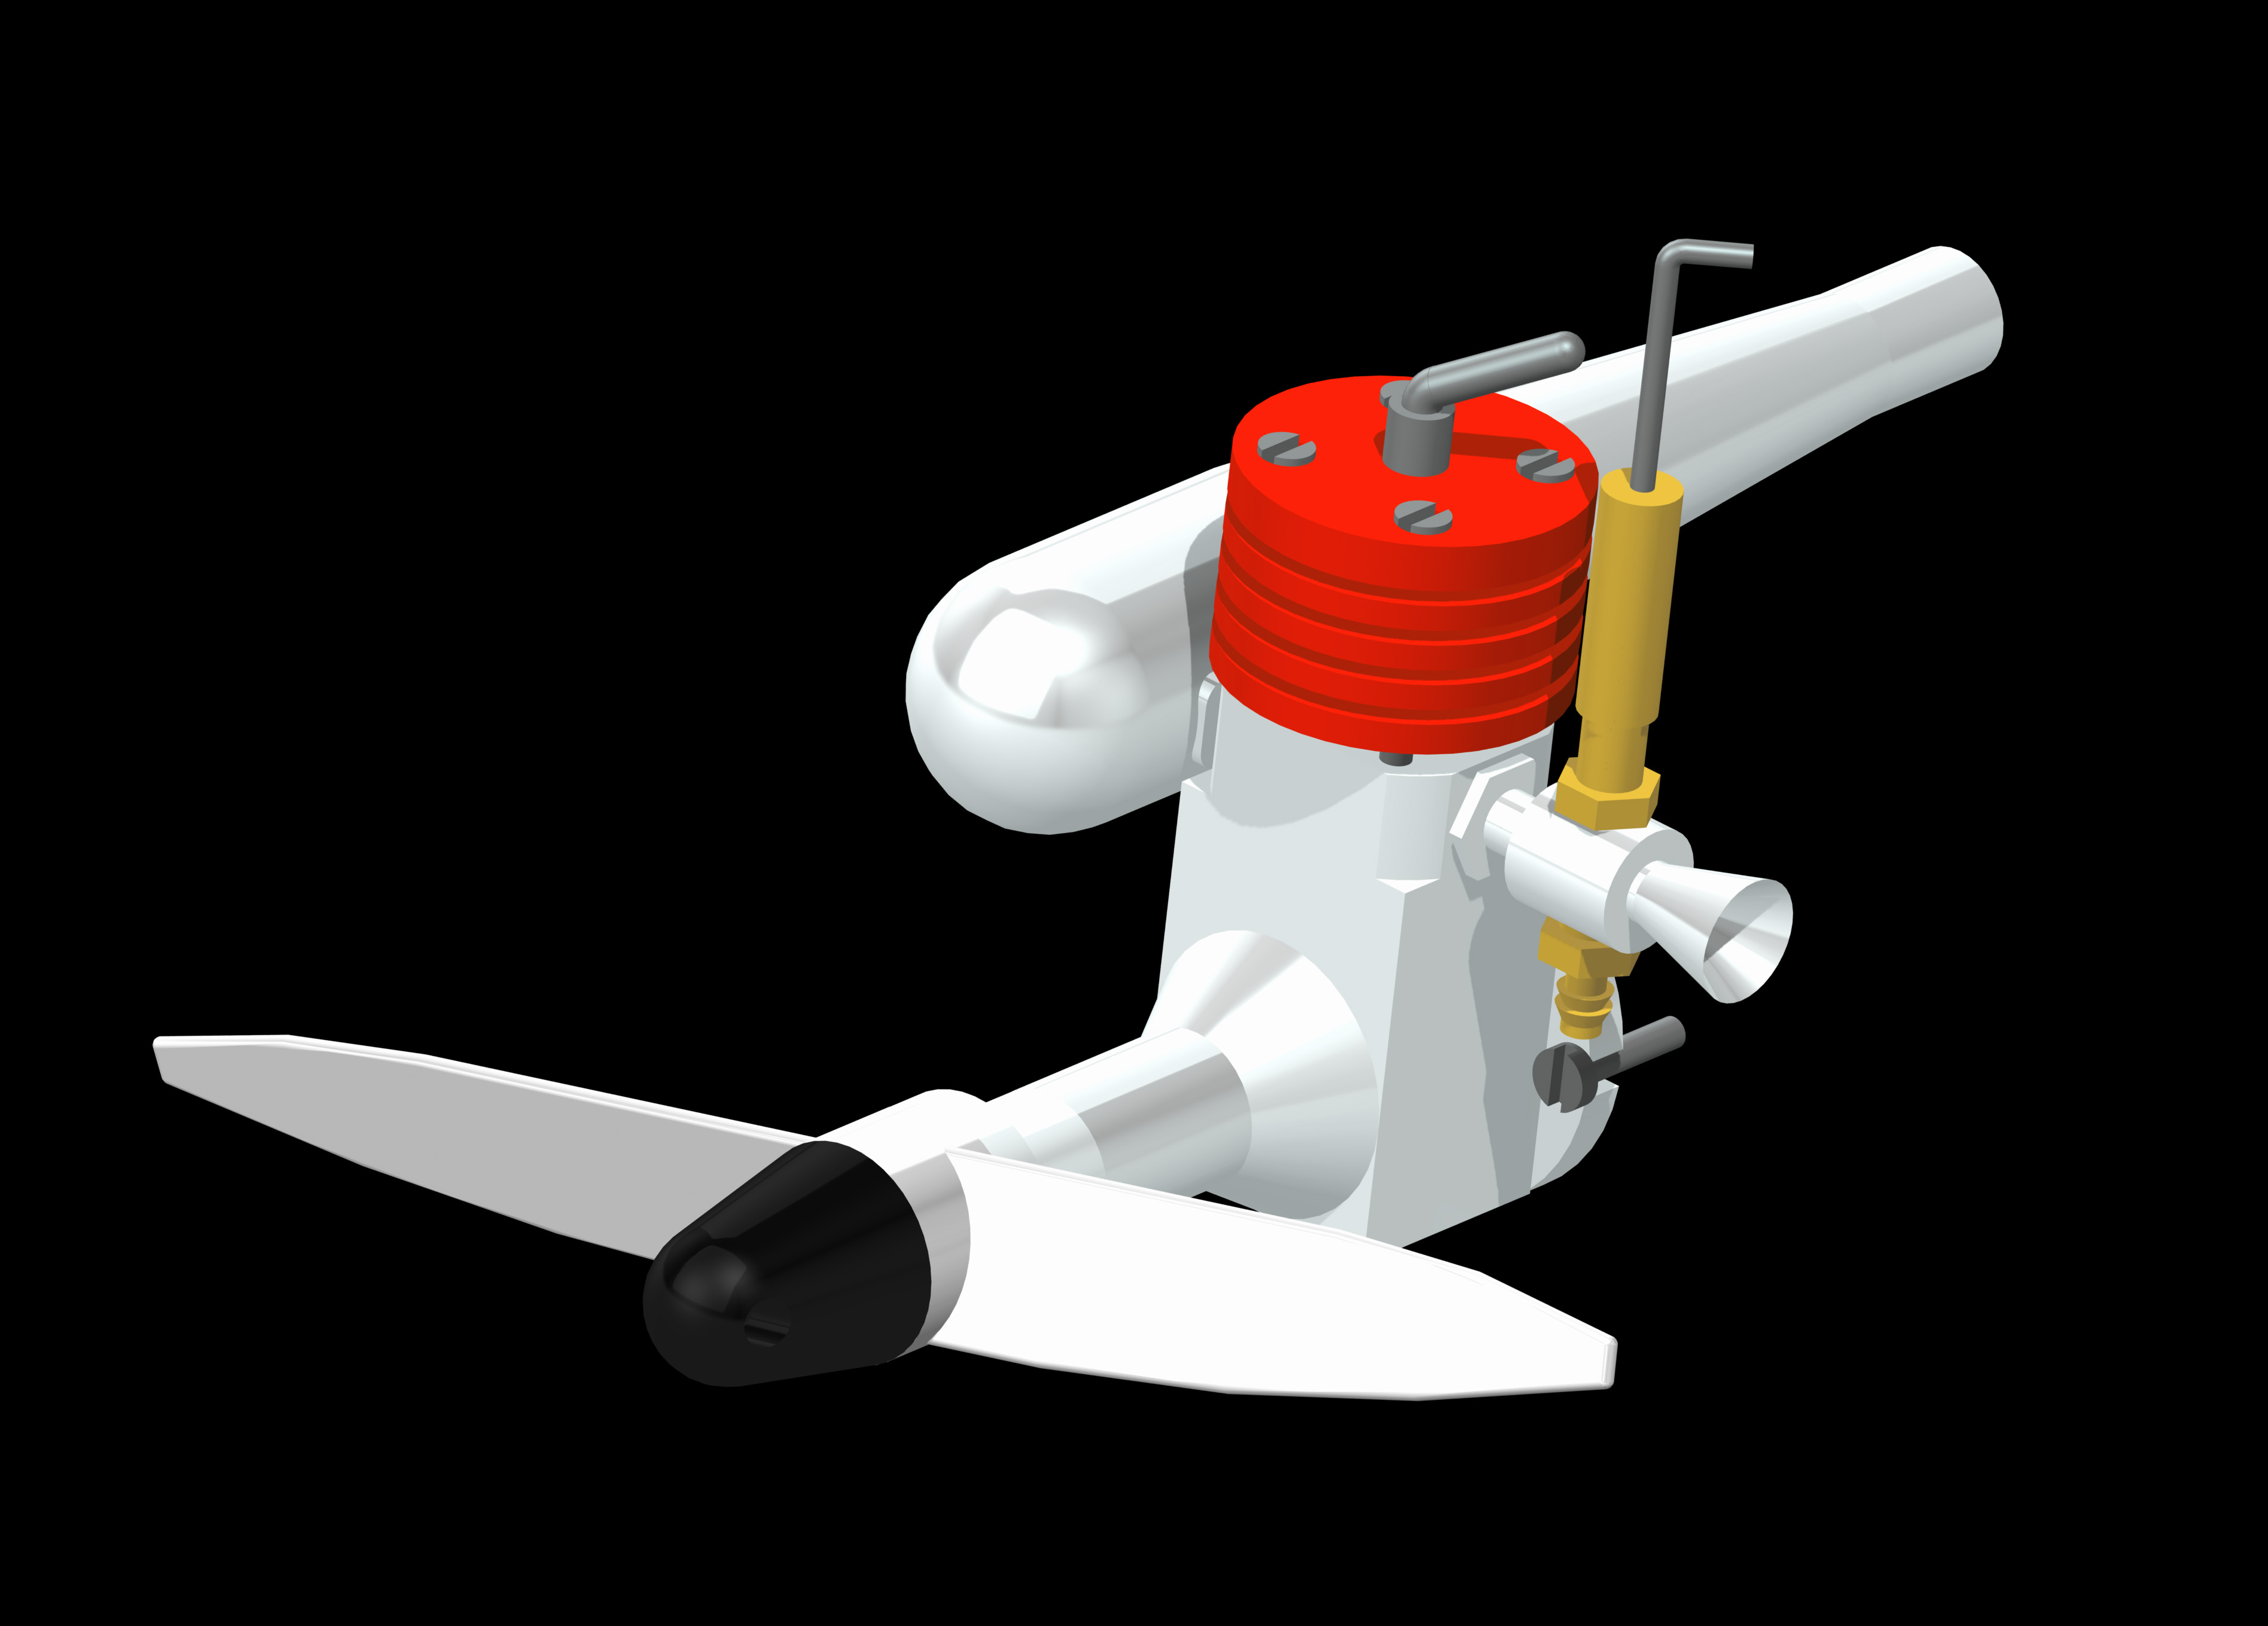
I came across the plans for a small 'diesel' aero engine - 0.5 to 0.8cc. I believe the plans were run in the magazine "Model Engineer". I followed the drawings and modeled the engine in Creo, and created a fully constrained assembly. For rendering purposes I also modeled a simple propeller and 2-stroke style tuned pipe exhaust. The engine was then rendered in 3DS Max.
Since then, I have decided to actually make engine, details of which will be on it's own dedicated Project Page.
 |
 |
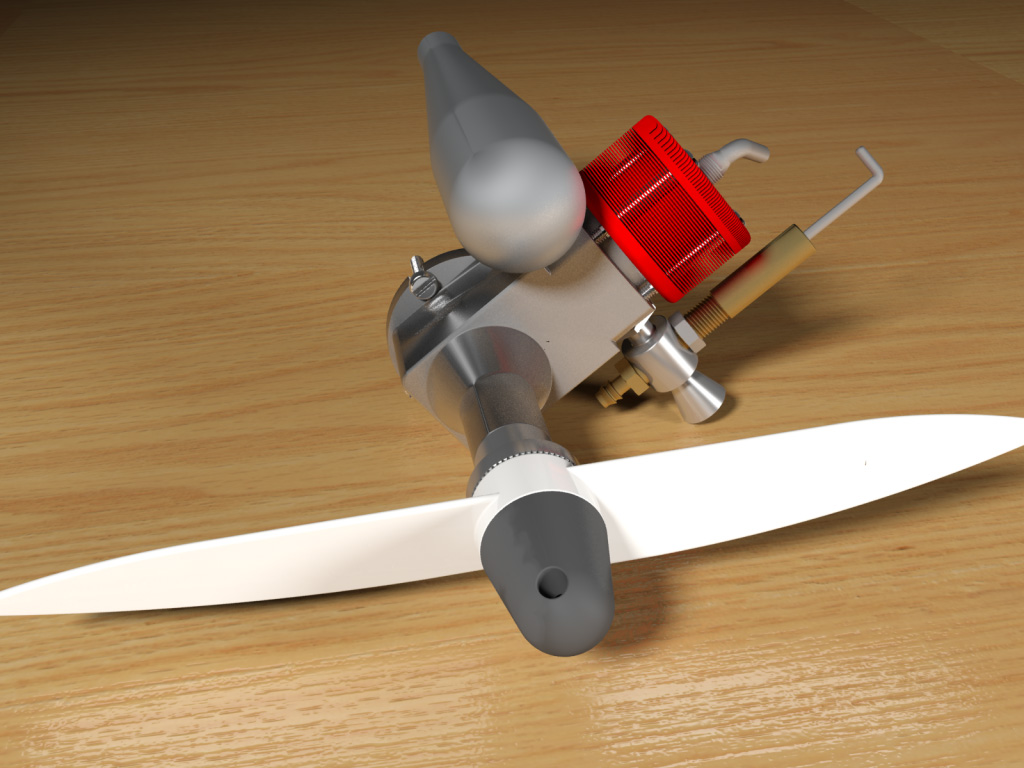 |
| Mark Lubbock's Midge | Midge created in Creo | Midge rendered in 3DS Max |
